I thought it was drink, drink, drinking till meats are done, sorry, got it wrong… ![]()
3 Likes
Well, hehe, when COMPANY is coming over, it’s a hassle.
2 Likes
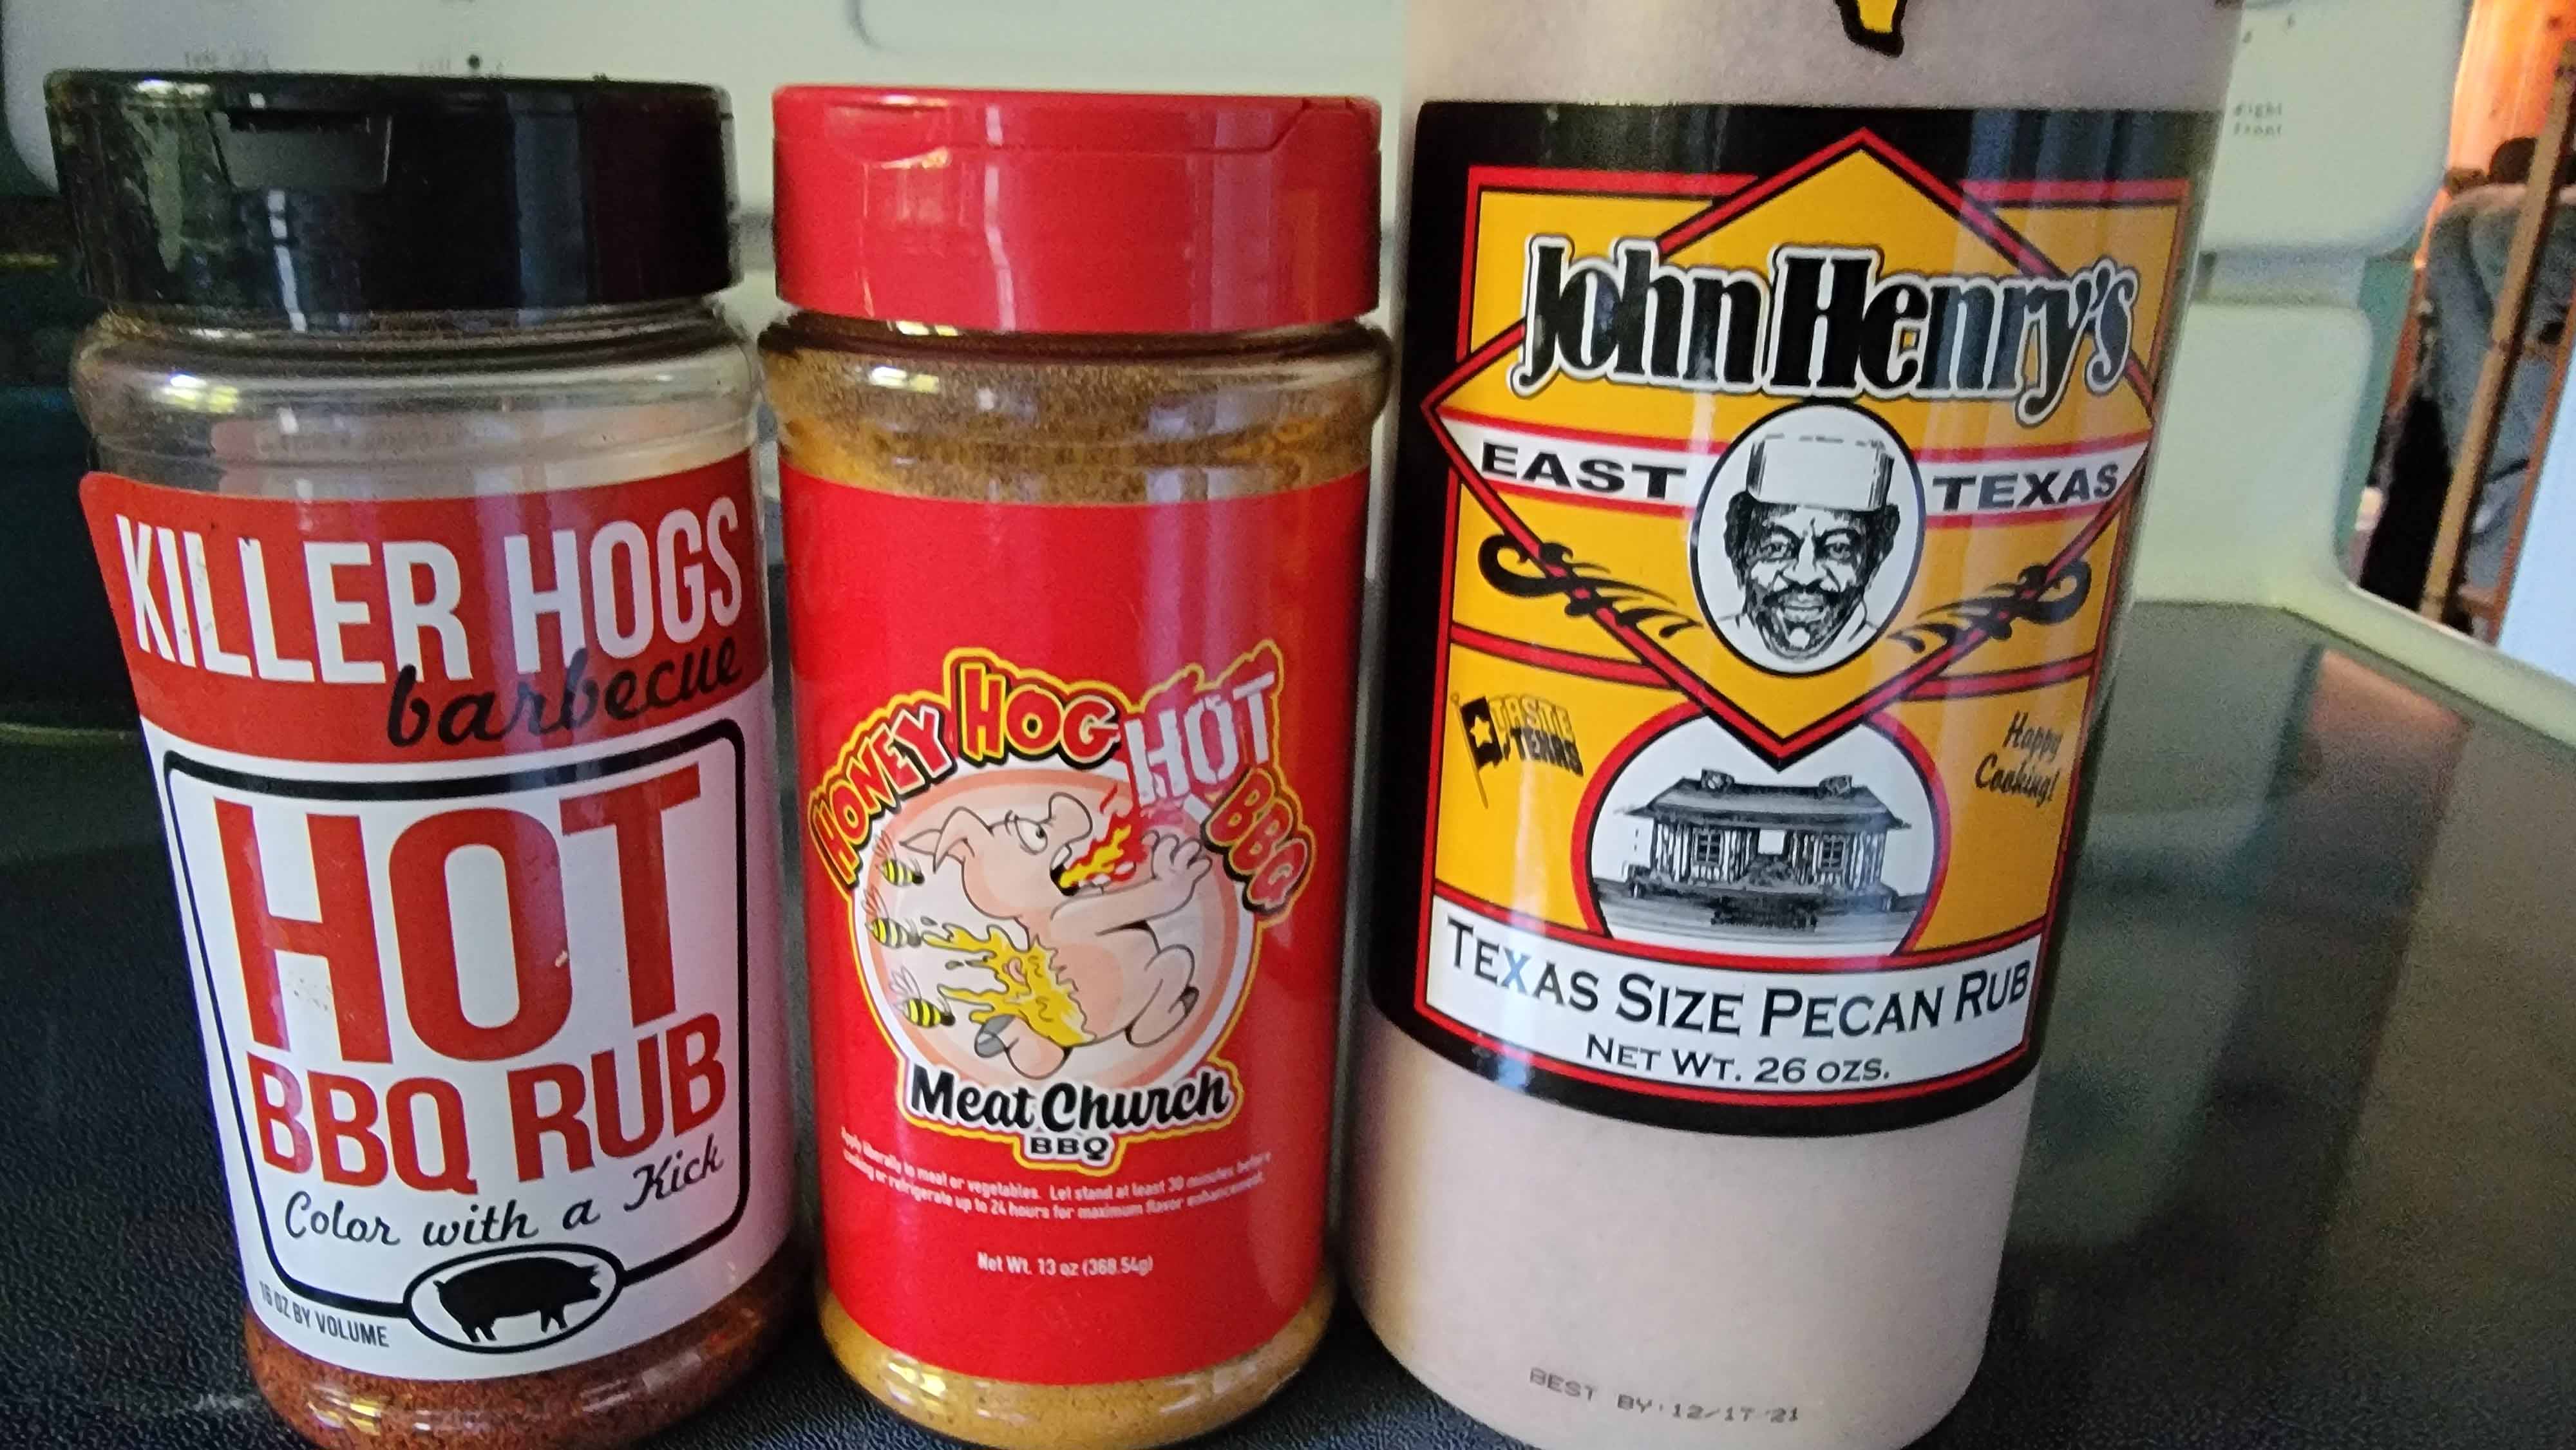
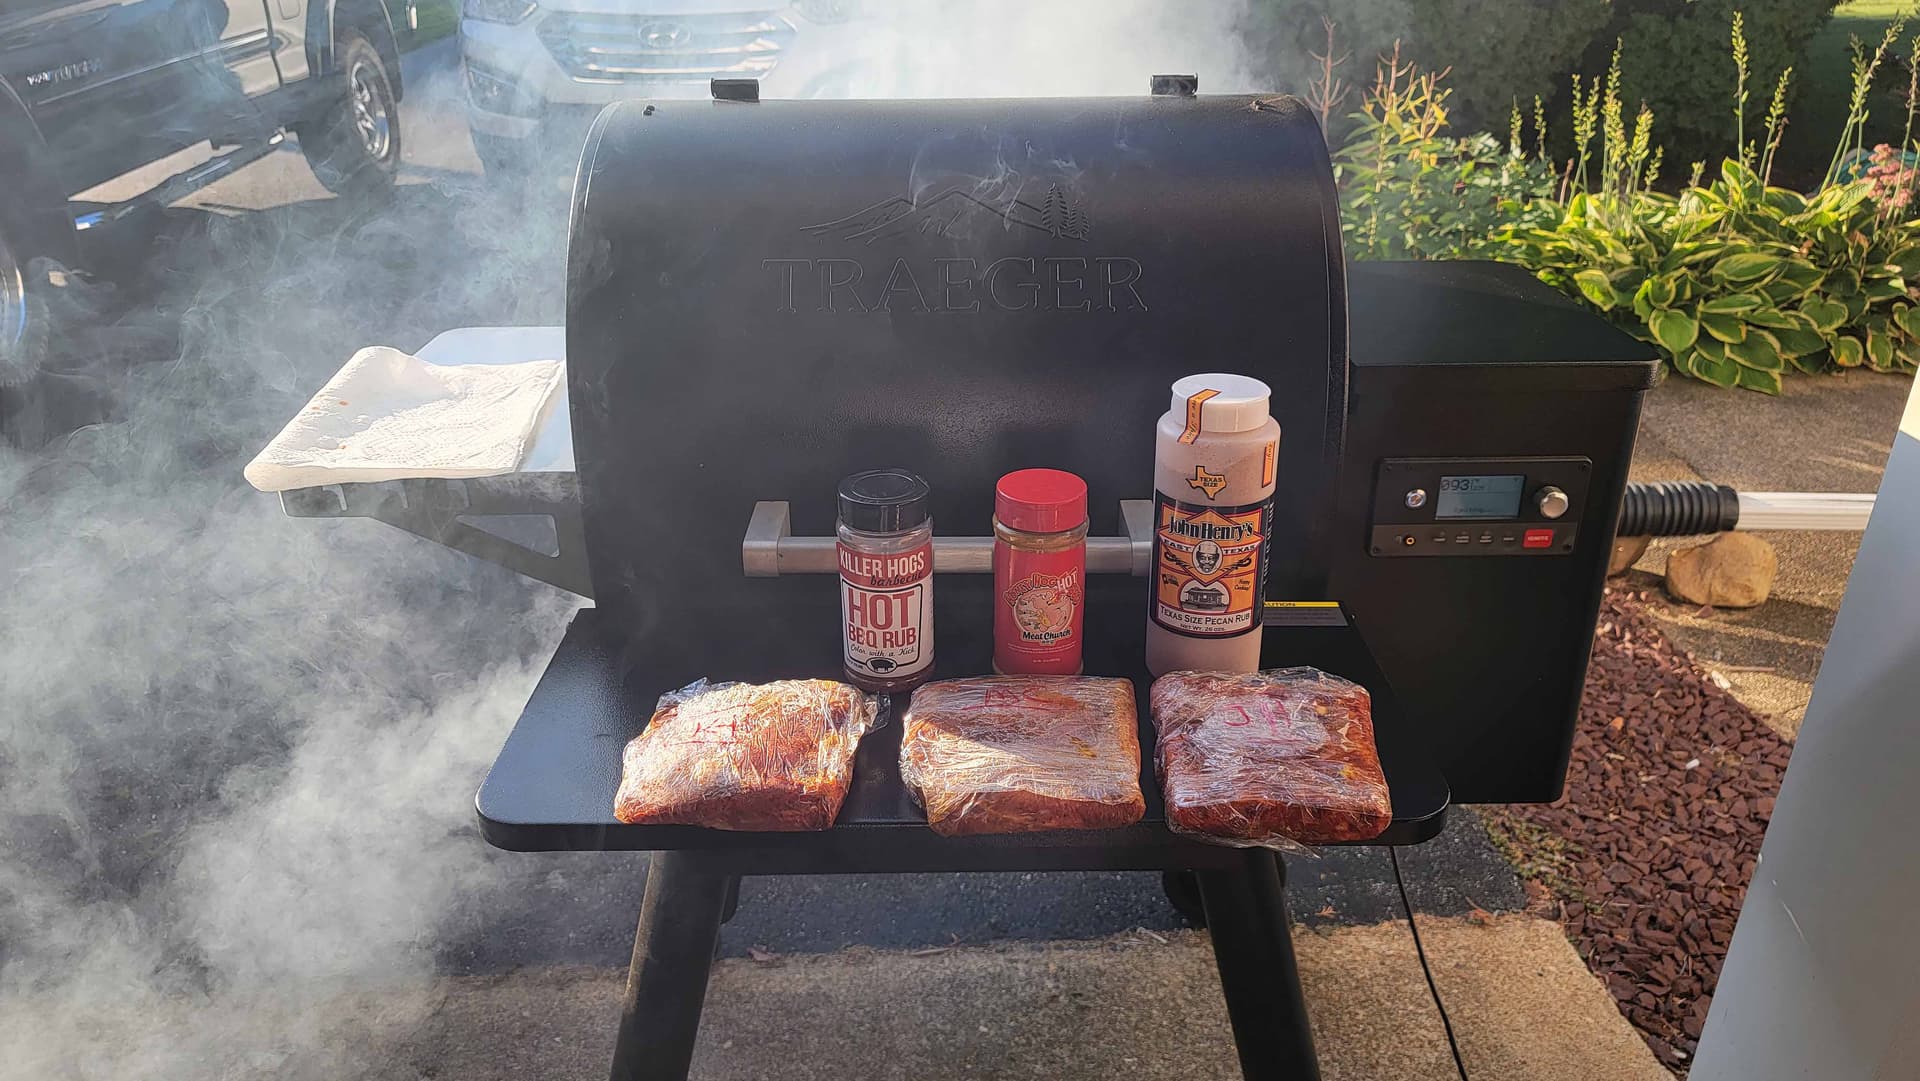
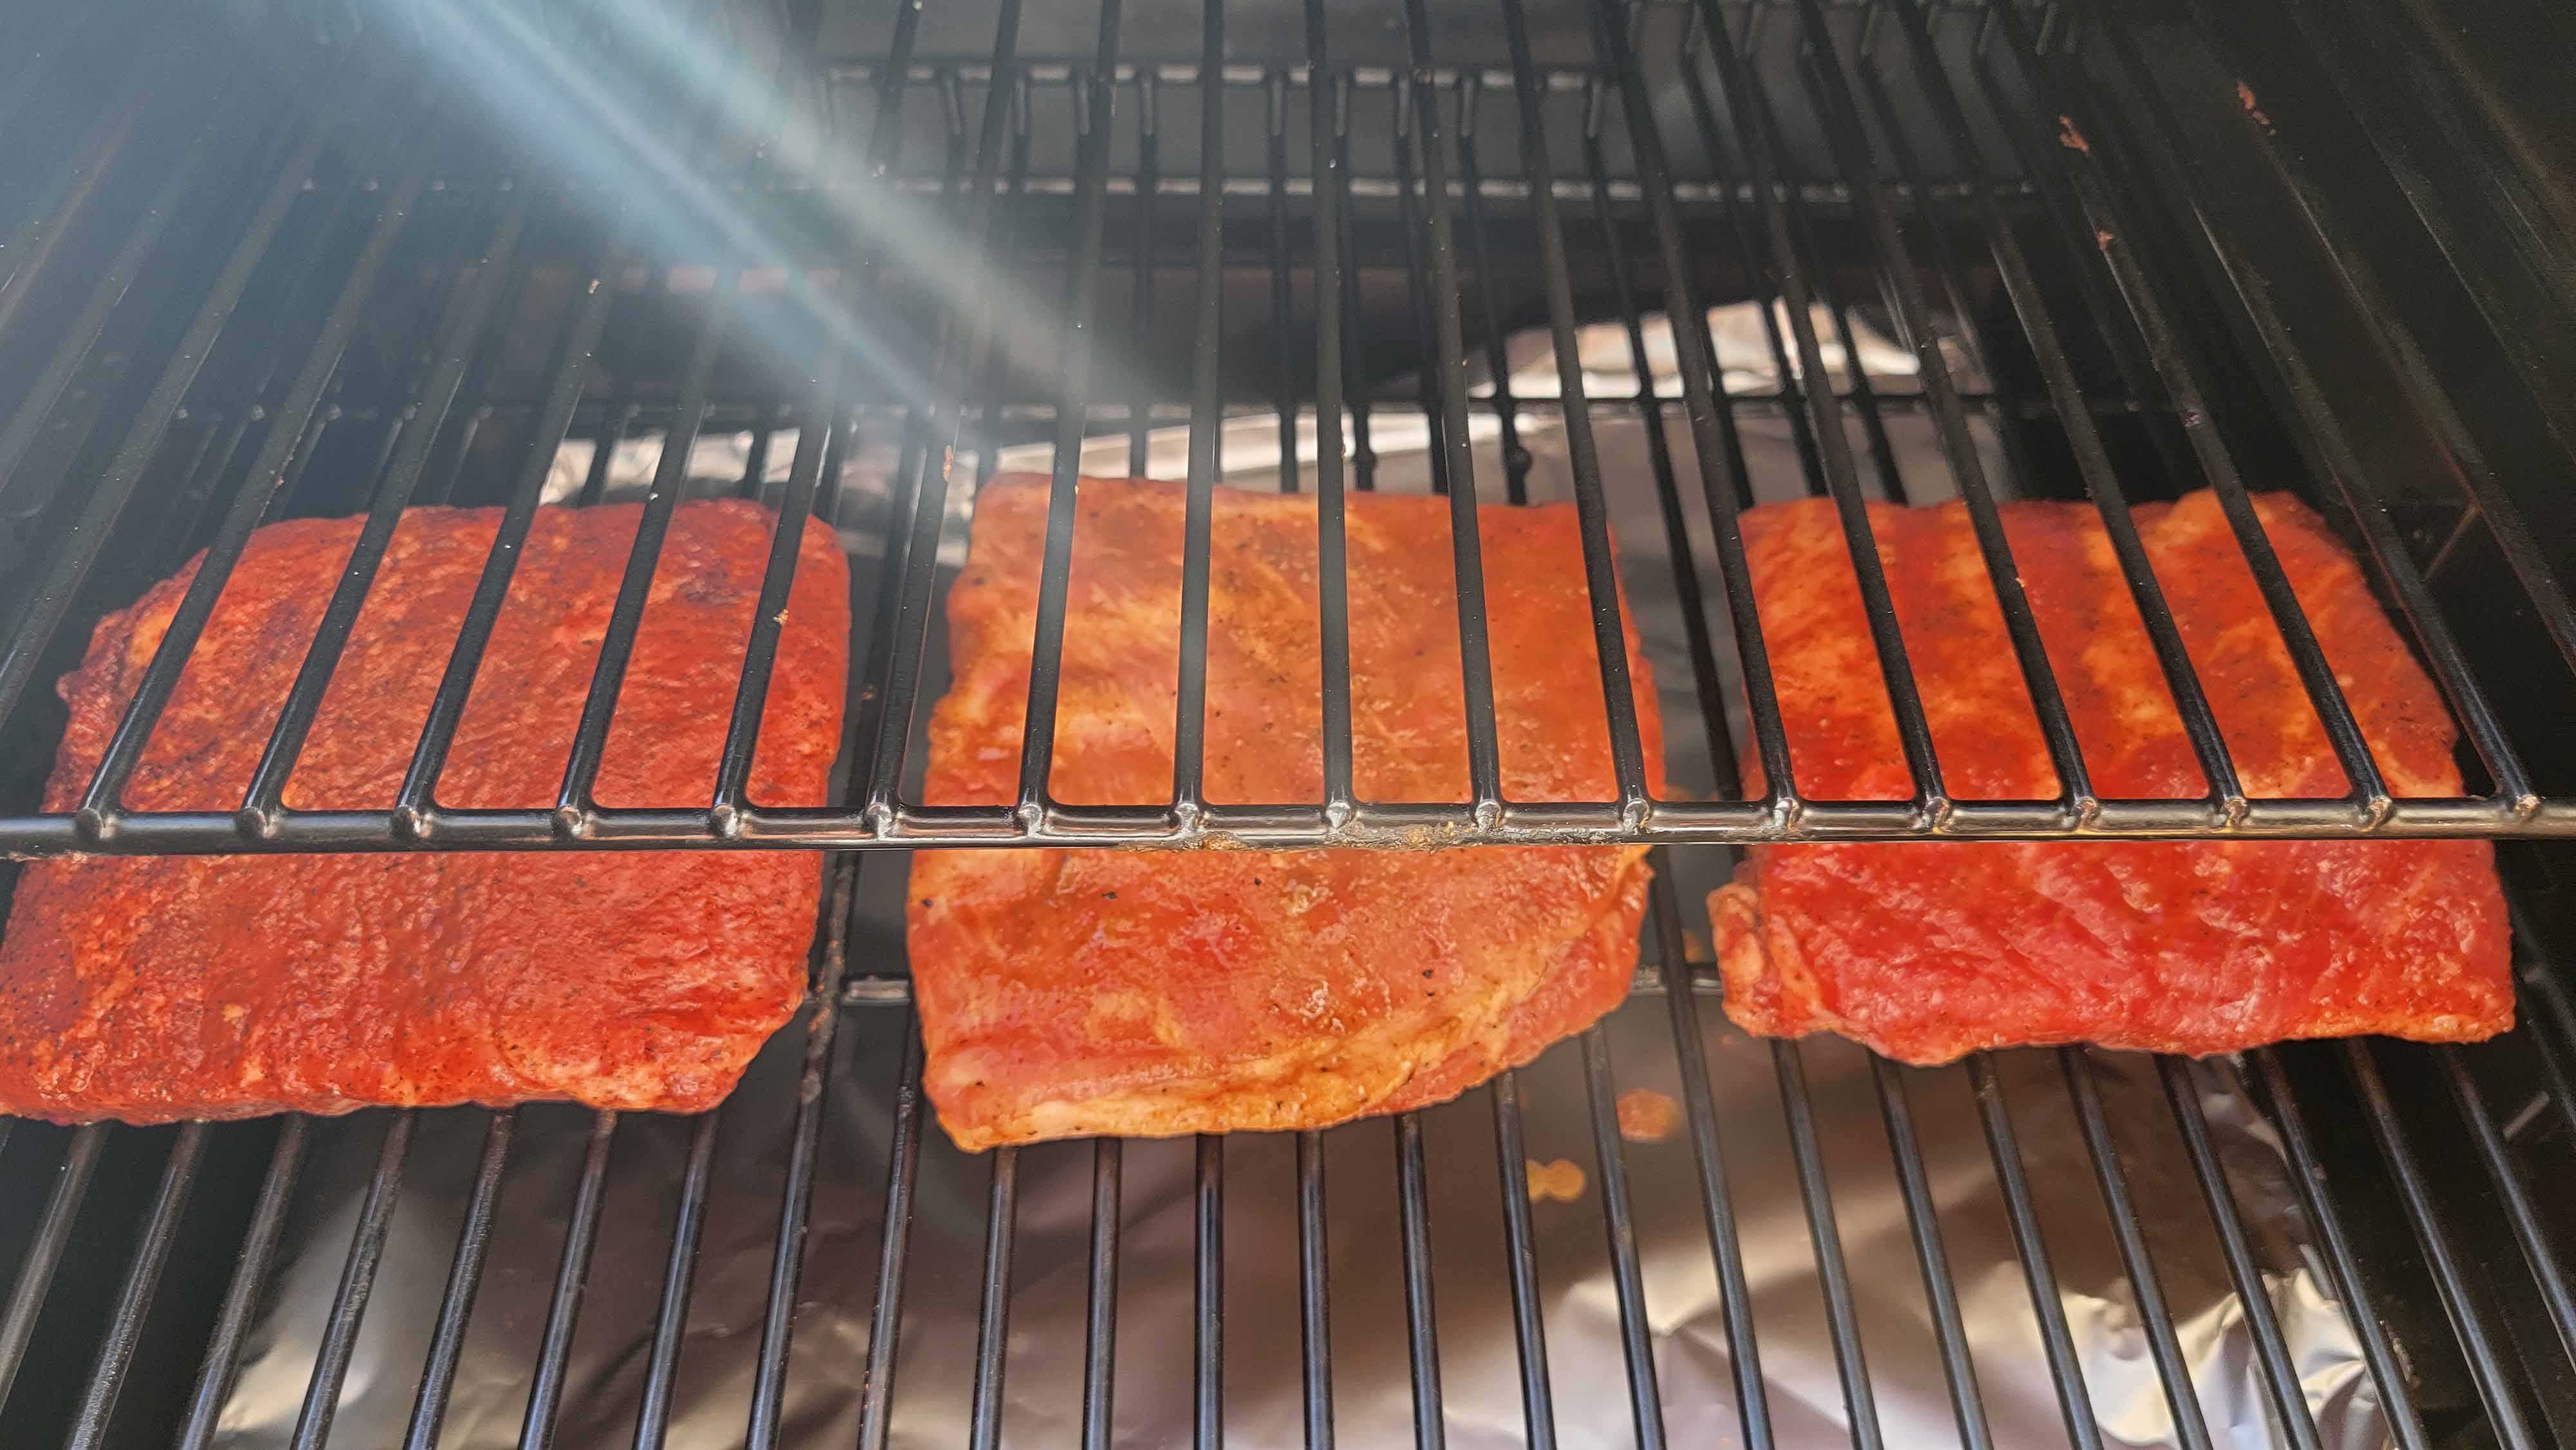
I can’t stop myself, and, am starting to like a few of these commercial rubs. Full hopper of Pecan, 3 testers on deck.
What’s NEXT, Commercial Juice ?? !!!
Ummm, no.
3 Likes
Wanted some chicken this weekend, so I spatchcocked a 6lbs bird. Also I had ordered the Meater Block, which I’ve seen mixed reviews of. Frankly I’ve often found things that get negative reviews to be really good. Example - the GrillEye Pro I have, which has firmware for wifi connectivity. I’ve used it for the past 3-4 years with excellent success. I think what has brought this one so many negative reviews is it isn’t the most user-friendly for configuring the connection, and also heavily reliant on very stable wifi. Fortunately I have that.
Ok, so my first time using the Meater I put a probe into the breast of the chicken. About 2/3 of the probe must be inserted to somewhat insulate it from the high ambient temps of the grill. I did that. The other end is the the ambient sensor. I was getting approx 40F less reading with that probe than the gauge in the grill dome. So I put one of my GrillEye probes in. It practically mirrored the dome gauge. Ok, maybe we have a bad probe…either the GrillEye or Meater. So I placed another Grilleye probe beside the first one, then a Meater Probe in the other breast and both legs. To my disgust (and this thing was expensive) the Meater just sucked out loud.


Probes 1 and 2 are in the breasts. I didn’t set up a cook for probes 3 and 4, but they still read internal and ambient temps. All 4 probes did quite well reading internal temp. It was the ambient which was askew. I’ve ordered a replacement and once it comes in I plan to do a test on a pork shoulder with all 4 probes inserted vertically and in about a 1 inch grid. That should give me a fairly controlled test environment. Will post those results when I do it. But…I ordered this thing last week and got it on Friday. However Amazon is estimating the replacement to be here Nov 8 - 17. Hmmm…maybe that’s how long it takes to get a good one from the manufacturer ![]()
5 Likes
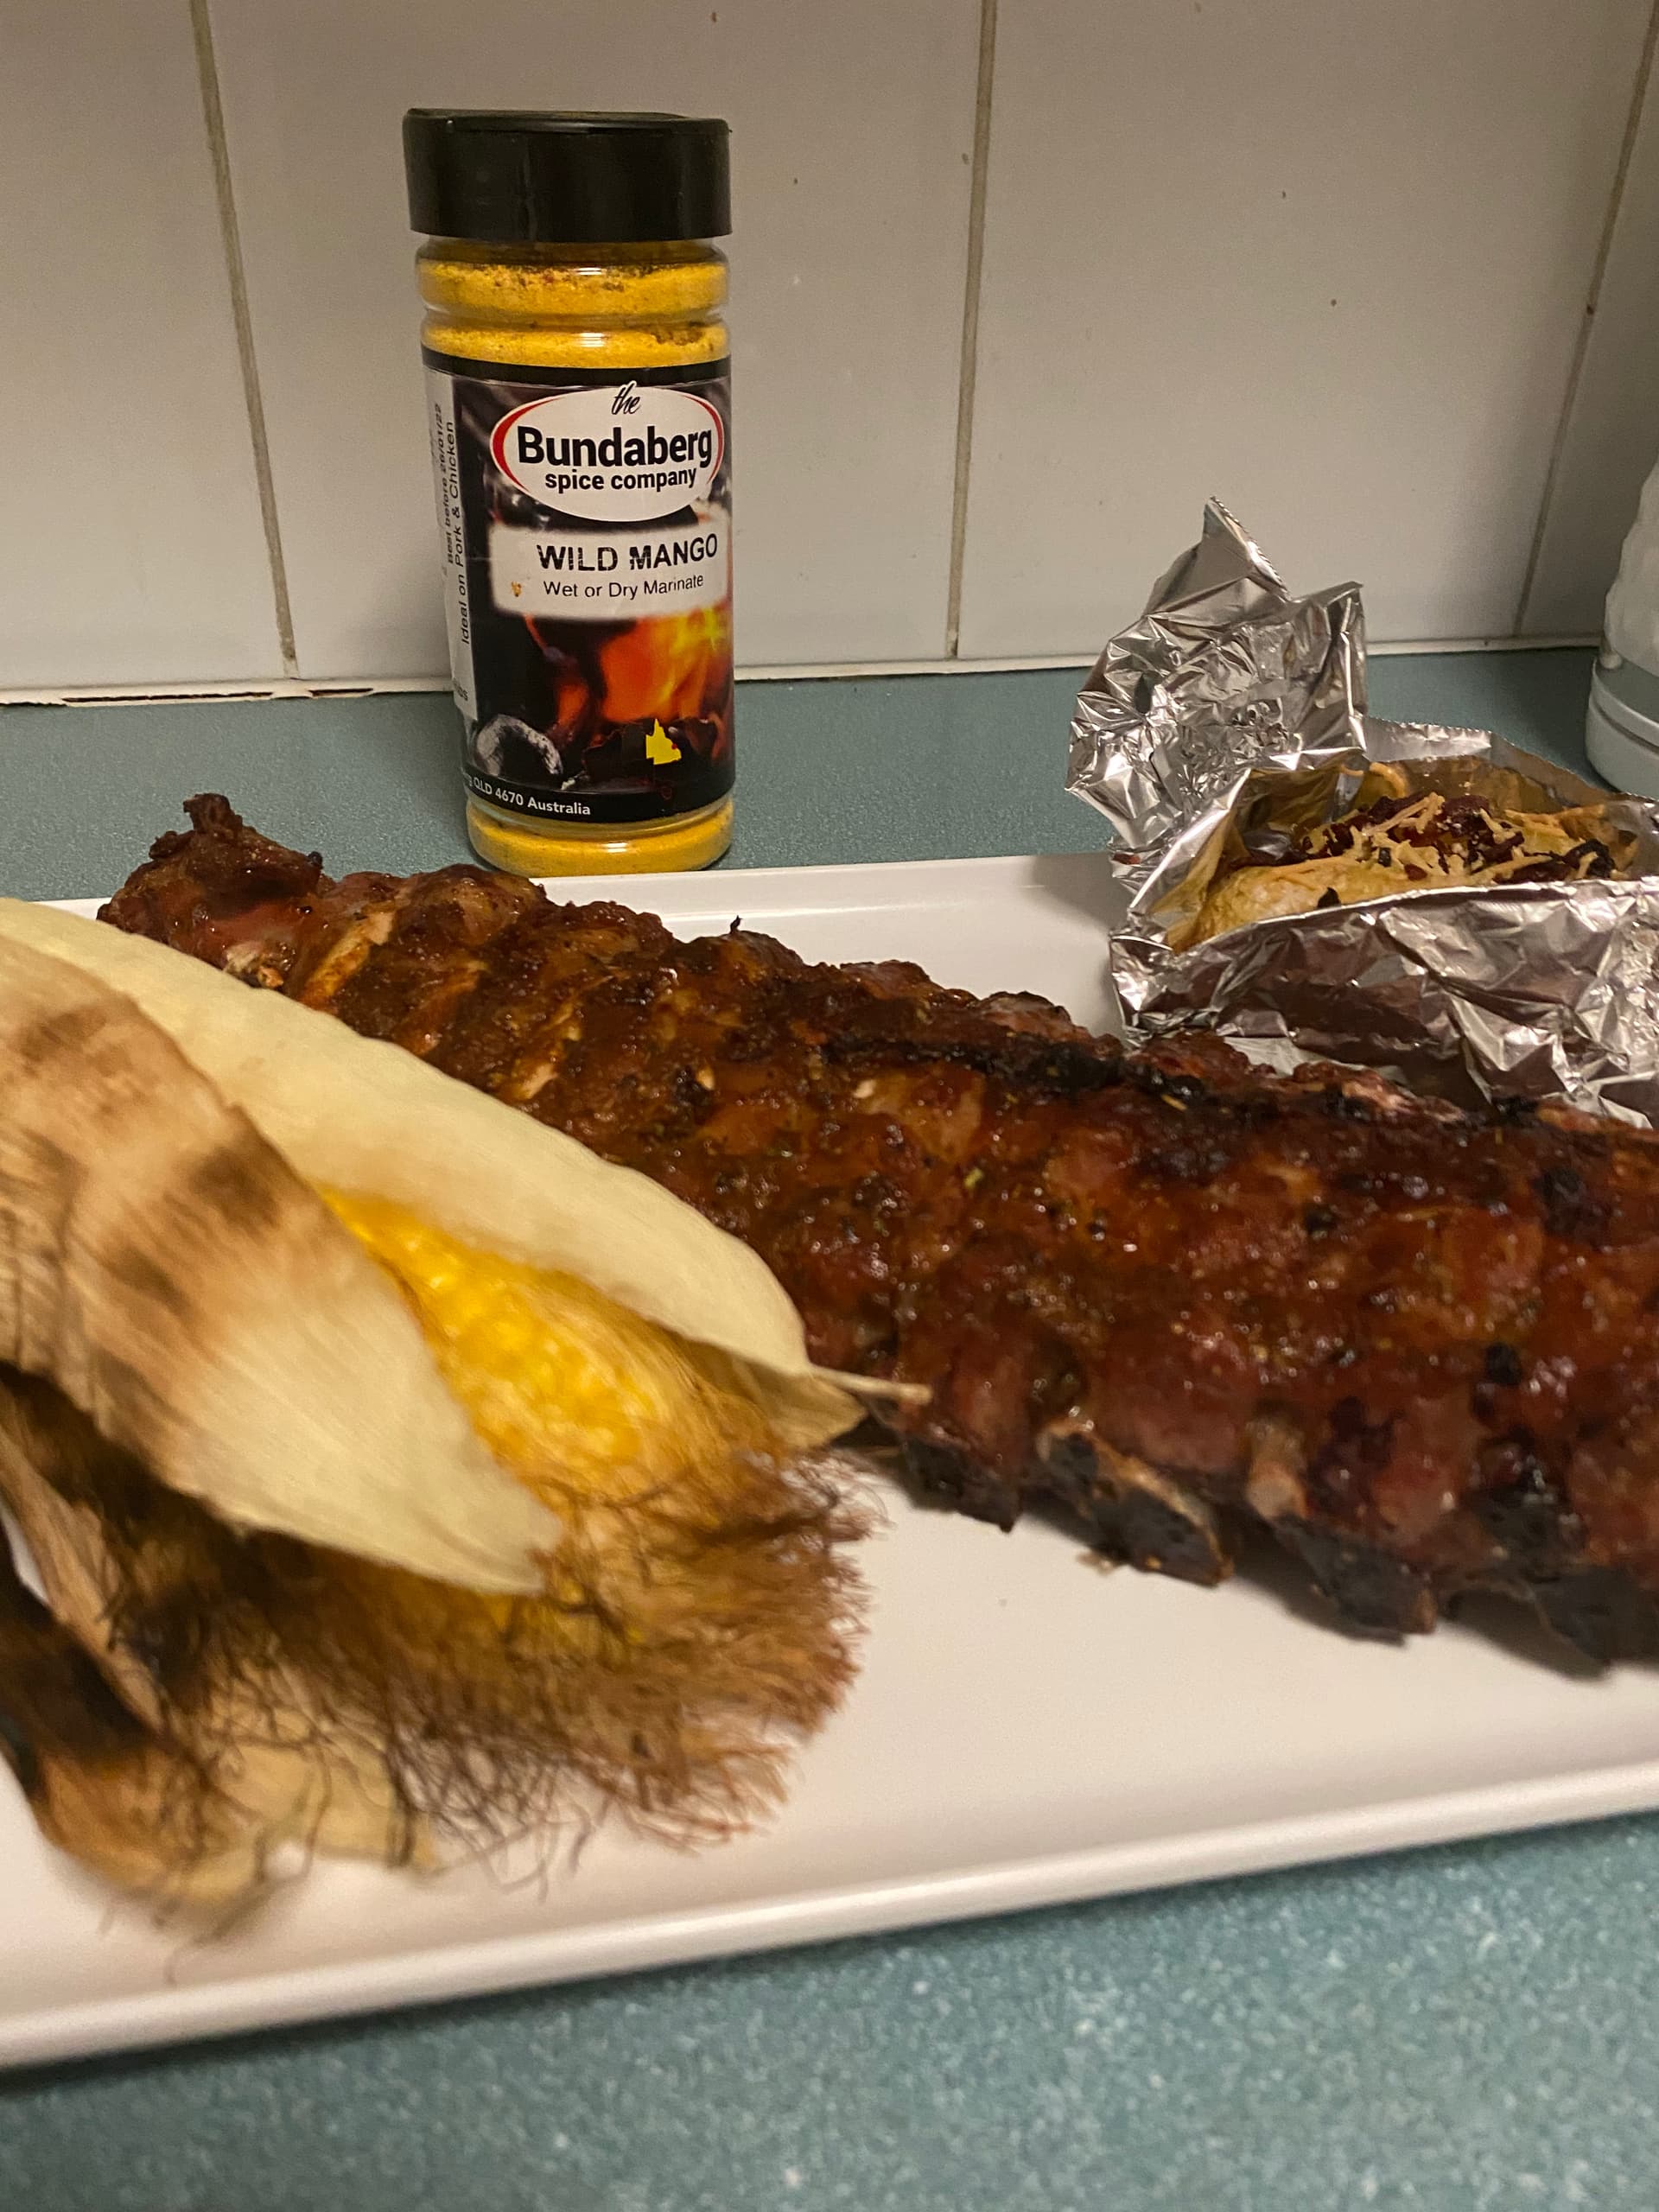
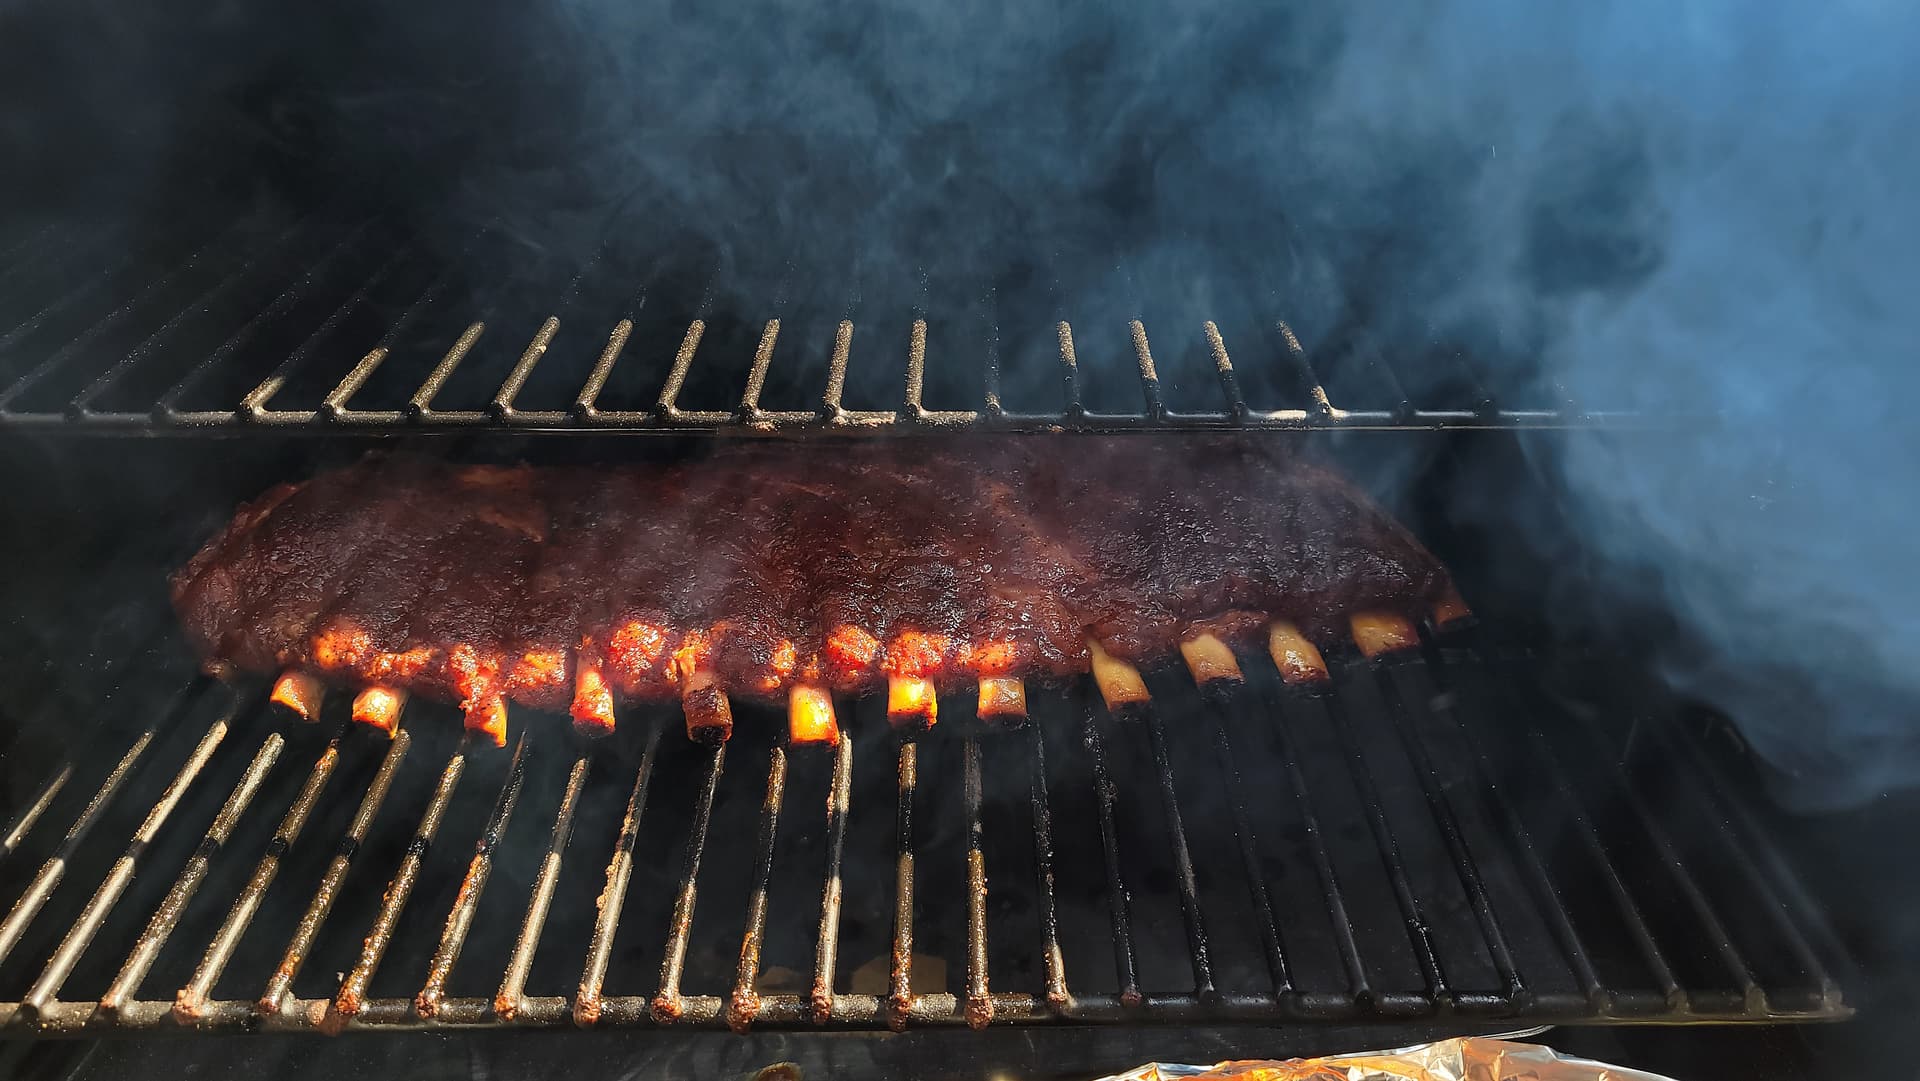
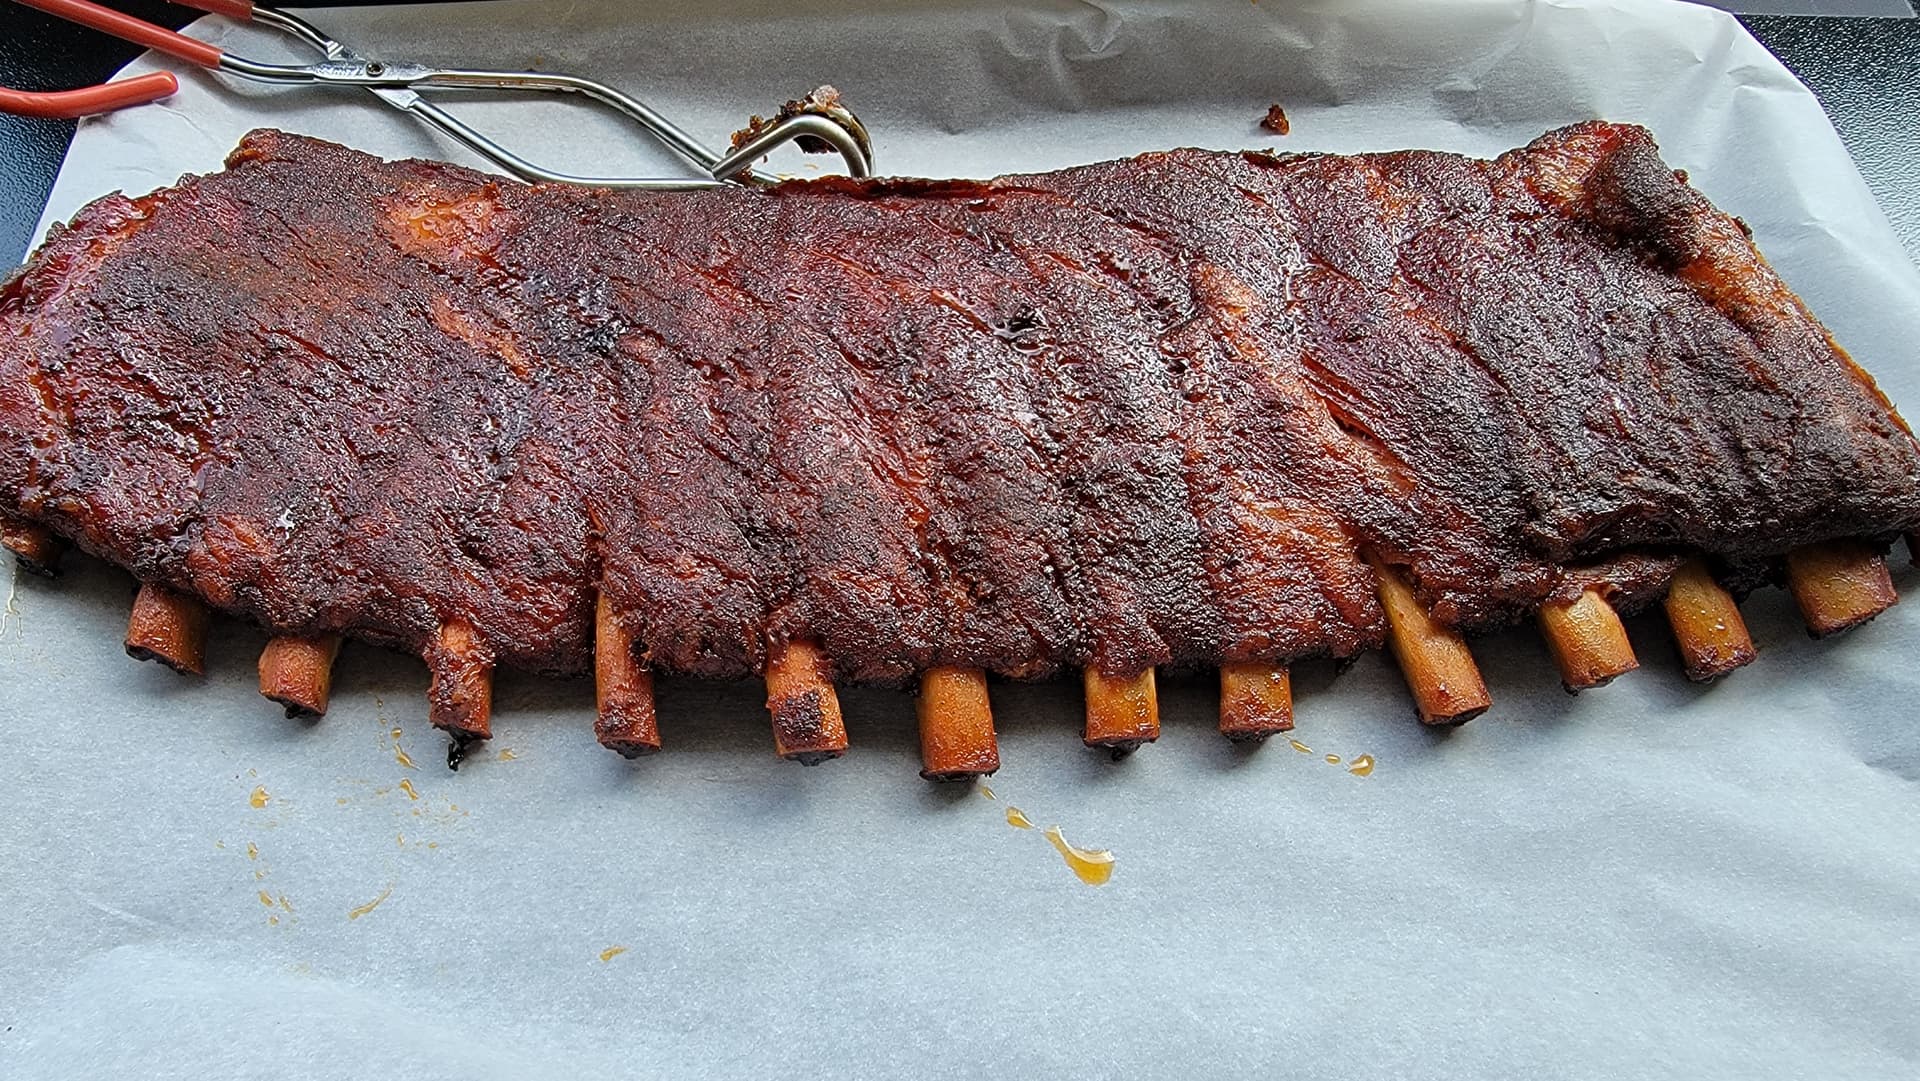
Had to try this mango on the pork ribs, first time I’ve tried it on the barbie. Smells amazing it worked superbly in Apricot Chicken I make quite often.
5 Likes
Wow @marsh8, I never would have thought to try Mango Ribs !!!
4 Likes
Looks good @marsh8 ! Potatoes in the foil?
4 Likes
Damn they were good! Eaten already ![]()
![]()
![]()
There we’re a few other spices added but the mango gave a really nice twang and sweetness.
5 Likes
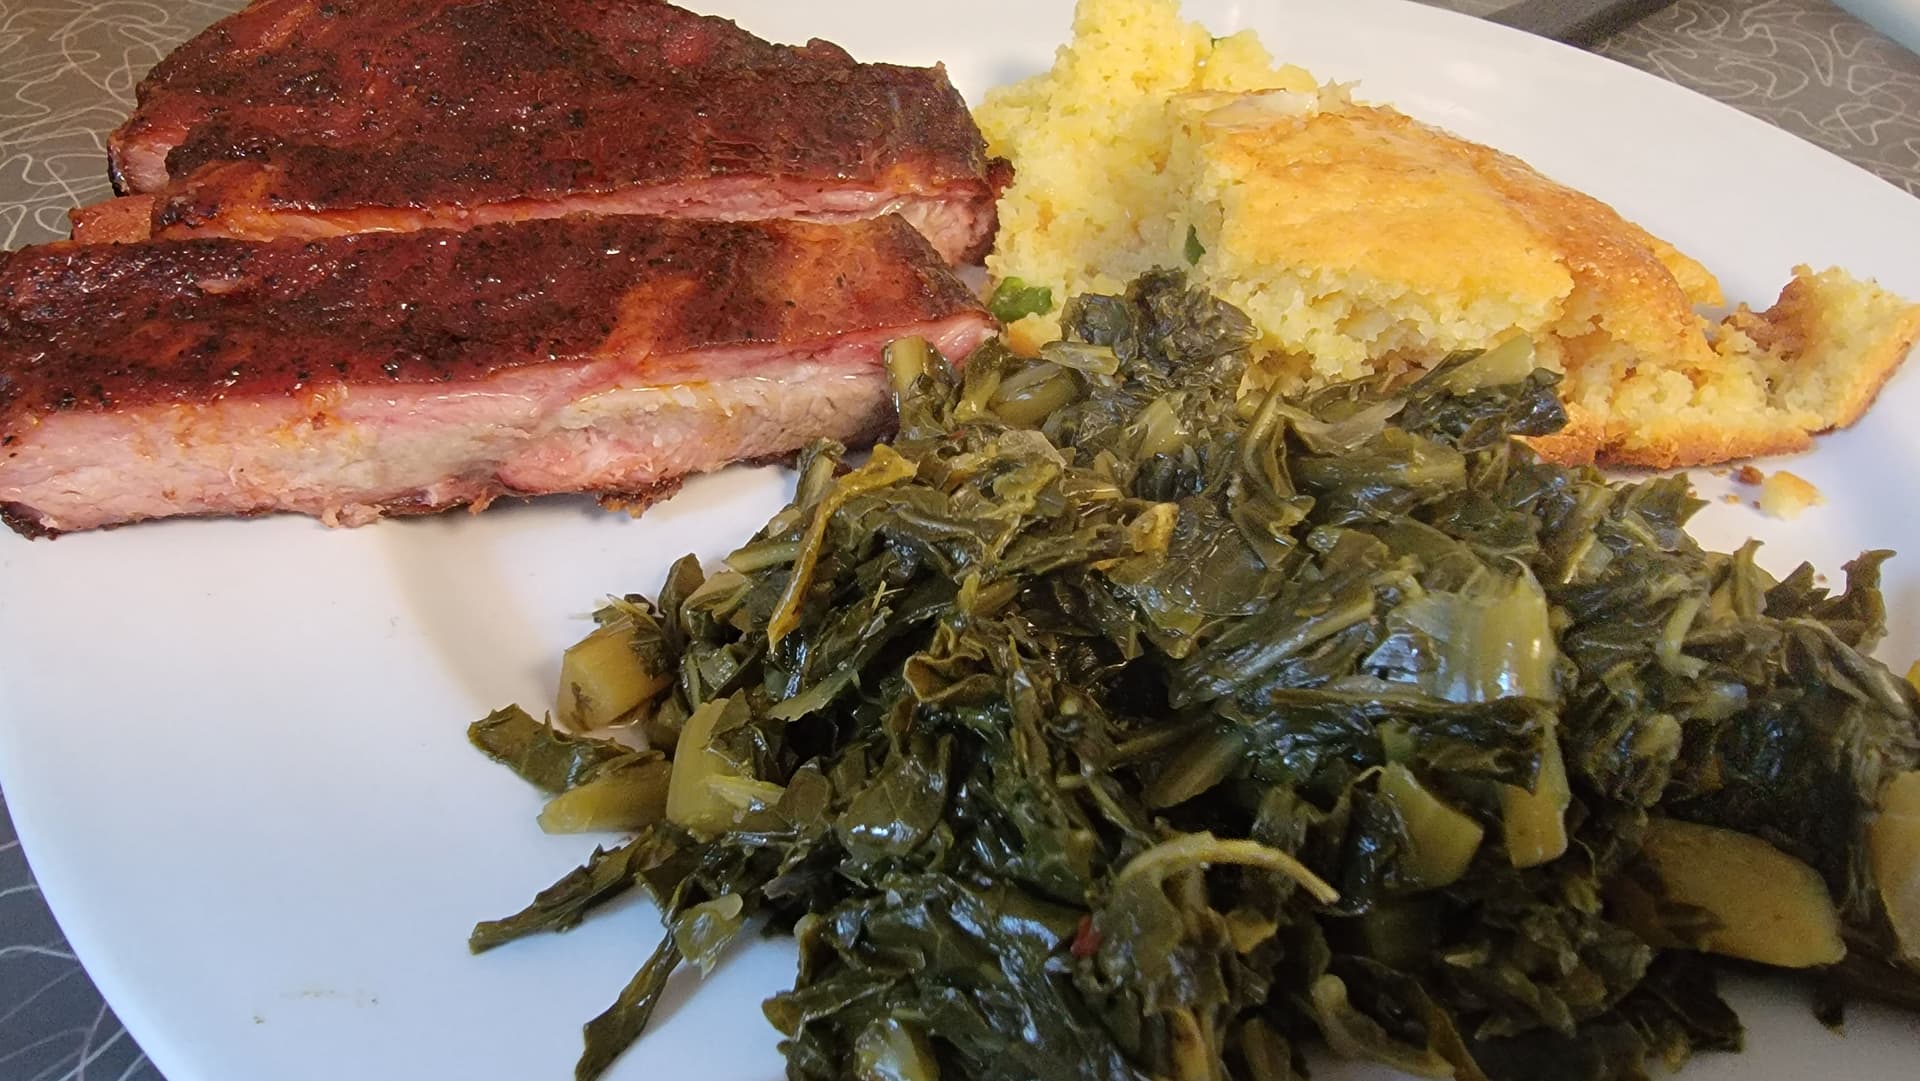
Yeah stuffed with bacon, pepperoni and Parmesan cheese
5 Likes
Ohh my…yum ![]()
4 Likes
Couple of tantalizing new vids.
- If this is wrong, I don’t wanna be right.

- It’s like Lord of The Rings. You know The Ring is a dangerous thing, but you still put it on because it’s an awesome ring with super powers.

5 Likes
Simple Friday night dinner snags on bread but these ain’t your regular sausages.
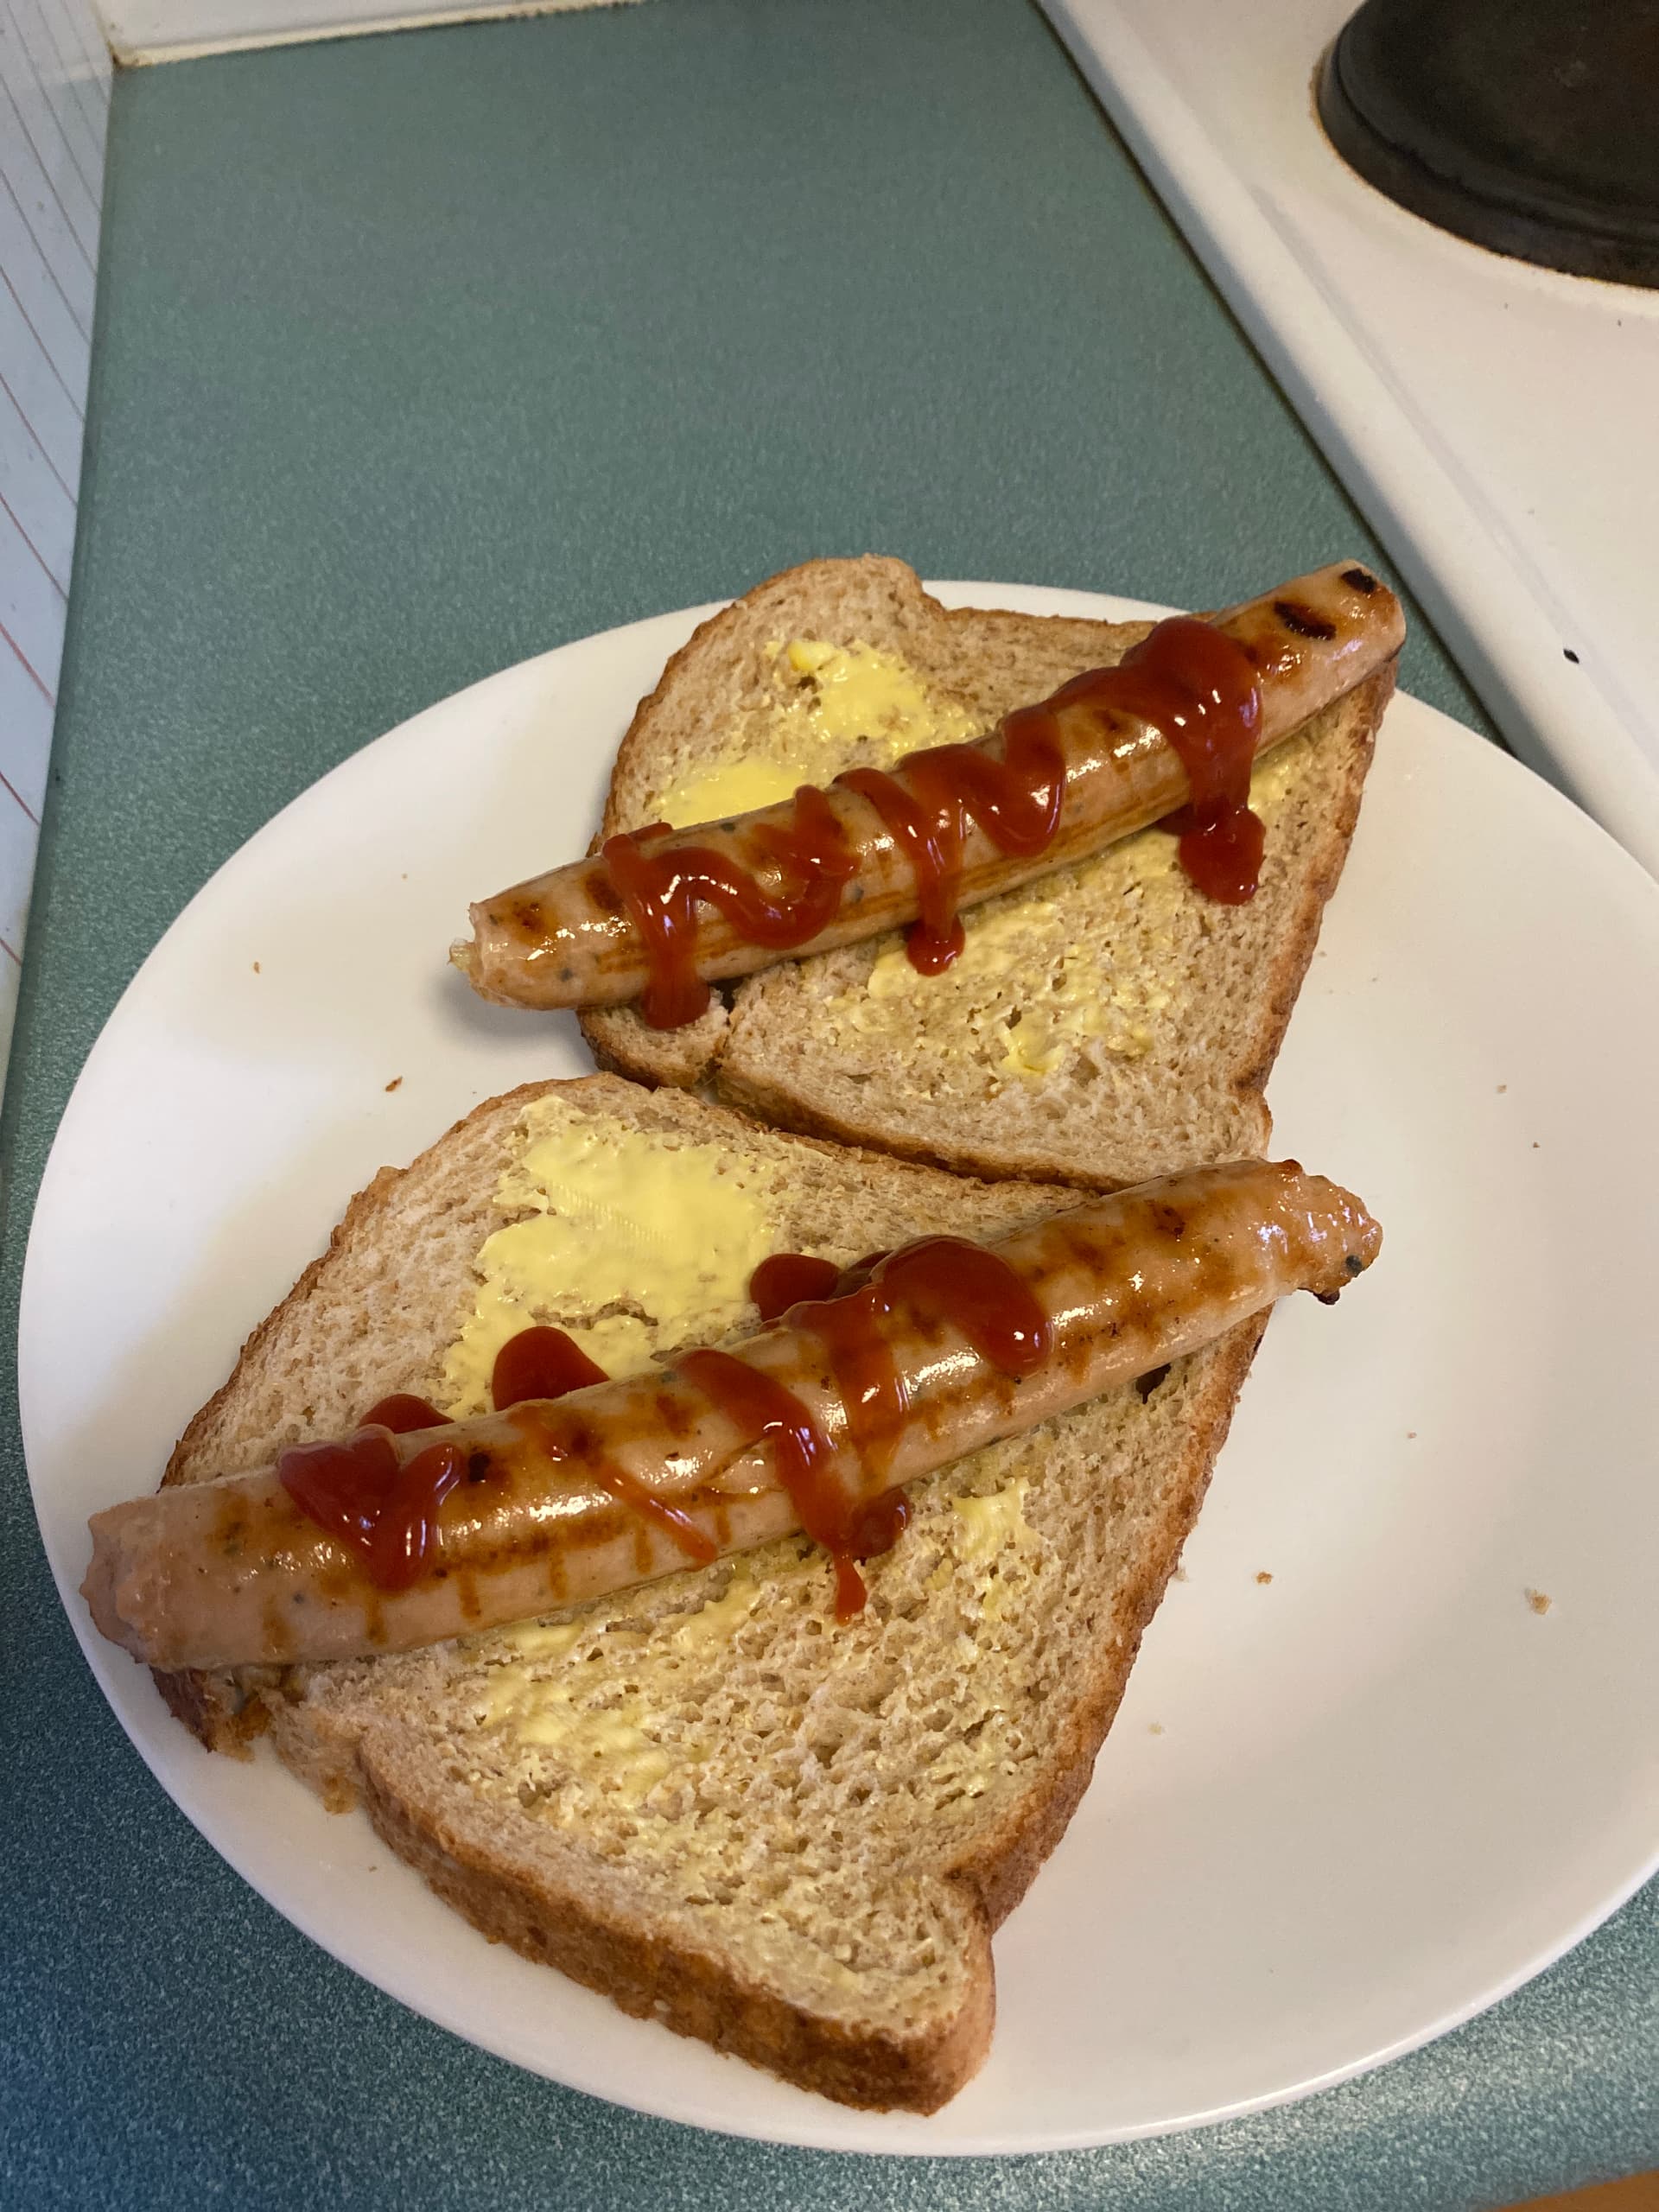
Chicken parmy @woftam they are the shit! ![]()
Butcher was telling me about this lady that bought him out, turns out it was Mum🤣
7 Likes

So how long since you’ve done a brisket?
I’ve done more than I can remember, and trying different things all the time. Sometimes something simple like fat cap up or down, sometimes things a bit more aggressive. I personally feel like the fewer changes you make per cook, the easier it is to nail down what does and doesn’t work. Ok, this past week I didn’t stick to that formula but rather change basically everything. Here goes.
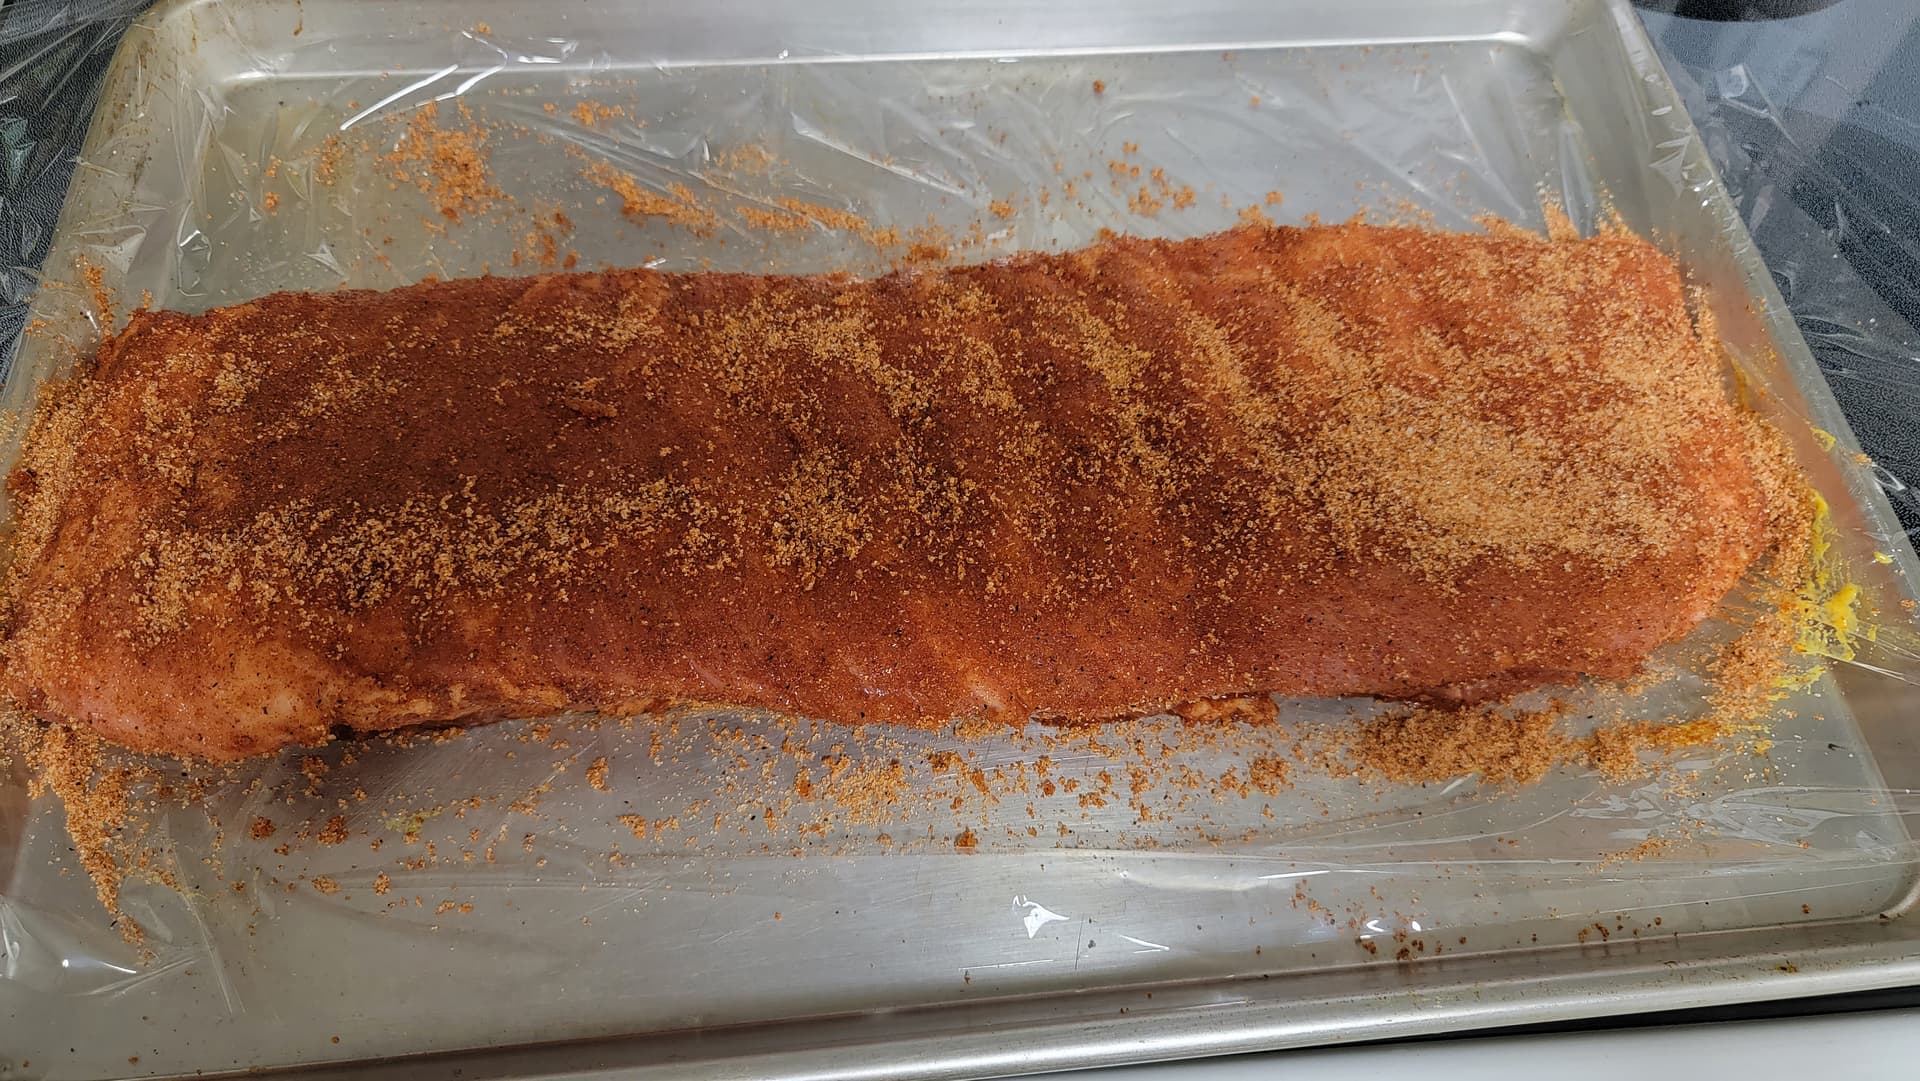
Step 1 - took the brisket from the fridge and trimmed.
Step 2 - injected with KosmoQ brisket injection
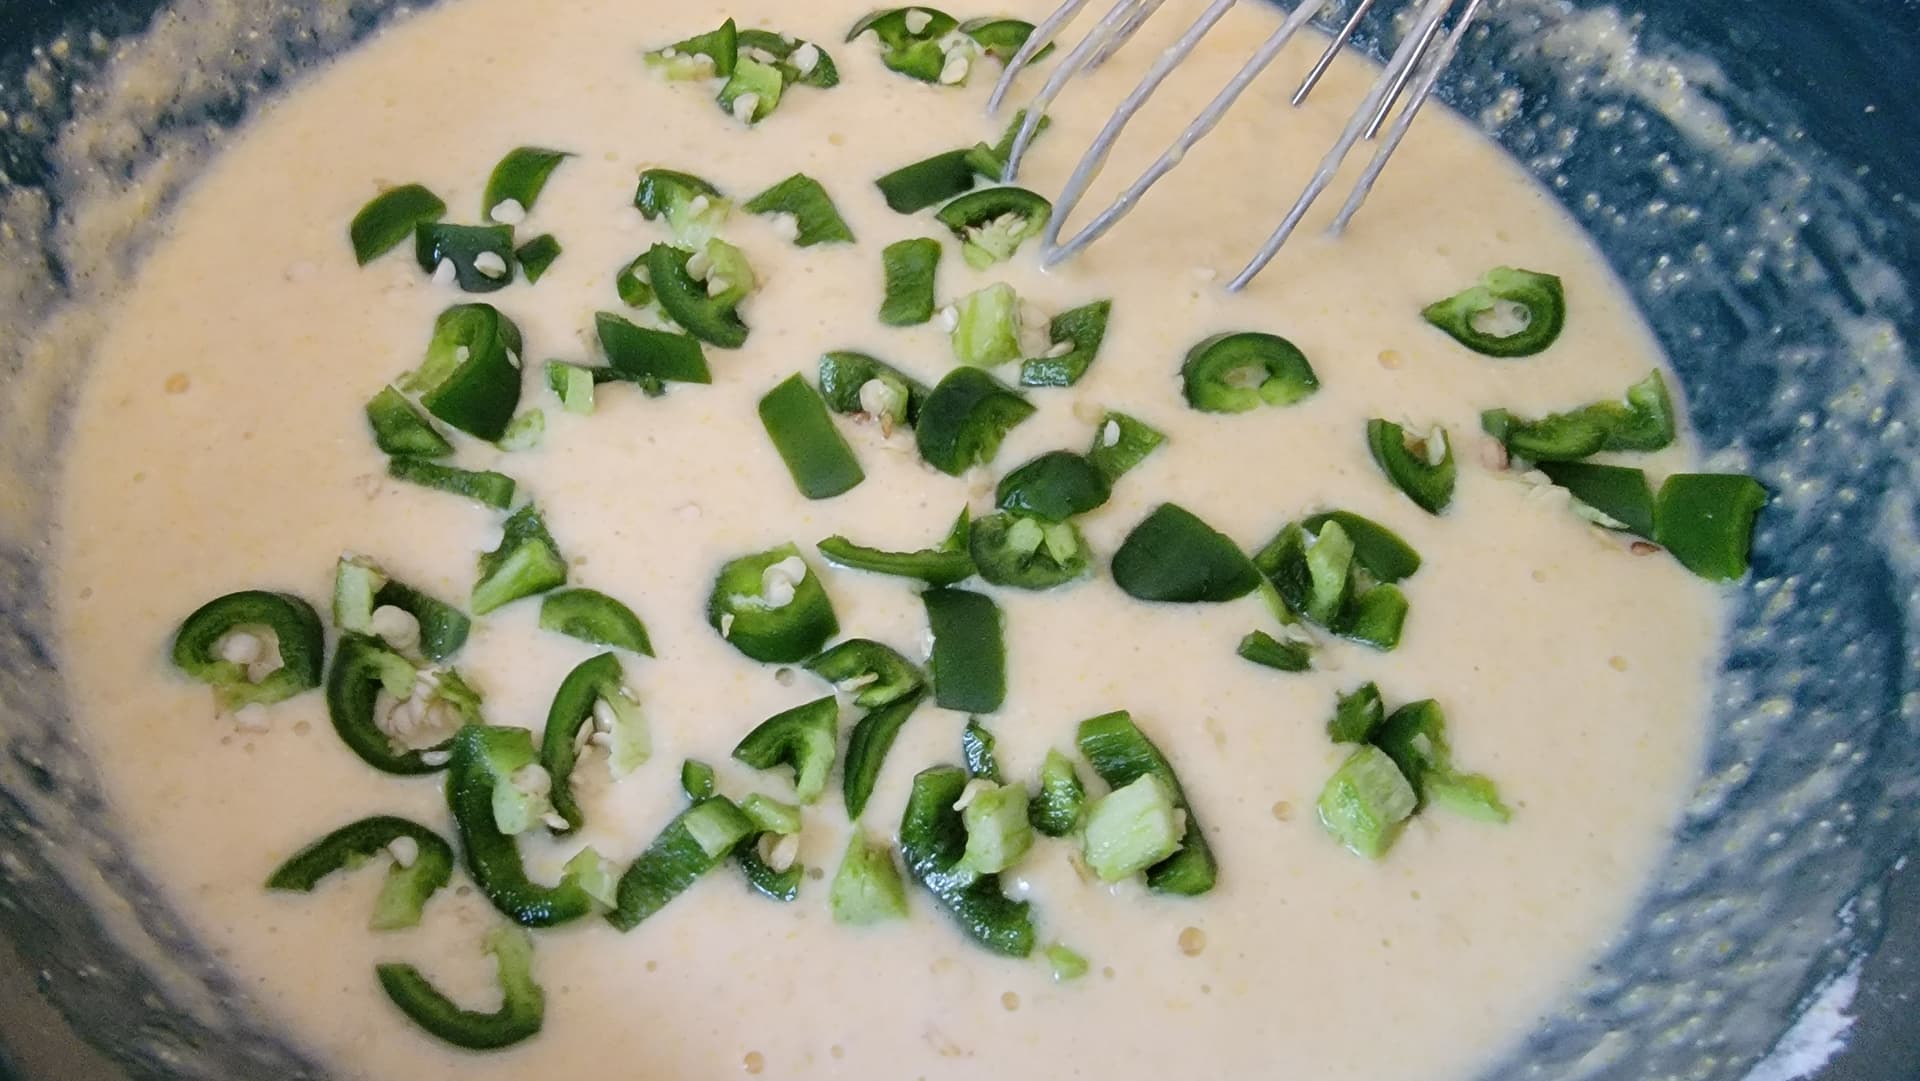
Step 3 - applied rub. Recipe:
8 TBSP COARSE BLACK PEPPER
3 TBSP LAWRY’S SEASONED SALT
3 TBSP KOSHER SALT
1 TBSP GARLIC POWDER
Of course I didn’t use the entire batch of rub, but that’s the recipe.
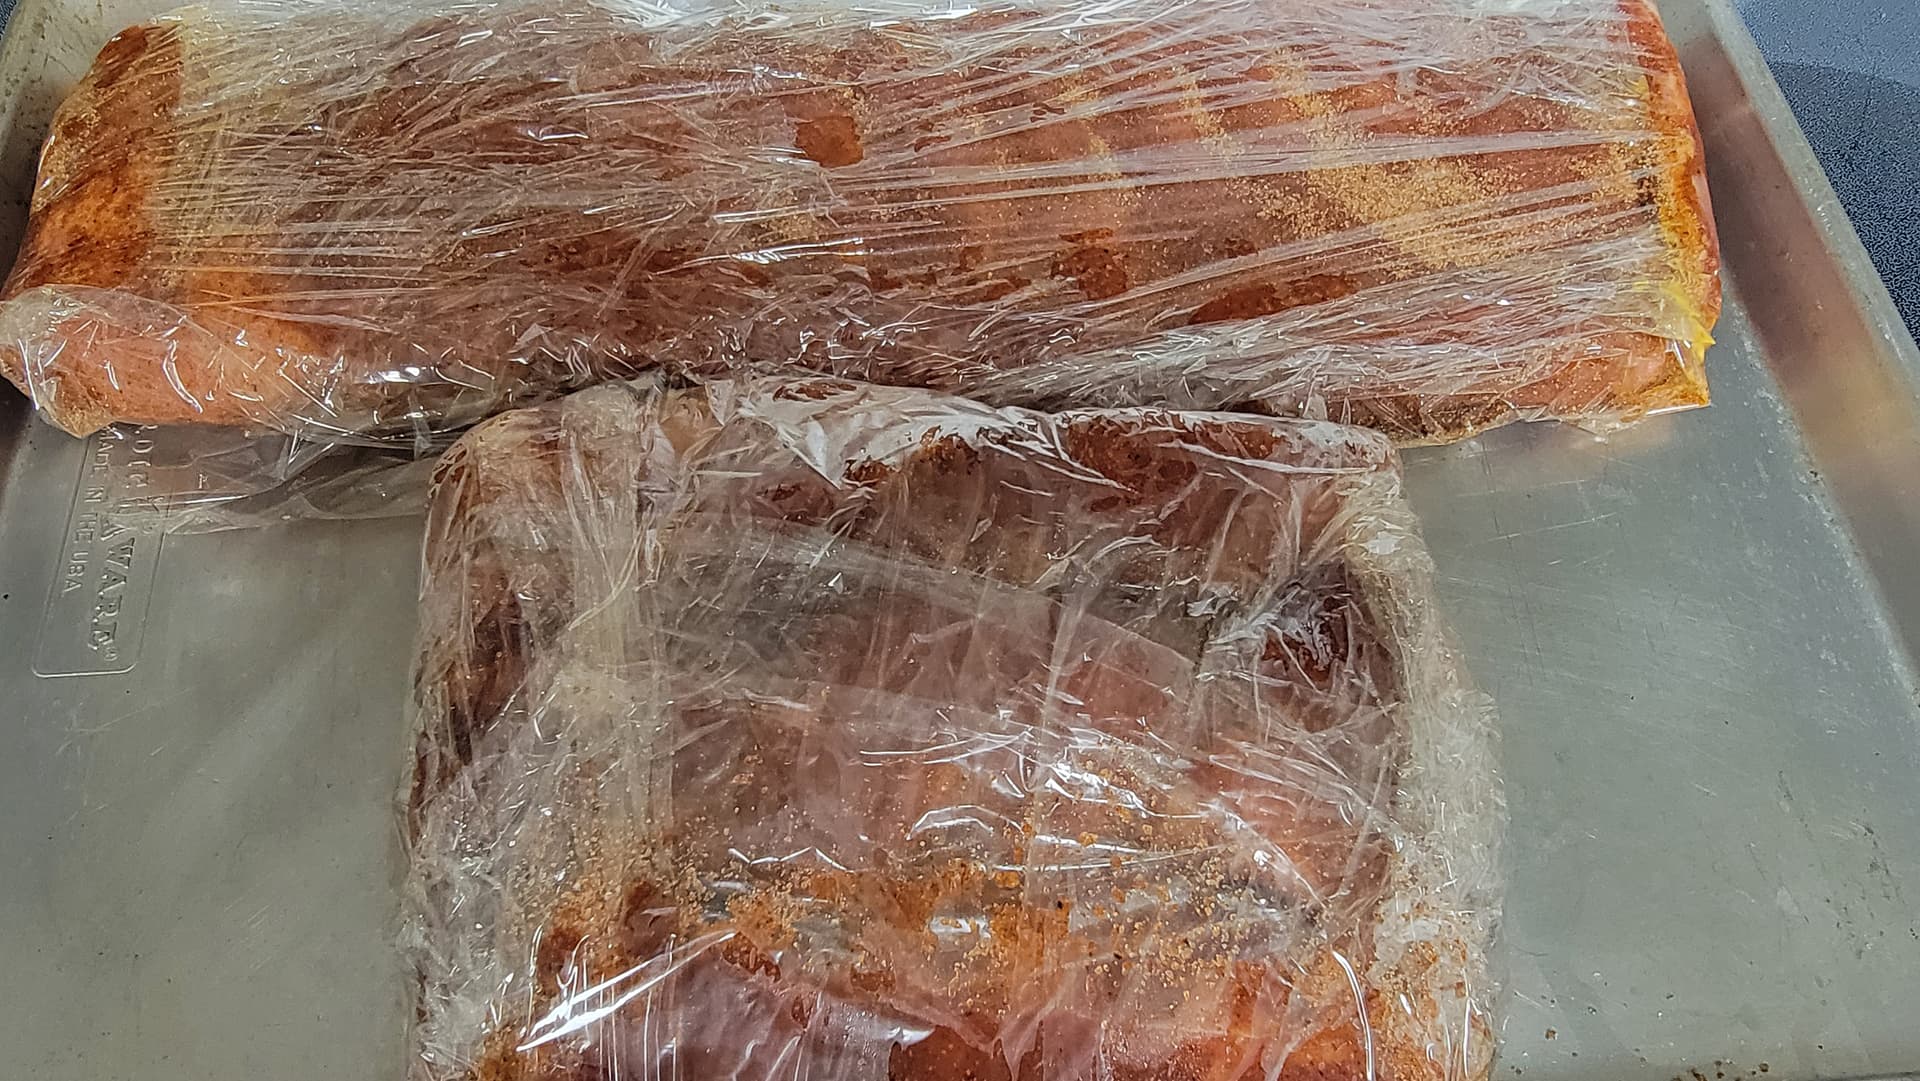
Step 4 - prior to cook, rest on the counter for 6 hours at room temp. After that the internal temp was at 47F when it went onto the smoker.
Step 5 - smoke as usual at around 240F till a good bark was formed. This was approx 8 hrs and internal temp was approx 160F
Step 6 - wrap in butcher paper and finish the cook.
Step 7 - put wrapped brisket into a full aluminum pan to rest at room temperature for 30 minutes
Step 8 - wrap the brisket (still in butcher paper) in plastic wrap tightly
Step 9 - Place into a cooler to rest. Did this for 5 hrs.
What I ended up with was one of the most moist and tender briskets I’ve ever made. Flavor was off the charts good. Sorry - no pix.
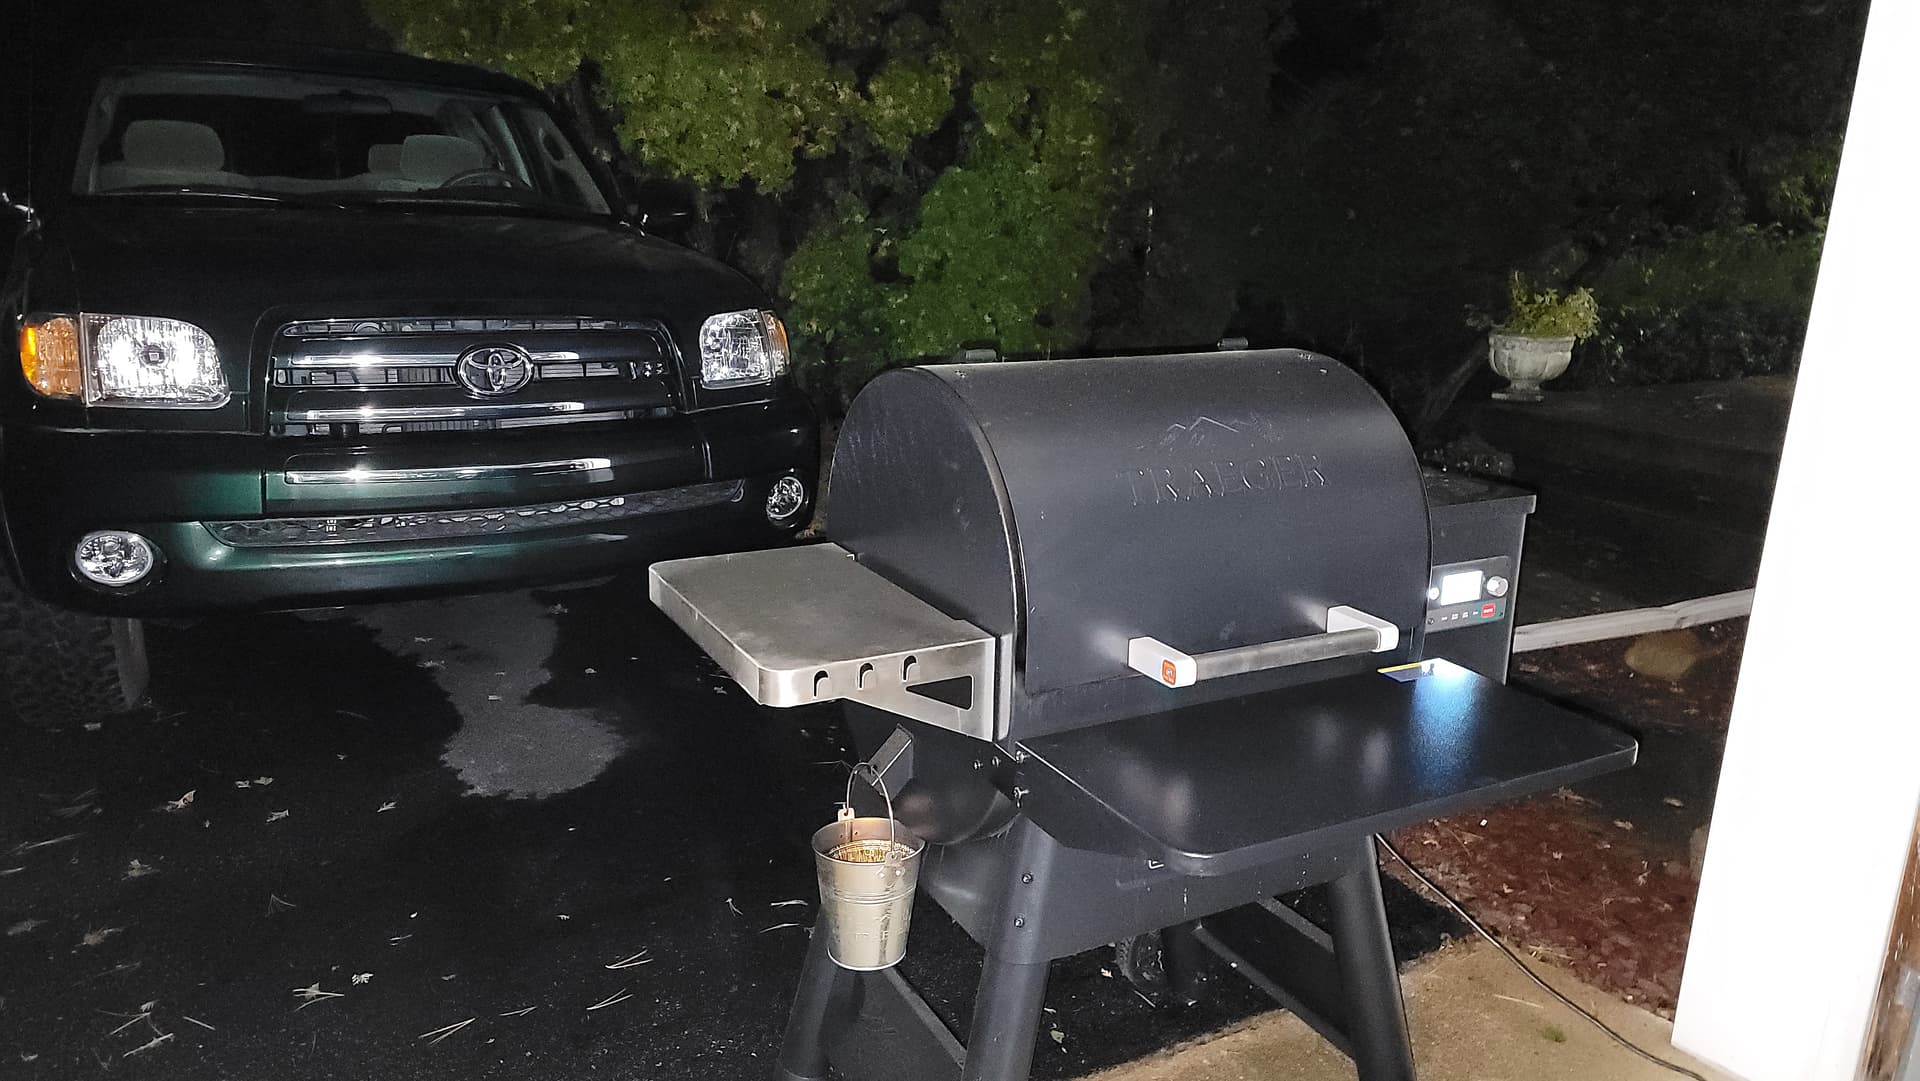
Cooked in my ceramic kamado with Kamado Joe Big Block lump charcoal and Post Oak wood chunks for smoke.
4 Likes
It’s been a while @SthrnMixer. I think I’ll try your rub next time.
3 Likes
Full disclosure - it’s not mine. I got it here…

It’s very brief at 12:29, so you could easily miss it if you’re not paying attention.
As for the other techniques, I took from KosmoQ

I swear man, I think he was drunk when filming this video. But don’t let that dissuade you. Now the one thing I didn’t have for the injection was his Moisture Magic. I might get some of that one day, but honestly it was extremely juicy. The only thing I might incorporate on the next brisket is the use of tallow. I almost always discard my brisket fat trimmings, but last week I saved it. Put it into the freezer then ran it through the grinder attachment on my stand mixer. Back into the freezer till I can get it rendered. Definitely will report the results when I finally use it.
3 Likes
I think I’ve got to try something new as my B’s so far have been ok, but never stellar, so perhaps a change up, might do some good. Thanks for the 411, and the vid Robert.
3 Likes
Plastic Wrap, hehe, OK, I see. End to end.
2 Likes