First things FIRST. A while back, @SmokyBlue, and @David_SXmini conspired to get my hands on (at the time) the new SXmini SX Nano. SB raved about it’s auto-pump (auto-squonk), and I wasn’t sure what to think of it. Having shifted some of the hoard around, the box went MISSING, … until NOW. Thanks again out to Smoky, and David for the opportunity. Although nothing was specified, let’s just say, ALL equipment was provided for review and analysis.
David went ALL out on shipping this equipment, and sent two SX Nanos, and boxes of Disks, and coils, JUST in case I blew something up (and I tried !!!).
Description:
Powered by a 900mAh built-in battery and the YIHI ESS (Electronic Spray Sqonk) Driver Technology, the SXmini SX Nano supports the auto bottom-feeding (auto squonking) system and is easily controlled by the YiHi SX681J chipset.
Specifications:
- Powered by the YiHi SX681J
- ESS Driver (Electronic Spray System)
- Battery capacity: 900mAh
- Reservoir capacity: 2ML
- Reservoir material: PETG
- Max Charge: 5V/1A
- ~60 min to full charge
- Quiescent Current <3 uA
- ADA mode supported coils: SX ADA v2 0.6Ω
- Device size: 87.43917.9mm
Features:
- Automatic fast and precise E Liquid injection technology.
- Dry hit protection.
- Auto or manual E Liquid draw.
- E liquid and element separation to stop juice getting warm.
- Leak proof reservoir.
- Auto boost feed for longer hits.
- Fresh coil priming timer.
- 3 Taste pre-sets.
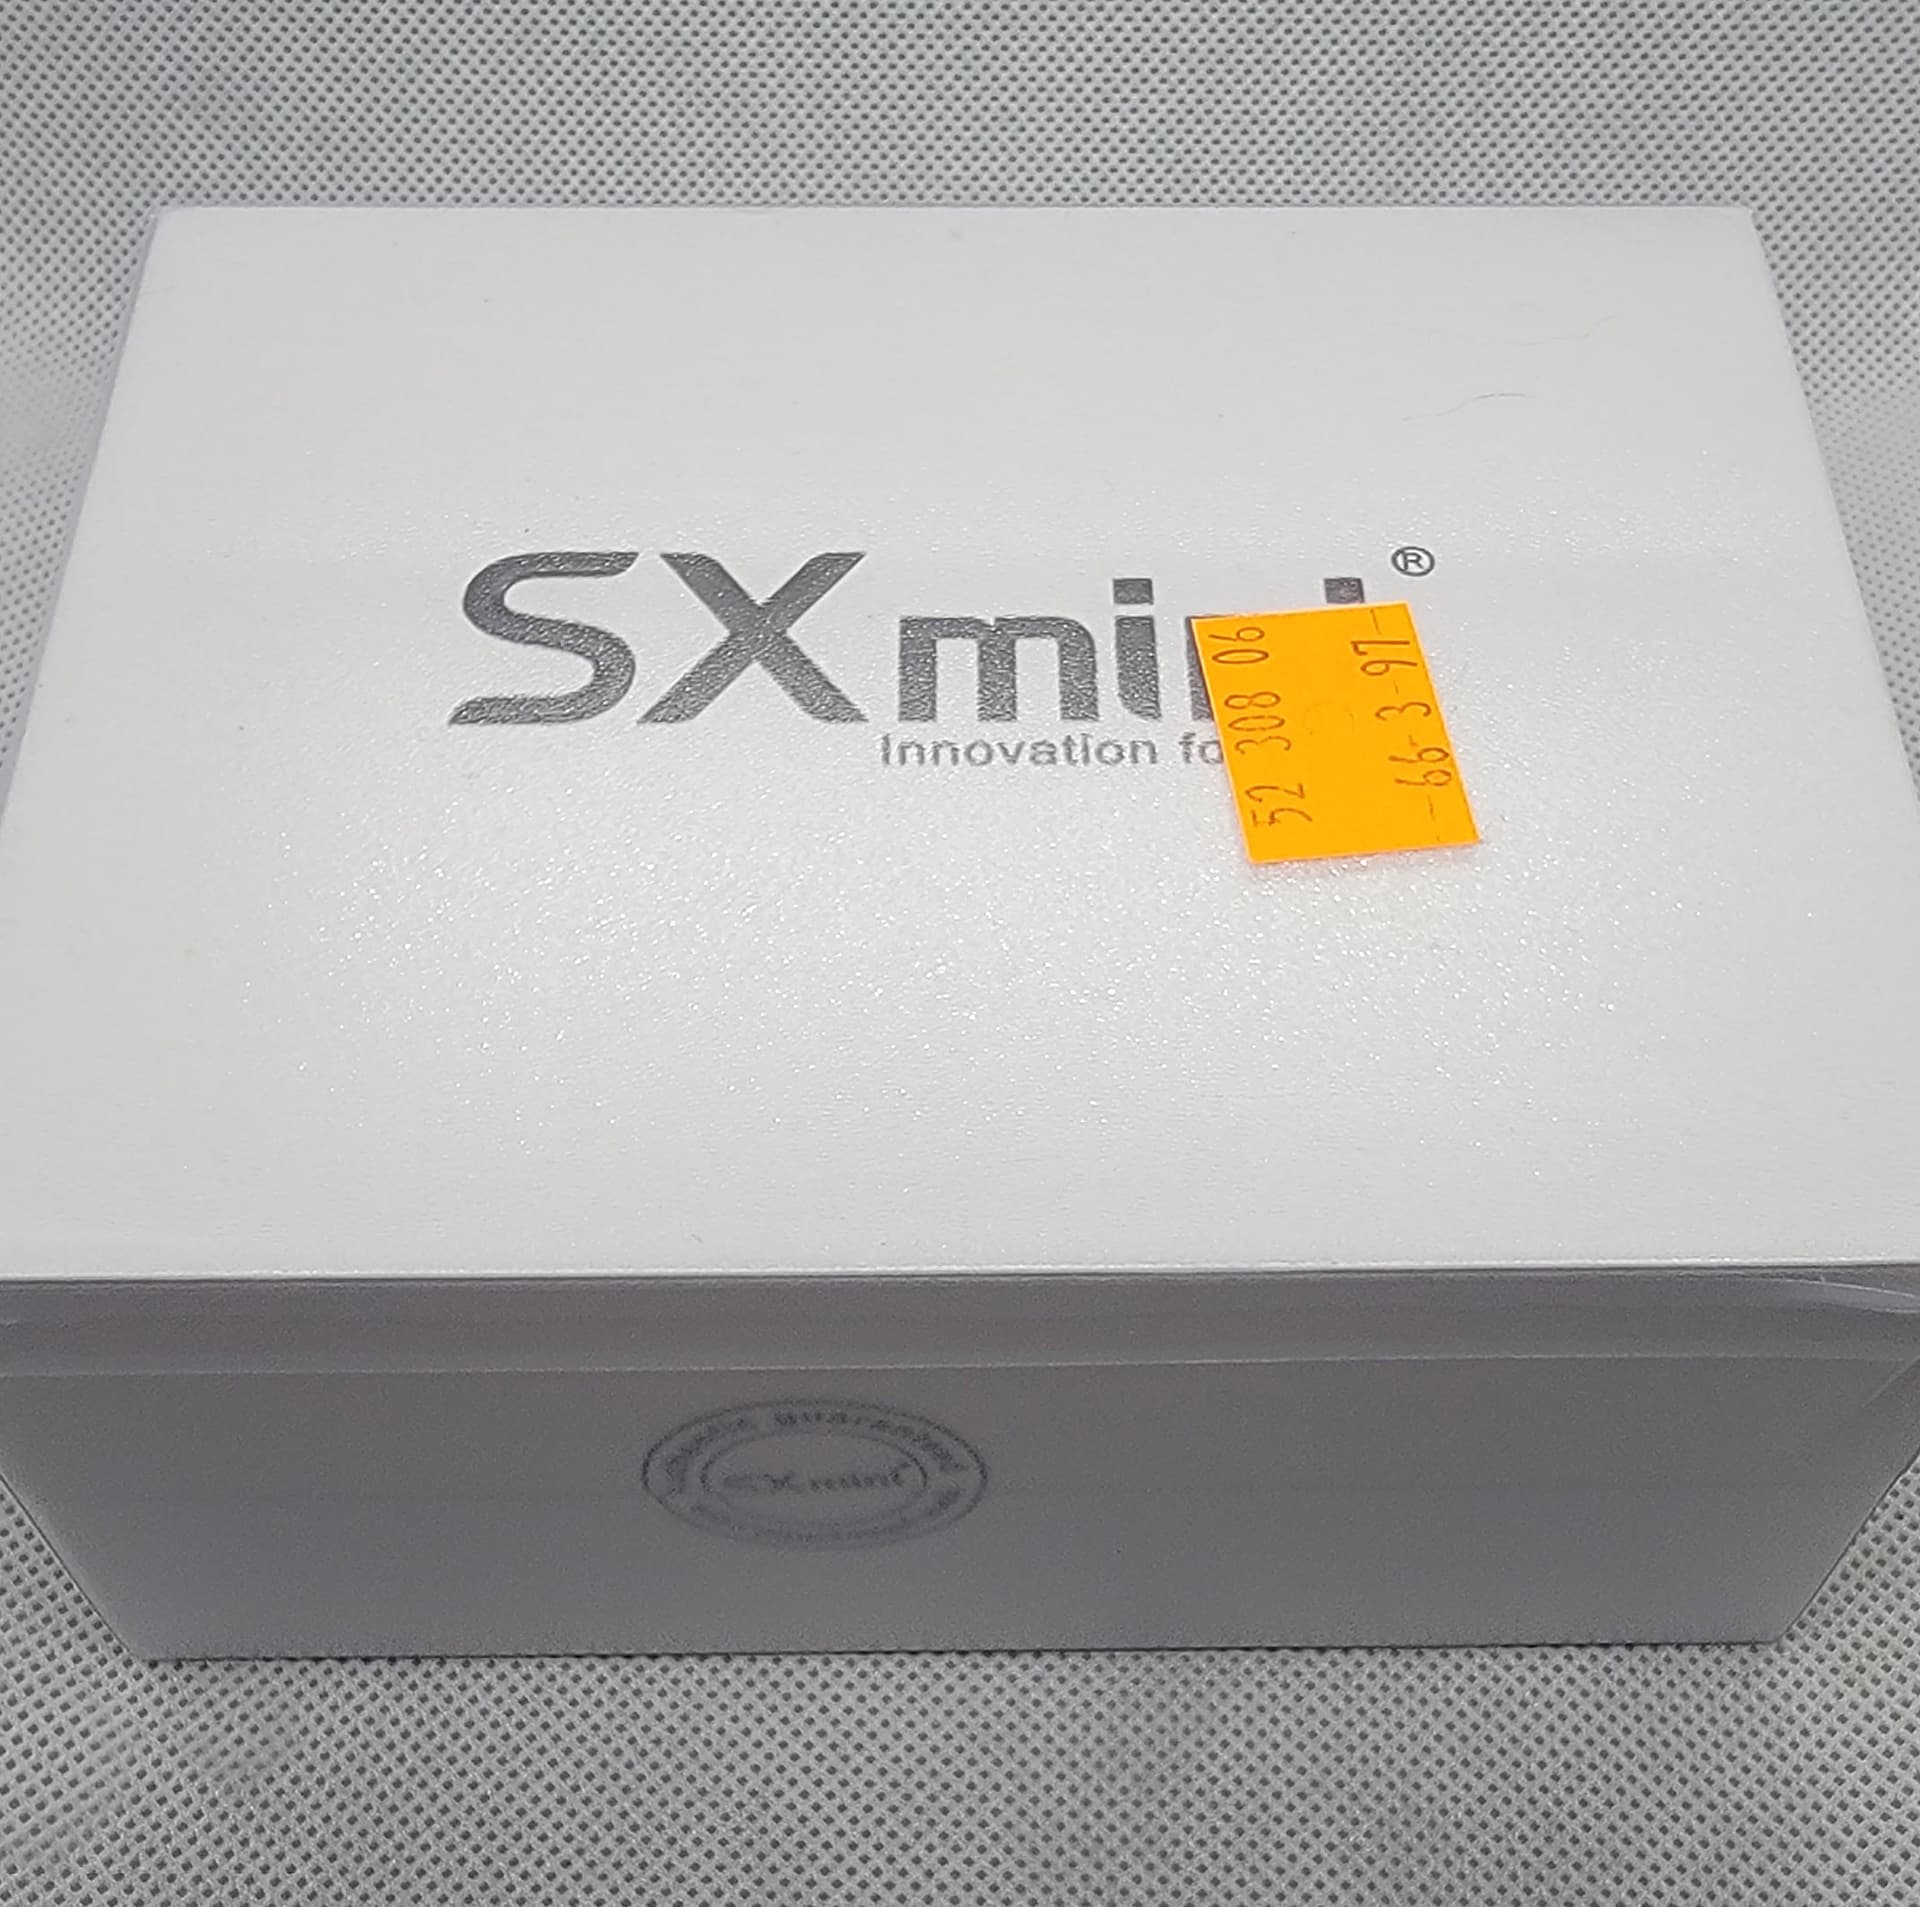
A fairly non-descript box greeted me …
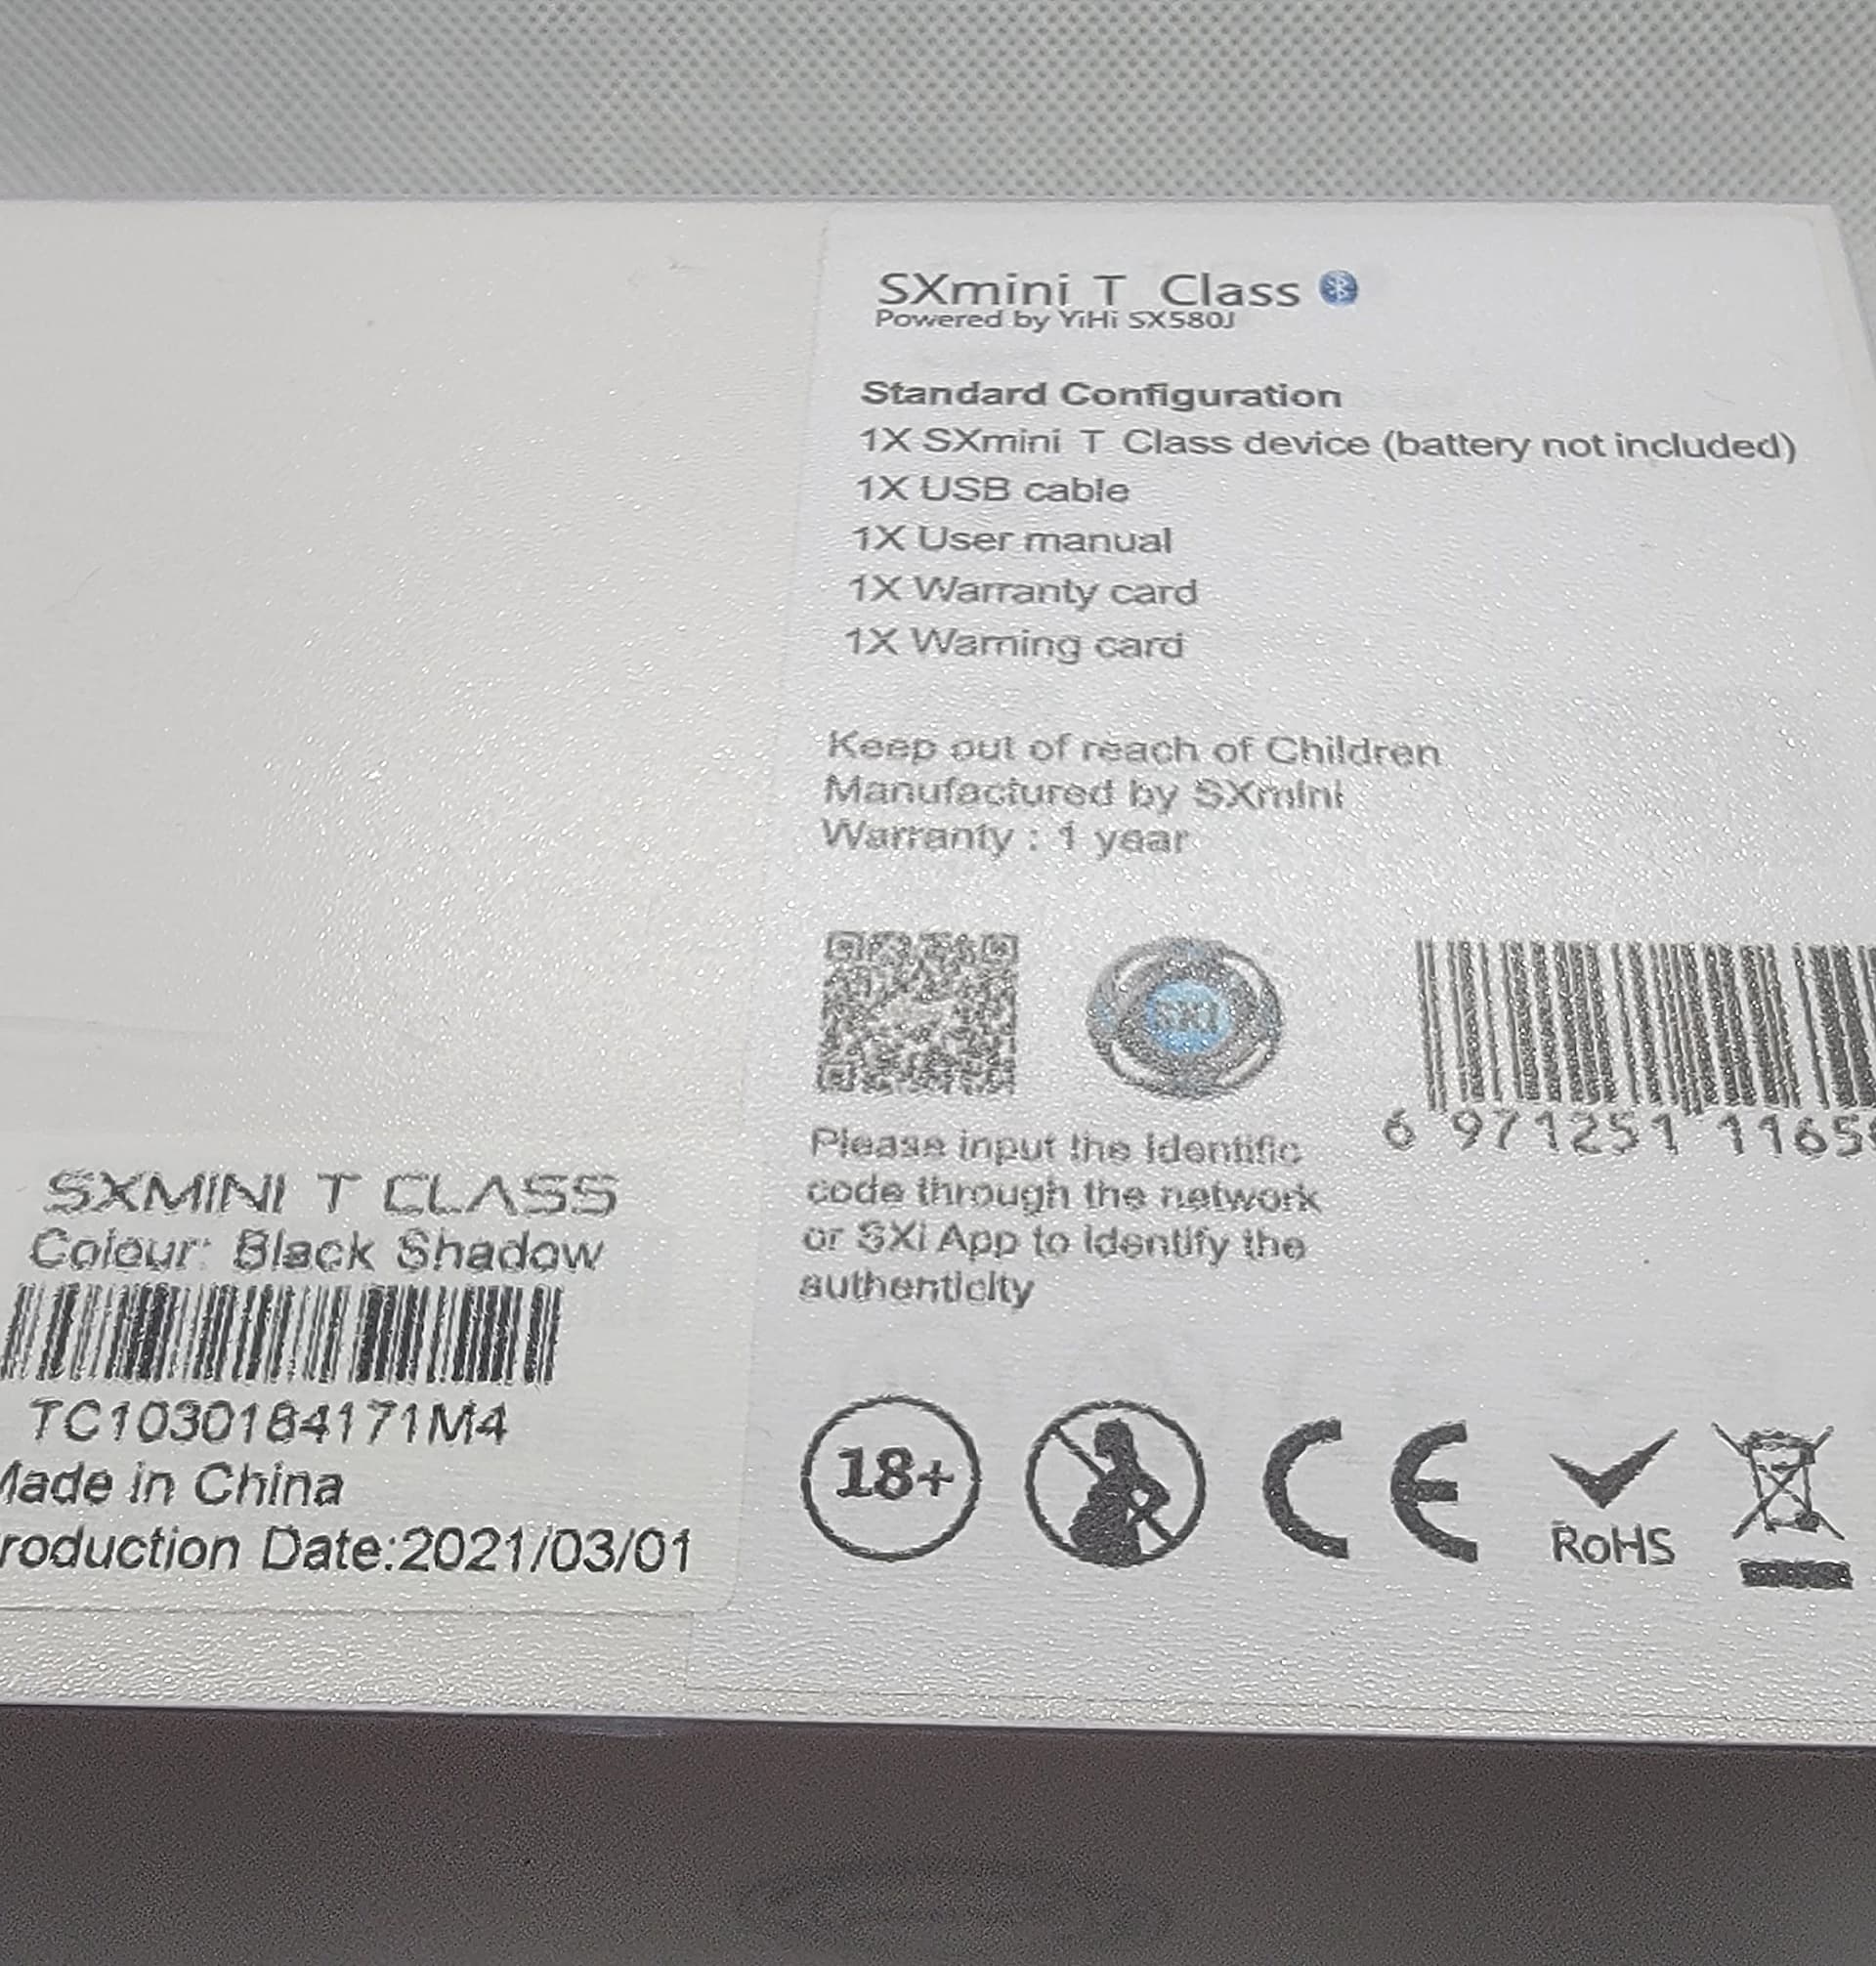
But the back started to reveal things …

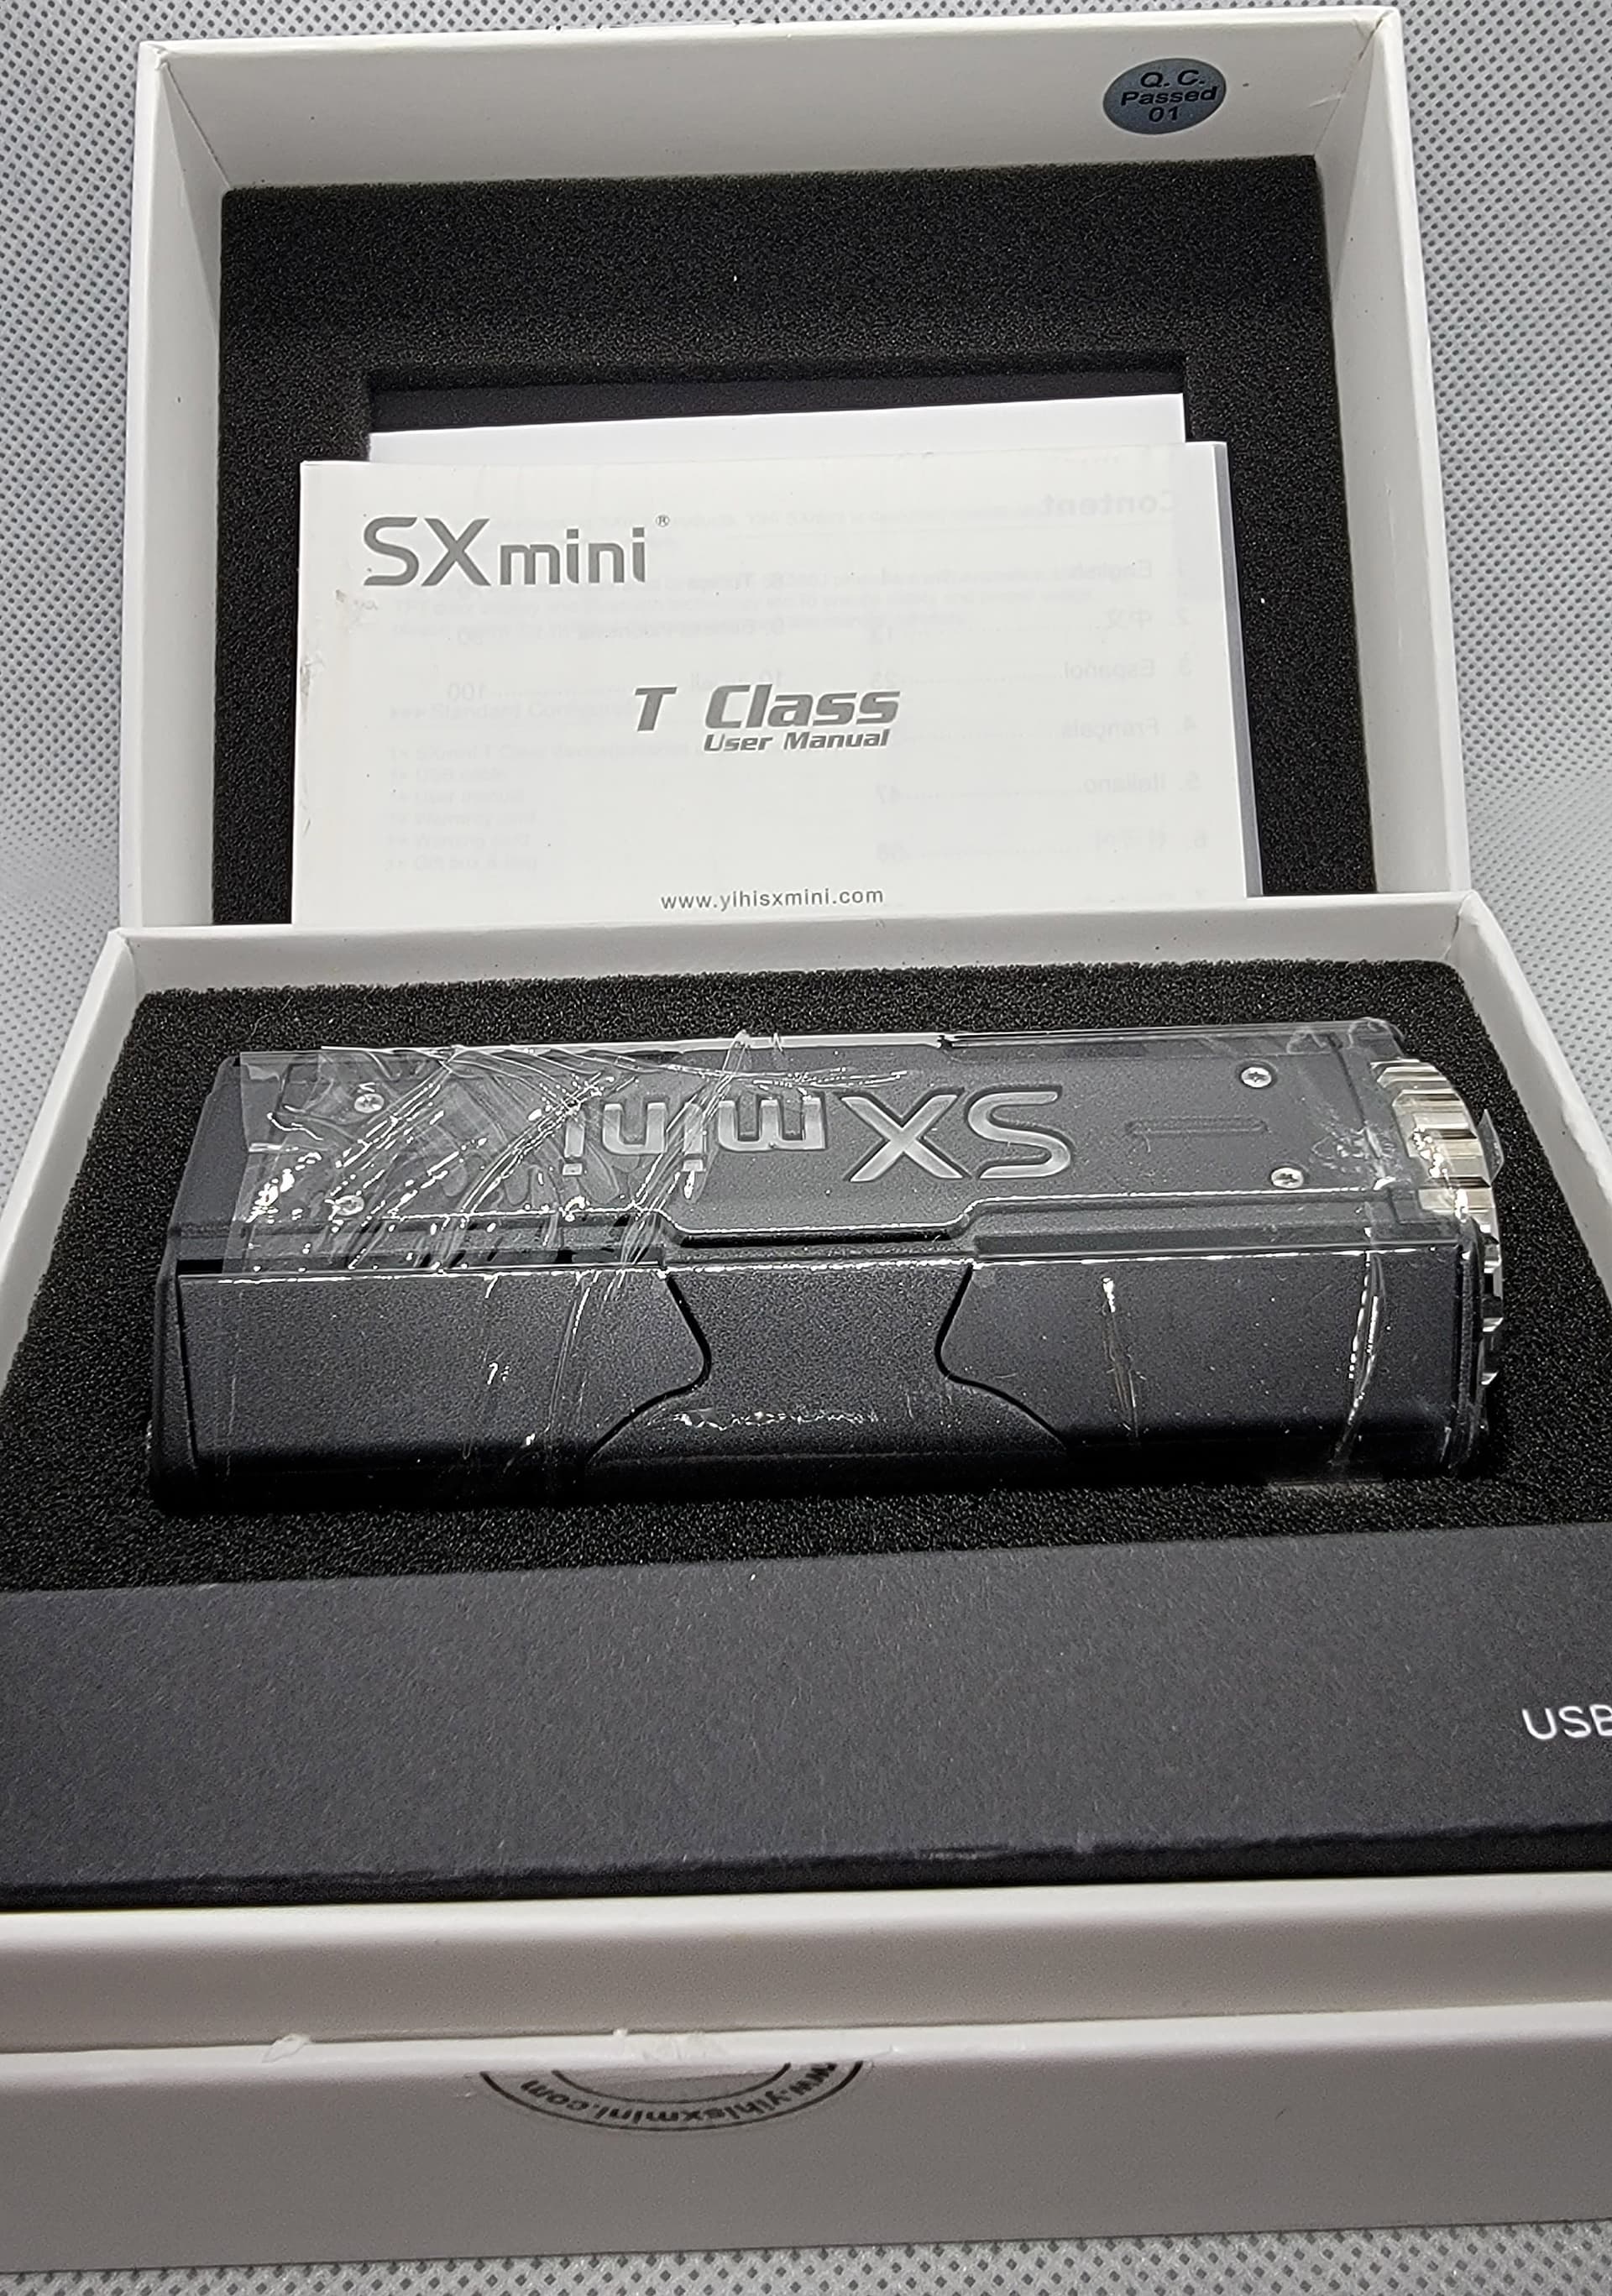
Opening up the box, revealed a well thought out presentation. Pump Speed ??
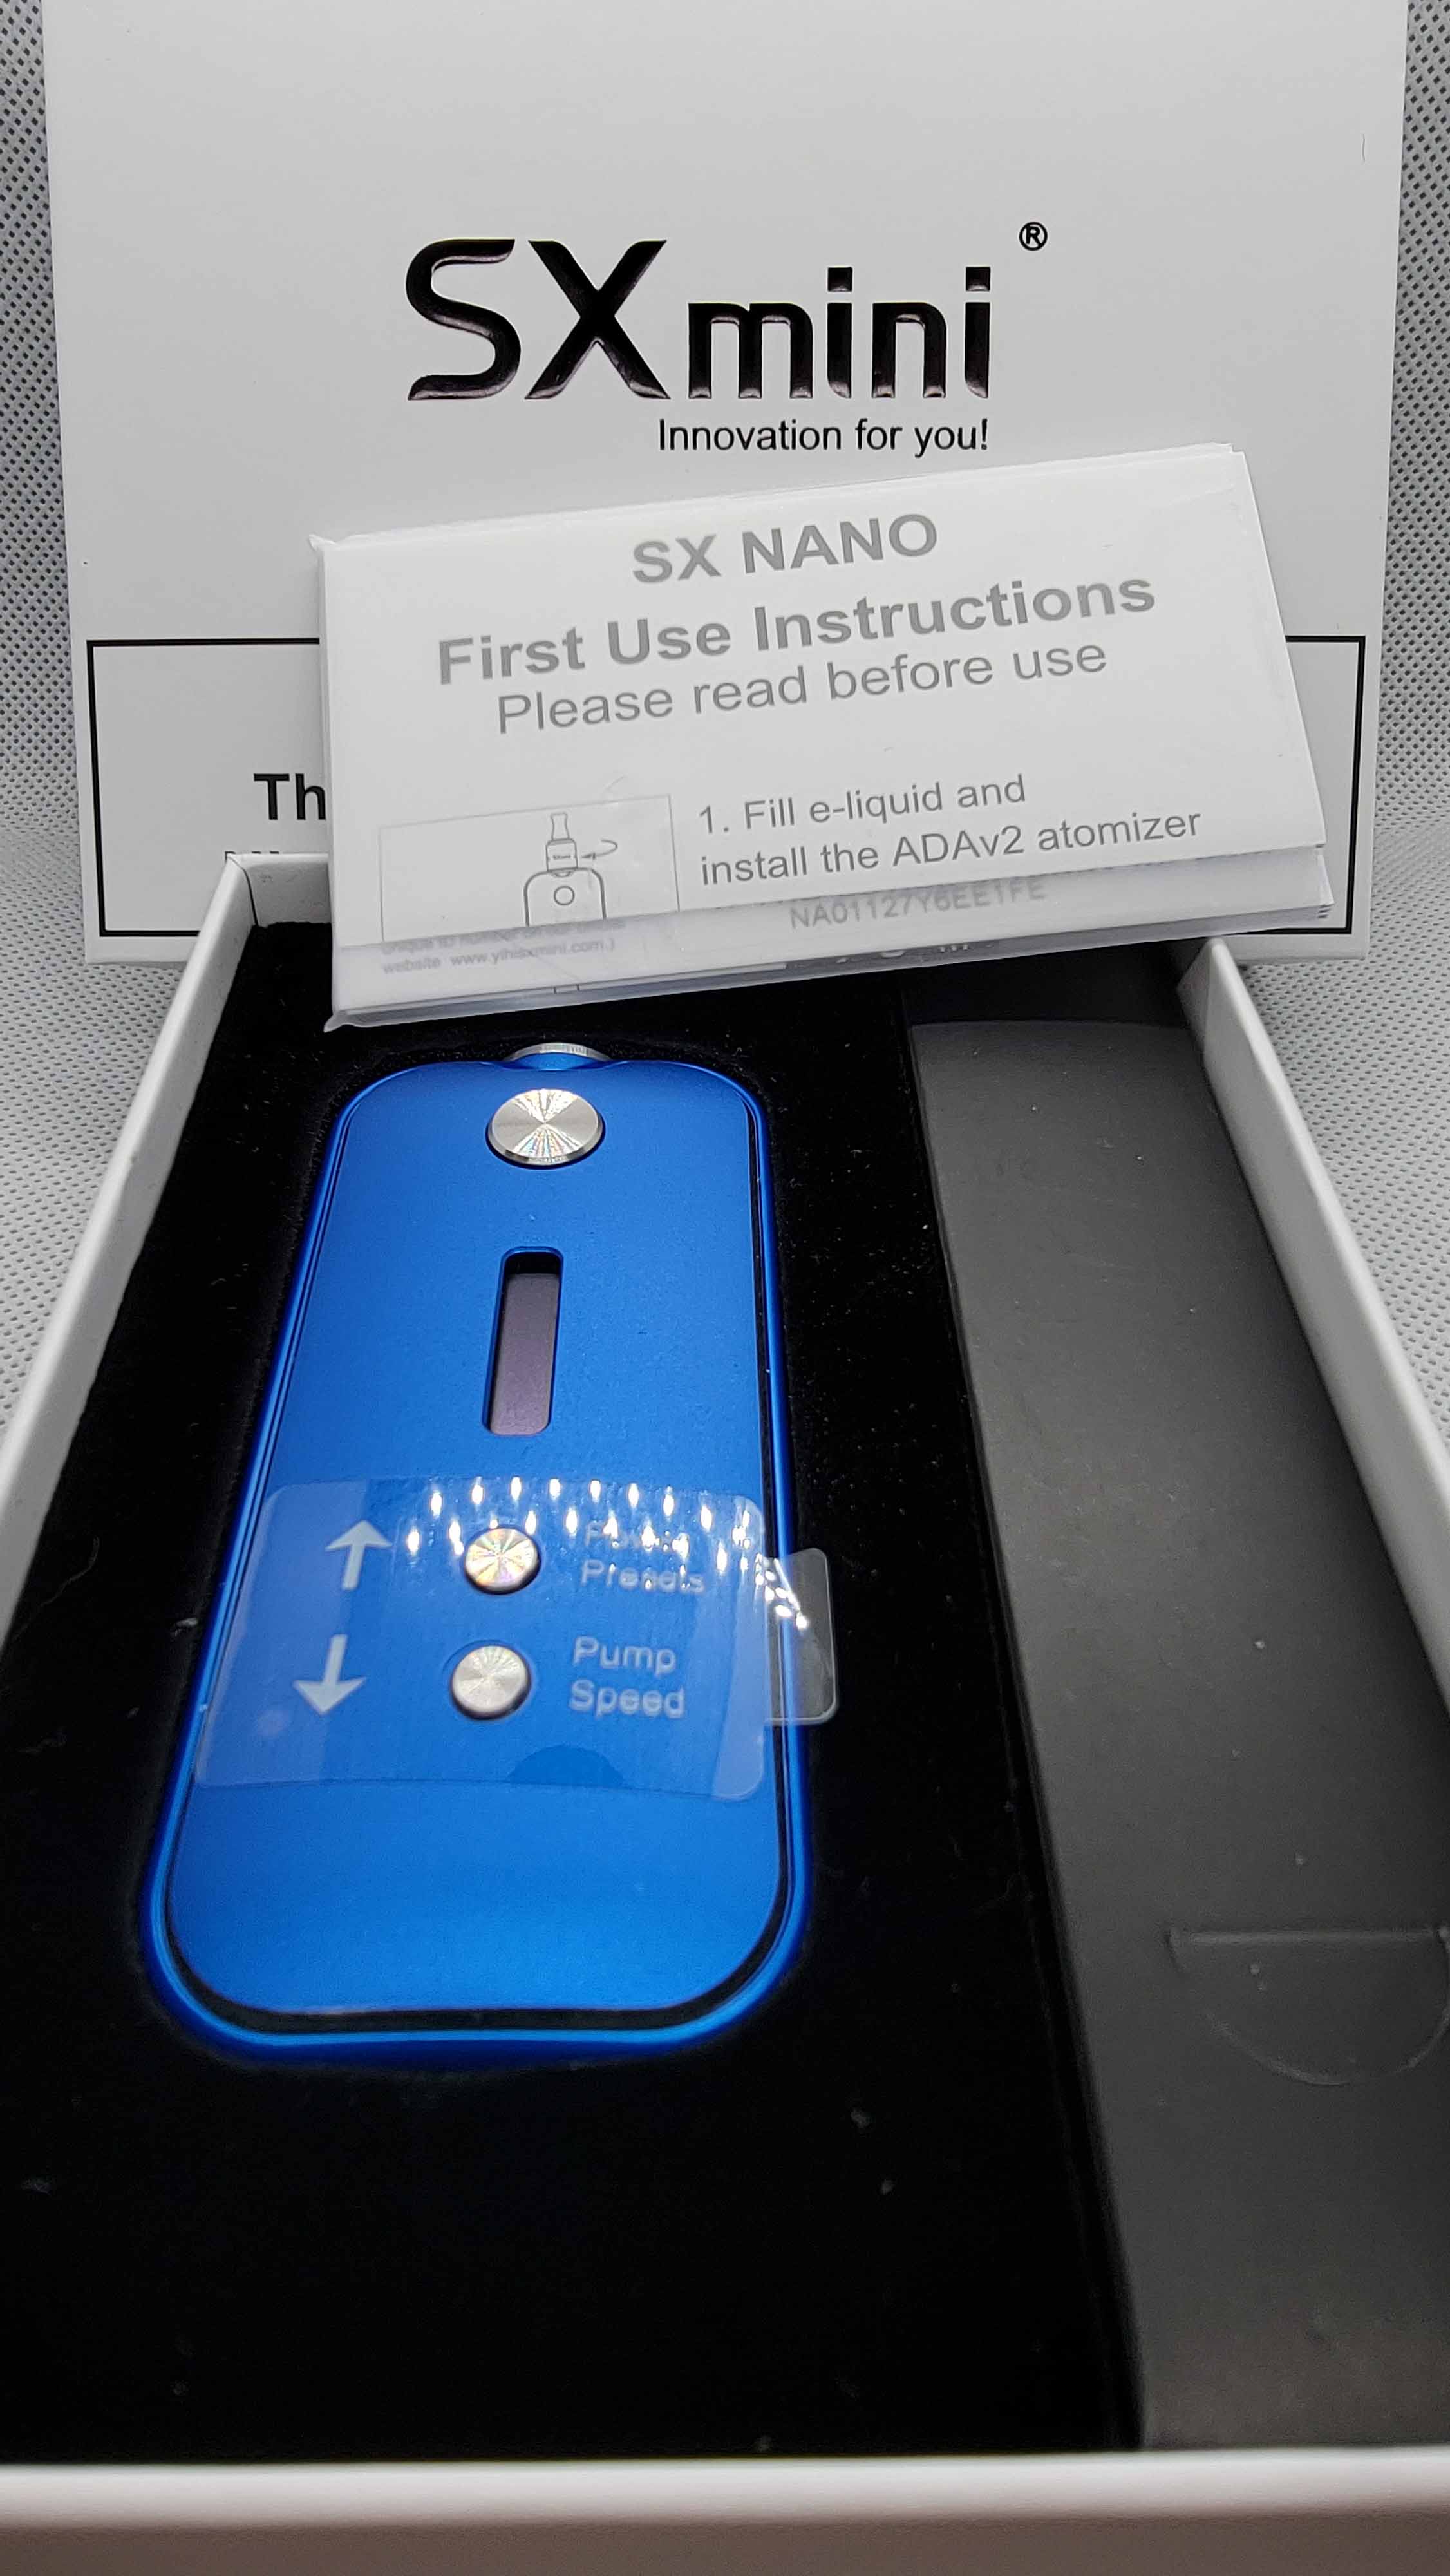
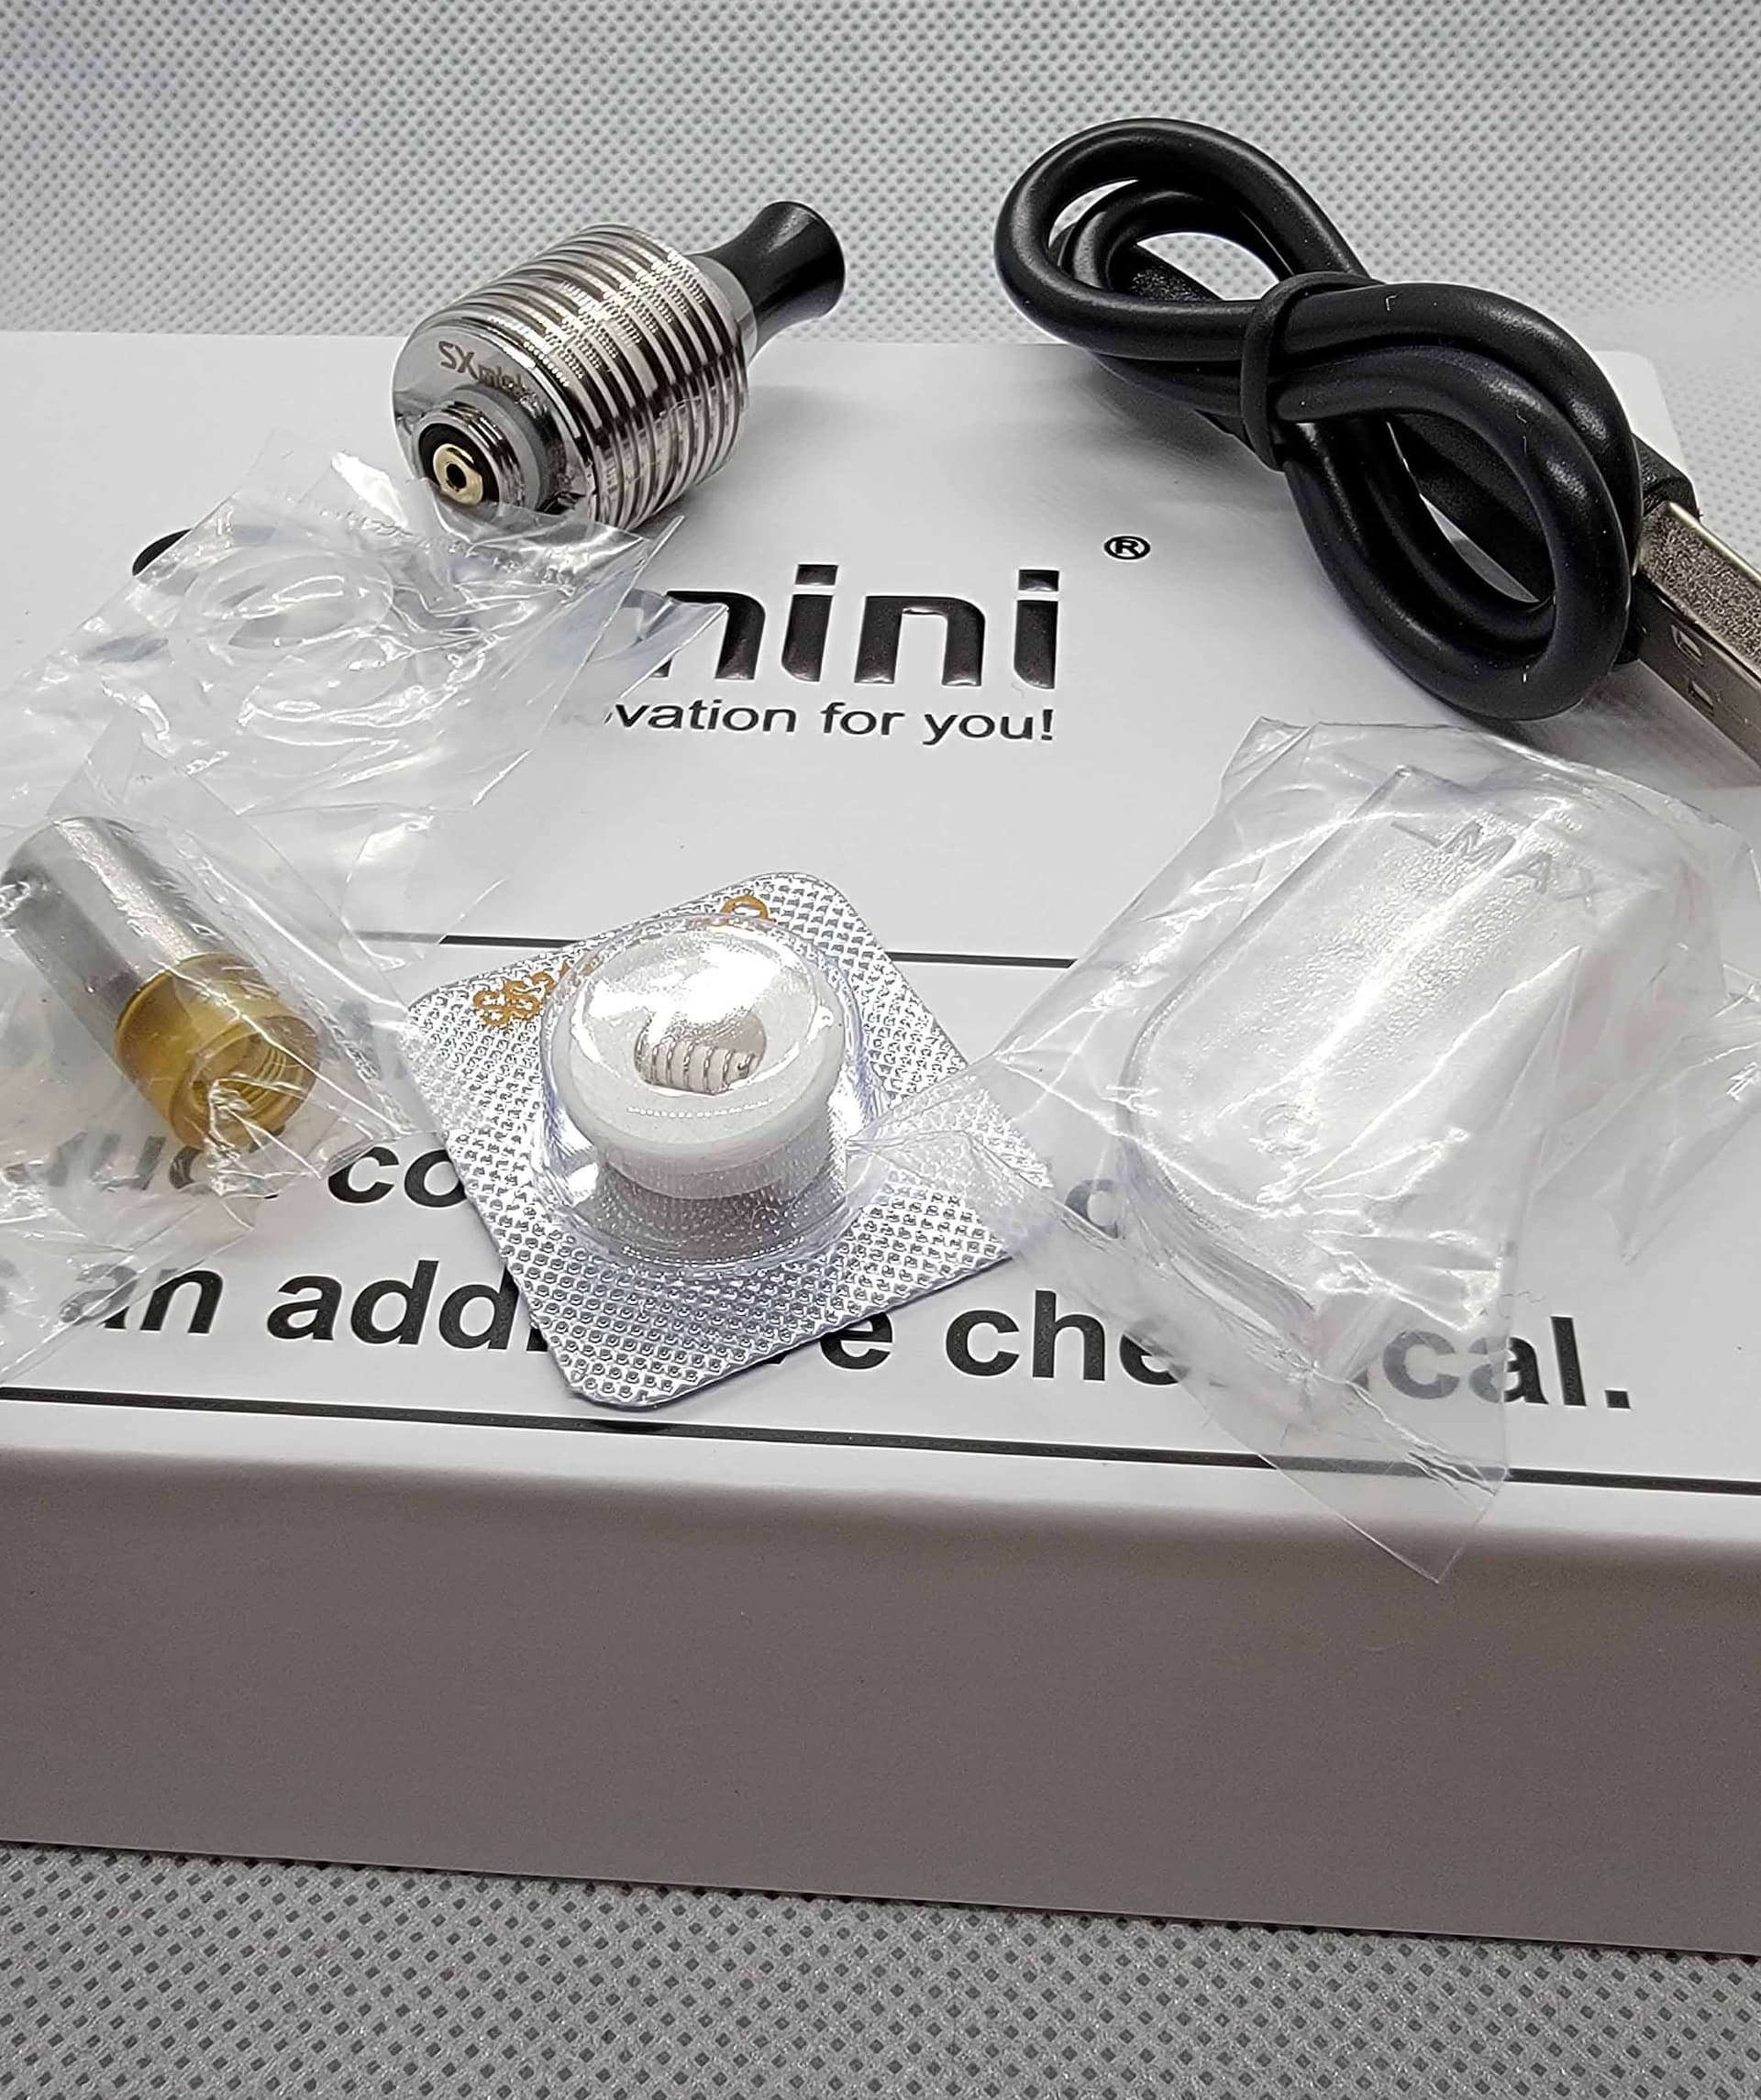
Some of the extras had me concerned, AND interested at the same time !!
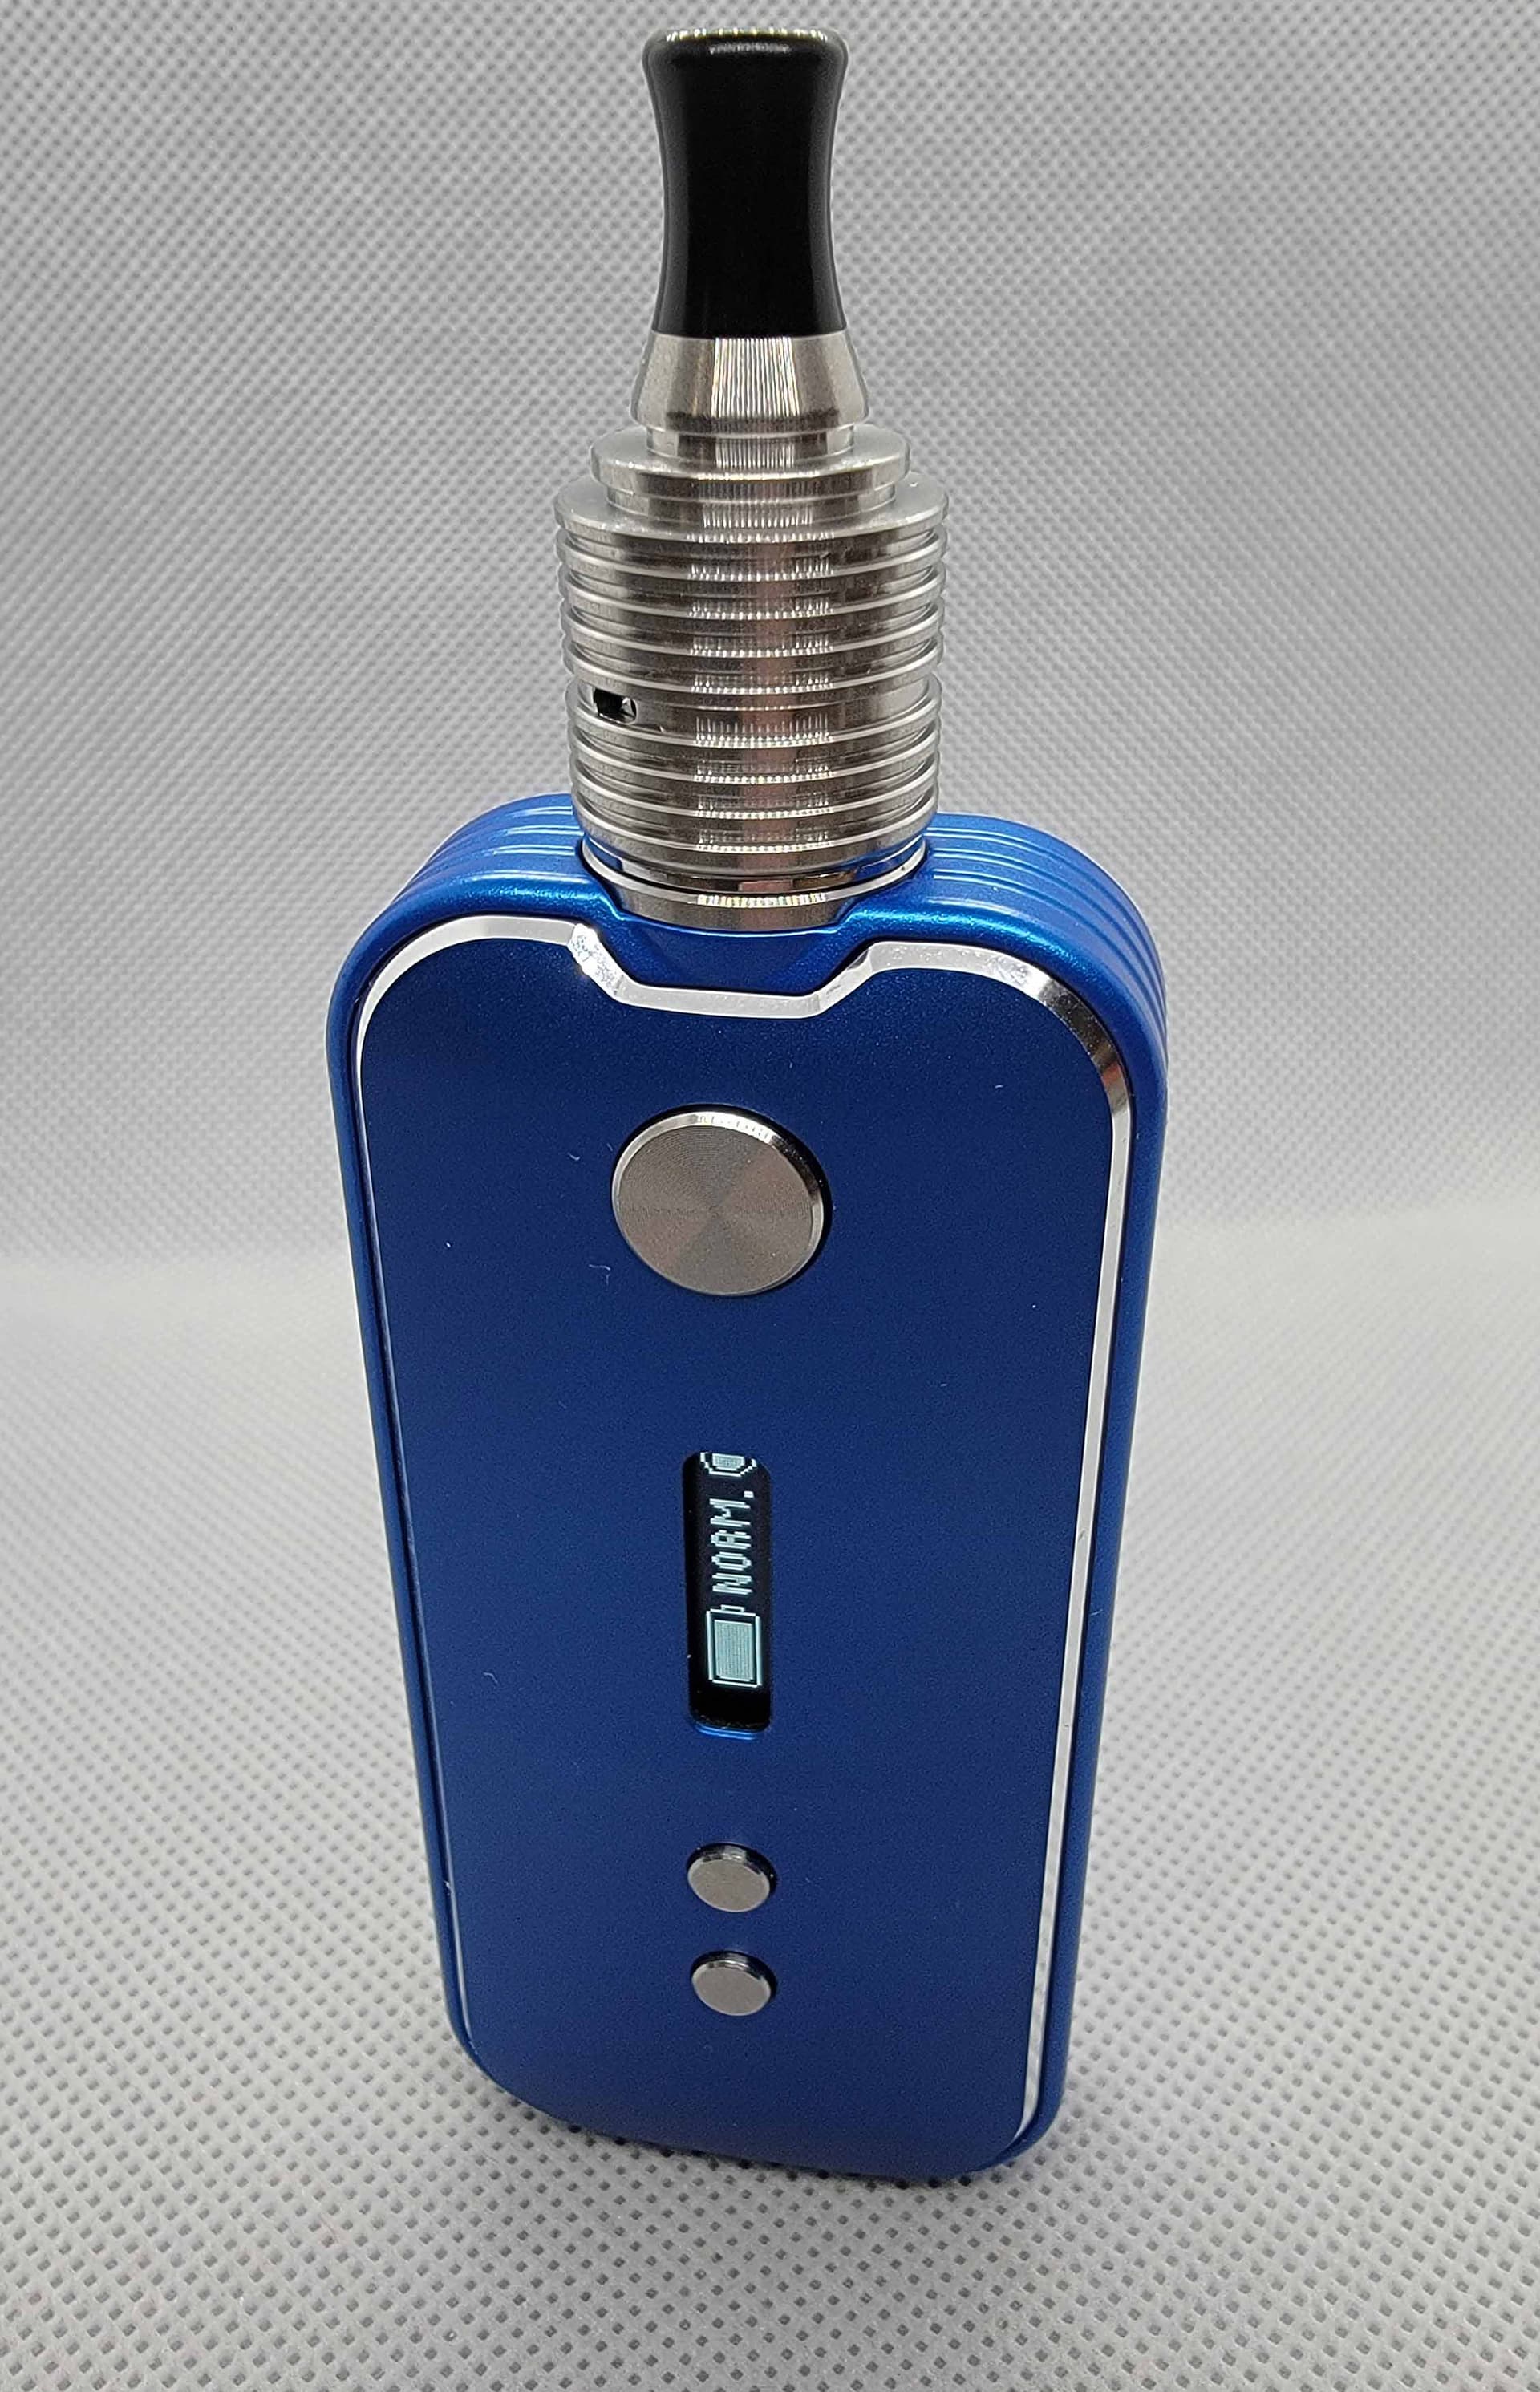
Stunning piece, and the silver accents pushed it over the edge …
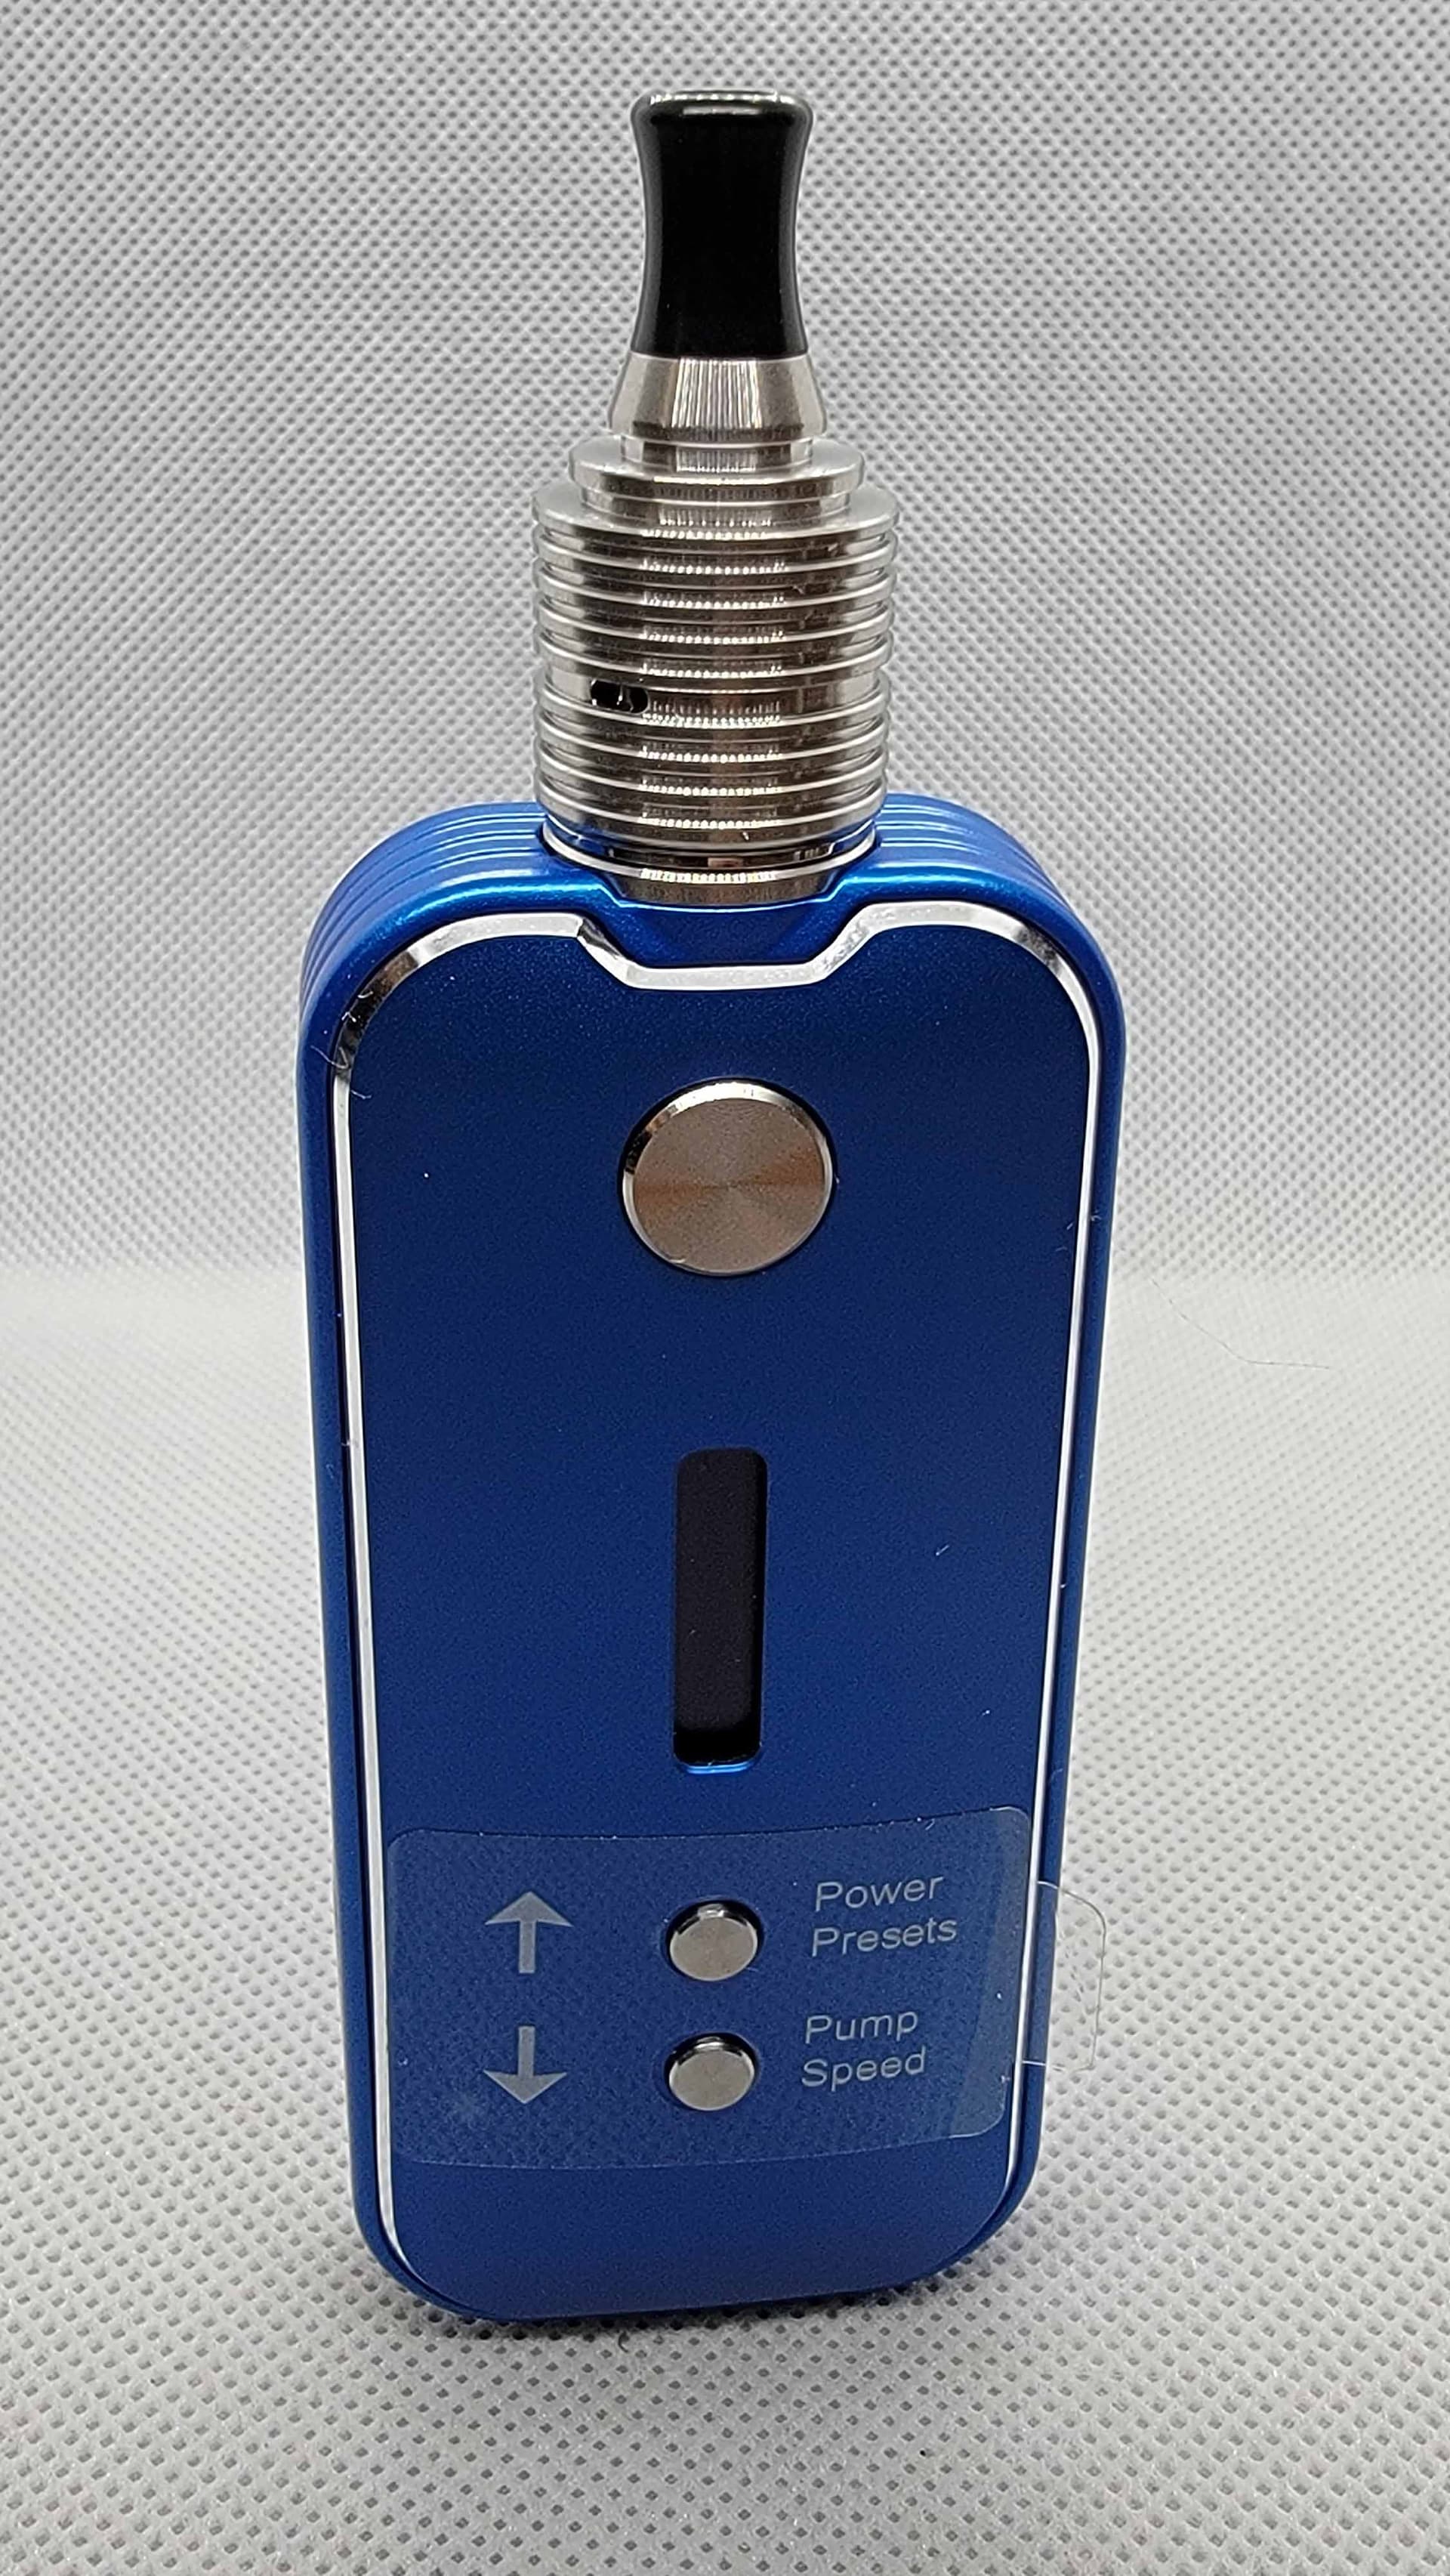
After removing the cap, checked to see what was what. Very well machined and put together …
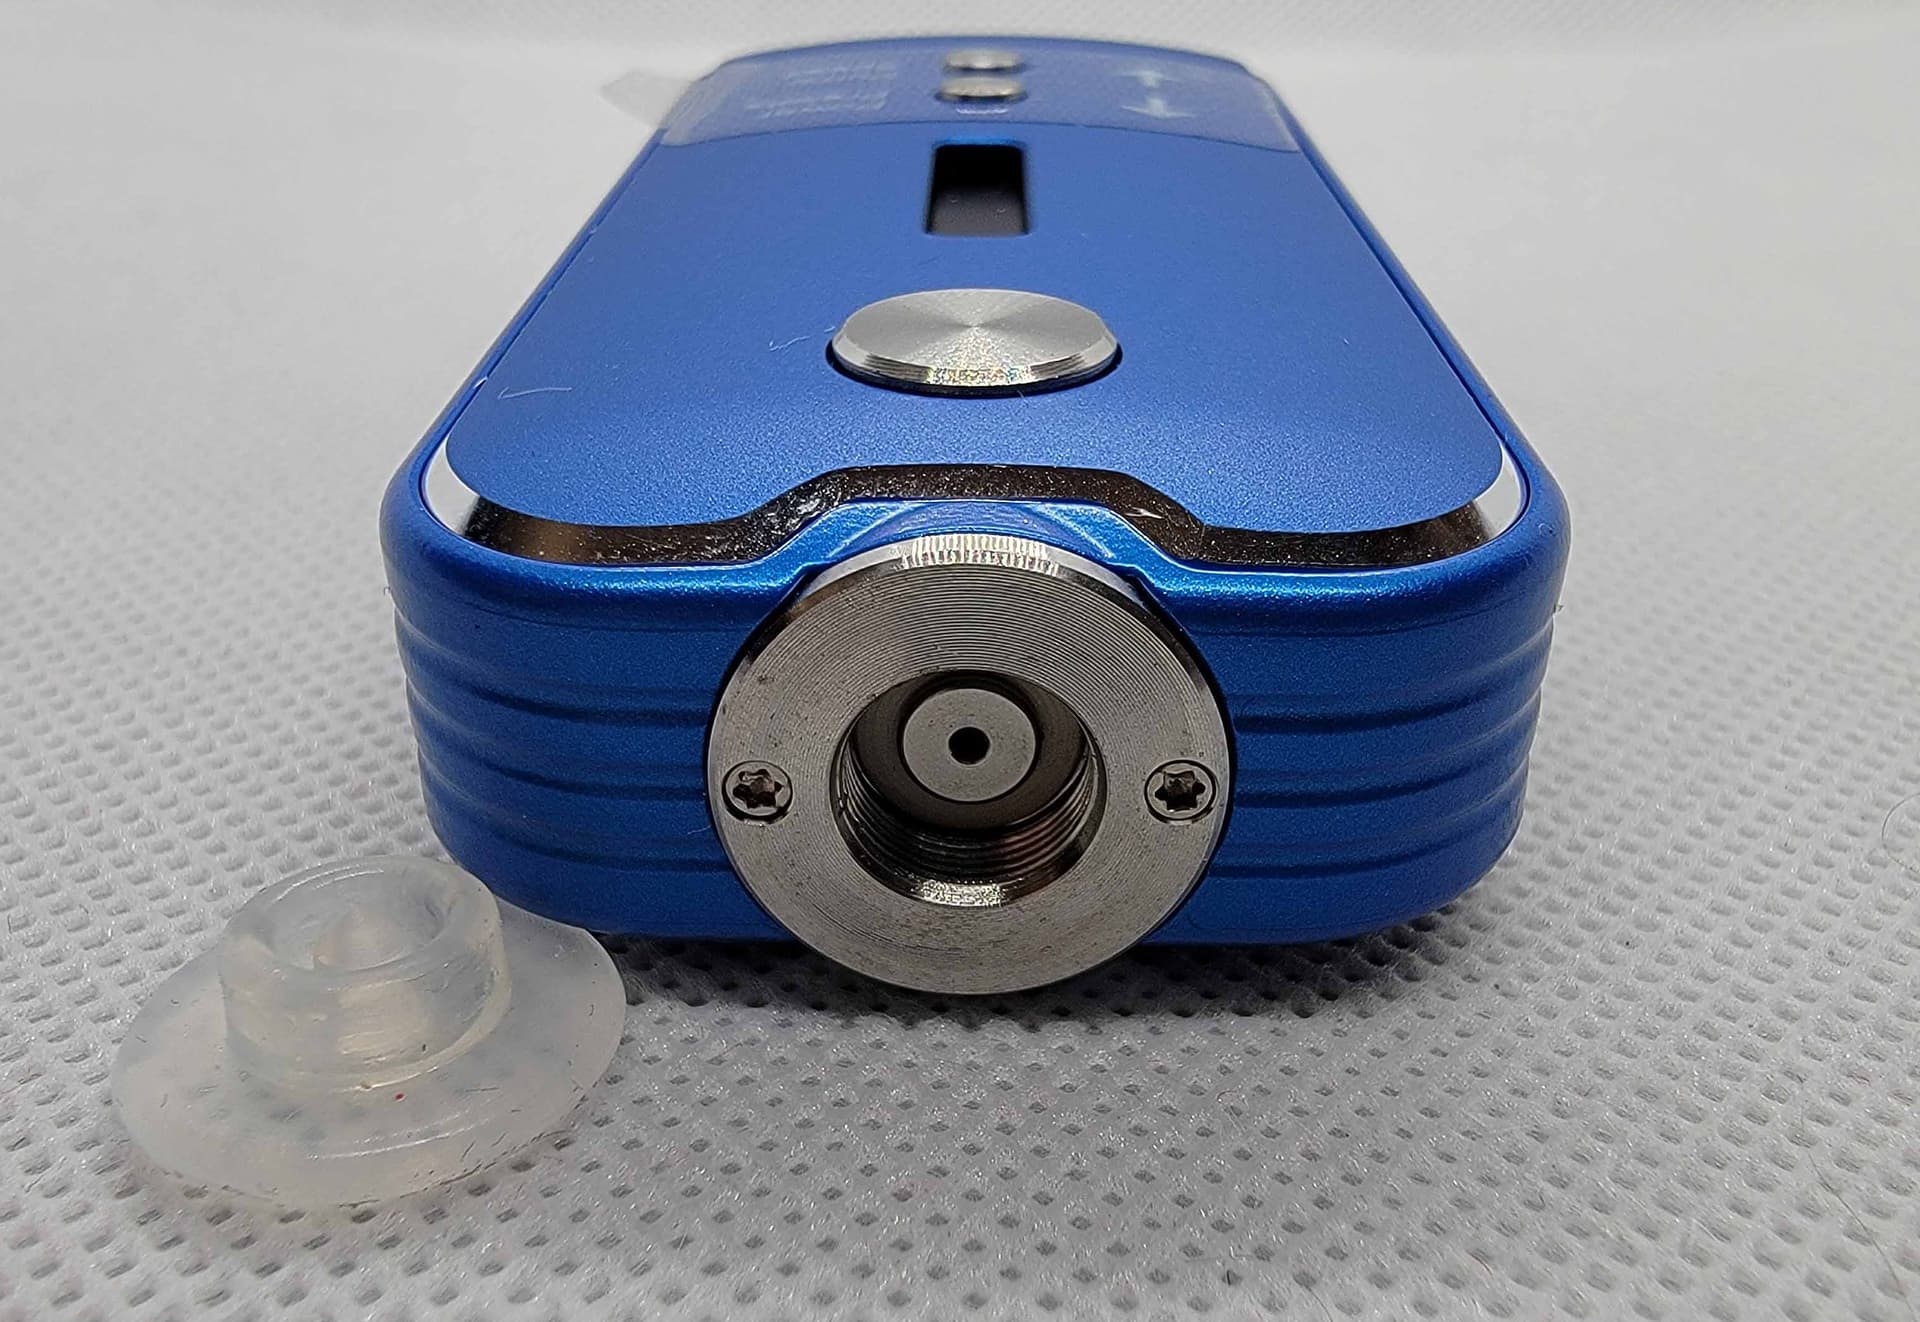
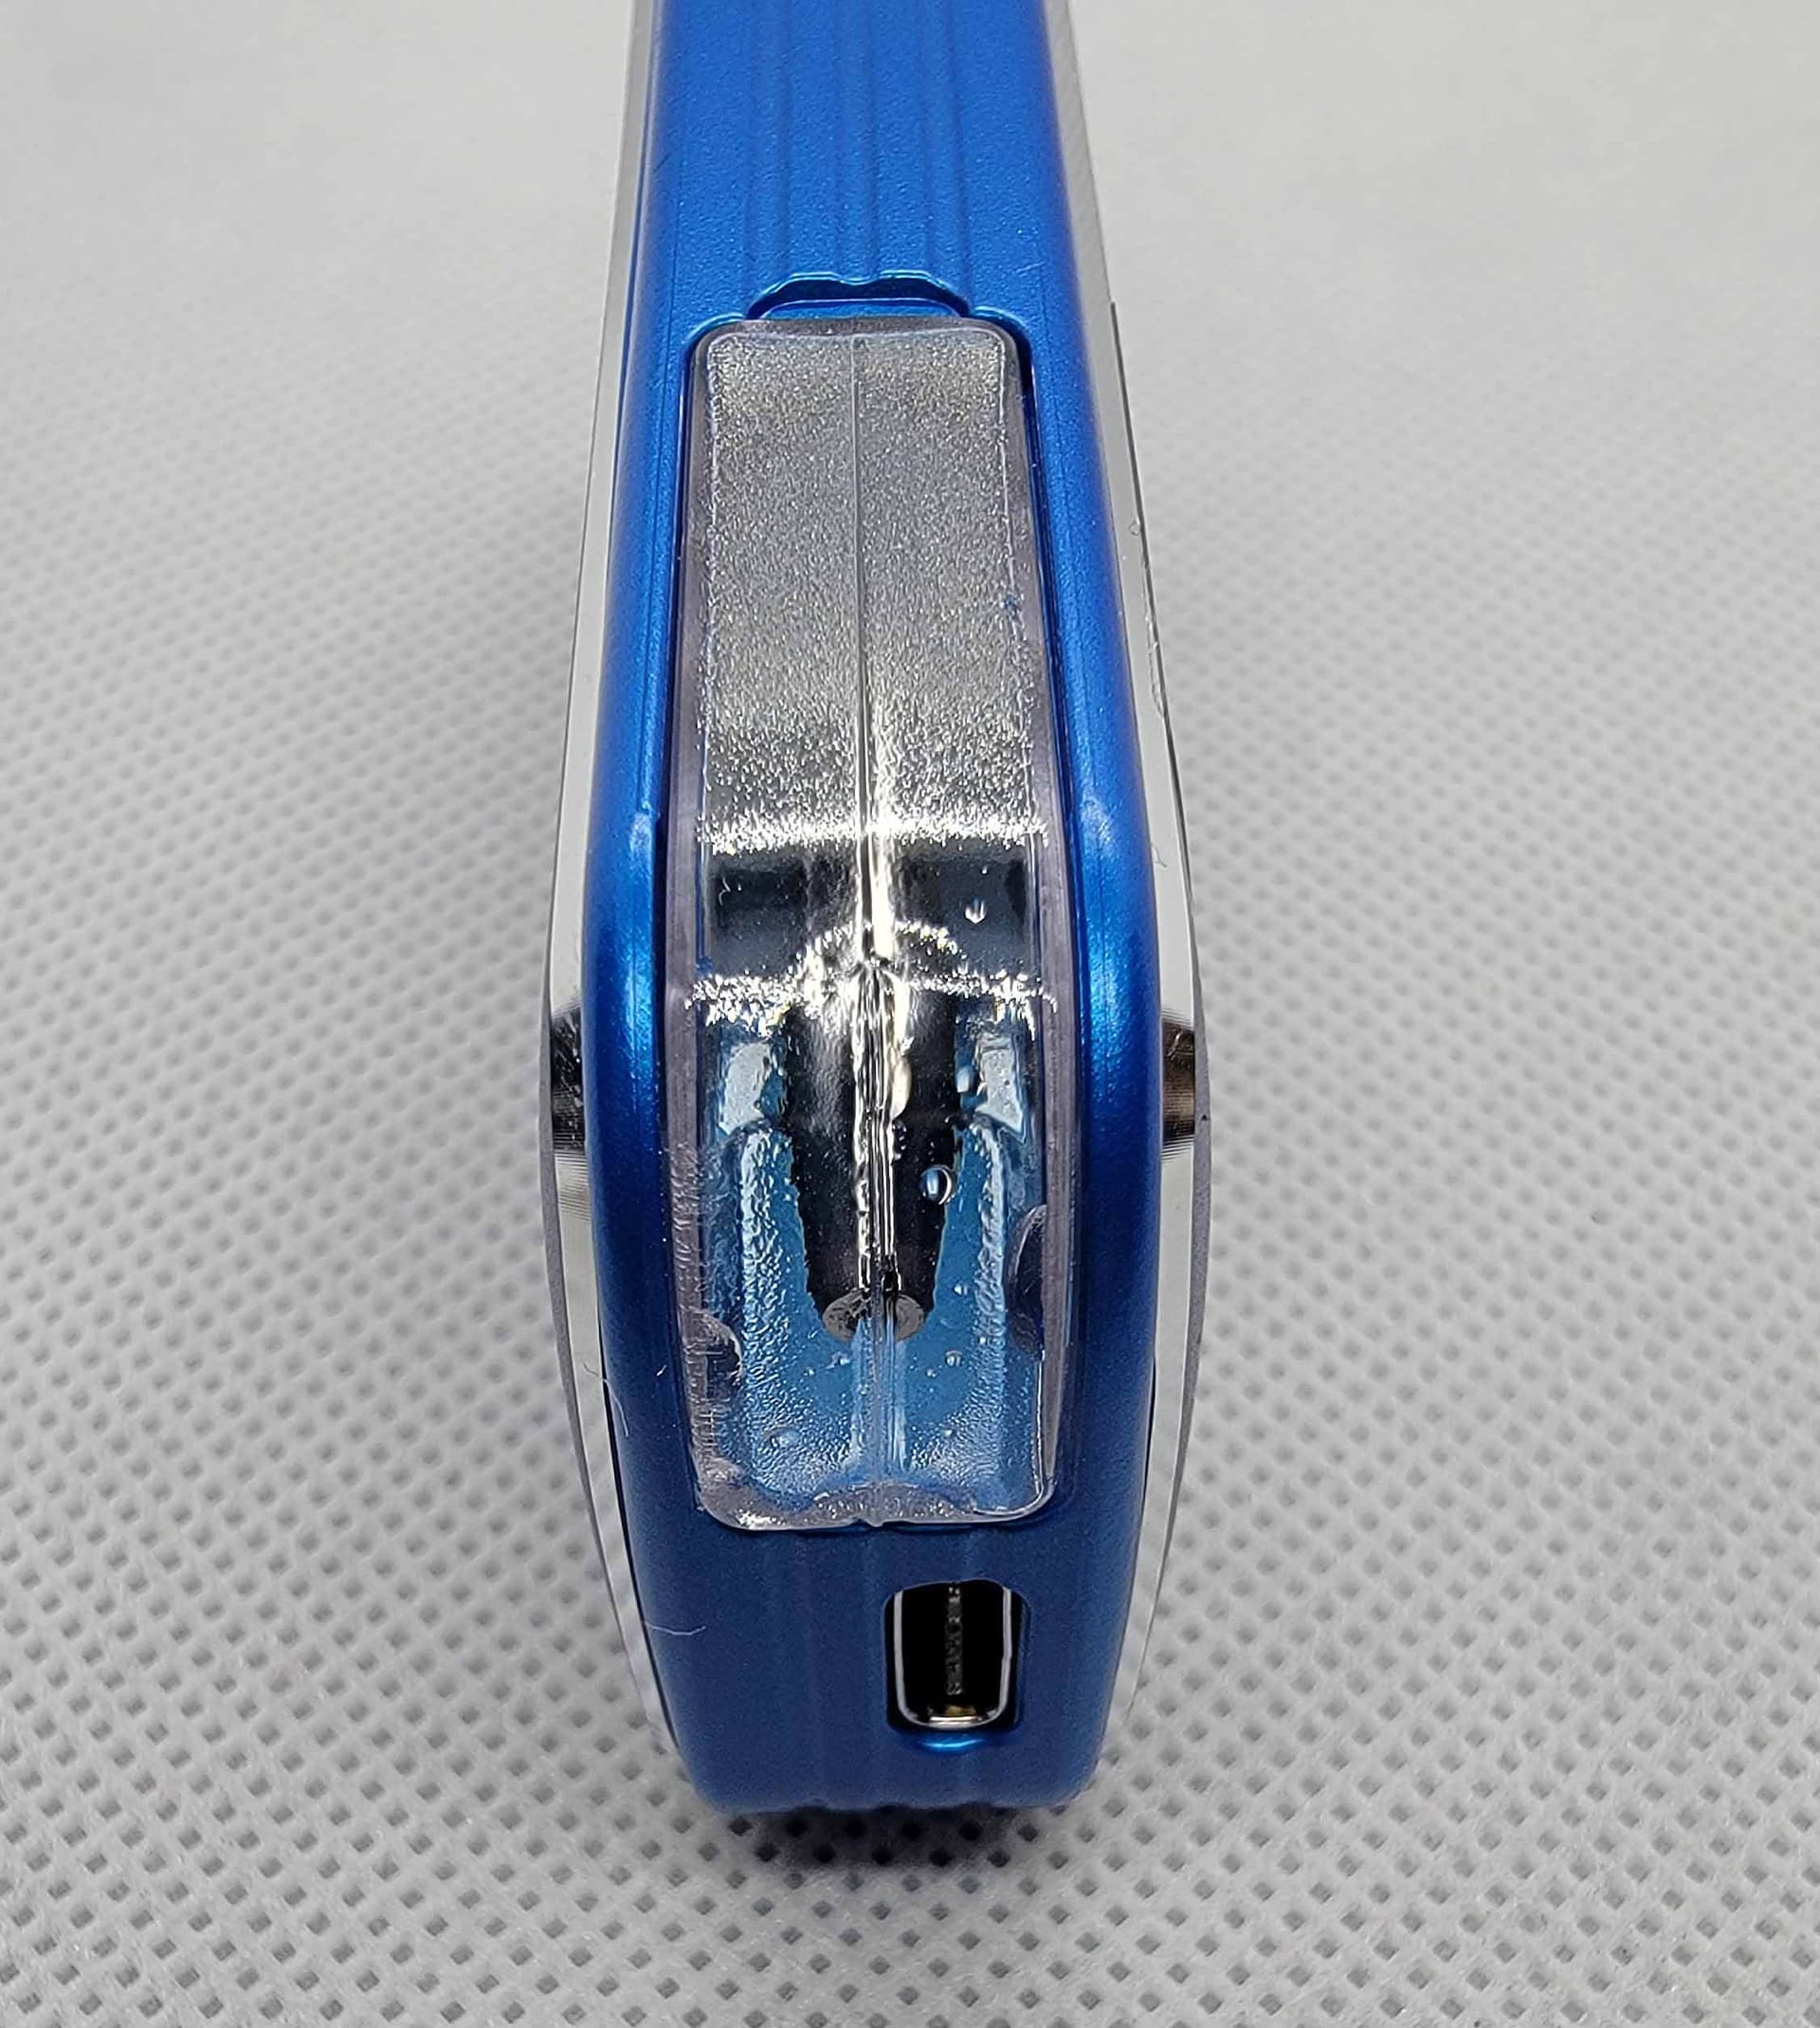
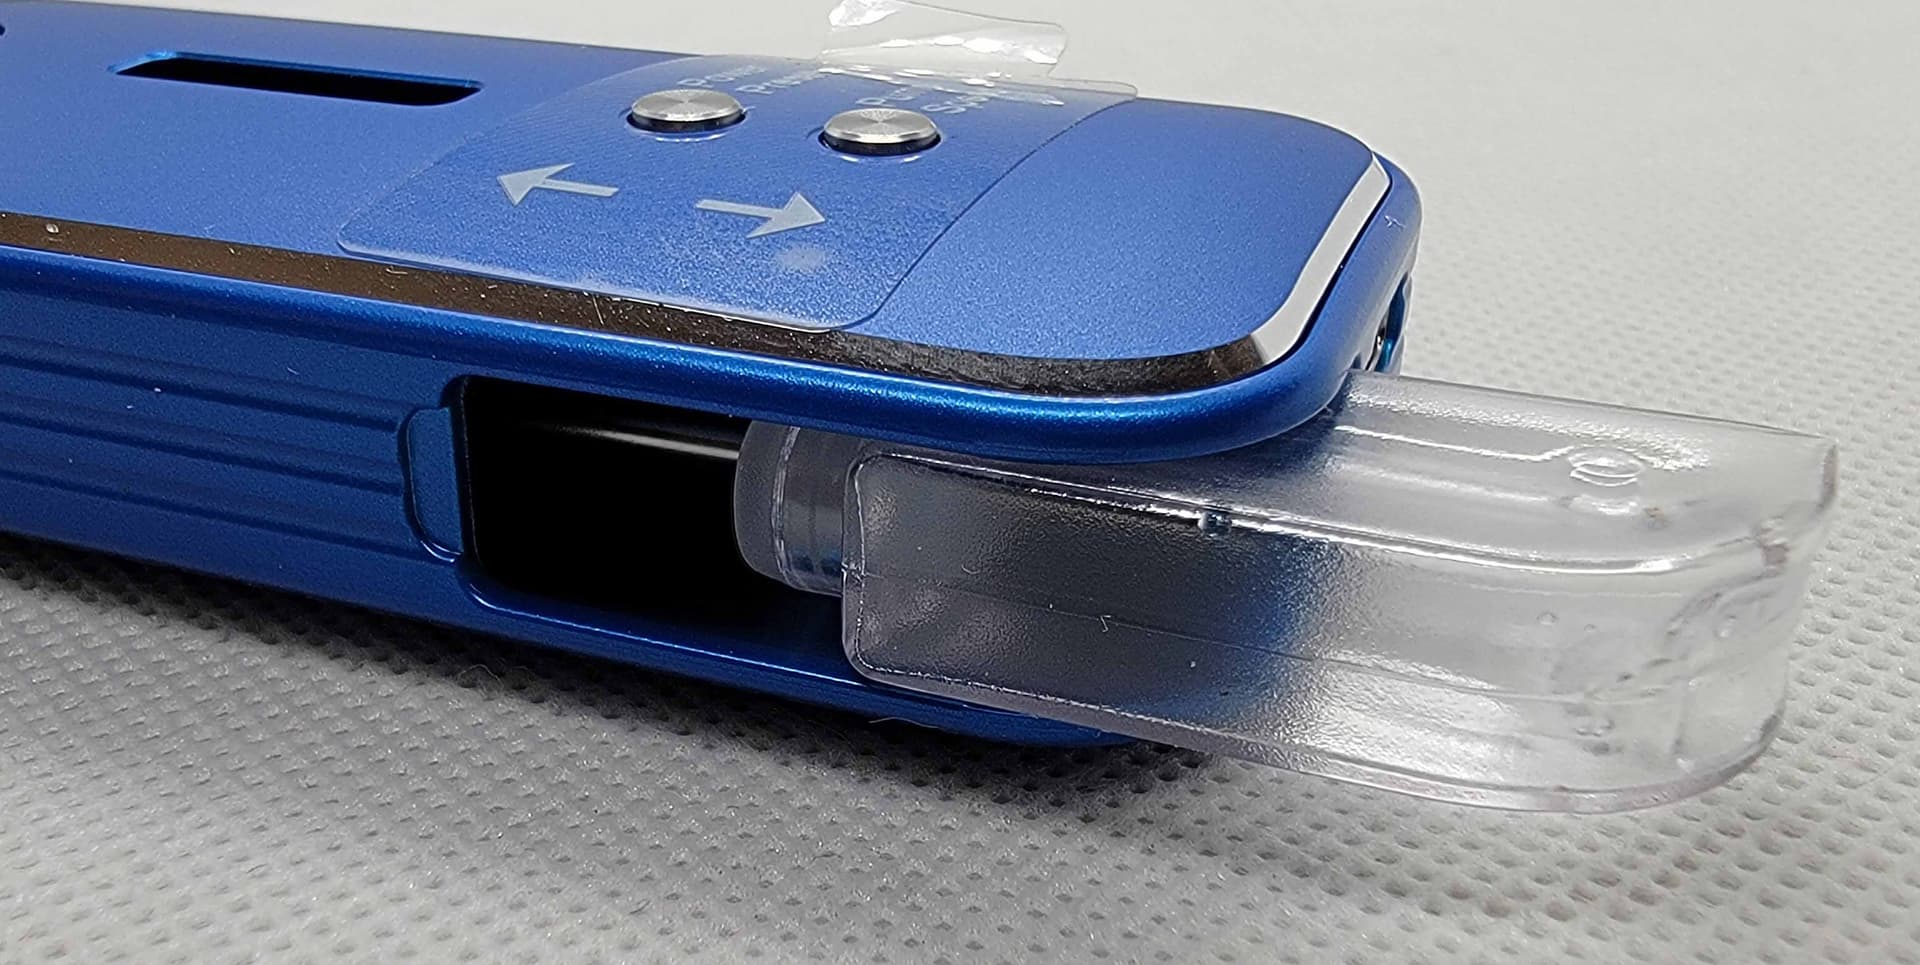
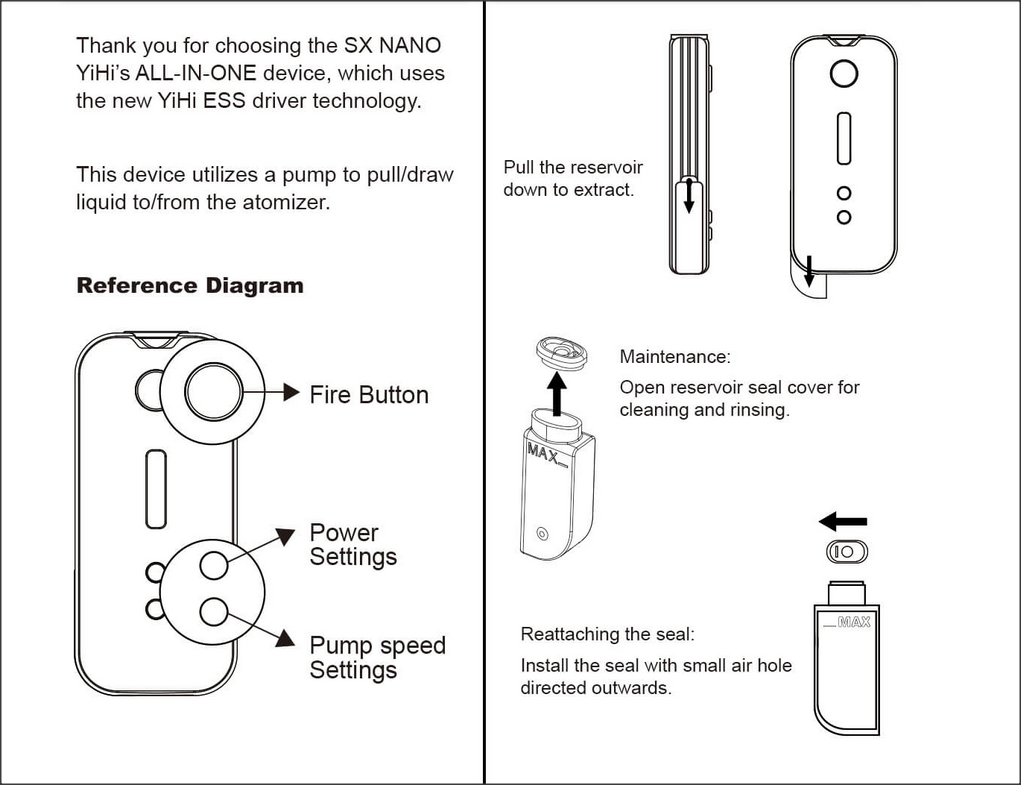
Moving down to the bottom, the tank (reservoir) was smoothly integrated, along with USB-C charging …
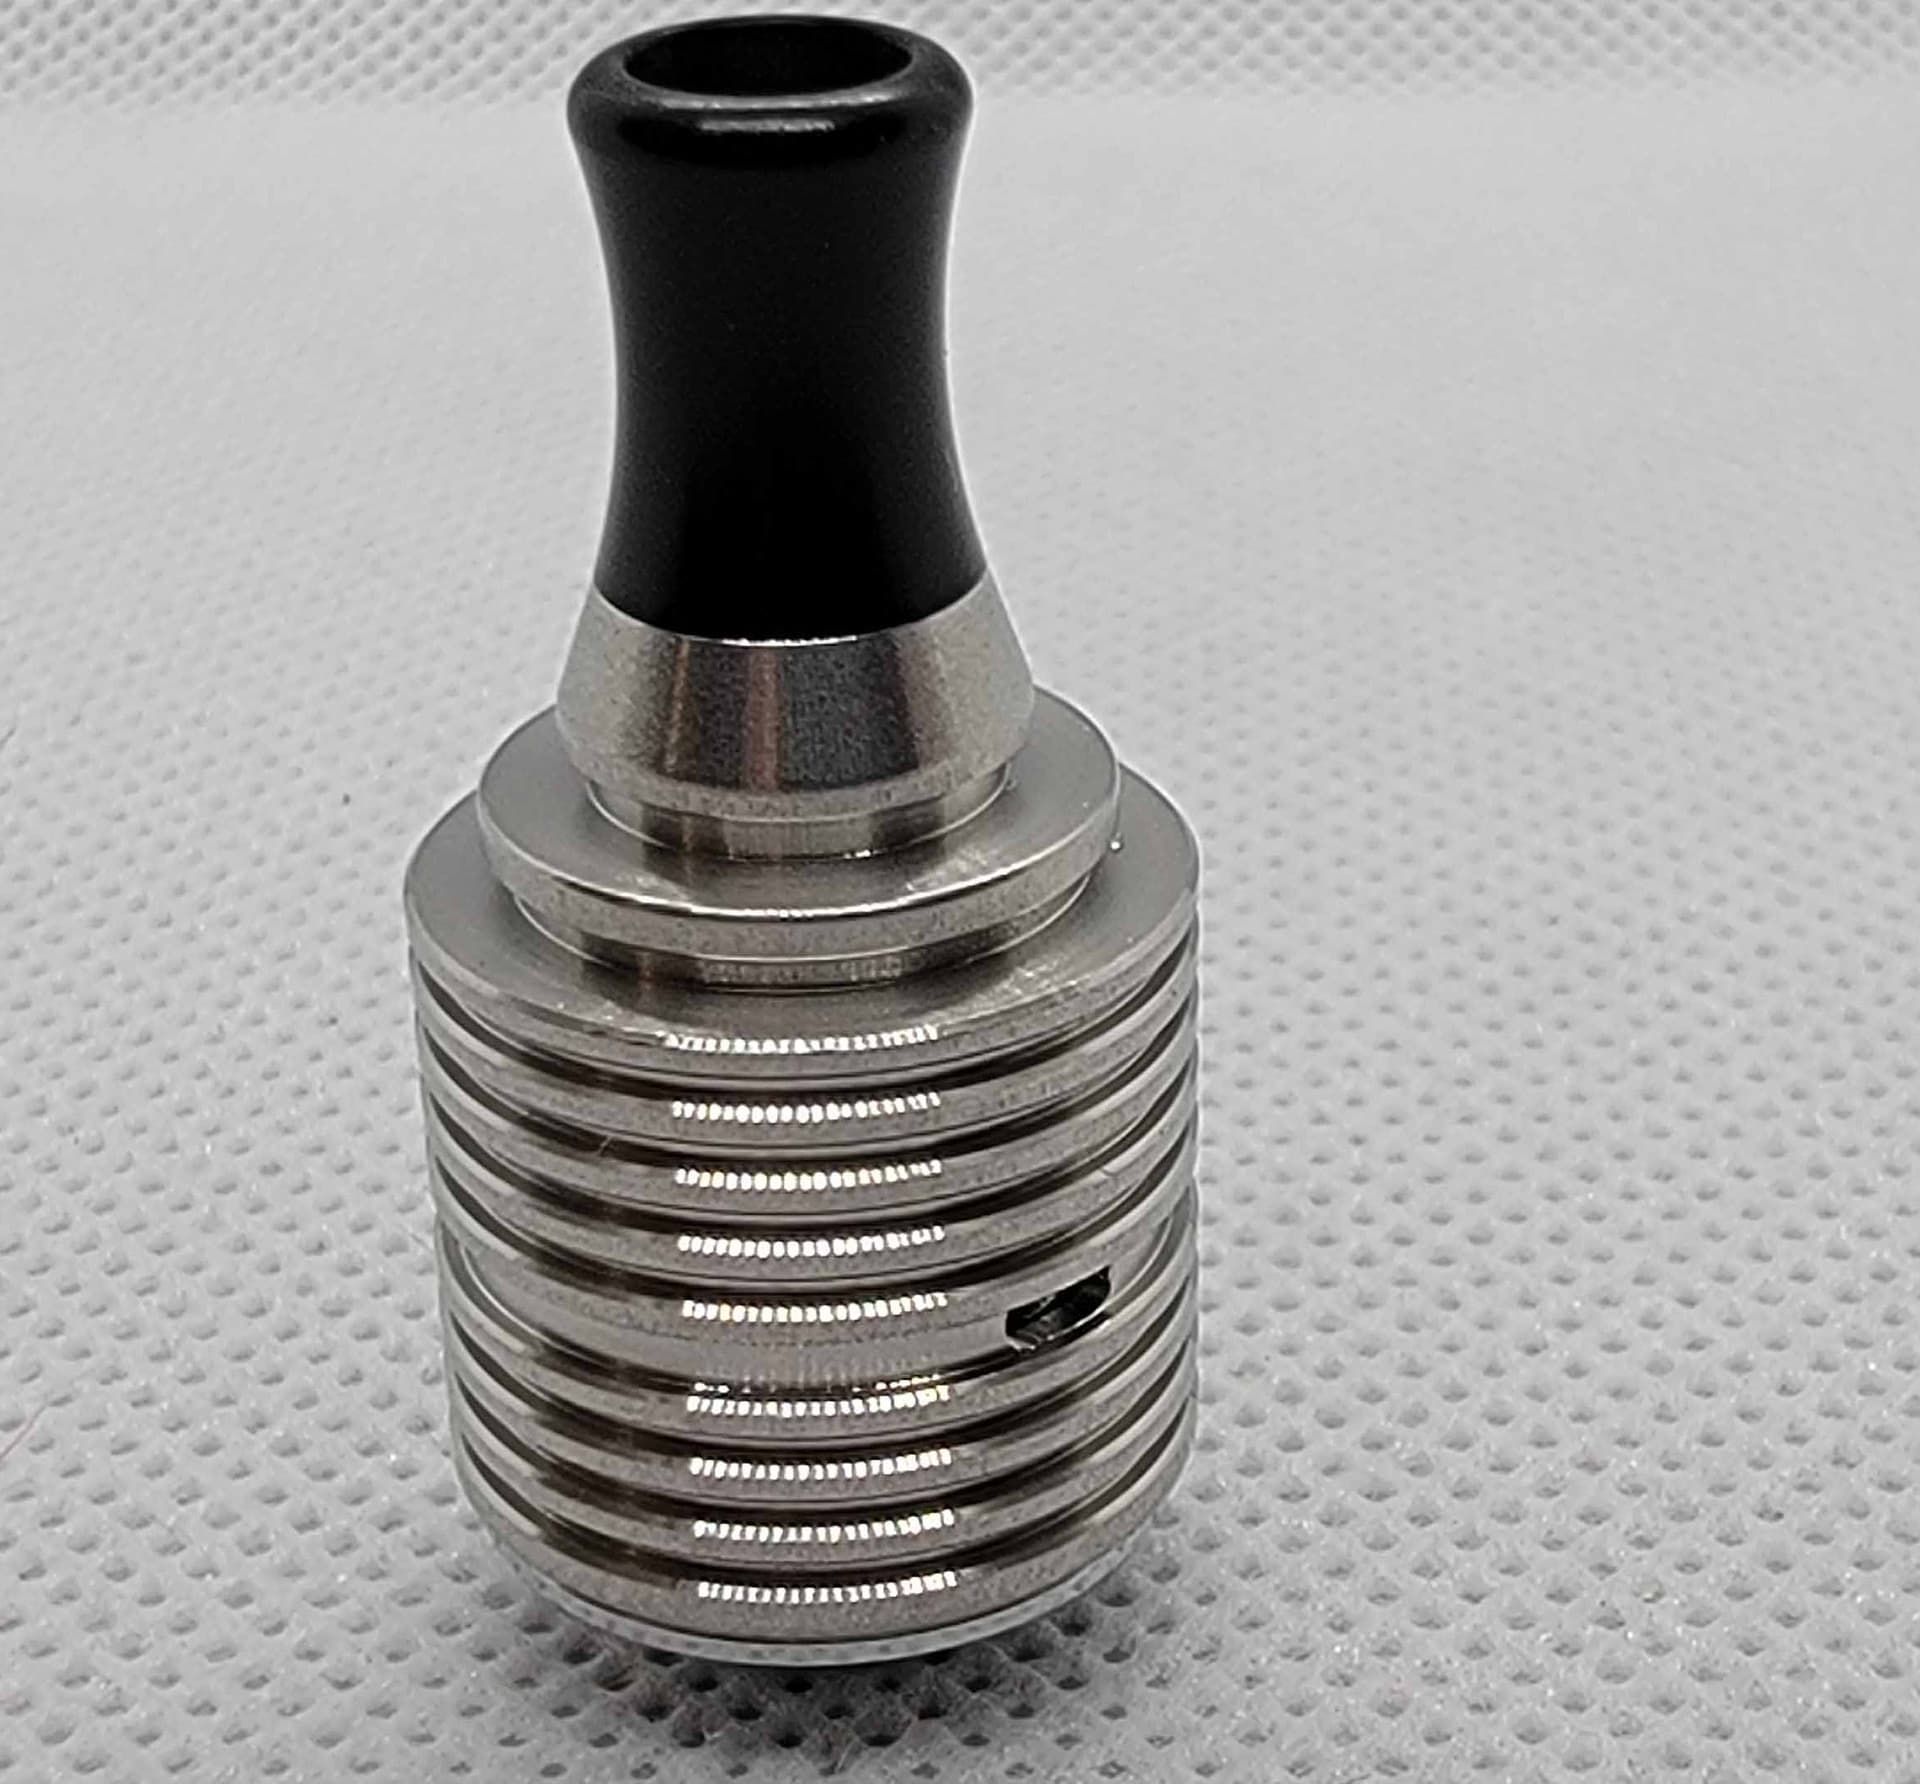
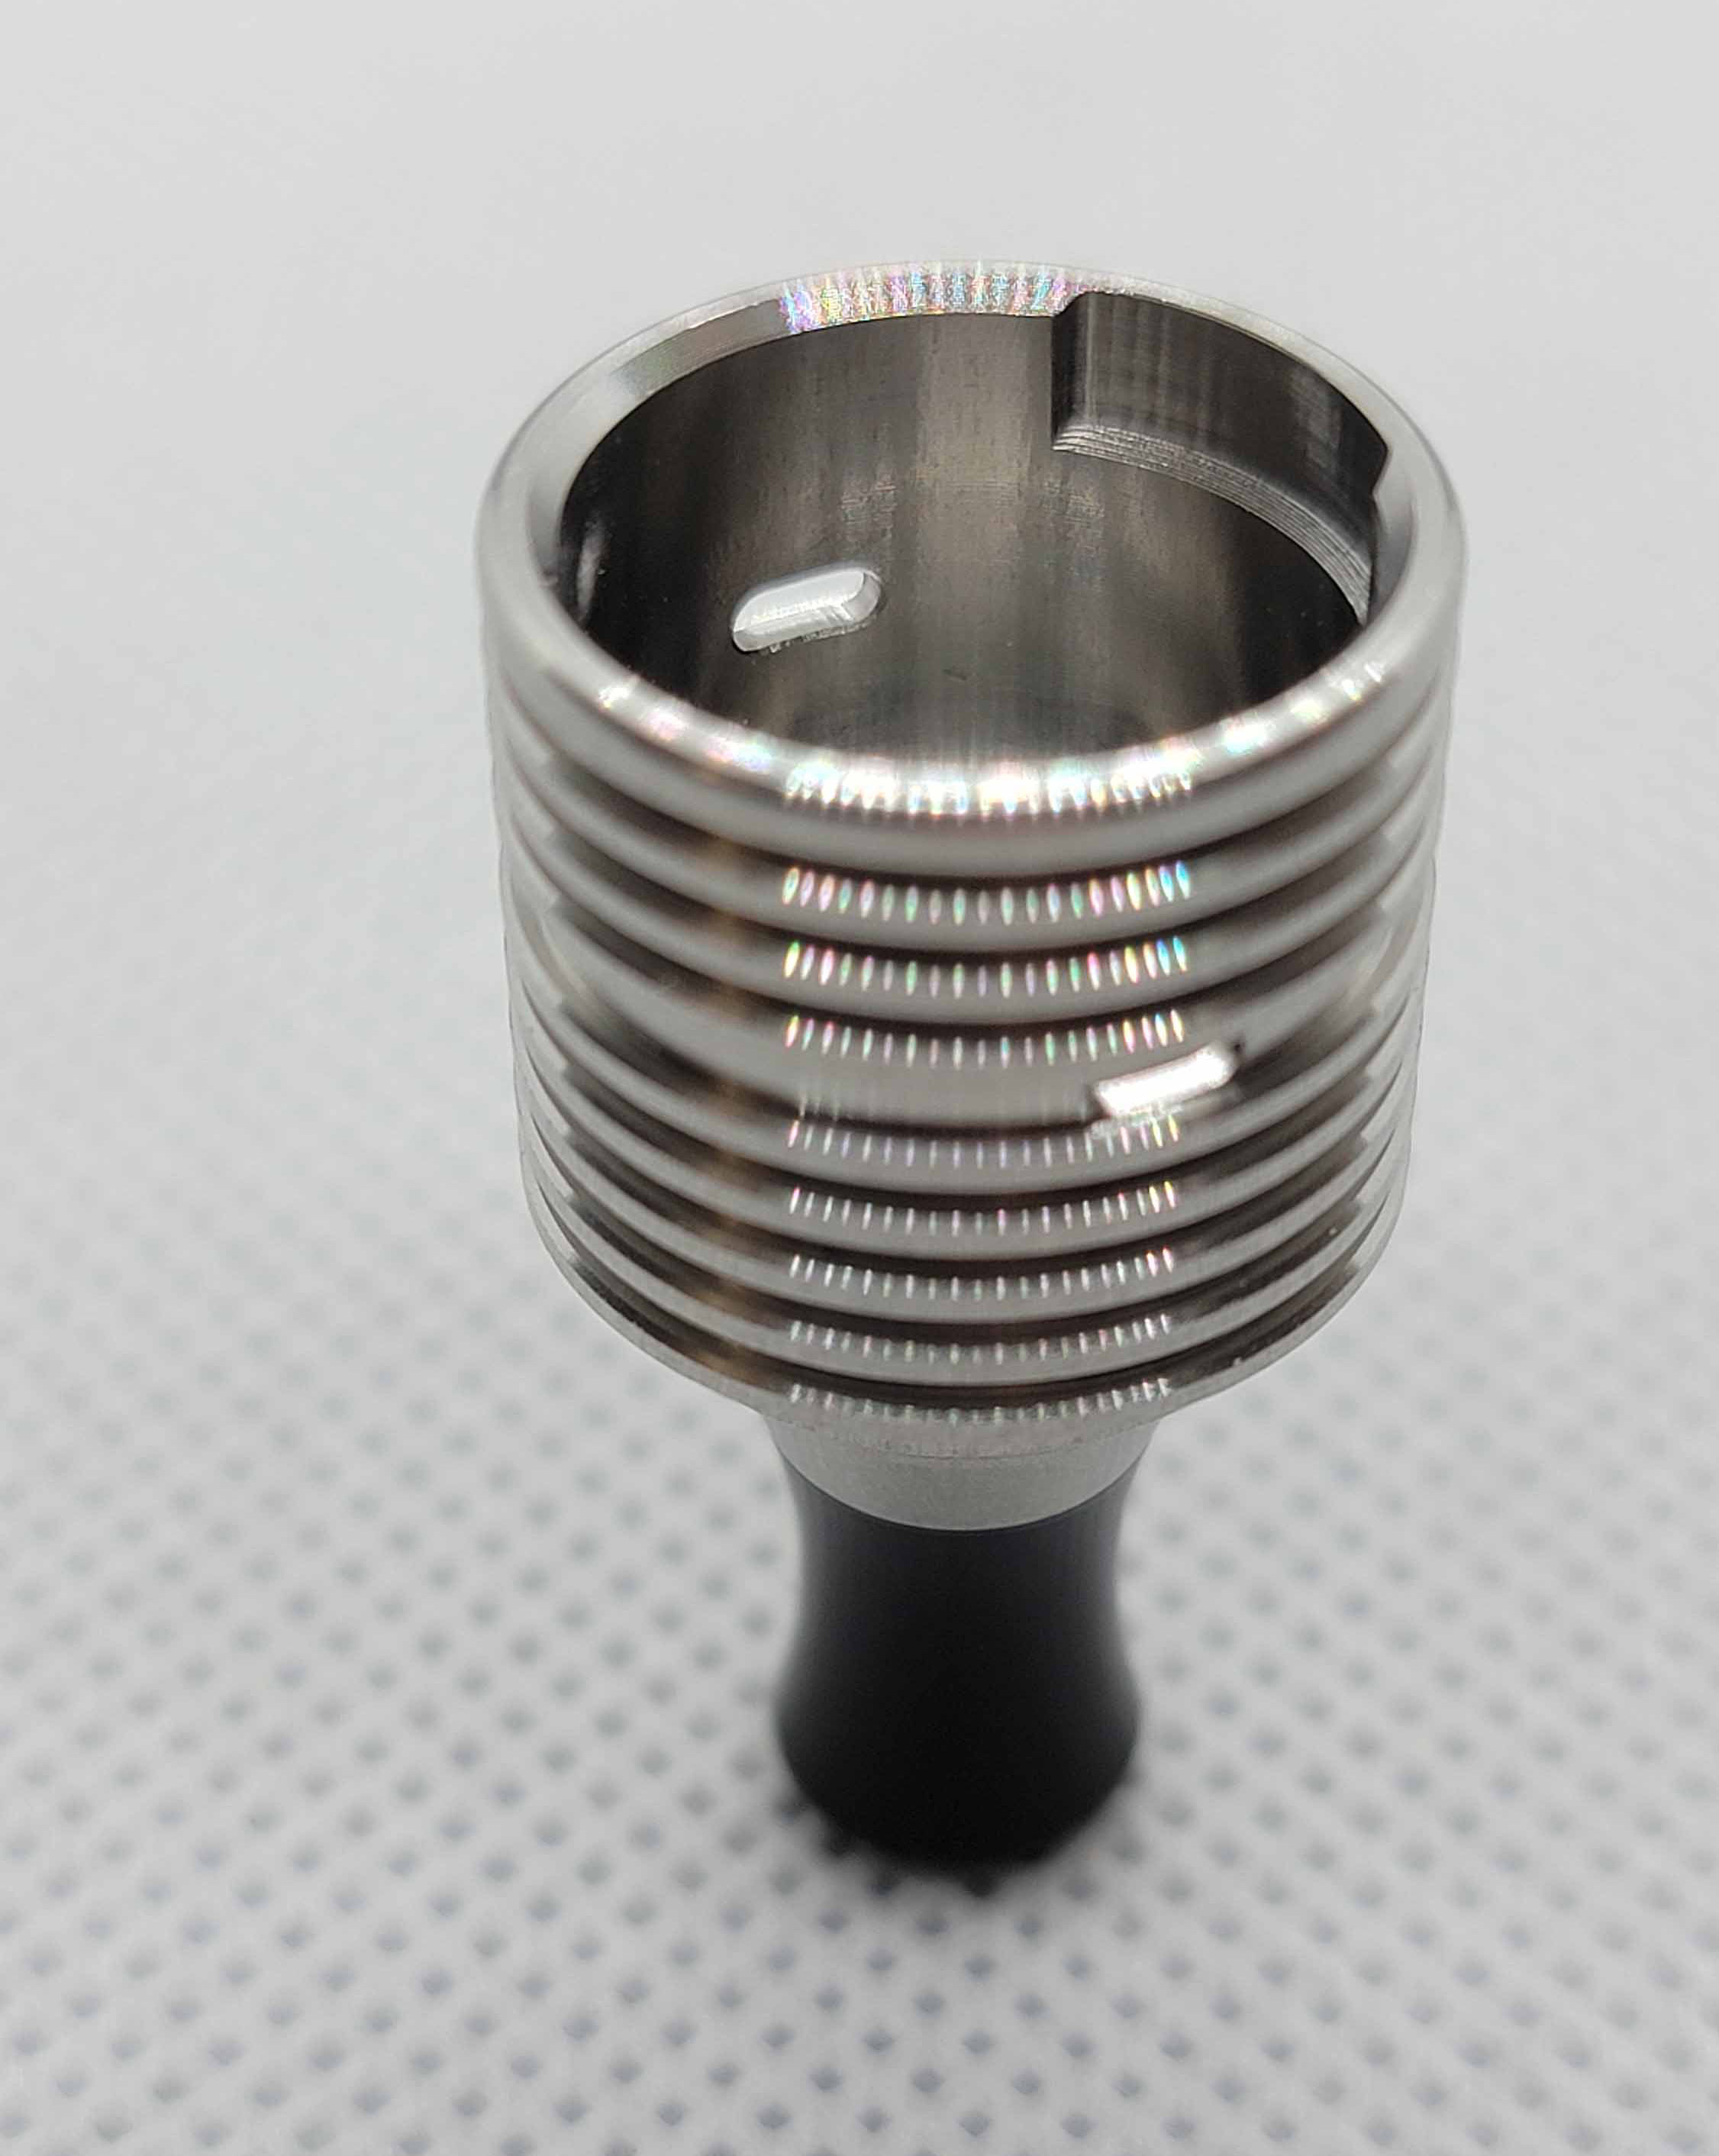
Moving back up to the Atomizer, which appeared to share a heatsink design …
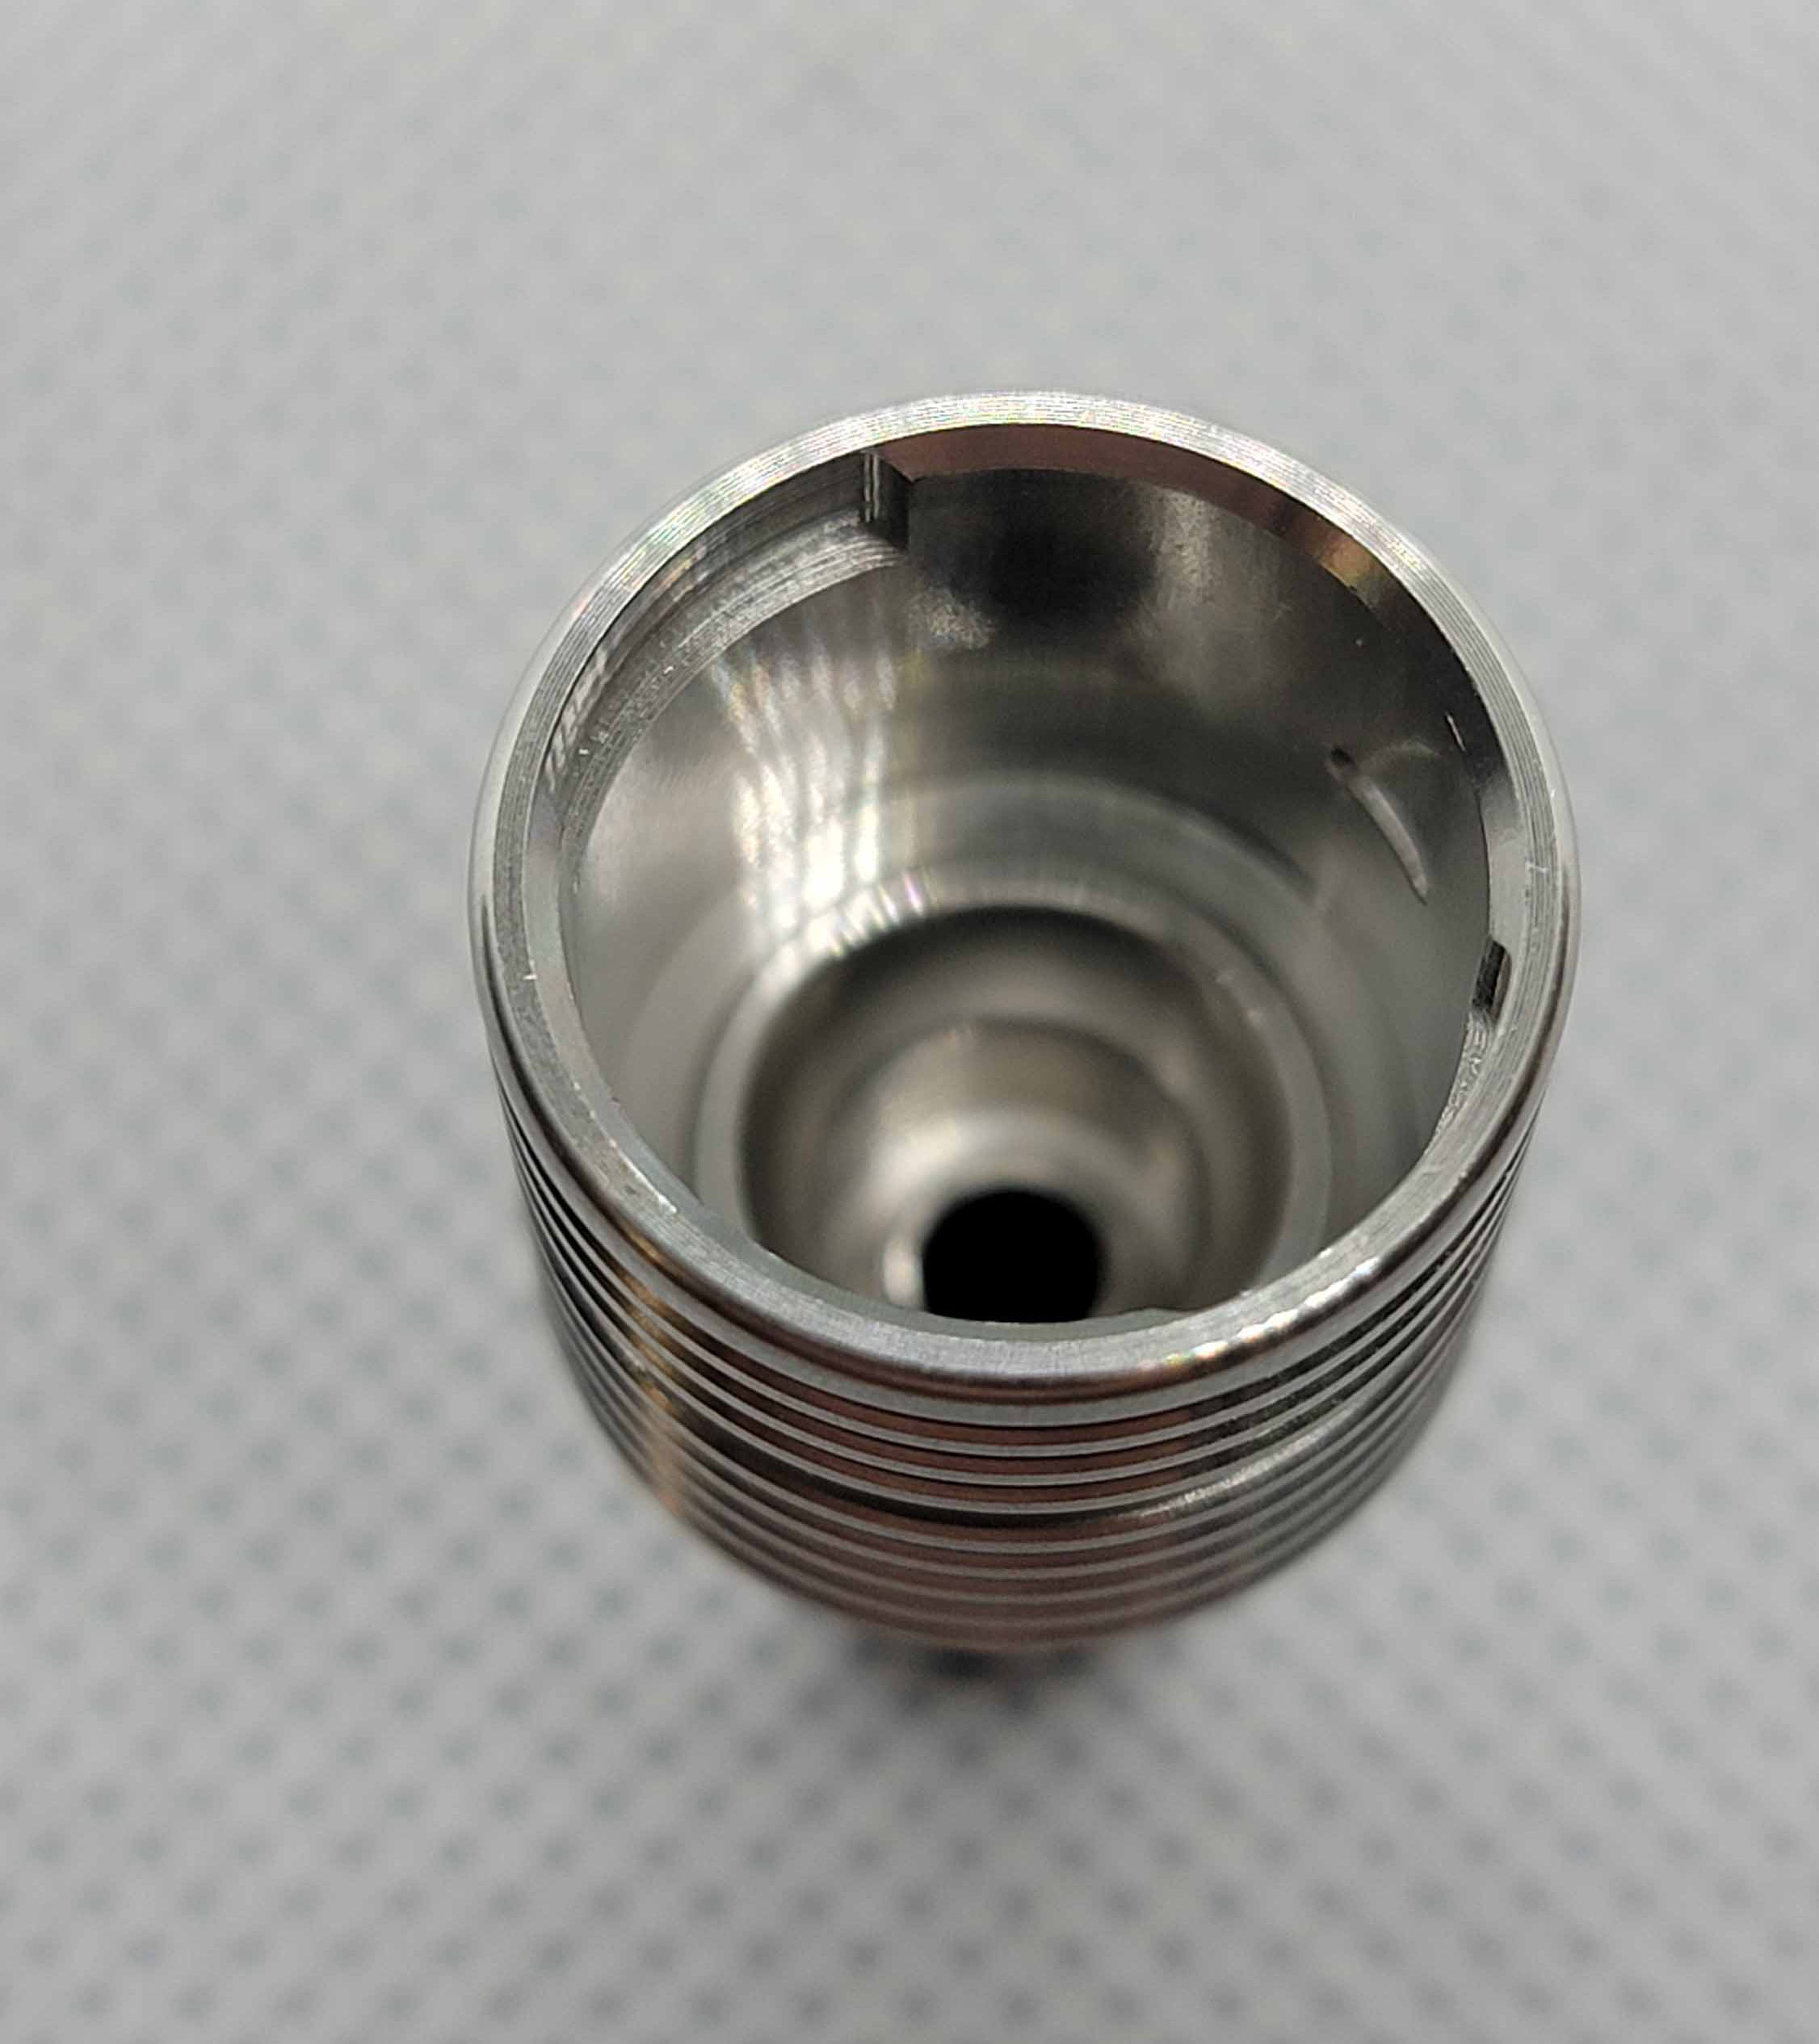
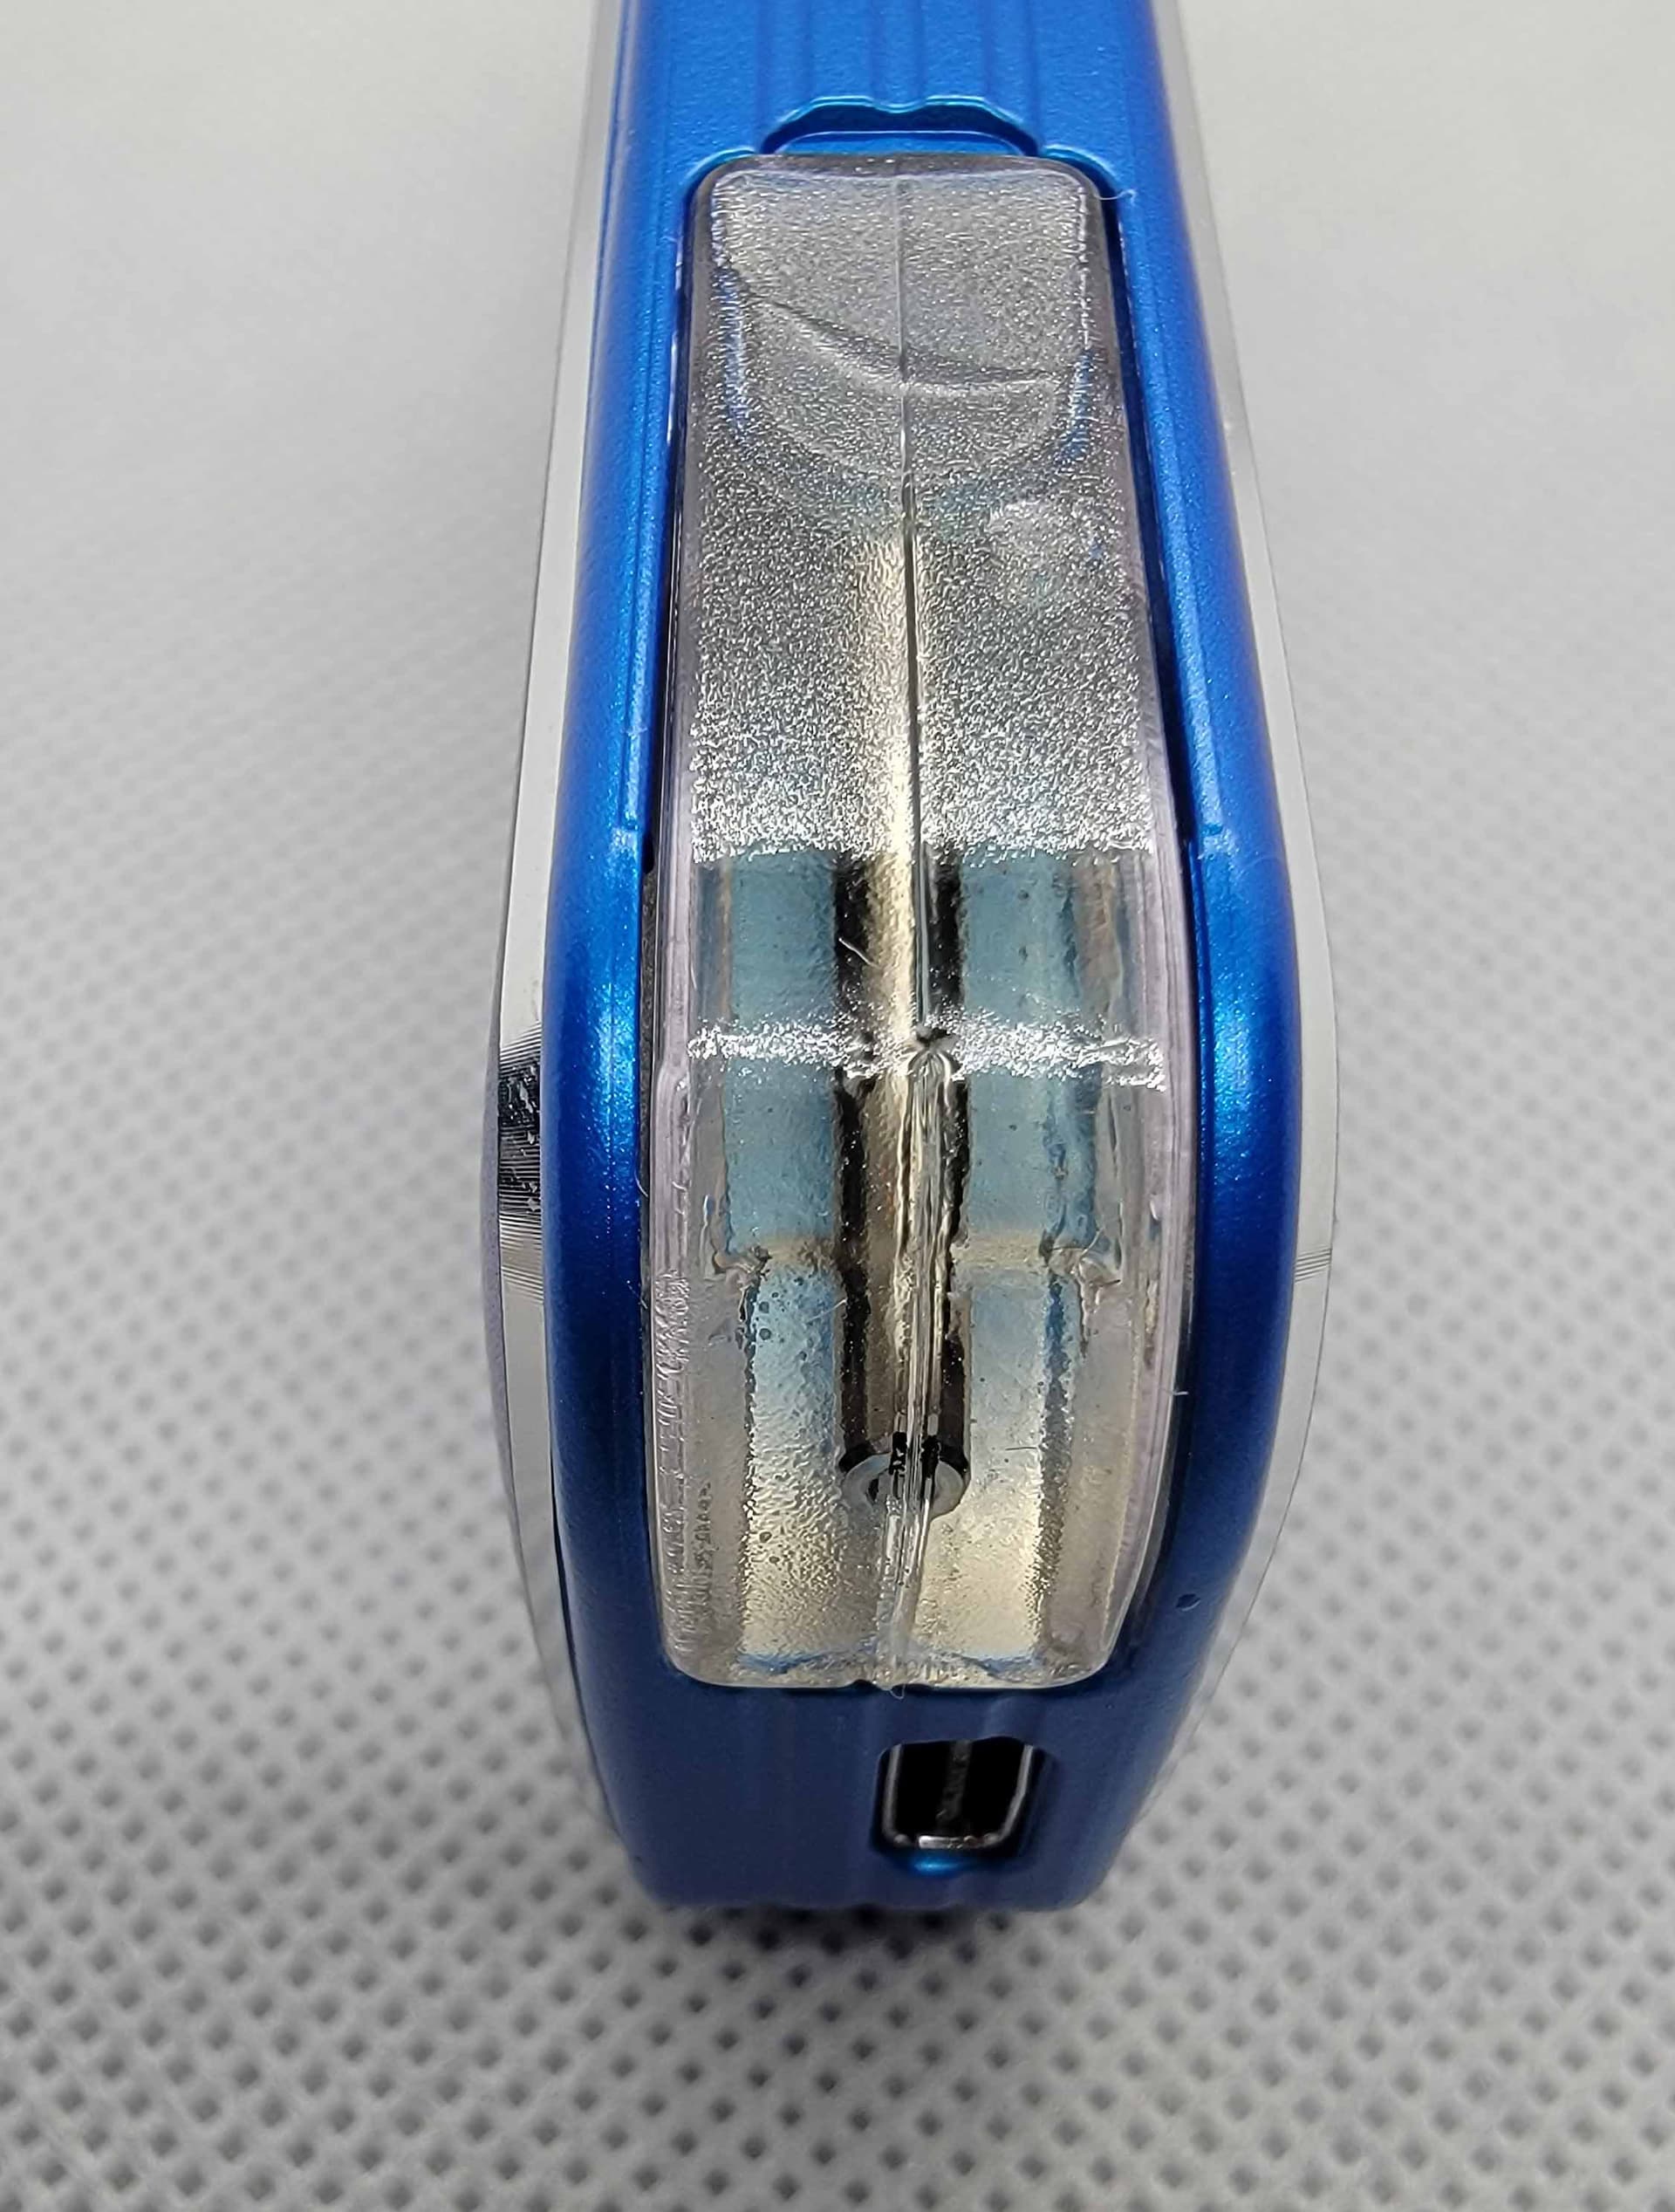
The business end really showcased the attention to detail on this piece …
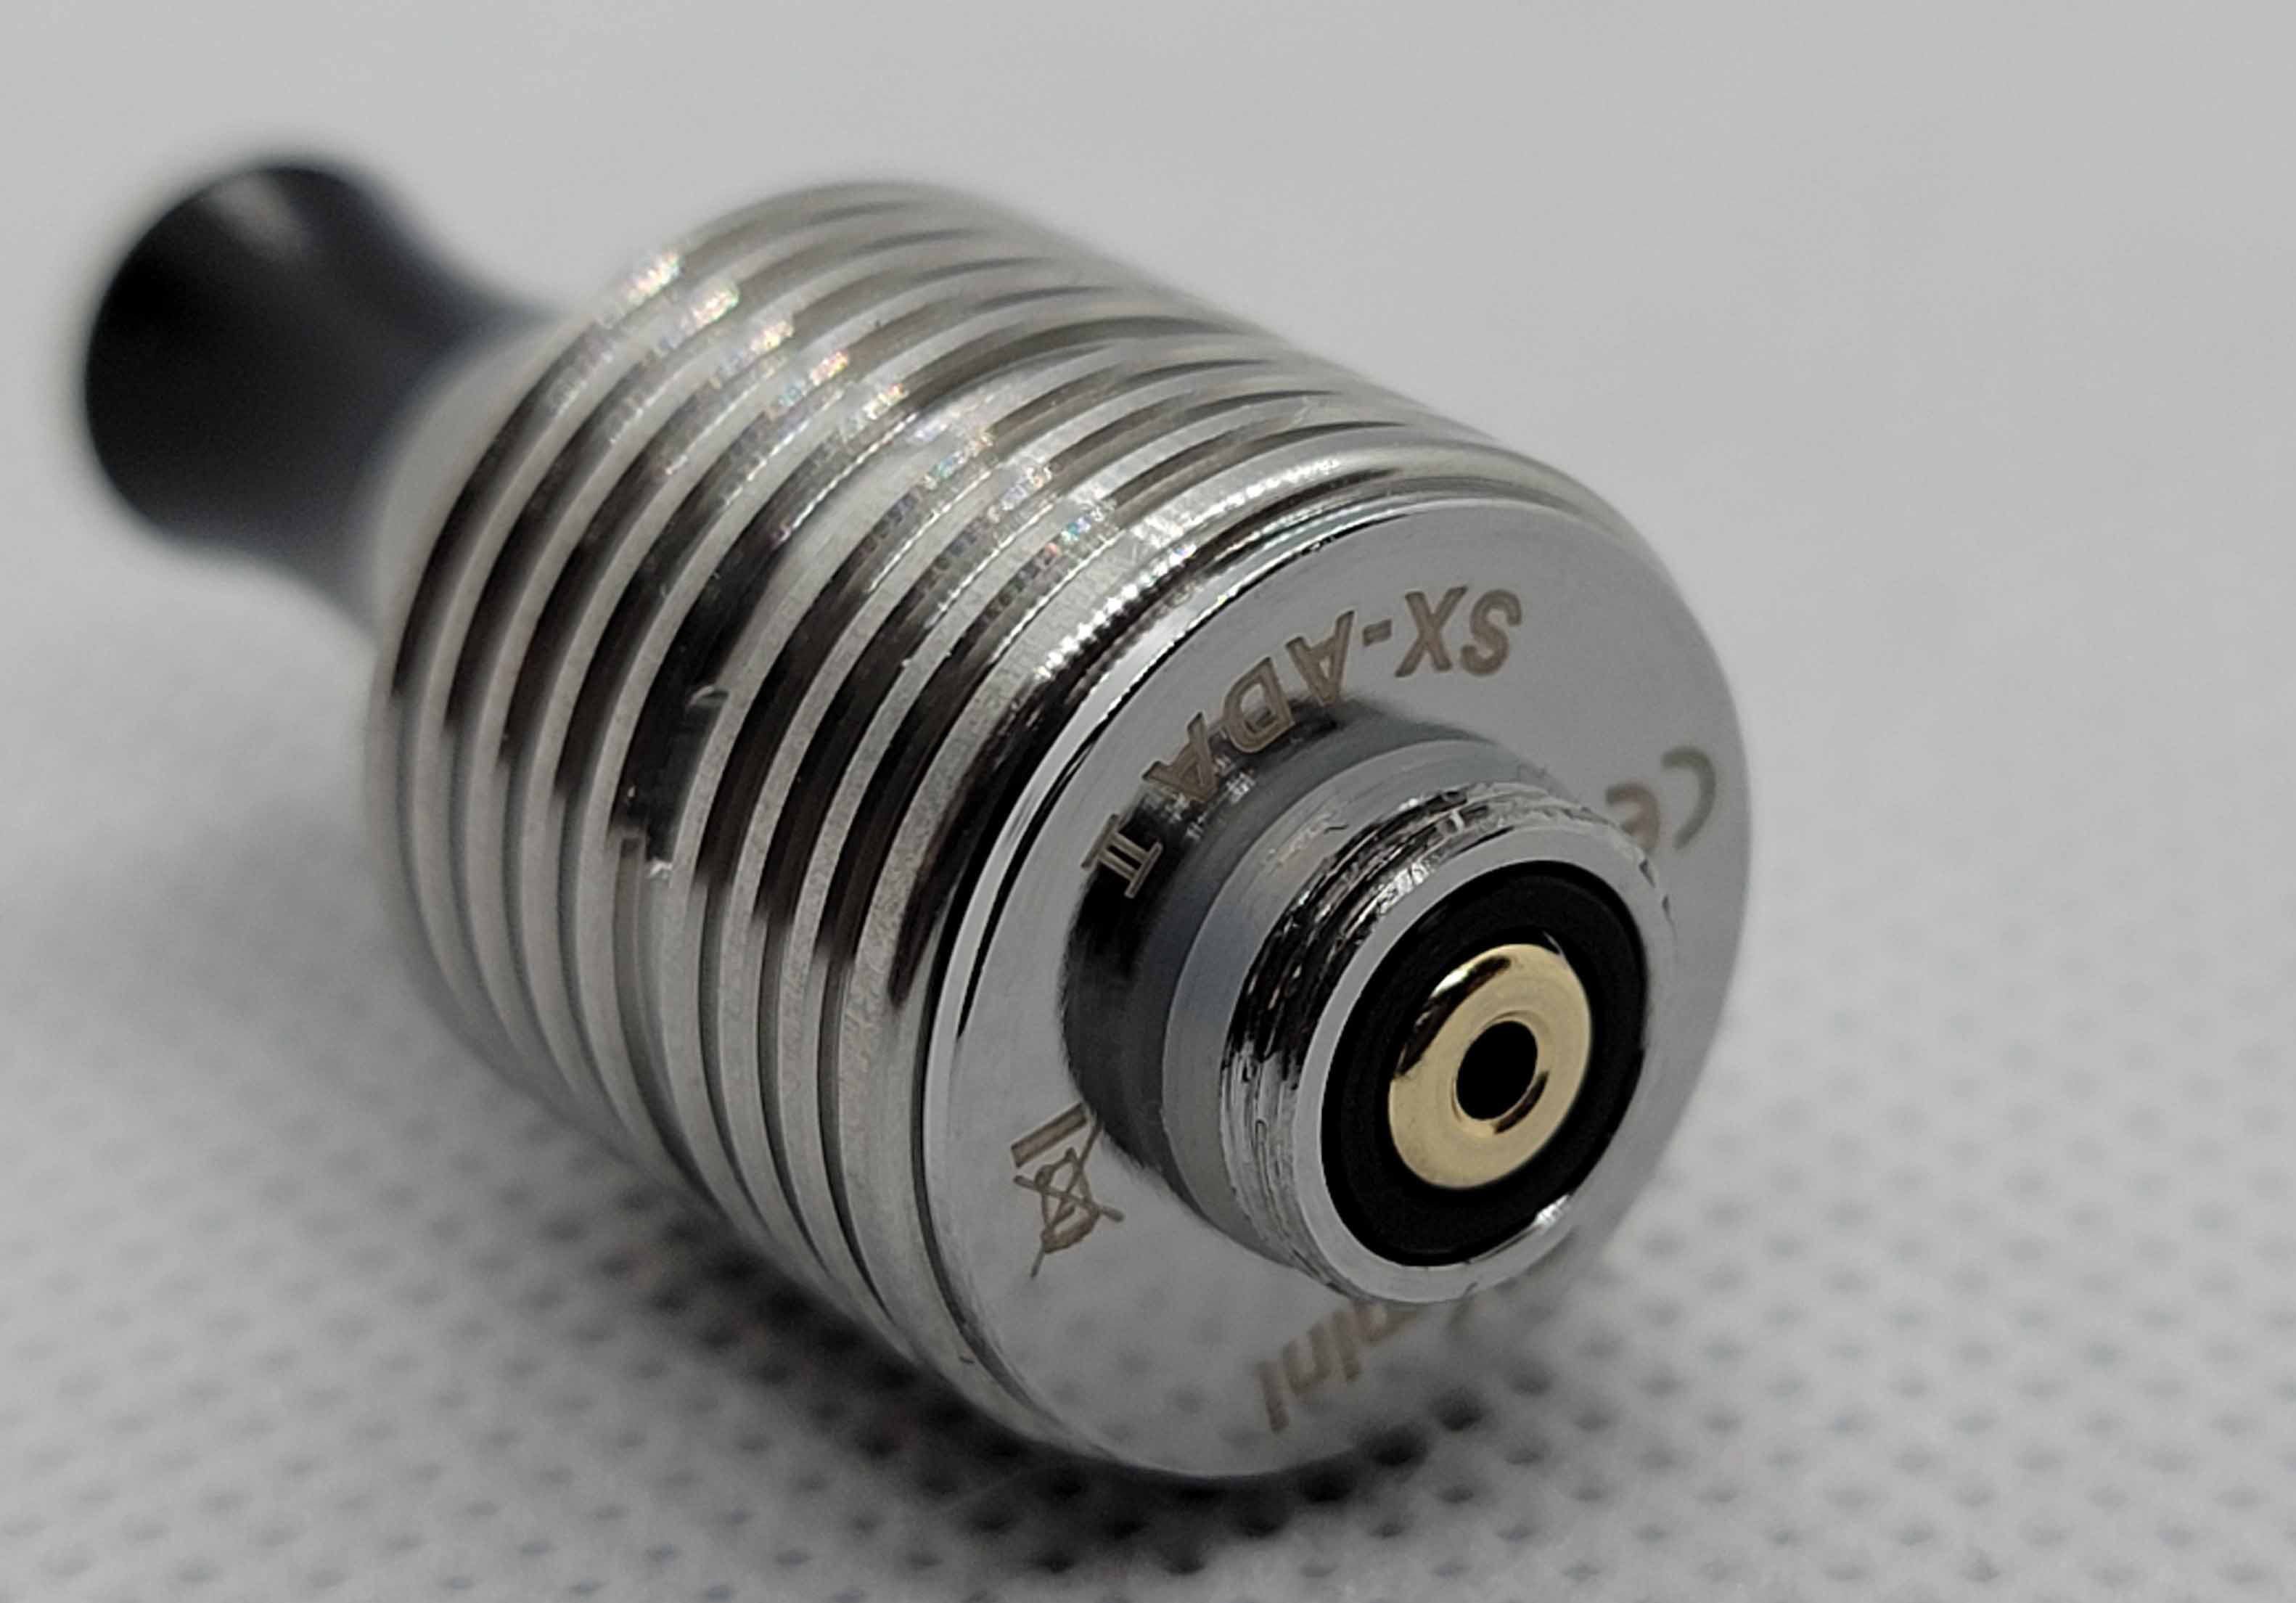
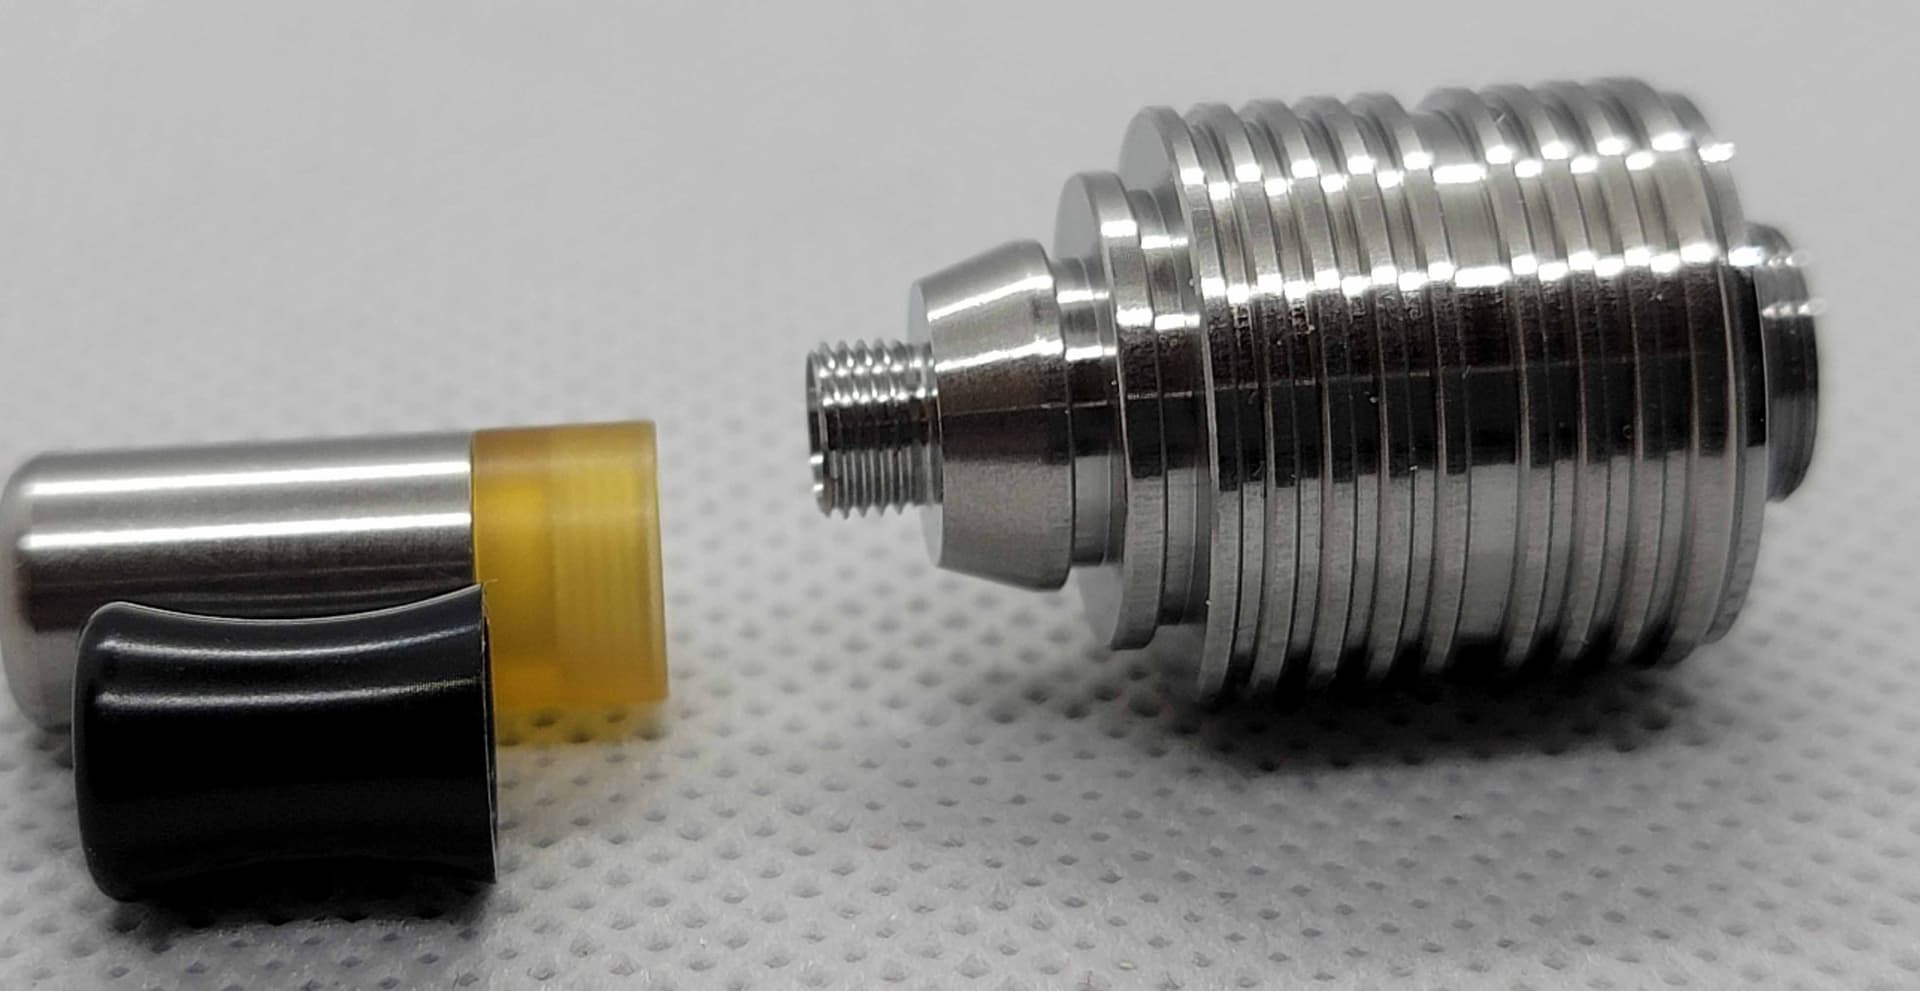
A black screw on tip was installed, with an extra SS version provided …
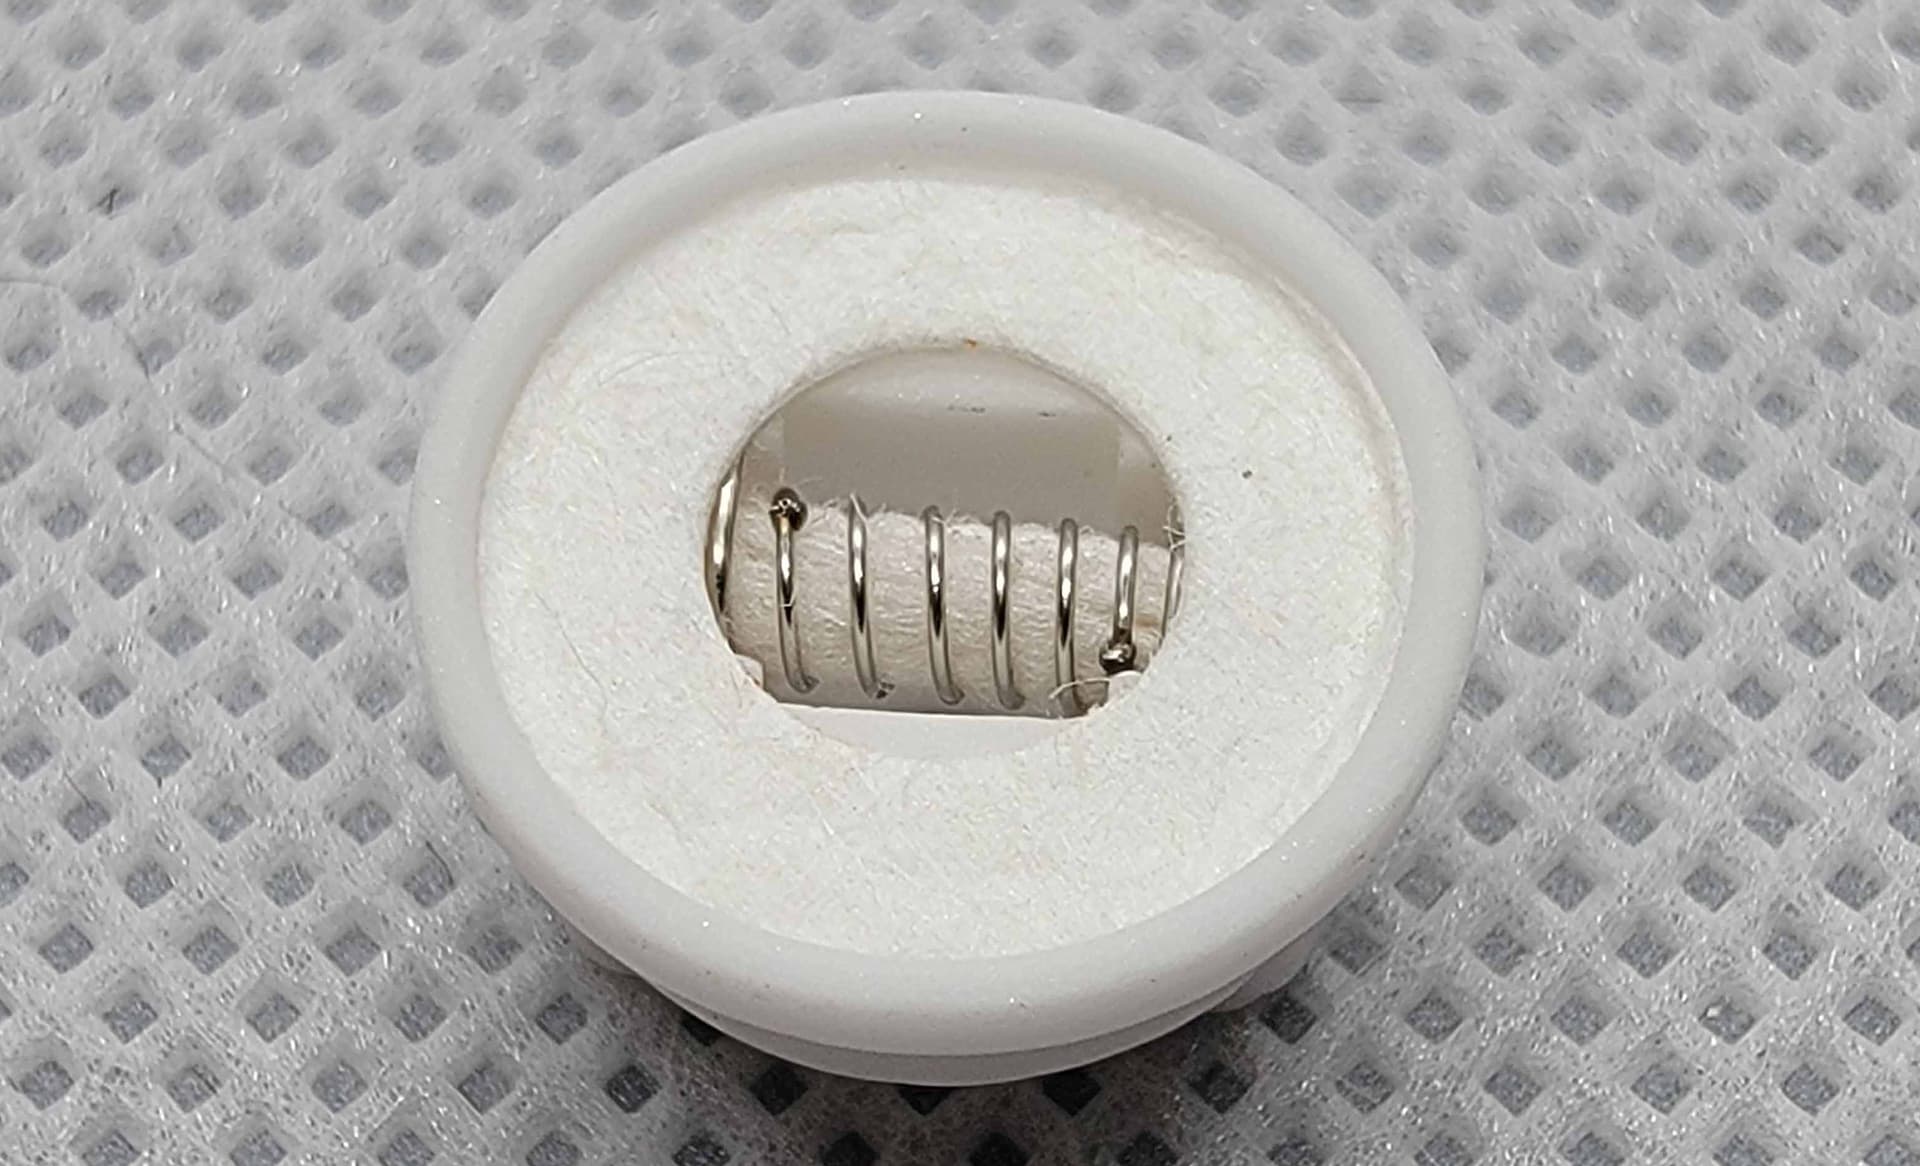
Removing the cap, things started to get interesting with a round ceramic base with the coil visible …

The inside of the cap was heavily domed, which is exactly what flavor craves …
Dual slotted airflow on each side, and notice the keyed section of the cap …
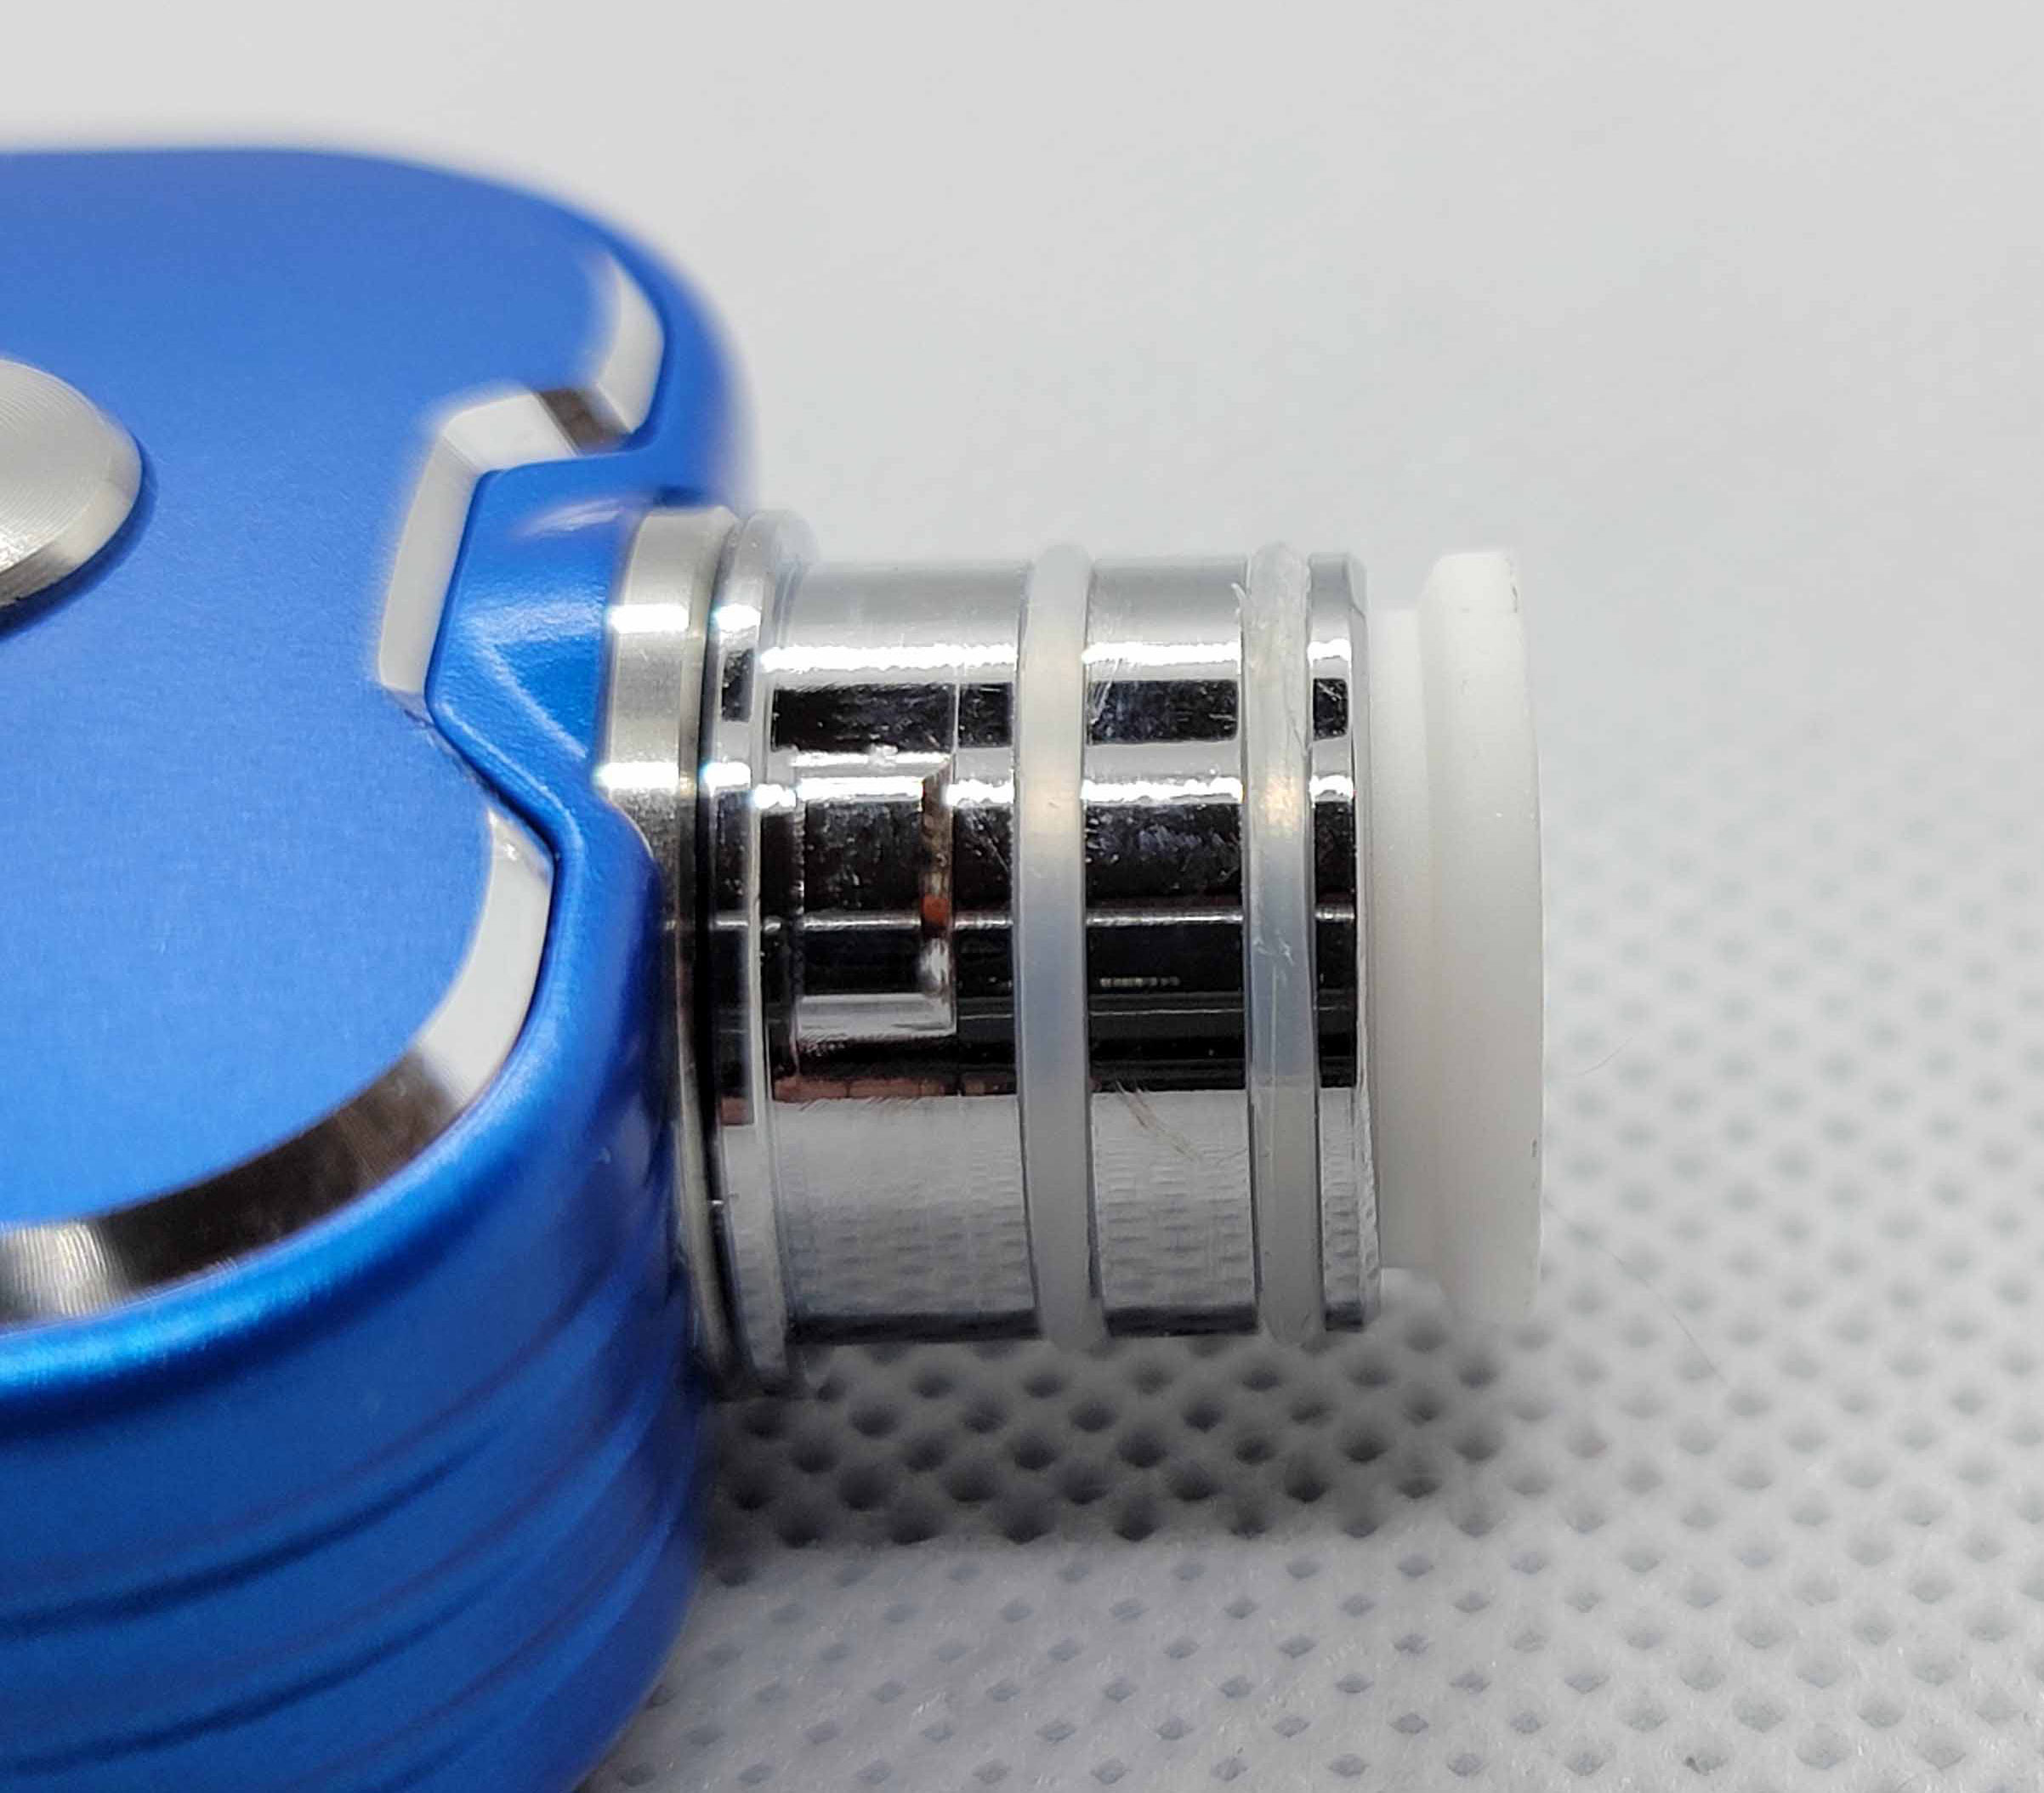
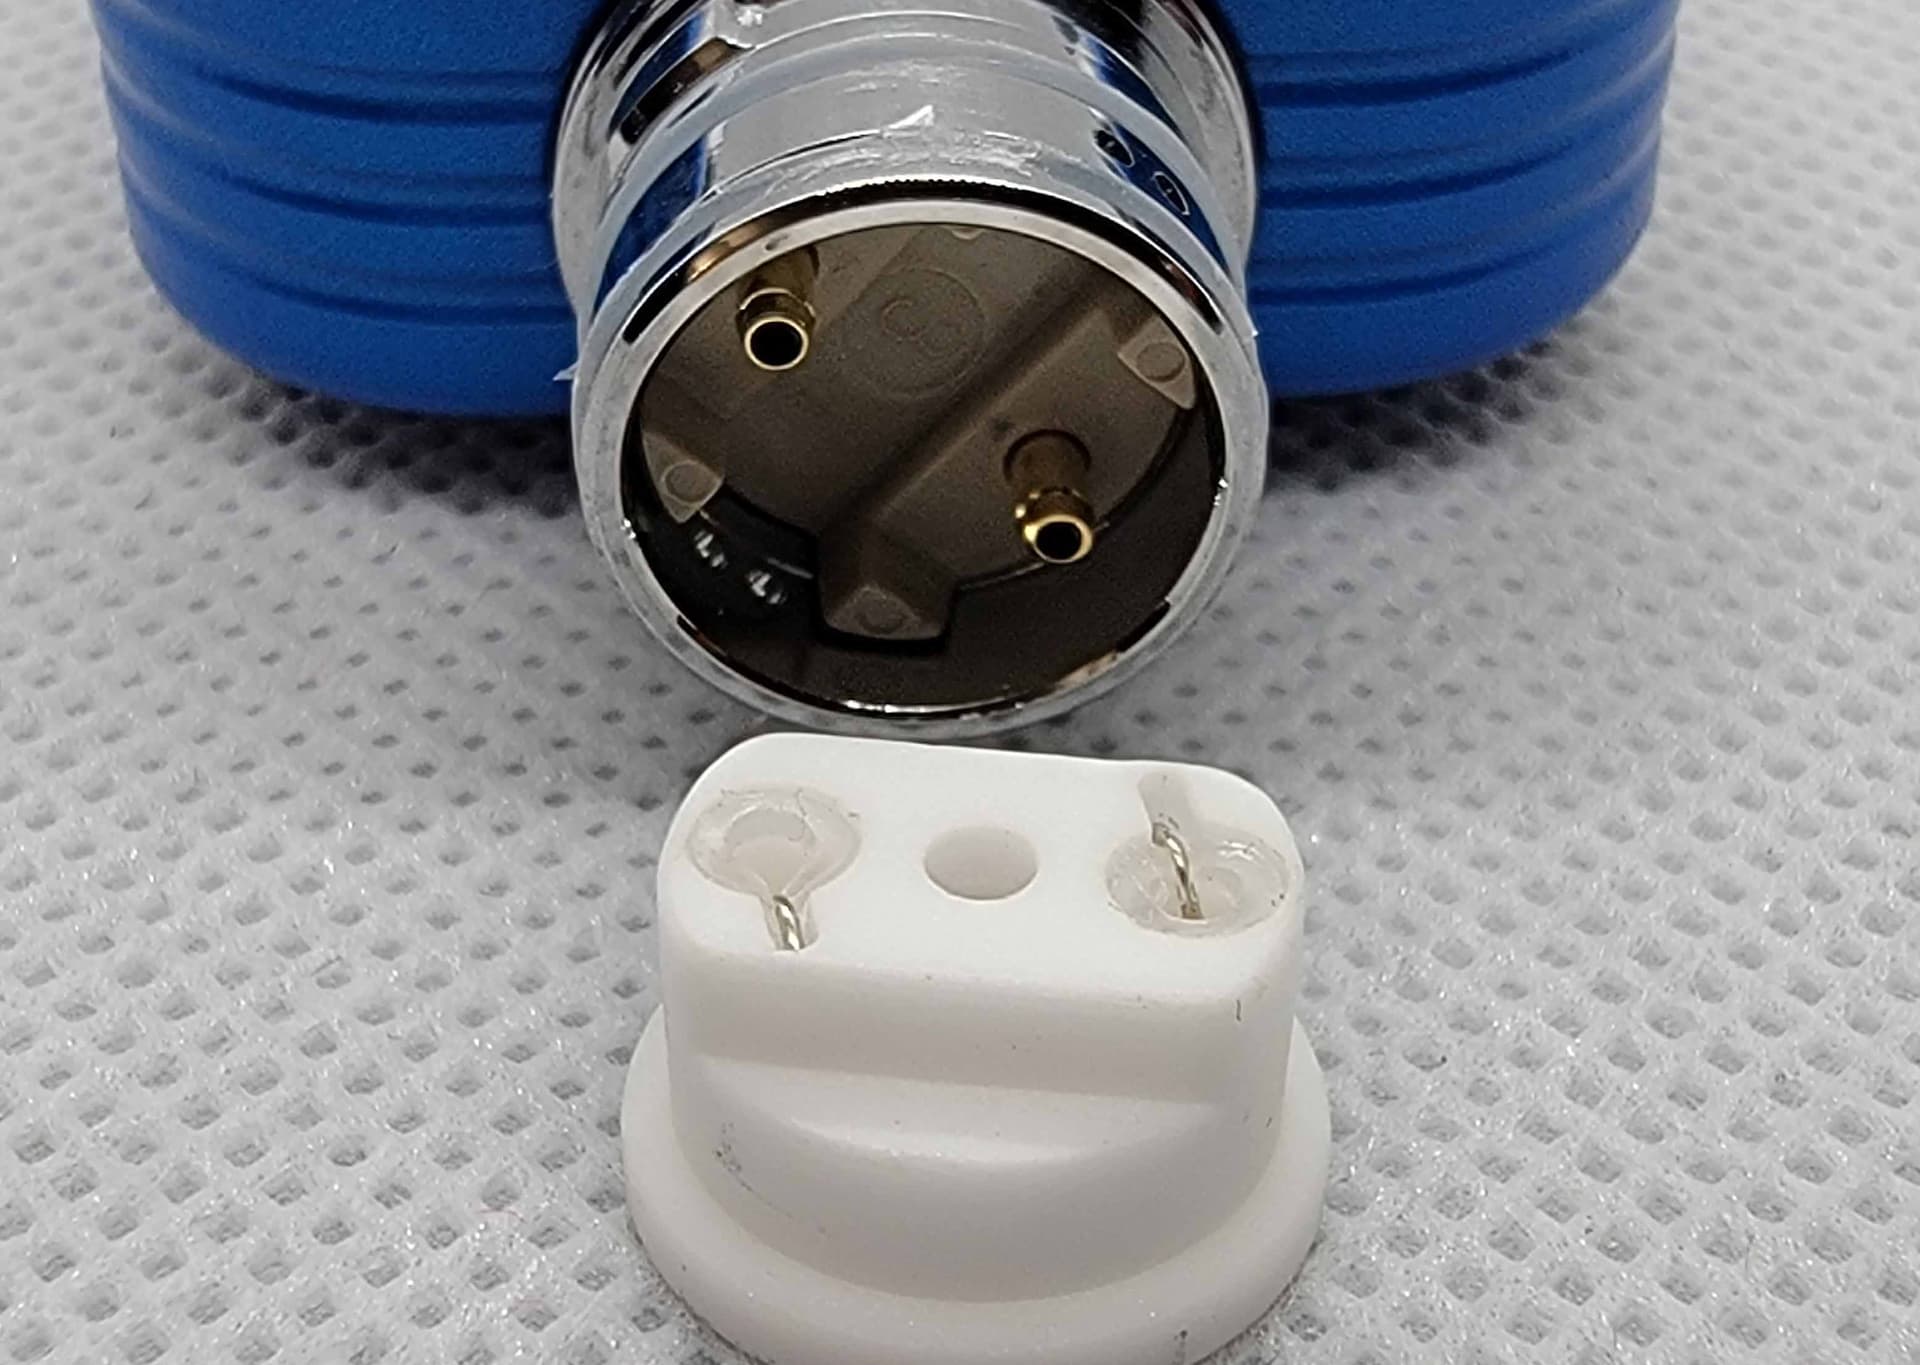
The base of the atomizer was very well designed, with dual o-rings. The first time I assembled it, I didn’t pay attention to the keyed slot, and managed to PING one of the o-rings. Good thing they included spares …
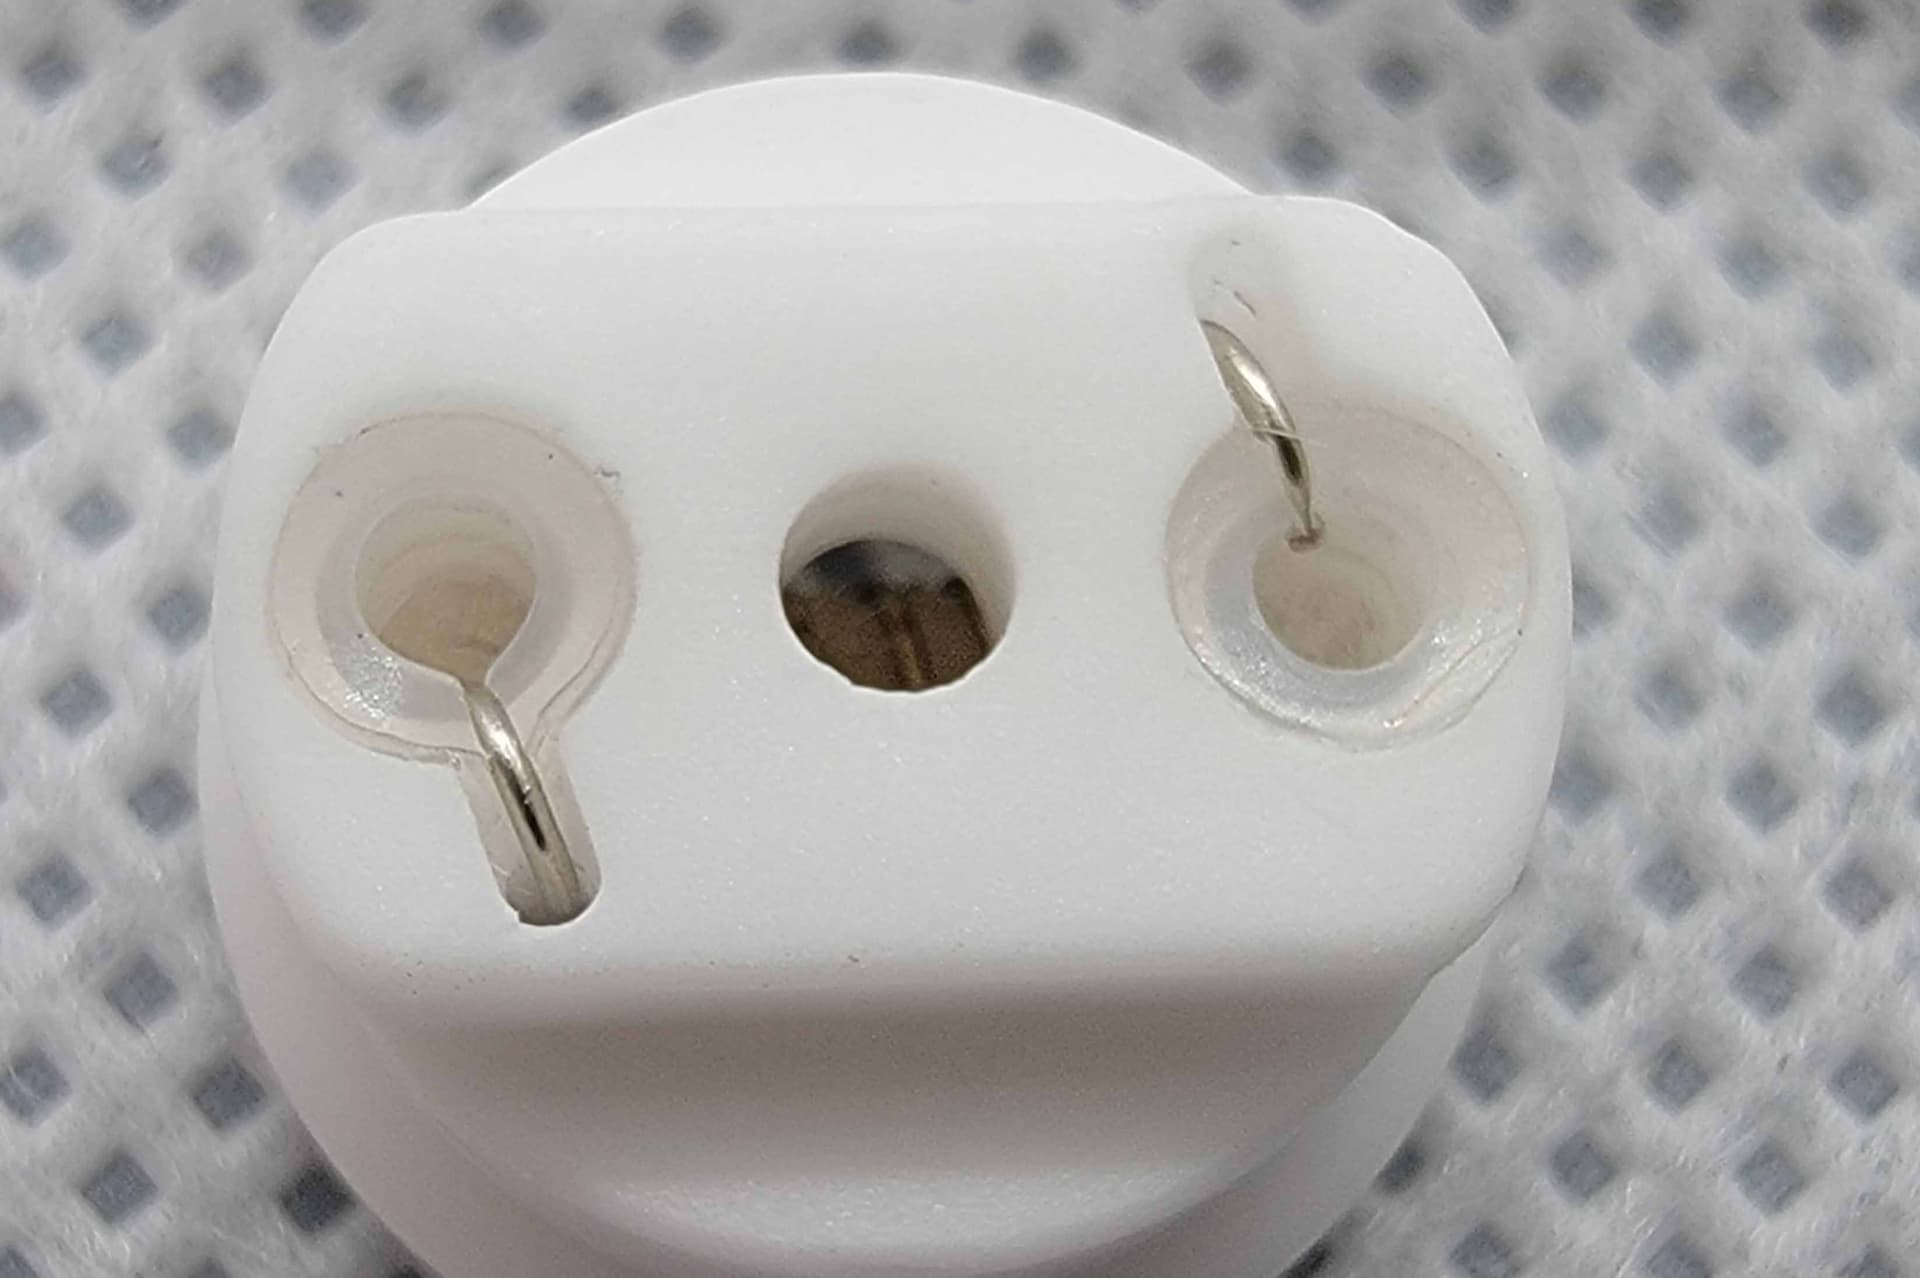
Removing the coil disk you can start to see how power is making it to the coil. Again, very well designed …
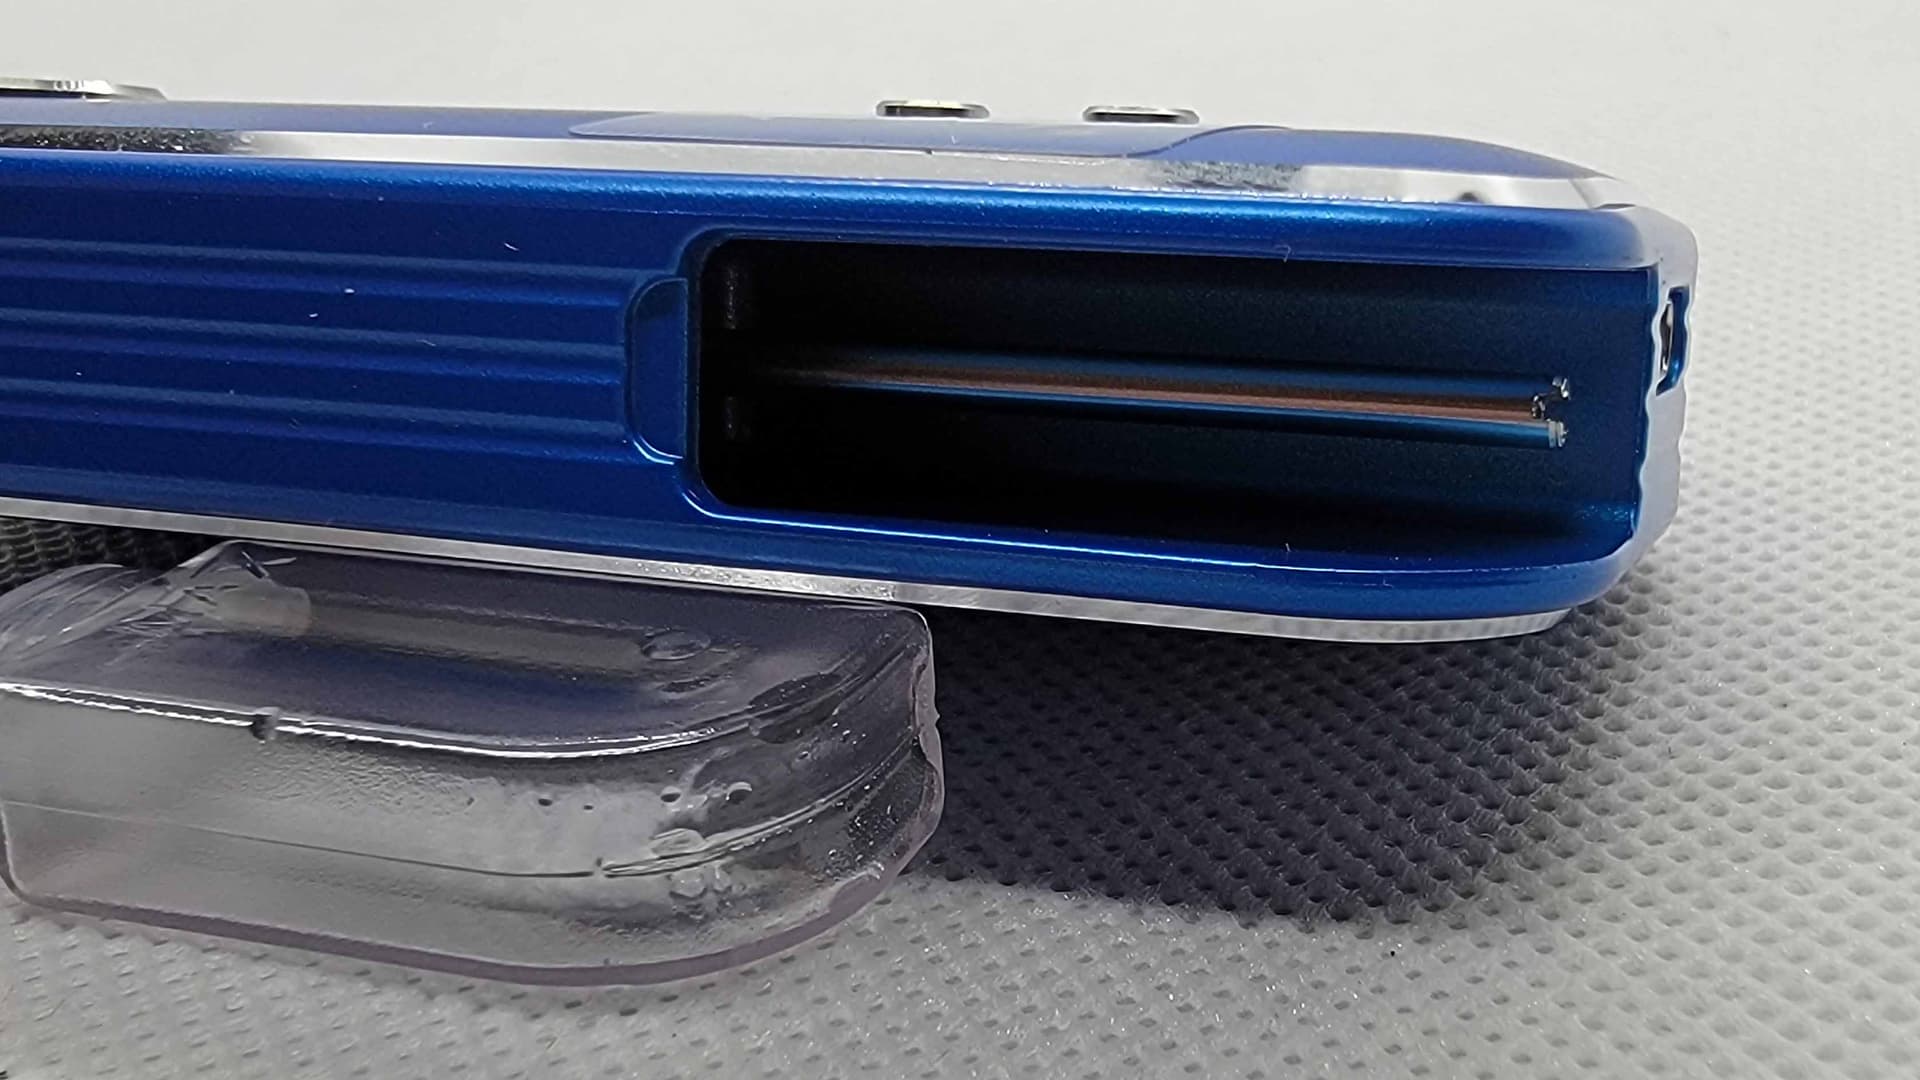
The tank, errrrr reservoir was very snug, but easy to slide off …
And it had a long tube for getting every last bit out …
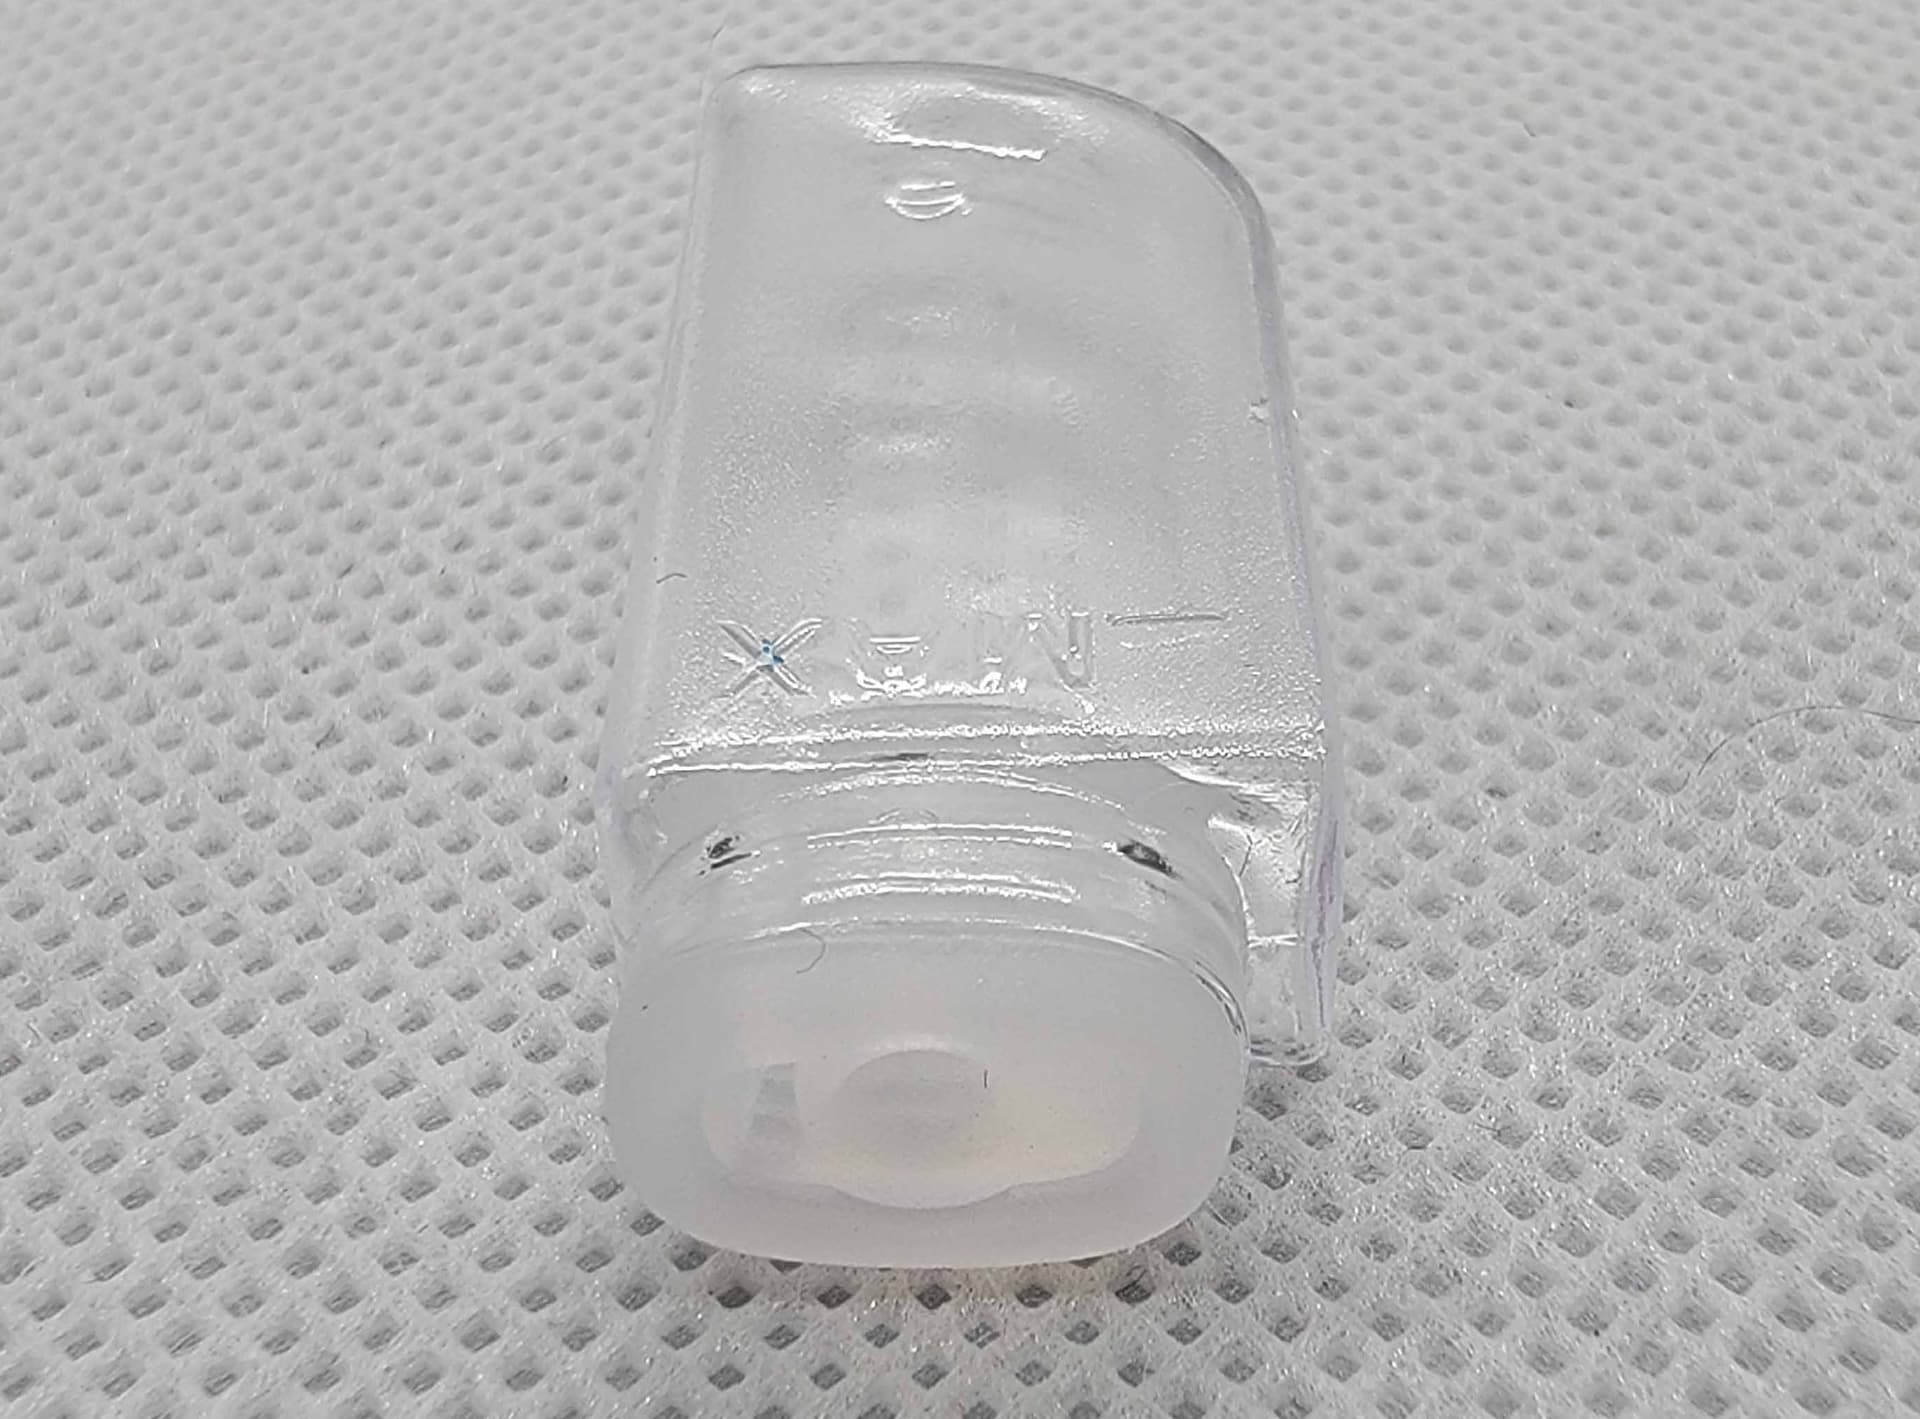
The reservoir had a snug cap that could be removed for cleaning, and two holes (the big one is for filling) …
Sorry, no cosmo twist tops here, but small tipped bottles filled easily …
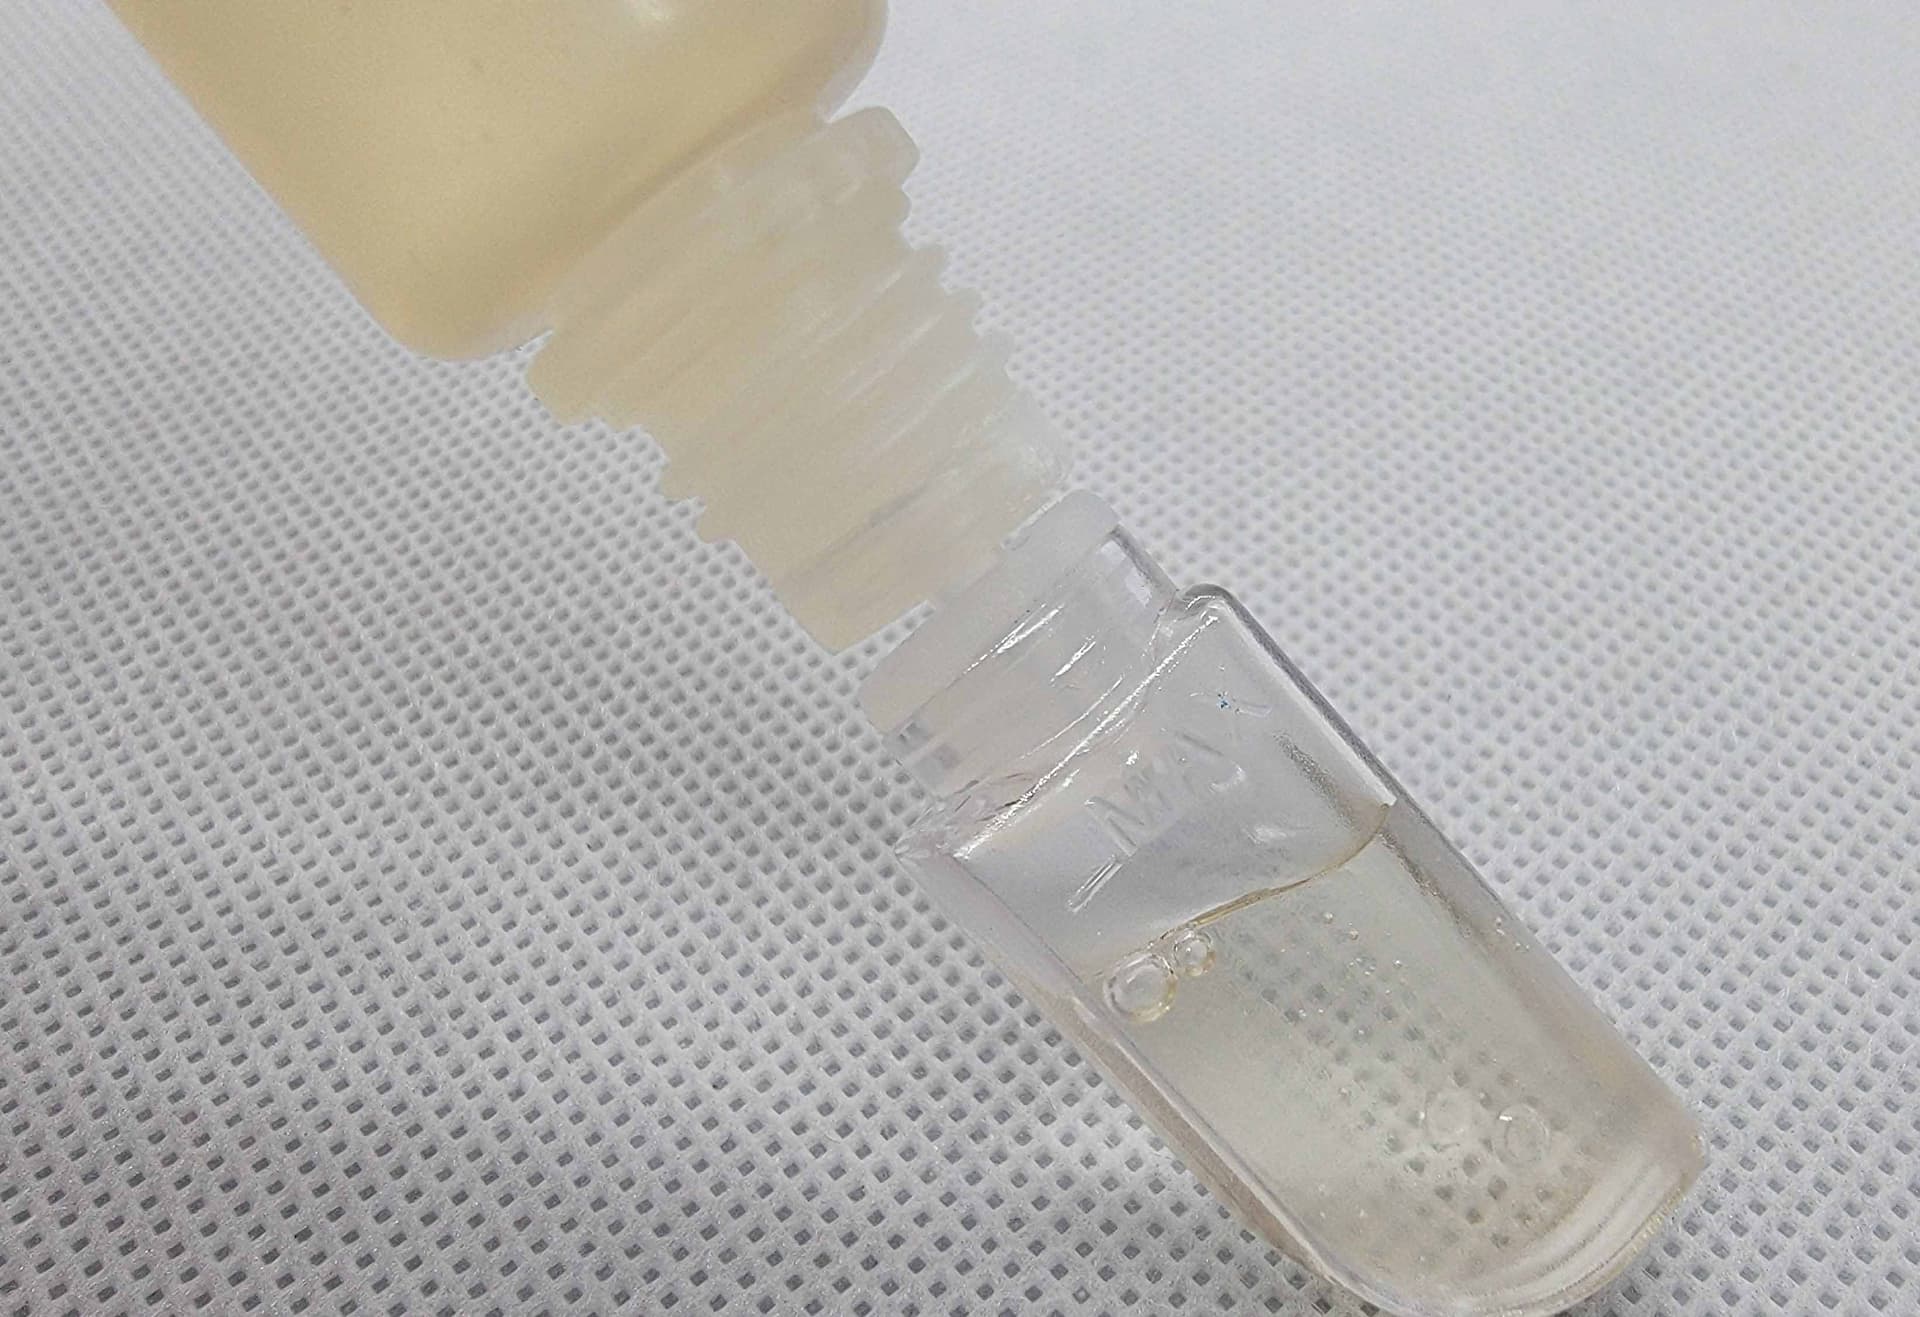
Don’t be a dum dum, there’s a Max Fill Line for a reason …

Nothing could be smoother than sliding the reservoir back on, or the ease with which you can, without having to remove panels to get to it …
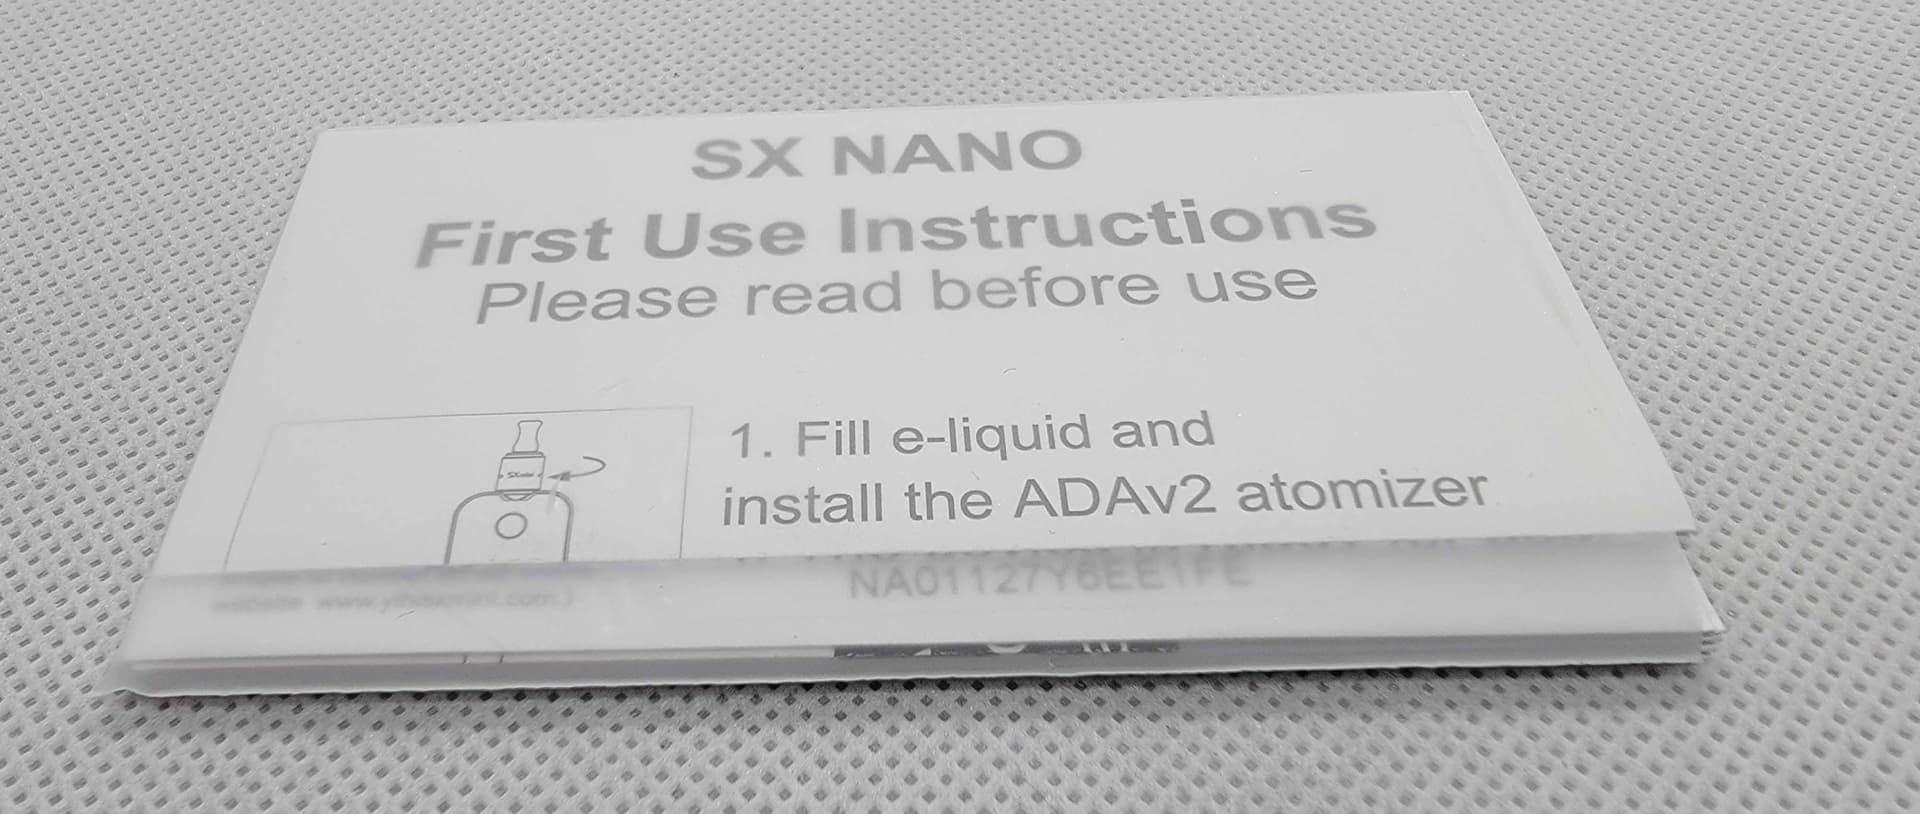
NOW, just in case you don’t like to read instructions, hehe, you should, at least once …
Don’t worry, hehe, there’s no science or math, TRUST ME, it’s simple. It’s actually VERY simple. After replacing coil, or using for the first time, you tap/hold the Fire button, and you watch as IT feeds the juice, and starts a countdown clock AS it primes the coil. See, simple !!!
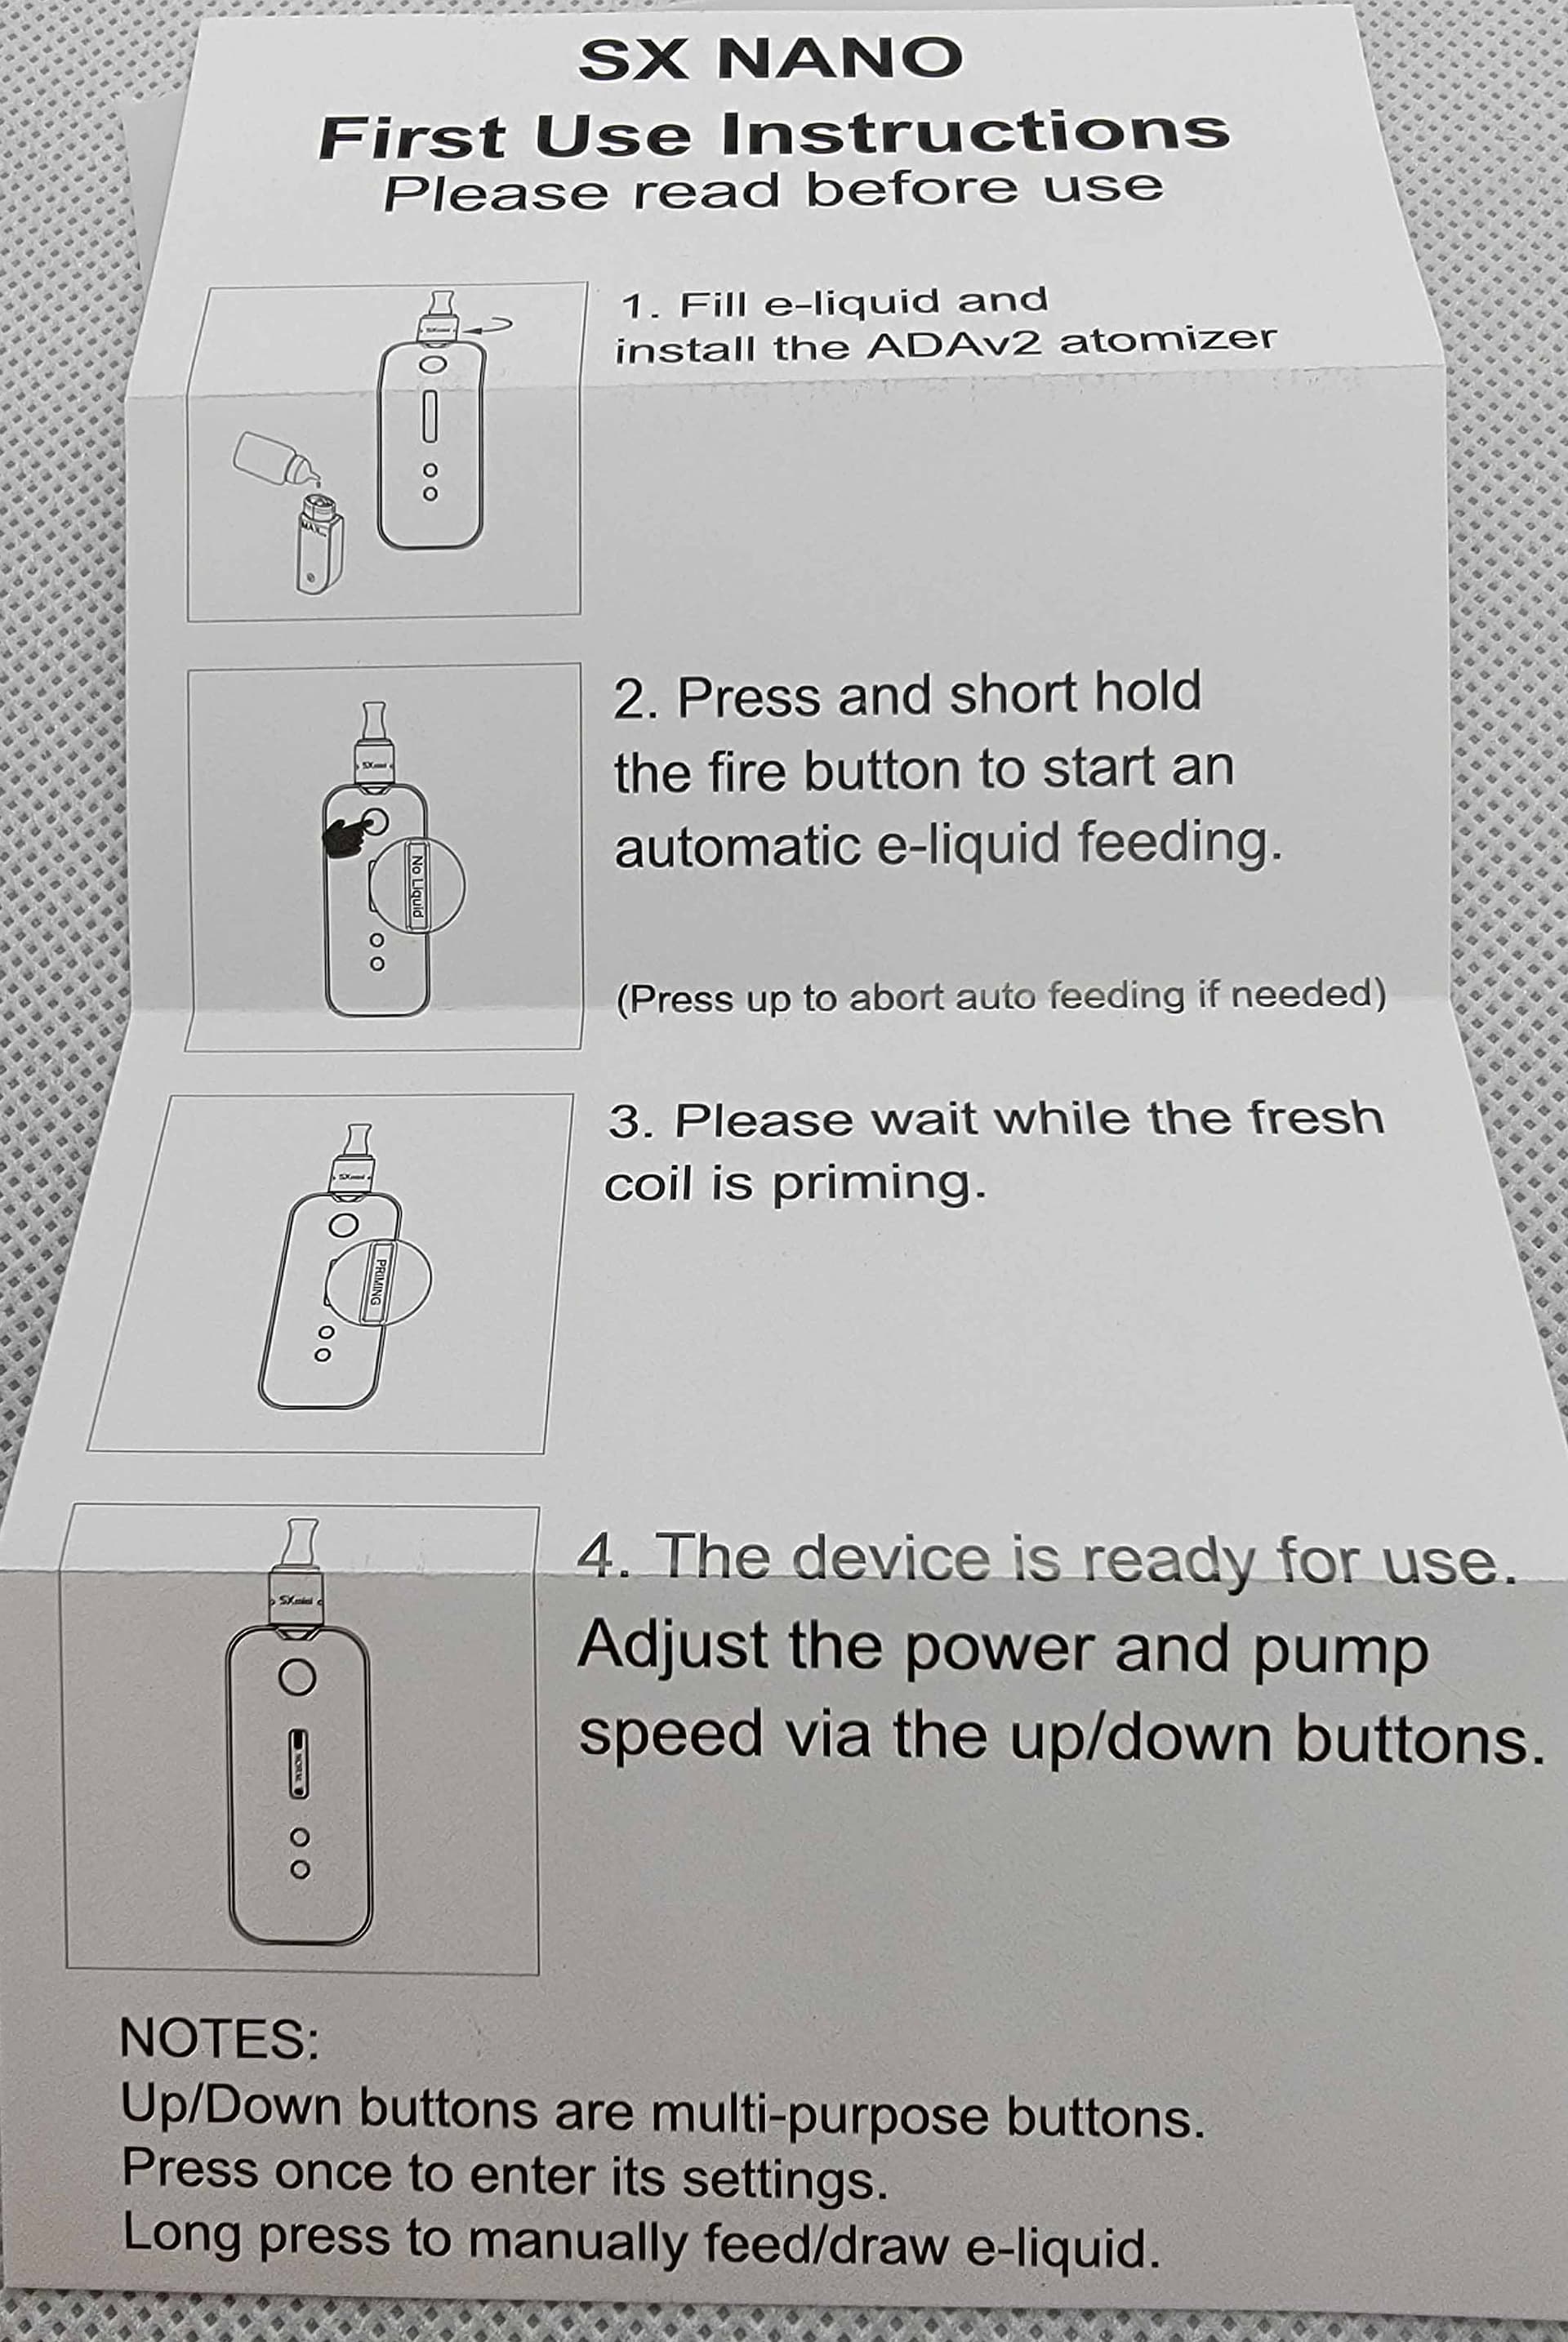
Now, because we ARE talking about instructions, and the like, here’s some more, JUST to keep you interested, and reveal how NOT hard this is to use/setup …
Although included, David threw in some extra disk coils, which is basically the disks, WITH the coils installed …
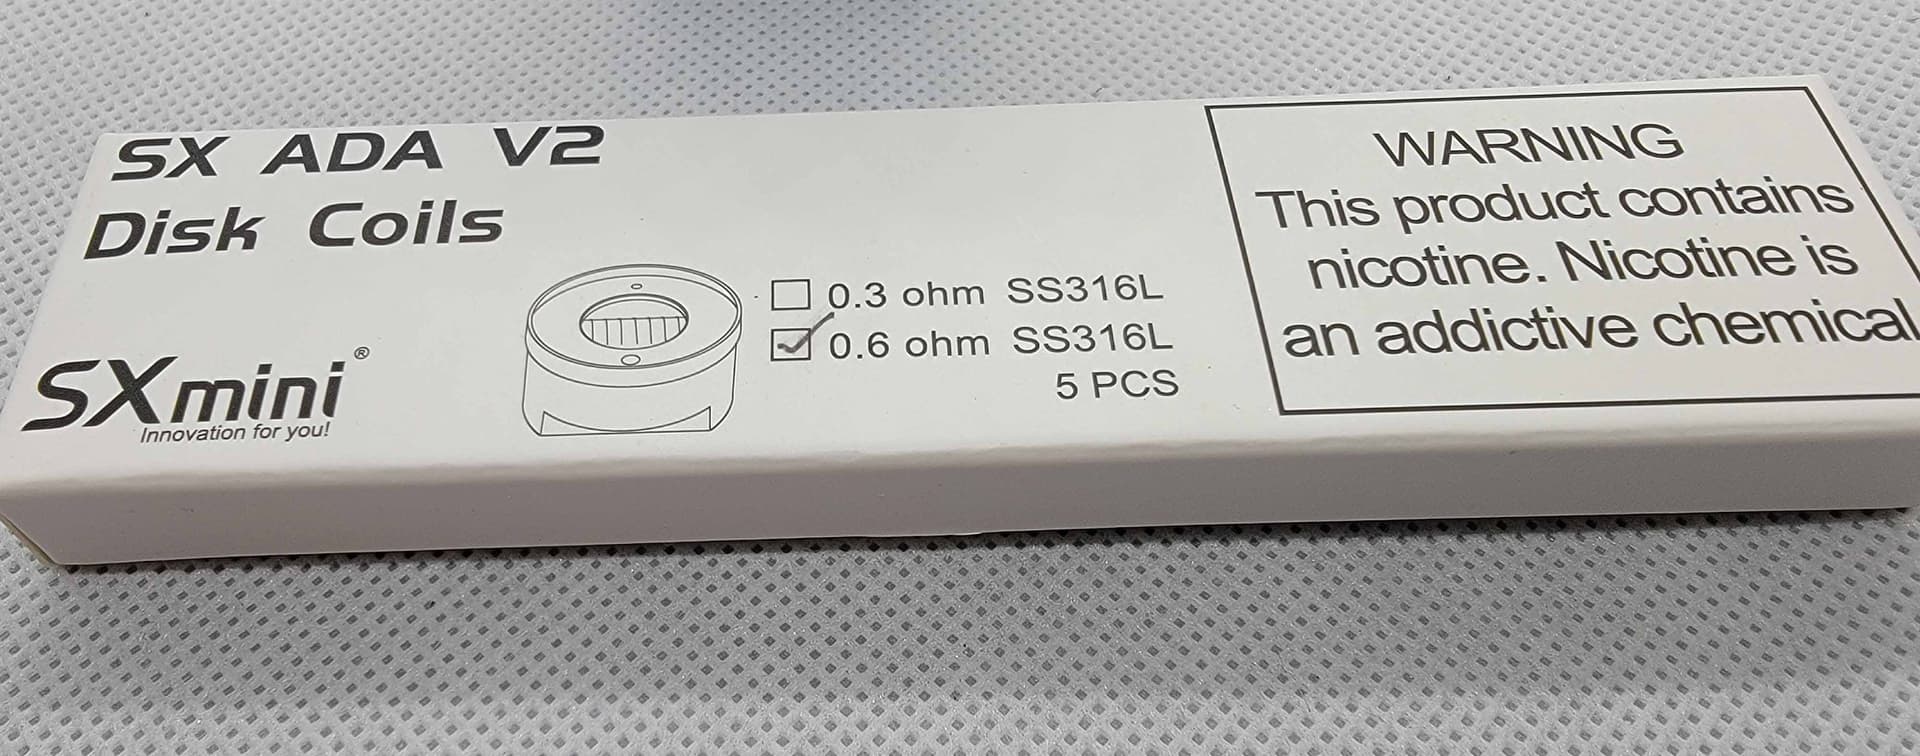
Now at this point, you’re probably thinking, “Yeah, looks great, but how much do those damned disk coils cost”? Hehe, it DEPENDS …
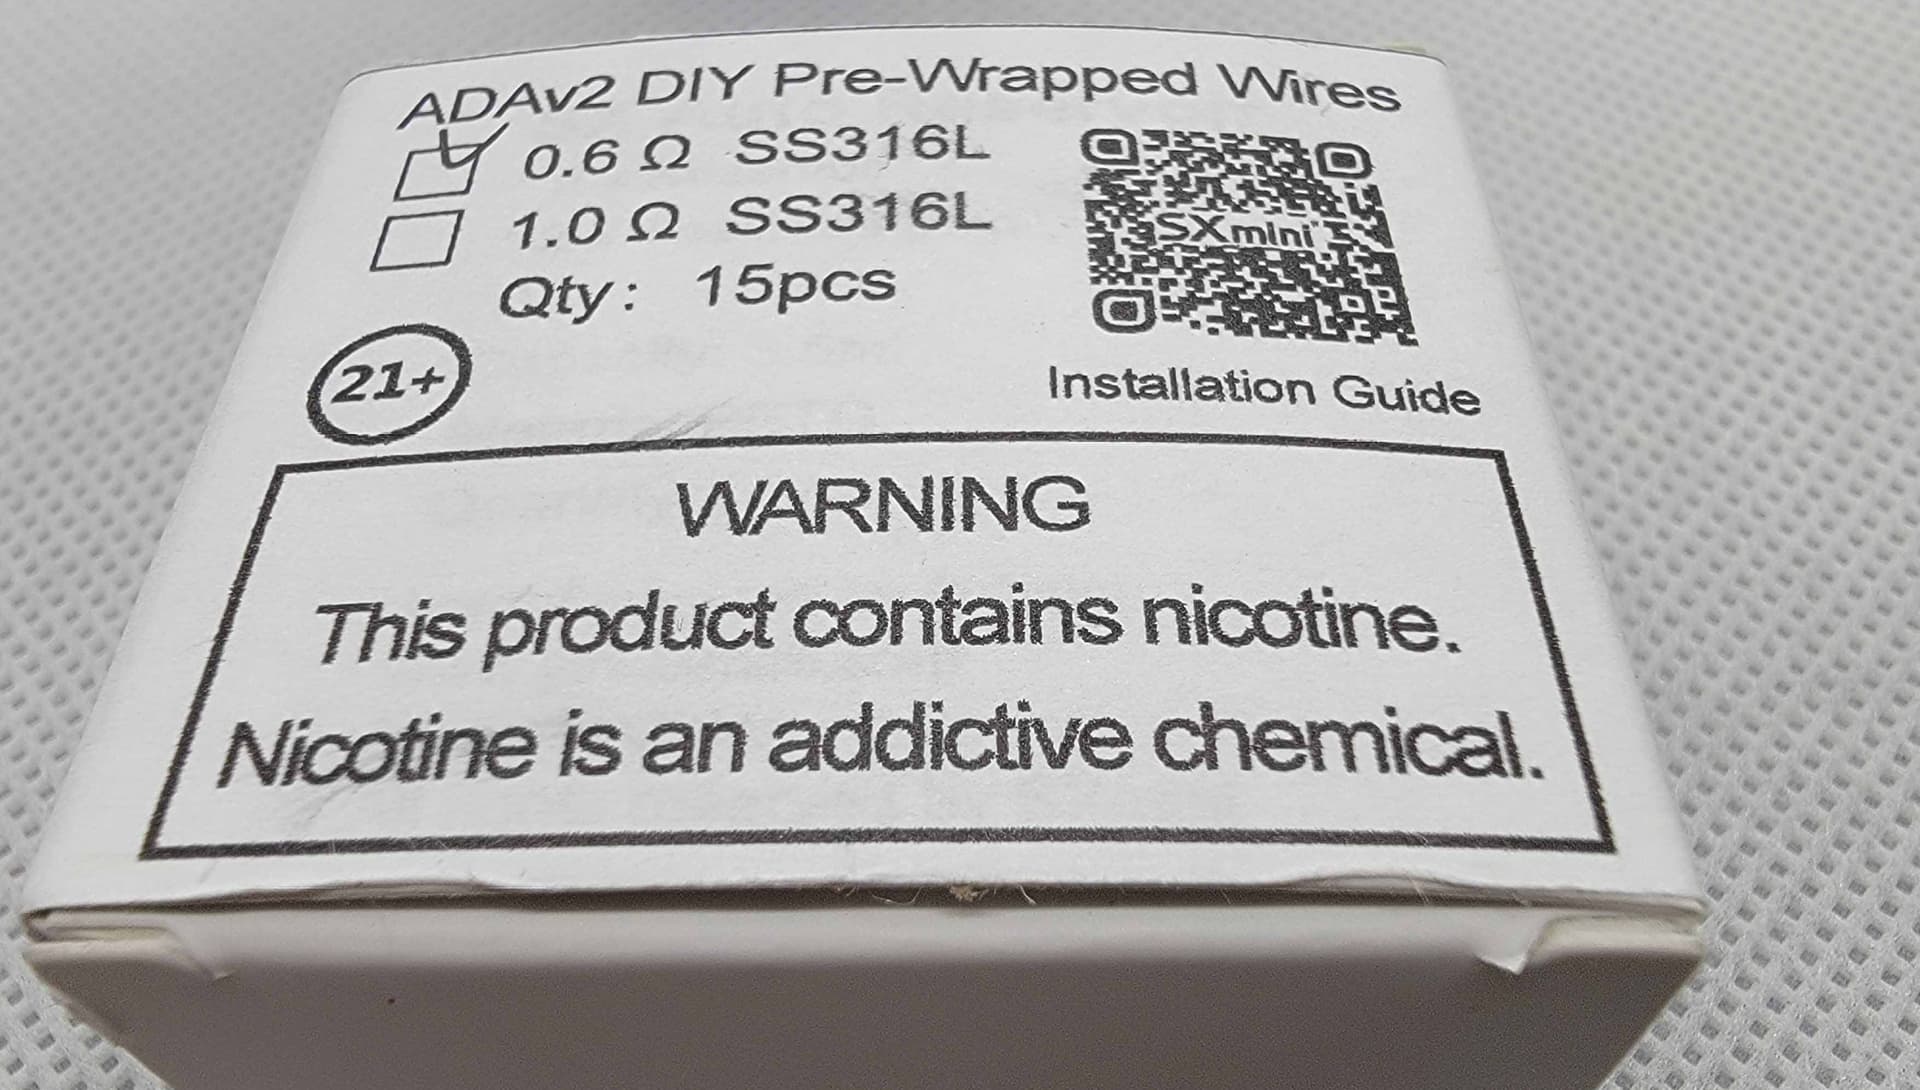
David also saw fit to ship out a couple of boxes of JUST the coils (and paper rings), which are VERY inexpensive. Now how’s THAT for a change. A MFG that GIVES you a cheaper option, instead of JUST more expensive sealed, non-rebuildable options !!!
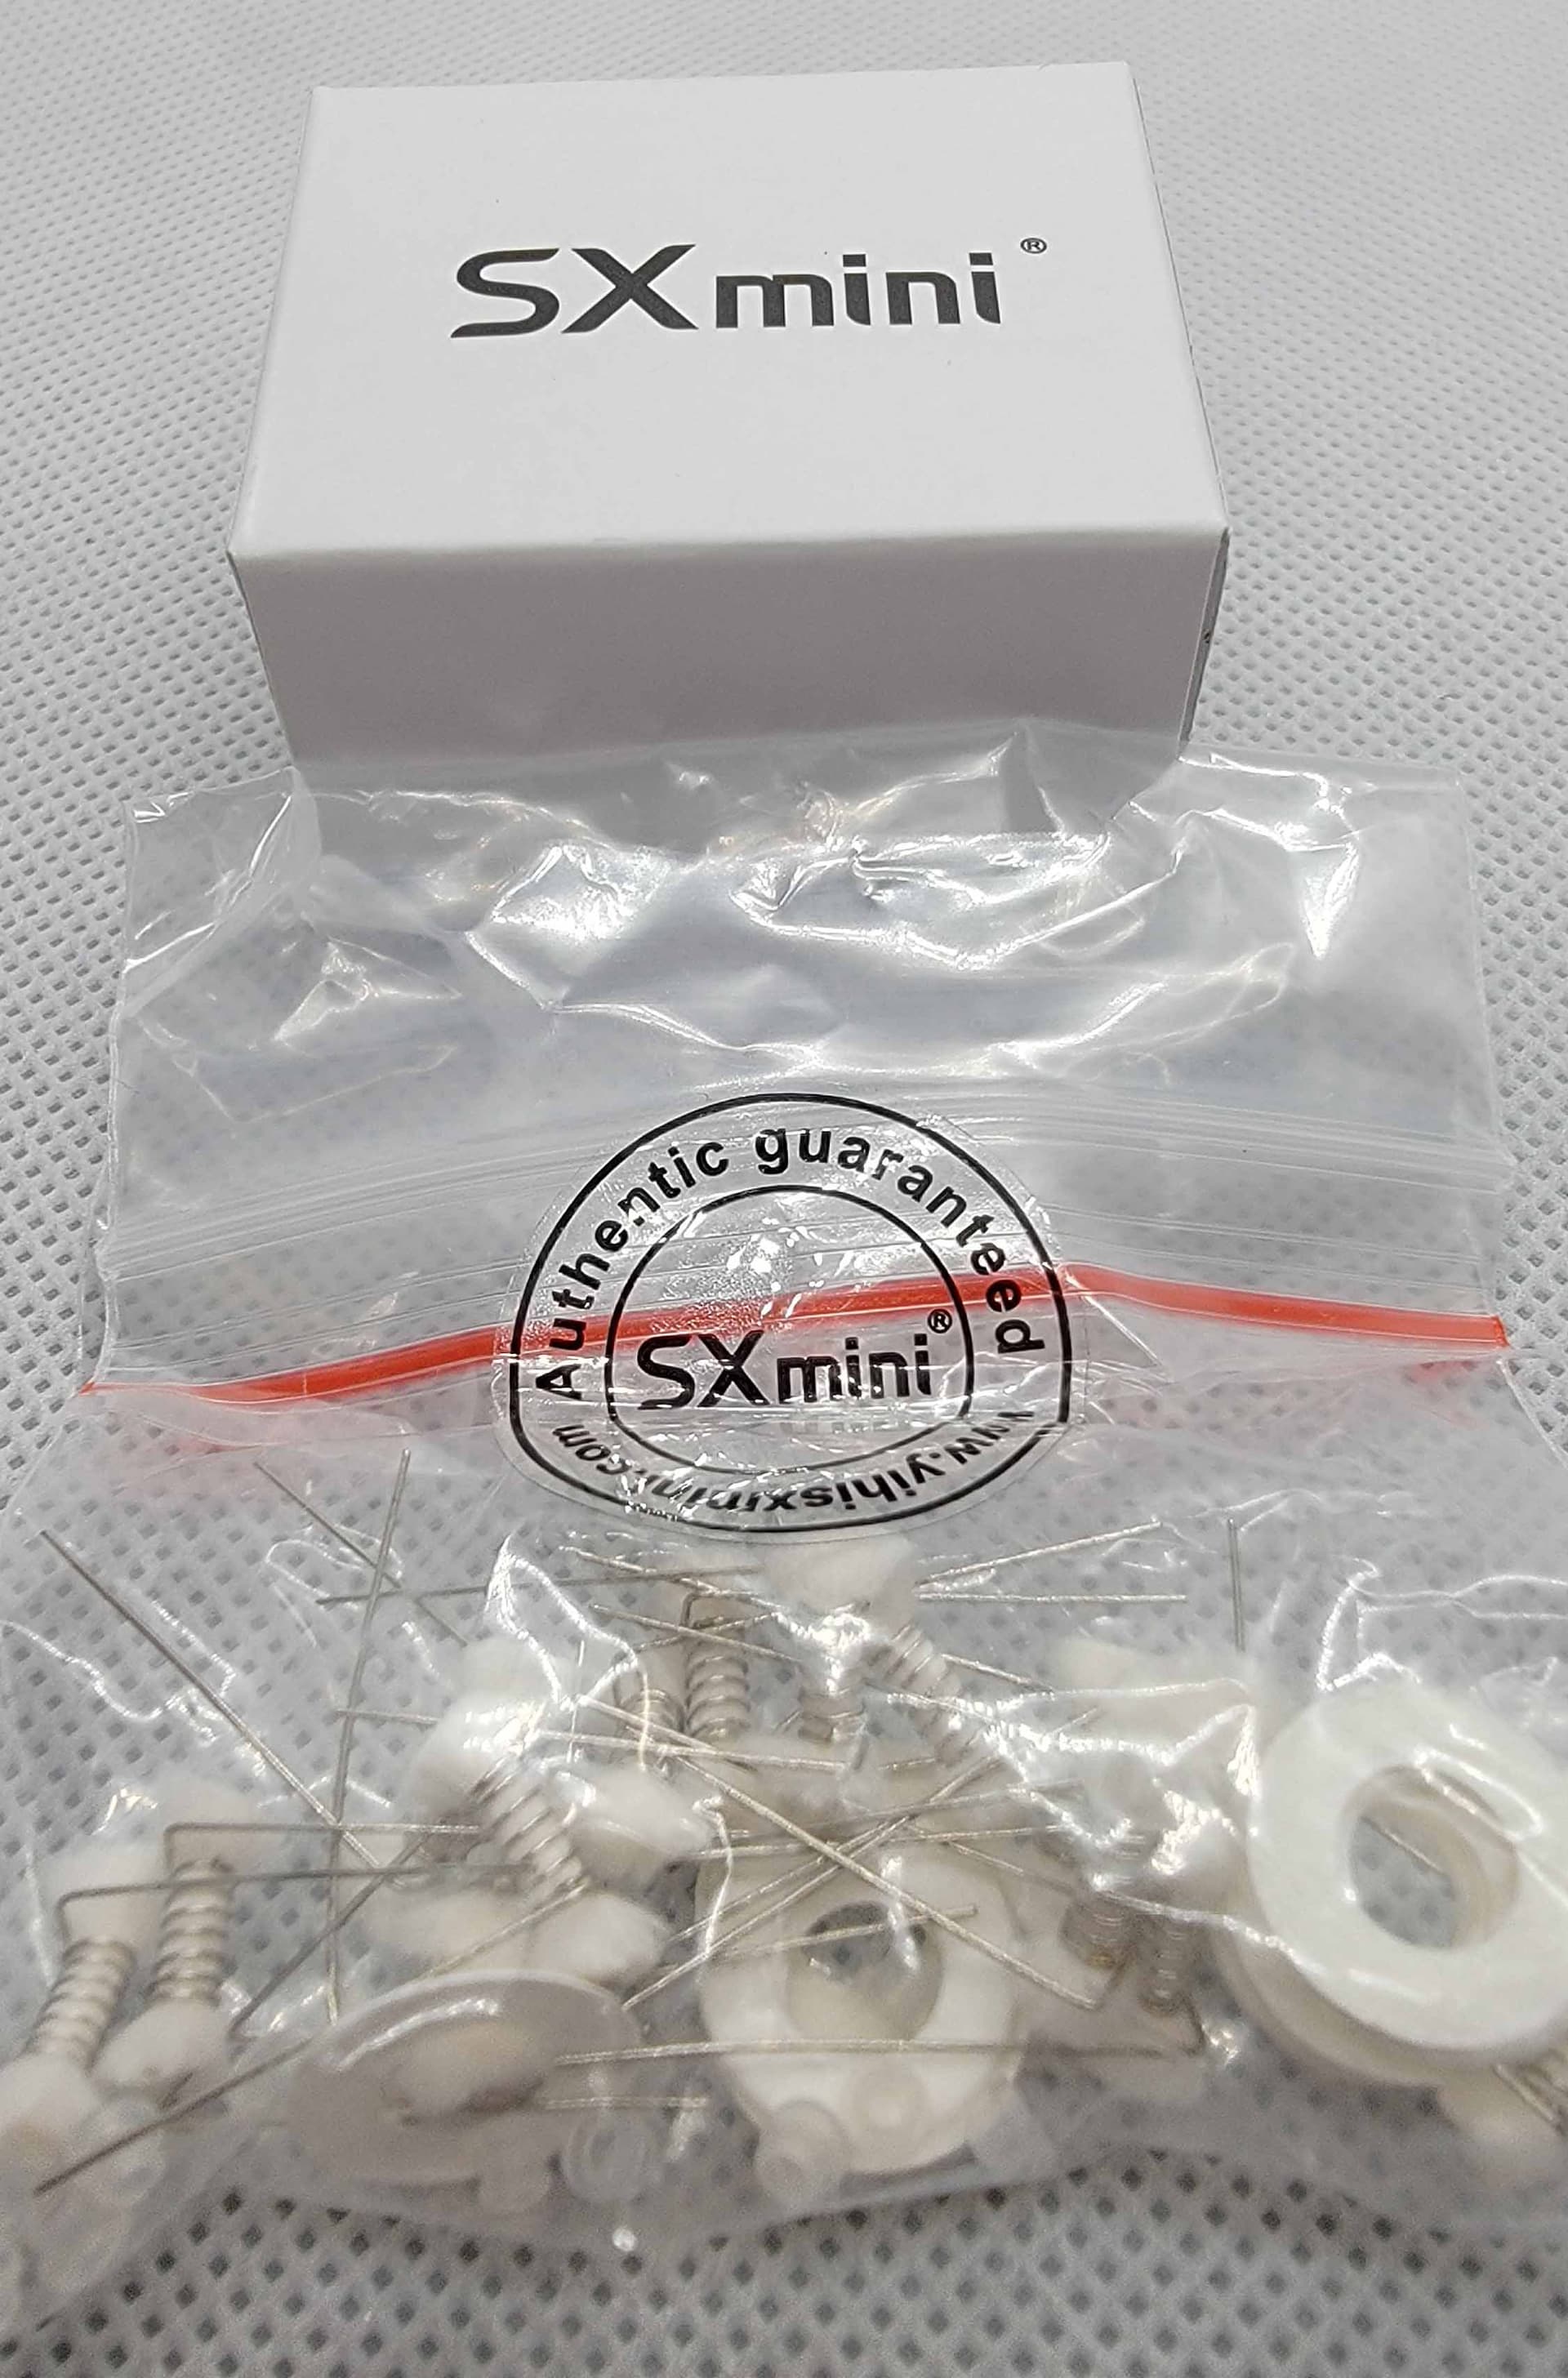
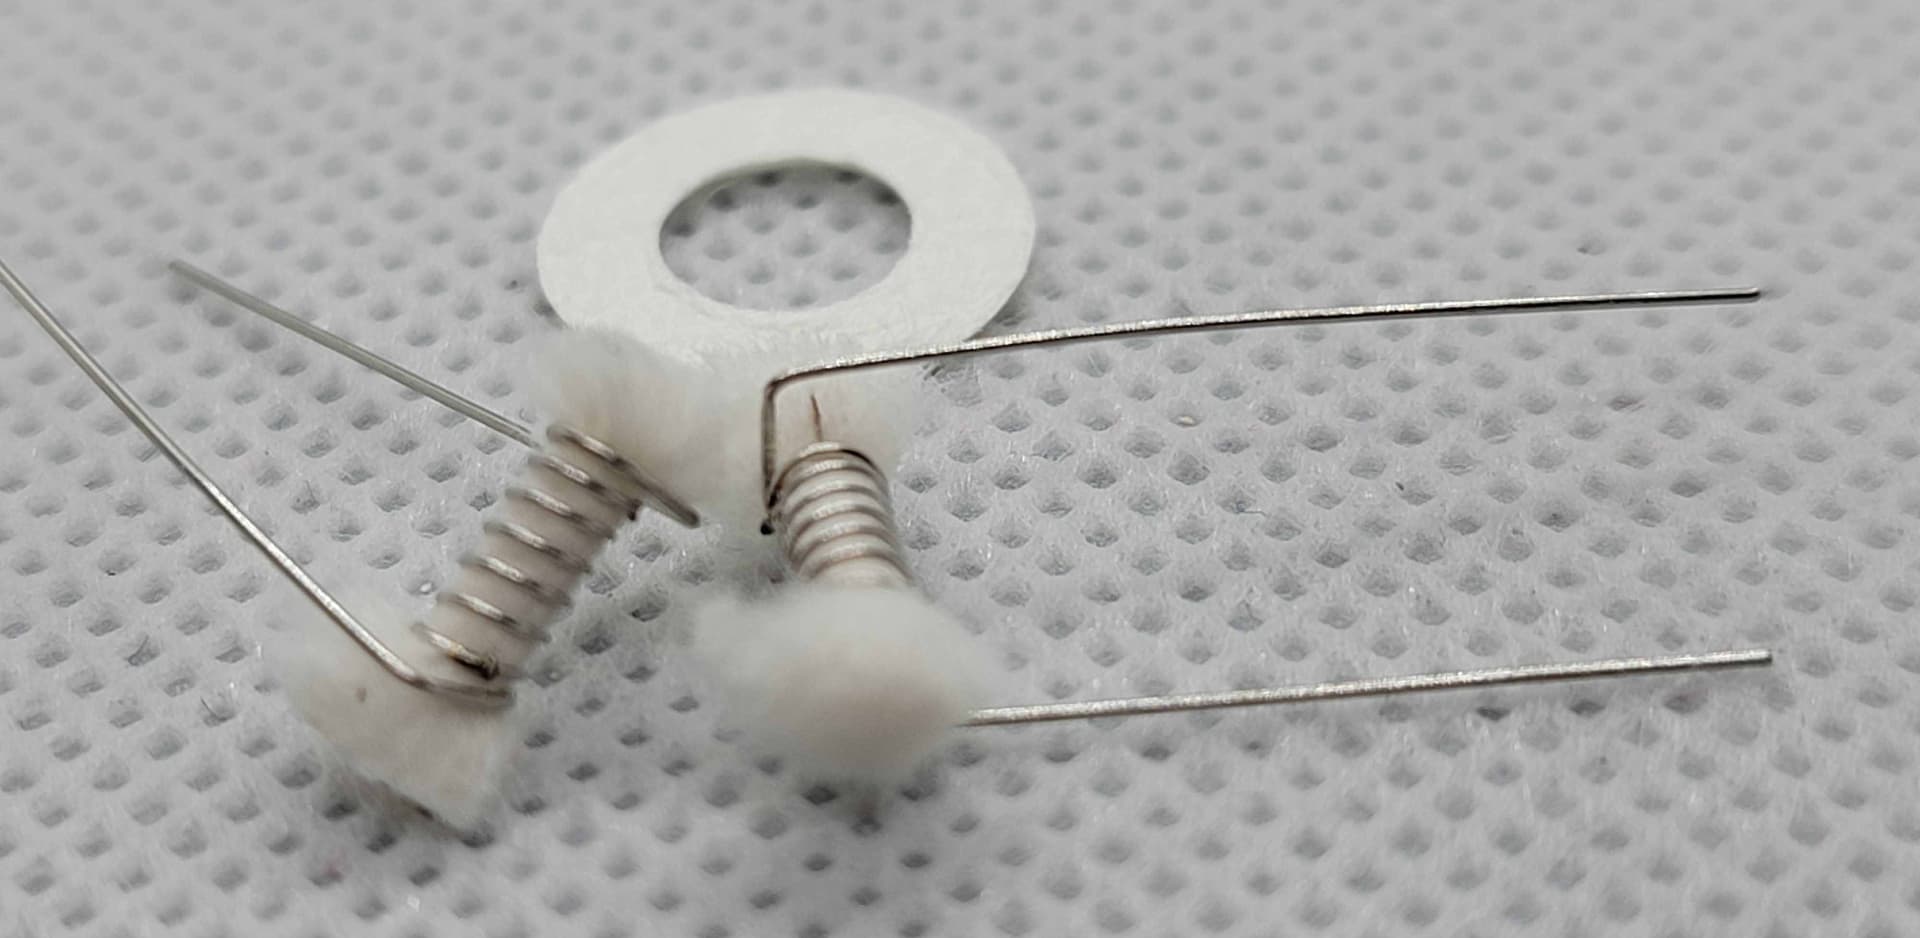
Hehe, I know, I know, “But how hard it THAT going to be” ?? Not very. Here’s the stock coil, inserted into the ceramic disk, with the paper ring on top …
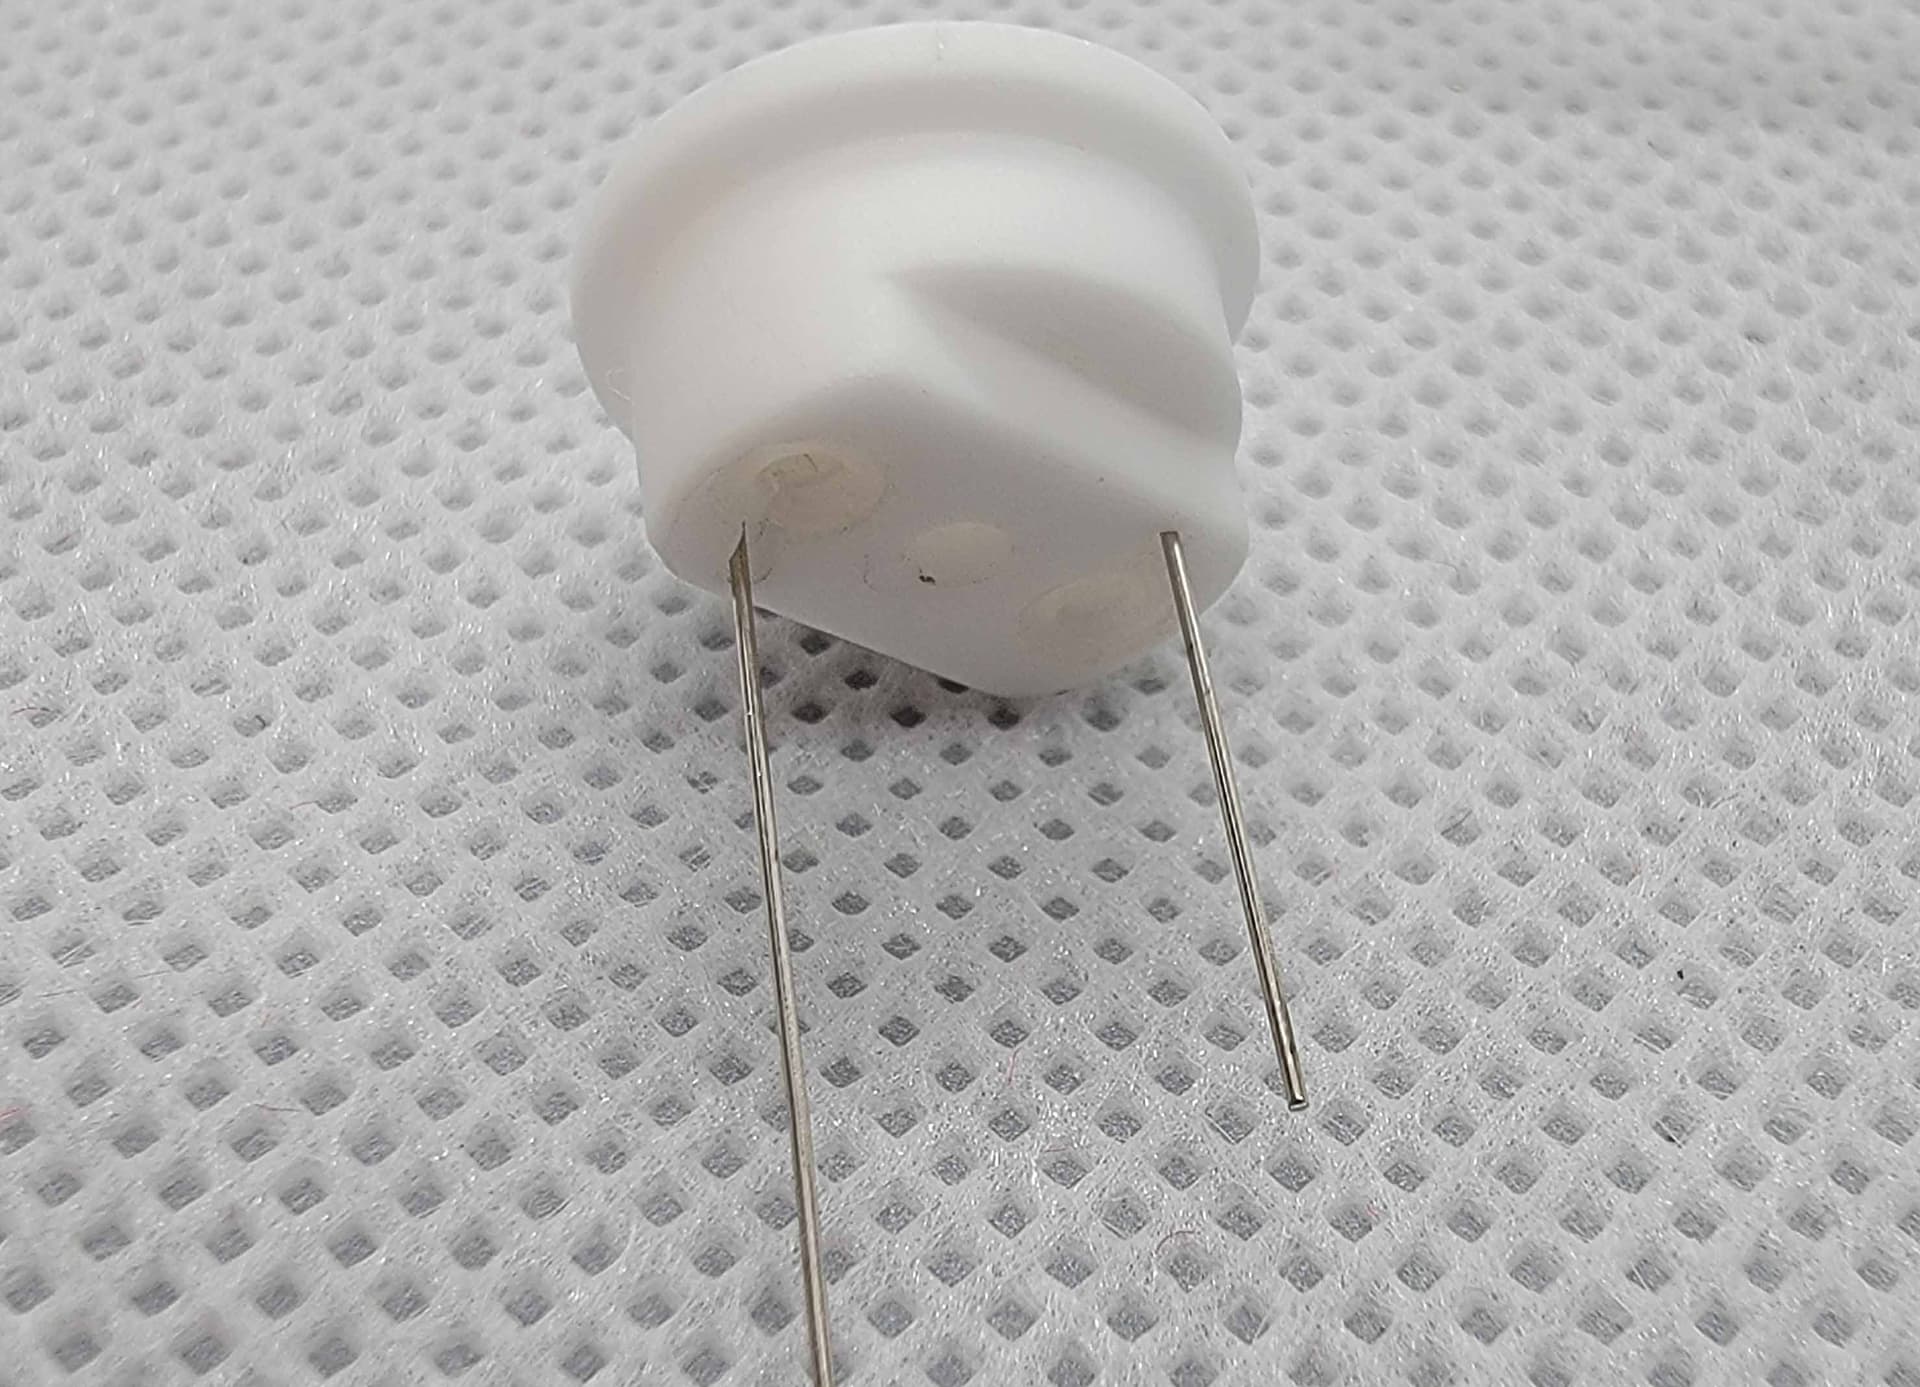
I took some time to see exactly HOW the coil legs were landed on the stock coil …
Looked pretty stupid simple to me. Coil legs went in from the top (duh), through the small holes …
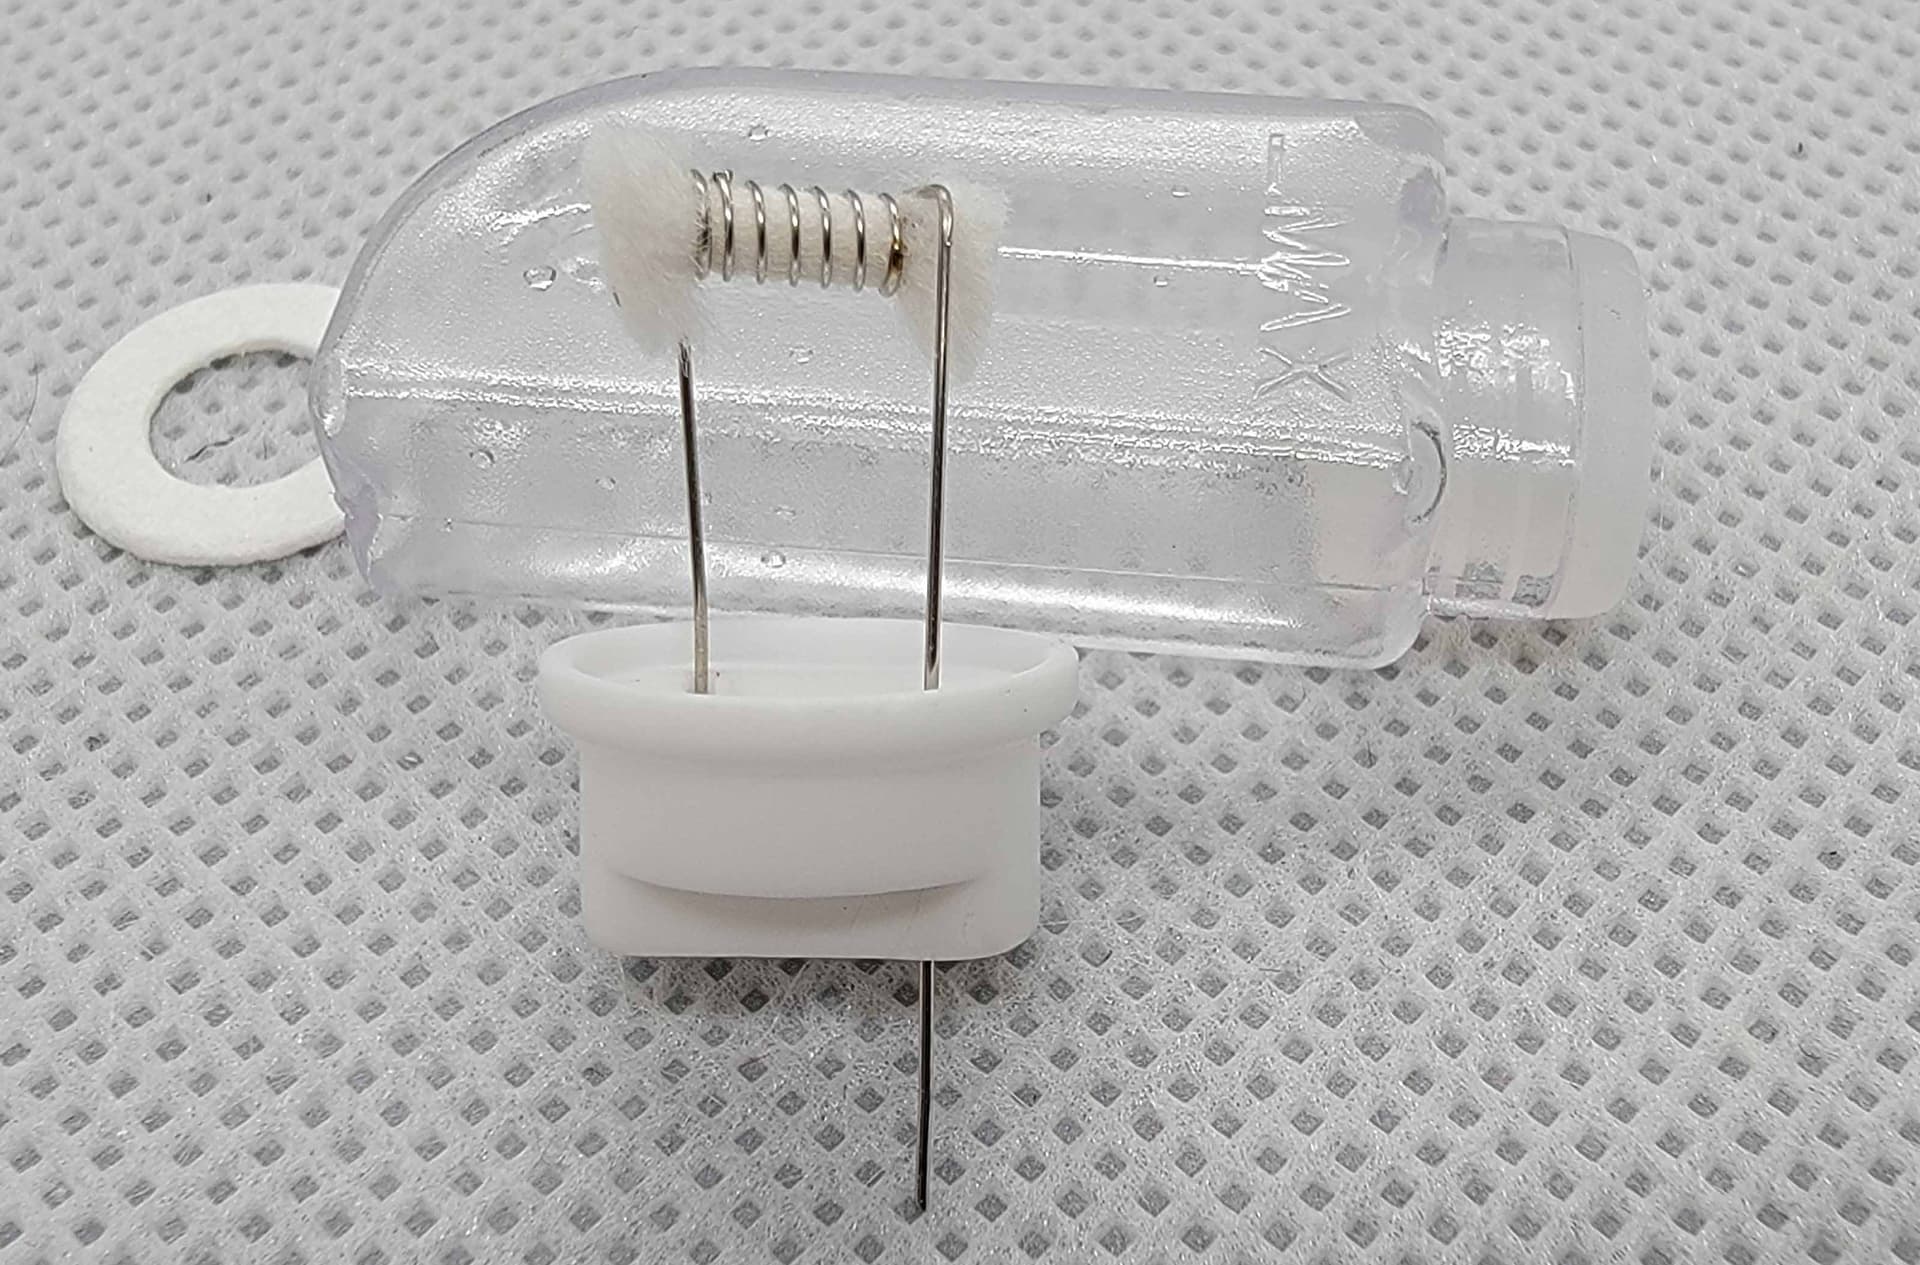
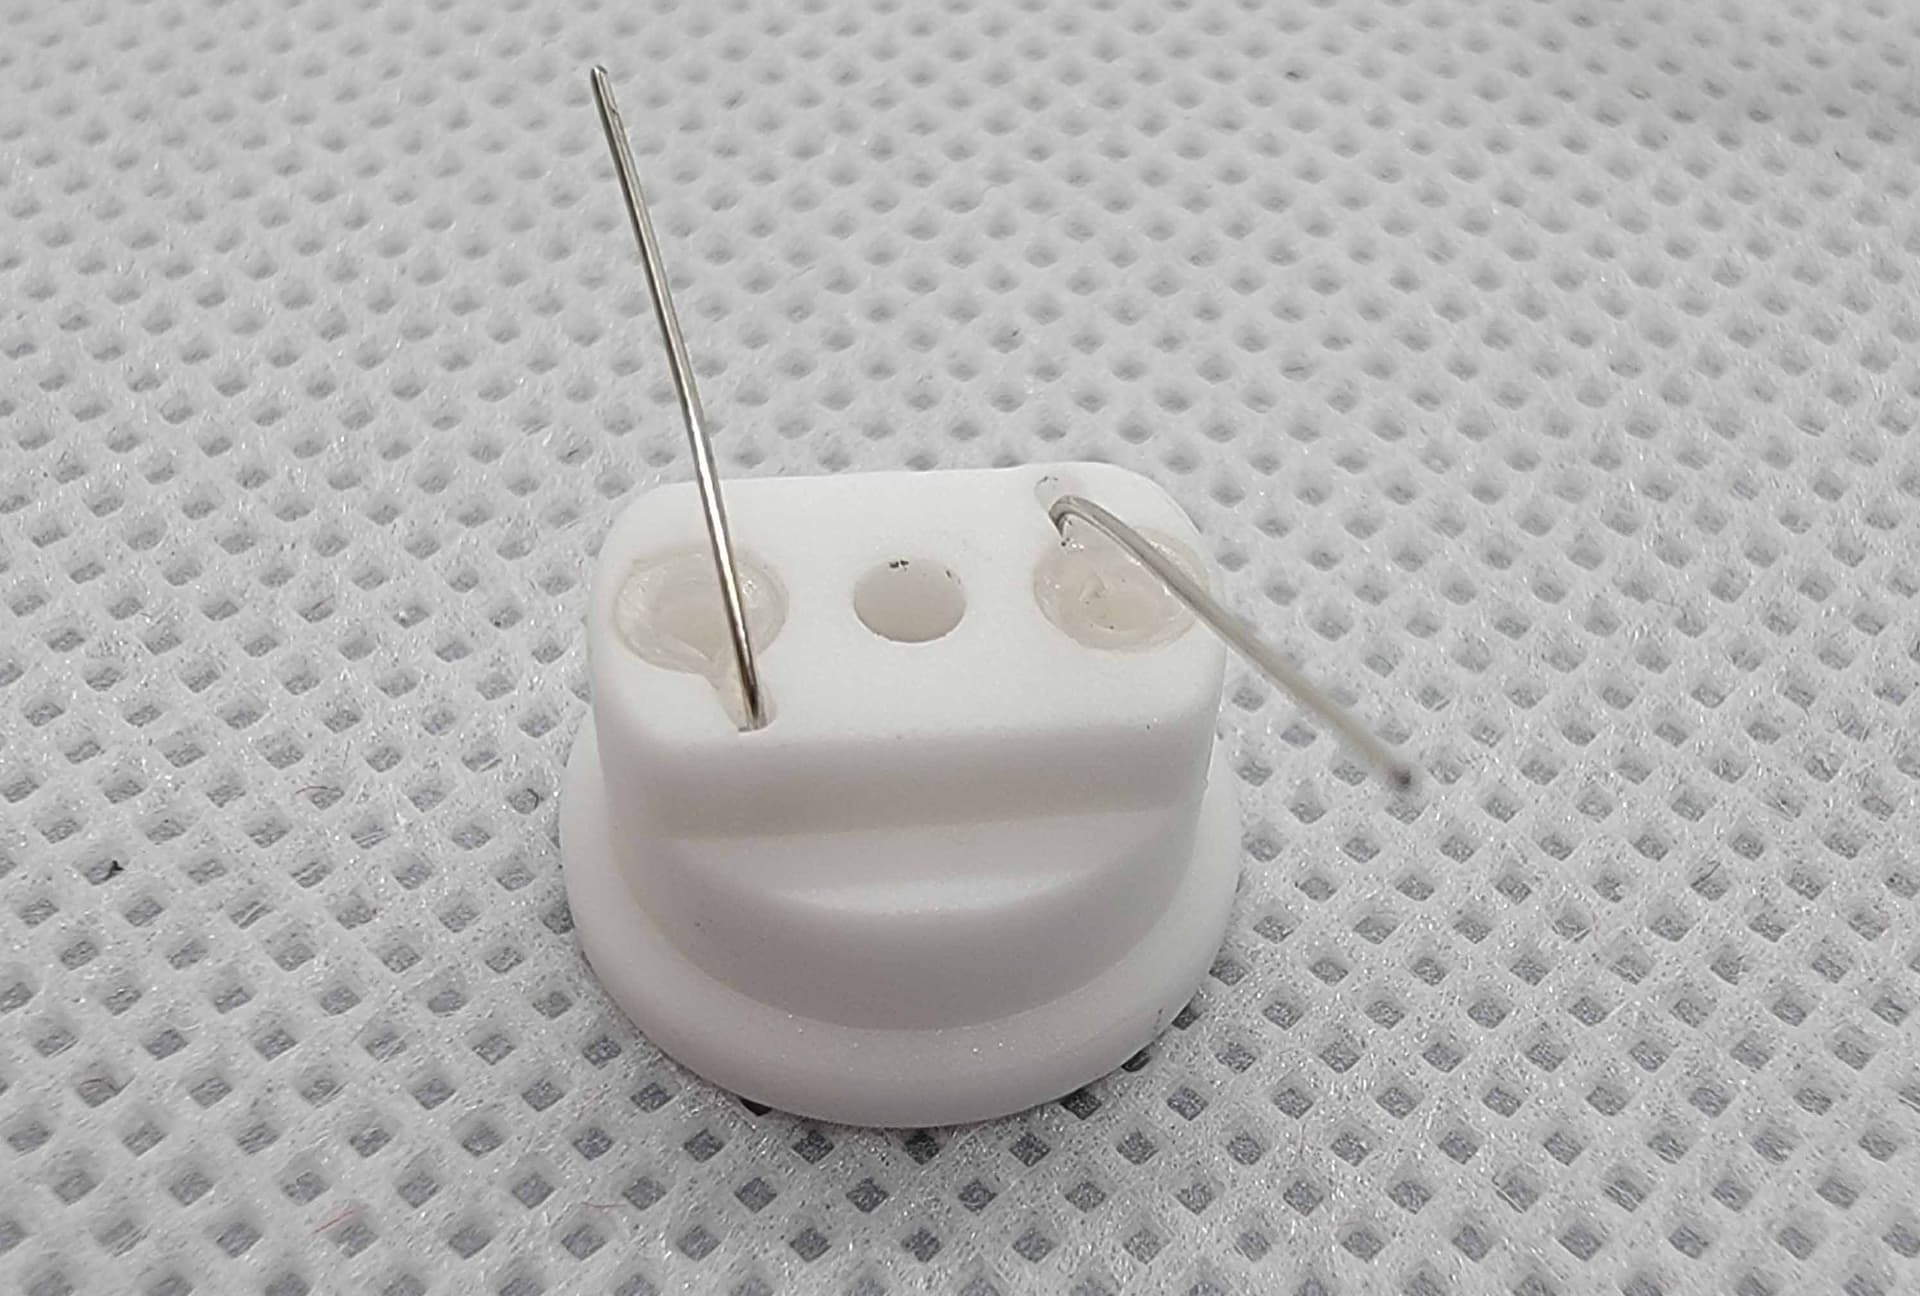
Making sure the coil is fully landed in the ceramic disk …
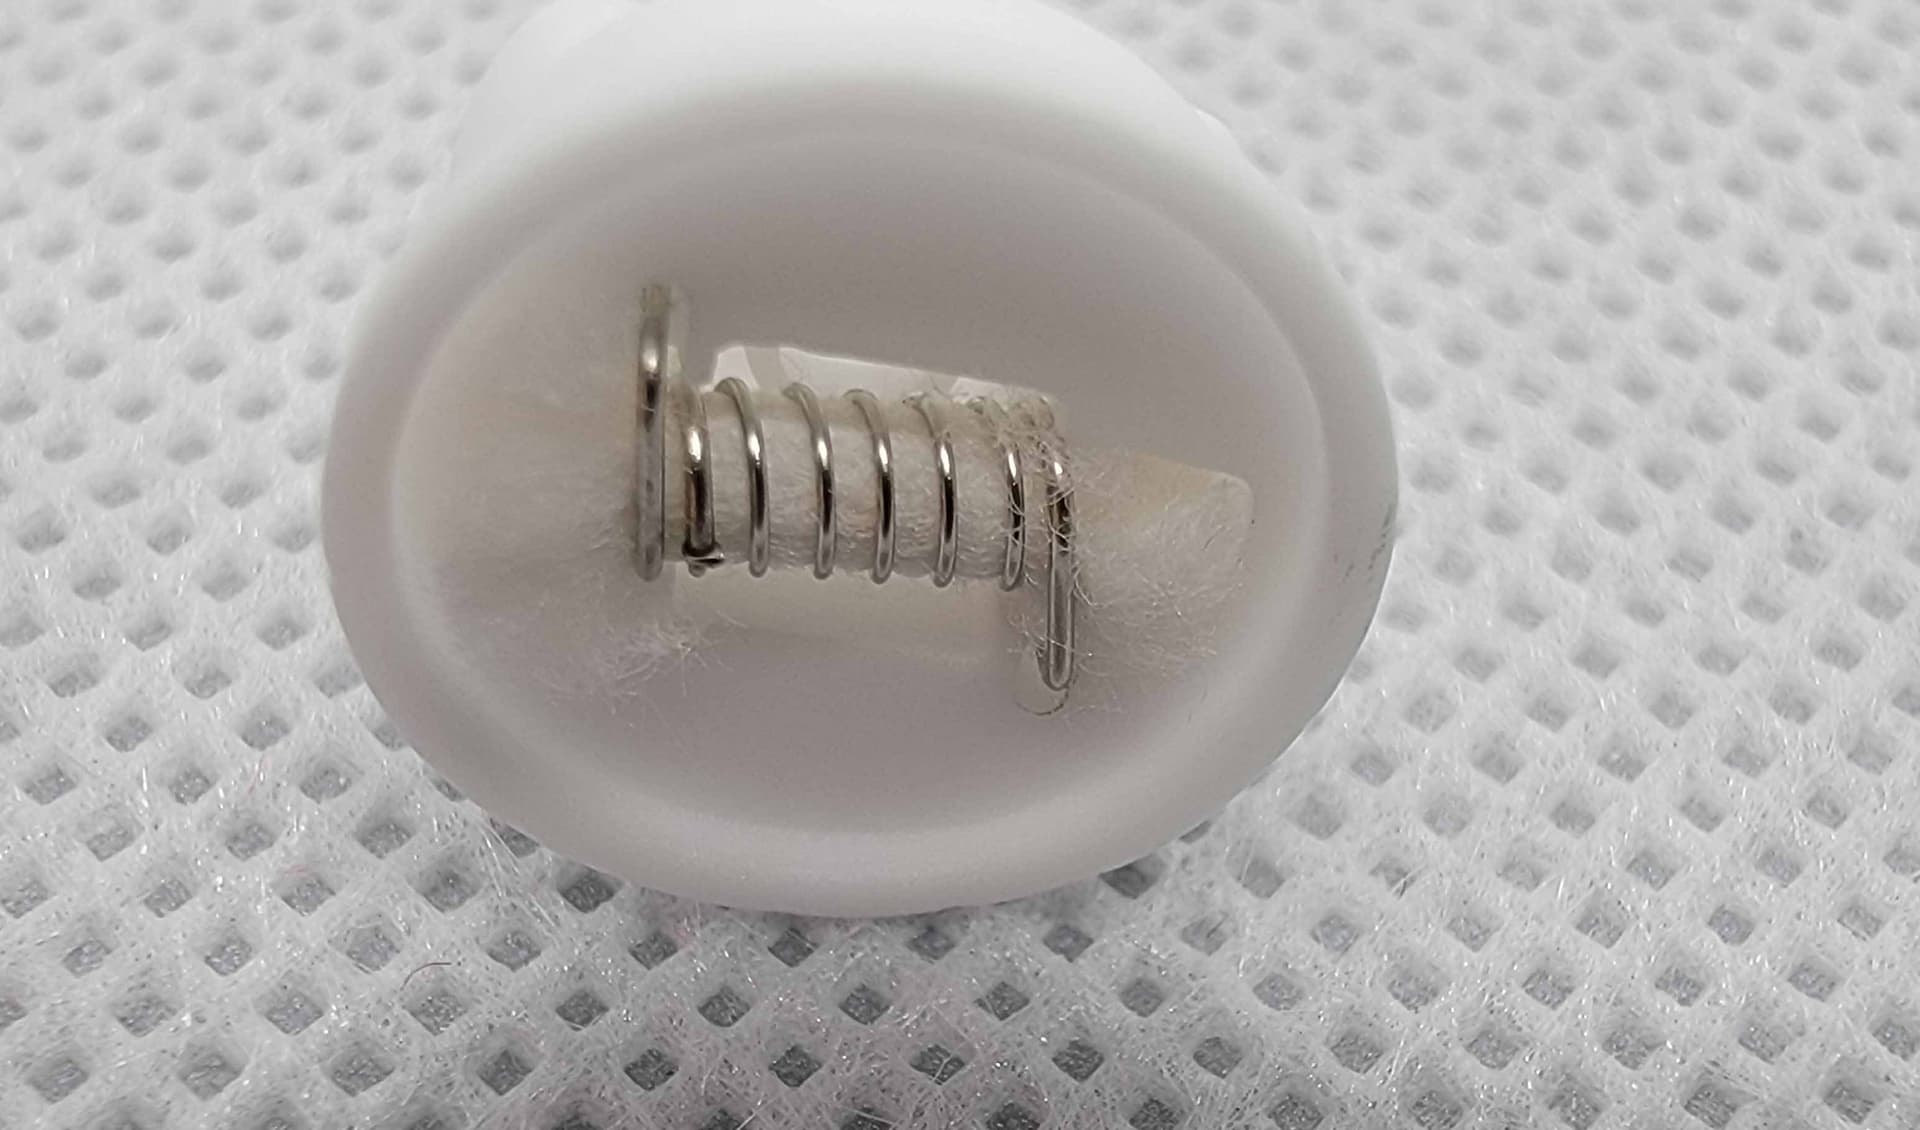
Which left the coils legs fully extended through the two small holes …
Then simply bending at 90 degrees, and trimming, leaving just enough to tweezer push into the bigger holes, and done …
Ready to roll …
Testing / Usage:
I remember when @SmokyBlue first told me about this, I asked her if it was a MTL or DTL, and she said BOTH ?? !!! Well, JUST for you guys, hehe, I decided to see what was what, for science. I loaded up some of my heavy, thick custard, @ 85v/15p ratio, and thought, “There’s NO way this little pump-a-ma-thingy is going to pump THIS mix” !!! Well, hehe, I was WRONG. Pump it, it did. I was shocked. NOW, we all know how MTL, PODS, micro/single coils do on complex custards, bakeries. Typically not very well. Well, despite this being a rather unfair test on this setup, it actually fared pretty good. The flavor was about 70-75% there, and that’s quite impressive. NO dry hits, no issues, even with my 85v/15p mix. Shocking. Moving down to my more MTL mixes, fruits, higher flavor percentages, the SxMini SX Nano really started pushing some great flavor. Let me break down how simple this thing is to use.
There are three preset temp settings, Cool, Normal, and Warm. Each one has a preset pump rate for each, and you can change it to your liking. When moving between all 3, it did get progressively warmer, but never really hot, and despite running 10 tank fulls, I had not had a single issue, dry hit, nothing. When YiHi says, “Auto Pumper” they mean it. As an added bonus, if you feel the need for more or less juice you can hold the UP or DOWN button and it will ADD more juice, or REMOVE juice. Wow. Impressively I was NOT able to OVER, or UNDER squonk this thing. Leak free, hassle free, and with the option of buying bags of coils, on the CHEAP, just really make this one stand out.
Battery life was pretty good, and despite heavy testing, I got around 1/2 to 2/3’rds of a day out of it, and that was HEAVY usage. Some terms that YiHi throws out there can be confusing, but actually ADA-V2 is just Auto Dripping Atomizer, and ESS driver system just means Electronic Spray Squonk. Airflow through the two small holes in the atomizer, and the slots in the cap ranged from VERY restricted, to somewhat open, and YES, I actually was able to run somewhat open DTL !!! I wouldn’t say DTL was it’s strong suit, but you could.
Super Simple Controls:
3 clicks lock/unlock unit
5 clicks to menu (Shutdown, Update, Brightness, Auto-Lock, Help, Exit)
Hold UP button to add juice
Hold DOWN button to remove juice
TAP UP button to choose one of 3 temp and pump presets
TAP DOWN button to change/edit pump level
THAT’S IT. Beyond simple.
Pros:
- Very well machined/designed
- 3 Preset Temp/Pump levels (can edit pump level per mode)
- Ability to add or reduce juice on the fly
- Ability to run THICK juice, even at 85v/15p
- Leak proof
- Great airflow adjustment, especially for MTL
- Can purchase packs of disk coils, OR, very inexpensive bags of coils
- Small, but bright display
- Super Easy nav system, and settings
- Auto fills, and primes FOR YOU !!!
- MTL flavor is 99%, and DTL heavy custards is about 70% comparatively
- Fast 60 minute charging from 0 to 100%
- Completely simple reservoir system, with visible juice levels
Cons:
- Slight learning curve, but very slight
- Battery may not last all day under heavy usage
- Some flavor reduction with heavy custard/bakeries
- Proprietary connection and coils
Conclusion:
Well color me impressed. As a DTL vaper who also MTL’s I’ve found it difficult to find a trouble/hassle free upgrade, that DOES have great flavor, especially one that’s inexpensive to run, without the need to buy yet some OTHER specialized cartridges that may or may not be available down the road, or just costs too much. Well, it would seem YiHi felt the SAME way !!! Perhaps it was an unfair test, to run my DTL thicky thick juice in this, but dammit, WNTK (We Need To Know), and it actually ran it fine, and the flavor wasn’t terrible with my ultra rich custard. Where this one really took off was in the MTL realm, and it produced some very good flavor, and cloudage, which increased as you ramped up from Cold, to Normal, and then Warm. The preset pump levels for each of the 3 temp levels seemed great, and despite monkeying around, I couldn’t get a dry hit, or overjuice it despite TRYING TO !!! The No Muss, No Fuss auto filling, and coil priming is just stupid easy, as was filling the reservoir. For a MTL geared setup, that can actually run thicker juice if you needed, and the ability to buy SUPER cheap coils, and run it on the cheap, is just outstanding. A very well thought out, designed, and implemented setup. A very LONG list of Pro’s, and a very short list of Con’s should put this on your MTL wishlist.
Again, super huge thanks out to @SmokyBlue, and @David_SXmini for the opportunity to take this one for a ride. If you are a MTL’er, you might want to take a ride on it as well.
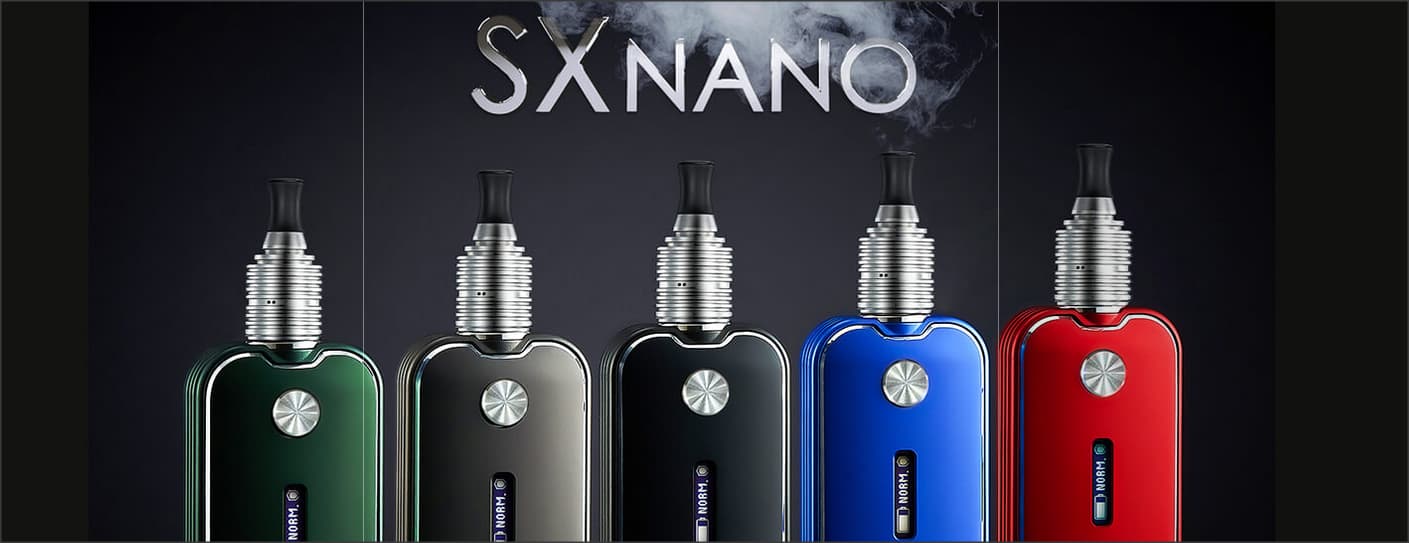
Colors:
Thanks for taking some time over the Holidays to check out this fairly groundbreaking, MTL setup.
S.D.
Linkage:
Vids:
Update Firmare:

Replace Coil:

Bonus:
Ok, if you’ve literally made it ALL the way down here, you deserve a BONUS !!! I still can’t figure out how the damned box fell off the shelf, and eluded me for so long, but it did. Hopefully David, and Smoky won’t kill me LOL. I’m looking at all the boxes thinking, “Wow, David really threw a lot of coils in here”. “Wait, THOSE aren’t coils …” !!!