
What’s up guys & gals? Up for todays review we have the YiHi SXmini G Class v2 mod. Thanks go out to @David_SXmini for providing this mod for the purpose of this review.
This mod was my first foray into the range of hardware by Yihi so I was keen to find out of it lives up to the hype and right away I can tell you without any shadow of a doubt that it does. Very much so. This is by far the most complex mod I’ve reviewed to date so this review will be a lengthy one. Lets dive in…
Features & Specs:
- Size: 94×47.7×34.3mm
- Weight 150g
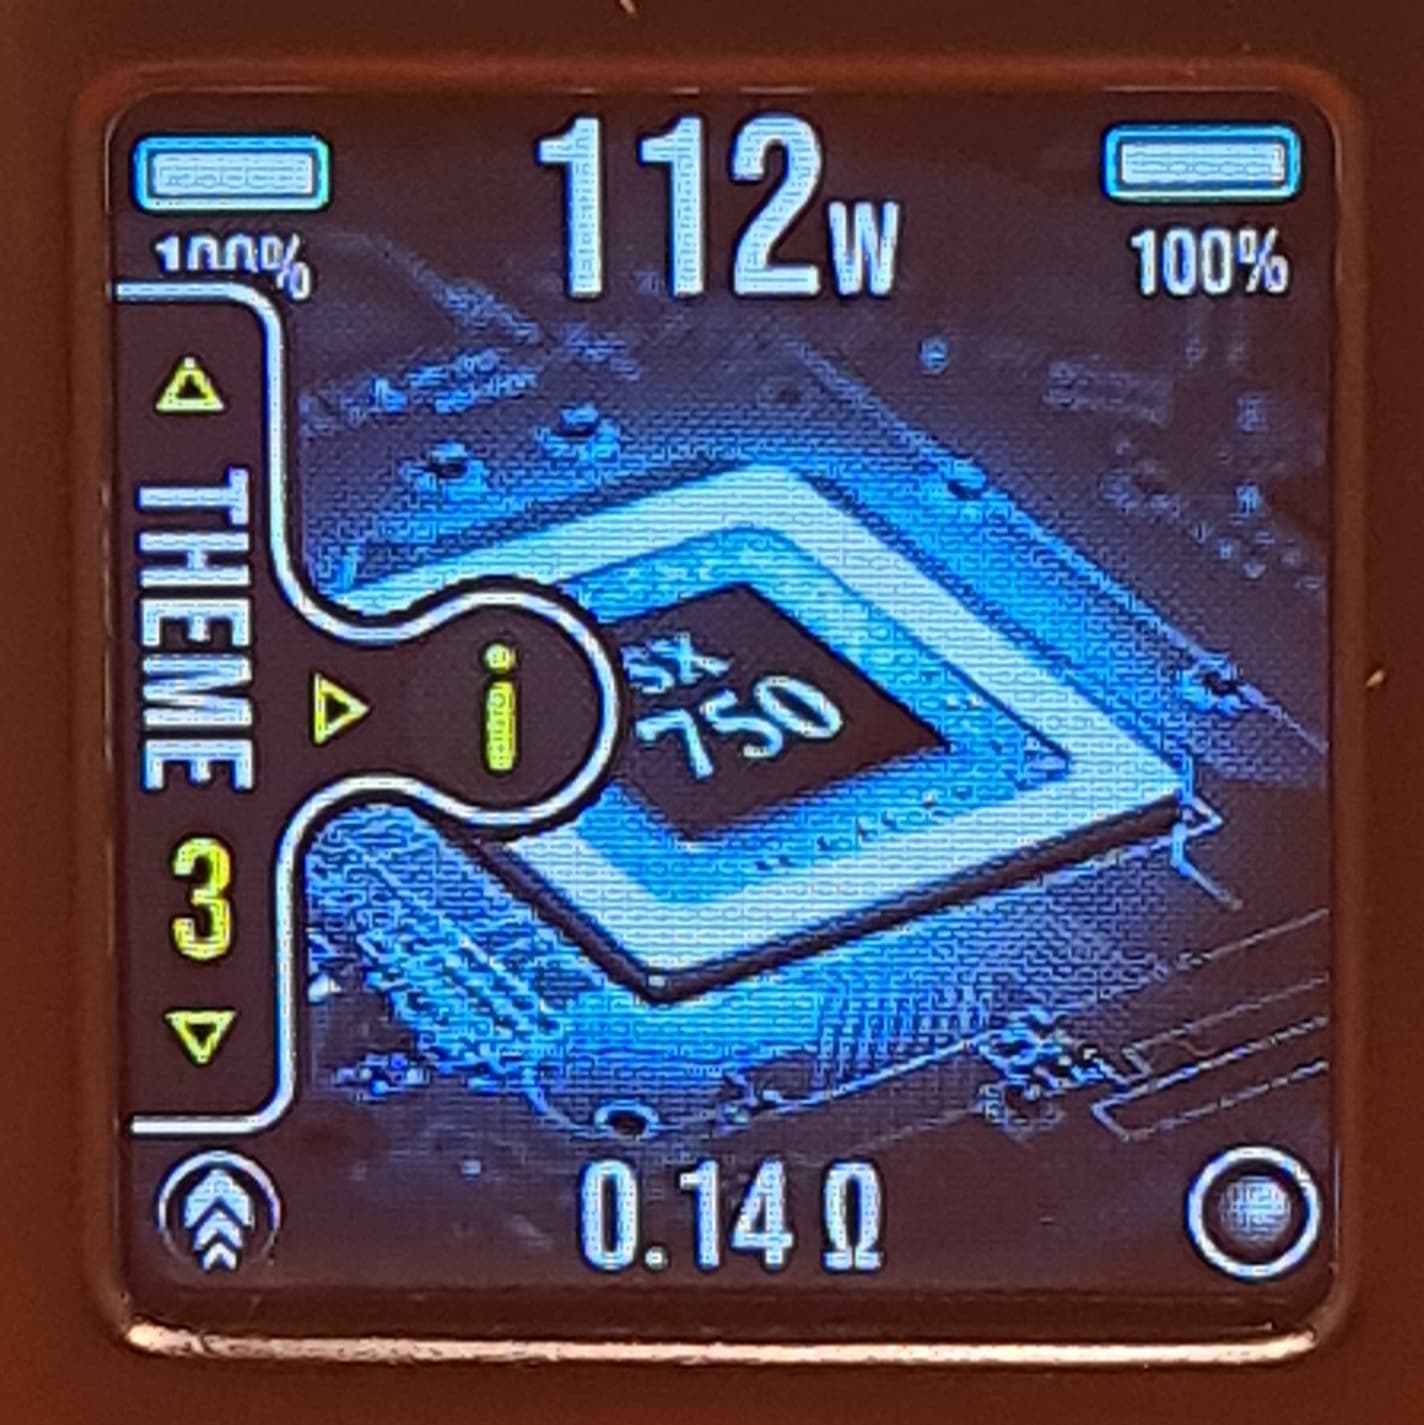
- New YiHi SX750 Chipset
- Quiescent Current - <20uA
- Output: 10-200W / 0.7-6V
- Modes: VW, TC, Wattage, Bypass
- Battery: 2x 18650 (Not included)
- Temperature Control Ohm Read Precision: 0.0001Ω
- Display: 1.3in TFT IPS Screen
- Material: Zinc alloy & aluminium, ABS
- Temperature range: 100-300°C / 212-572°F
- Resistance range: 0.05-3ohm
- USB Type C – 5V/2A charge rate
- Plastic and zinc alloy door options available
- Waterproofed YIHI SX750 chipset
- 30mm diameter tank compatible
- 2.4ghz WiFi connection for over the air firmware updates, wallpaper, themes and language packs
- Live clock wallpaper
Contents:
- SXmini G Class v2 Mod
- USB Type-C Charge Cable
- Warranty card
- User Guide
- Clear plastic protective sticker for the mod base
Packaging:
The box is a sturdy white with a slide off sleeve:


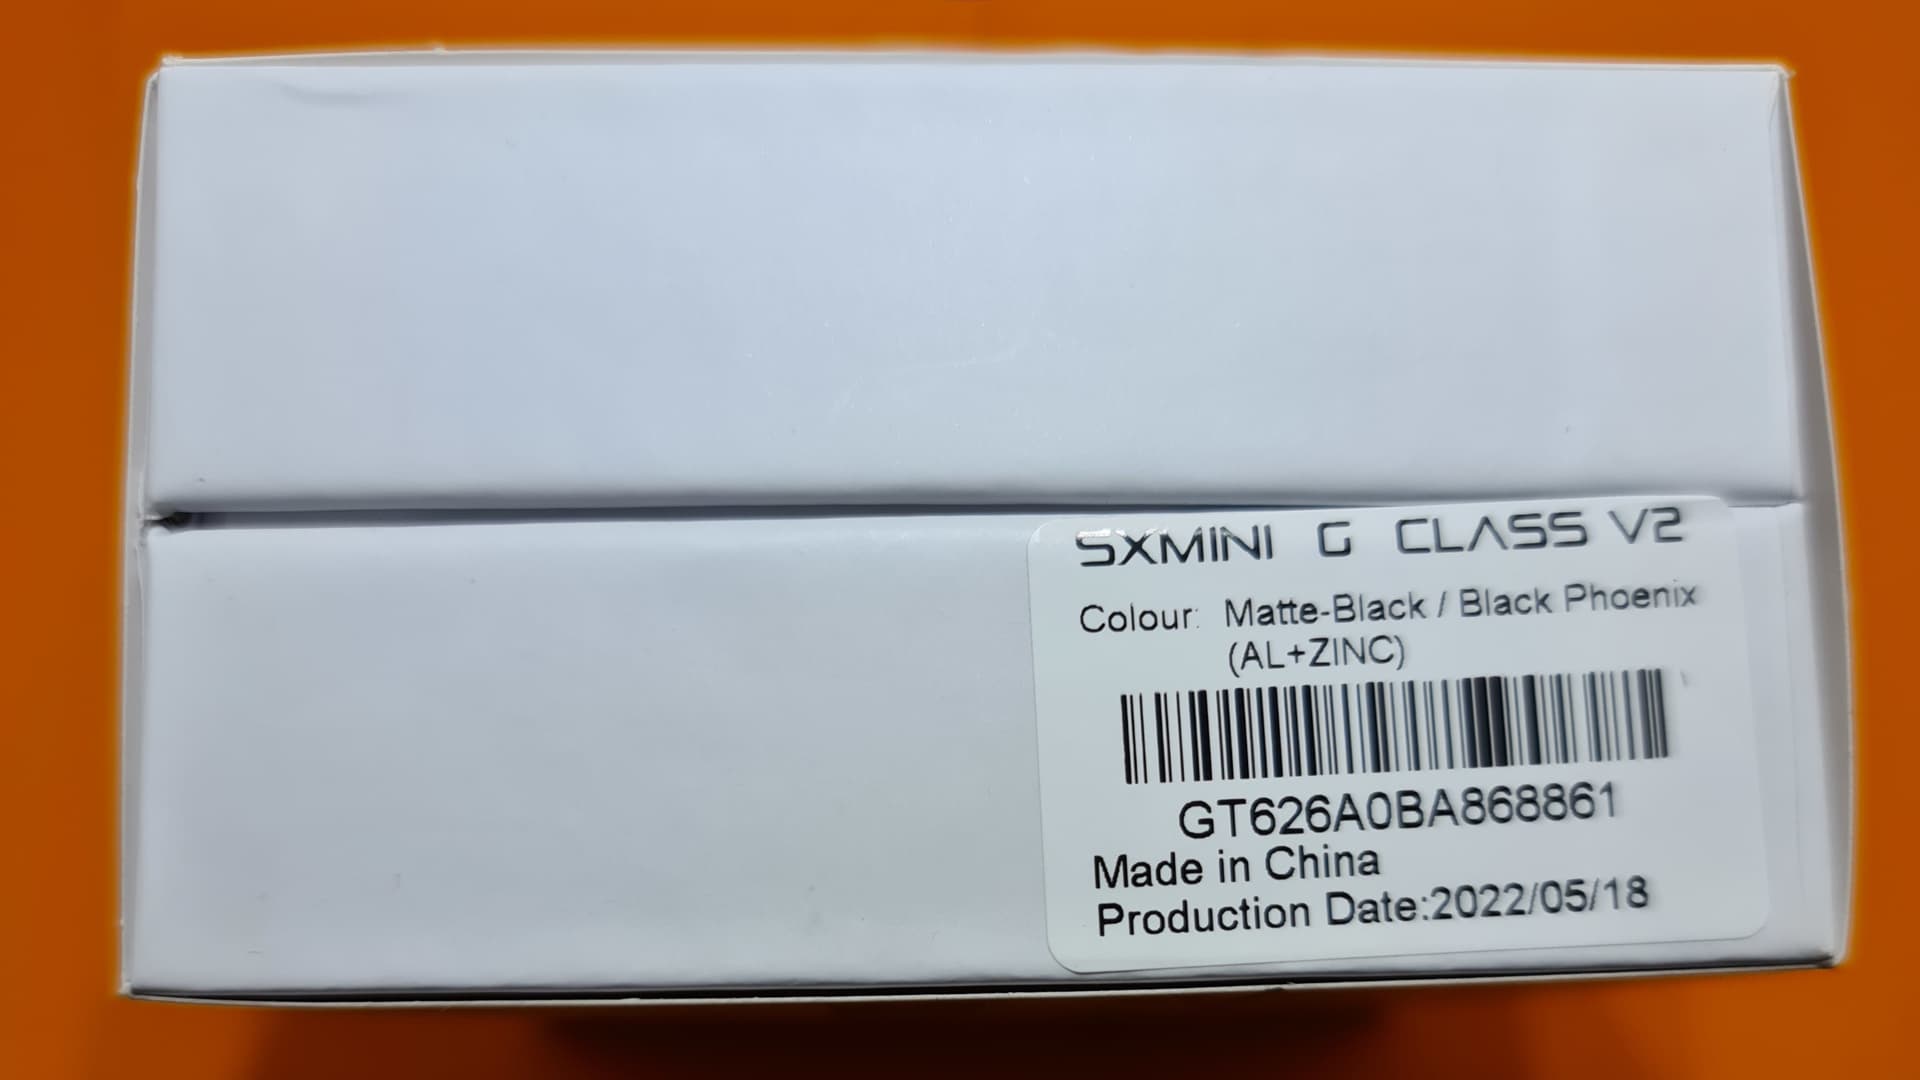
Removing the sleeve presents you with plain white box with a seal on the front and a product information label on one side:


Once opened the box shows the contents packed safely and well presented. The mod comes with shrink-wrap covering it which has already been removed in this image:

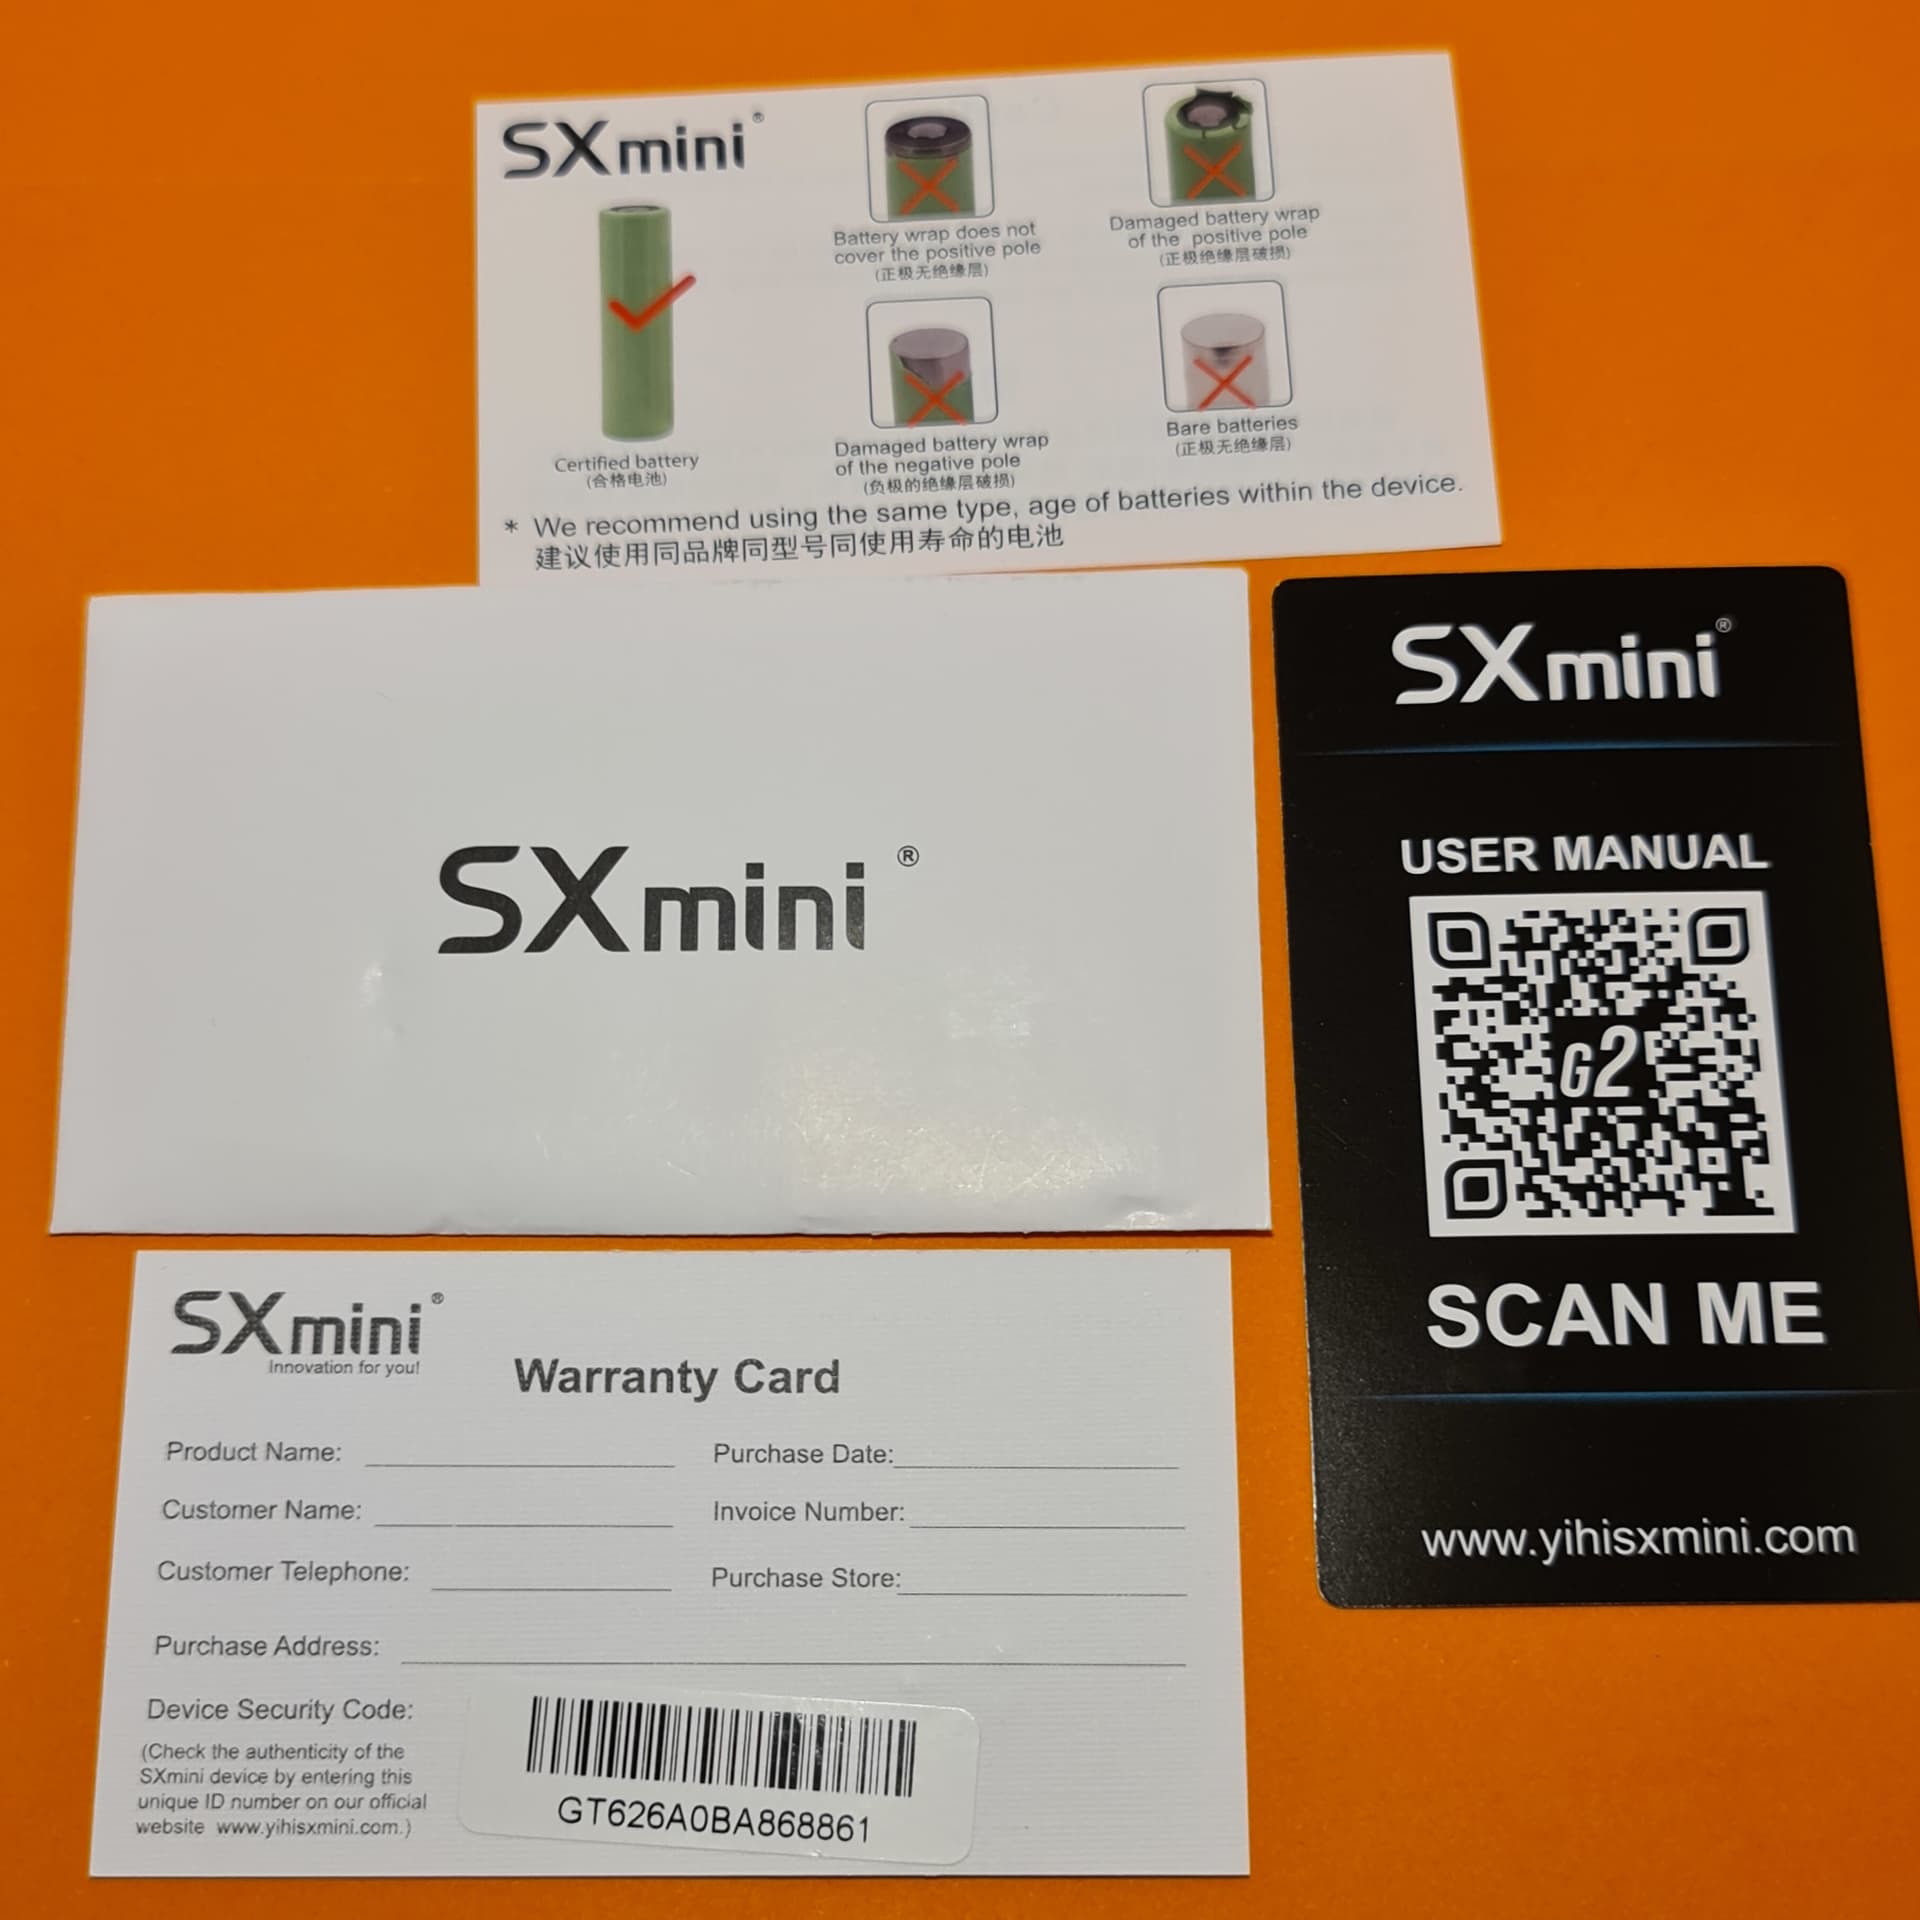
Inside the SXmini envelope we have a battery safety guide, a warranty card and a card with a QR code to scan which opens a PDF of the manual in a browser:
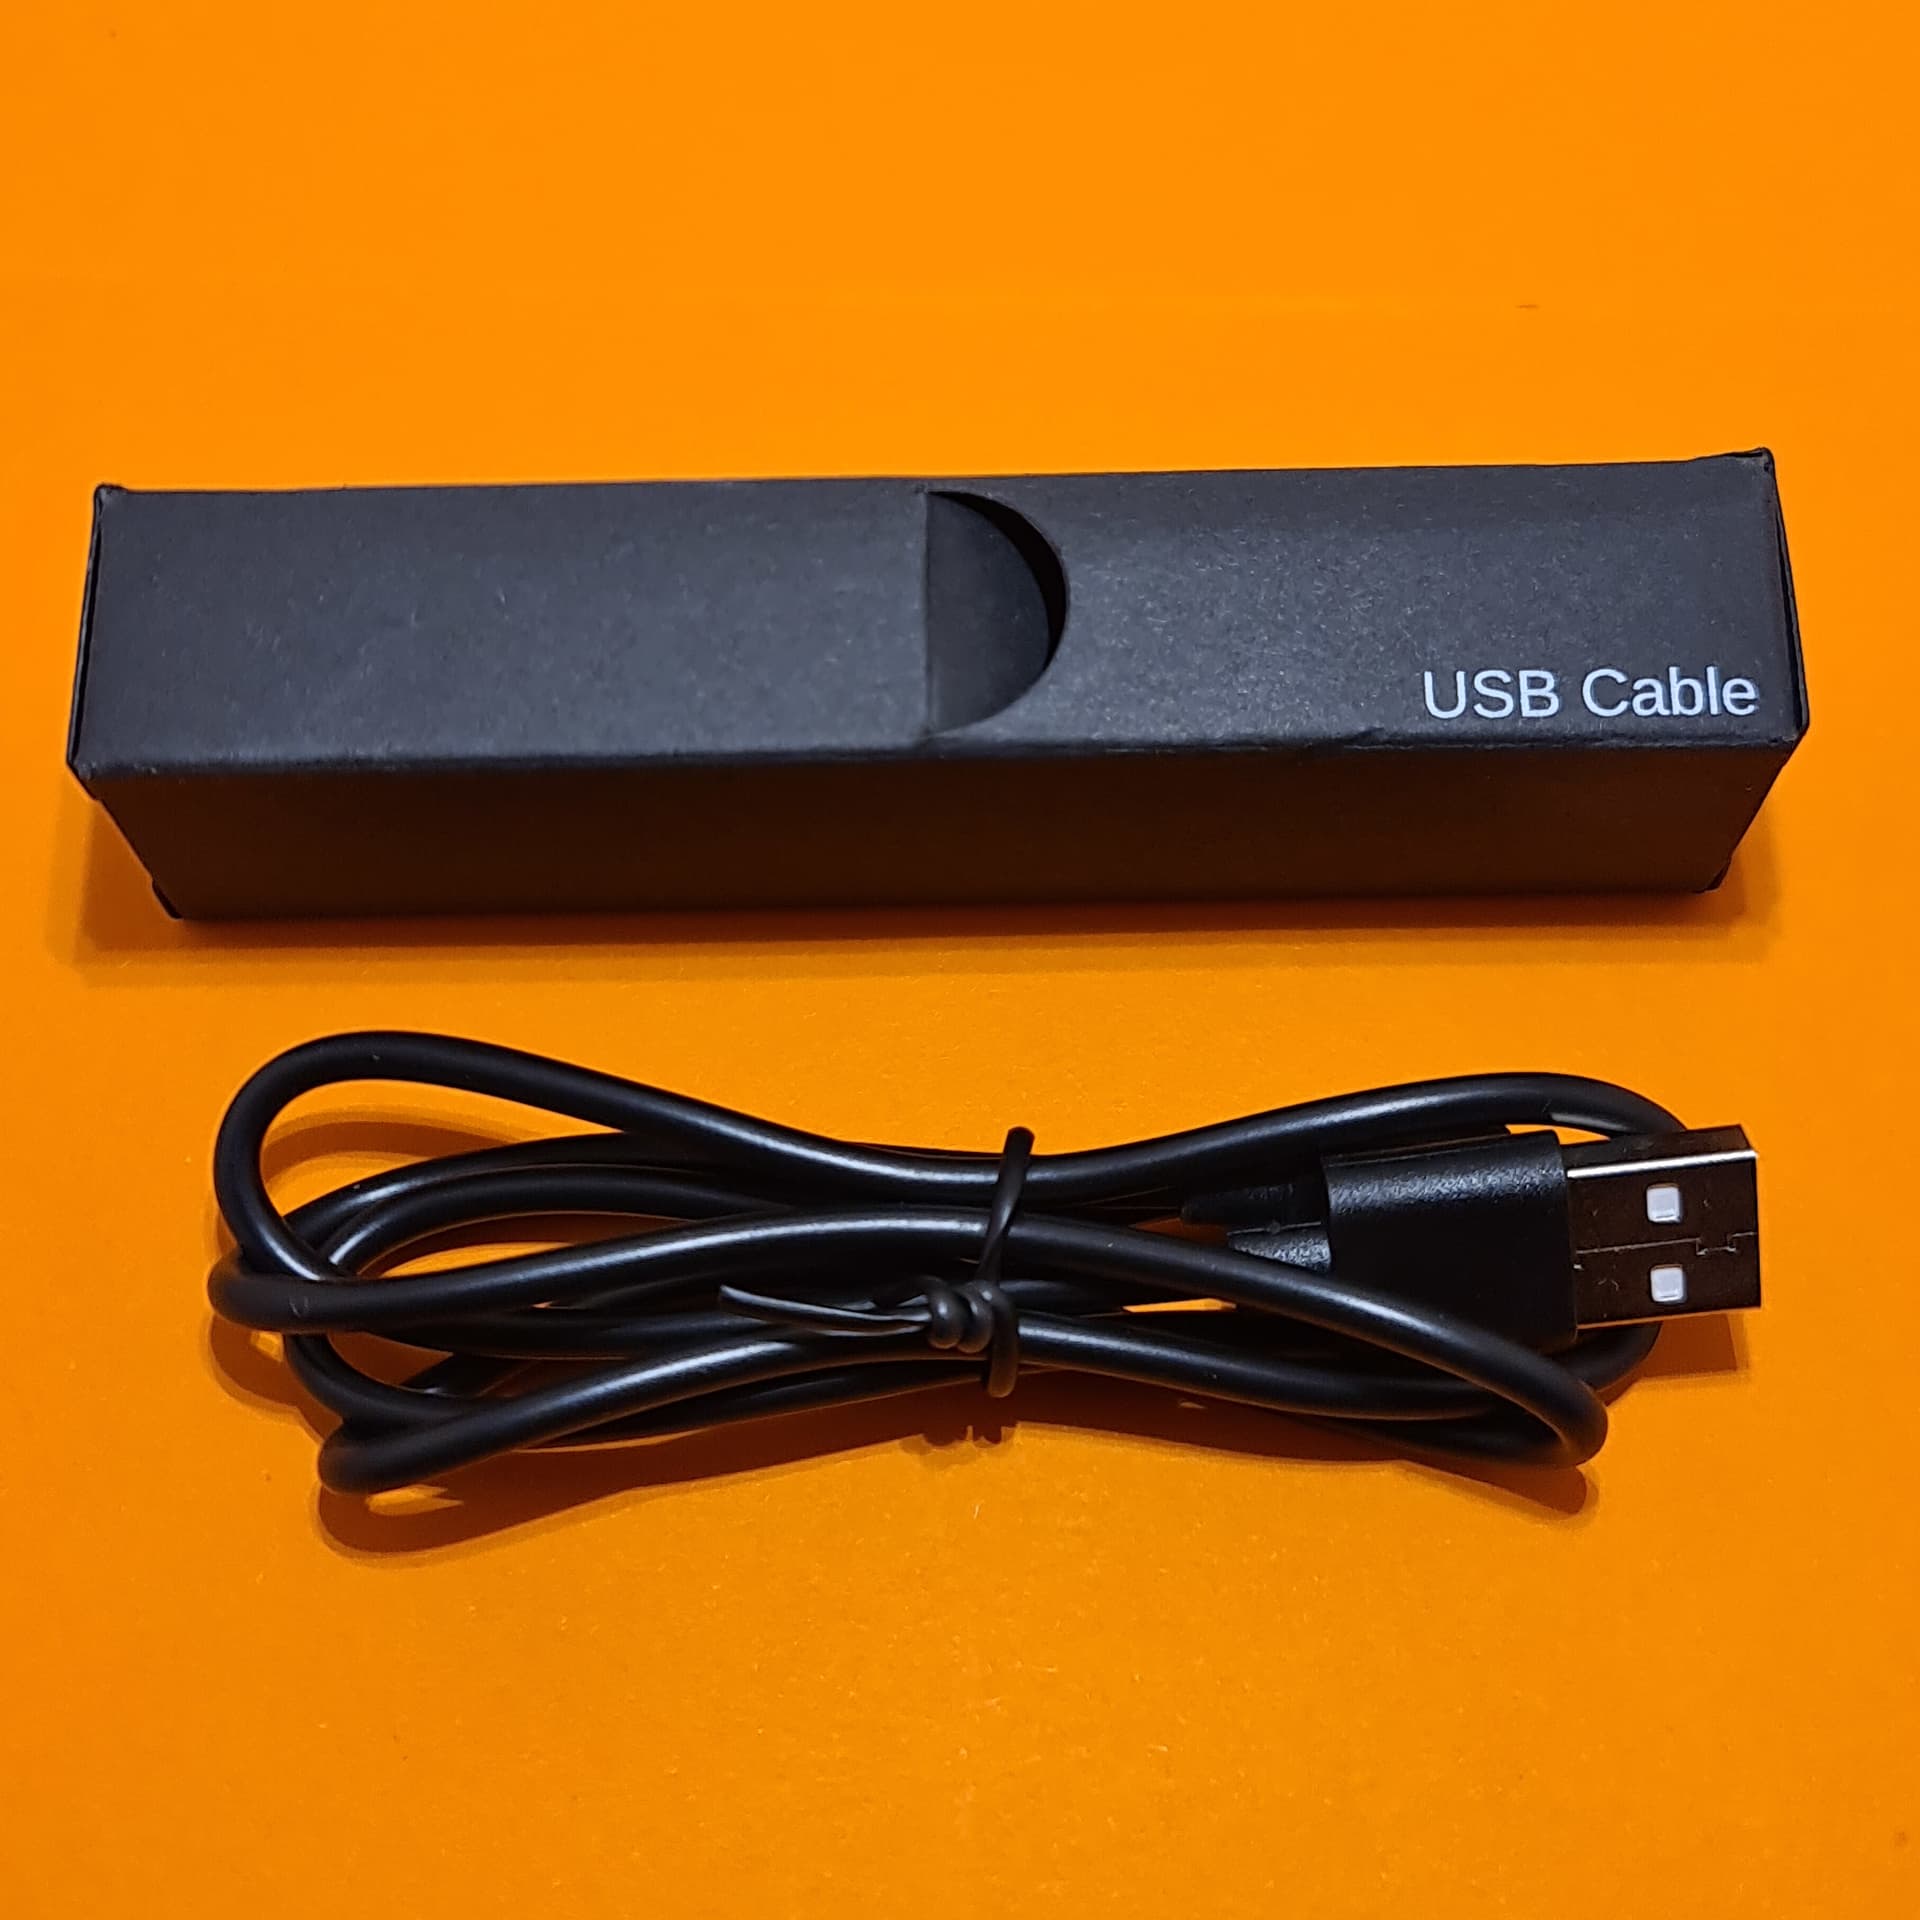
Charge cable:
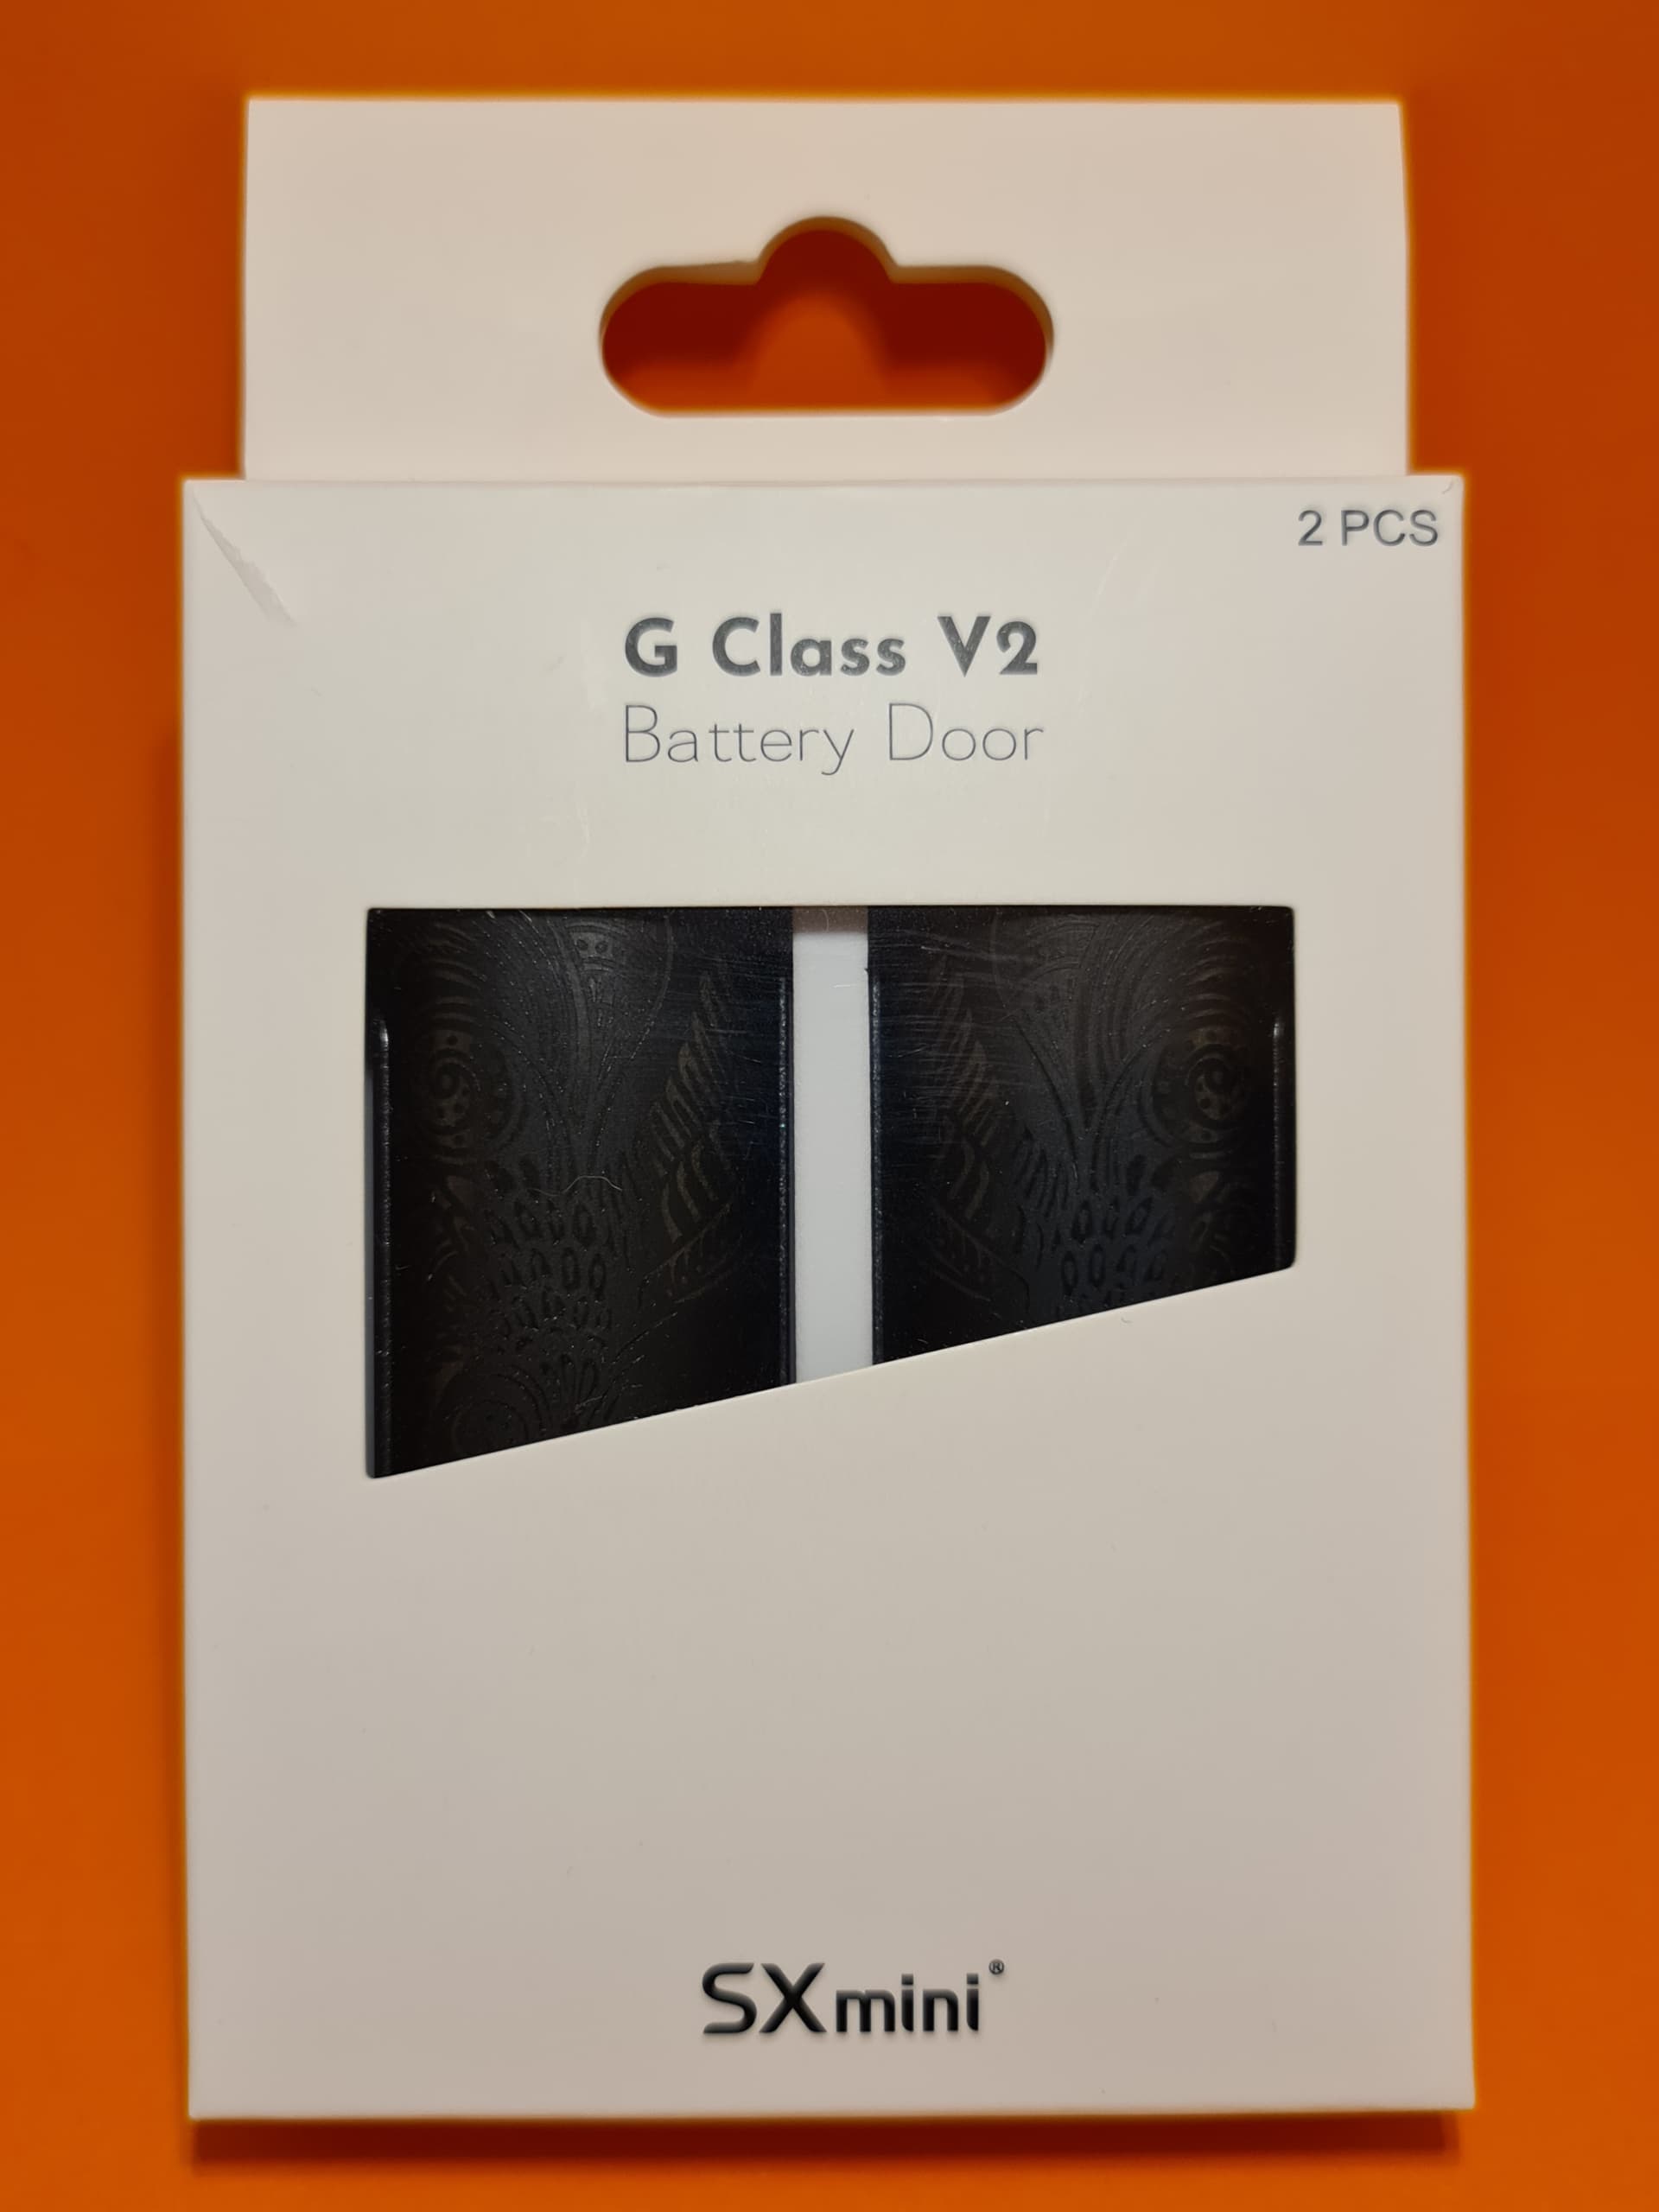
Spare set of plastic doors (Separate purchase)
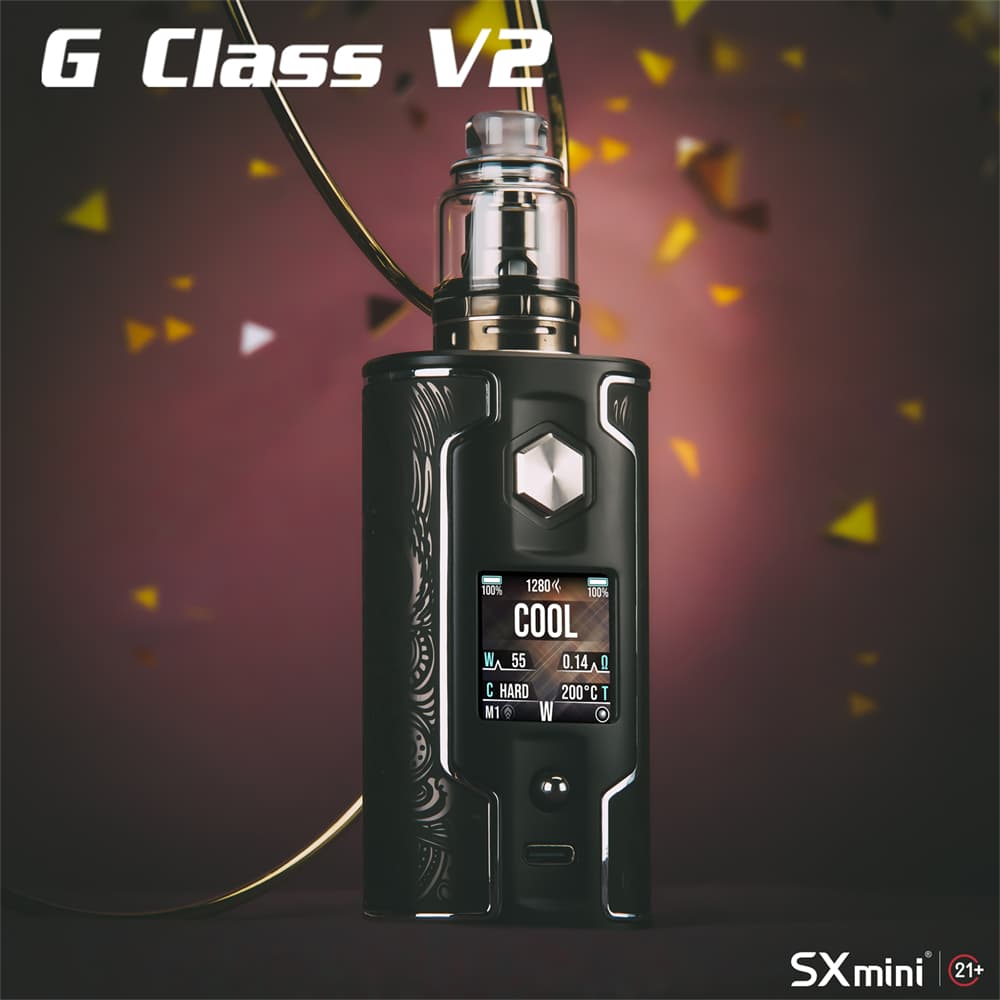
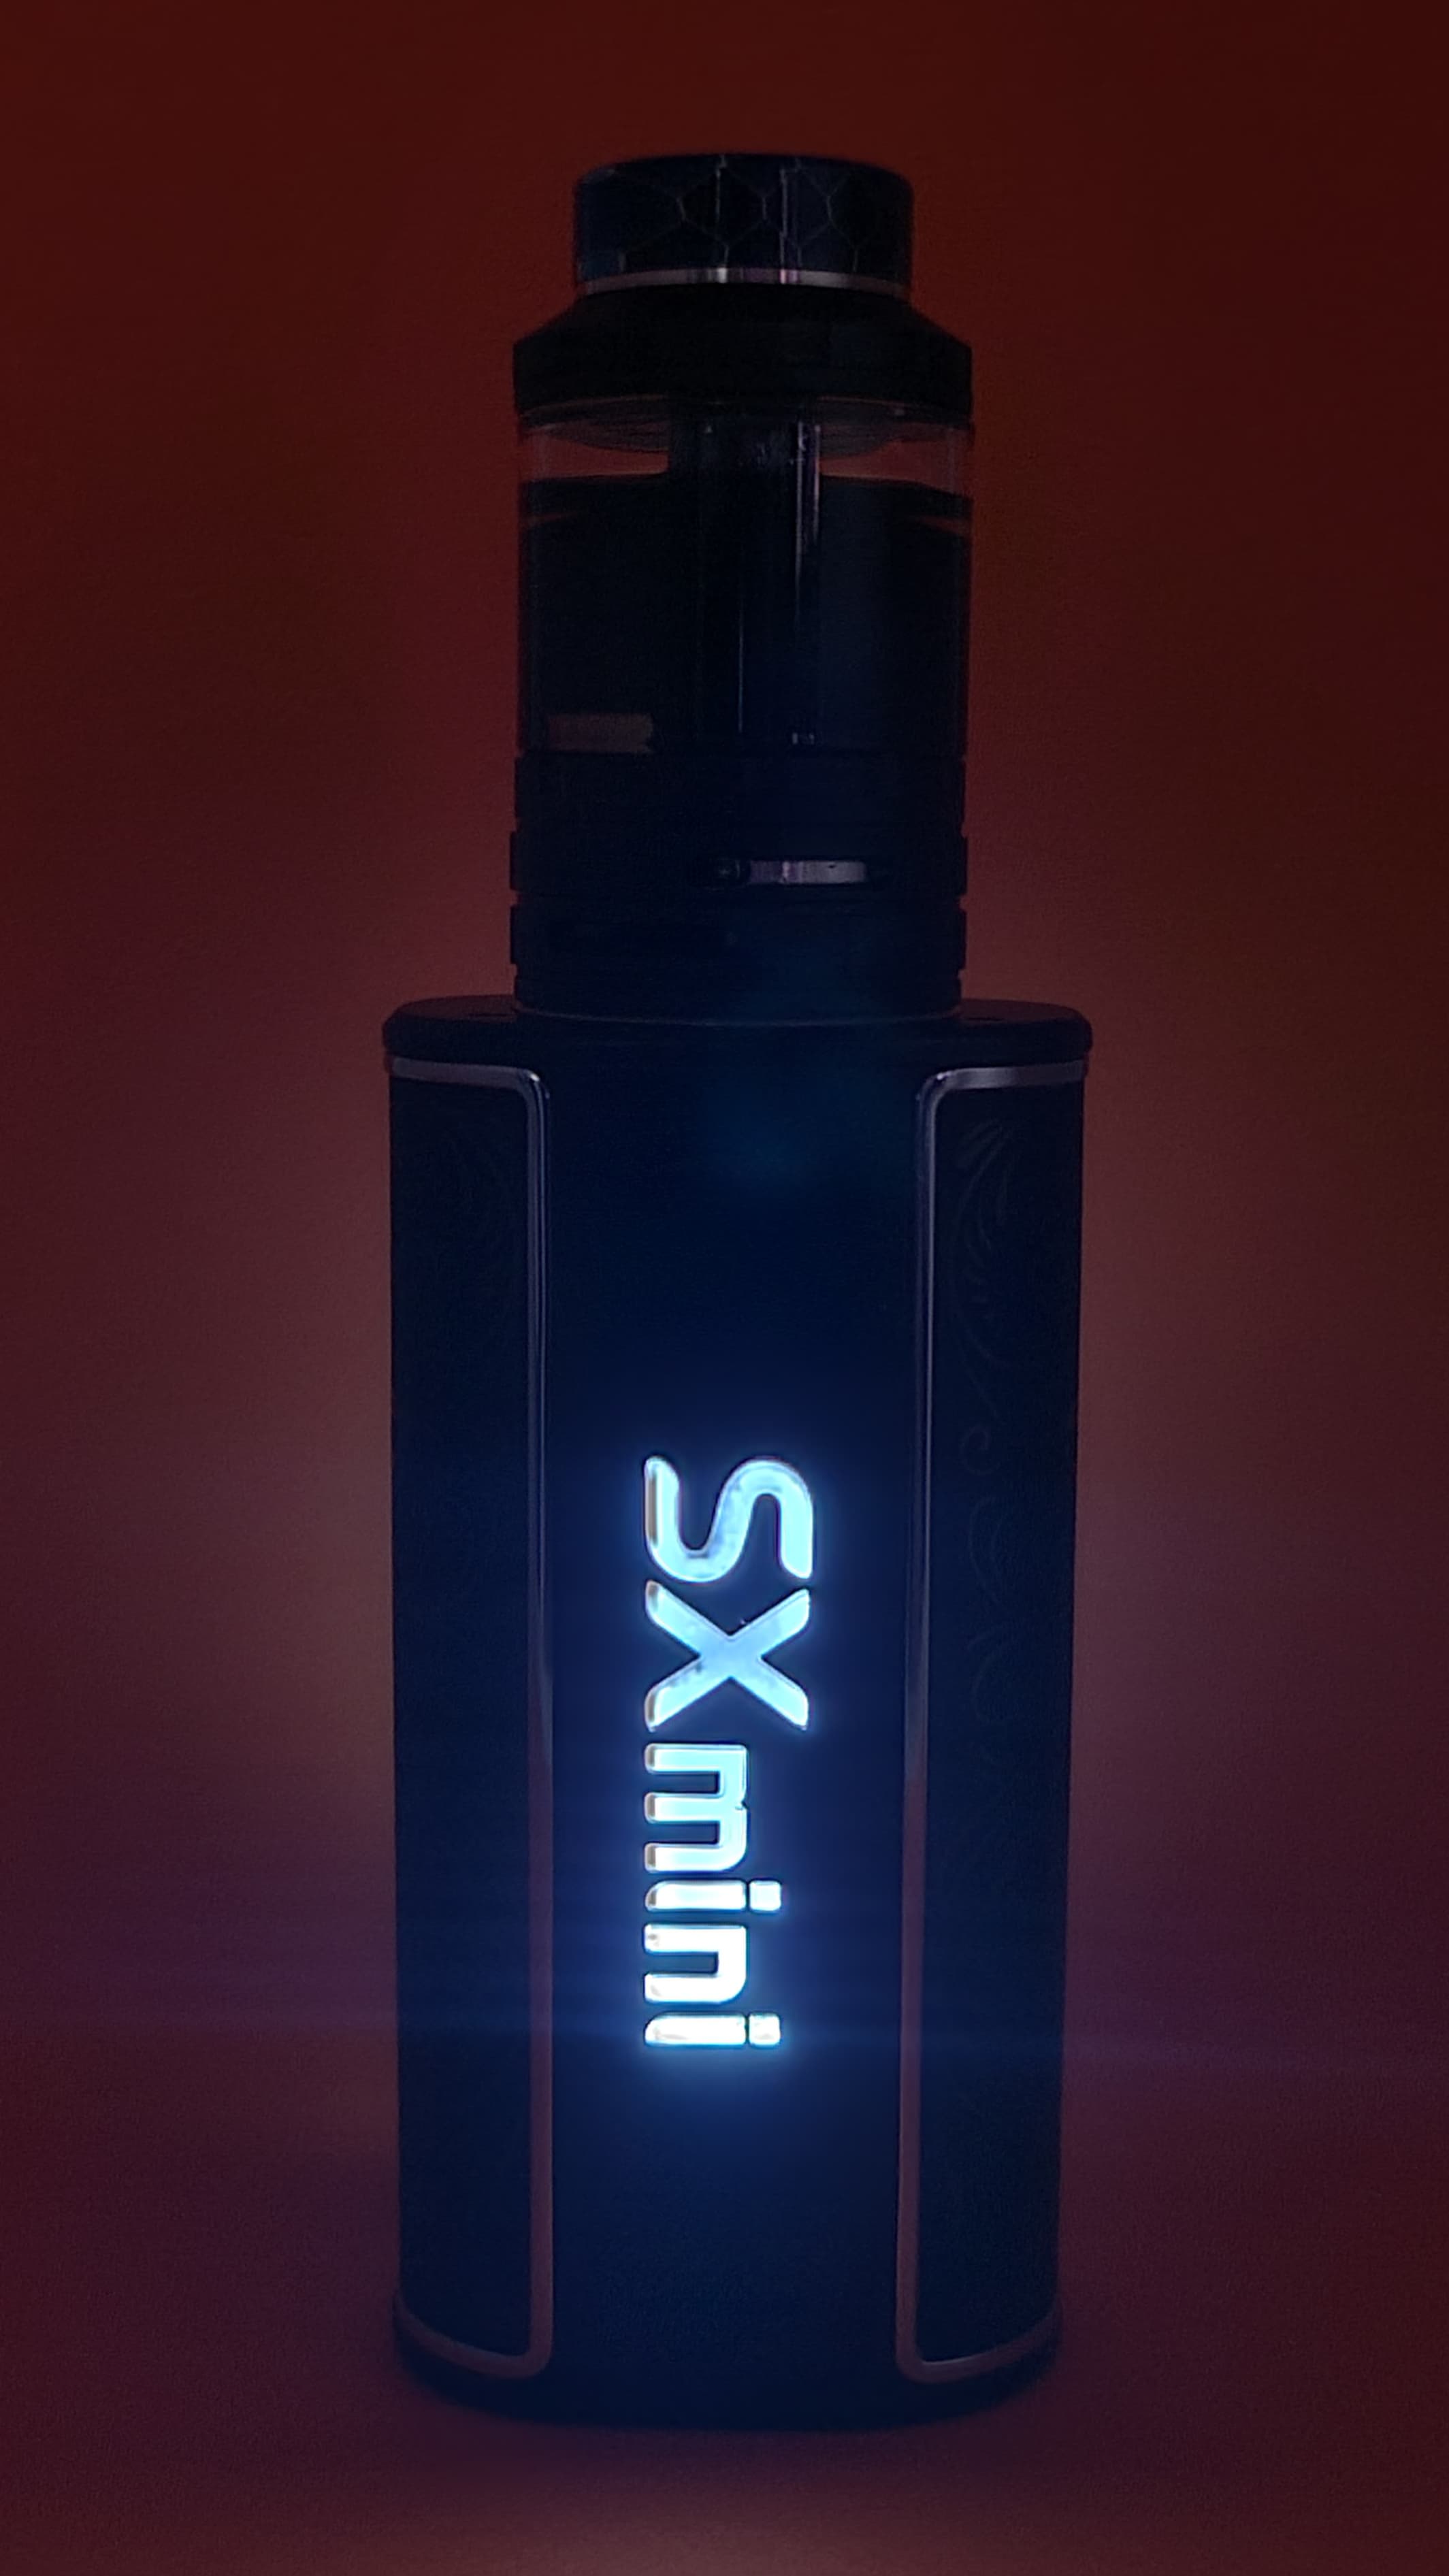
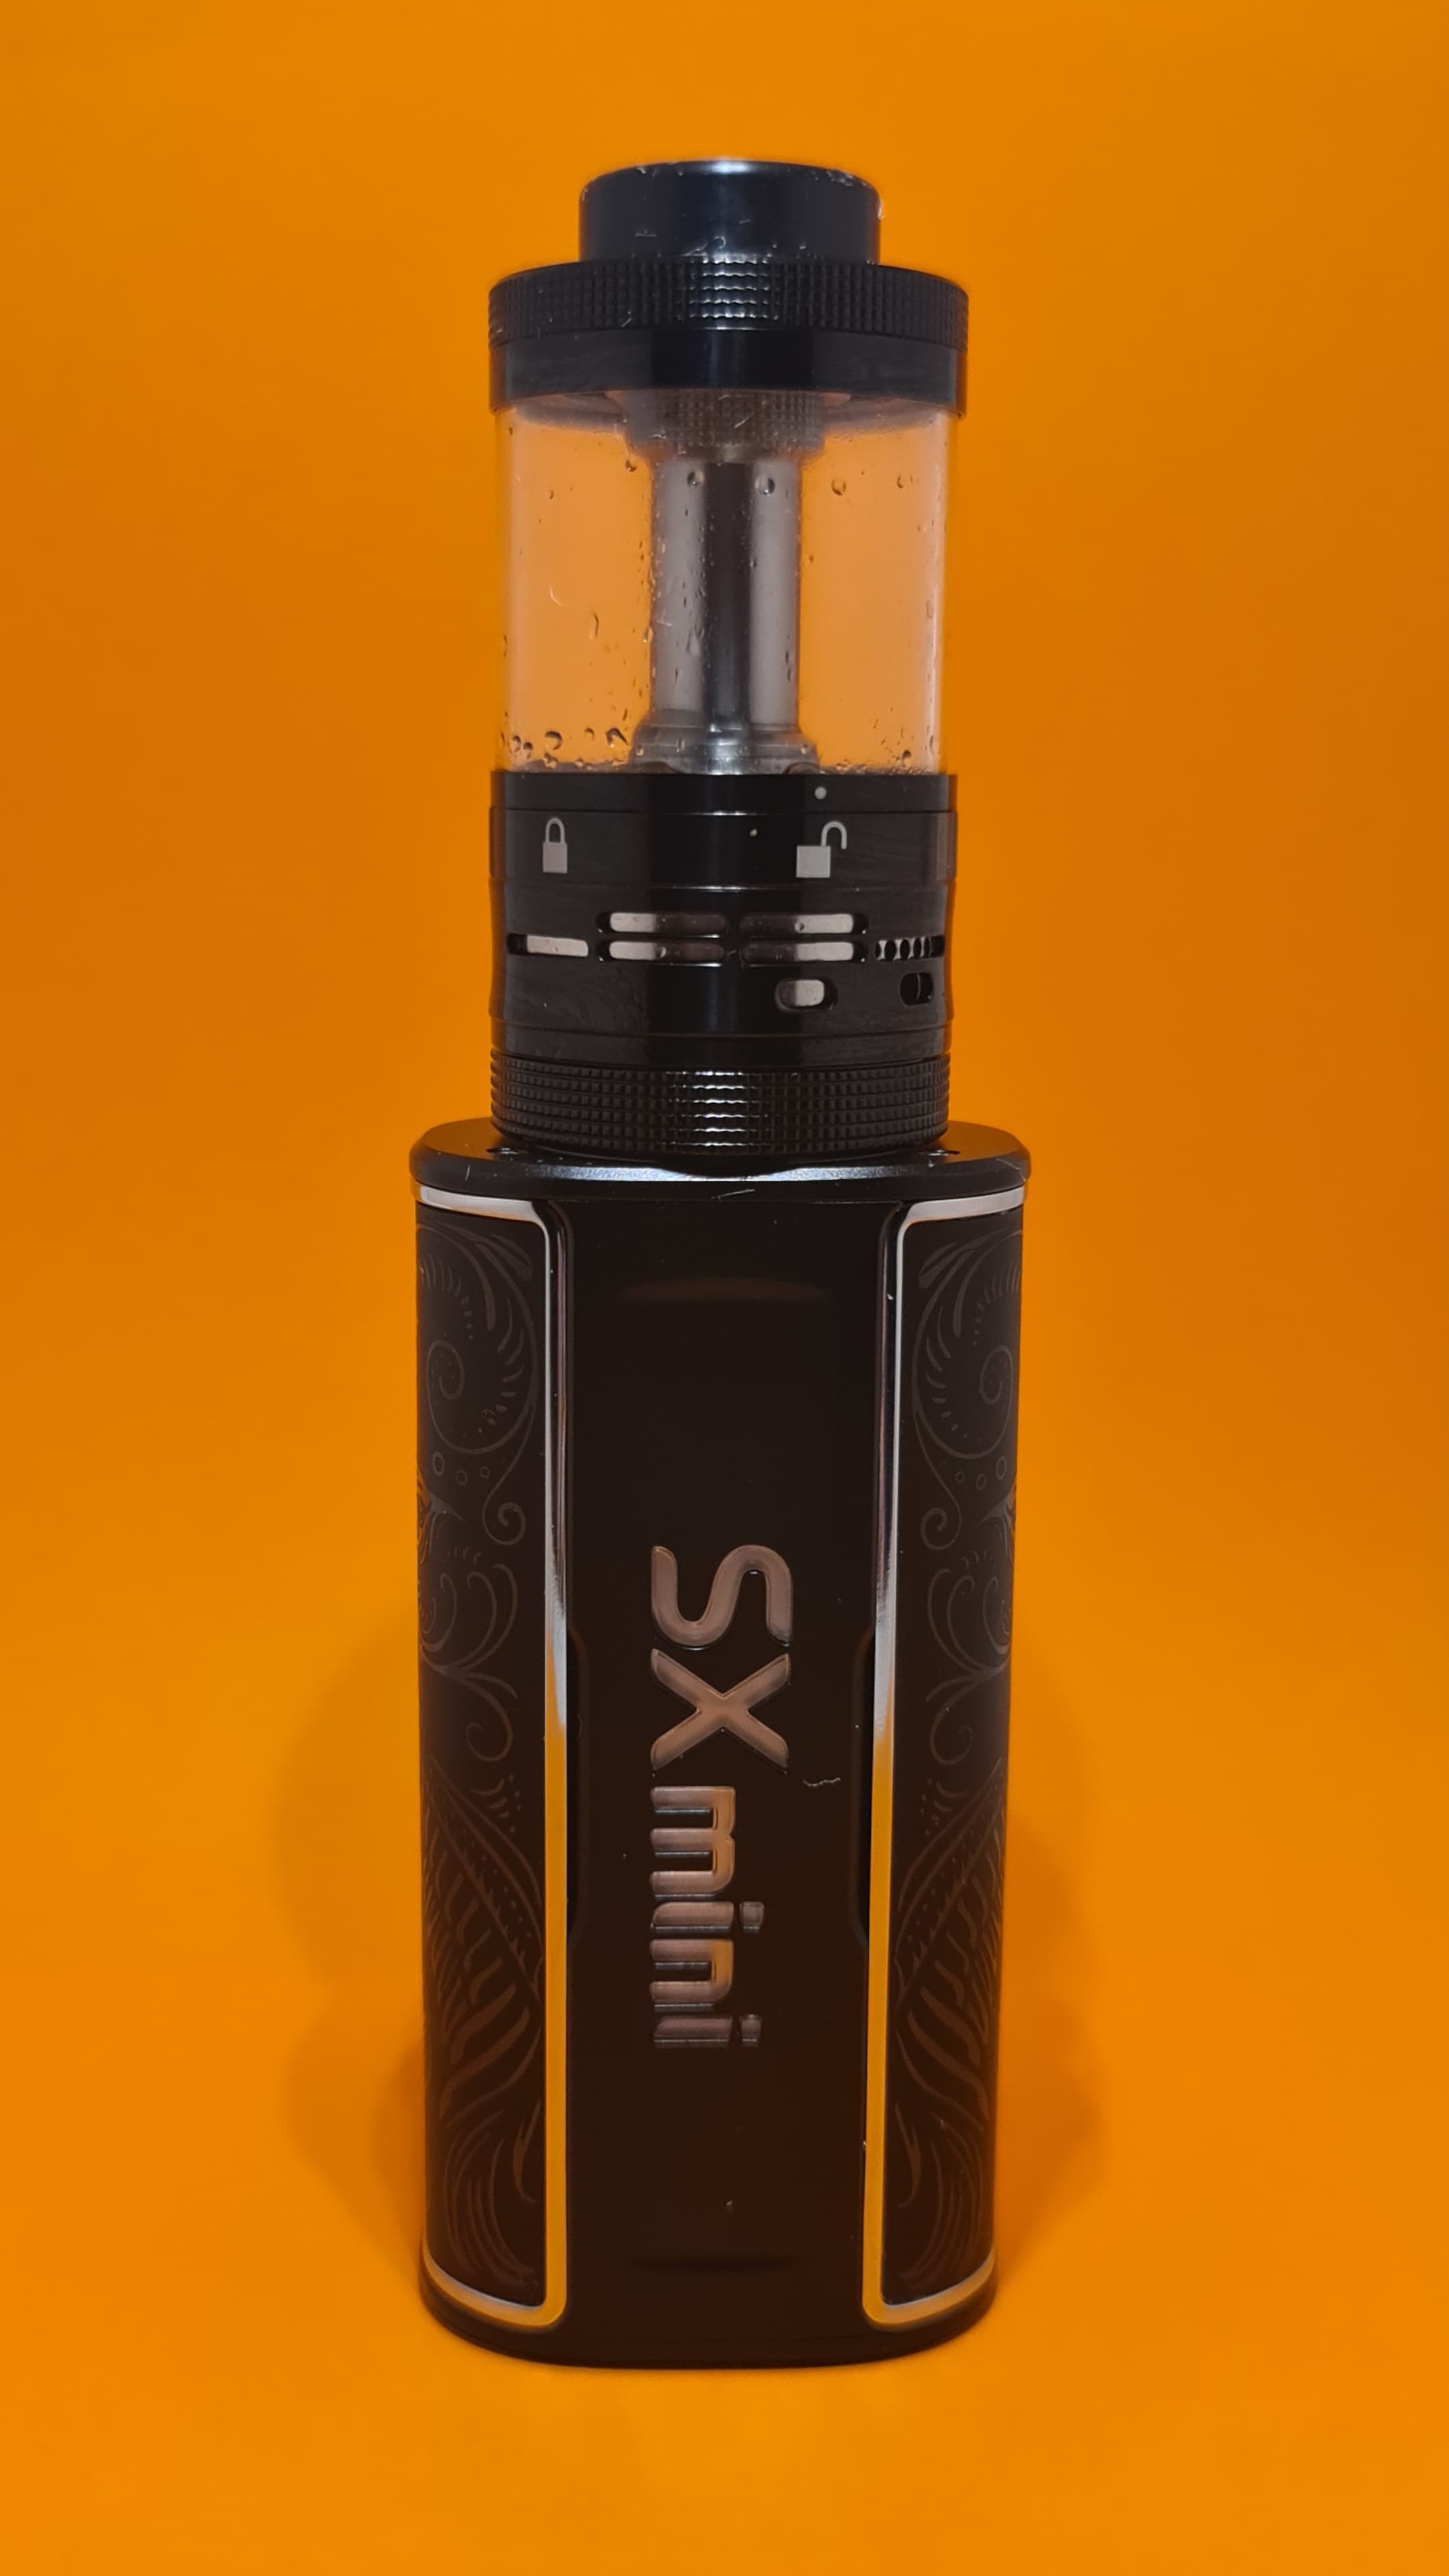
The SXmini G Class v2:
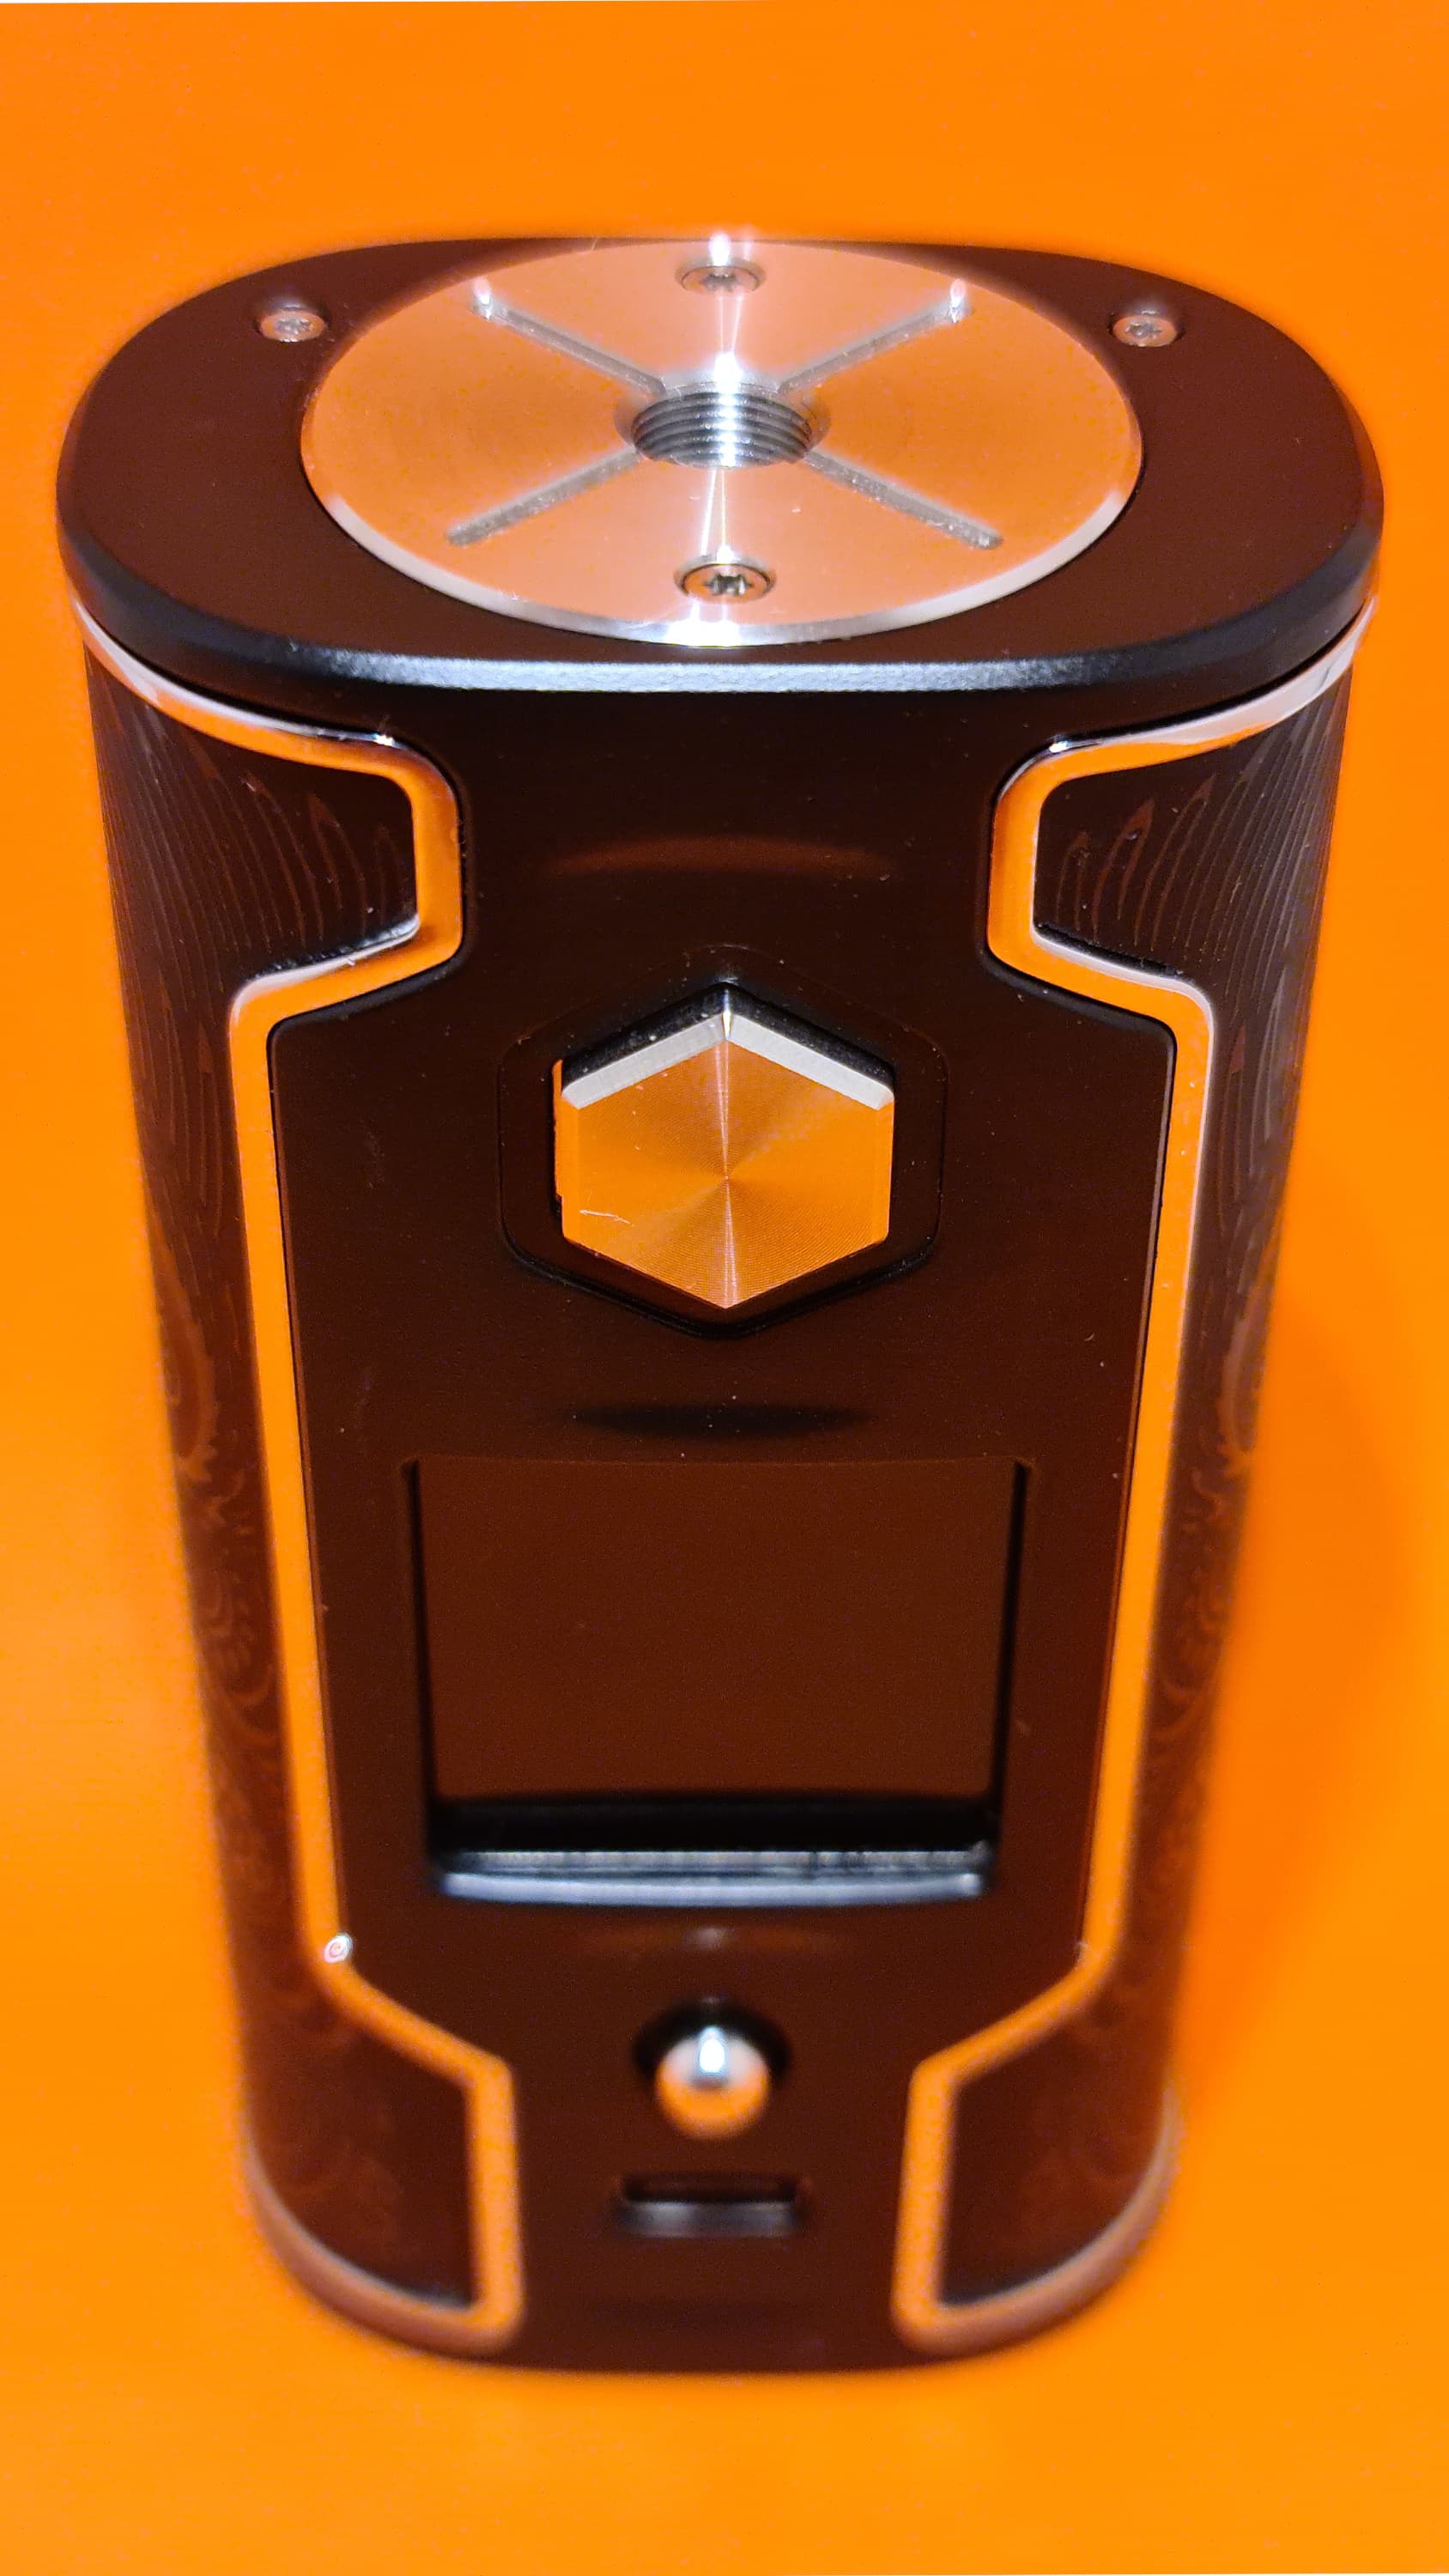
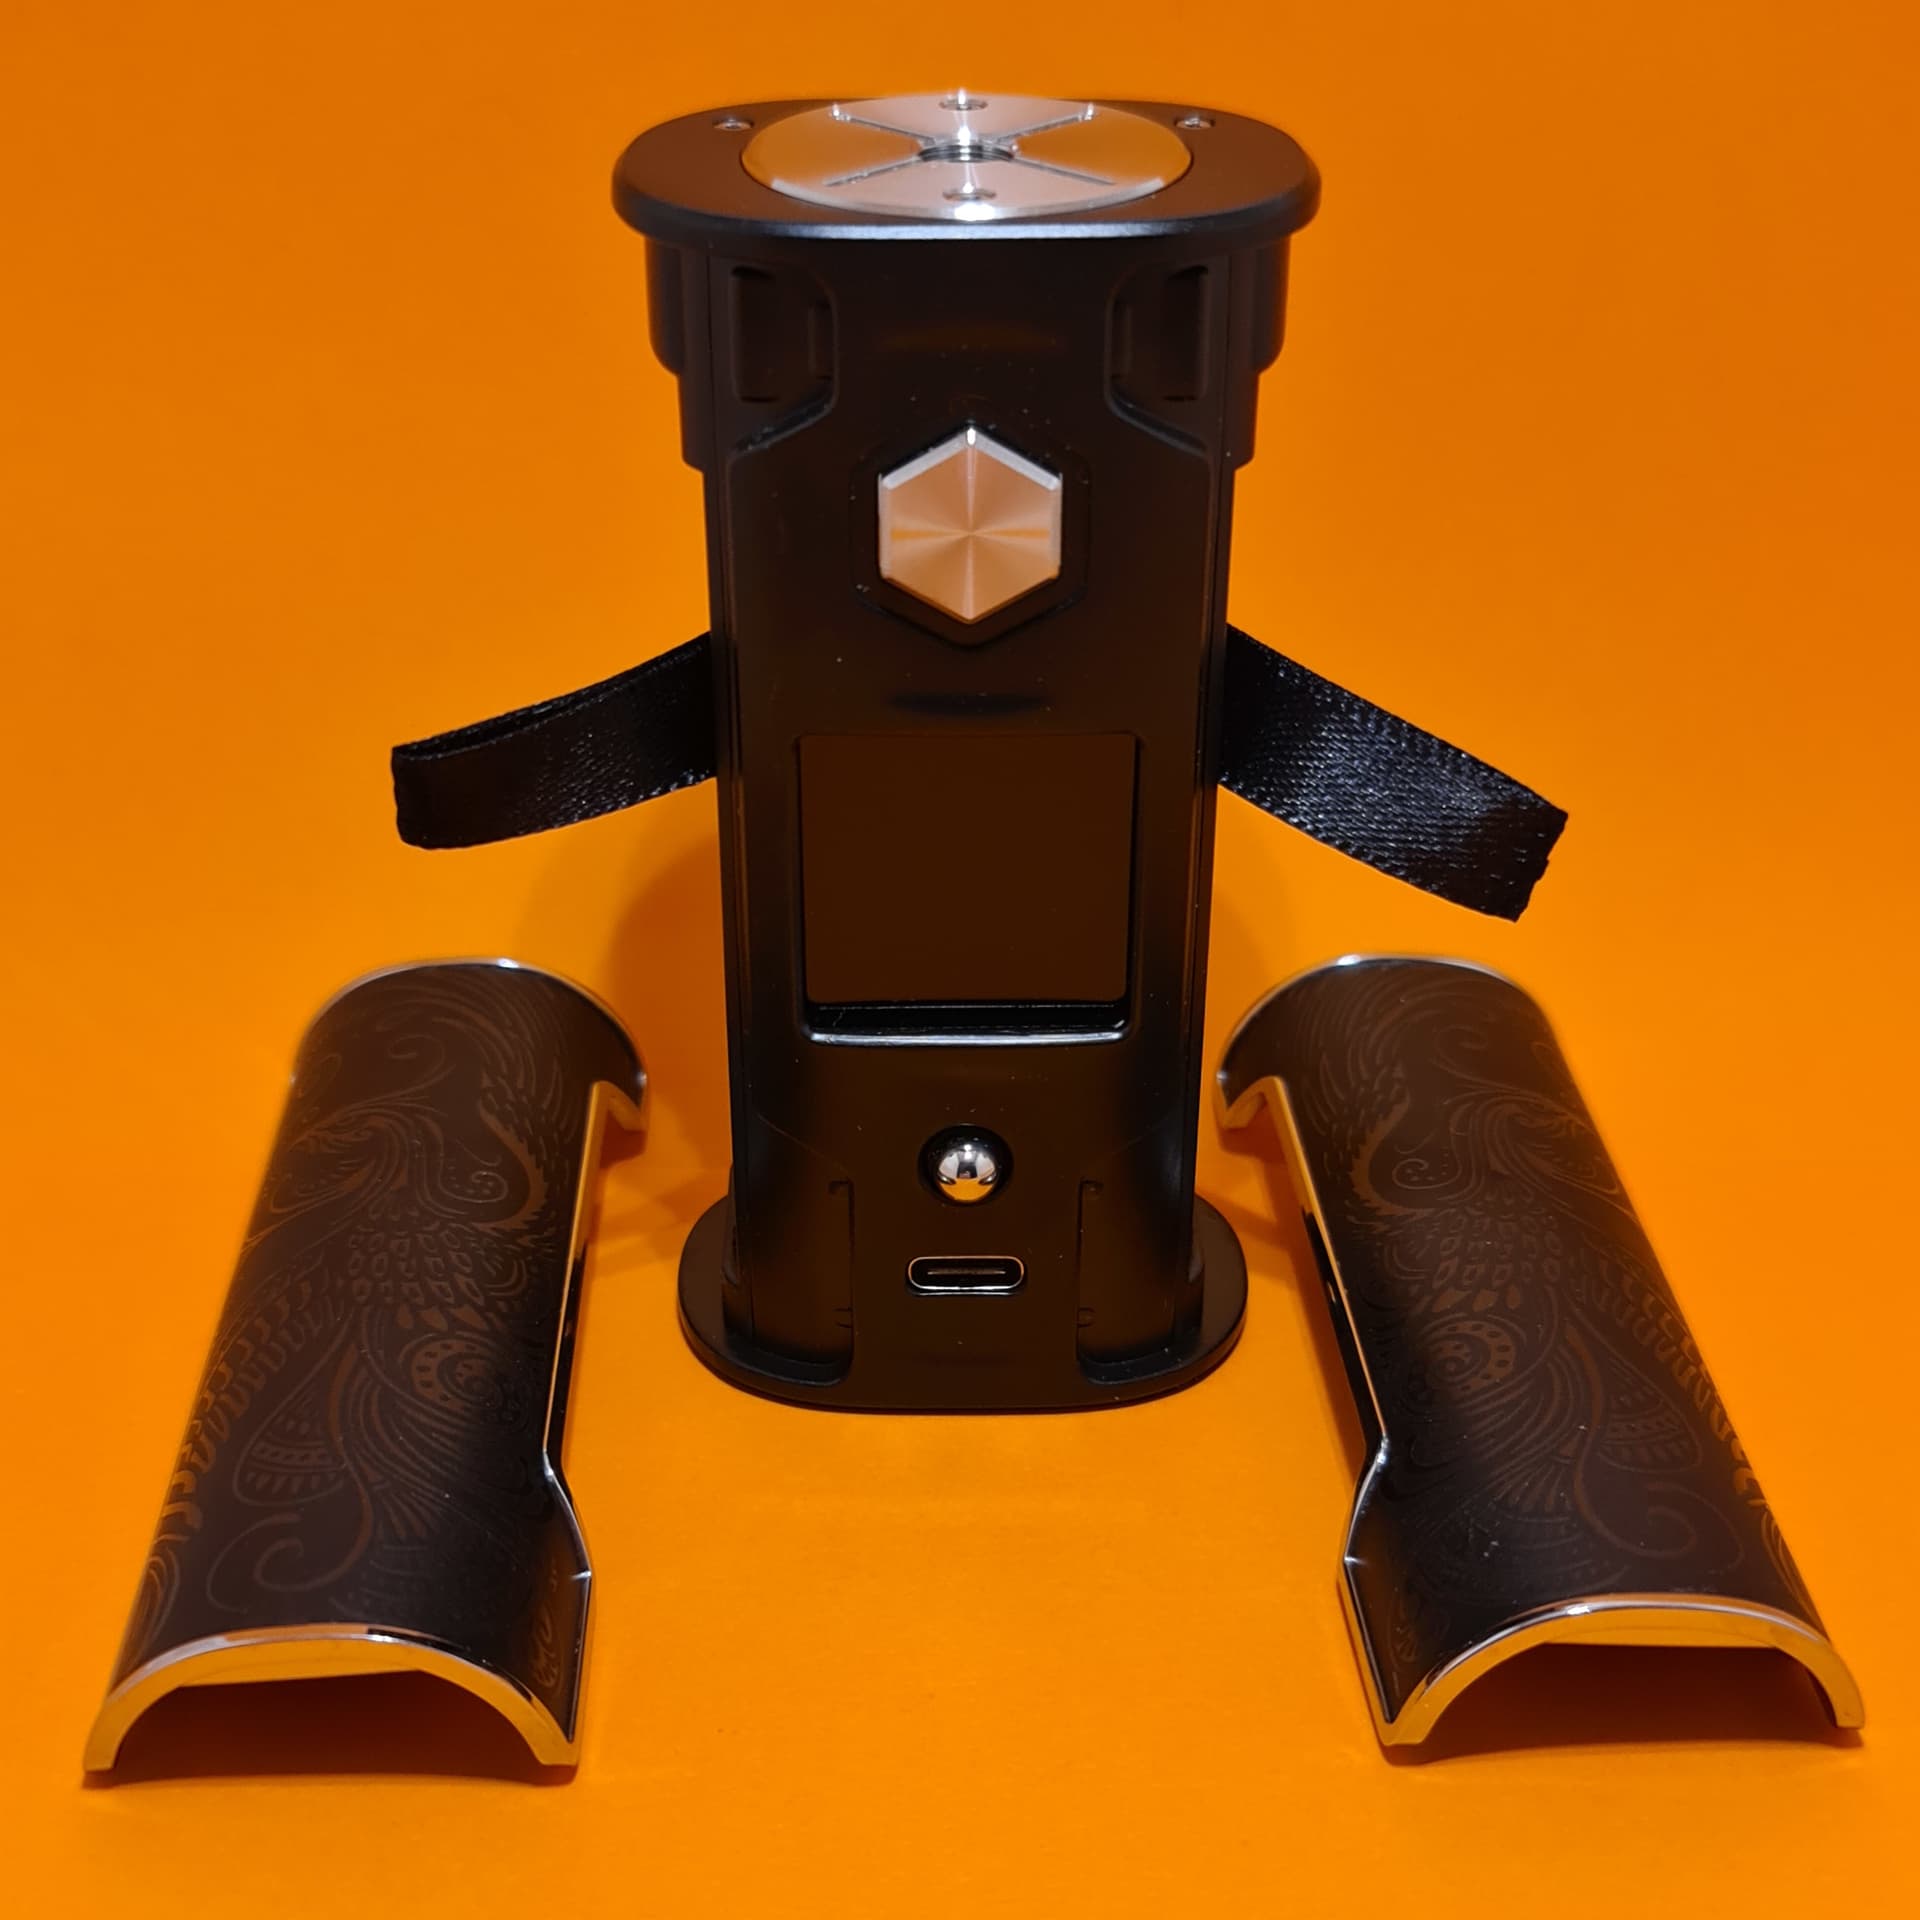
And here we have the G Class v2 in all its glory. On the front there’s a large and clear 1.3" IPS screen, a 5-way joystick for navigating the menu, a nice hexagonal fire button and USB-C charging port. On the back there’s a large SXmini logo which can light up when the device is used if it’s turned on in the settings.
Unlike most mods out there, the G Class v2 has 2 removable battery doors, one for each battery, located on the sides. There are 2 versions available with the main difference being the material they’re made from. There are zinc alloy ones that you see here and plastic ones you’ll see further down. Both types of door come beautifully etched with a filigree type design and on the zinc alloy version, a shiny chrome beading around the edge. The plastic doors have a more matte finish the the beading around the edge:

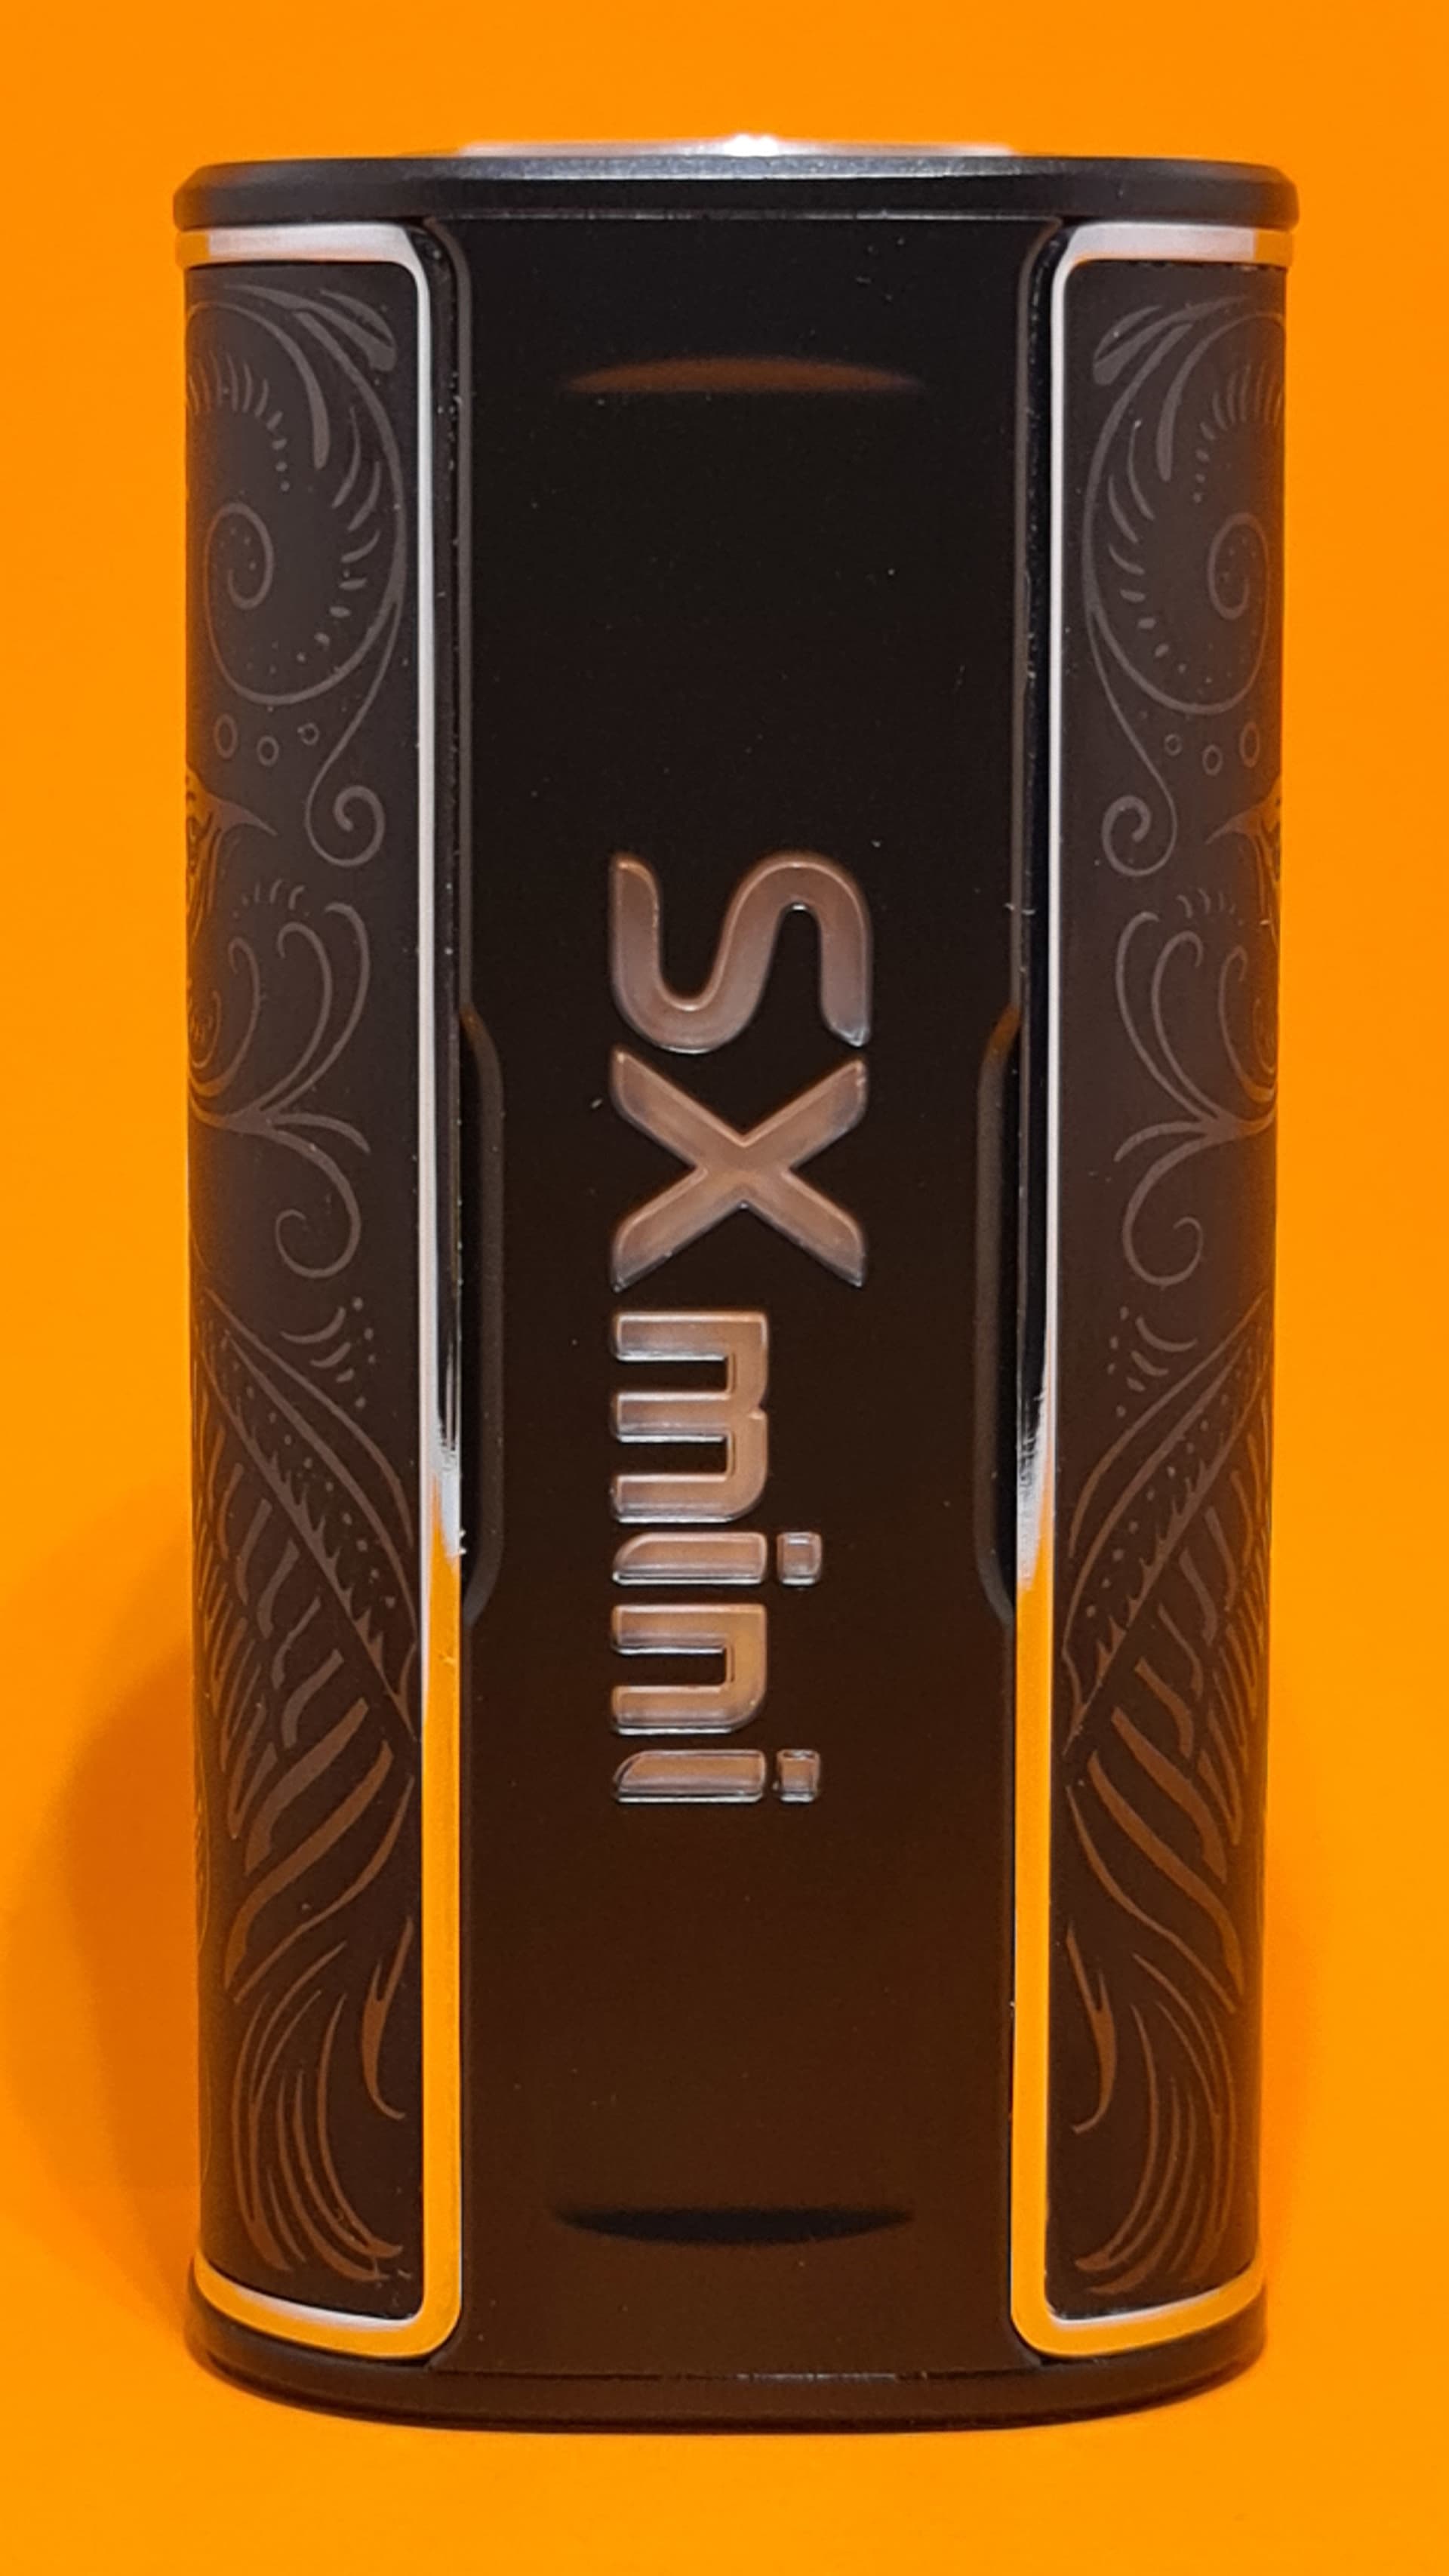


Here are the doors removed. They are held very securely in place with strong magnets and are removed simply by pulling them off from the back where there’s a small recessed area to allow you to get your nail behind.
Here you can compare the zinc alloy and plastic doors side by side. You can see the edging has a more matte finish on the plastic doors on the right.


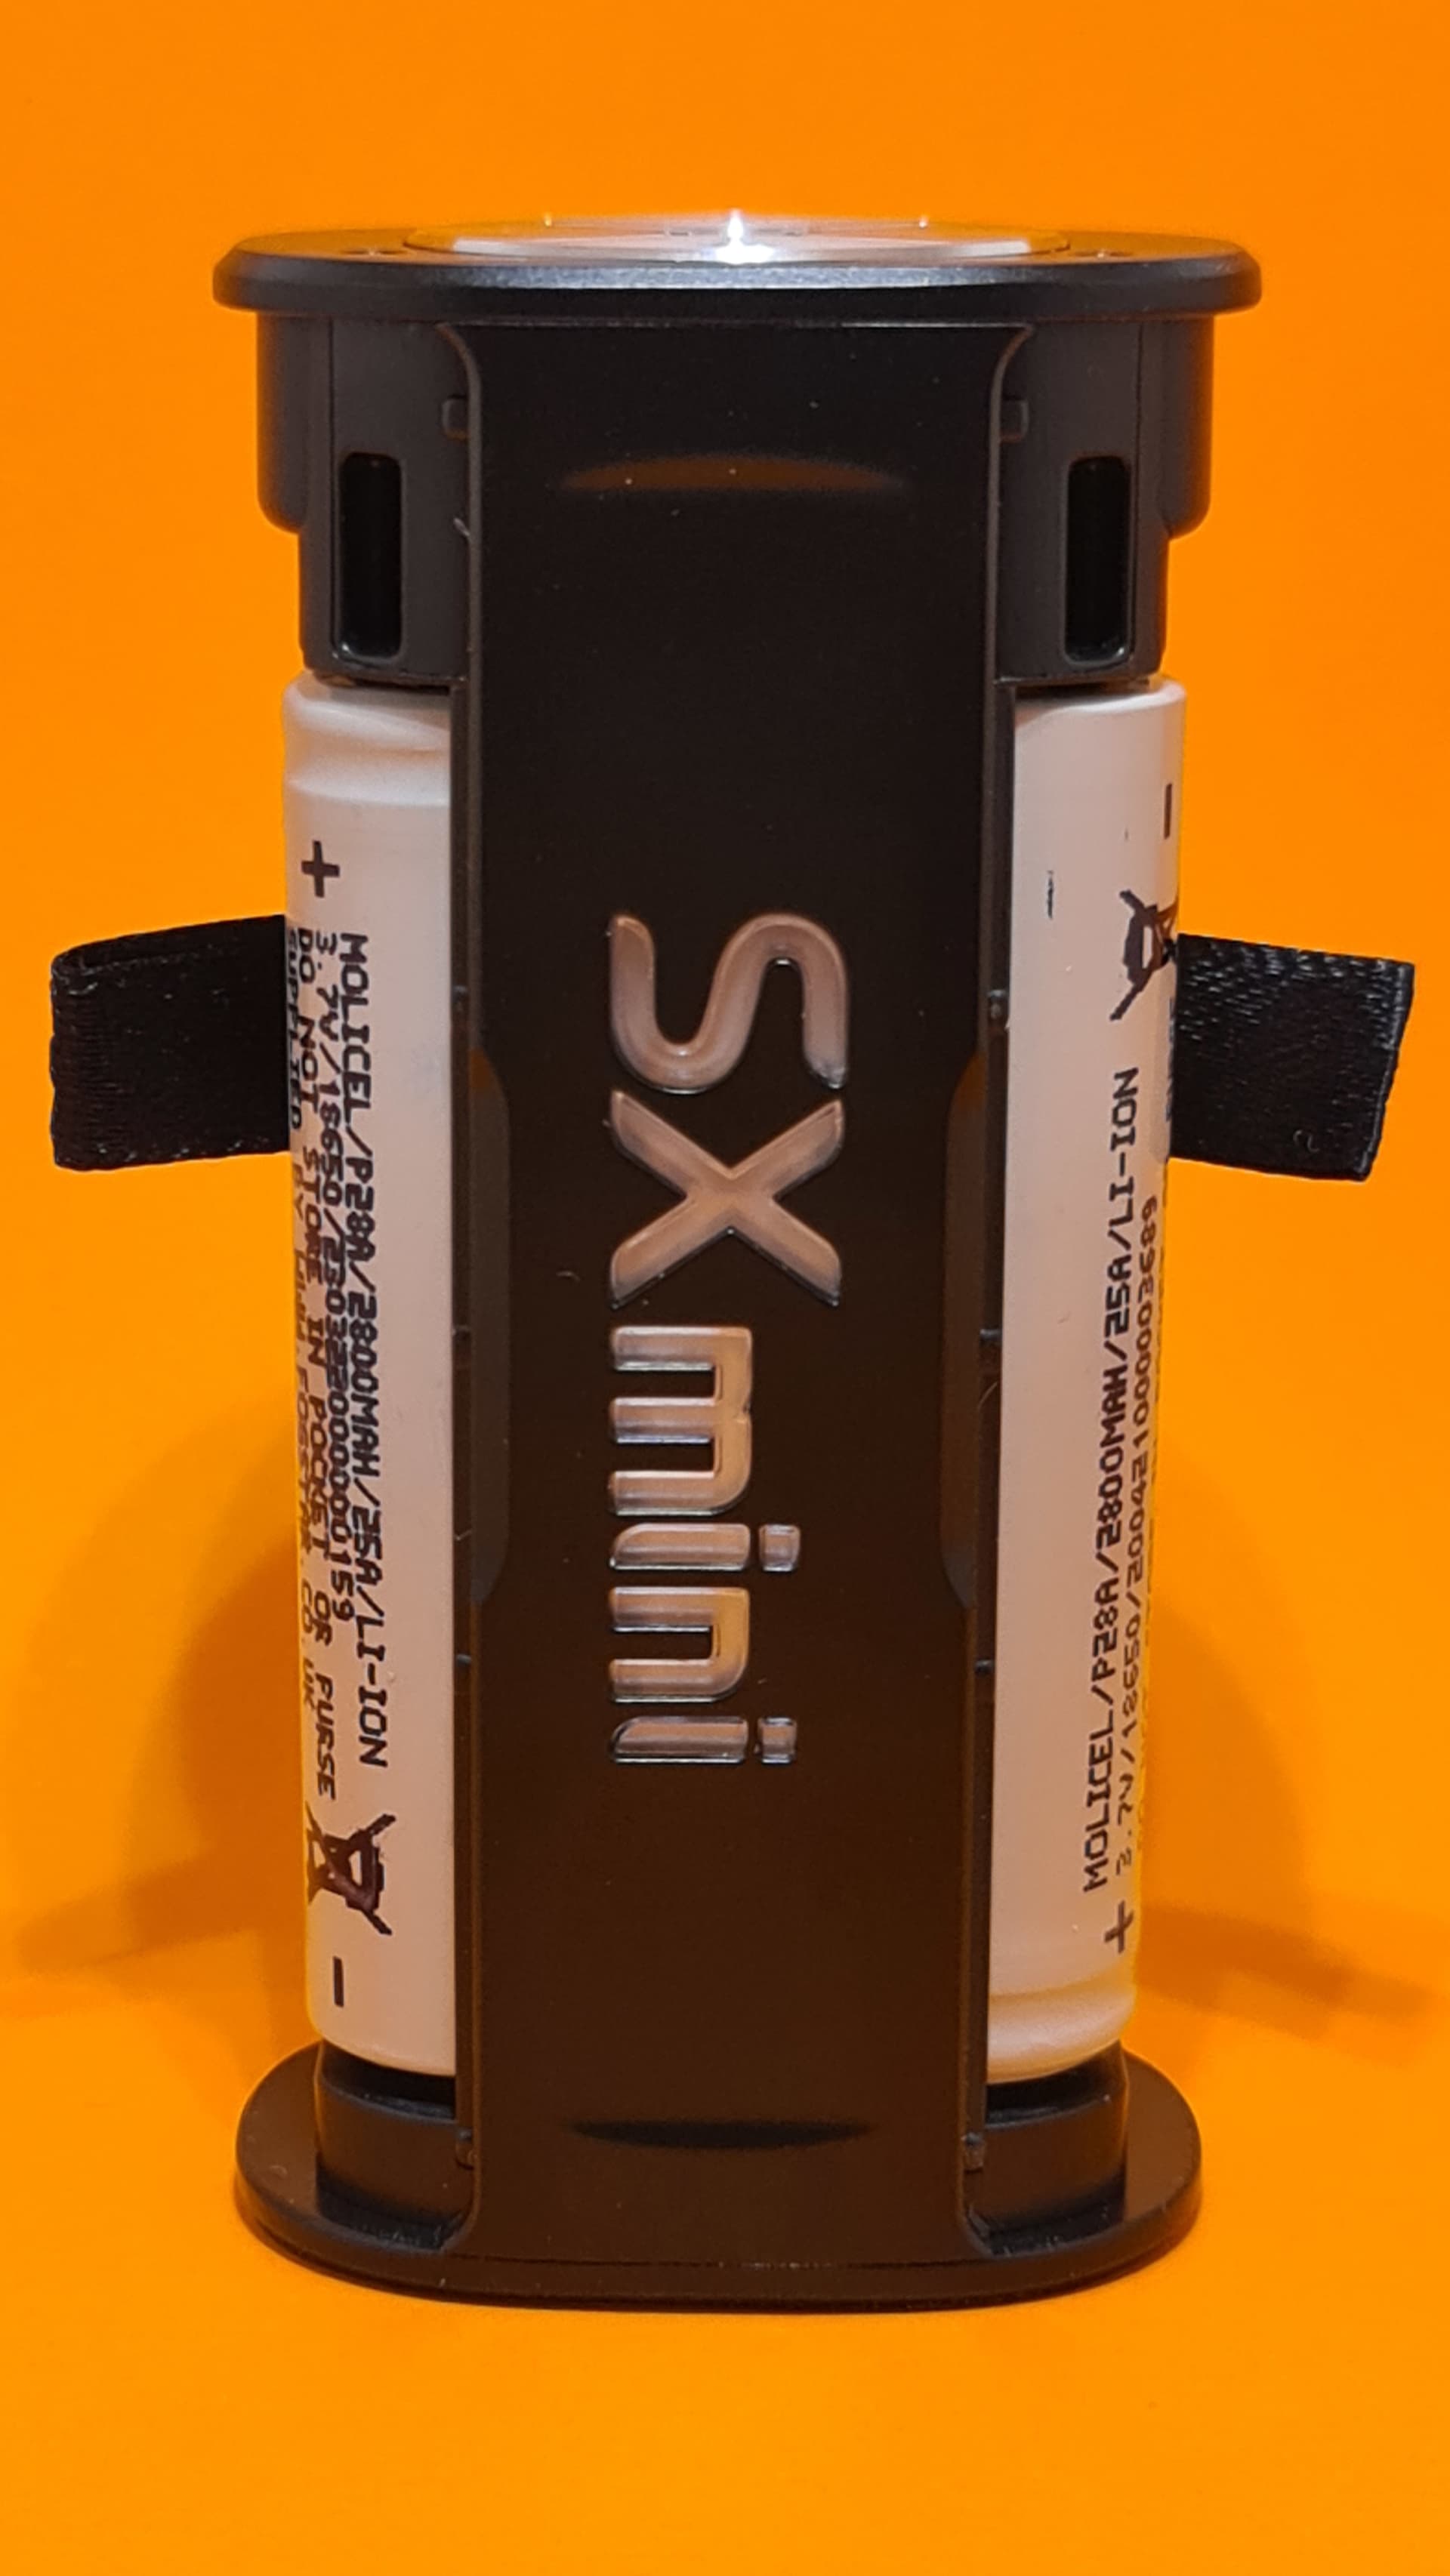
The battery polarities are clearly marked inside and each battery compartment has a ribbon for easy battery removal.

Once fitted the batteries are very snug and secure:

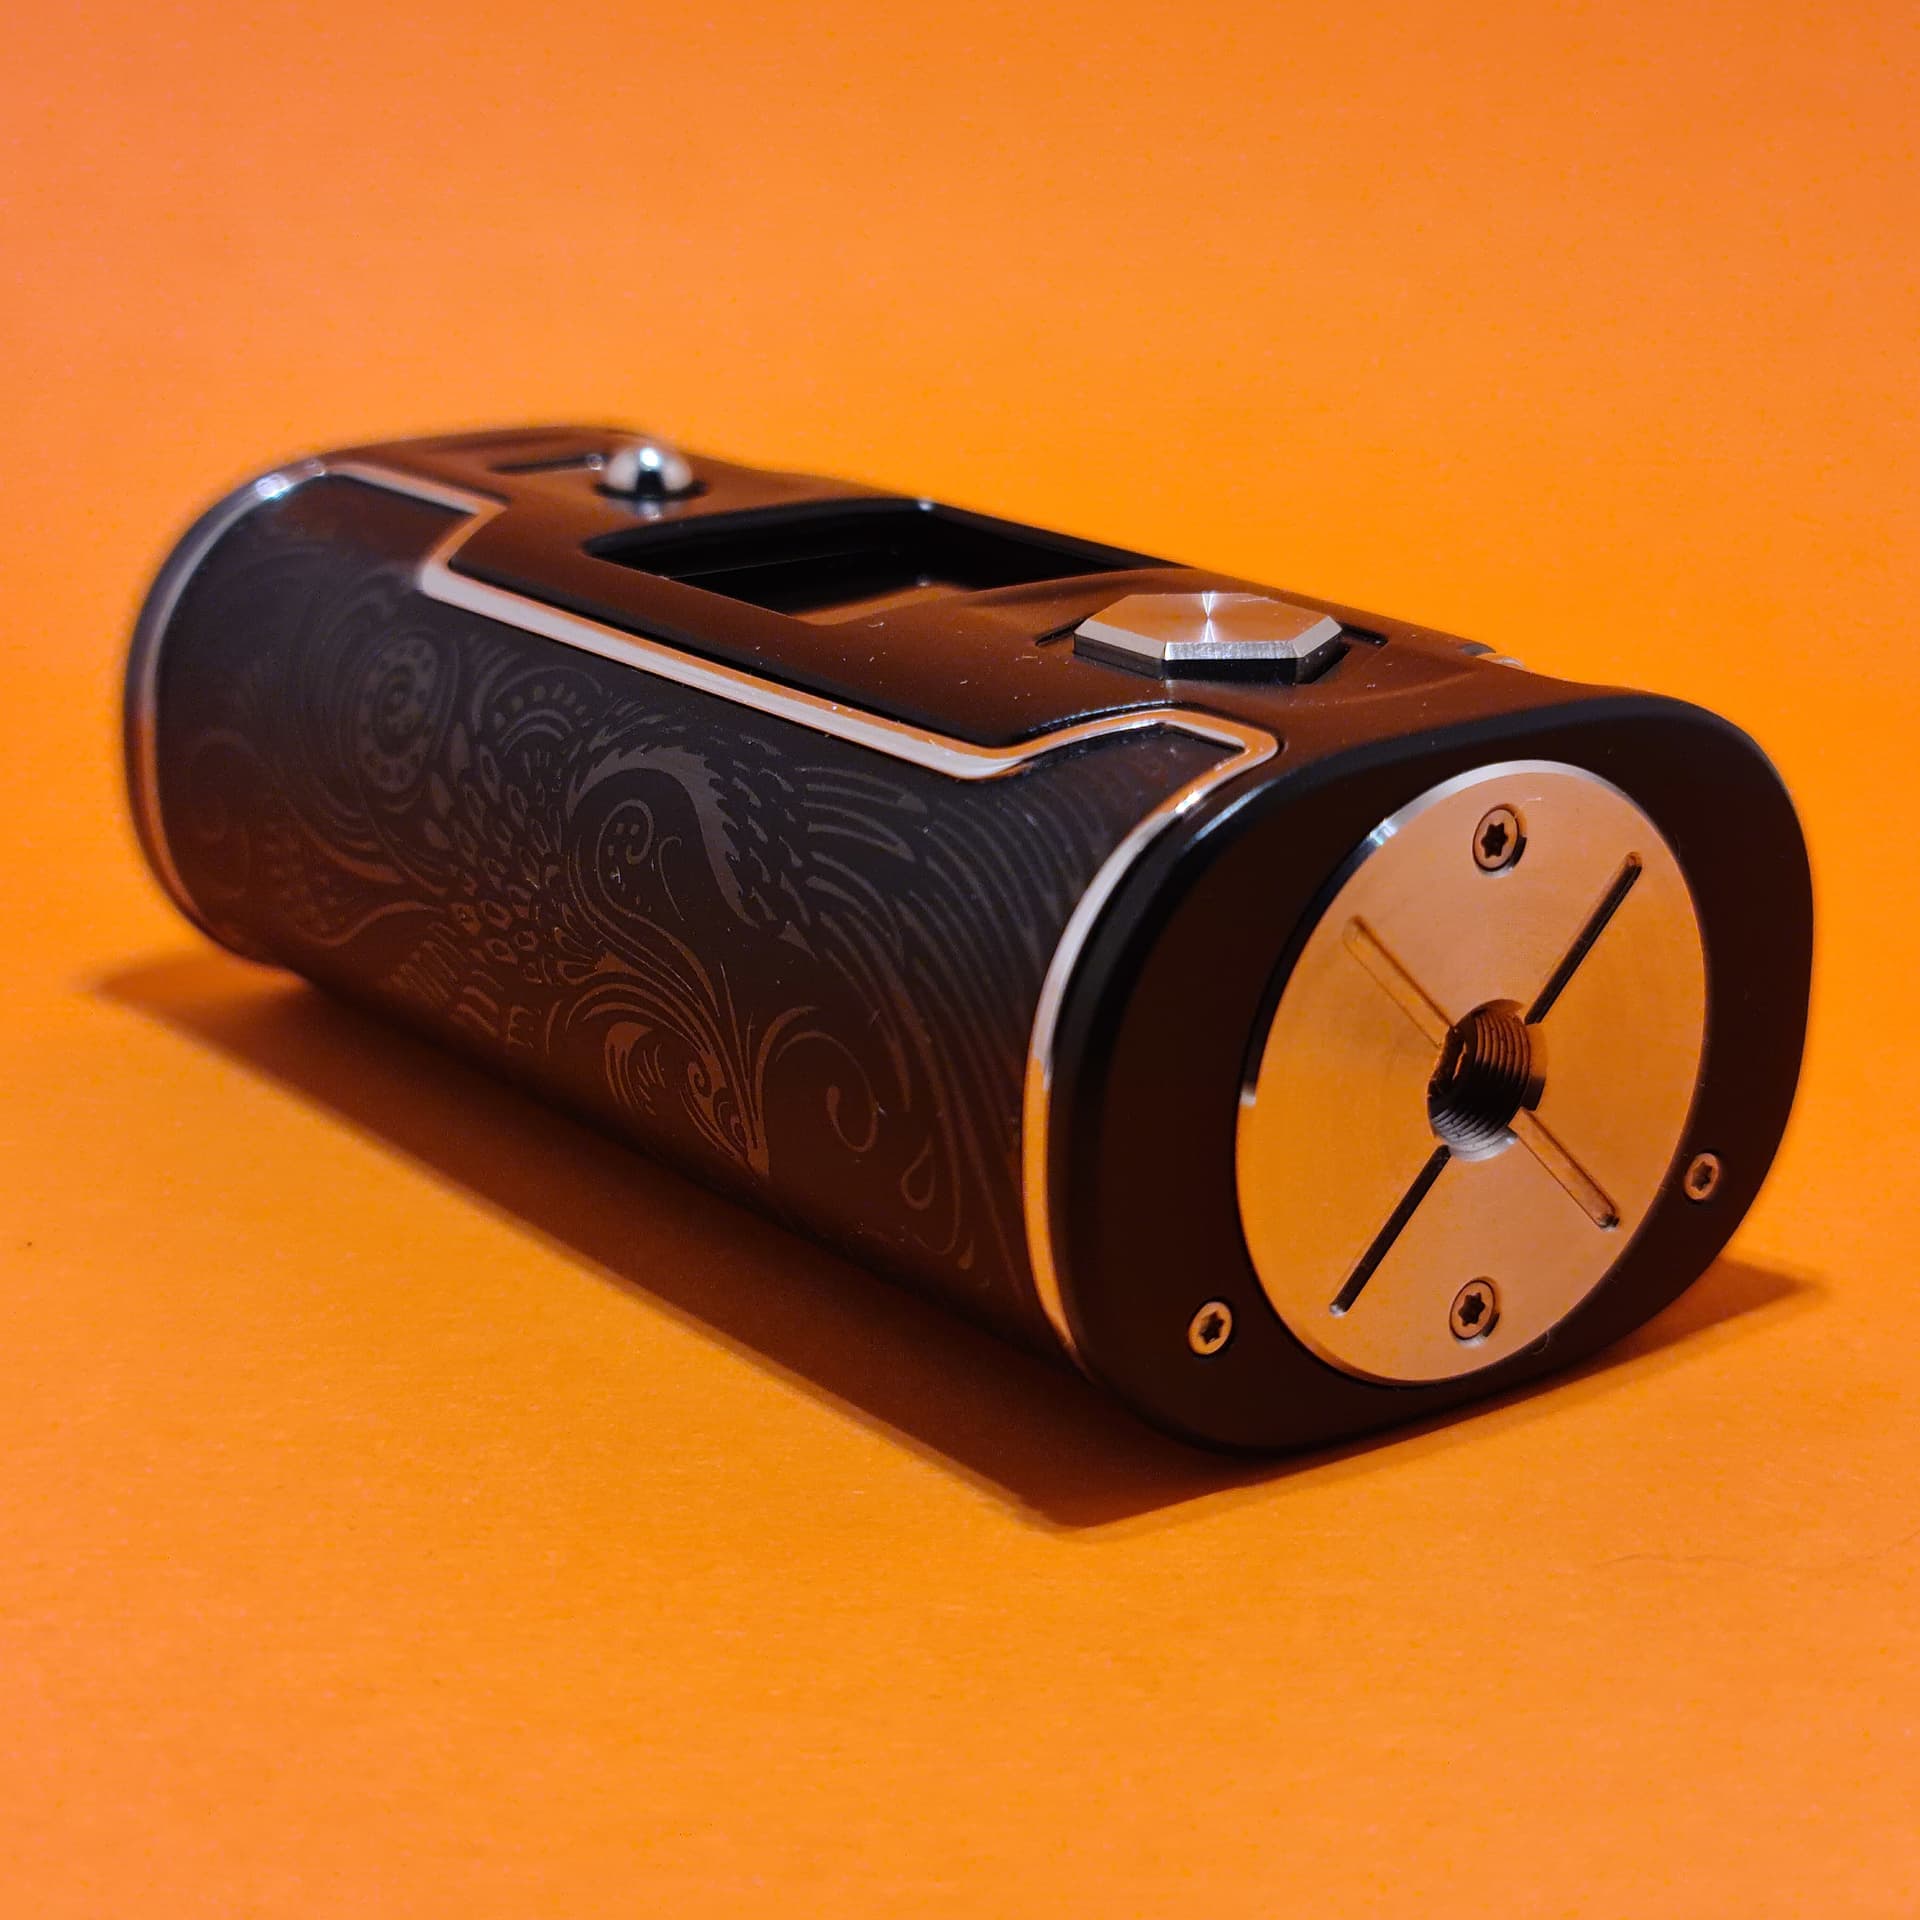
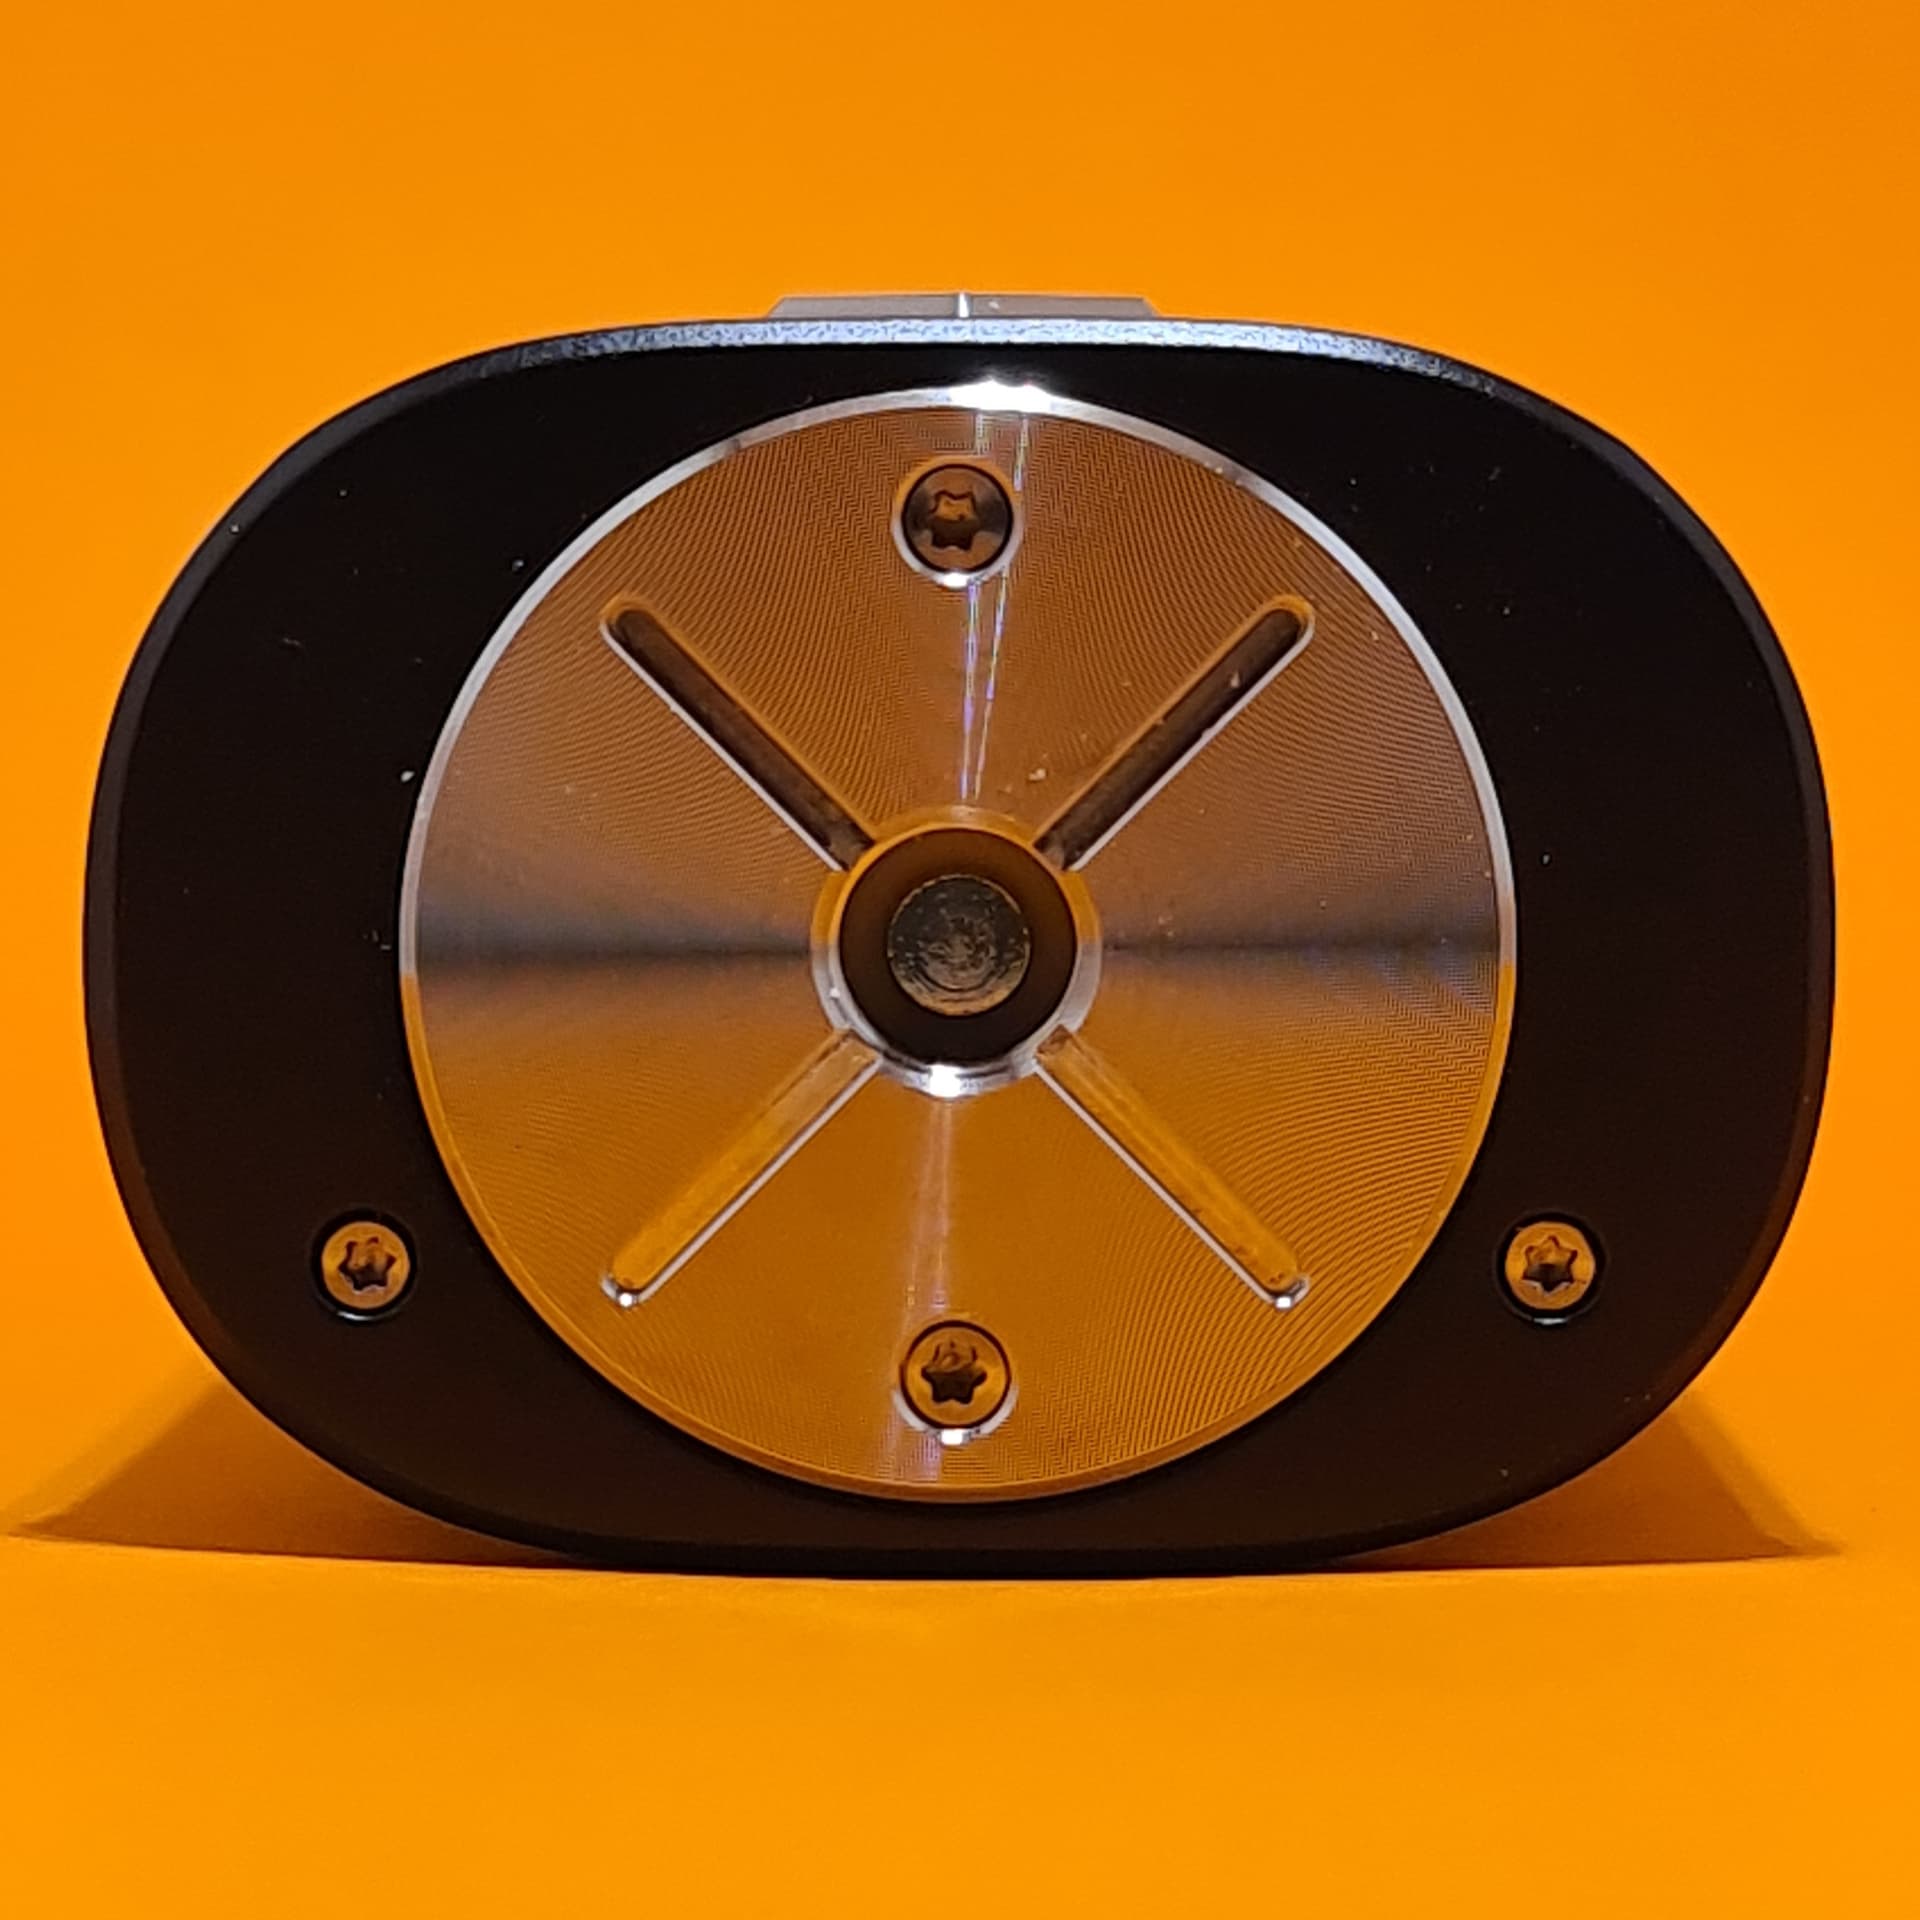
Up top there’s a 30mm 510 plate with a gold plated, spring-loaded 510 pin in the centre. As you can see, this mod will comfortably accommodate this 35mm Aromamizer Ragnar with minimal overhang:

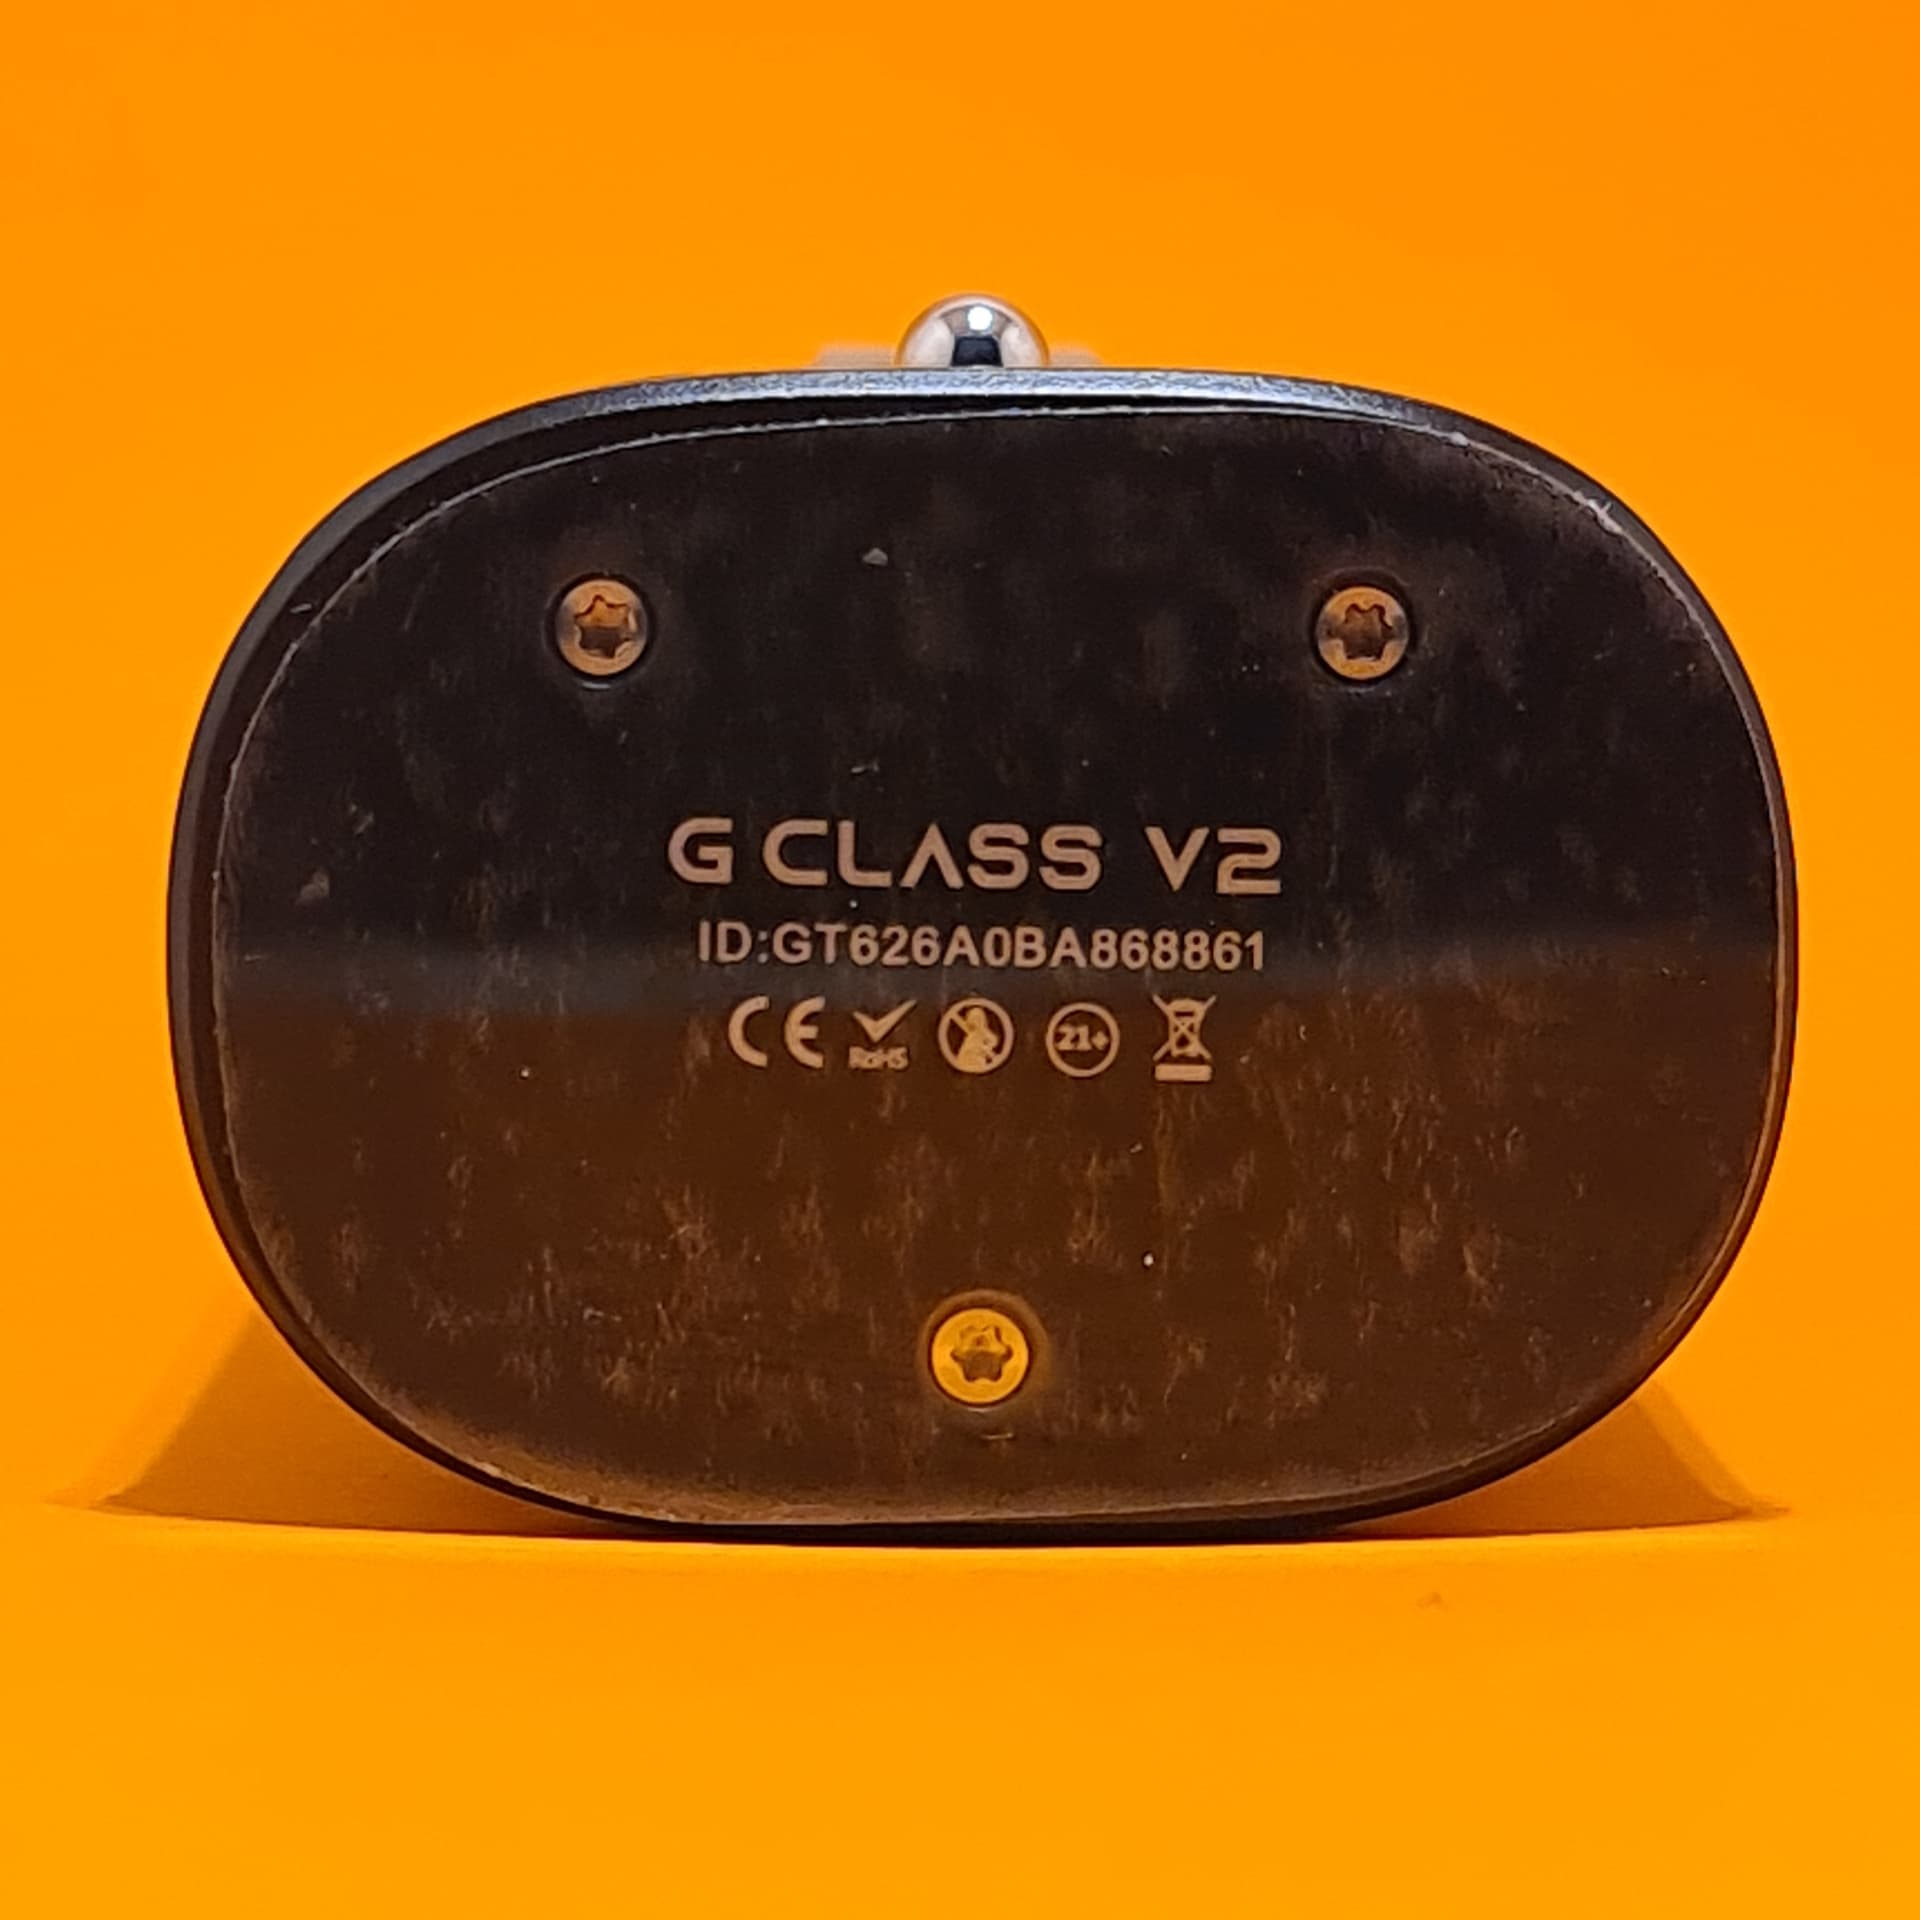
On the base there is the model name and ID and safety regs and you can also see that I’ve used the included protective sticker to cover the base.
Menu:
So now we move on to the meat of the review, the quite significant menu system. It can seem quite complex at first glance but it soon becomes second nature from use.
The menu is navigated using the joystick for up/down/left/right movement and press to select. Pressing the fire button acts as a back button in any part of the menu.
3 rapid presses of the fire button will lock/unlock the device and prevent any unwanted changes or firing of the mod in your pocket.
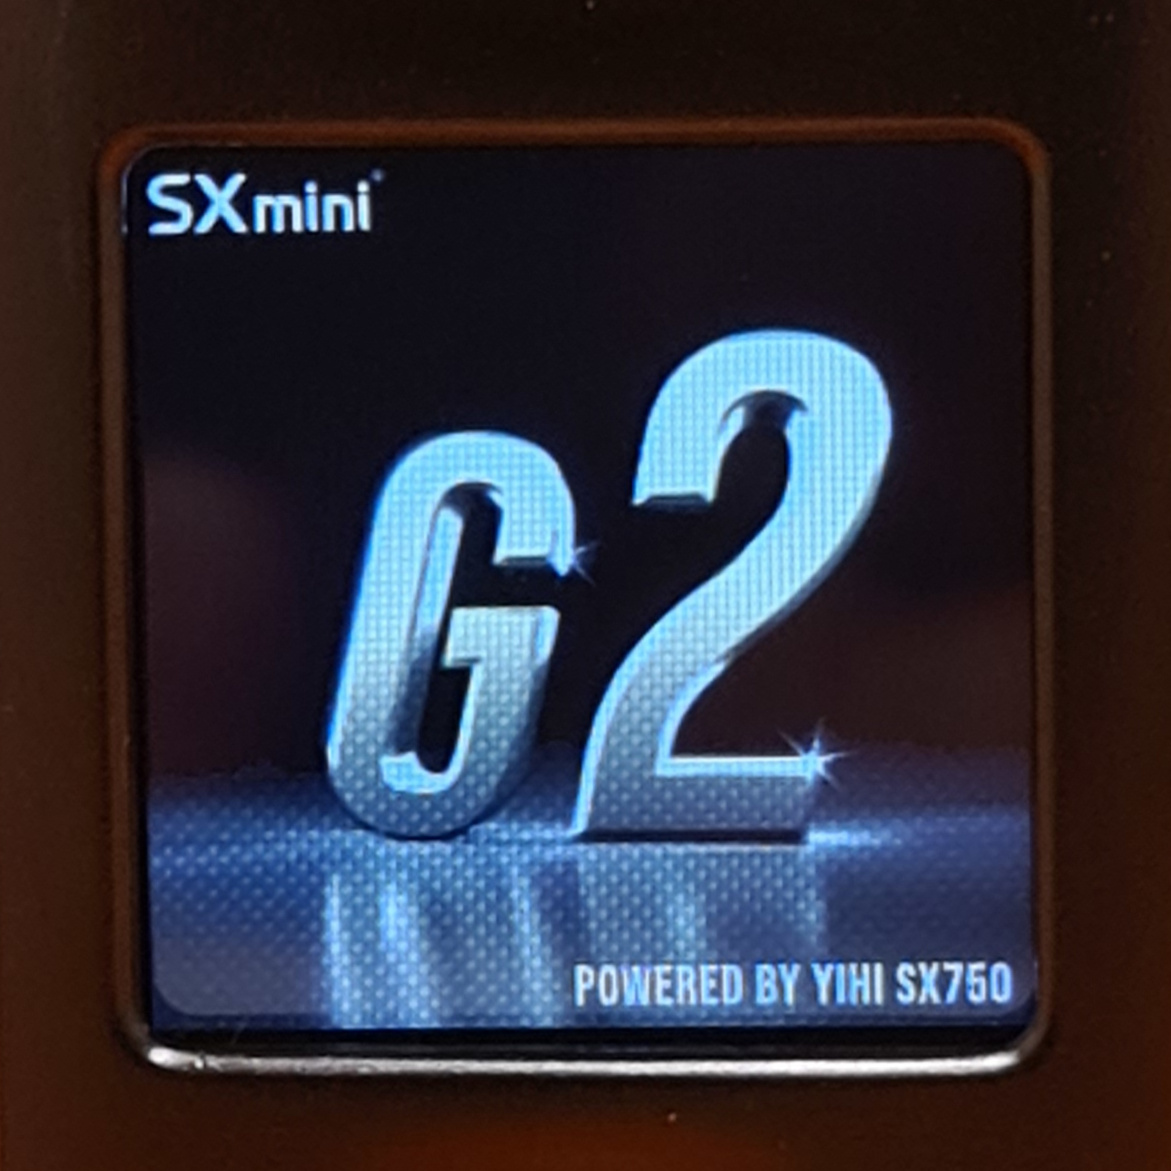
5 rapid presses of the fire button will switch on the device and you’ll be presented with this welcome screen. Switching the device off however, will require using the menu and can’t be achieved by multiple presses of the fire button:
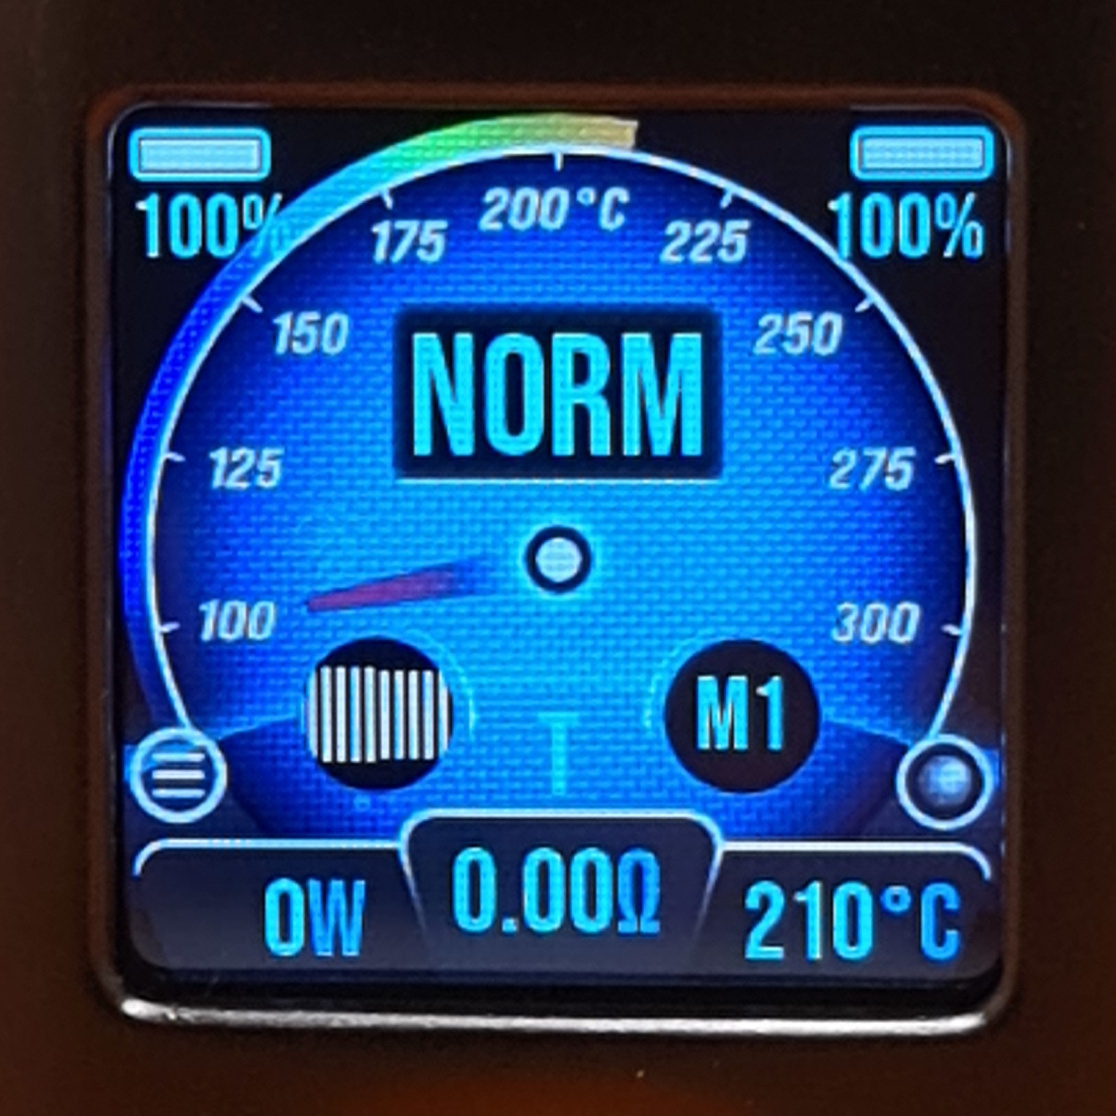
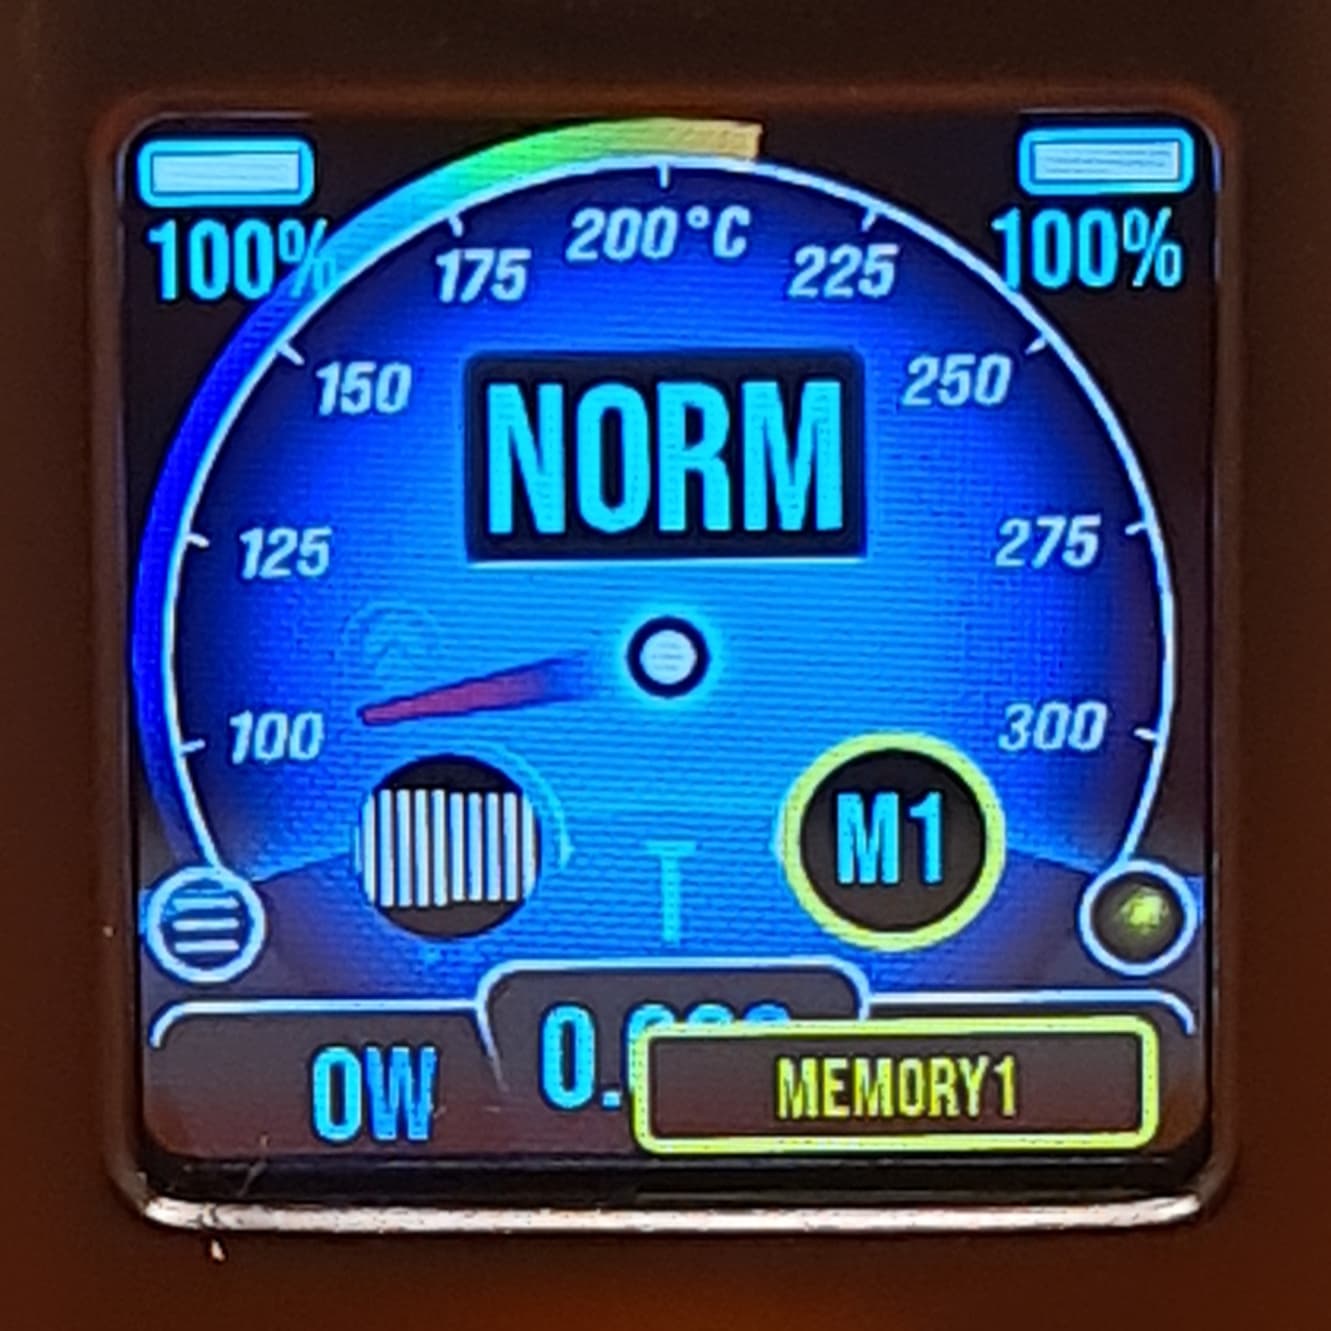
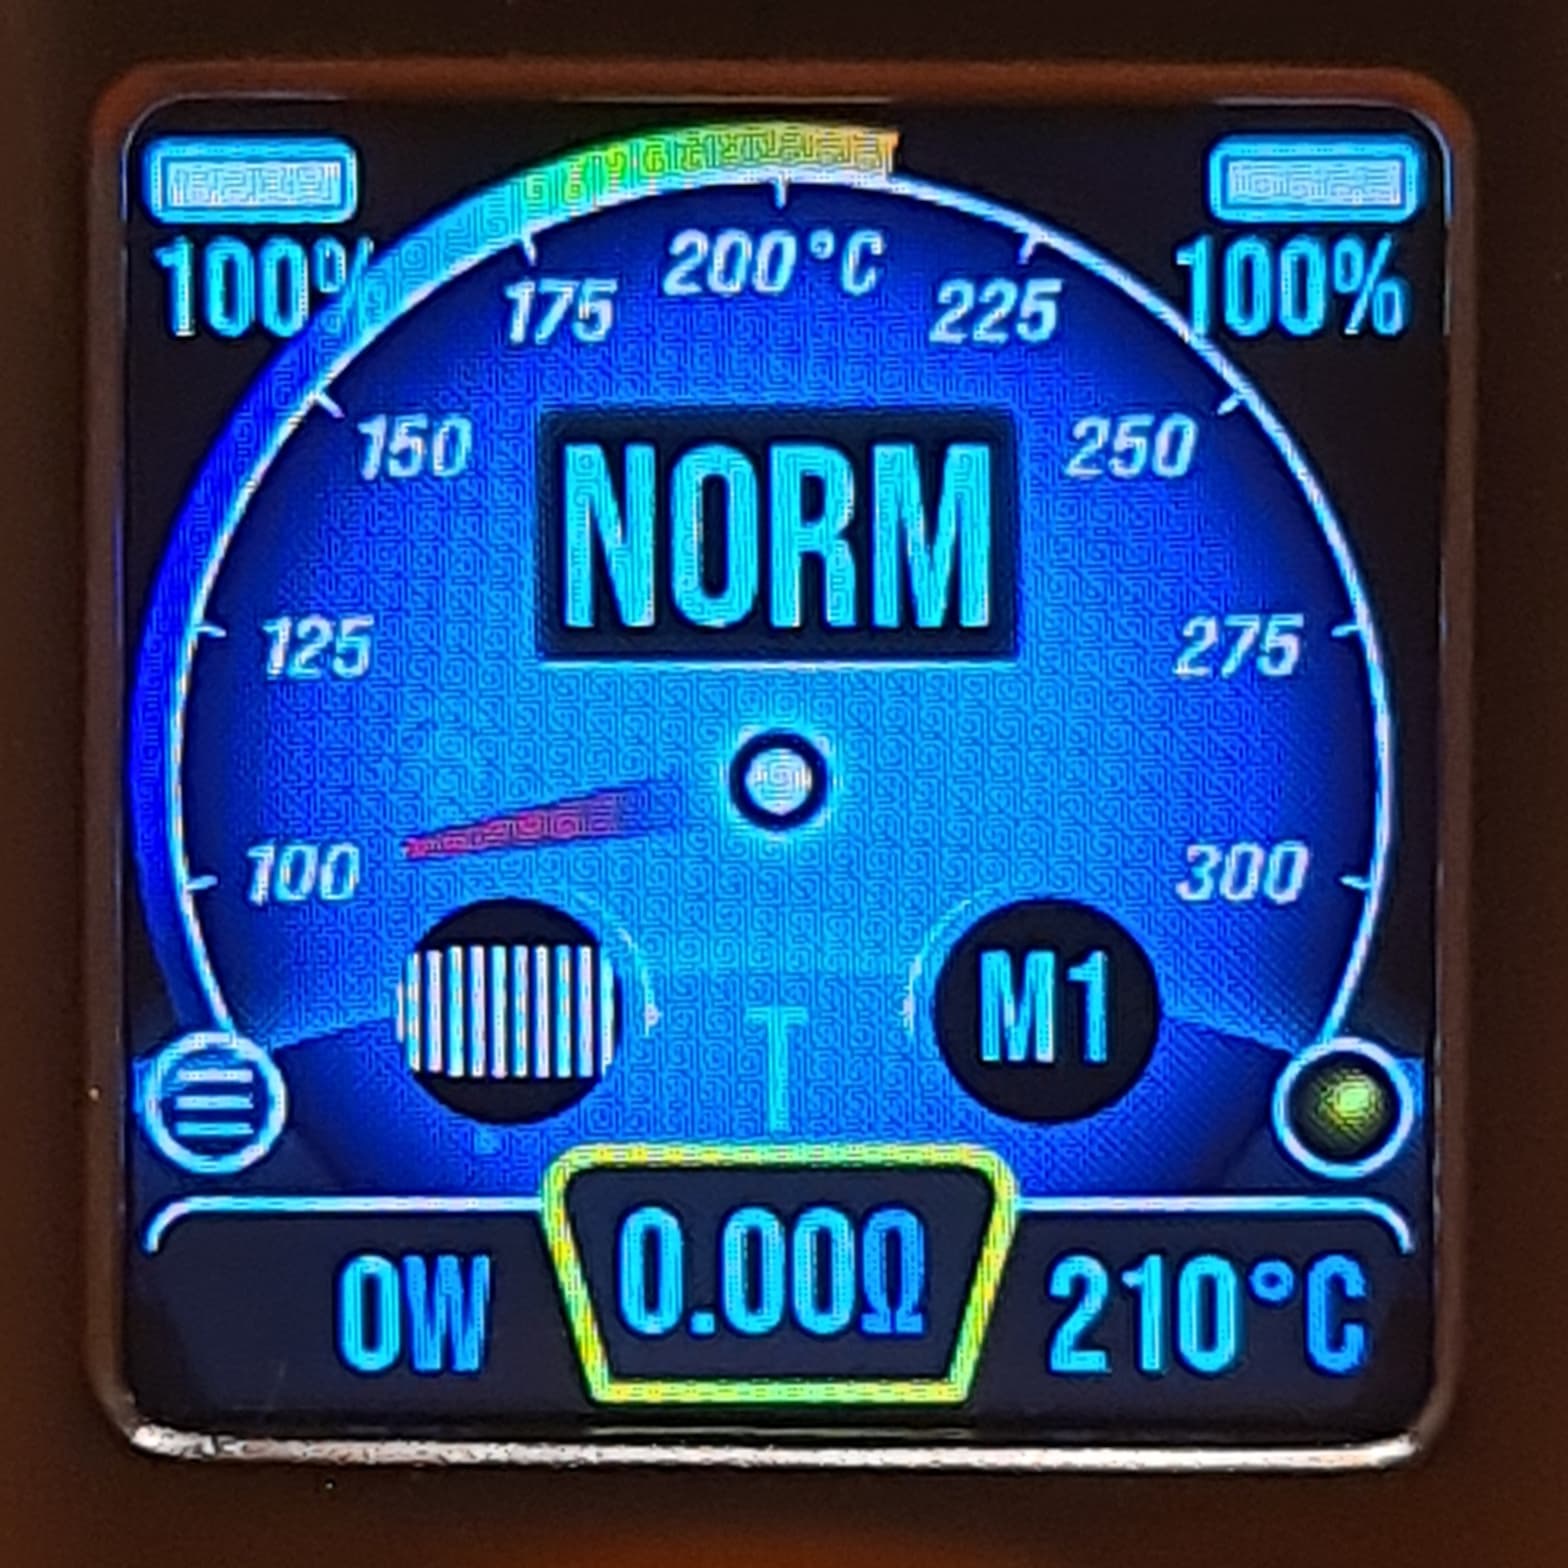
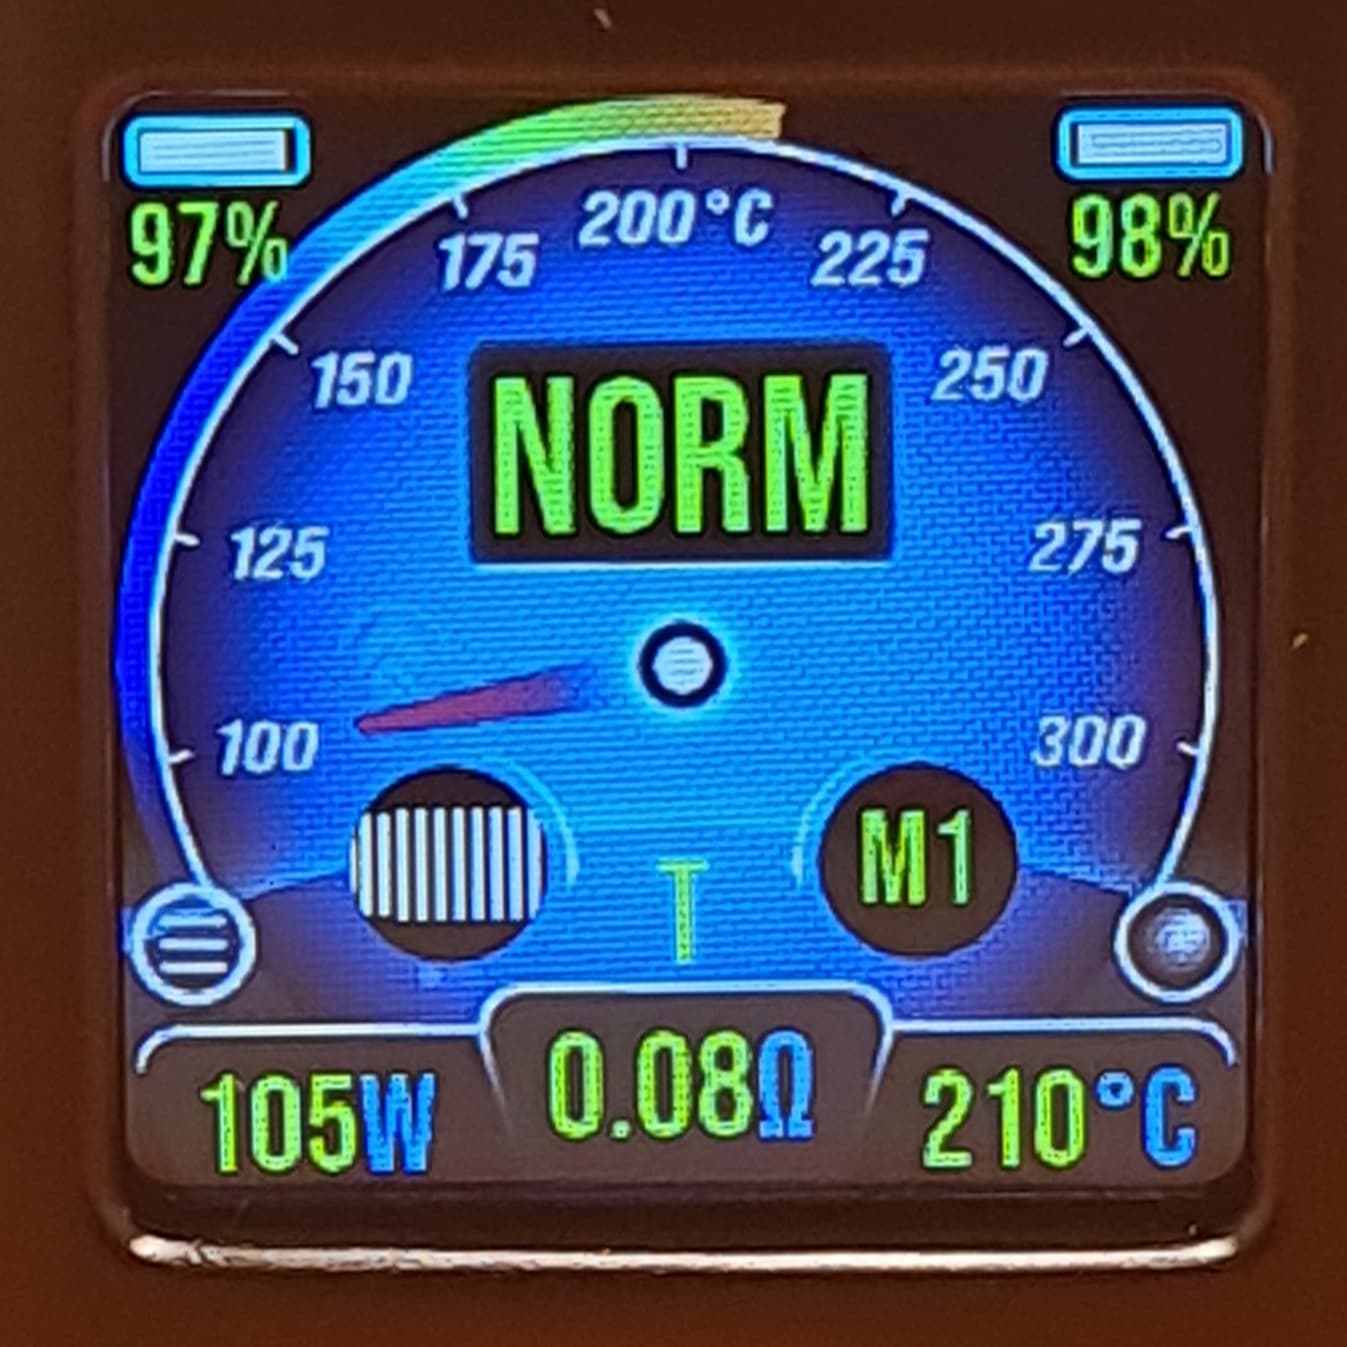
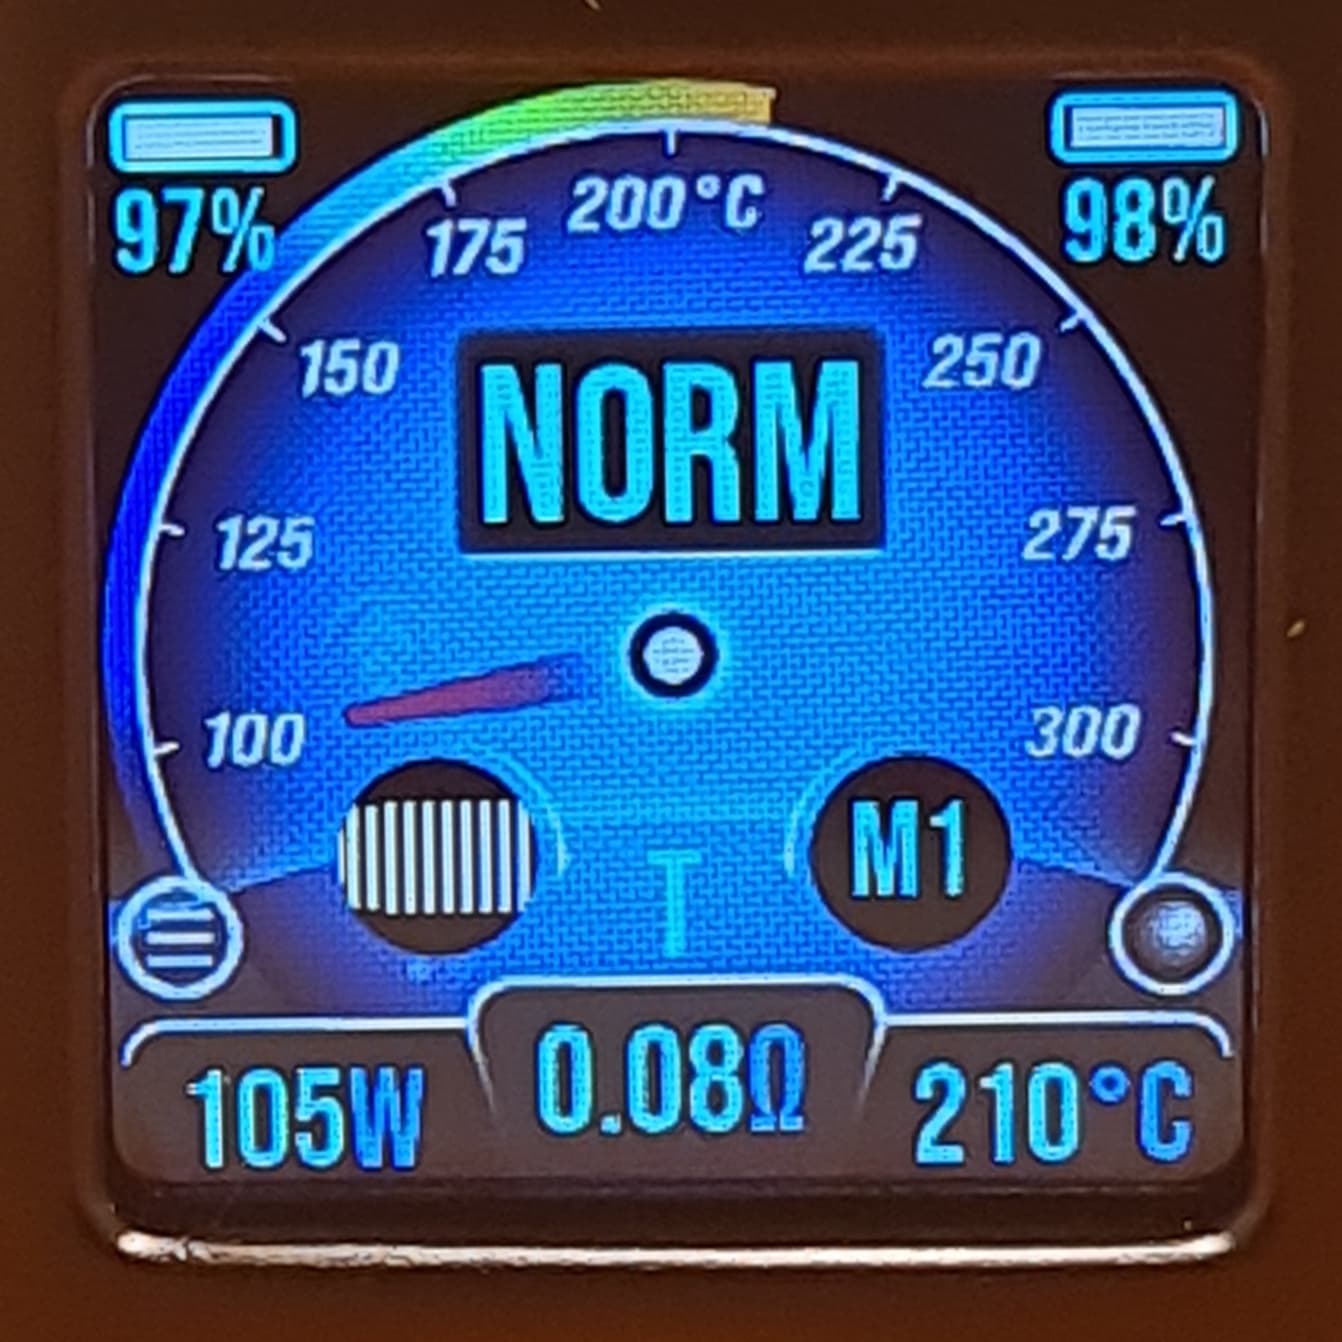
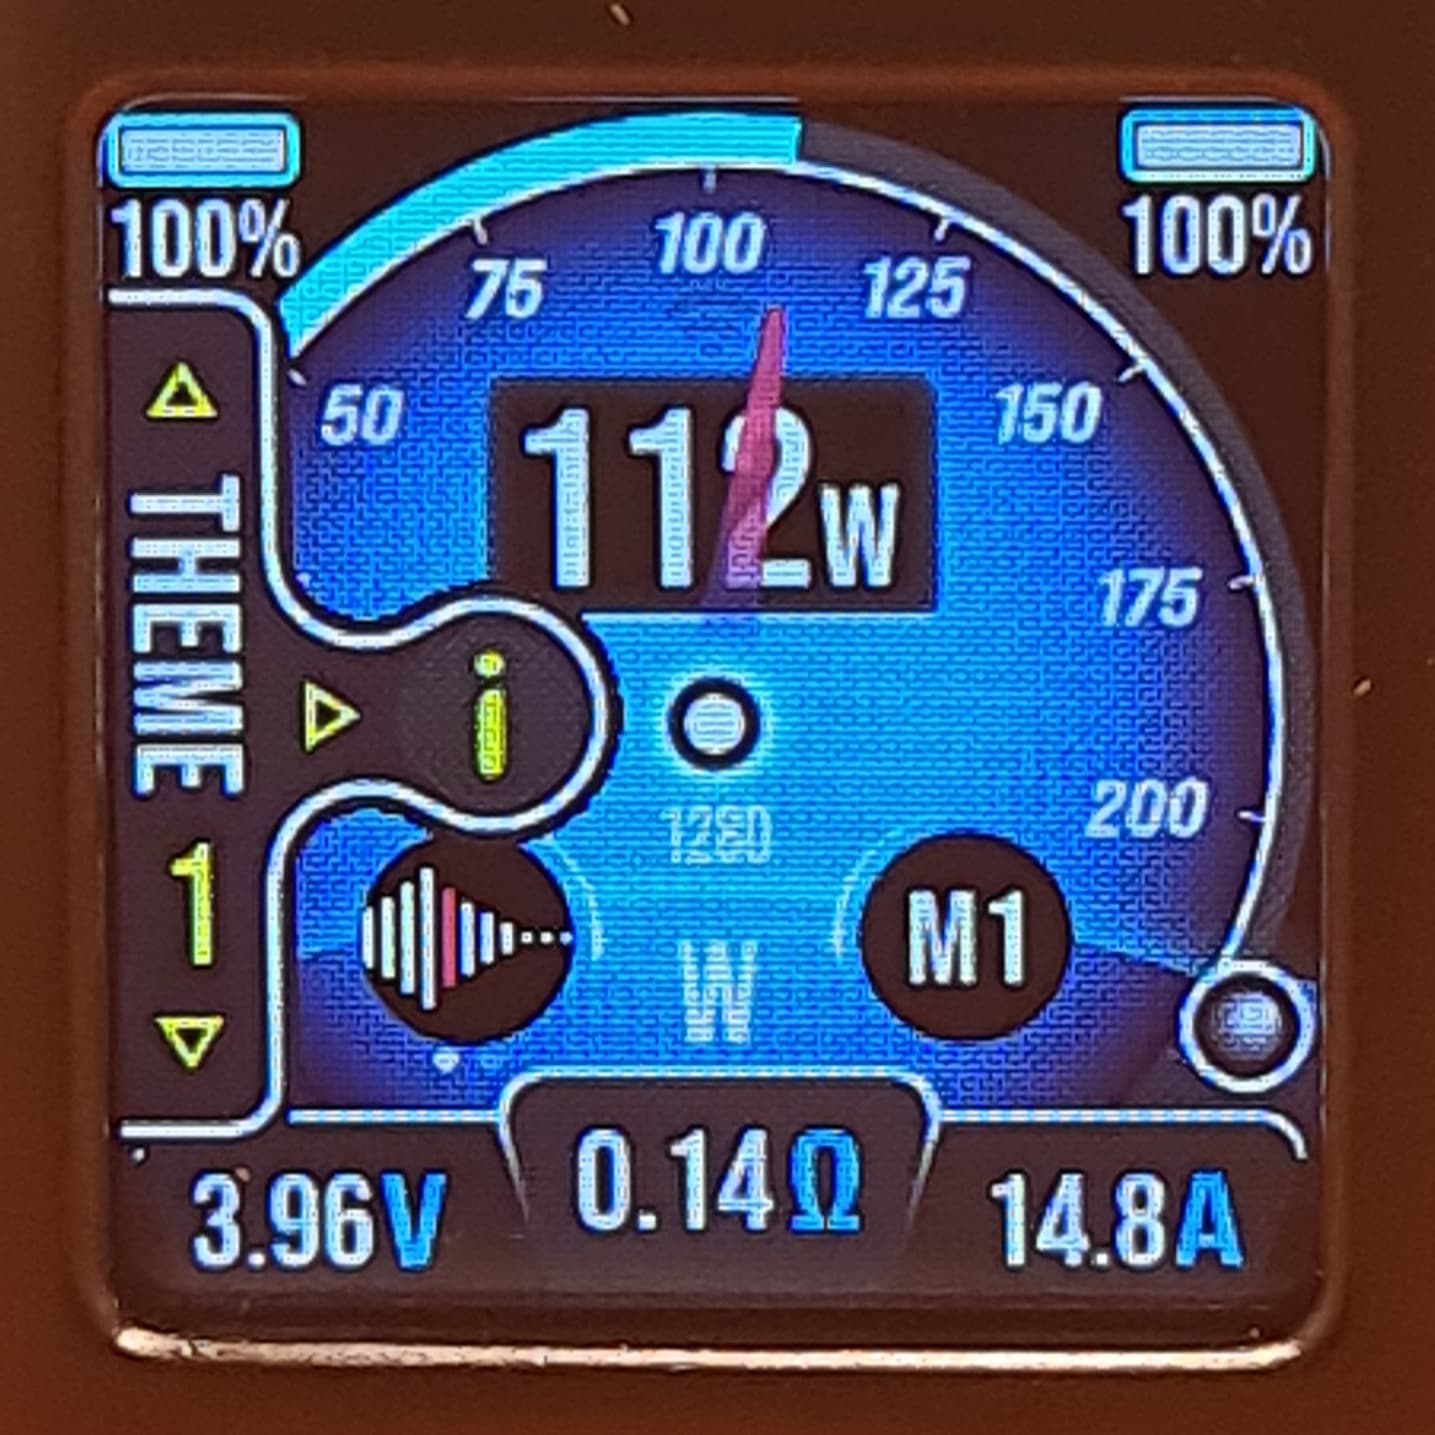
You’ll then find yourself on the home screen.:
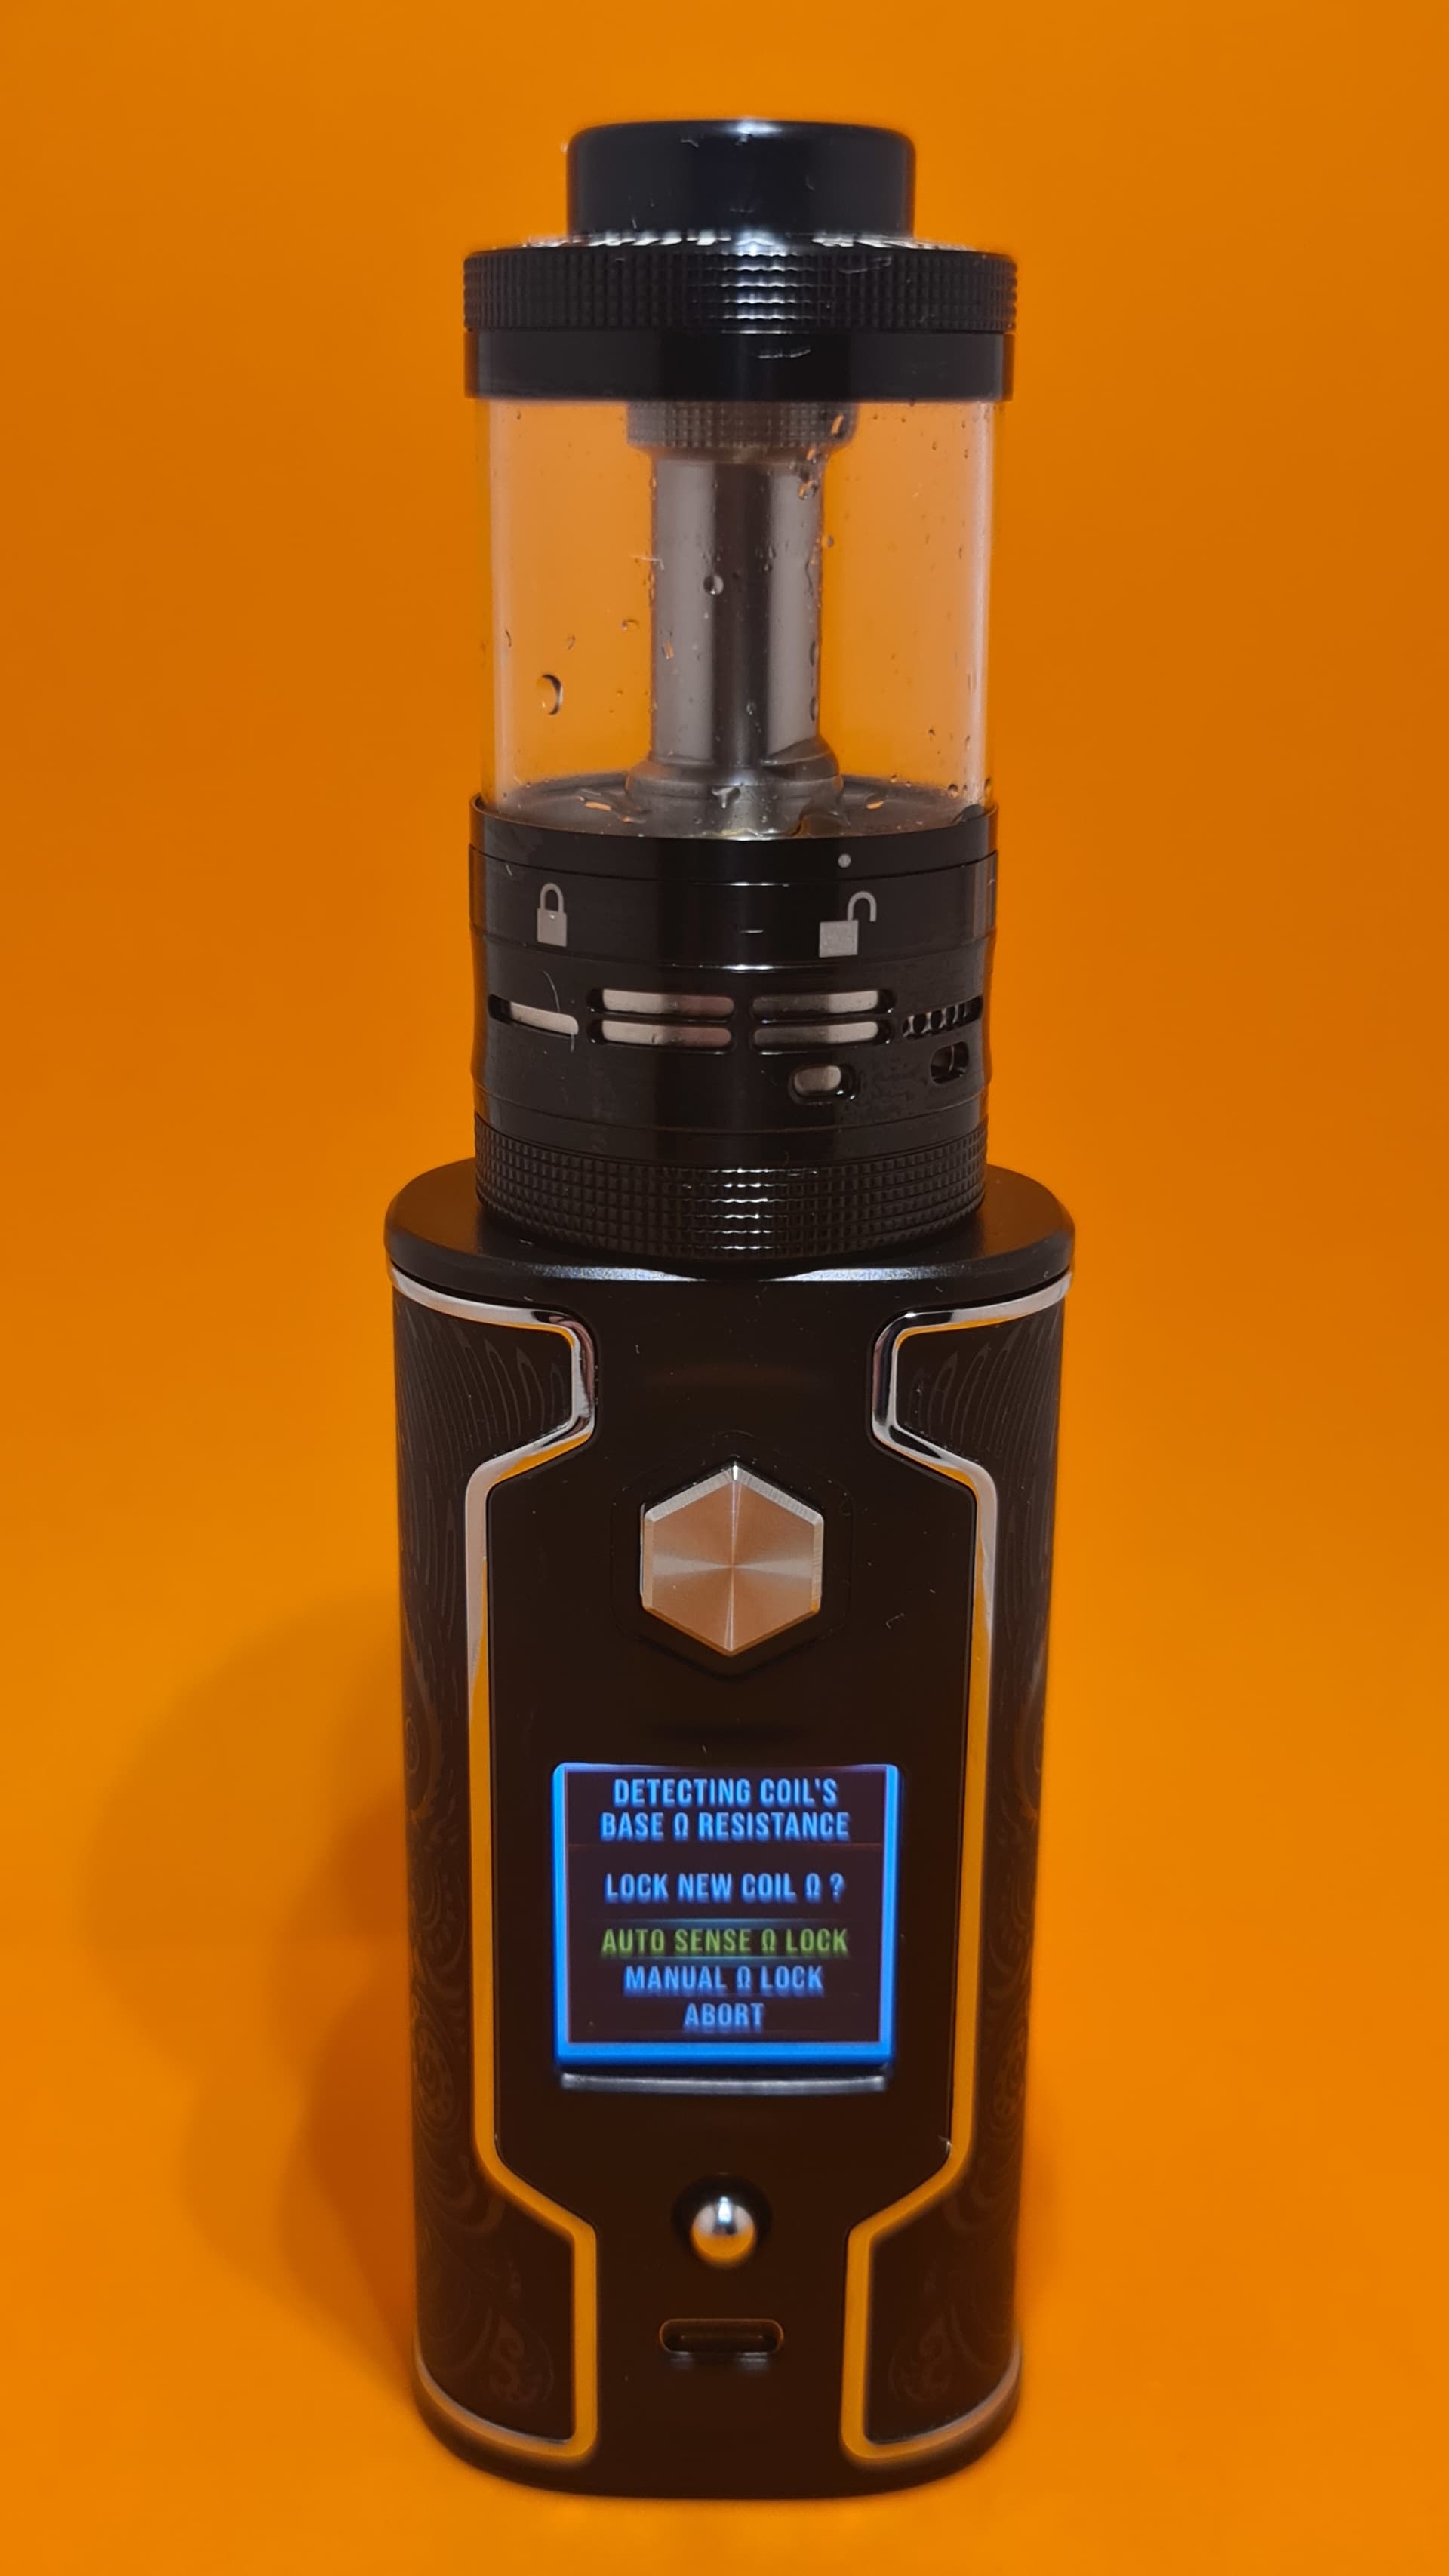
Before you start using the device, once a suitable atomiser is fitted, you’ll need to configure the coil. This is done by simply attaching a suitable atomiser on the mod and this window will pop up:
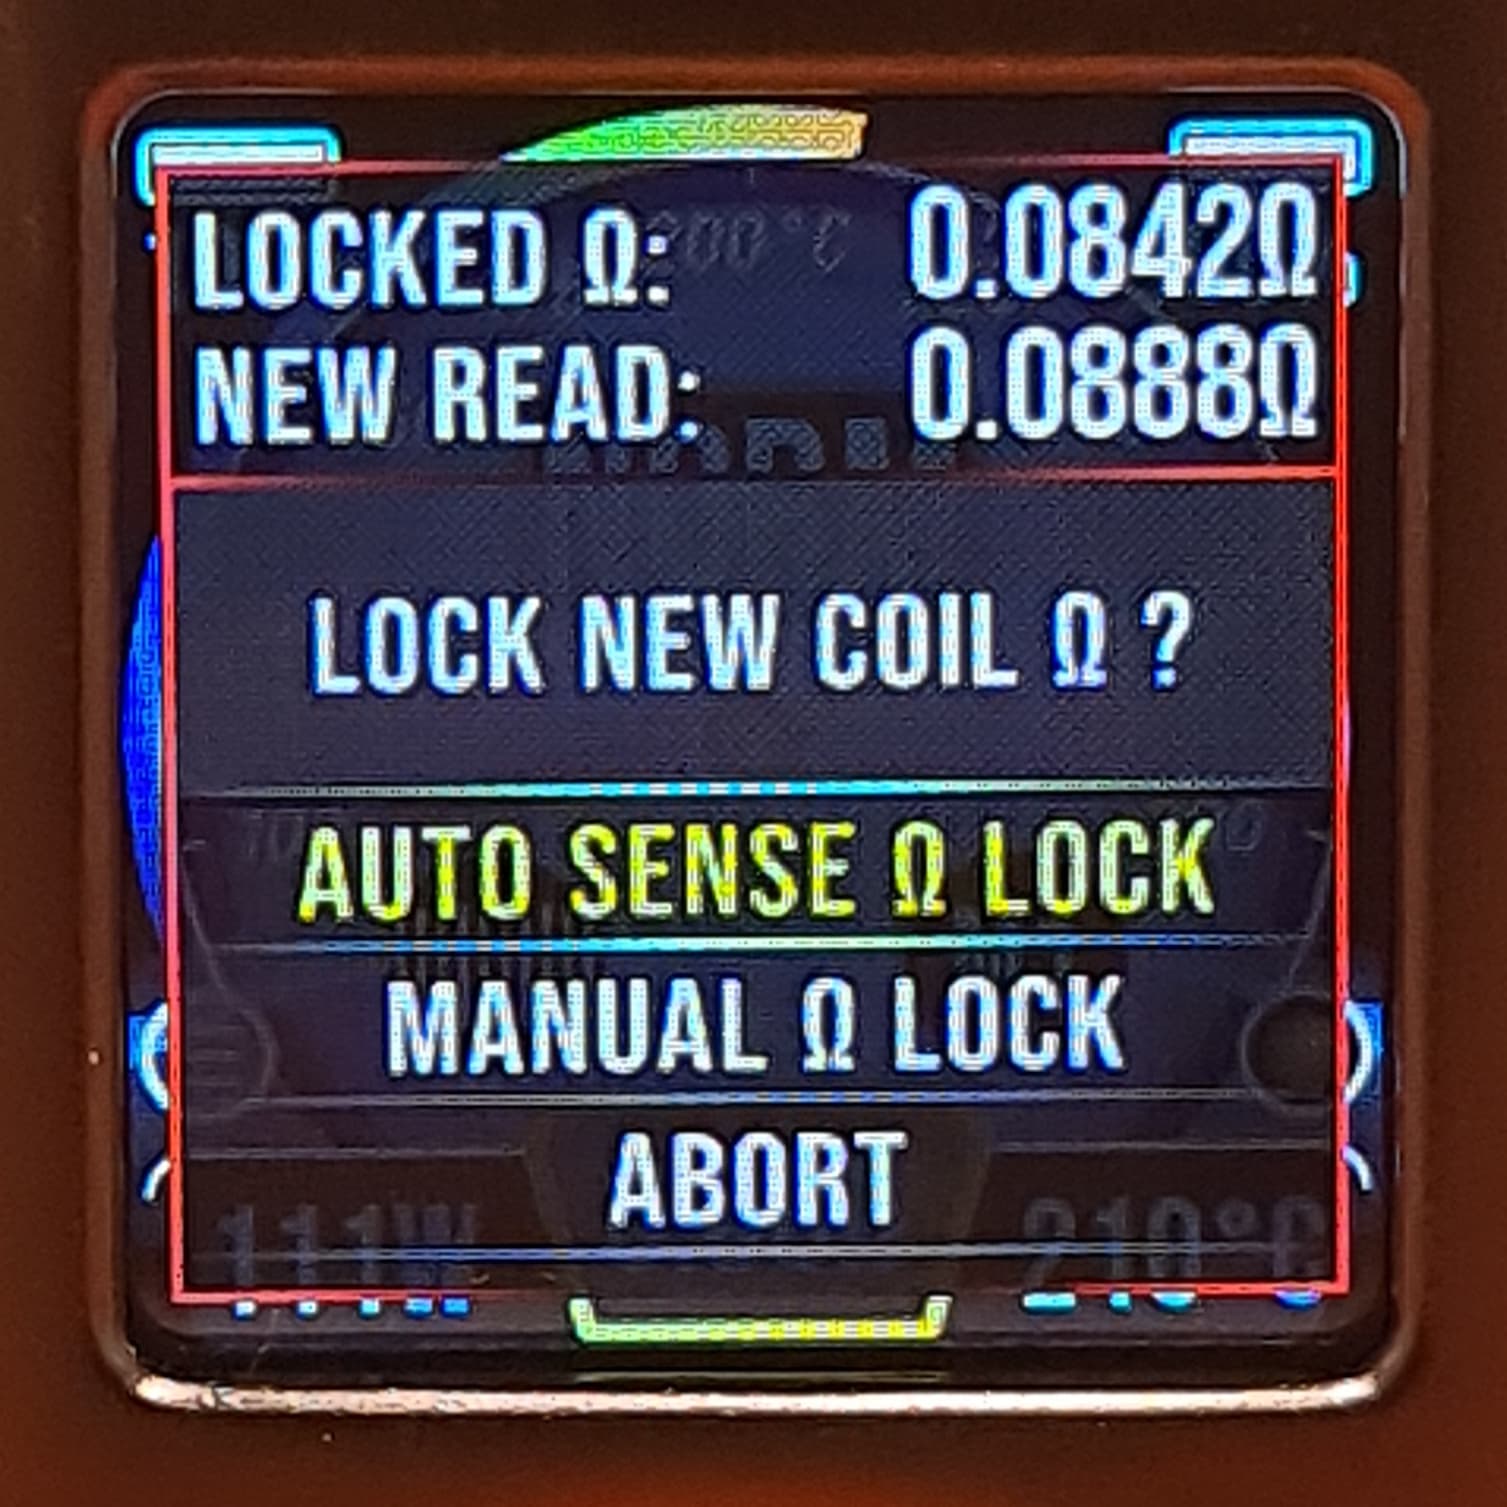
Once you choose from Manual or Auto Sense you will then be presented with this screen:
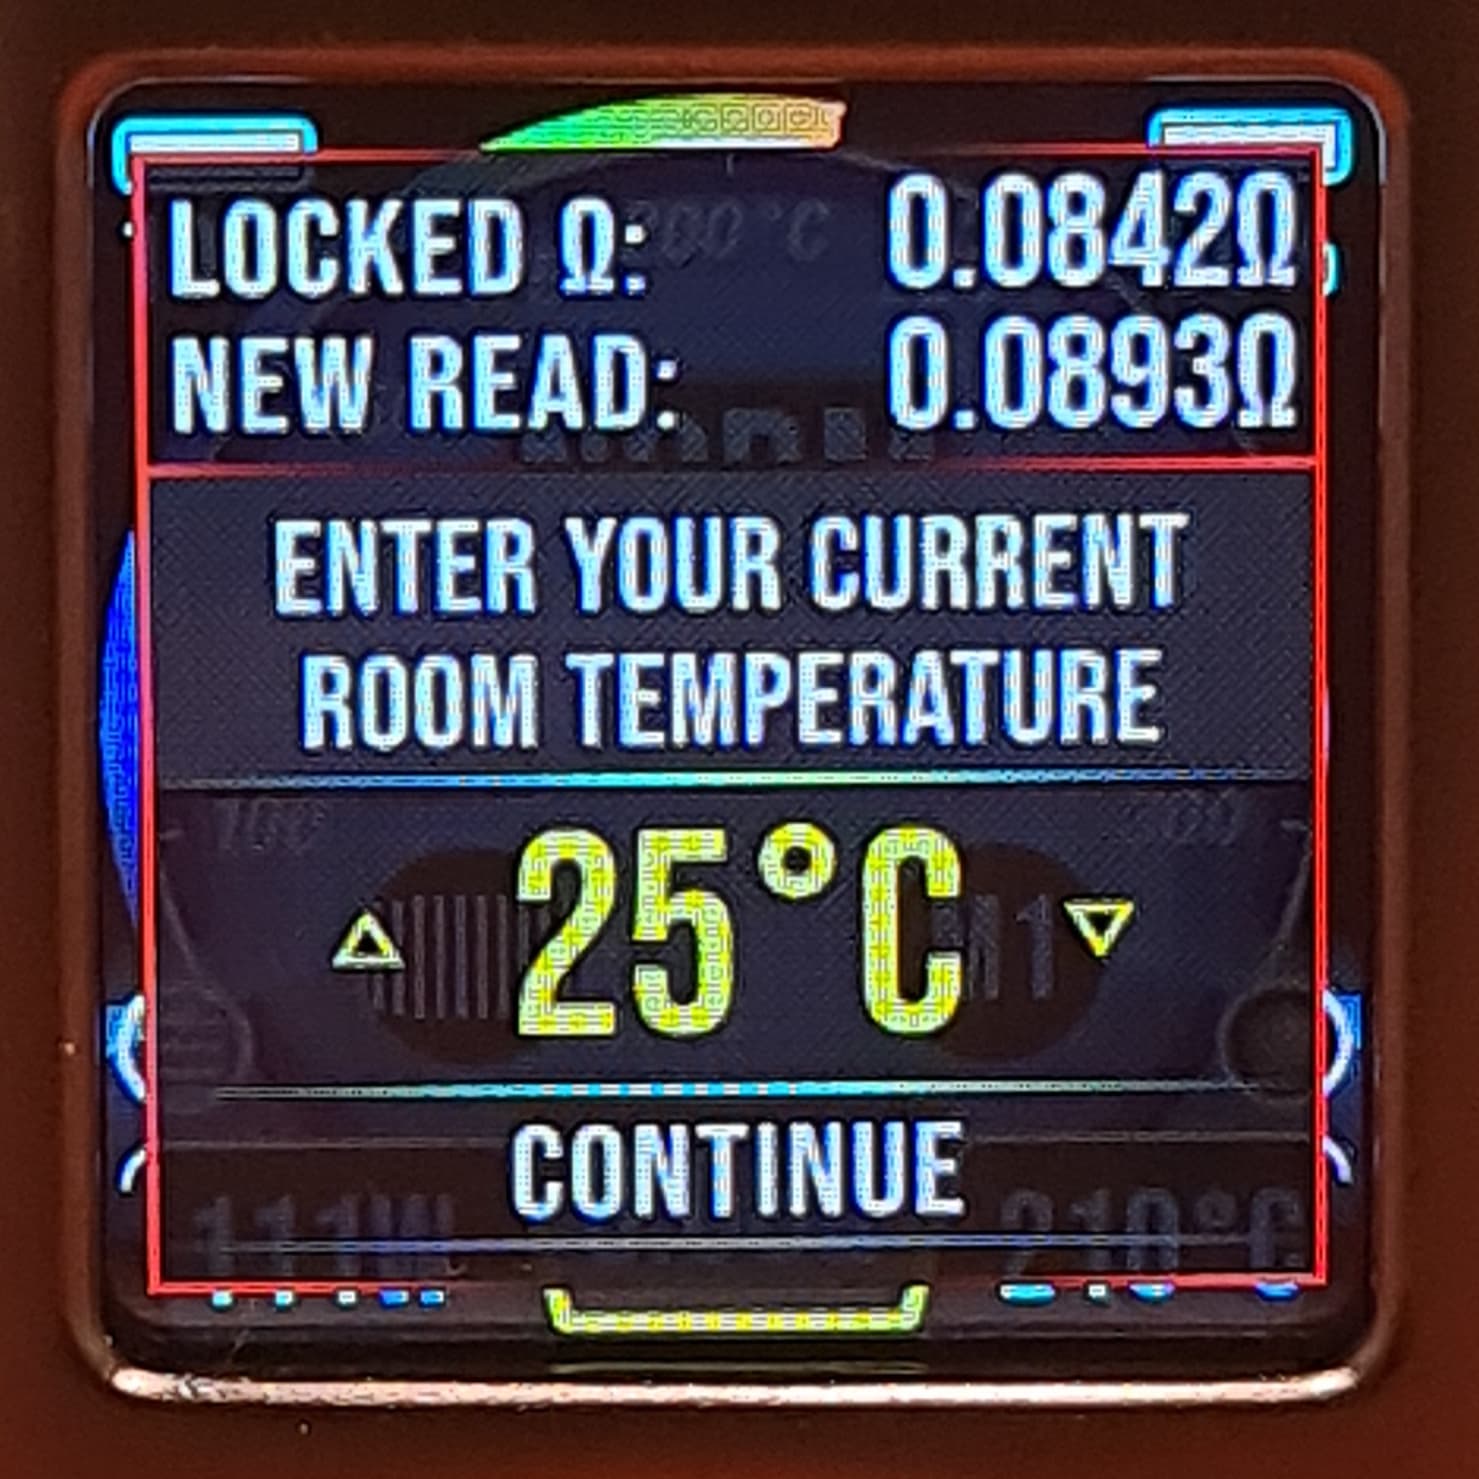
This is where you enter the average room temperature so the mod can take more accurate readings of the coil resistance. Once done, click continue and you’ll see this:
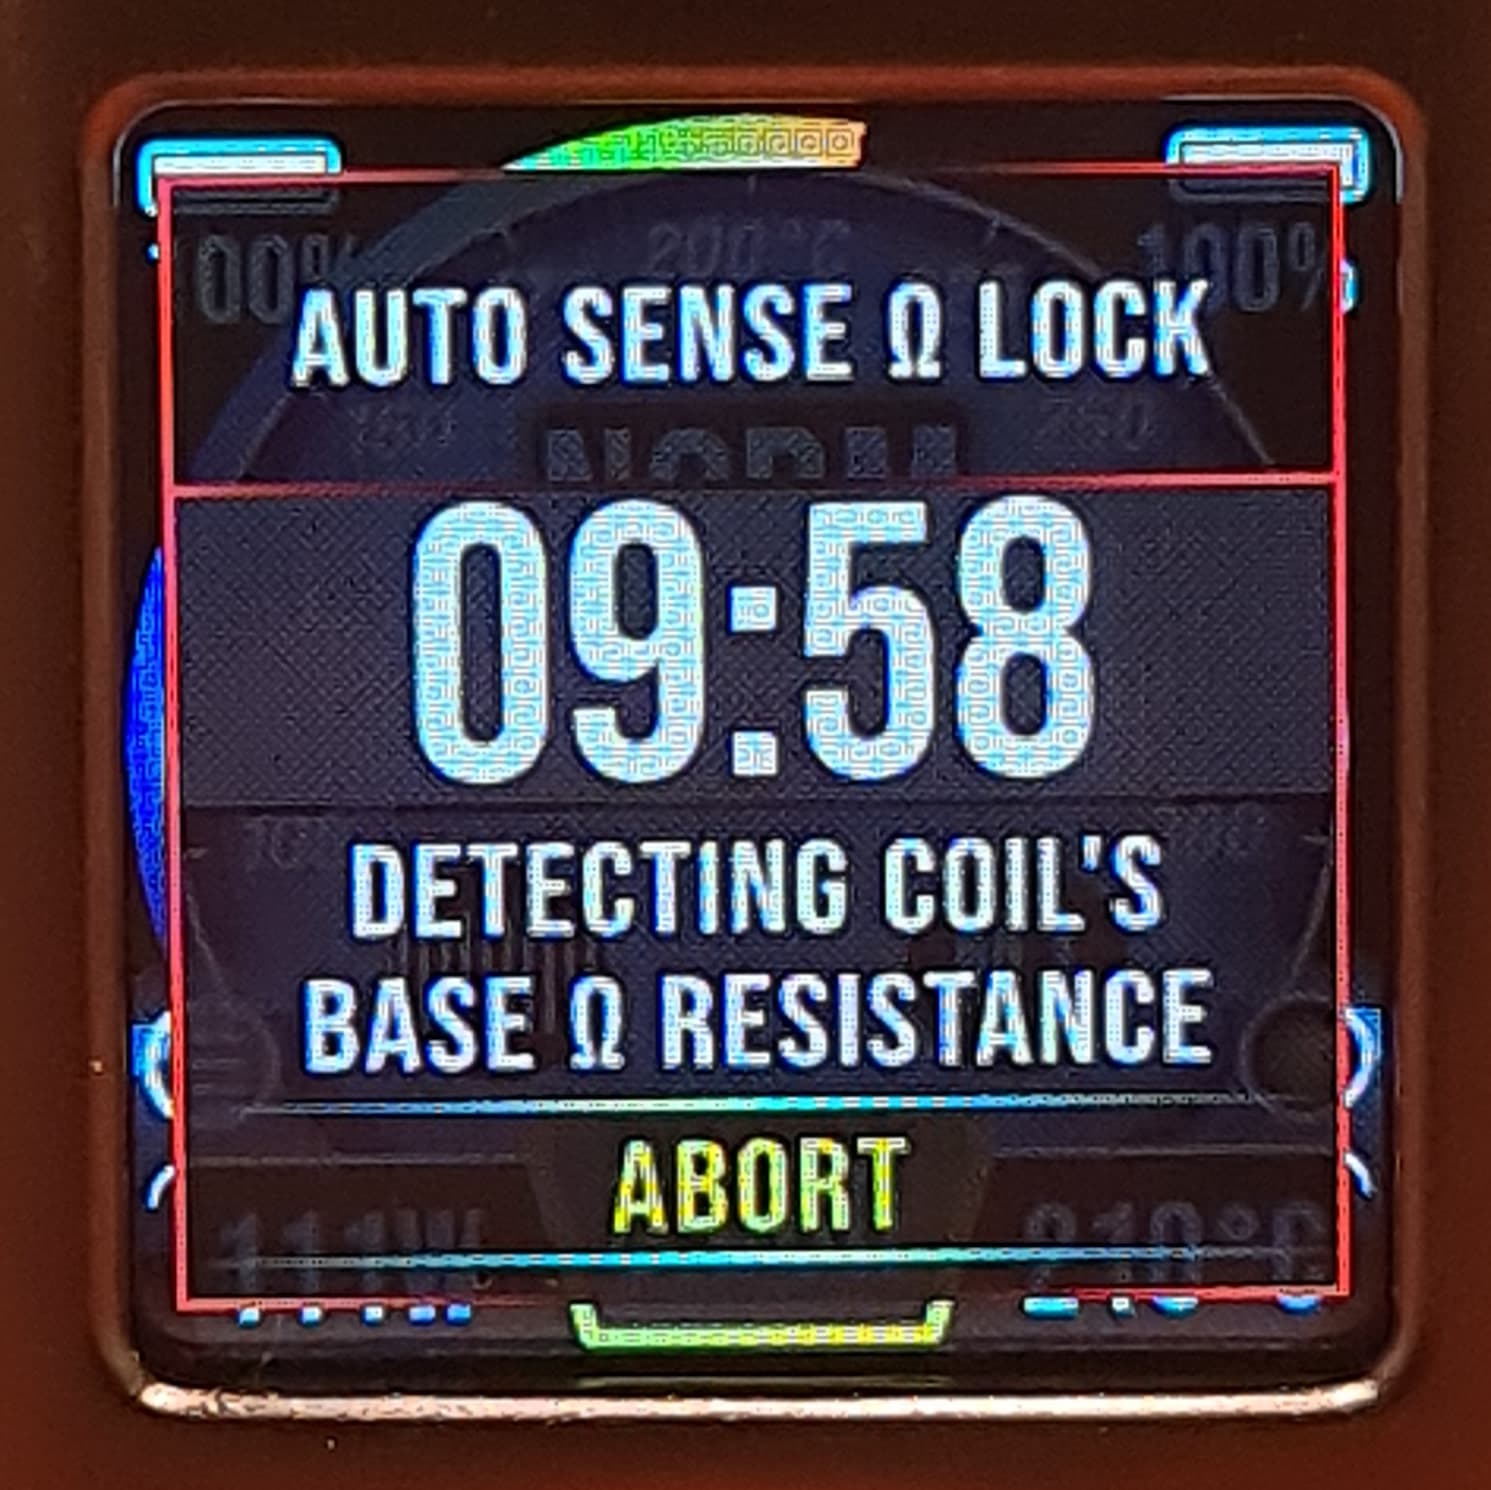
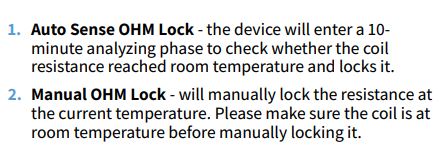
A 10 minute countdown will start while the mod analyses the coil resistance over time for any changes but this usually only takes a minute or so as long as the coils are cooled down. If they are still hot from strumming hotspots etc then it will likely take longer while they cool.
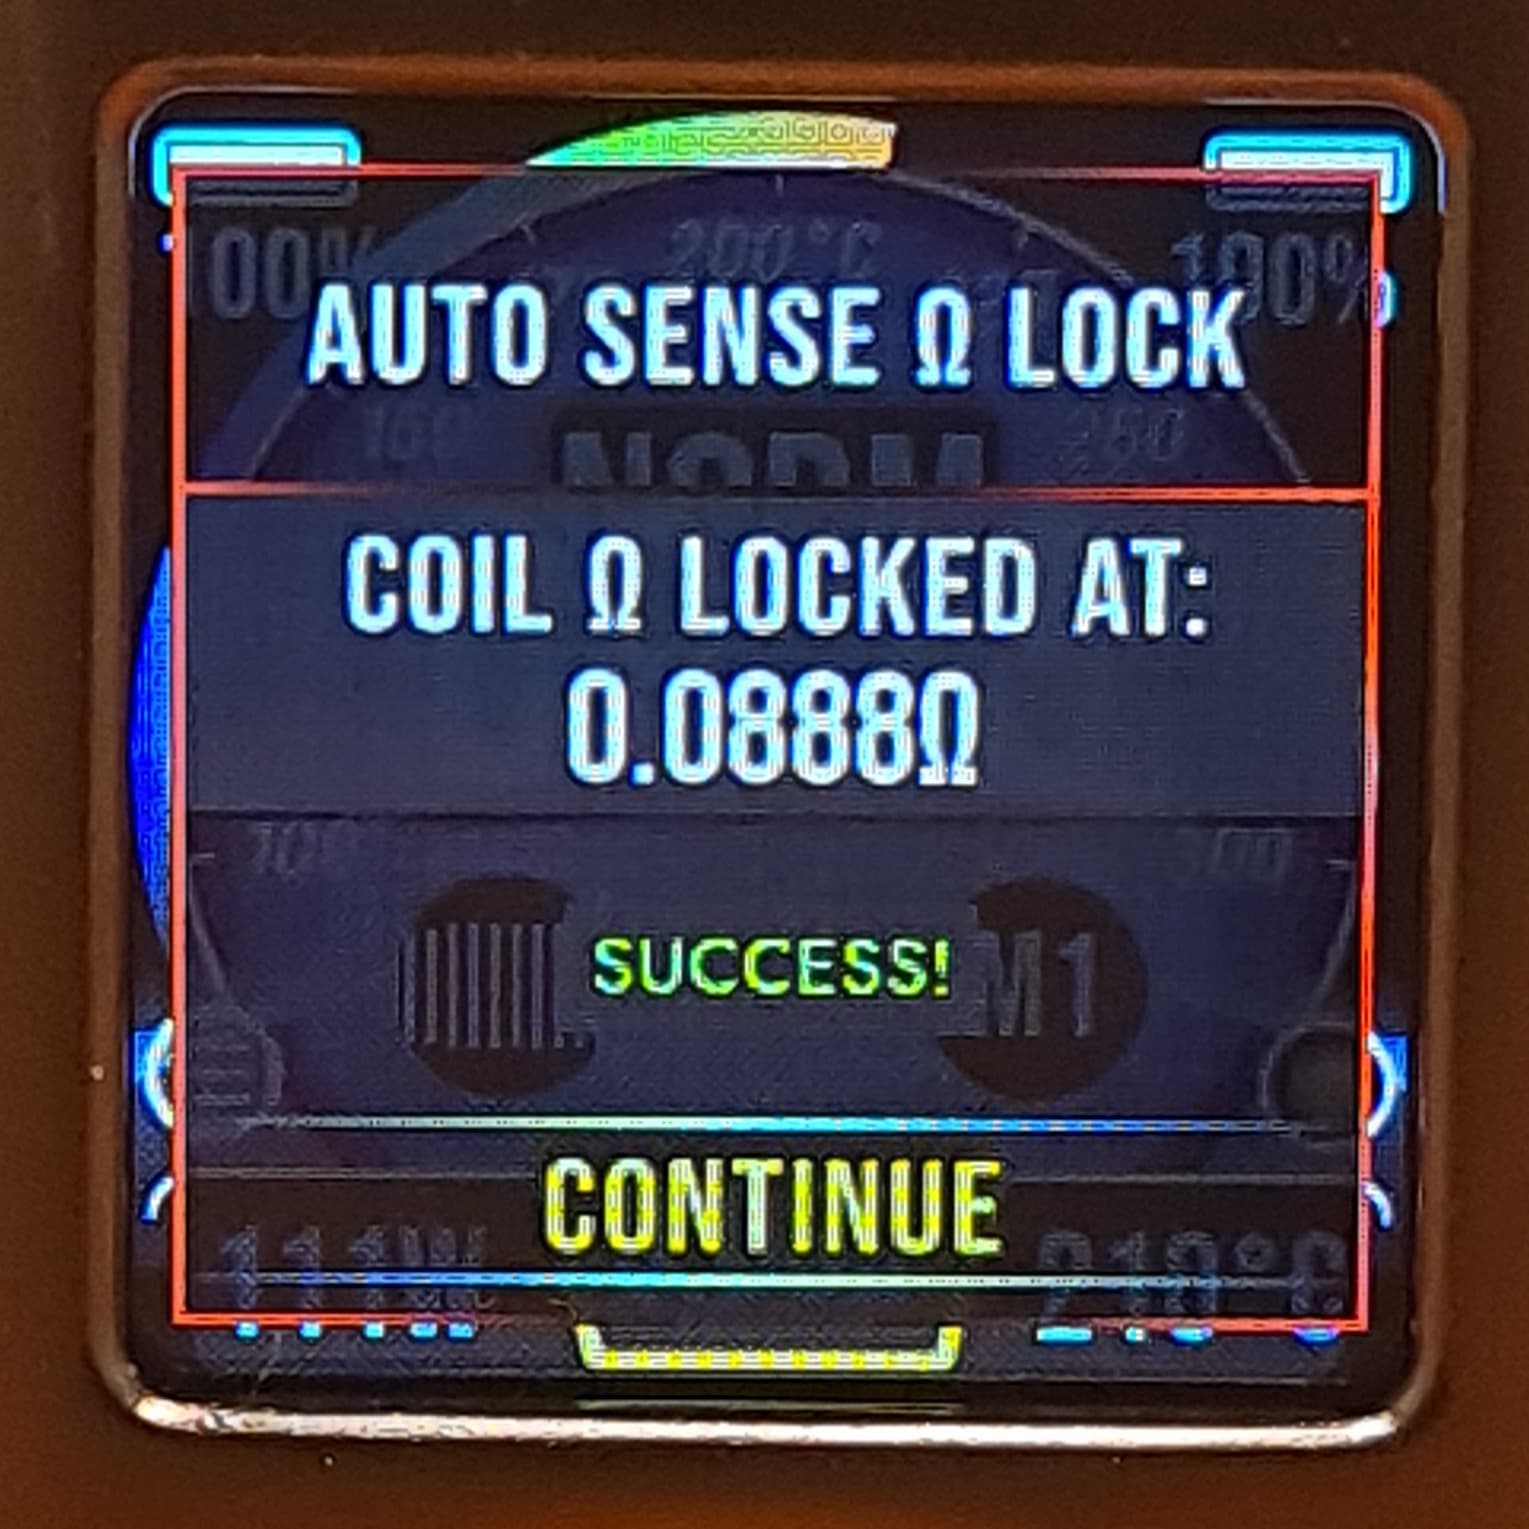
Once the resistance testing is complete, you’ll see this screen. Just select continue and you’re good to go:
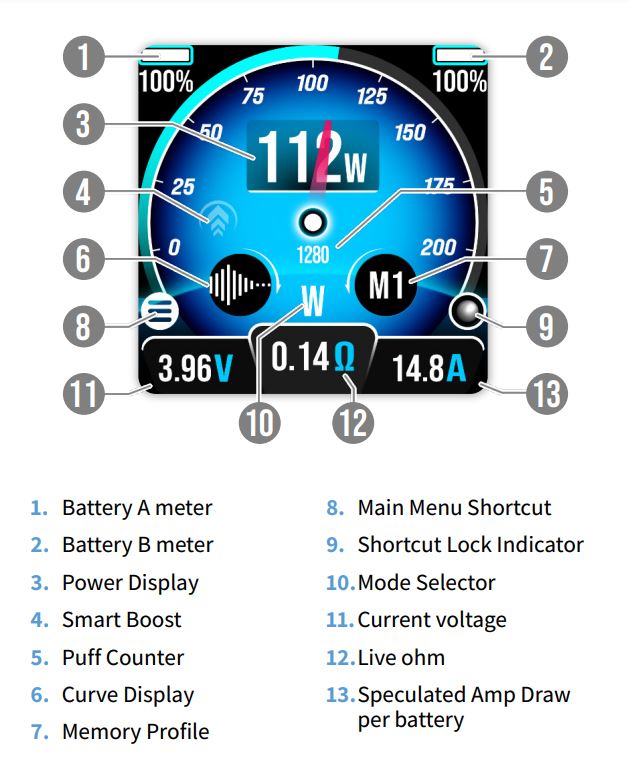
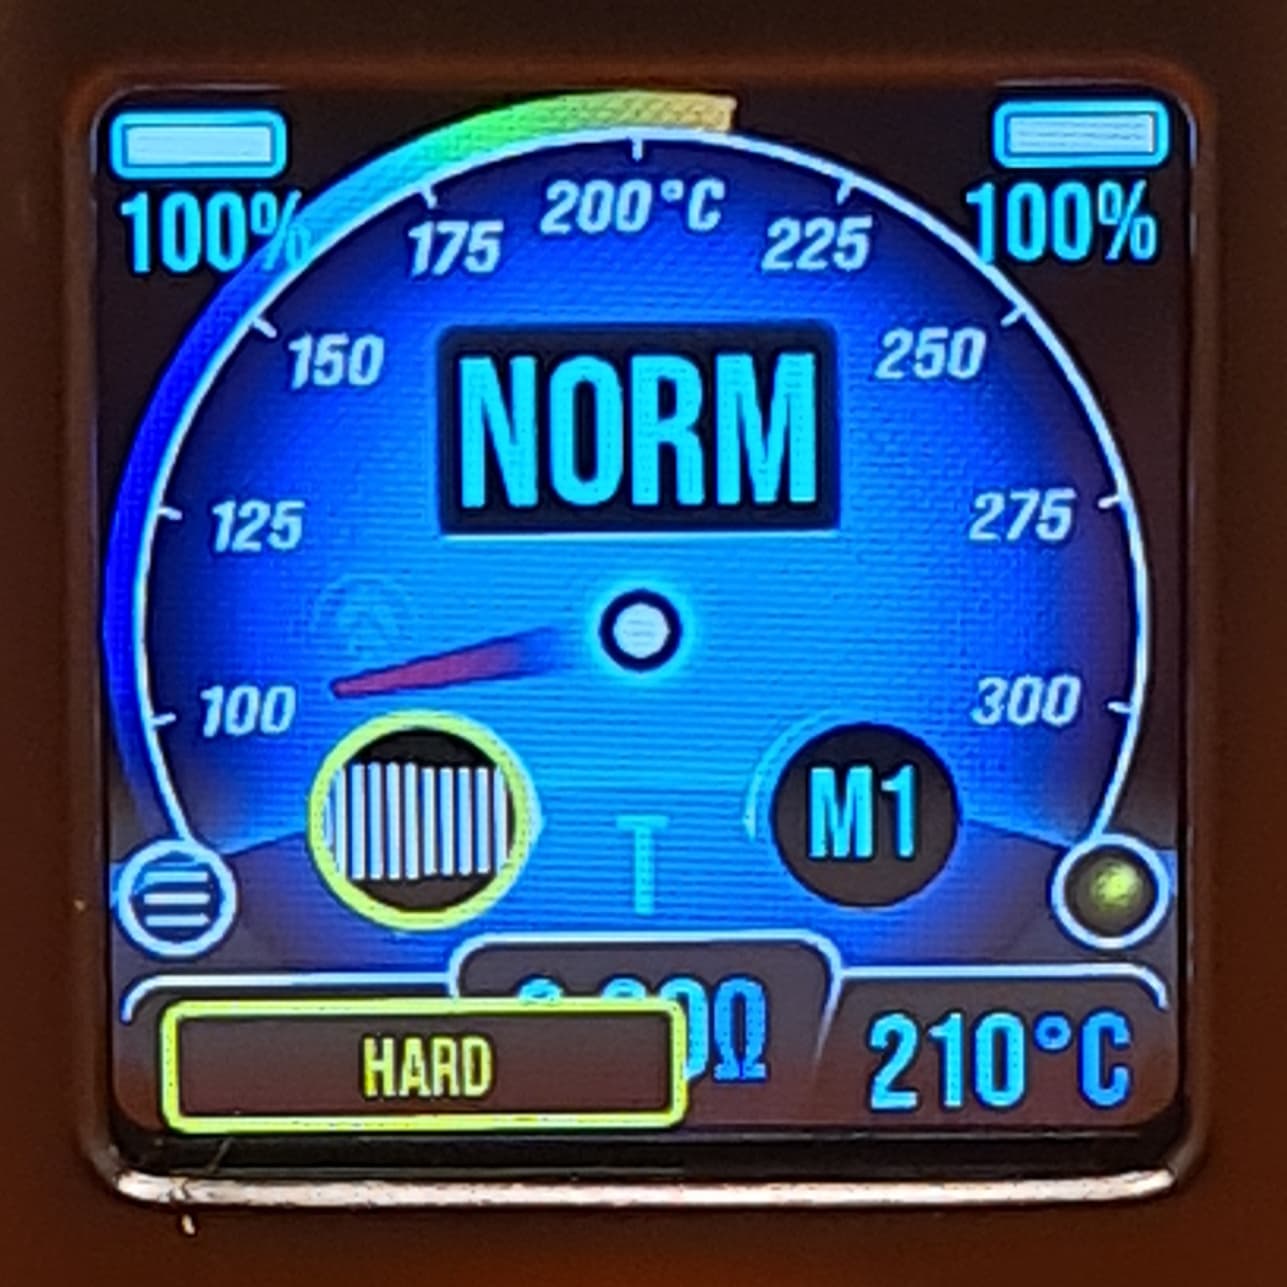
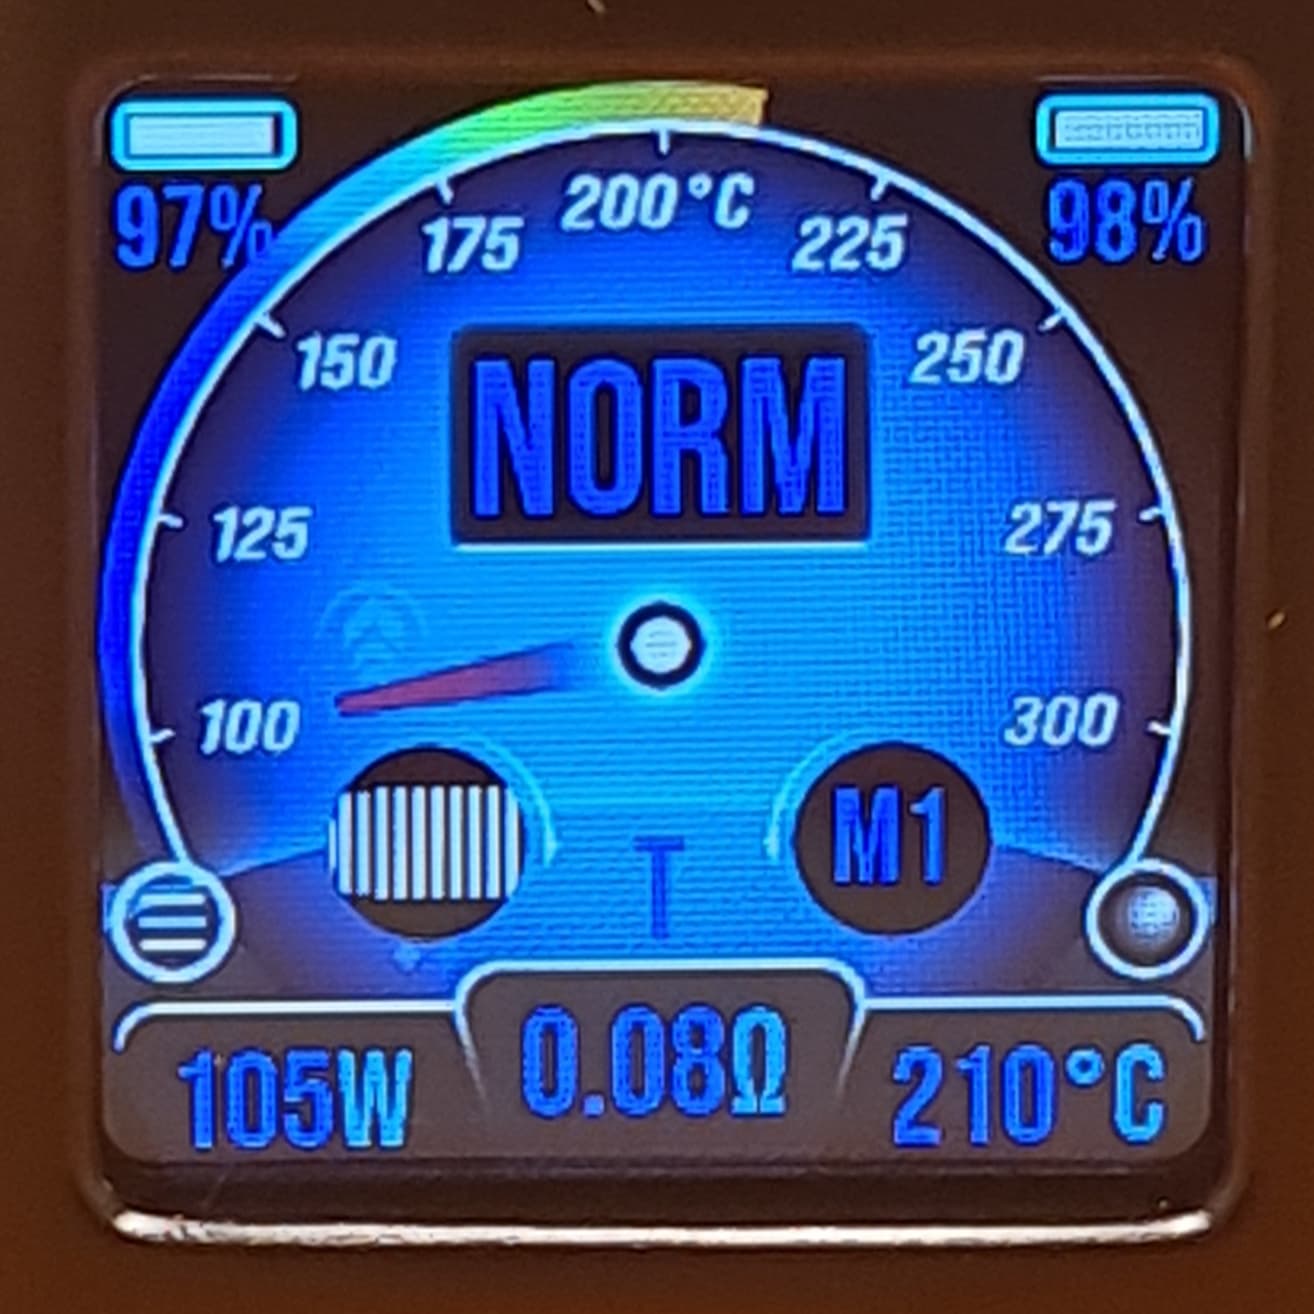
This image from the PDF manual shows what each part of the home screen represents:
To navigate the home screen just press the joystick in once then use up/down to scroll through the available options which are Power, Memory, Curves, Mode, Ohms and Menu.
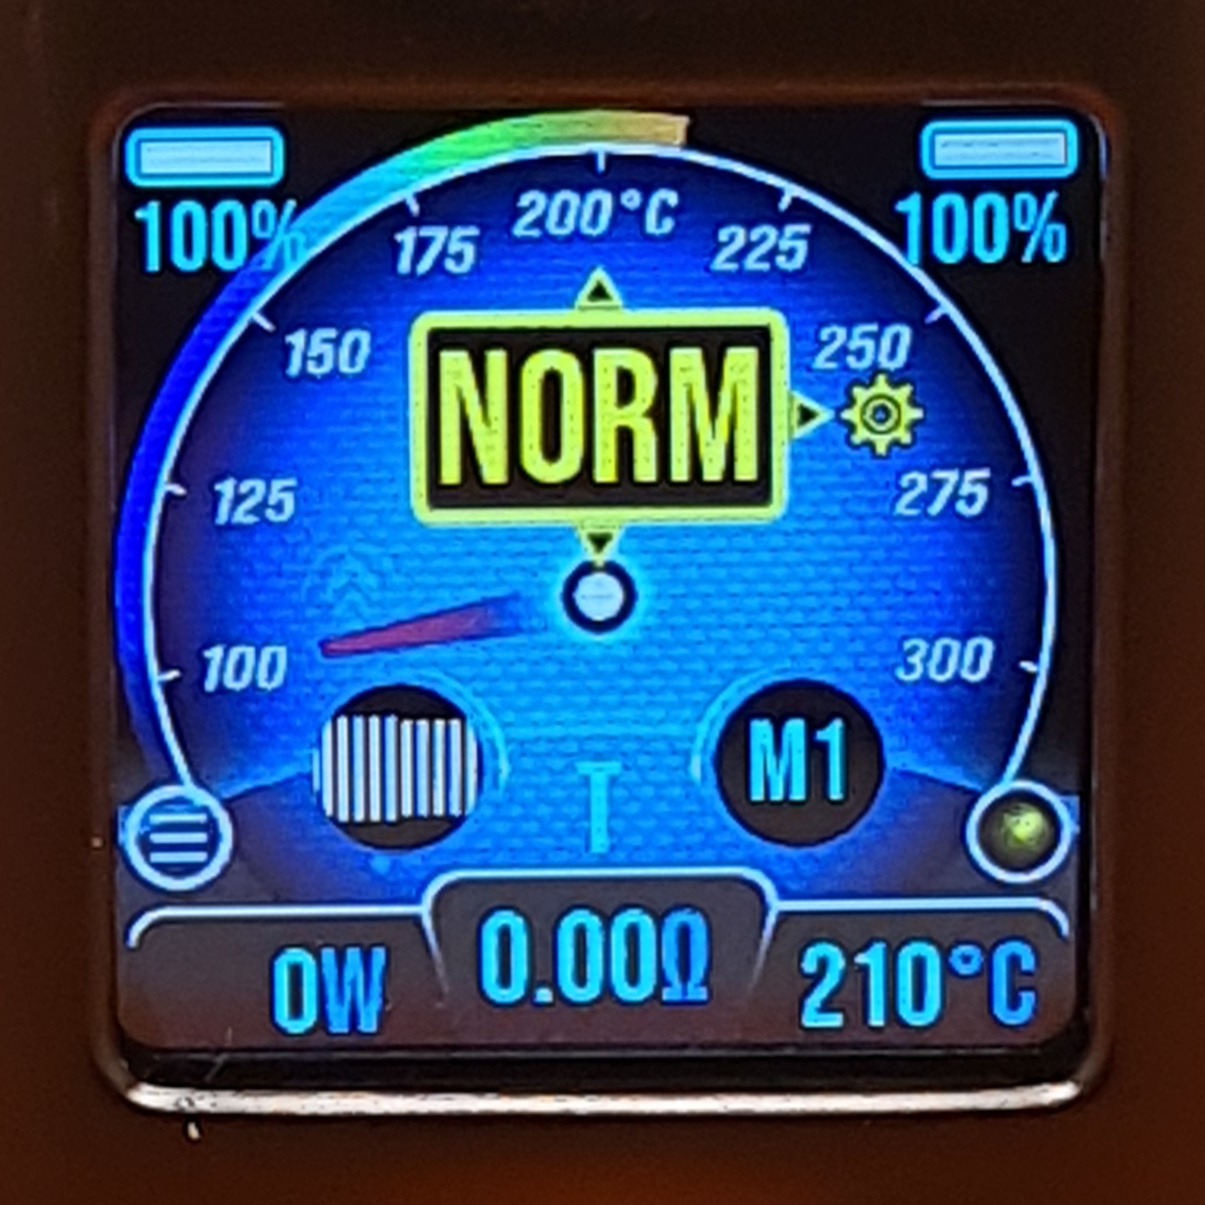

Most of these options are clickable and have sub options. Clicking the Ohms option will bring up the coil resistance menu (see below). Clicking the Memory option will allow you to select from the 5 memory profiles. Any changes you make to the home screen settings are automatically synced and saved to the current memory profile for super easy use so there is no saving anything involved. Clicking the menu option will open the menu if you don’t like the 5 clicks of the fire button method. Clicking the Power setting (Or NORM as you can see in the first image above) will allow adjustment of the power mode used or if using TC, the currently selected profile can be changed or modified by pressing to the right on the joystick to bring up this screen:
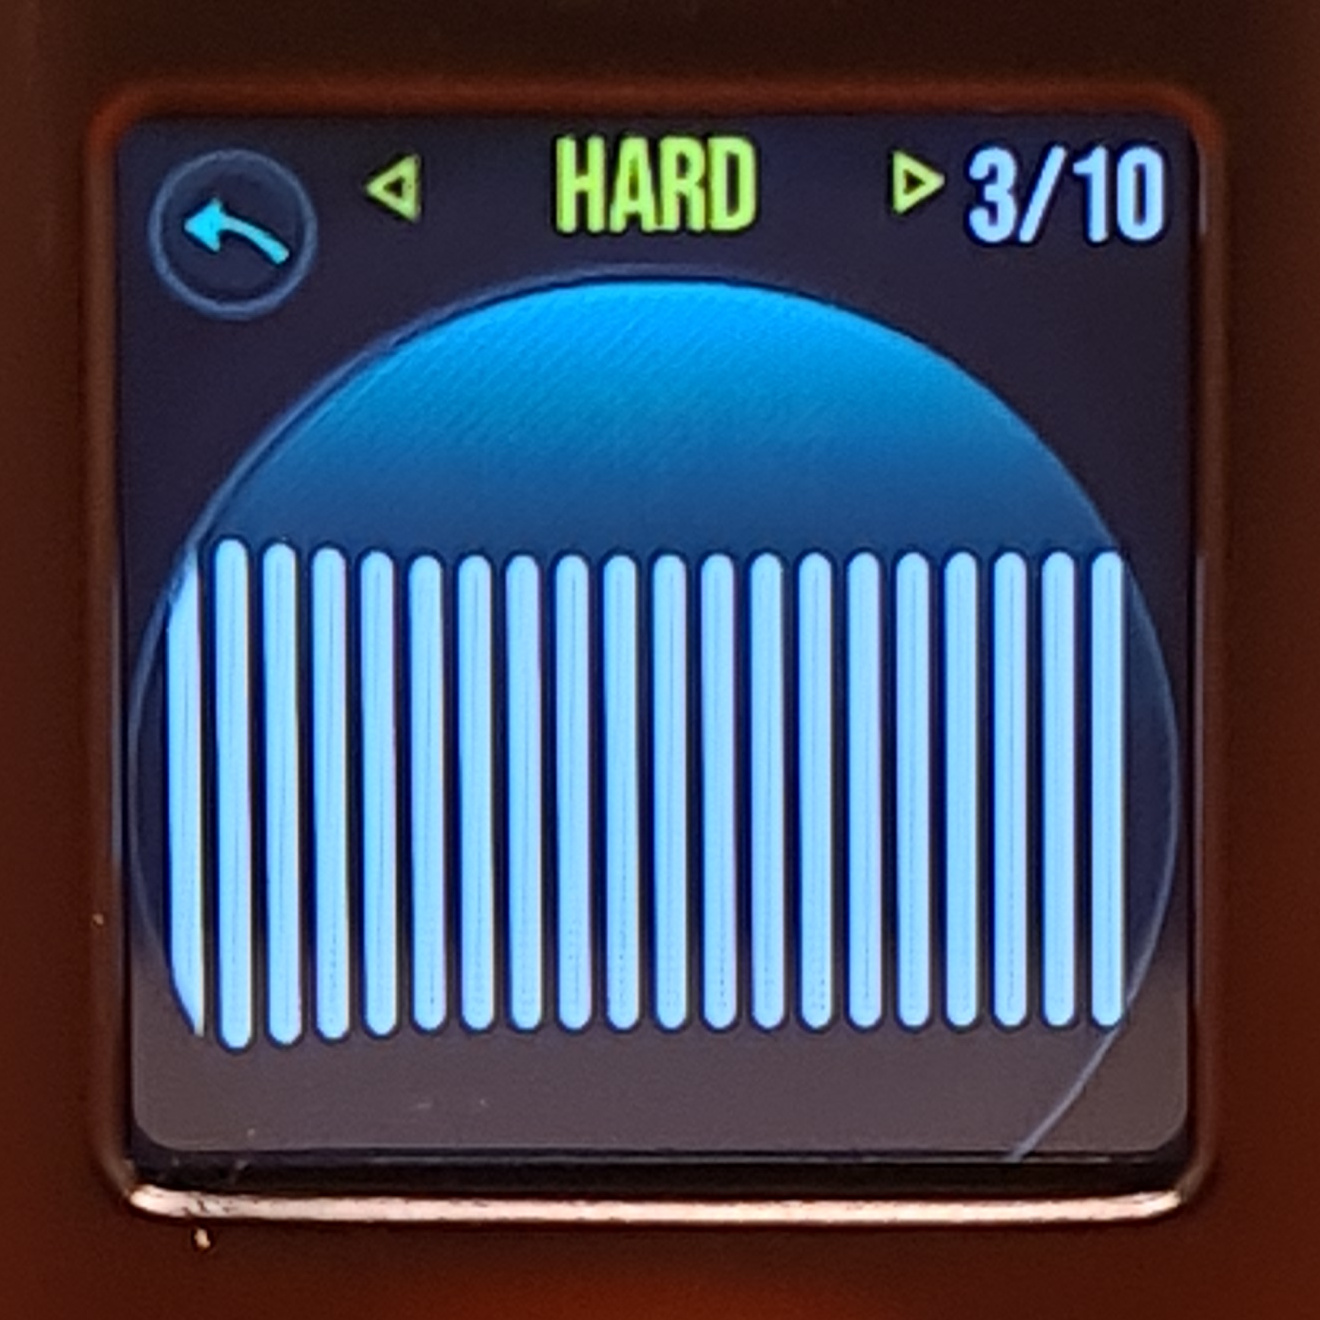
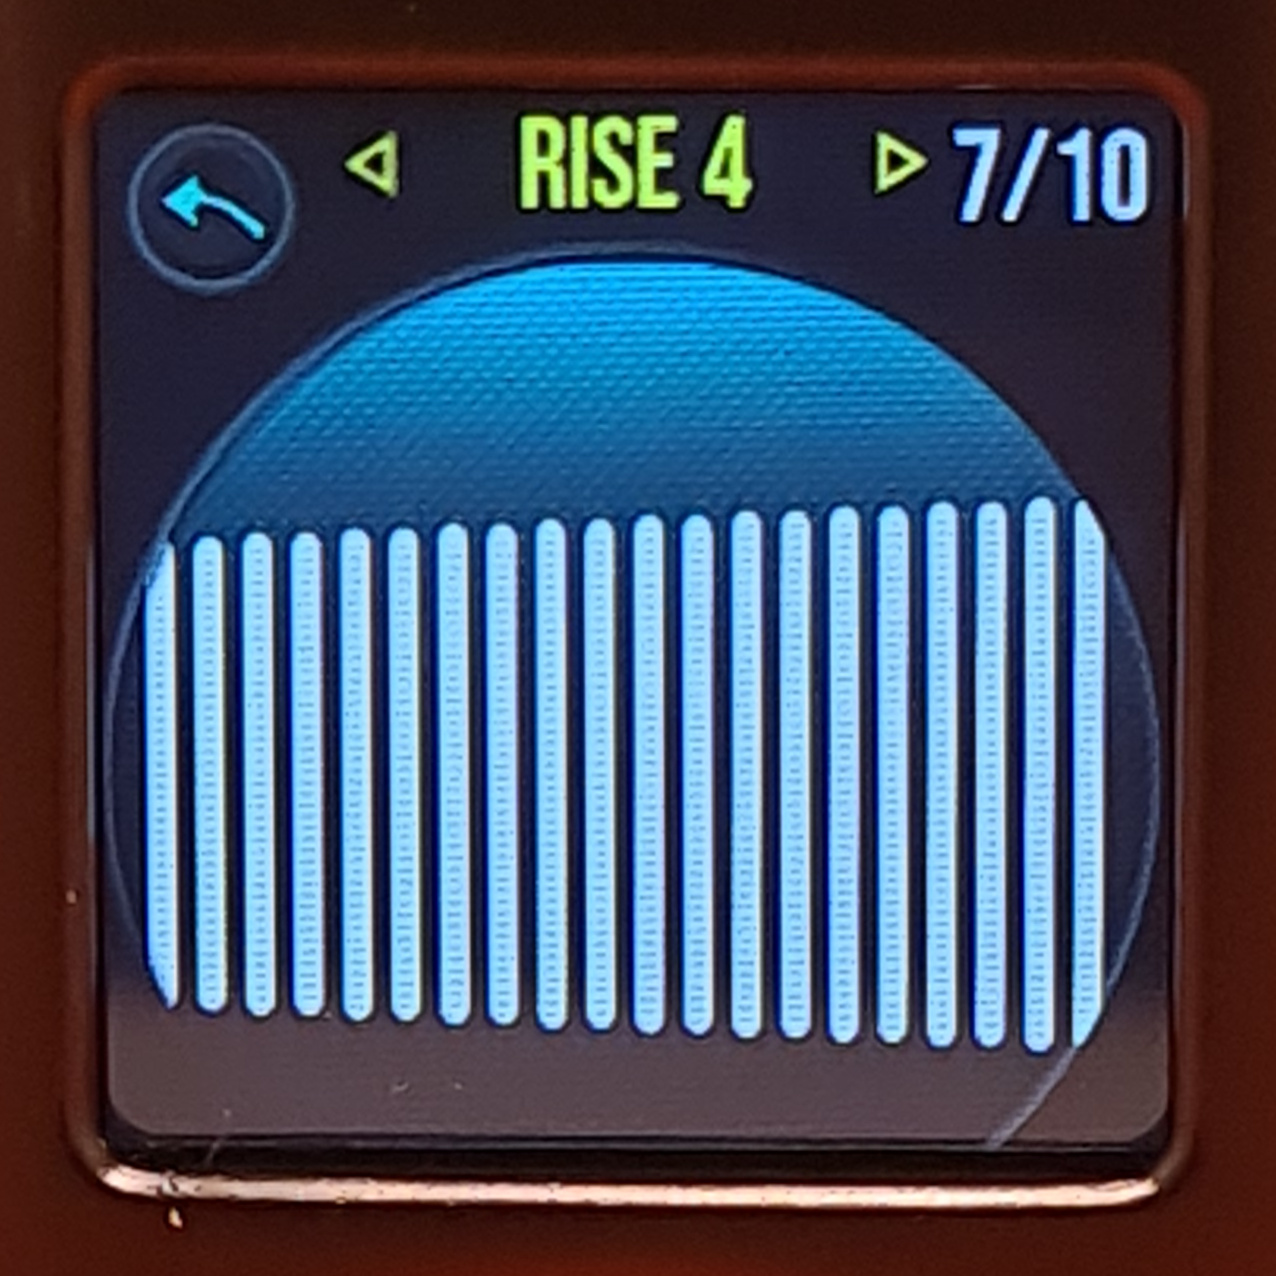
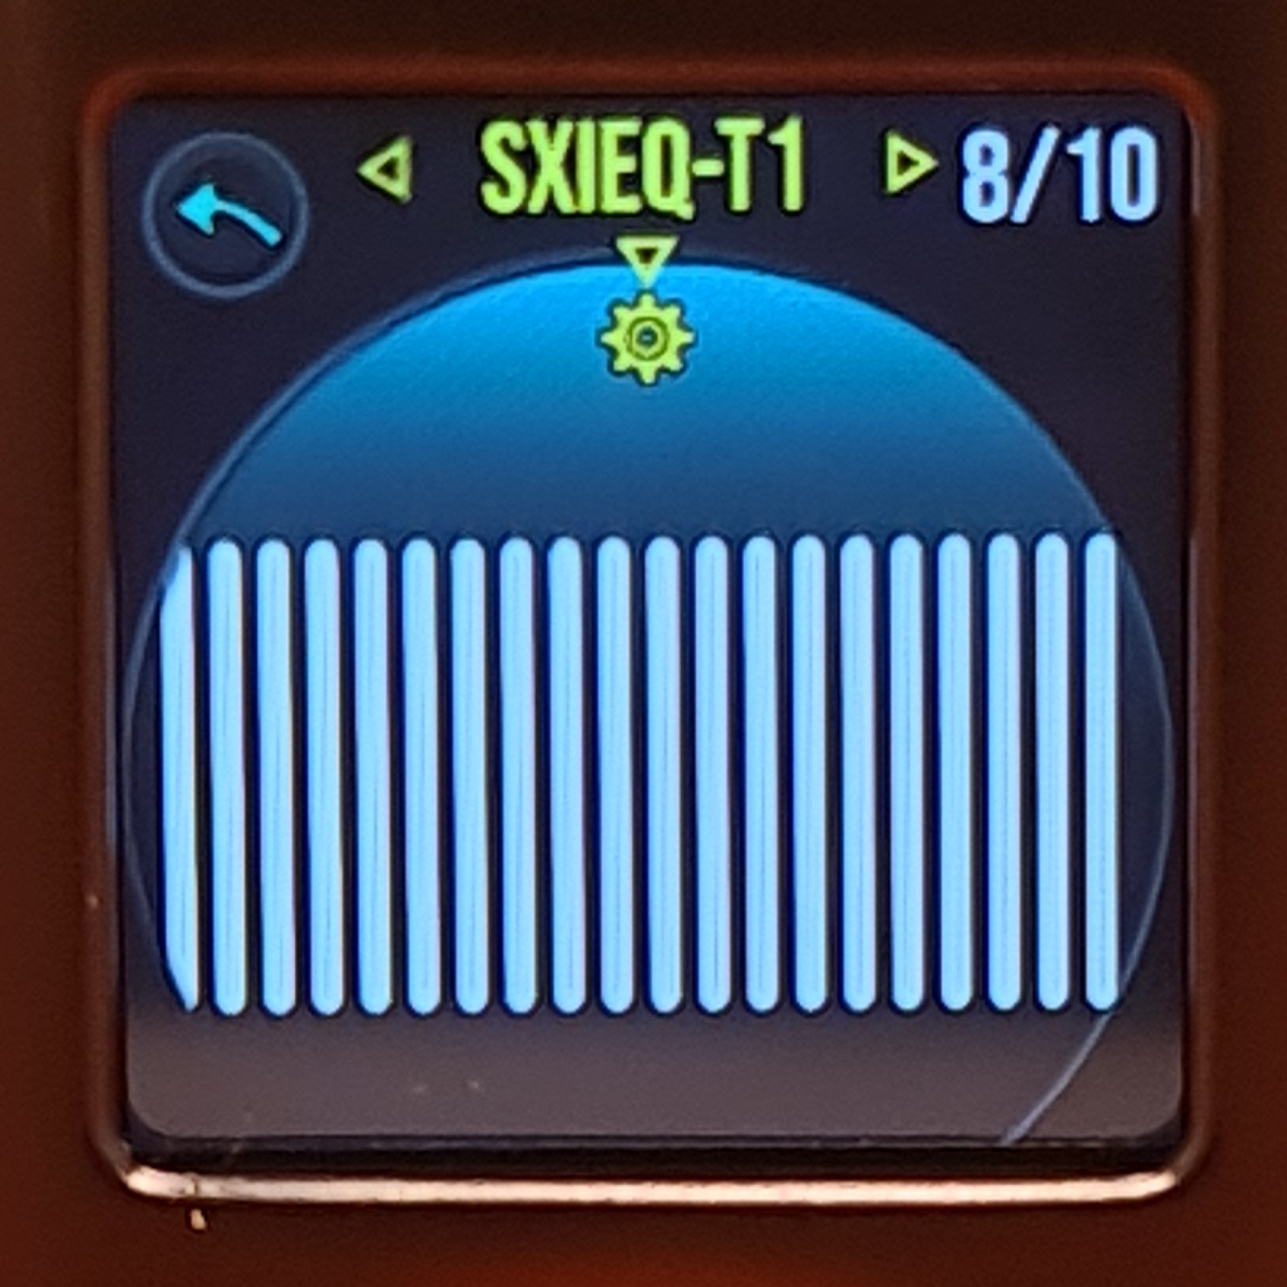
You can also click the Curves option and choose from one of 7 default power curves or 3 custom power curves which are completely editable down to each half second of the maximum 10s puff length. Each bar represents .5 of a second of the 10s puff time and can be adjusted up to 120% or down to 50% while using TC mode and 150% to 50% while using Wattage or Voltage mode:

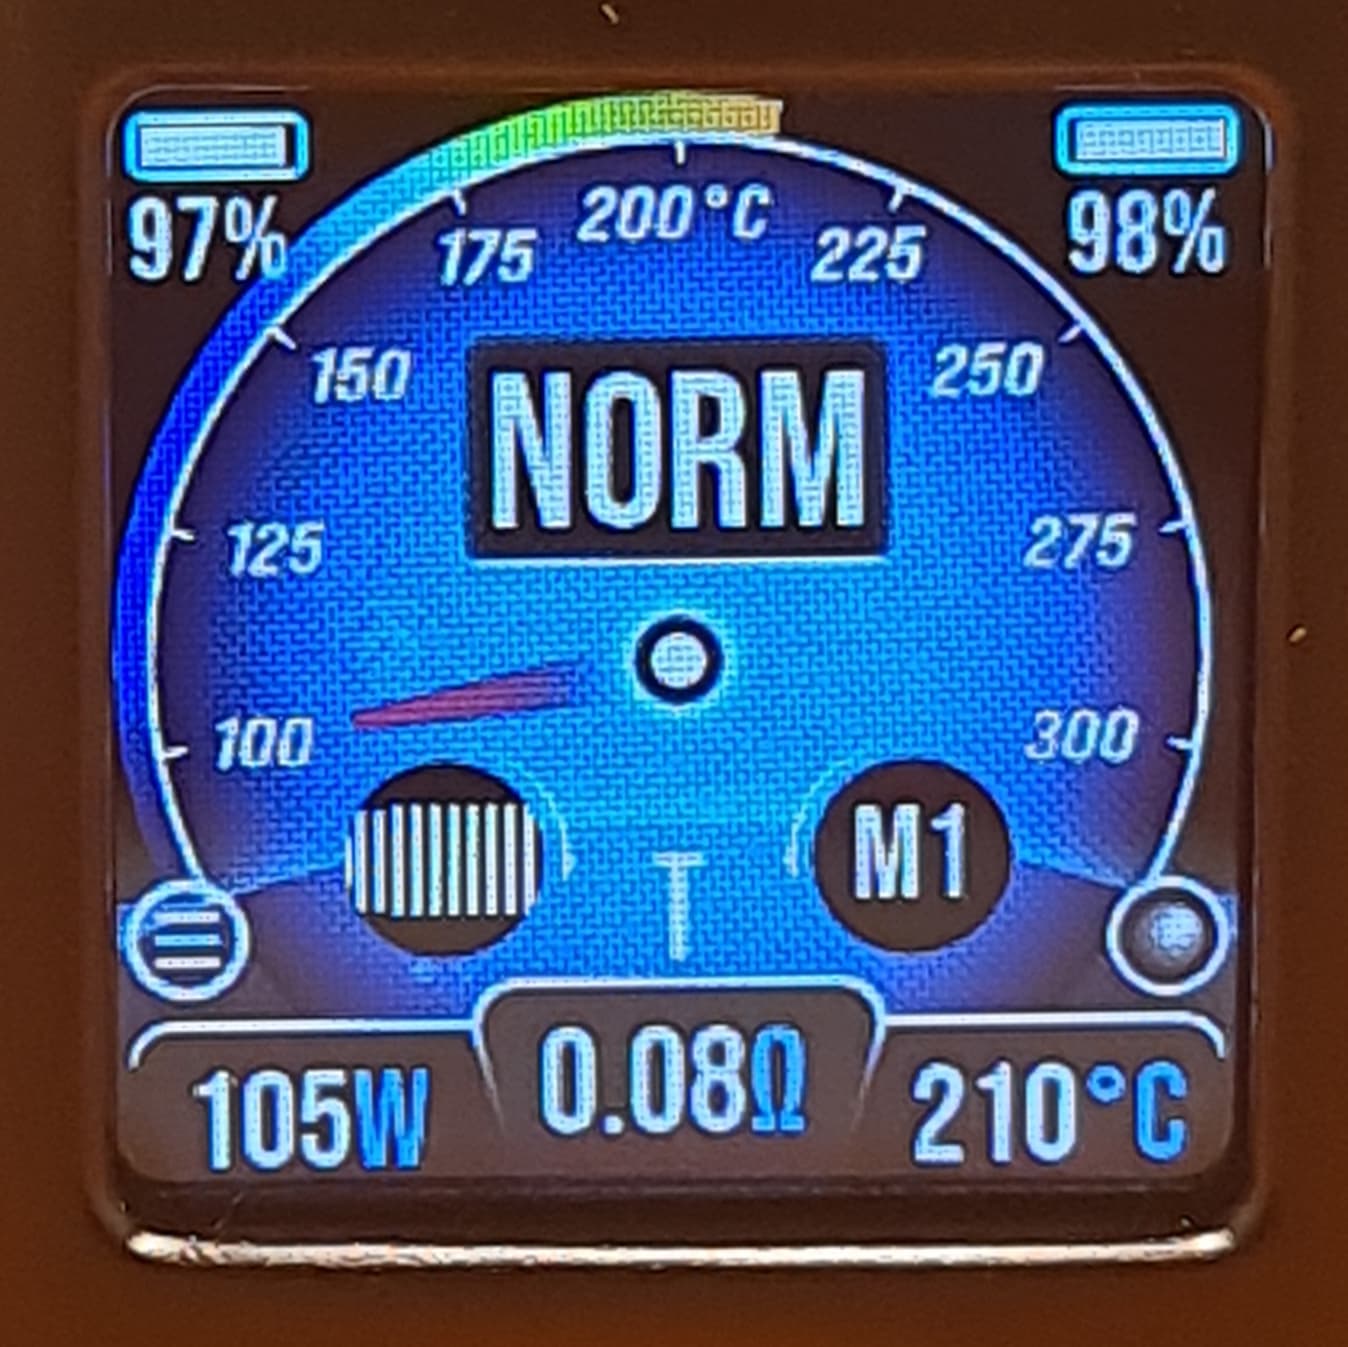
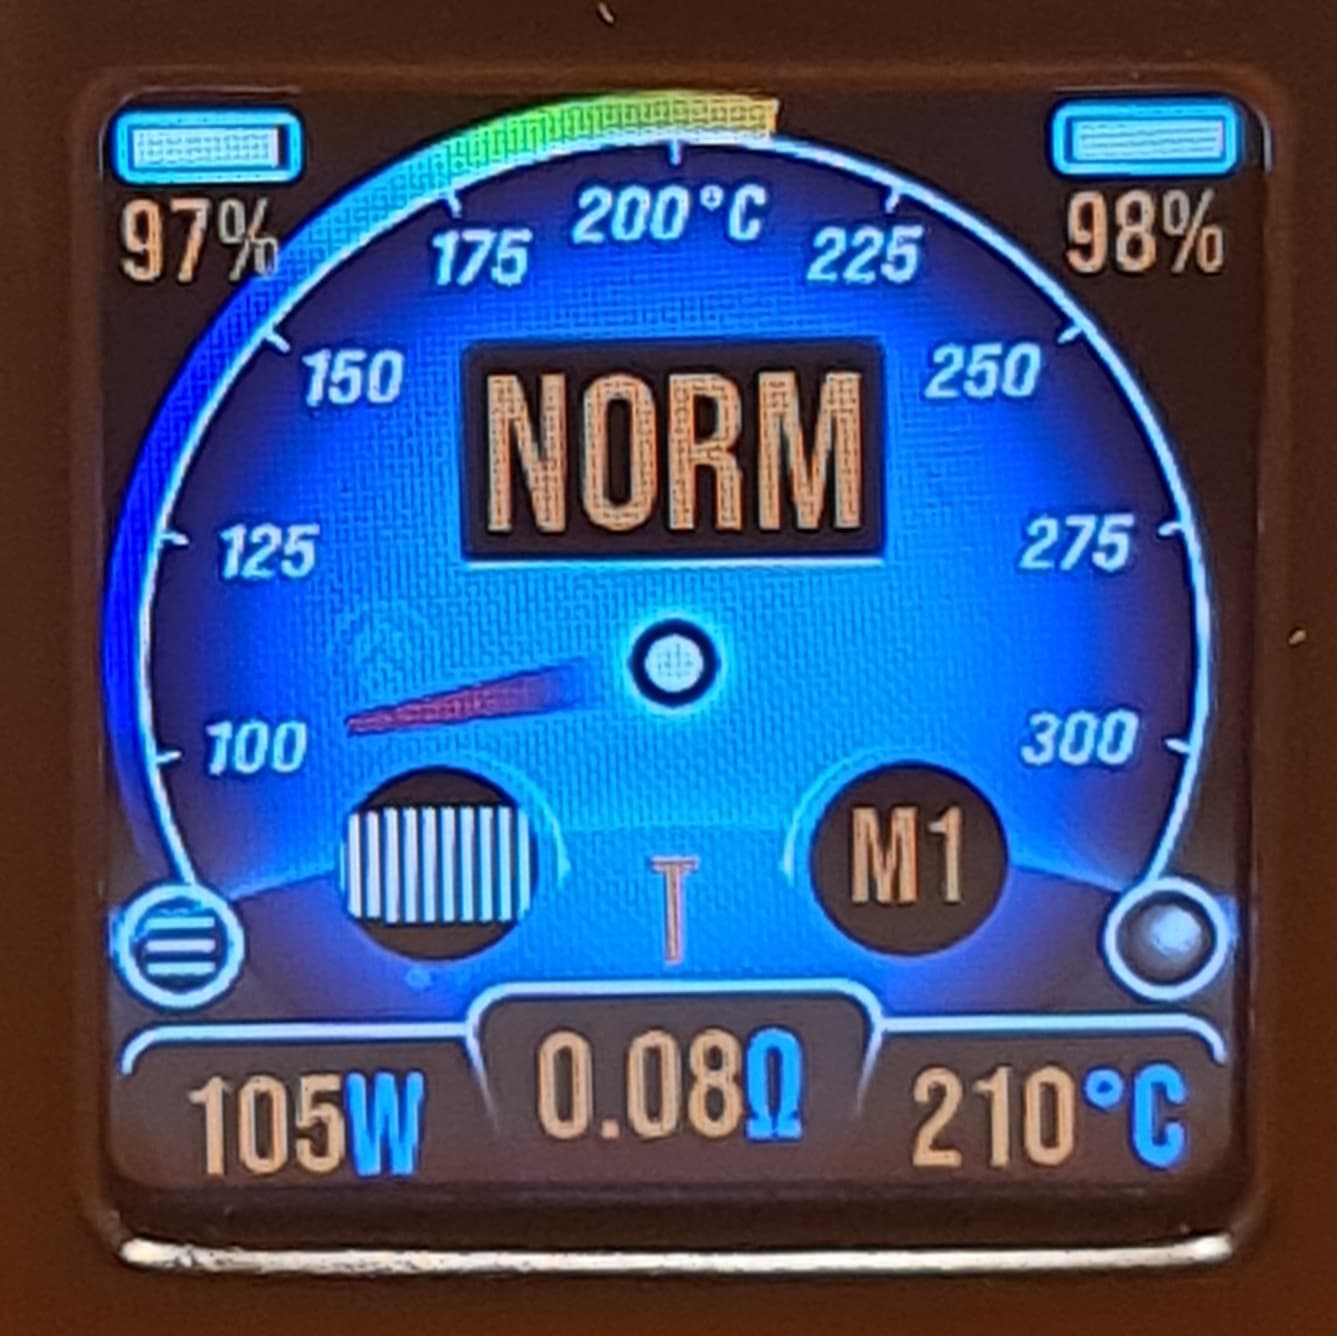
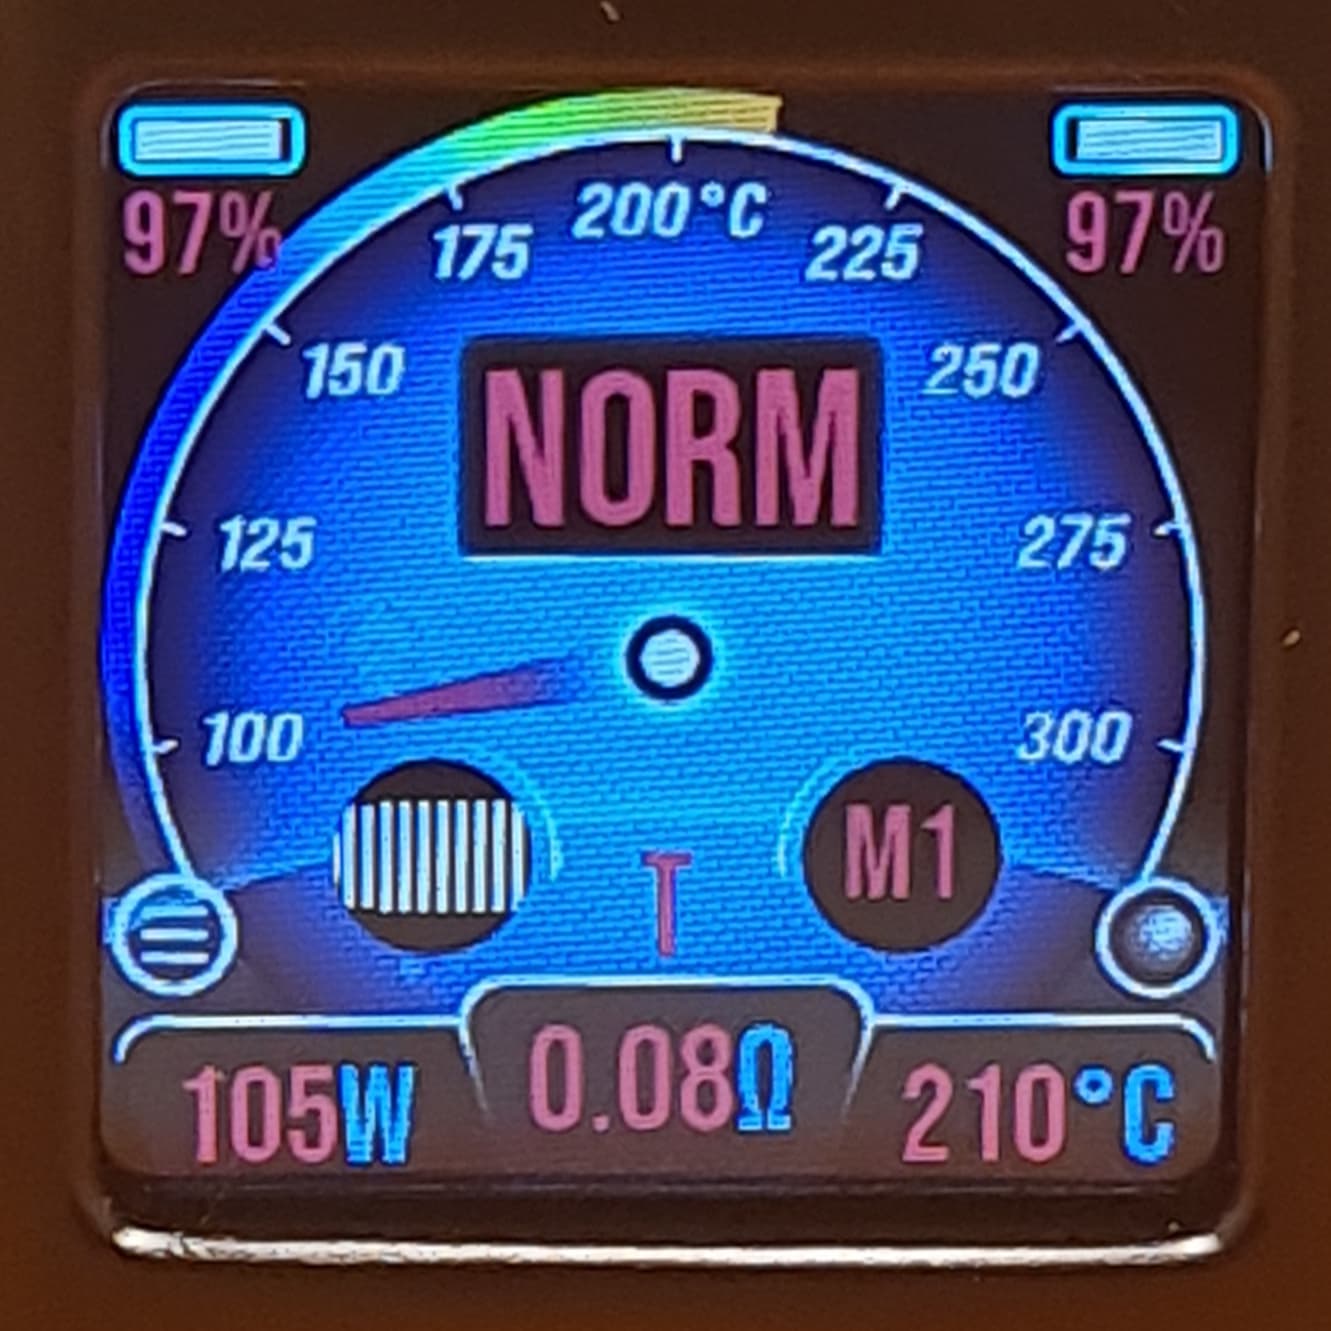
Also from the Home screen, there are shortcuts available using the joystick. The can be enabled or disabled from the home screen by pressing in on the joystick 3 times. These shortcuts allow quick changing of the font colour by holding the joystick to the right and scrolling through the current wallpaper by holding the joystick to the left. You can also quickly adjust the power/temp setting by clicking up or down with the joystick.
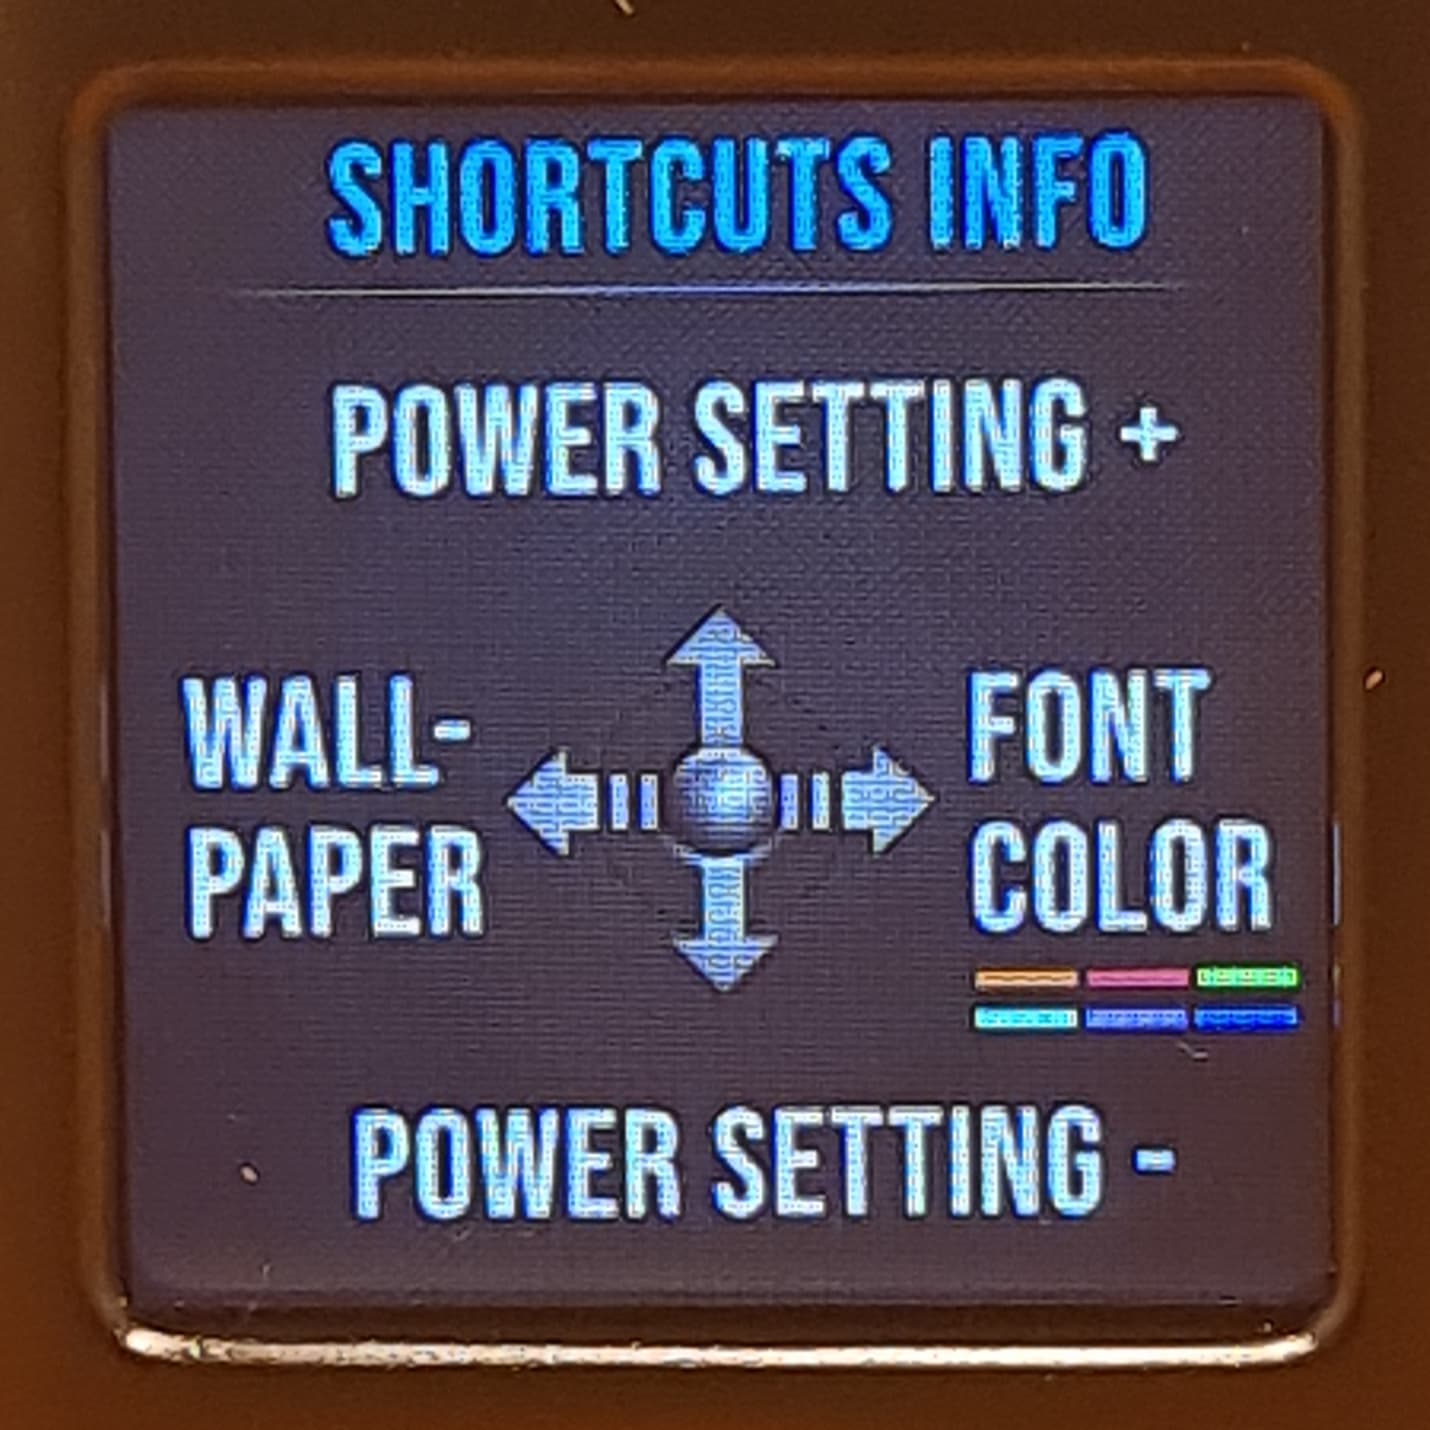
These are the available font colours:
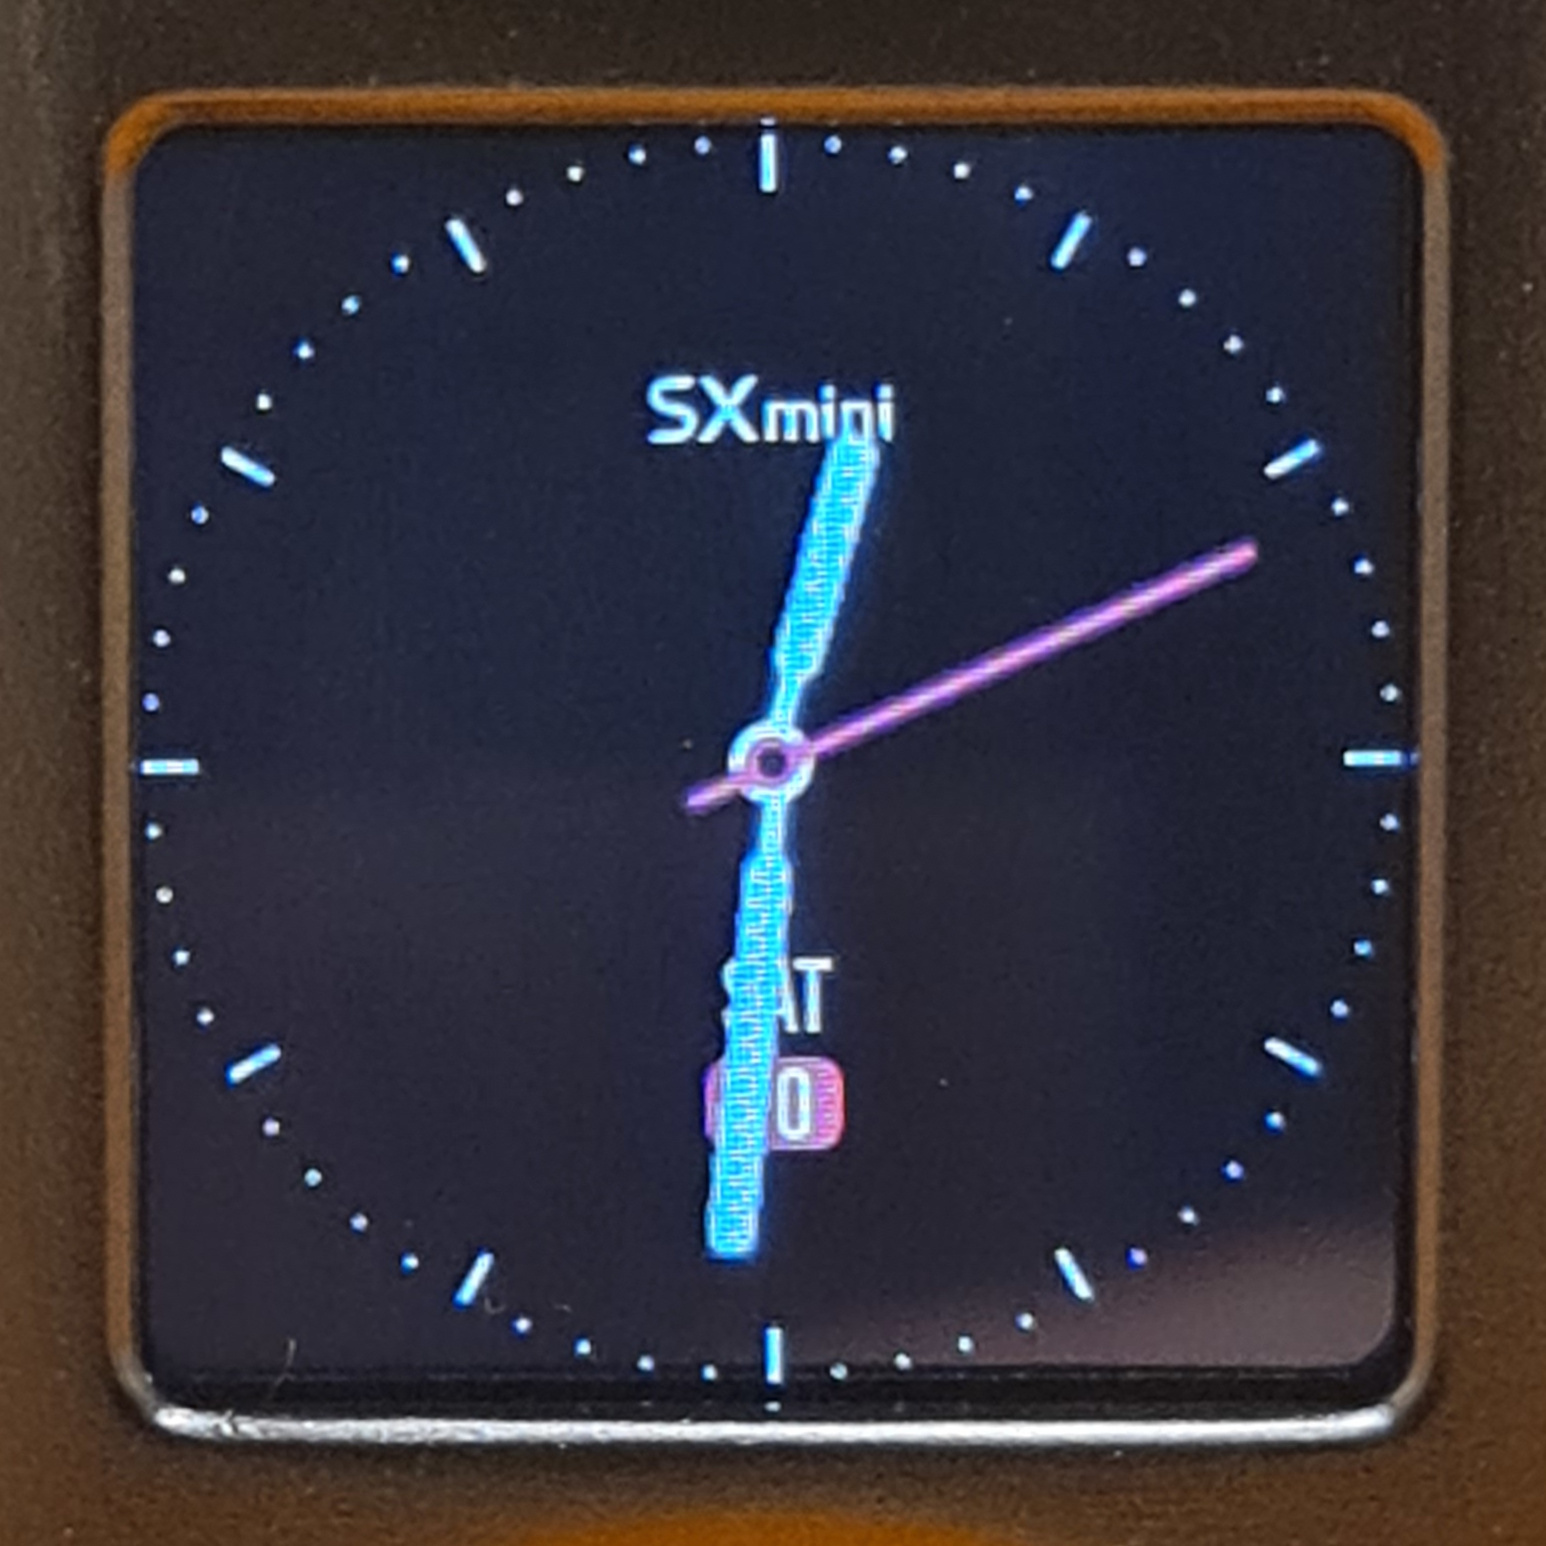
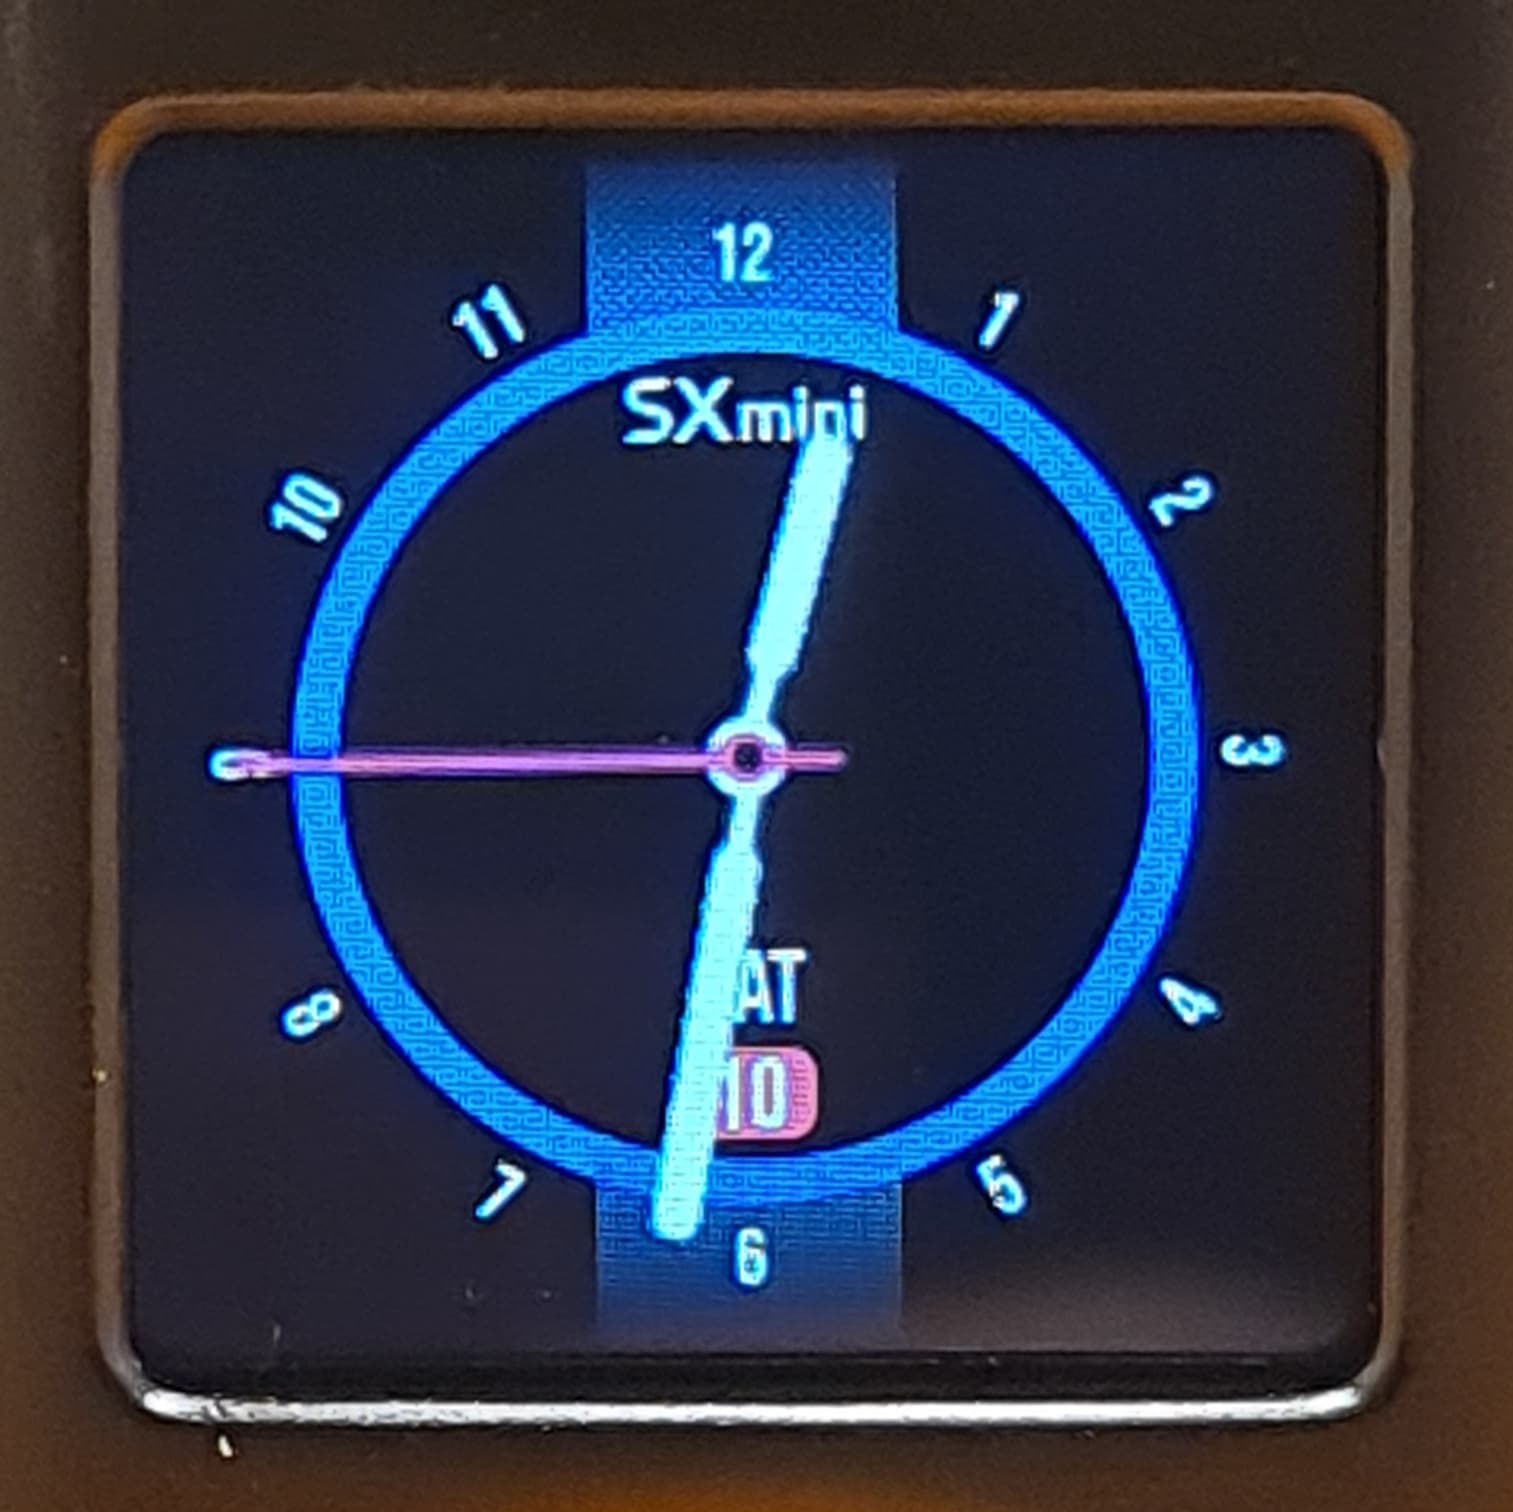
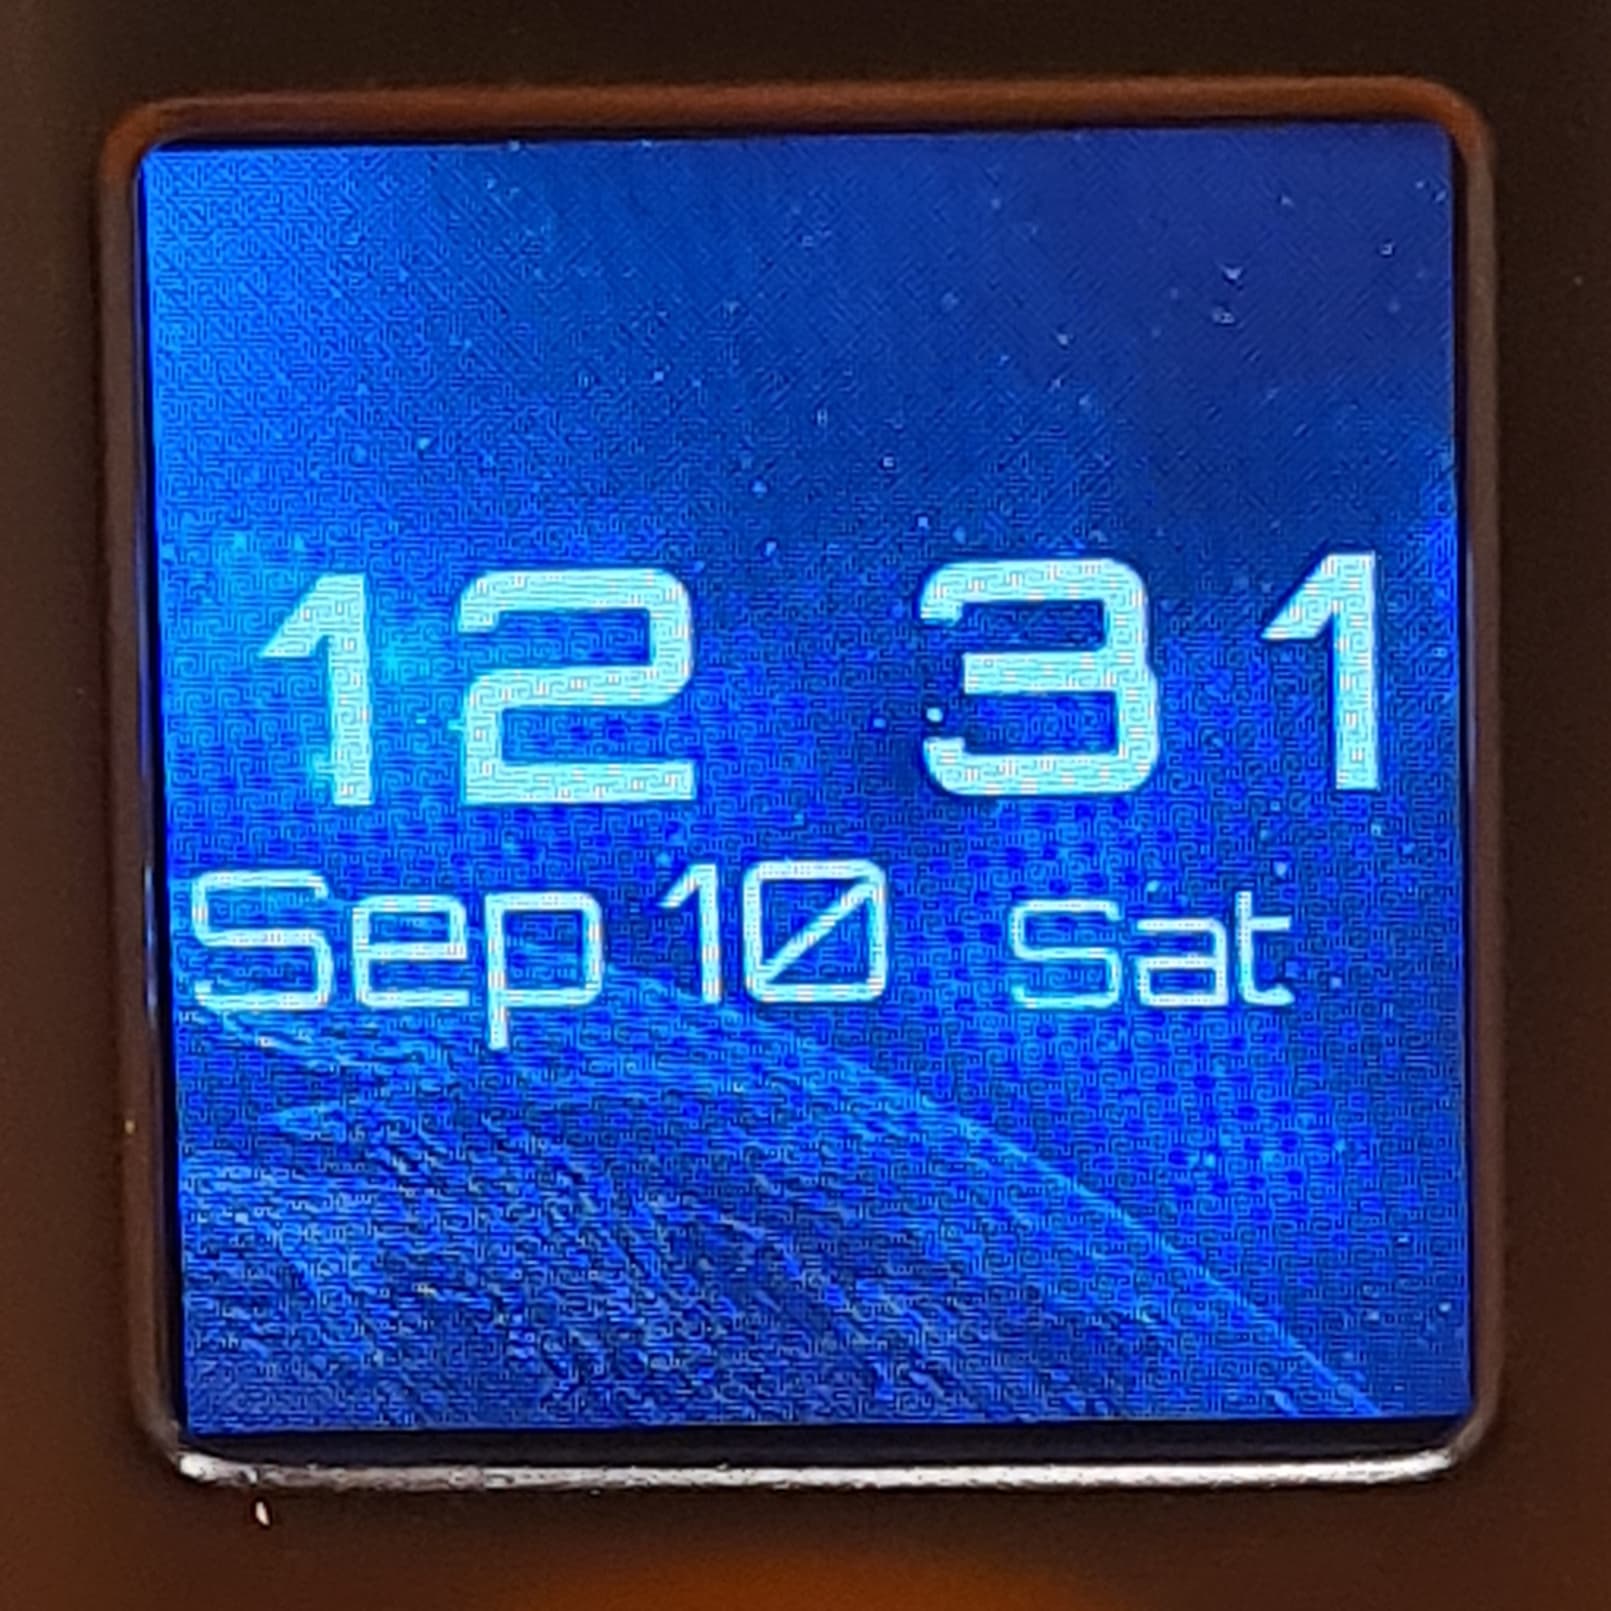
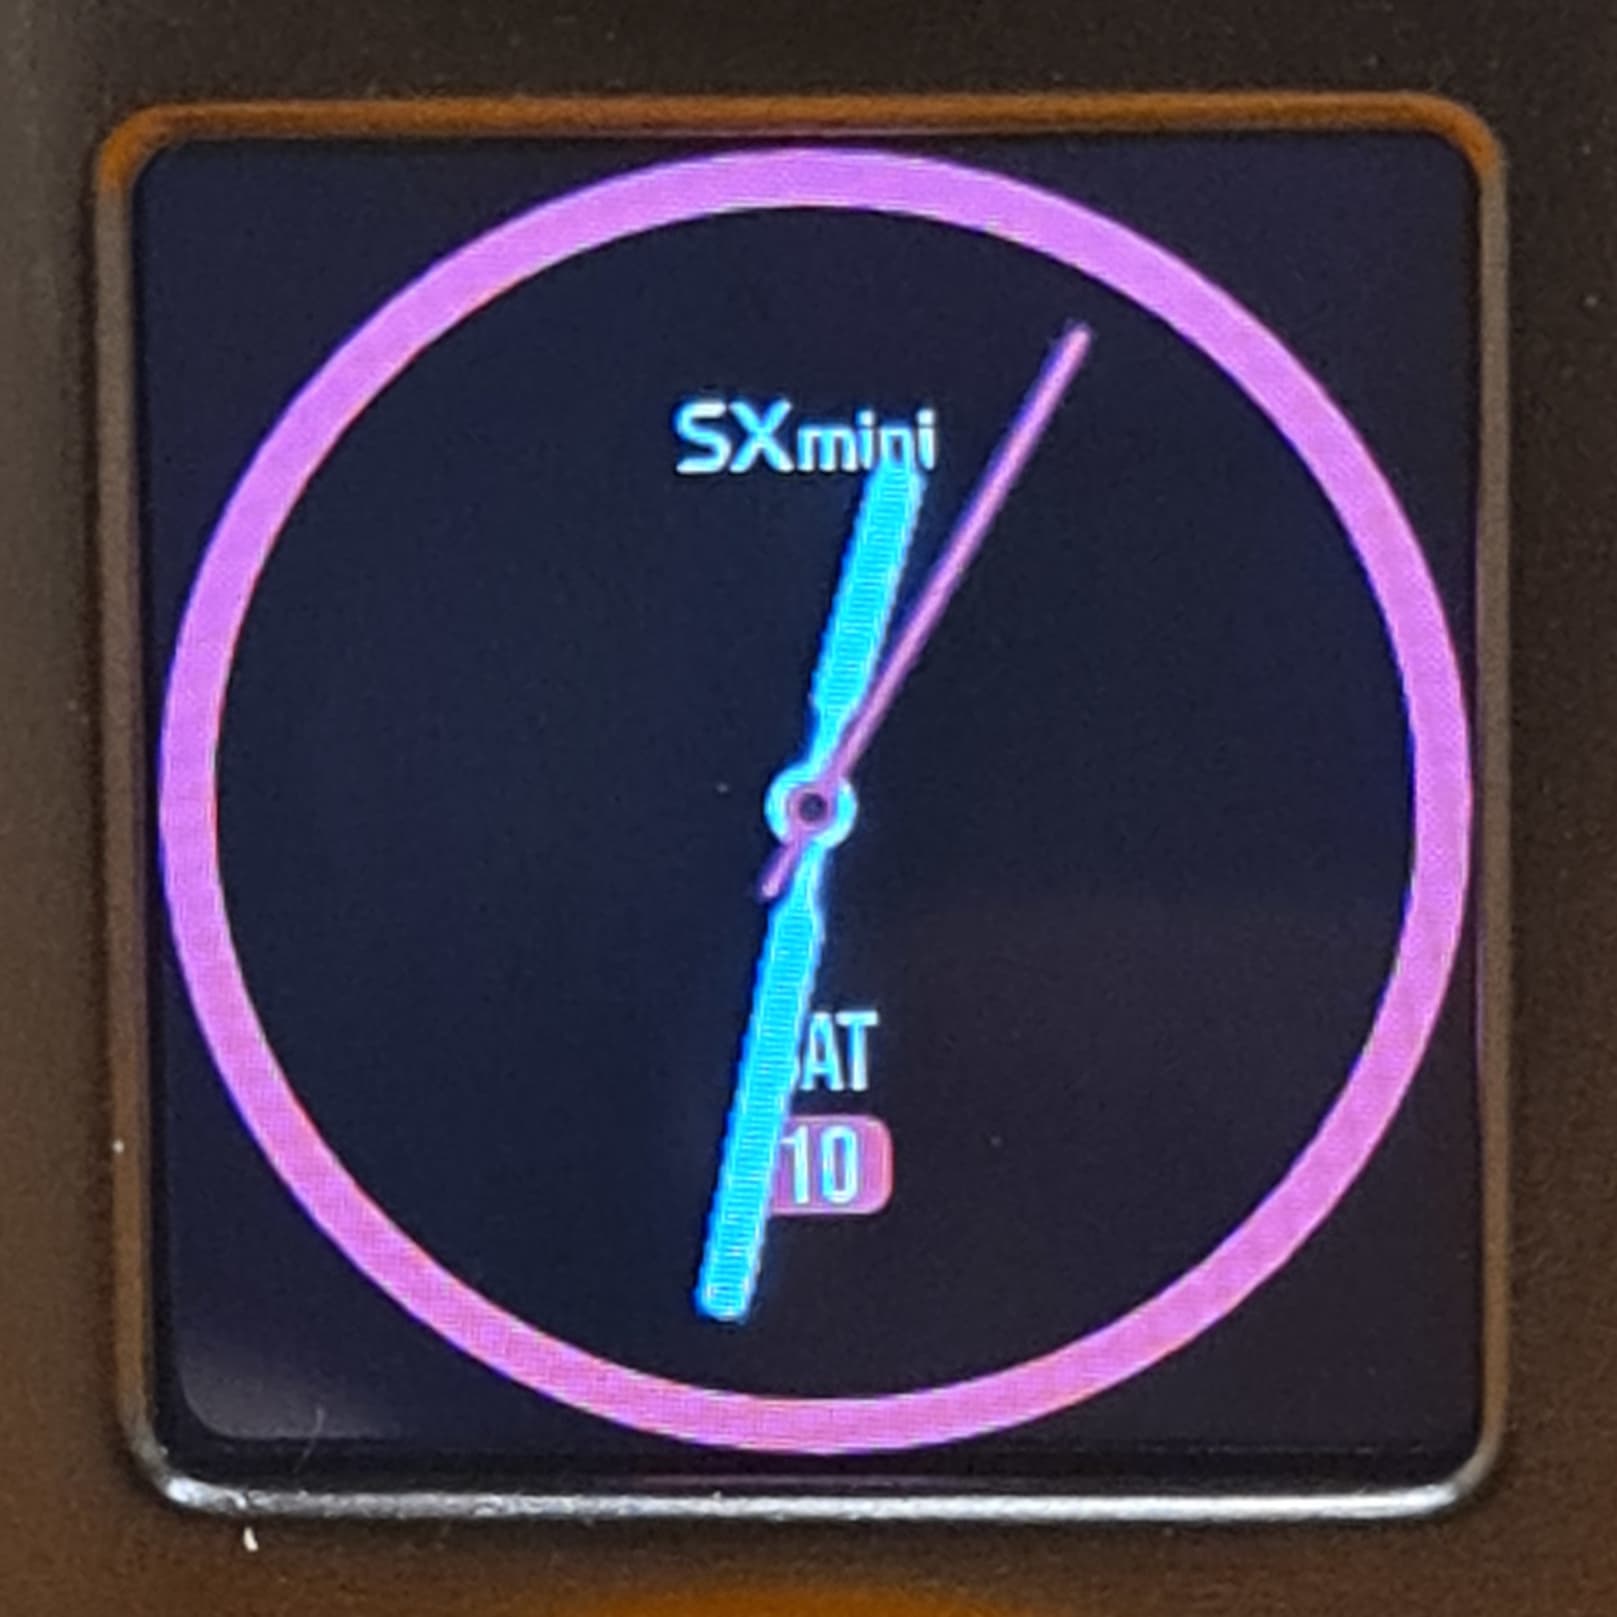
These shortcuts can also be used when the home screen times out and the clock appears. You can hold the joystick left to change the clock type and if you have the digital clock selected, you can also hold the joystick to the right to change the font colour or down to change the background wallpaper. The clock timeout timer and how long it stays on the screen for can be adjusted in the settings which is explained further down in this review.
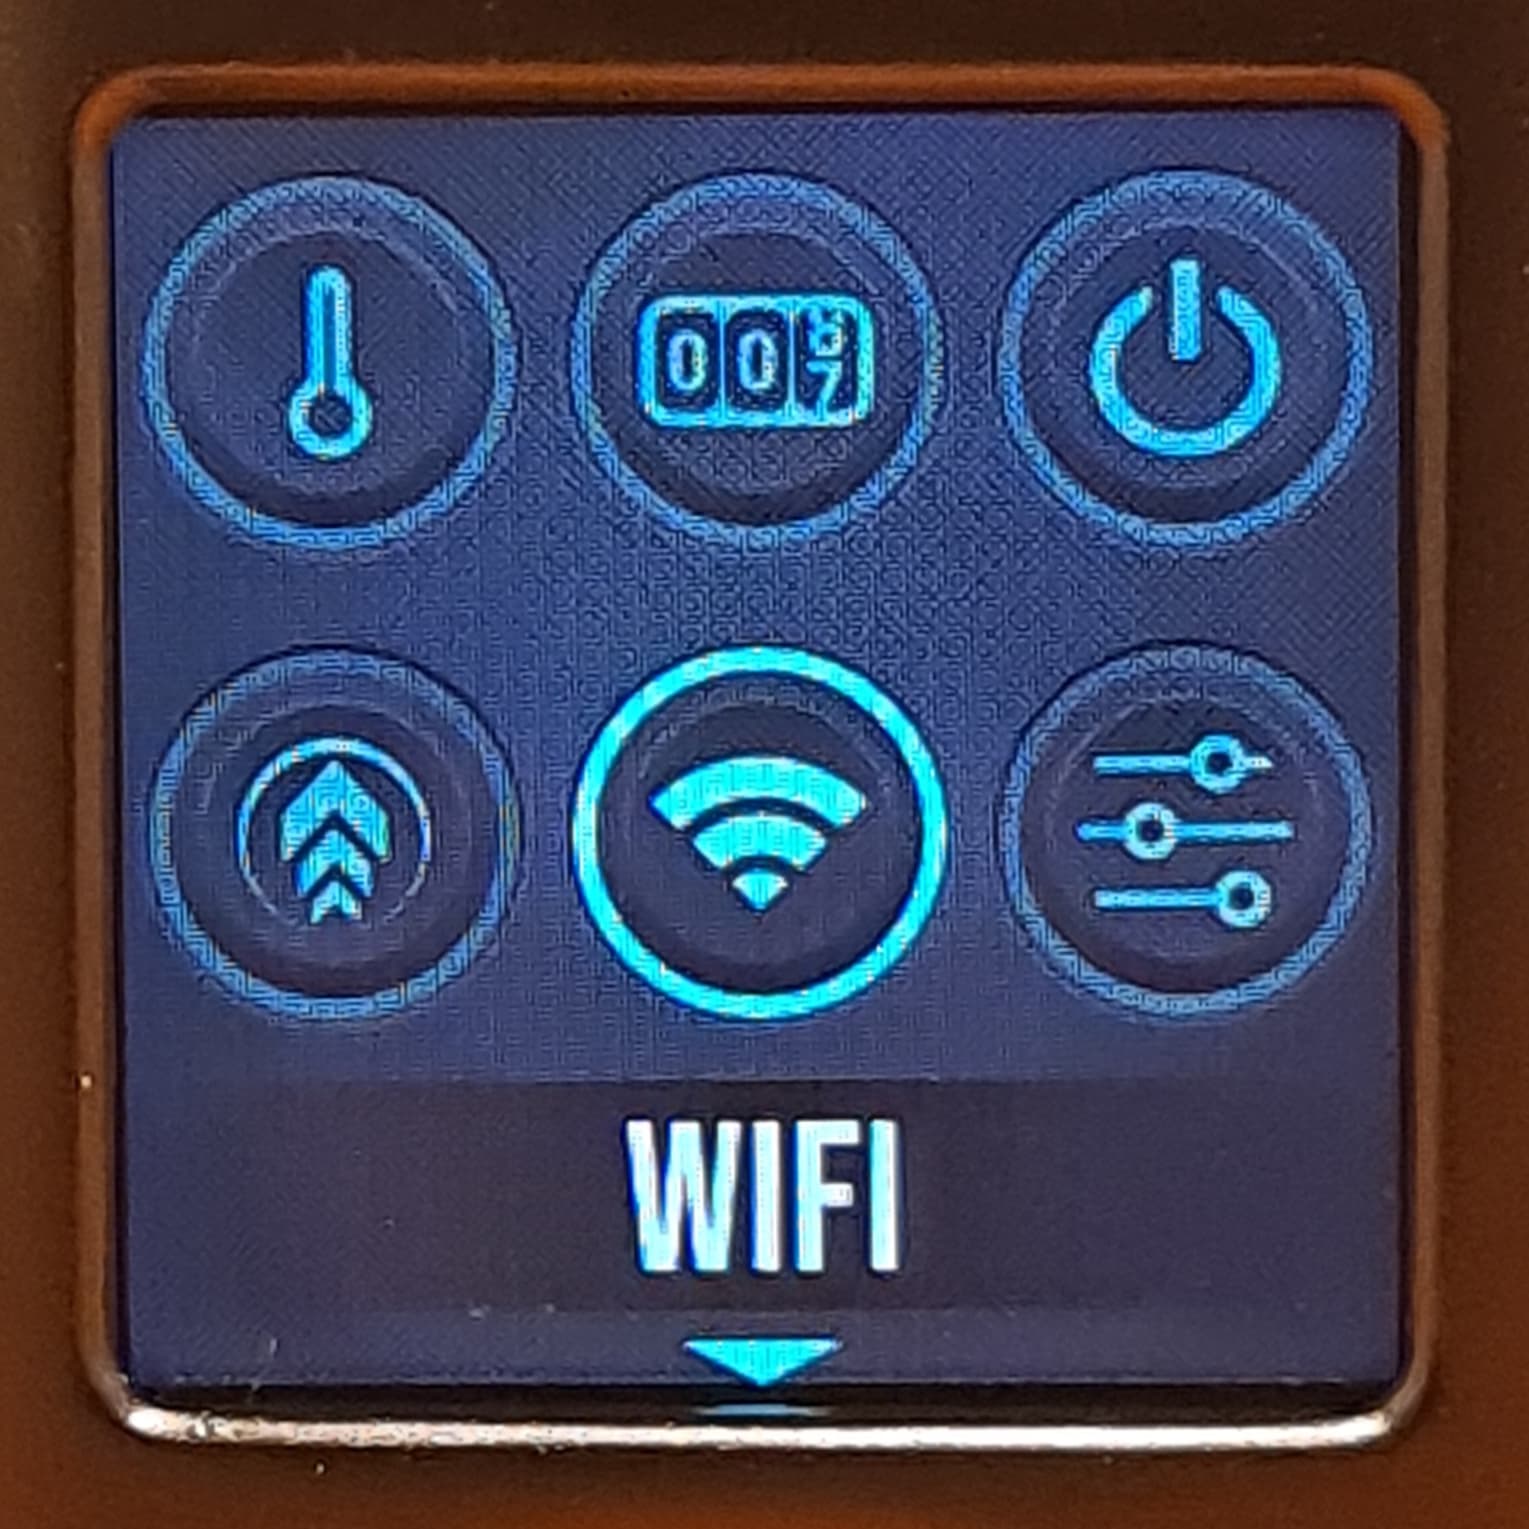
Once on the home screen, 5 rapid presses of the fire button will bring up the menu where there are a number of options. This menu is navigated using the joystick for up/down/left/right movement, pressing it in for select and pressing the fire button is always the back button in any part of the menu:
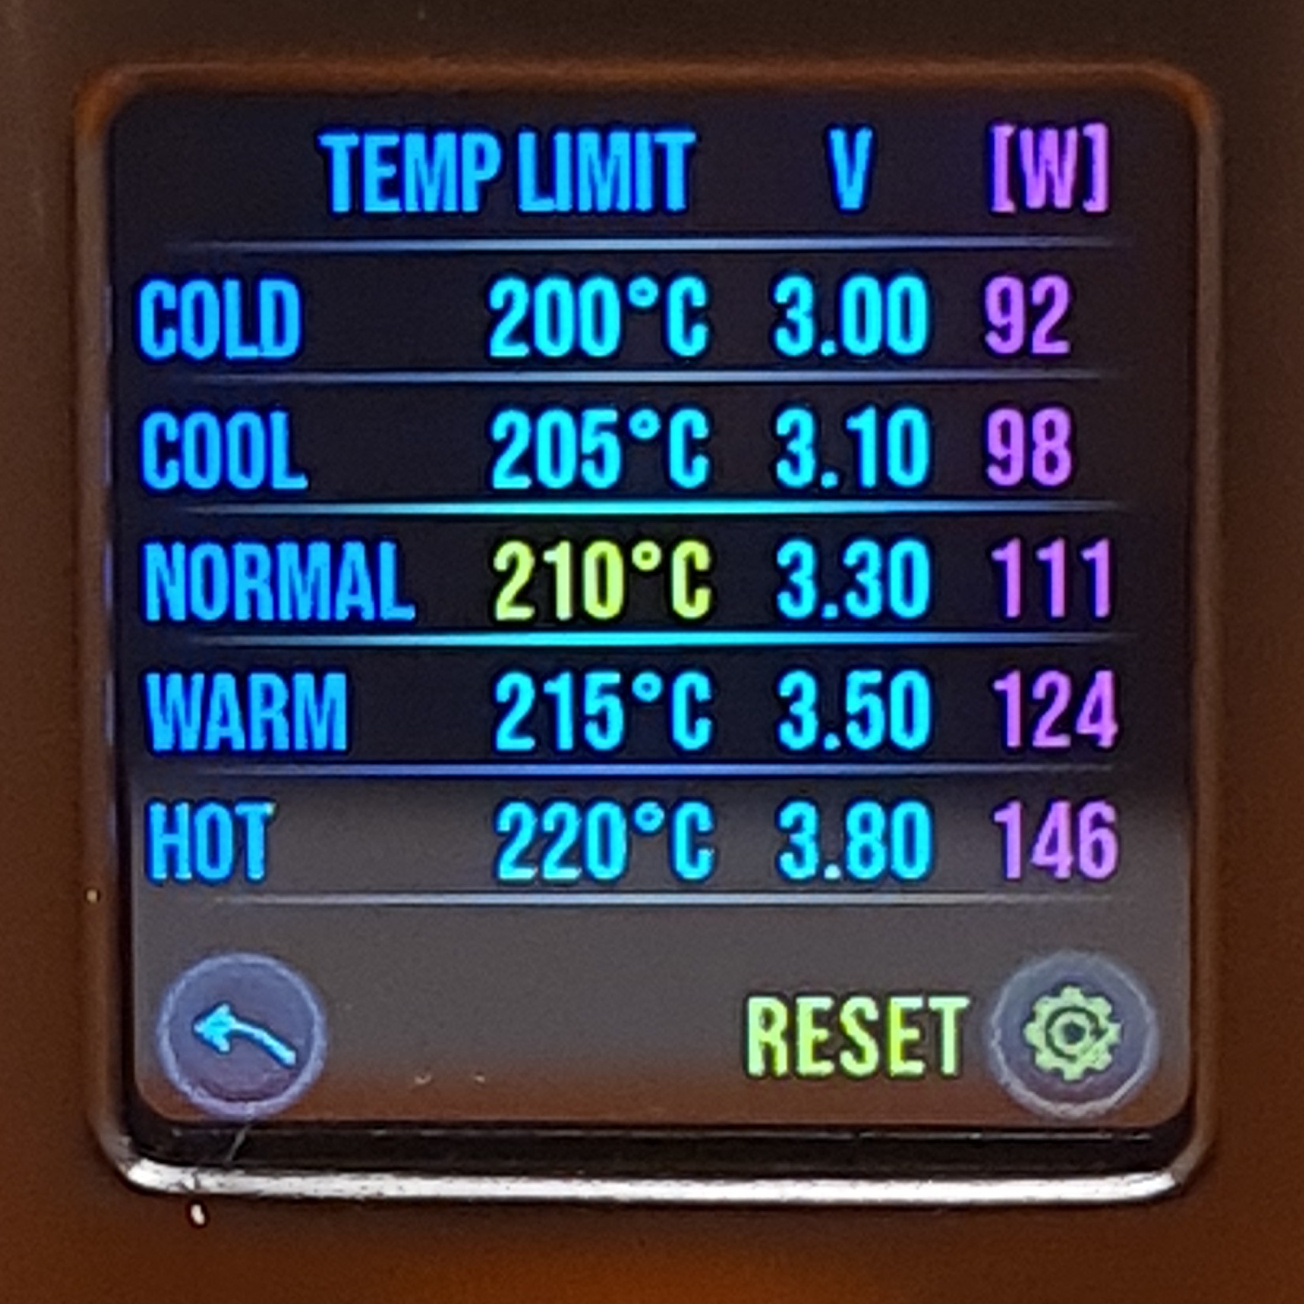
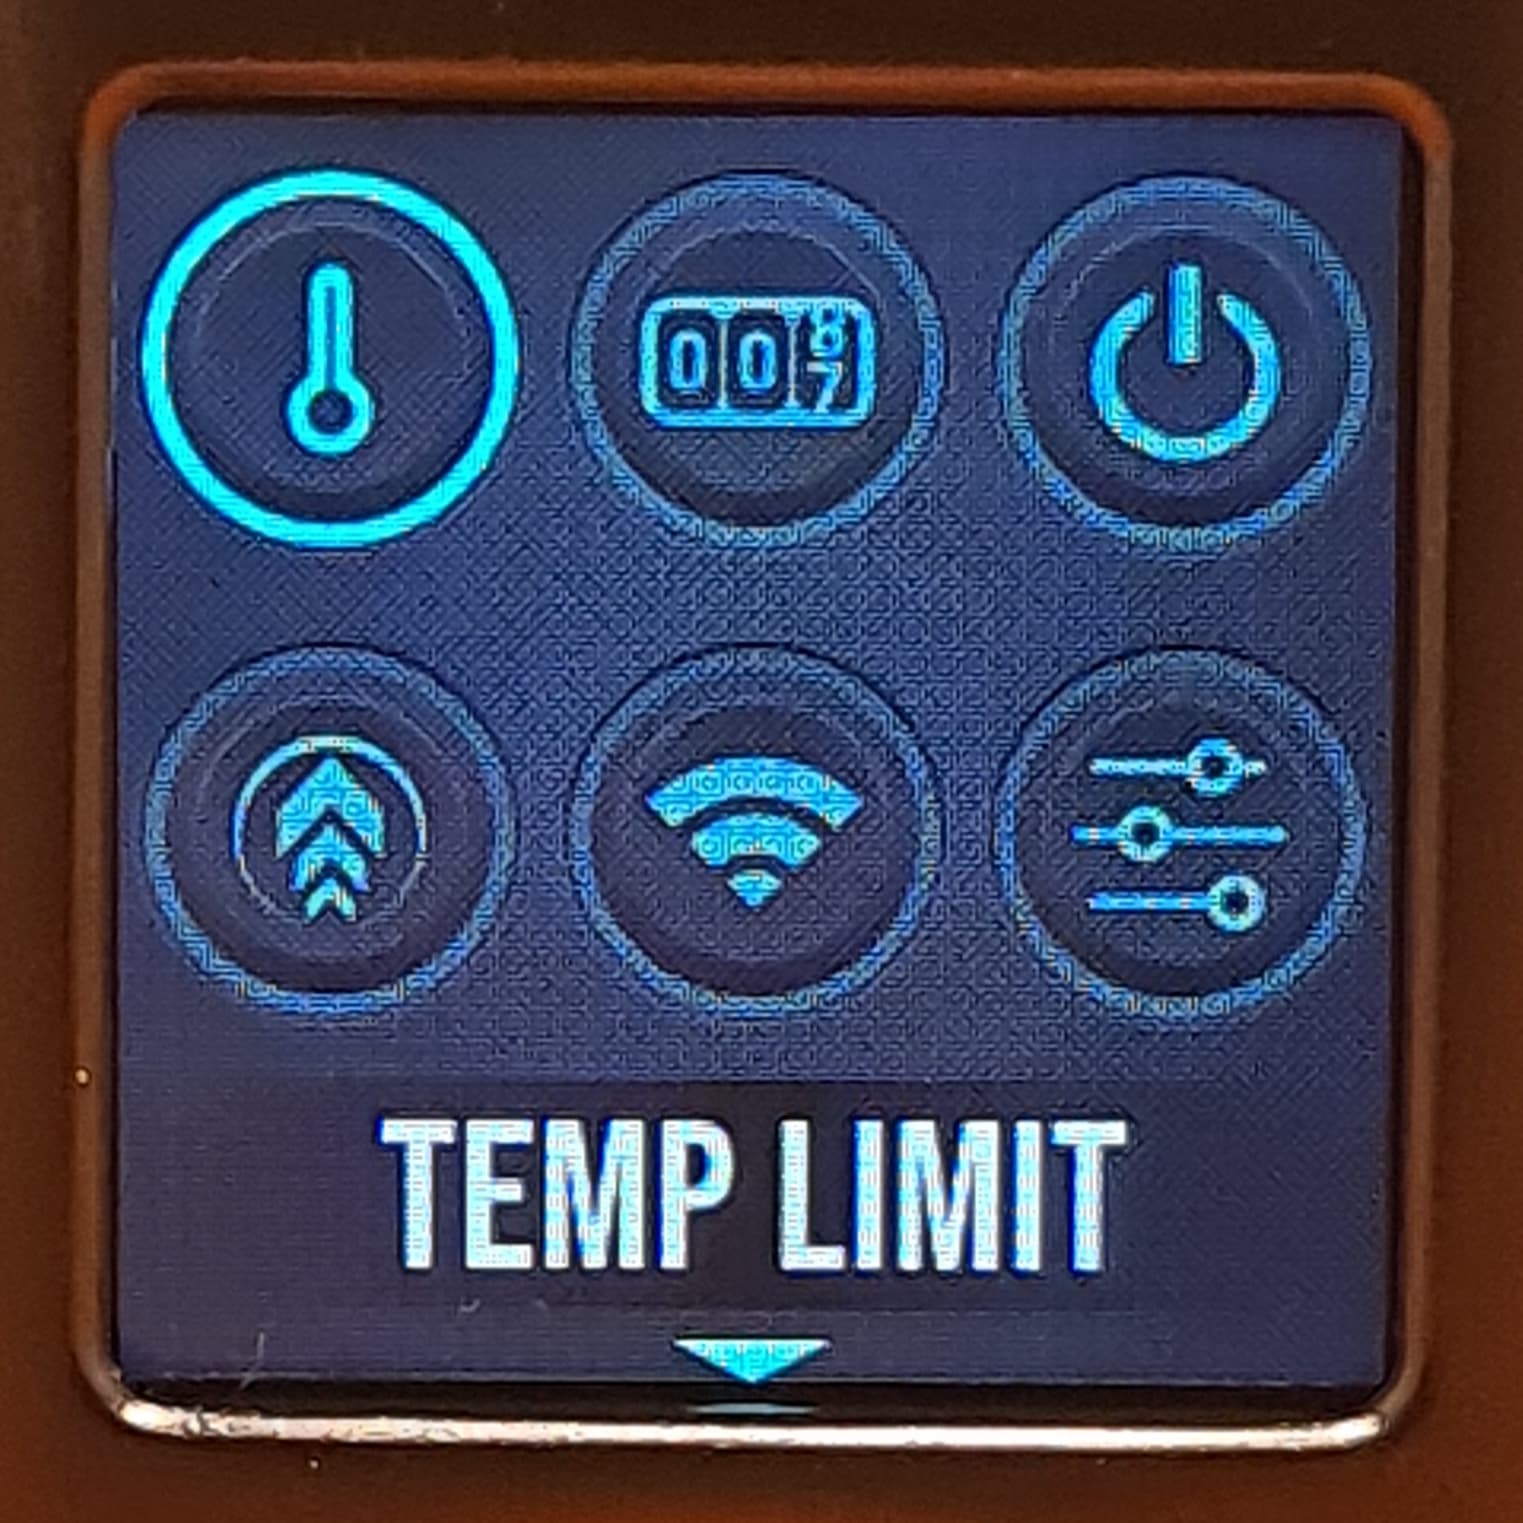
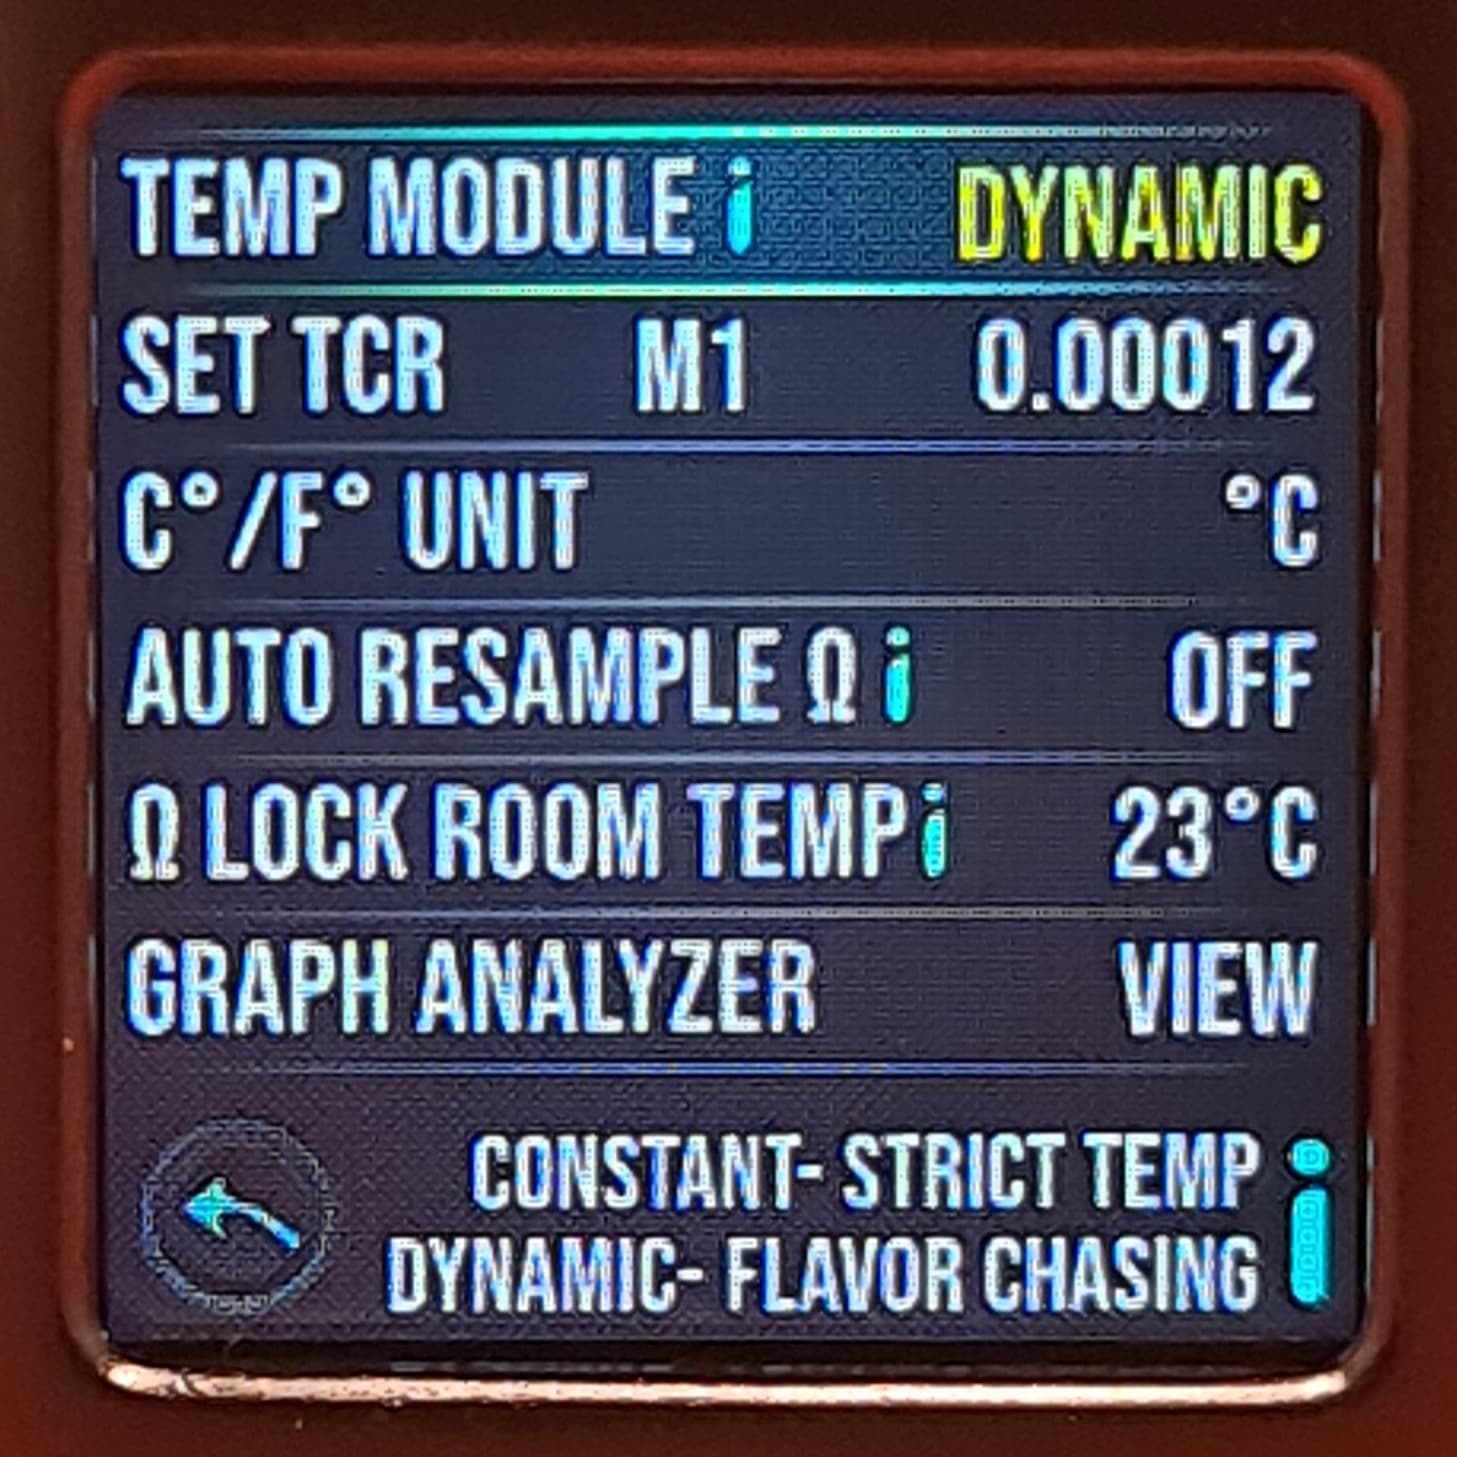
The first option is Temp Limit:
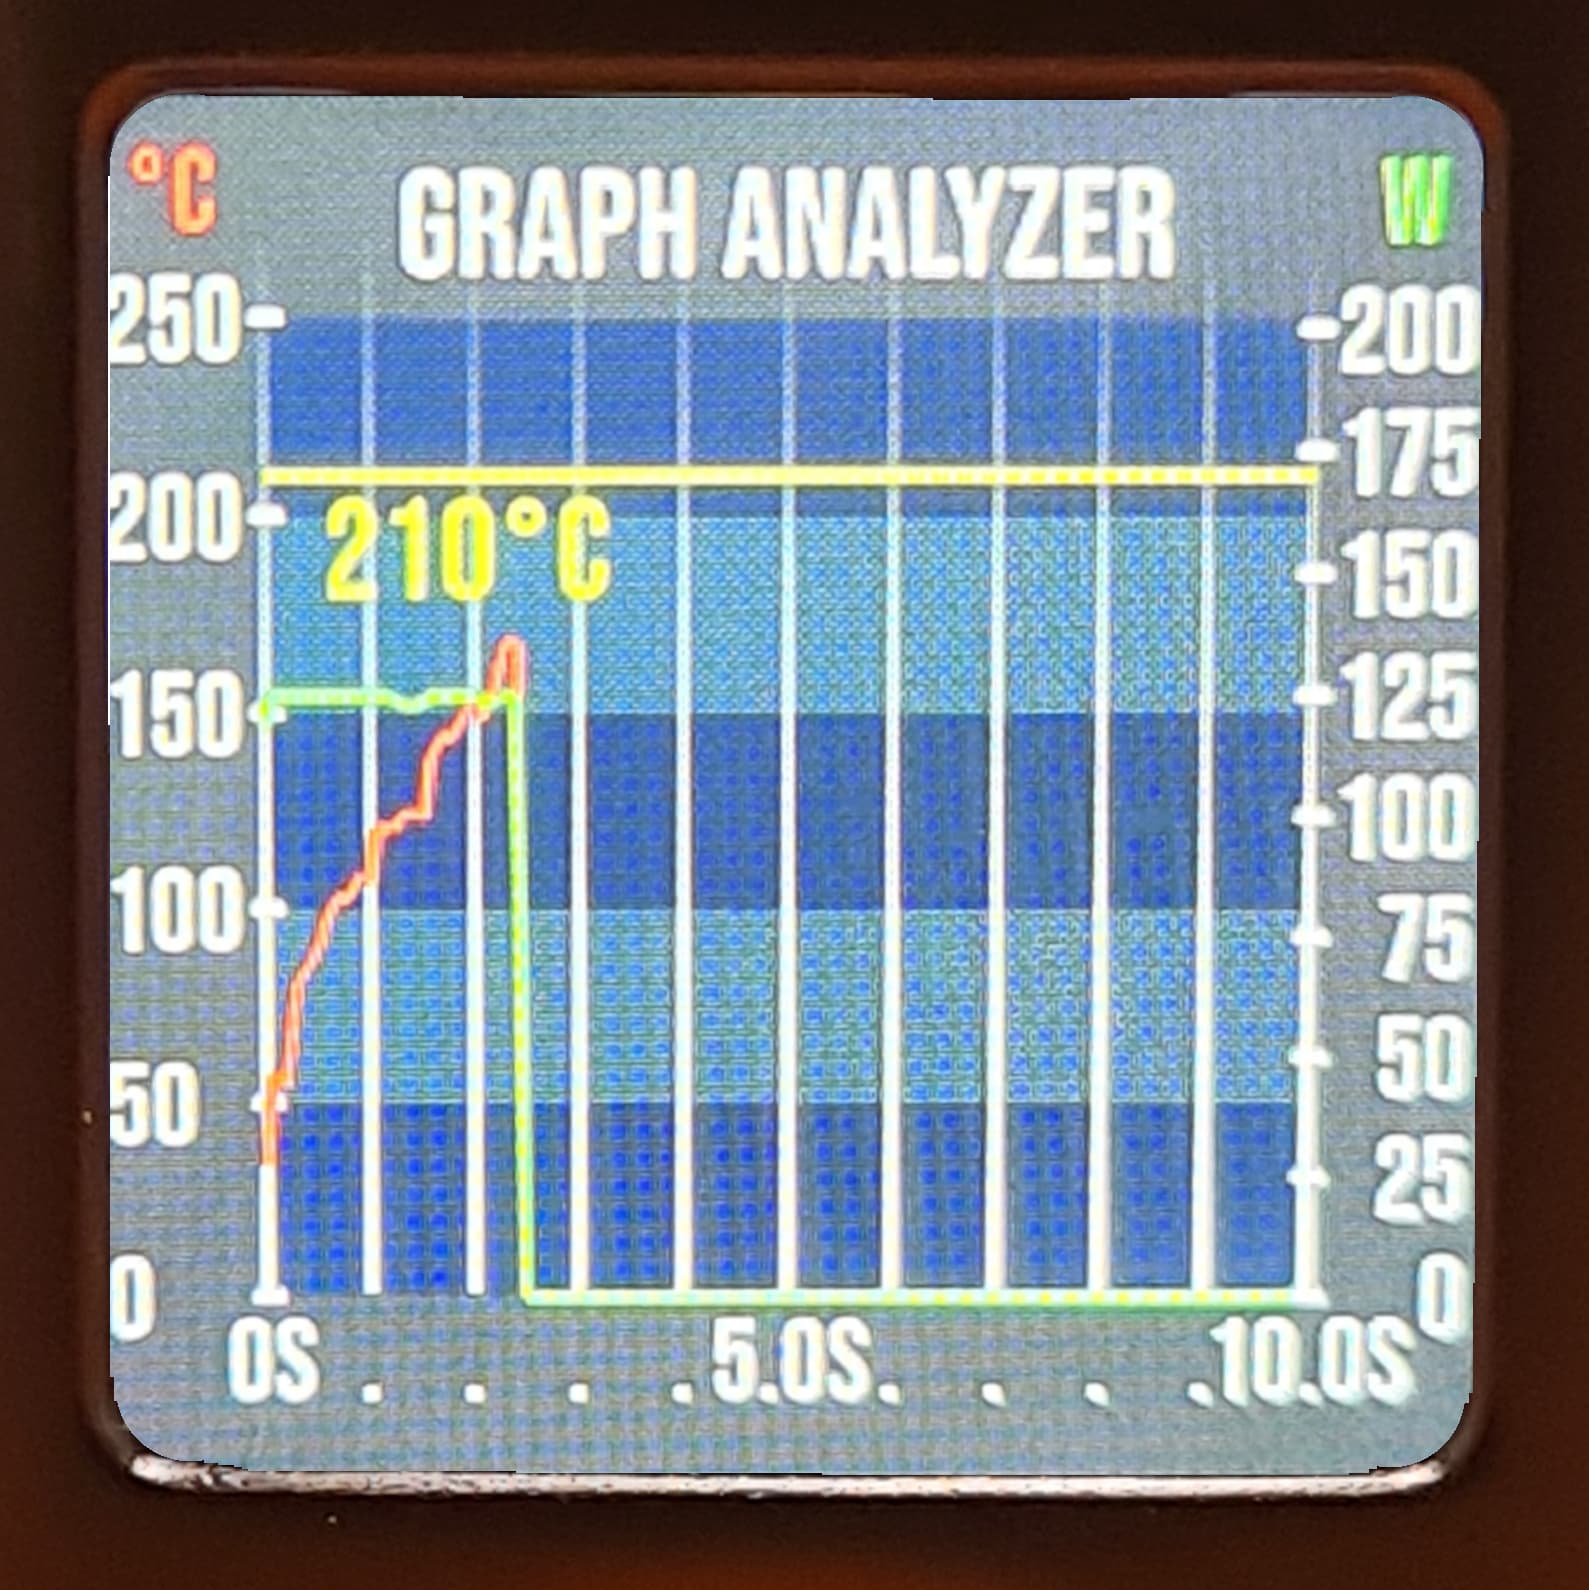
Which also has the Graph Analyser as the last option:
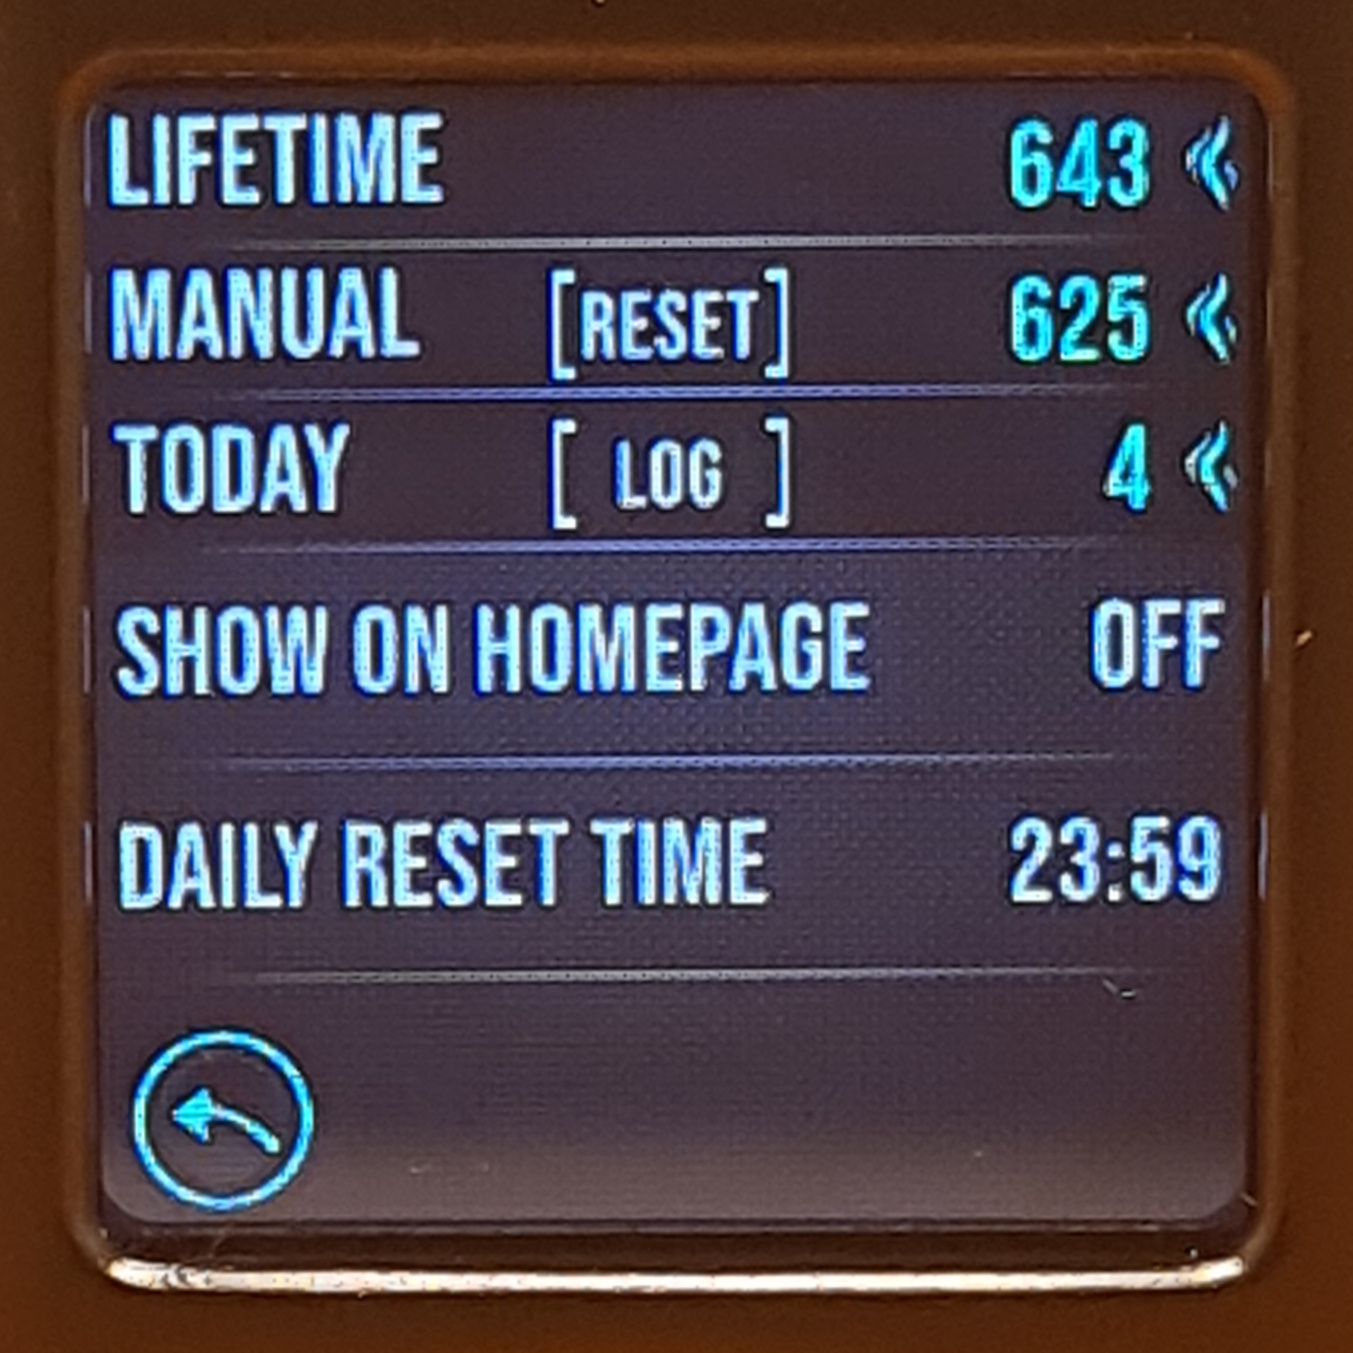
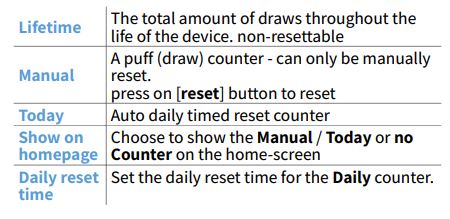
Second we have Puff Counter:

Third up is the Shutdown option, which is self explanatory:
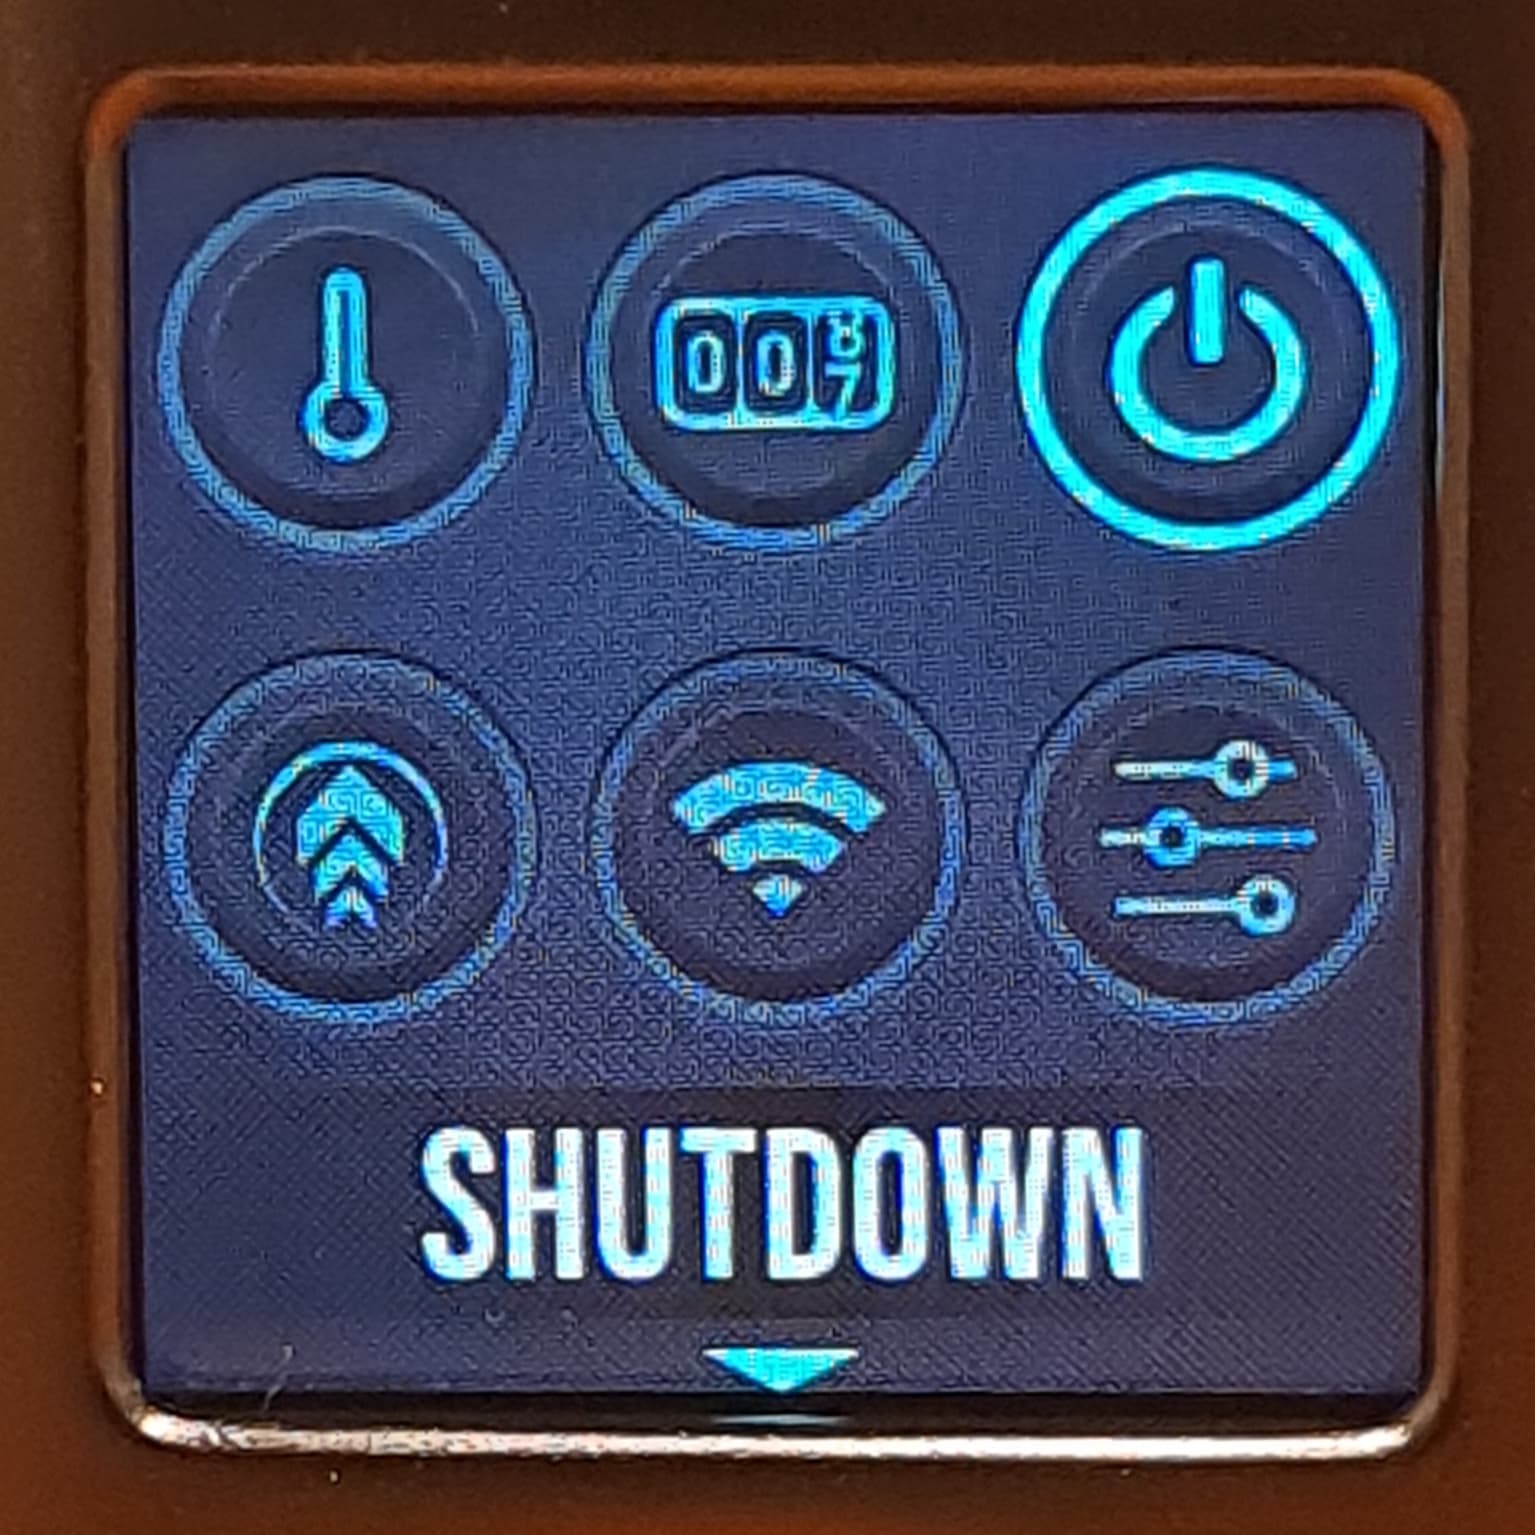
Selecting and clicking the power switch above is how the device is turned off other than pulling out the batteries:

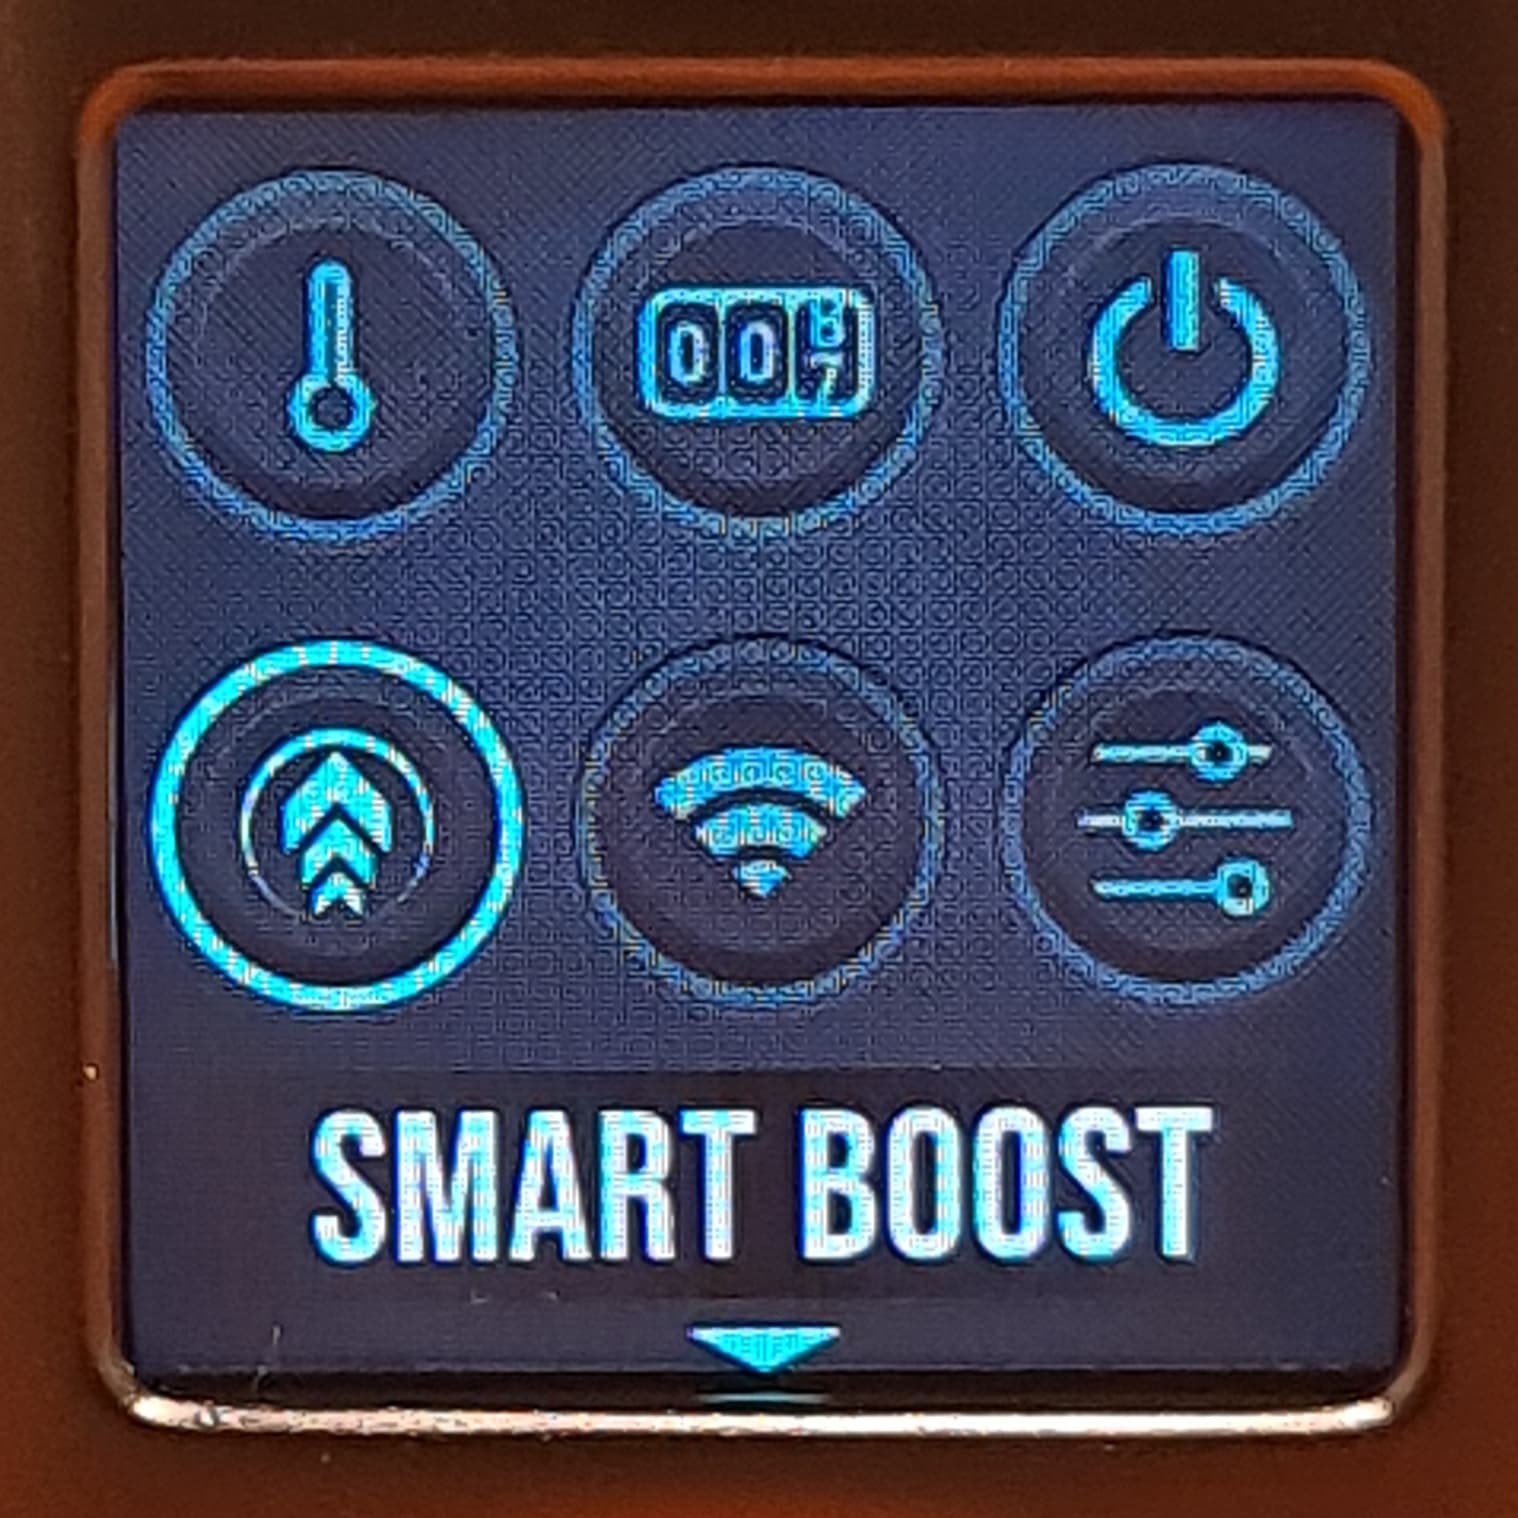
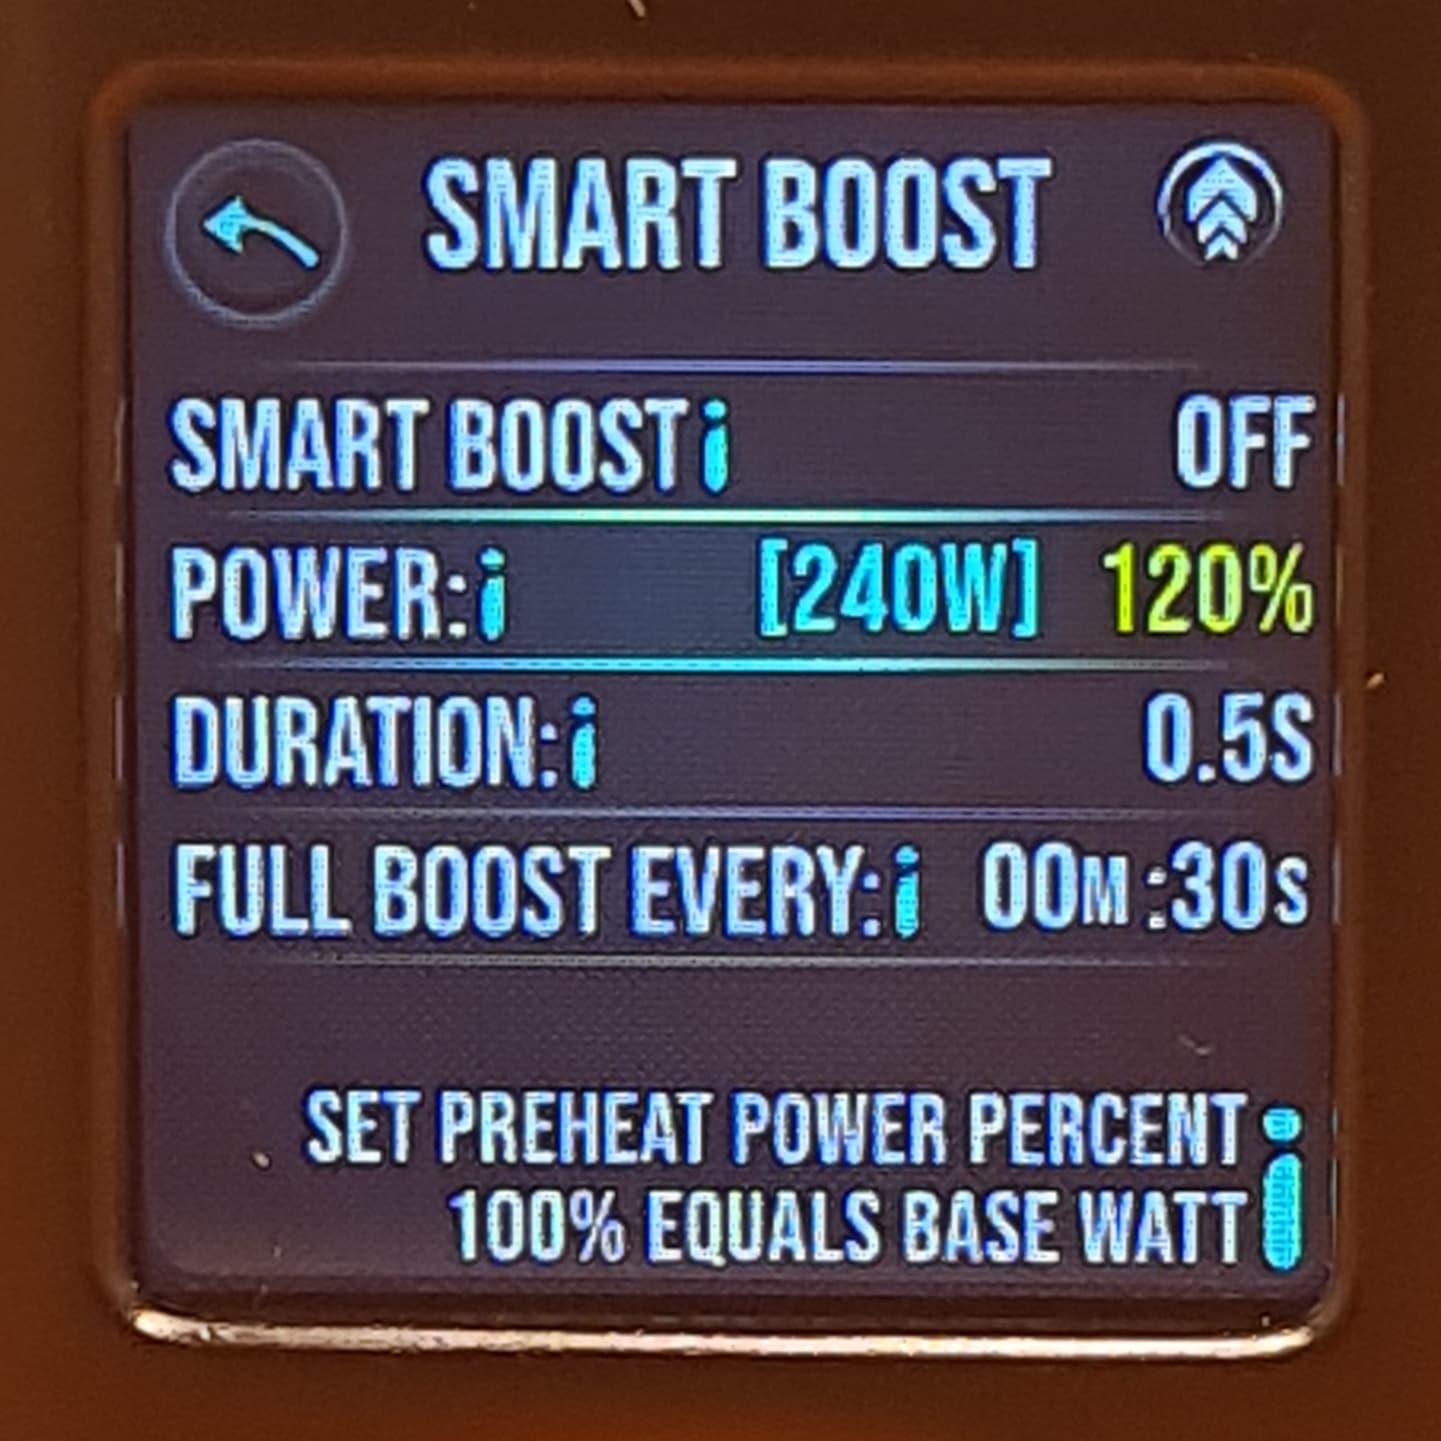
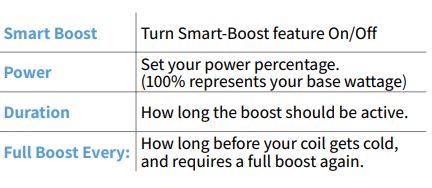
Next up we’ve got Smart boost. This is a preheat feature for a faster ramp up time with cold and/or large coils:
The 5th option is WiFi, which I’ll go into in more detail further down:
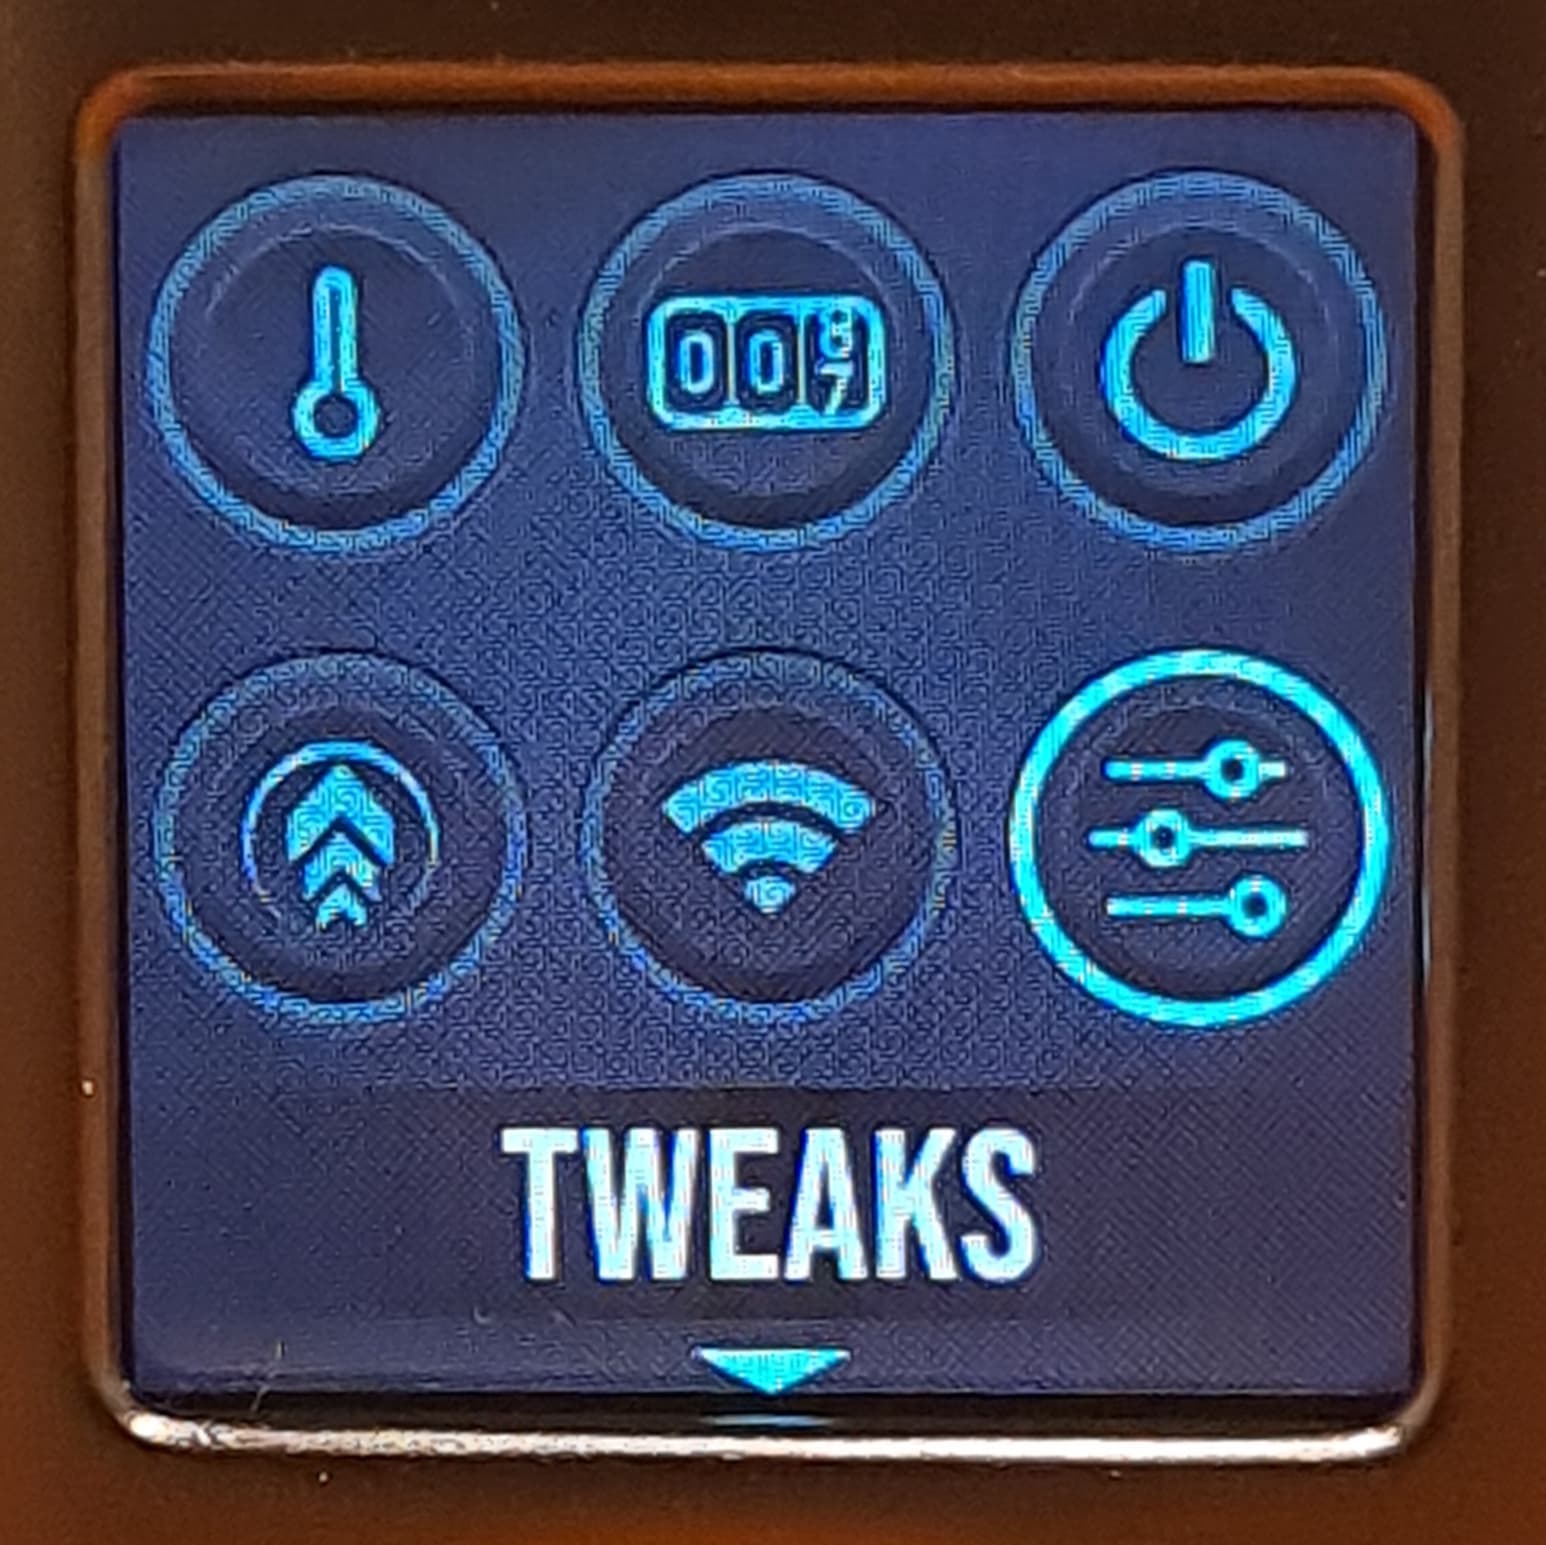
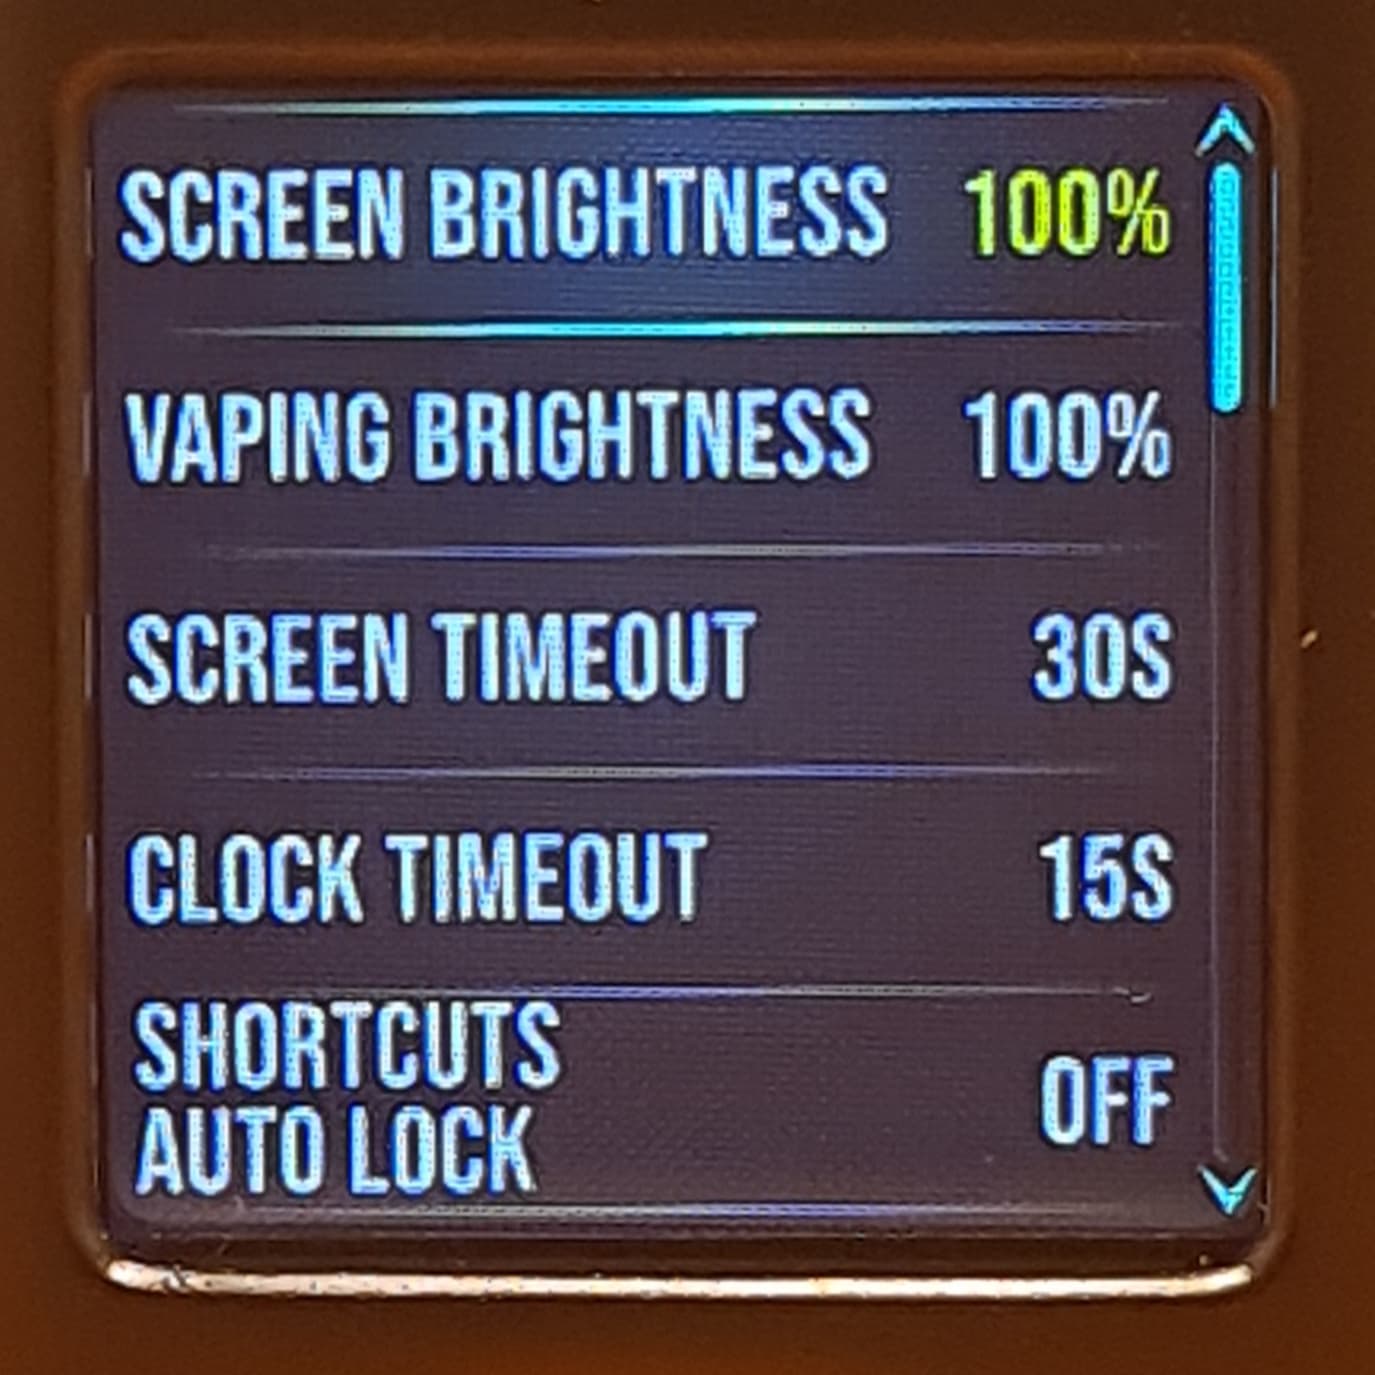
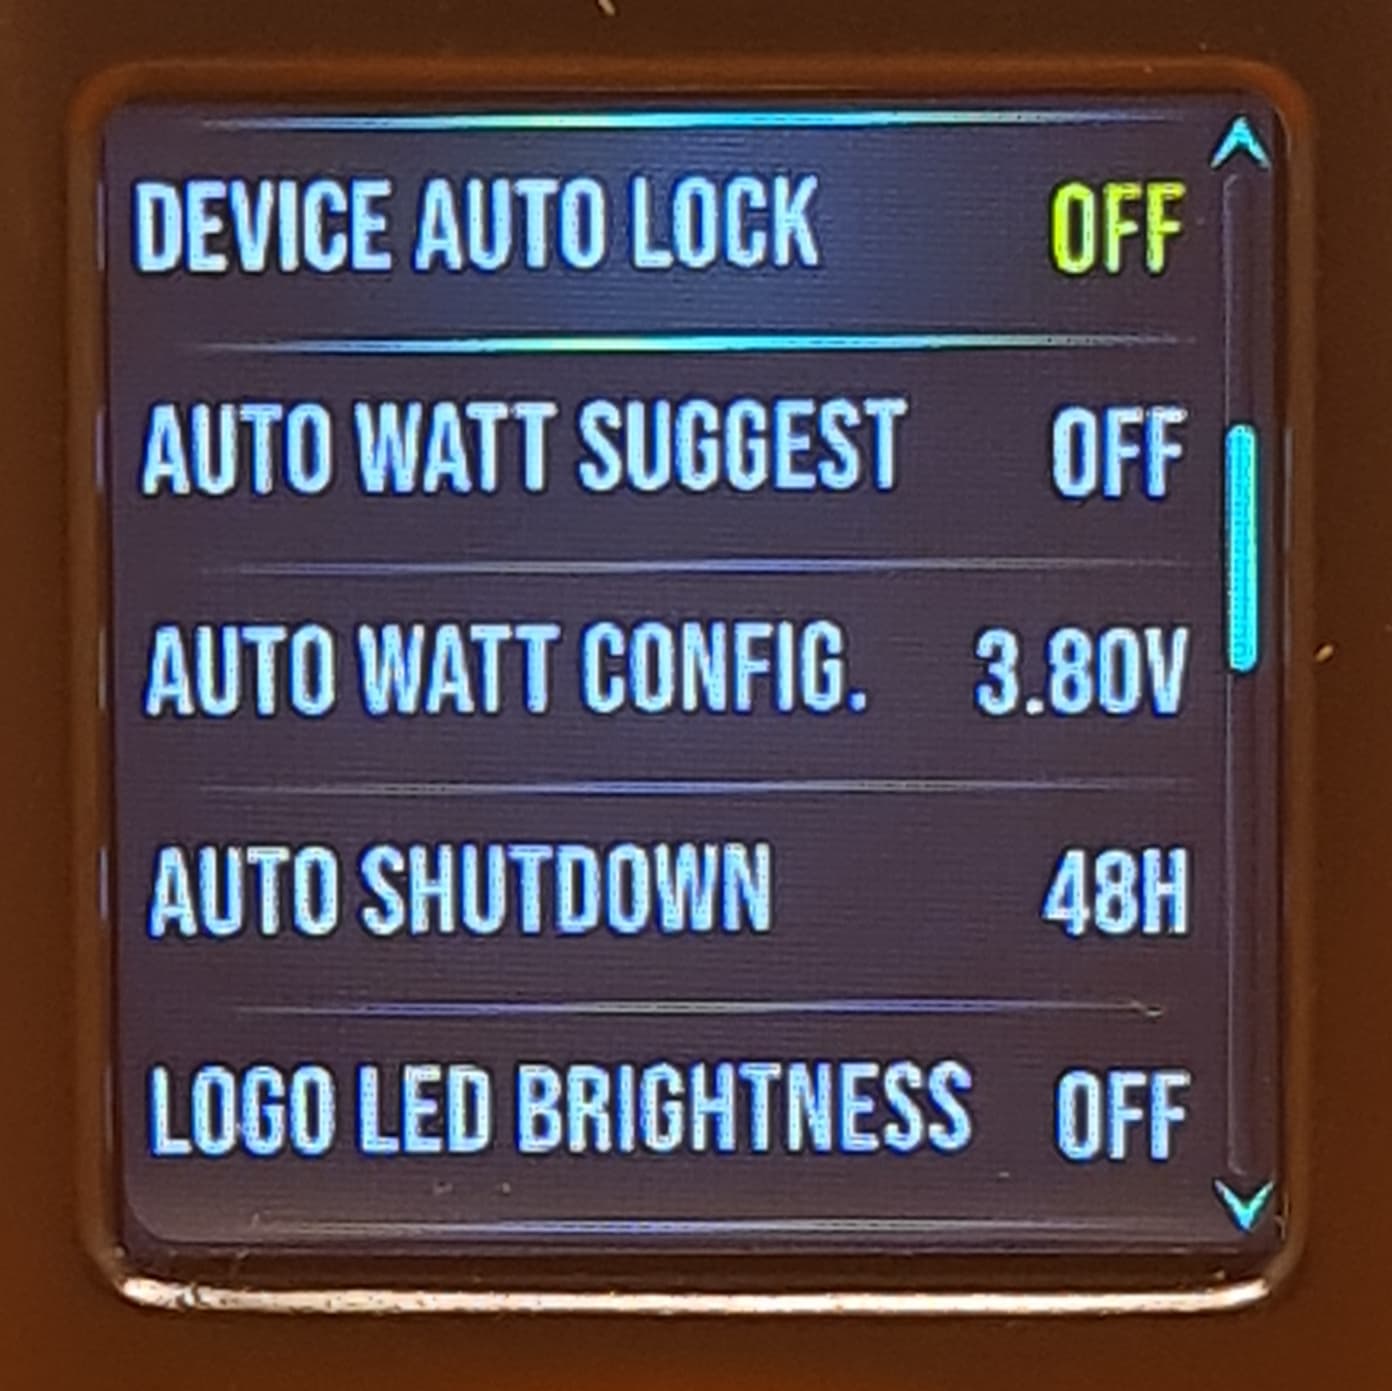
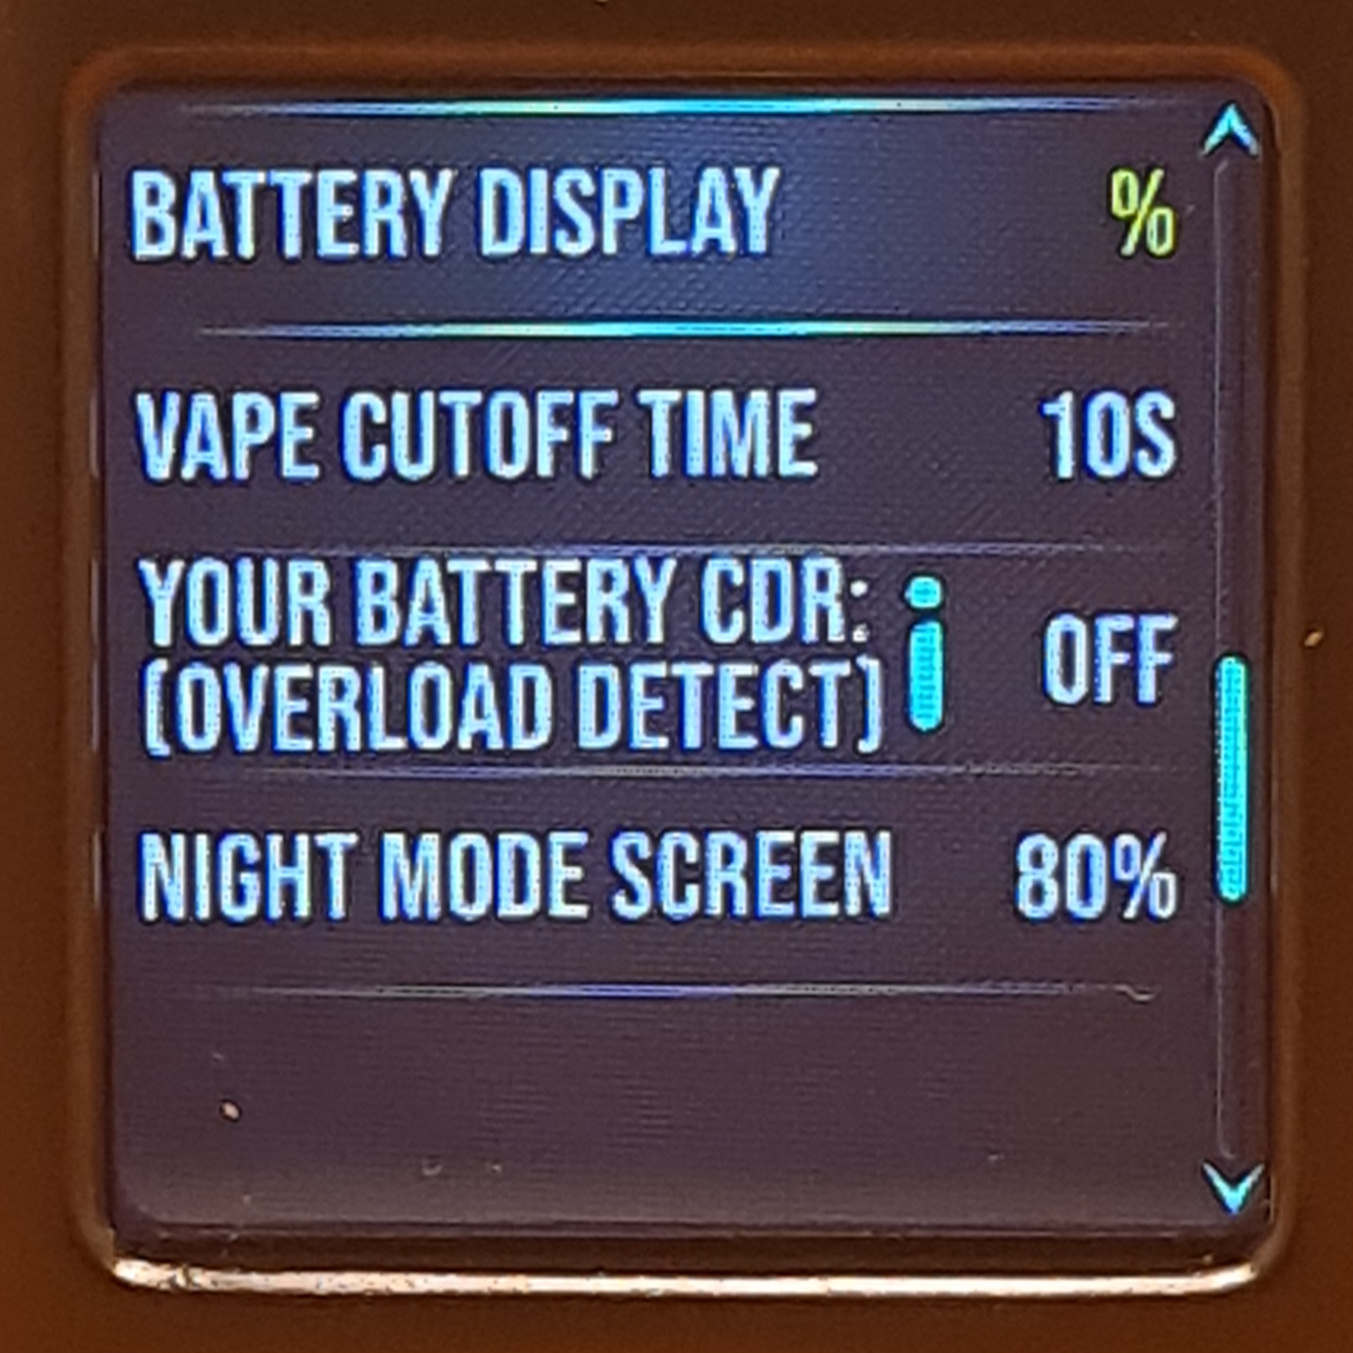
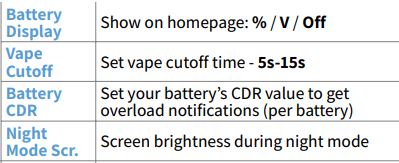
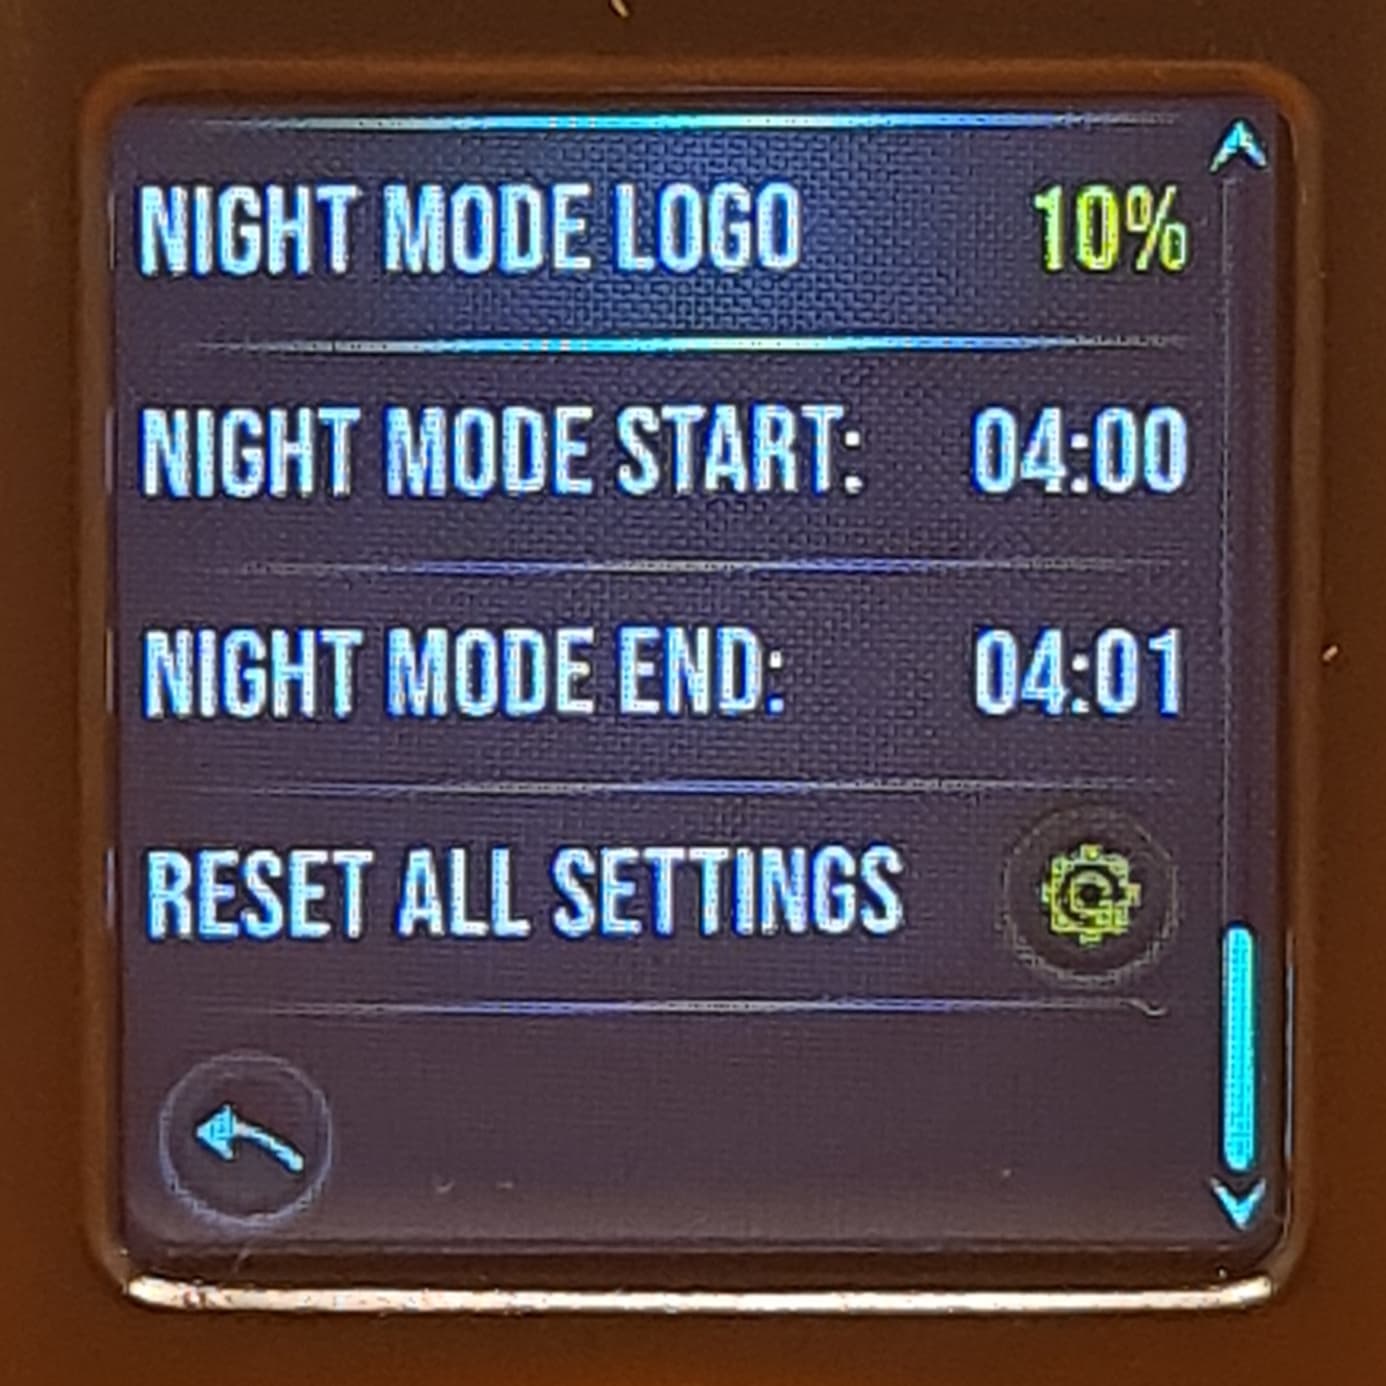
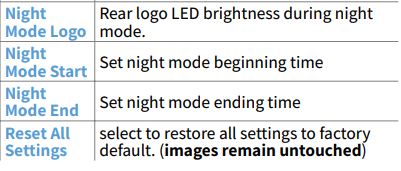
Up next is Tweaks where the majority of the settings are situated. Here there are 4 pages of settings:
Page 1
Page 2
Page 3
Page 4
The next option is Themes. Pressing this option will bring up the current theme and allow you to scroll down through the 3 available themes. These can be changed via the SX Panel as explained later… Also the backgrounds of the themes can be customised the same way, also explained later. Clicking to the right shows the screen seen here in the last pic which shows the shortcuts which can be used on the home screen. These can also be disabled by pressing in on the joystick 3 times in rapid succession:

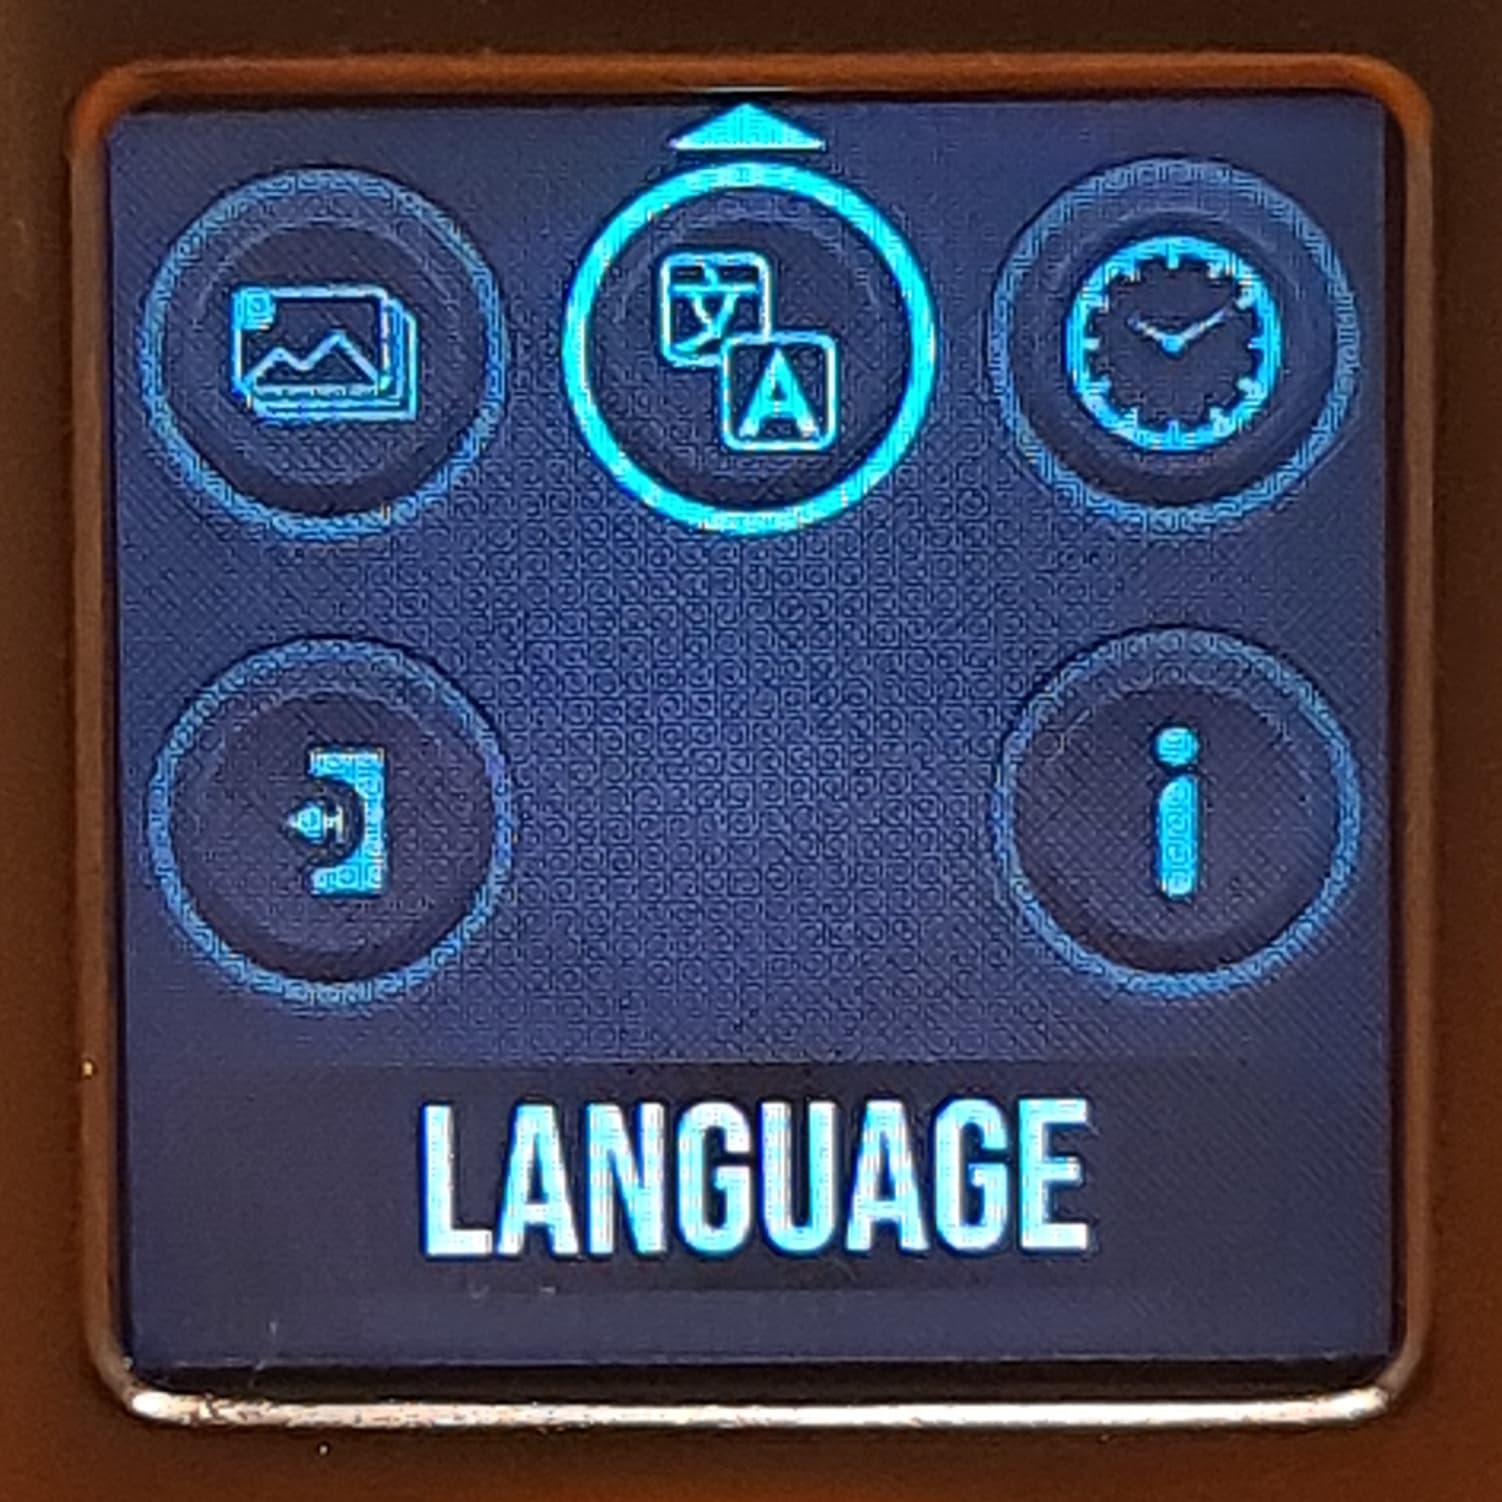
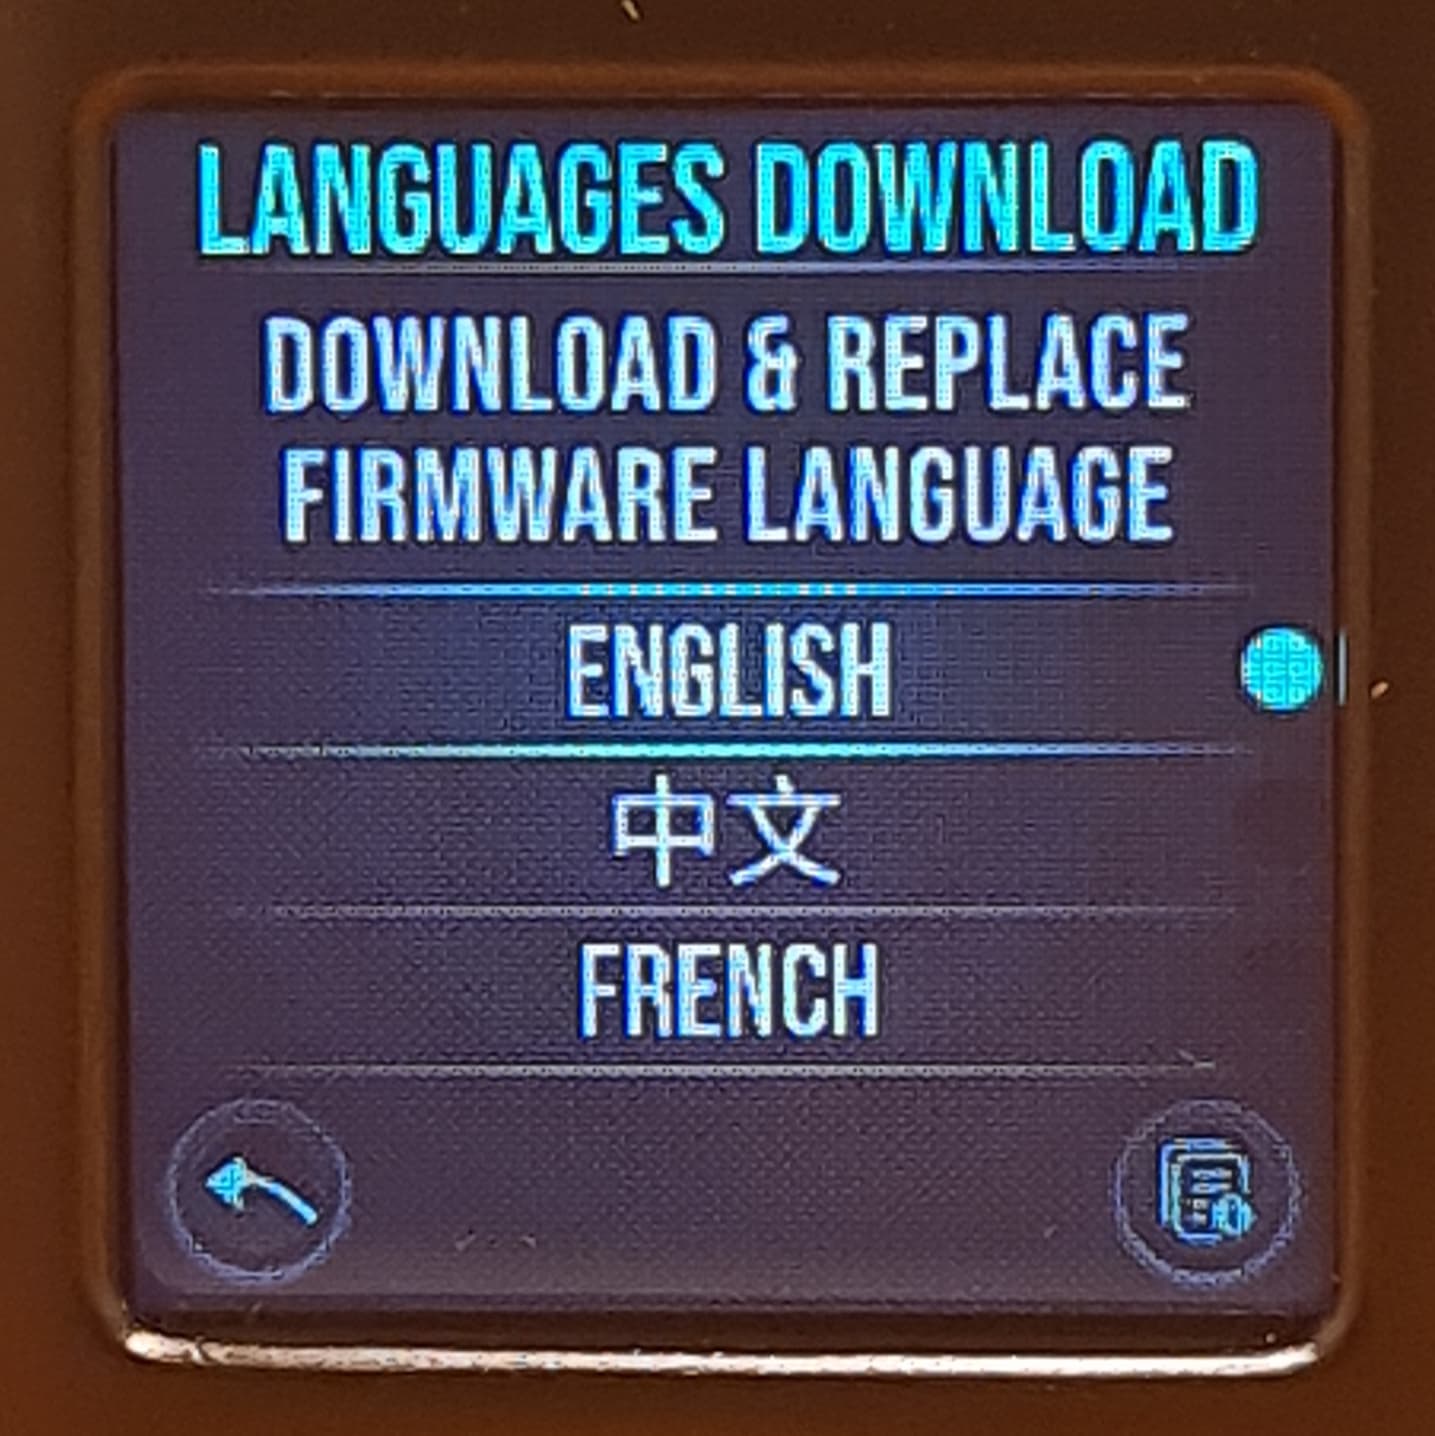
Next up are the Language settings. Changing the language requires wifi to already be configured so the mod can download the required language pack:
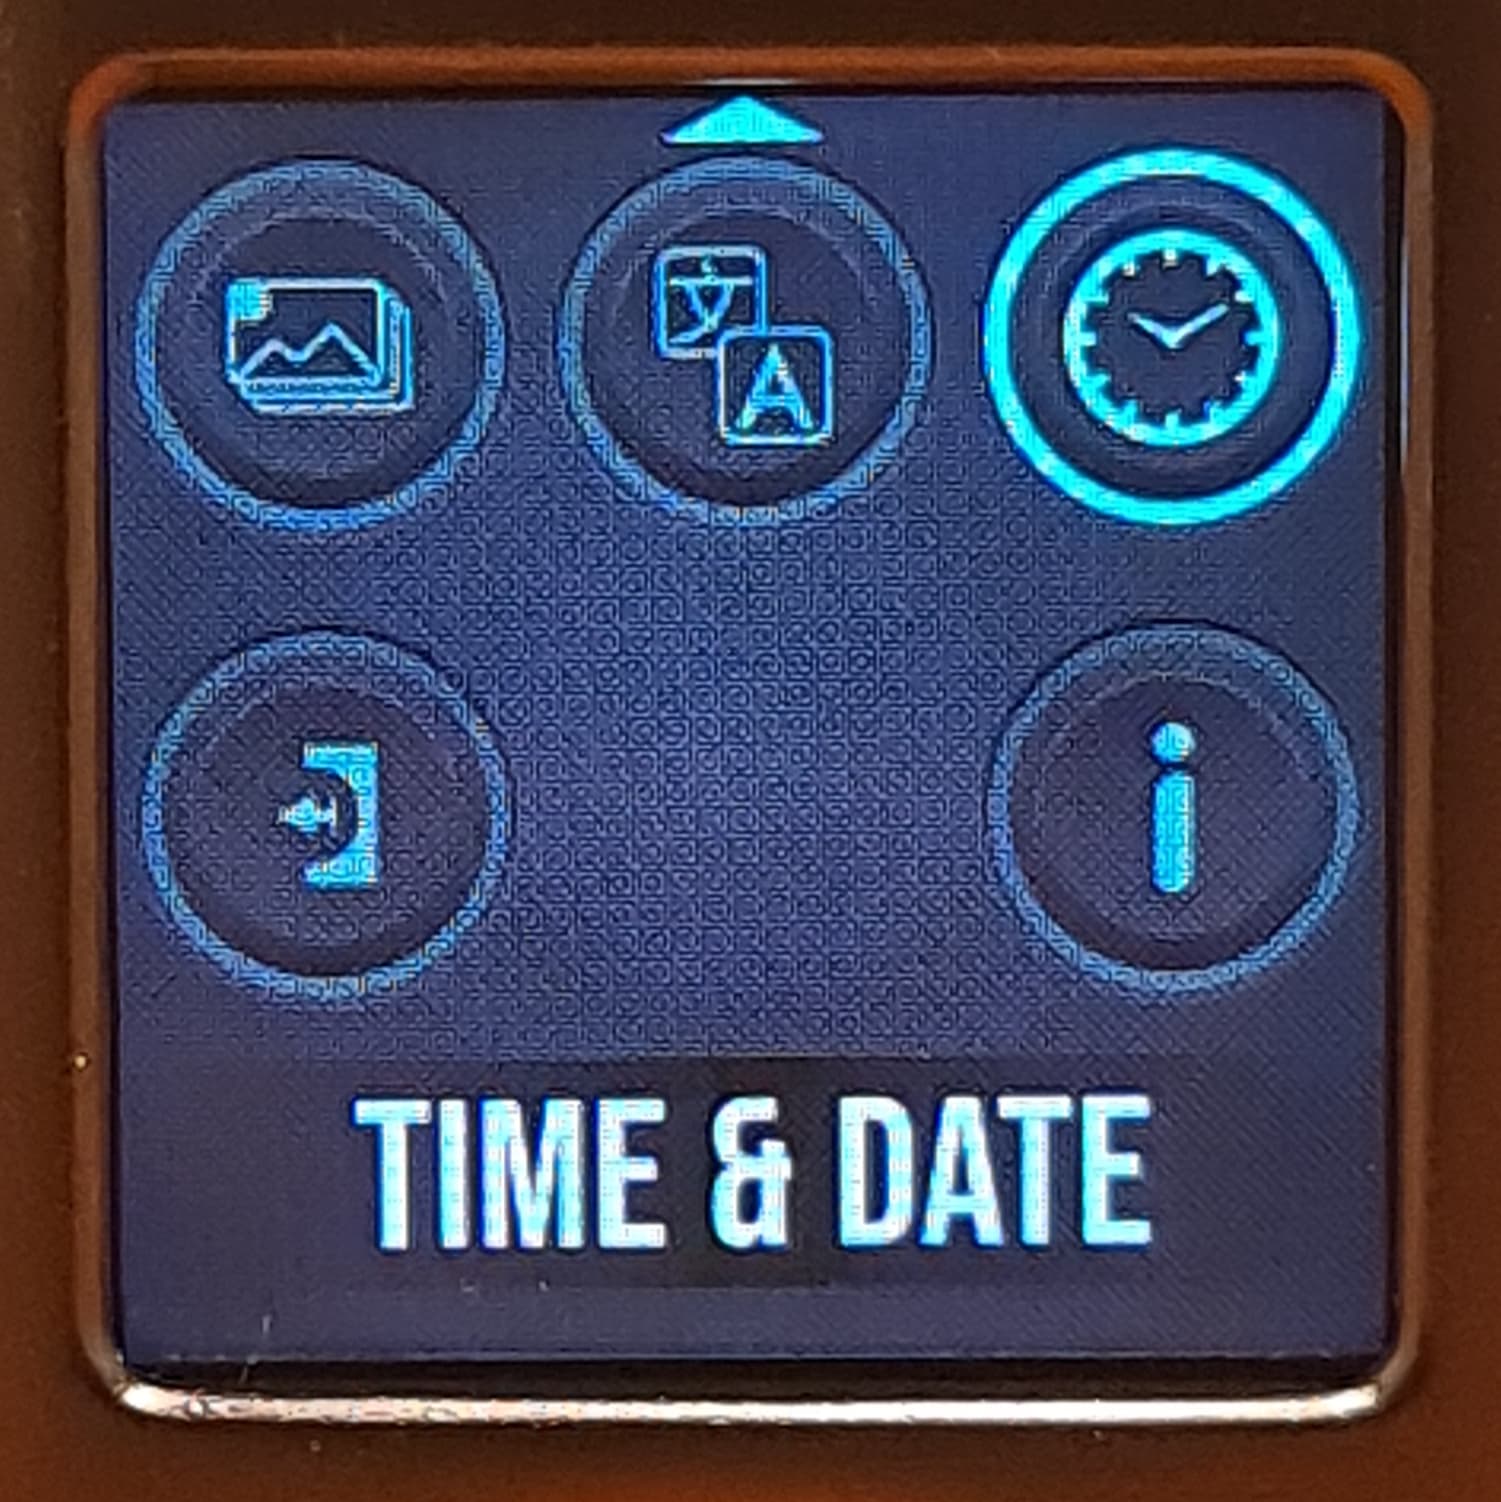
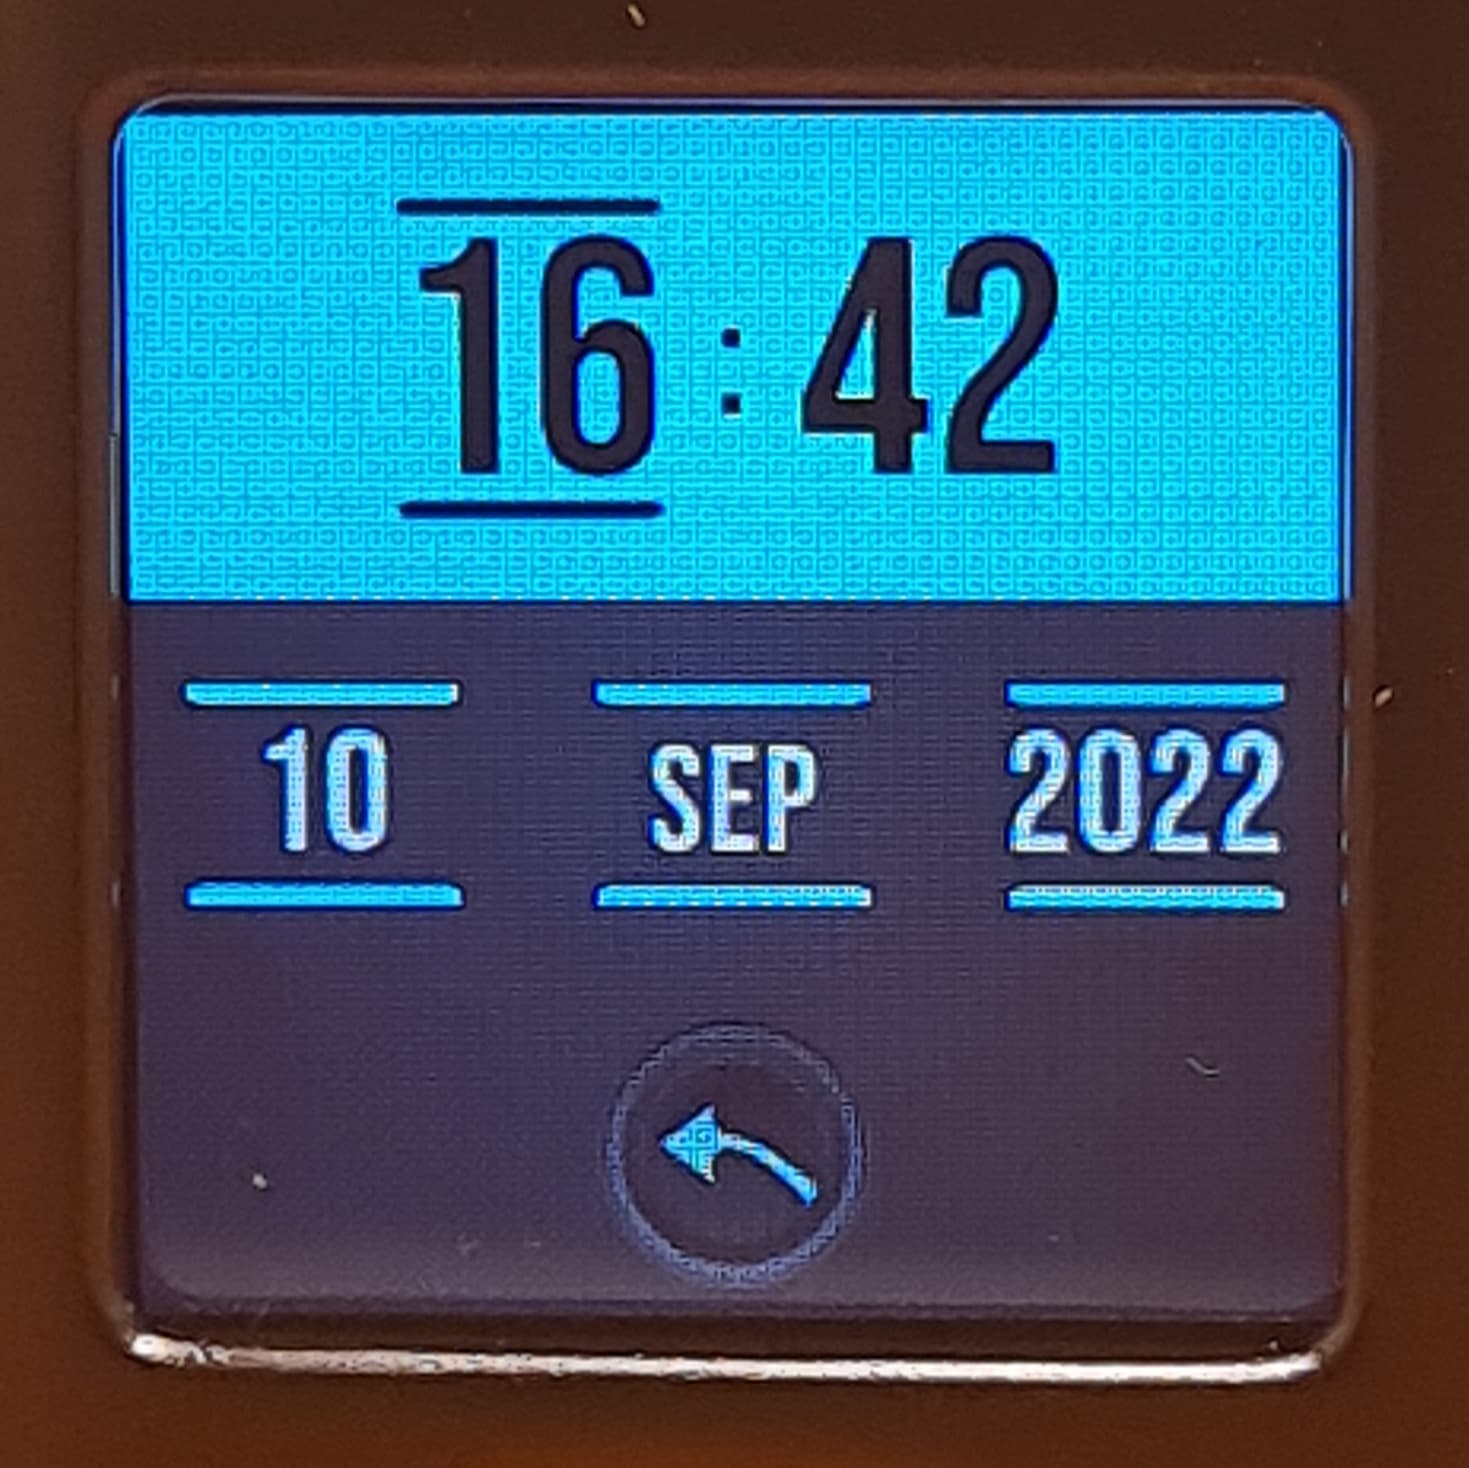
Time and Date settings are next in the menu. Setting these is simple enough using the joystick:
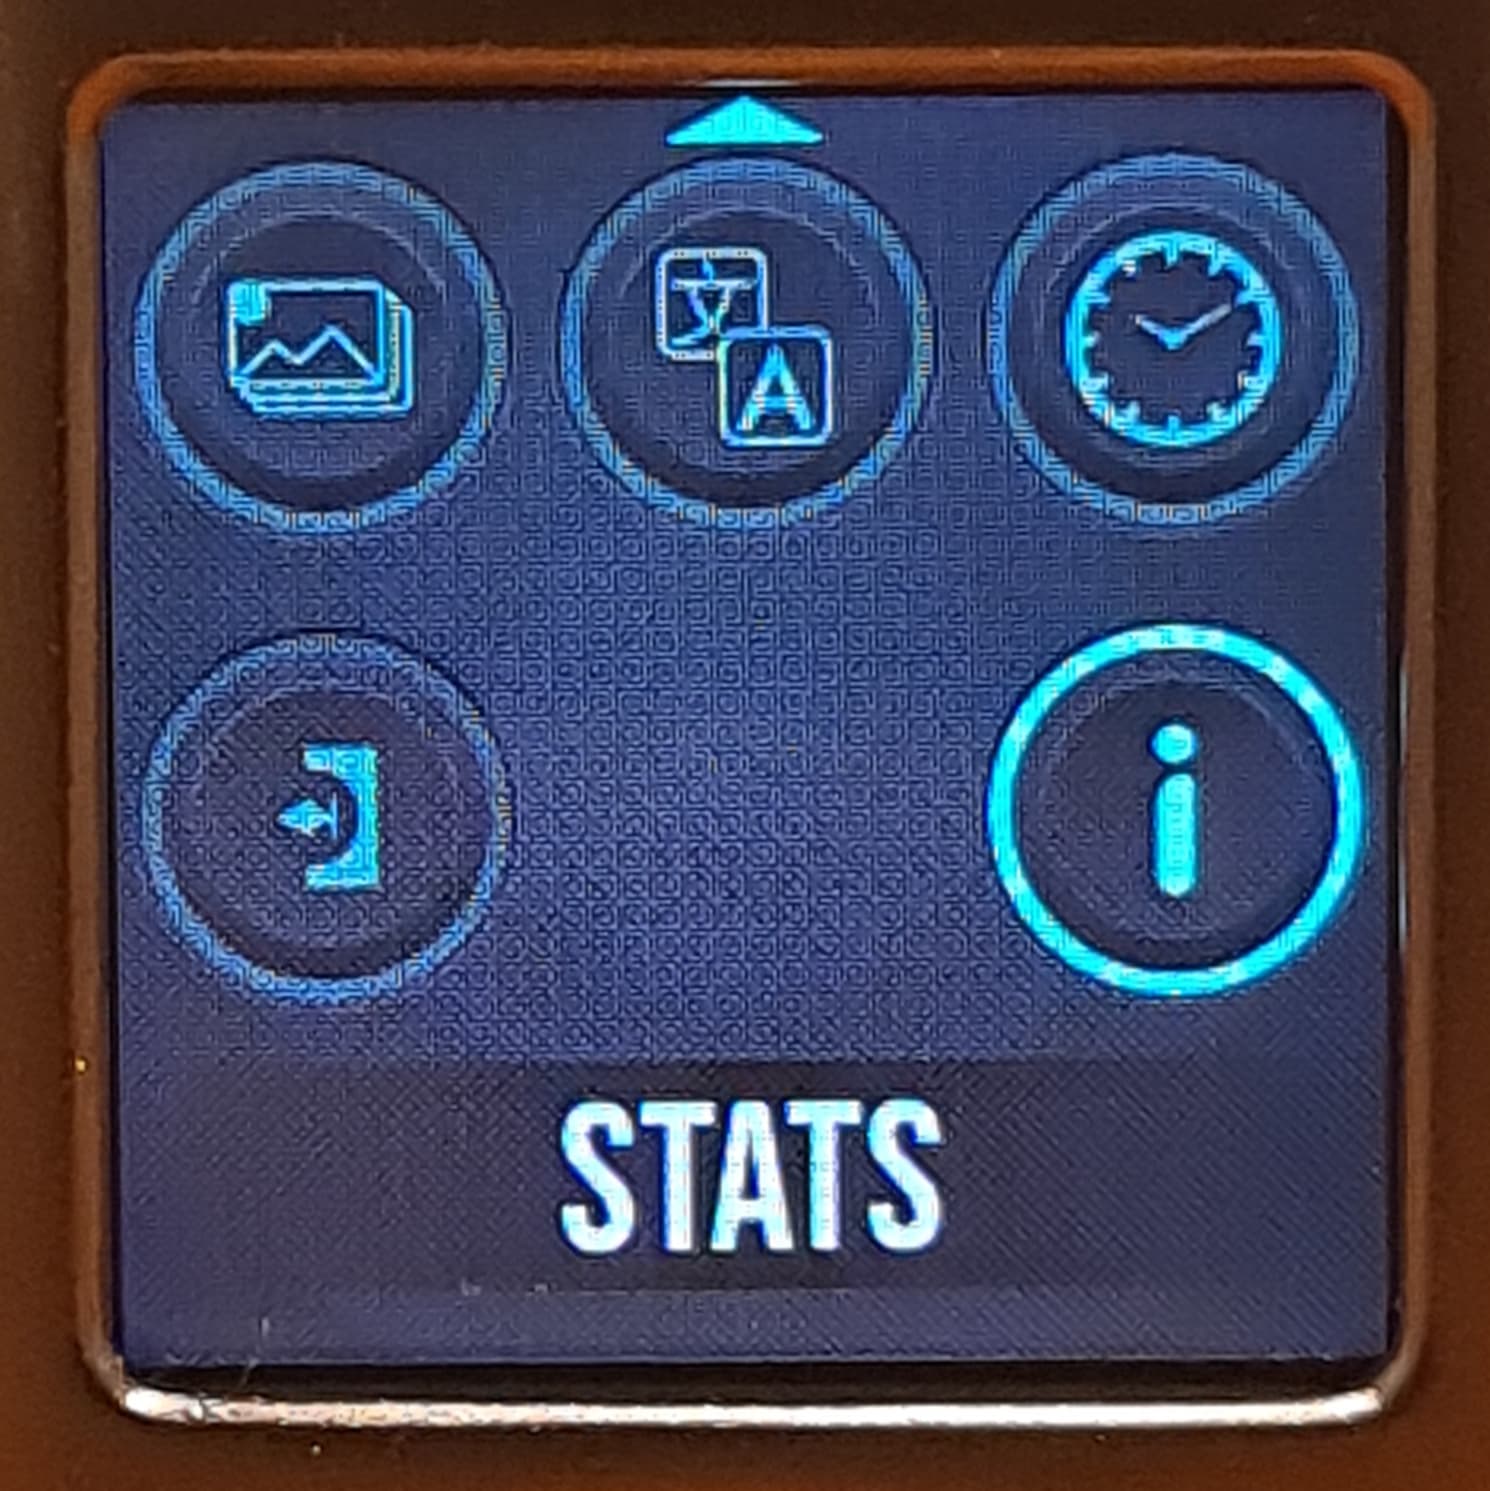
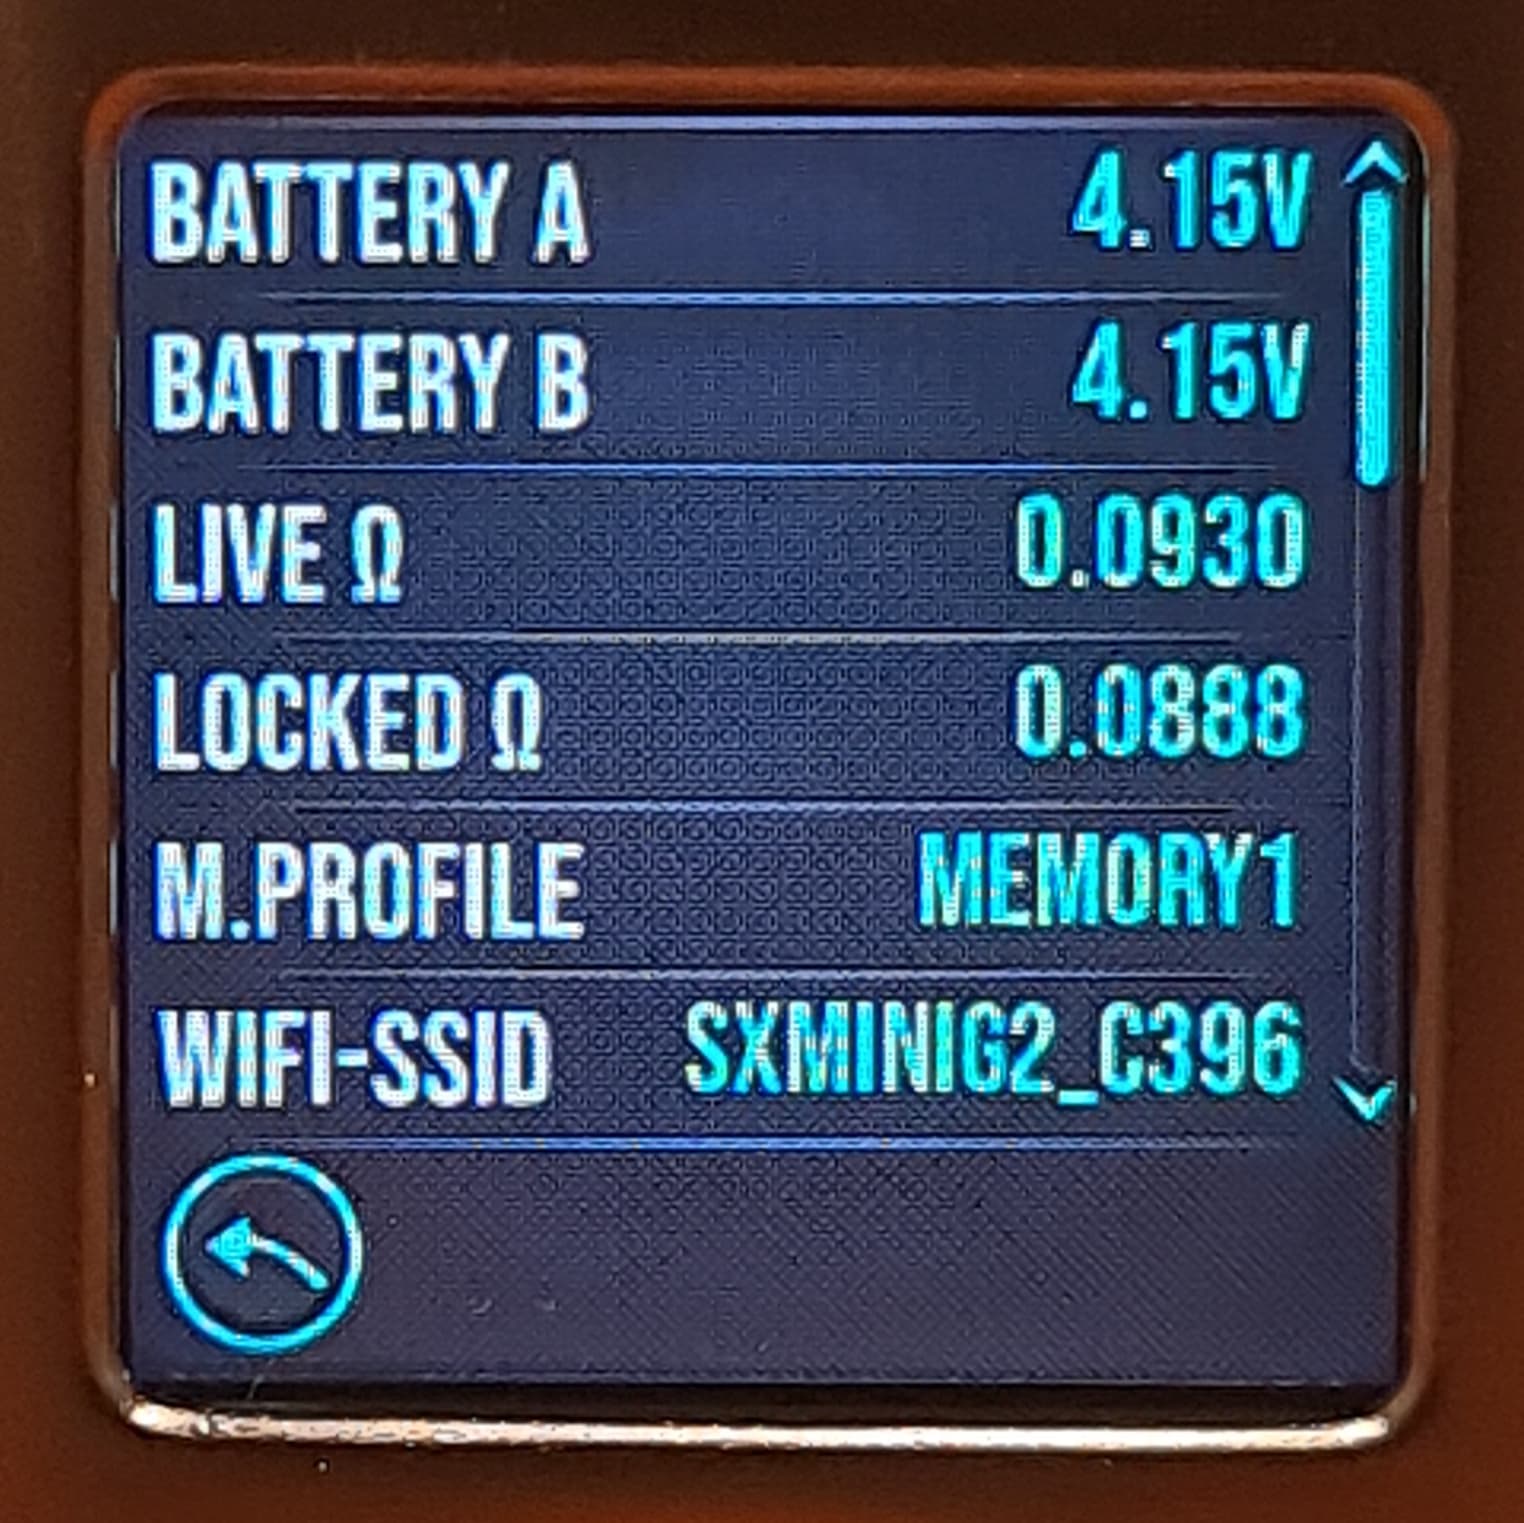
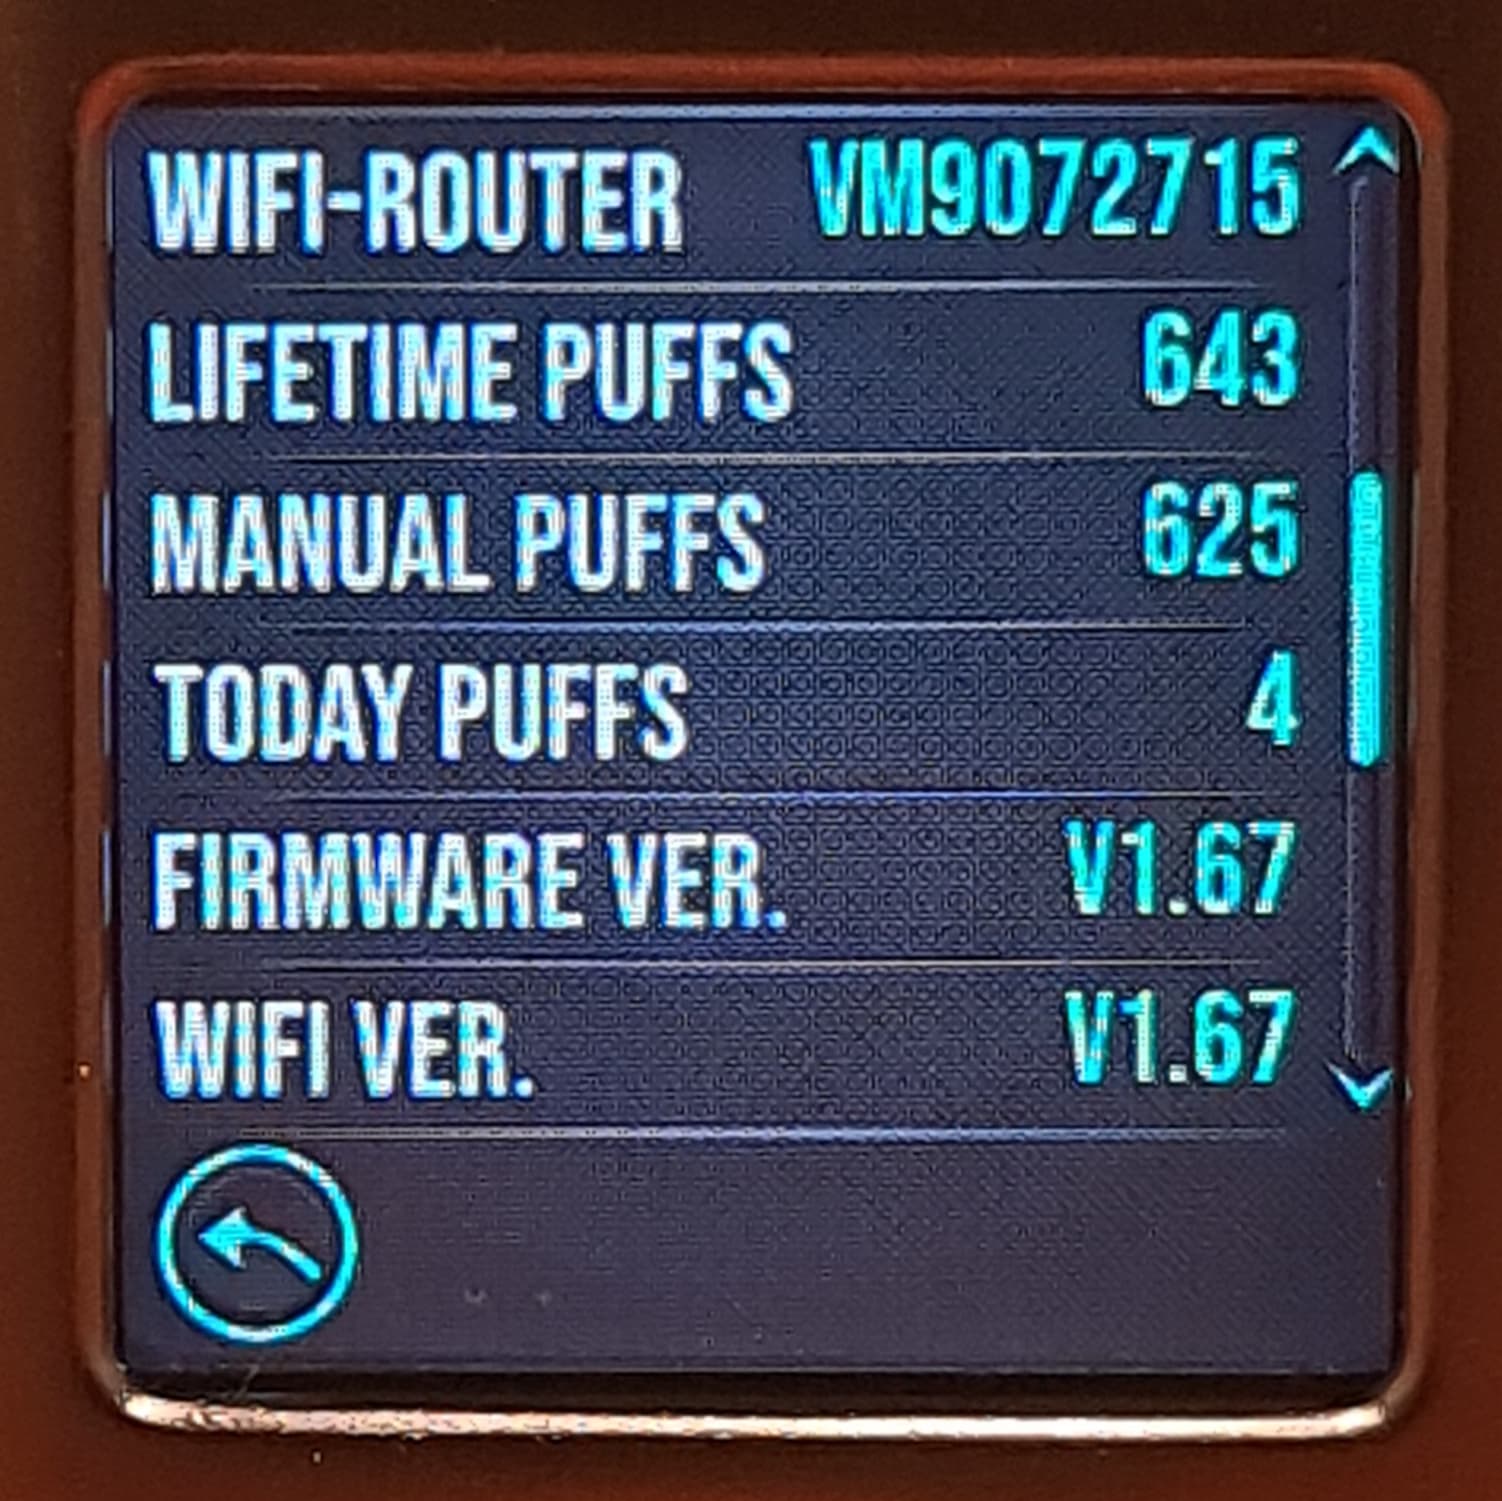
Stats are the second from last menu option and show a wide range of information about the device:

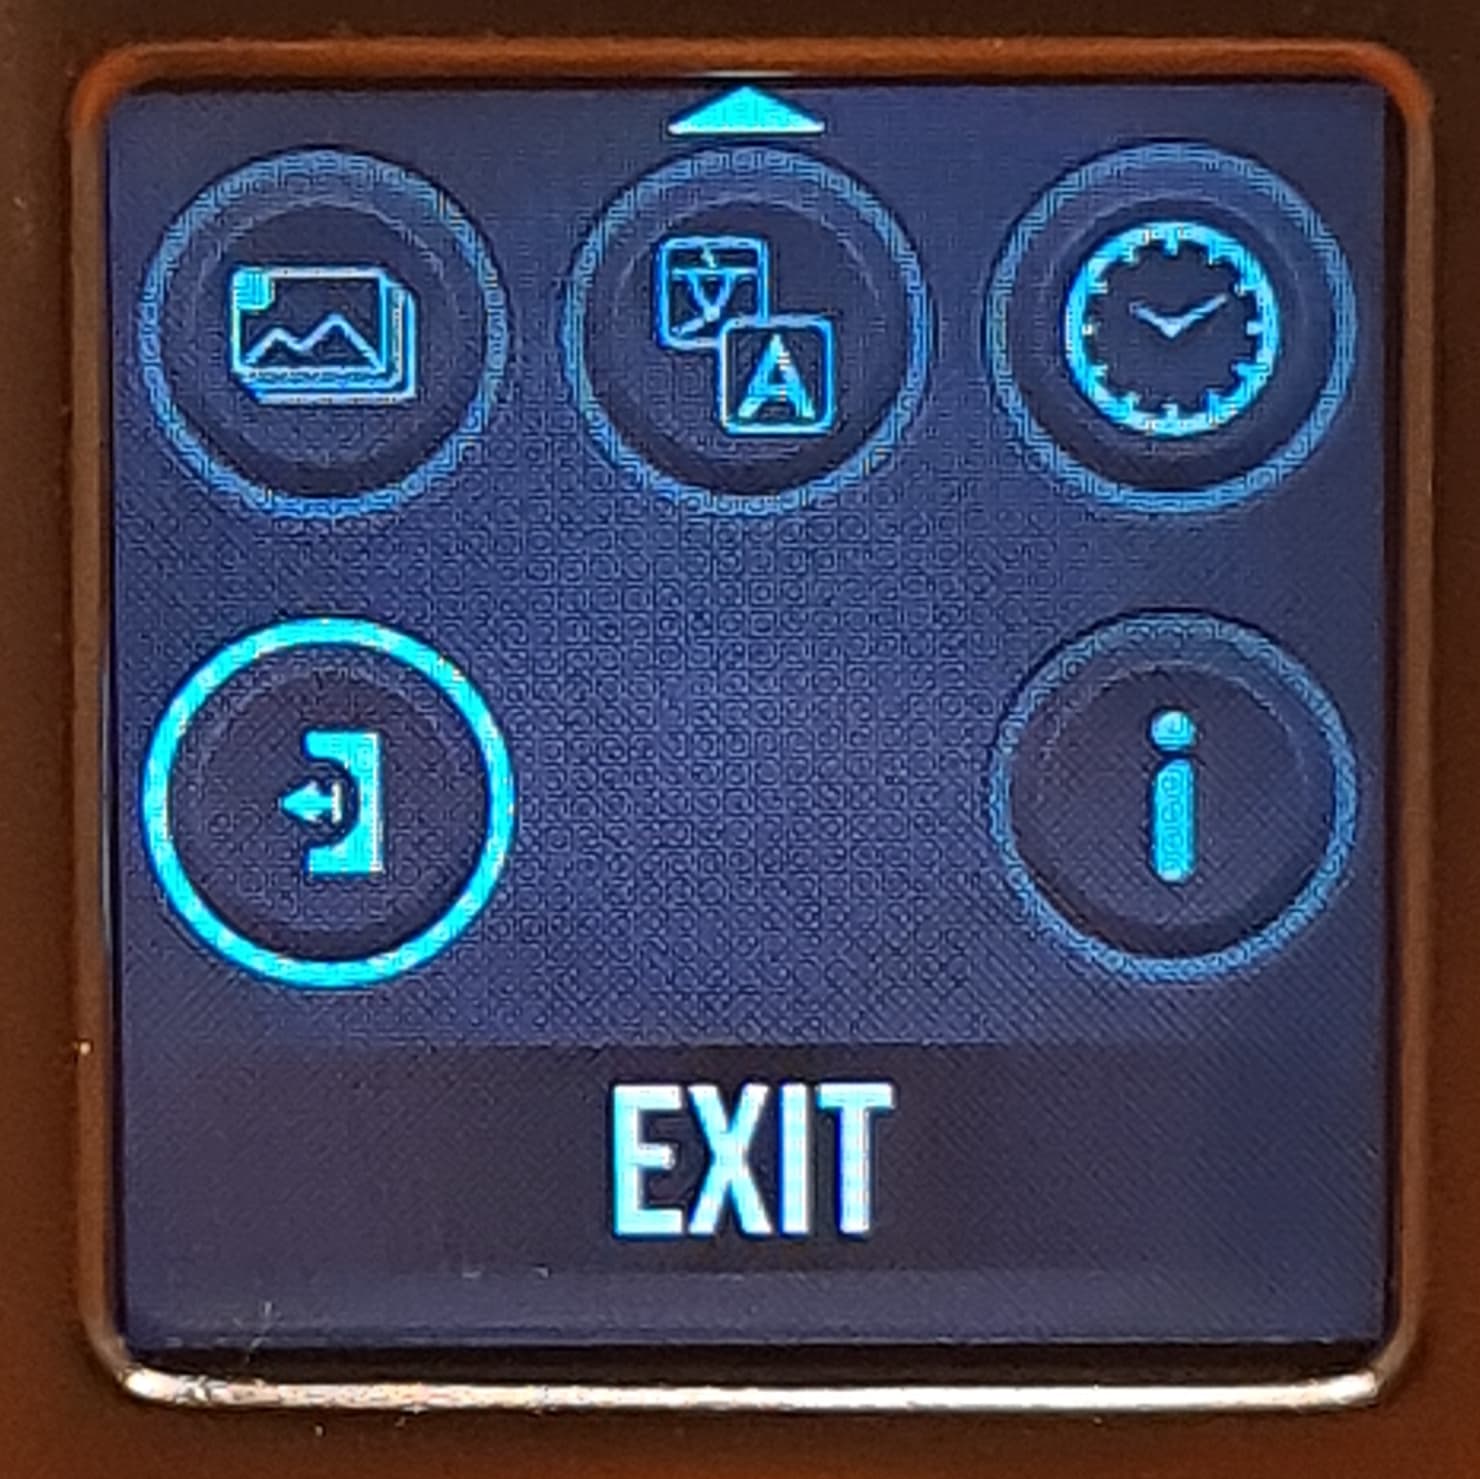
Finally we have Exit, which isn’t really an option but just a way to exit the menu. Pressing the fire button will also exit the menu.
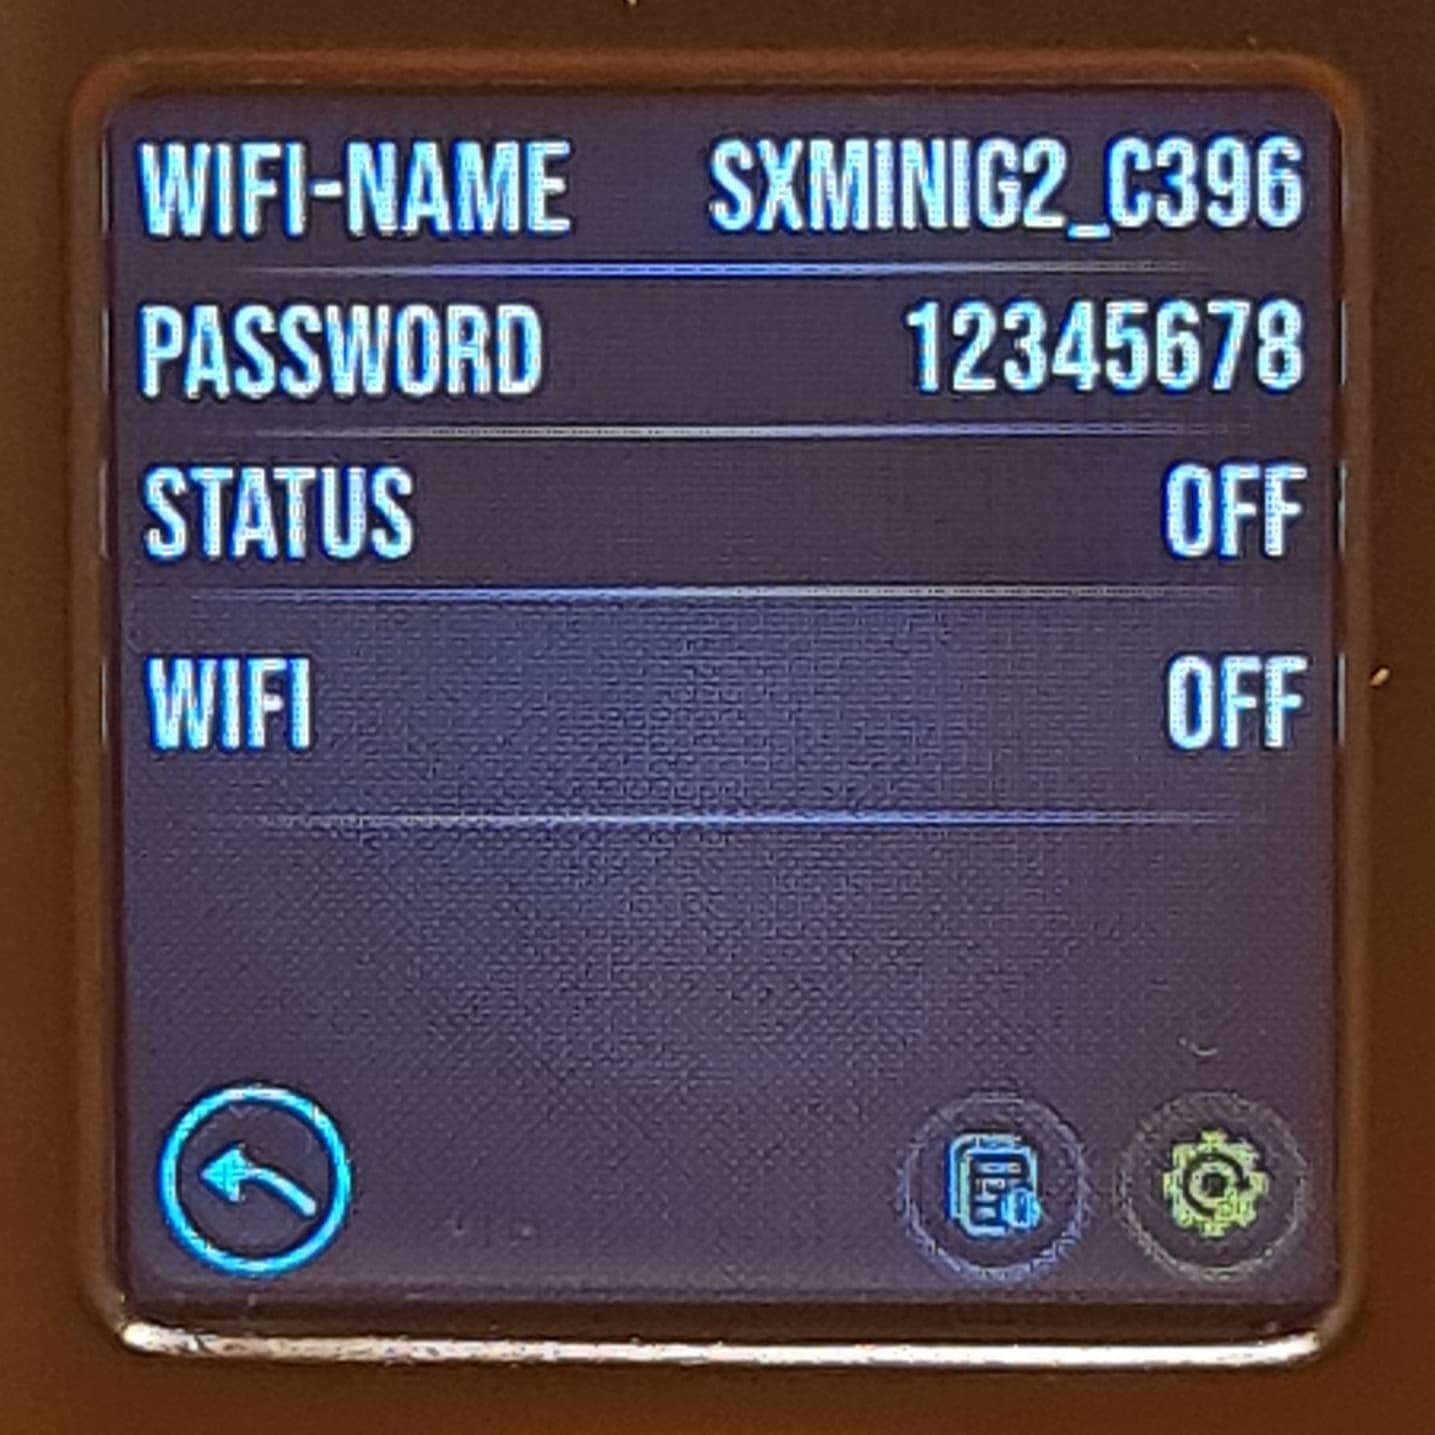
Connecting the WiFi
So now we move on to the WiFi and how to get your mod connected to your mobile device. Rather than trying to explain this myself, it will be much easier to understand if I just post the pages from the manual which explain it much more coherently than I probably could:
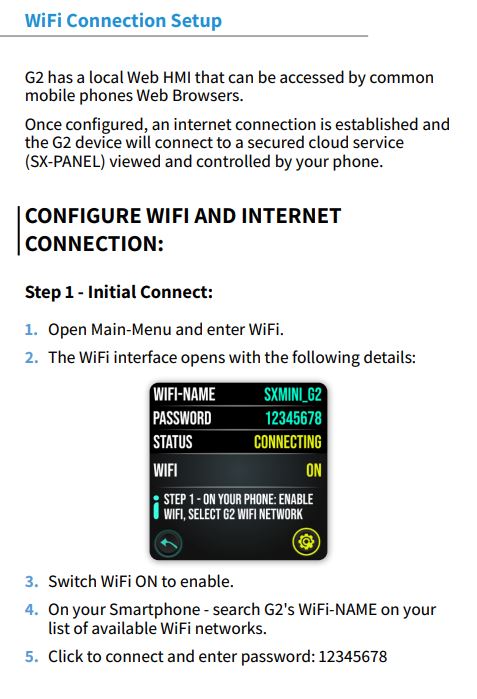
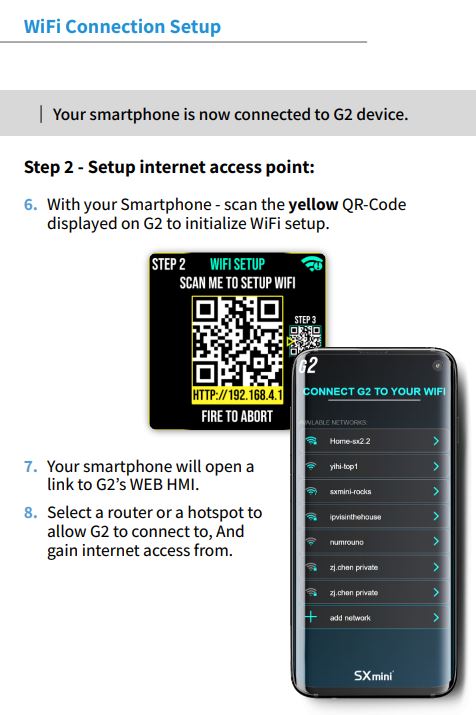
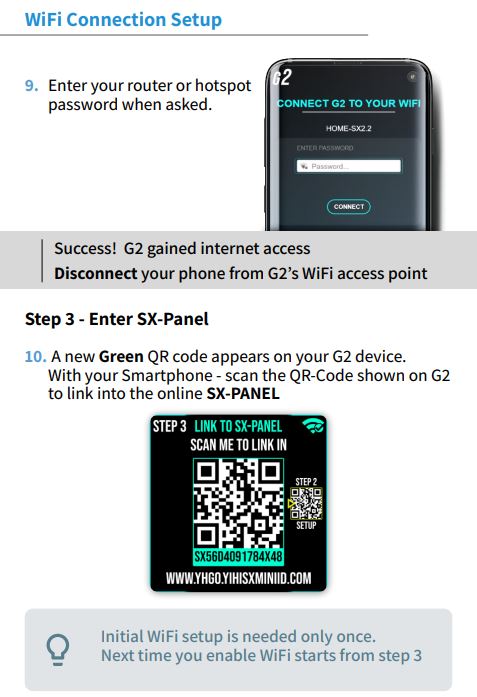
Getting connected has been a very easy and trouble free process for me every time I’ve done it but there were some early teething issues for some people with specific passwords which I believe have since been fixed.
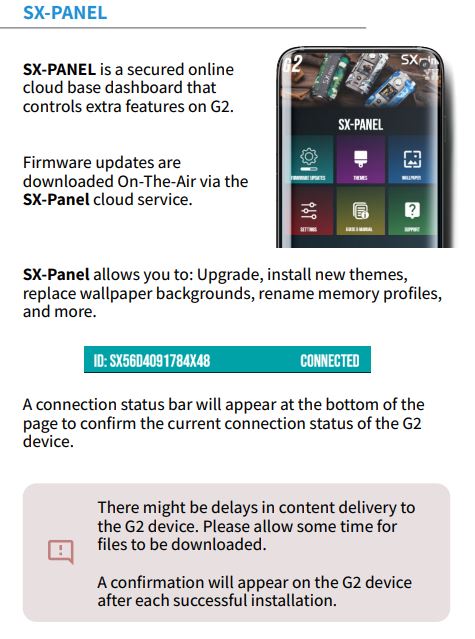
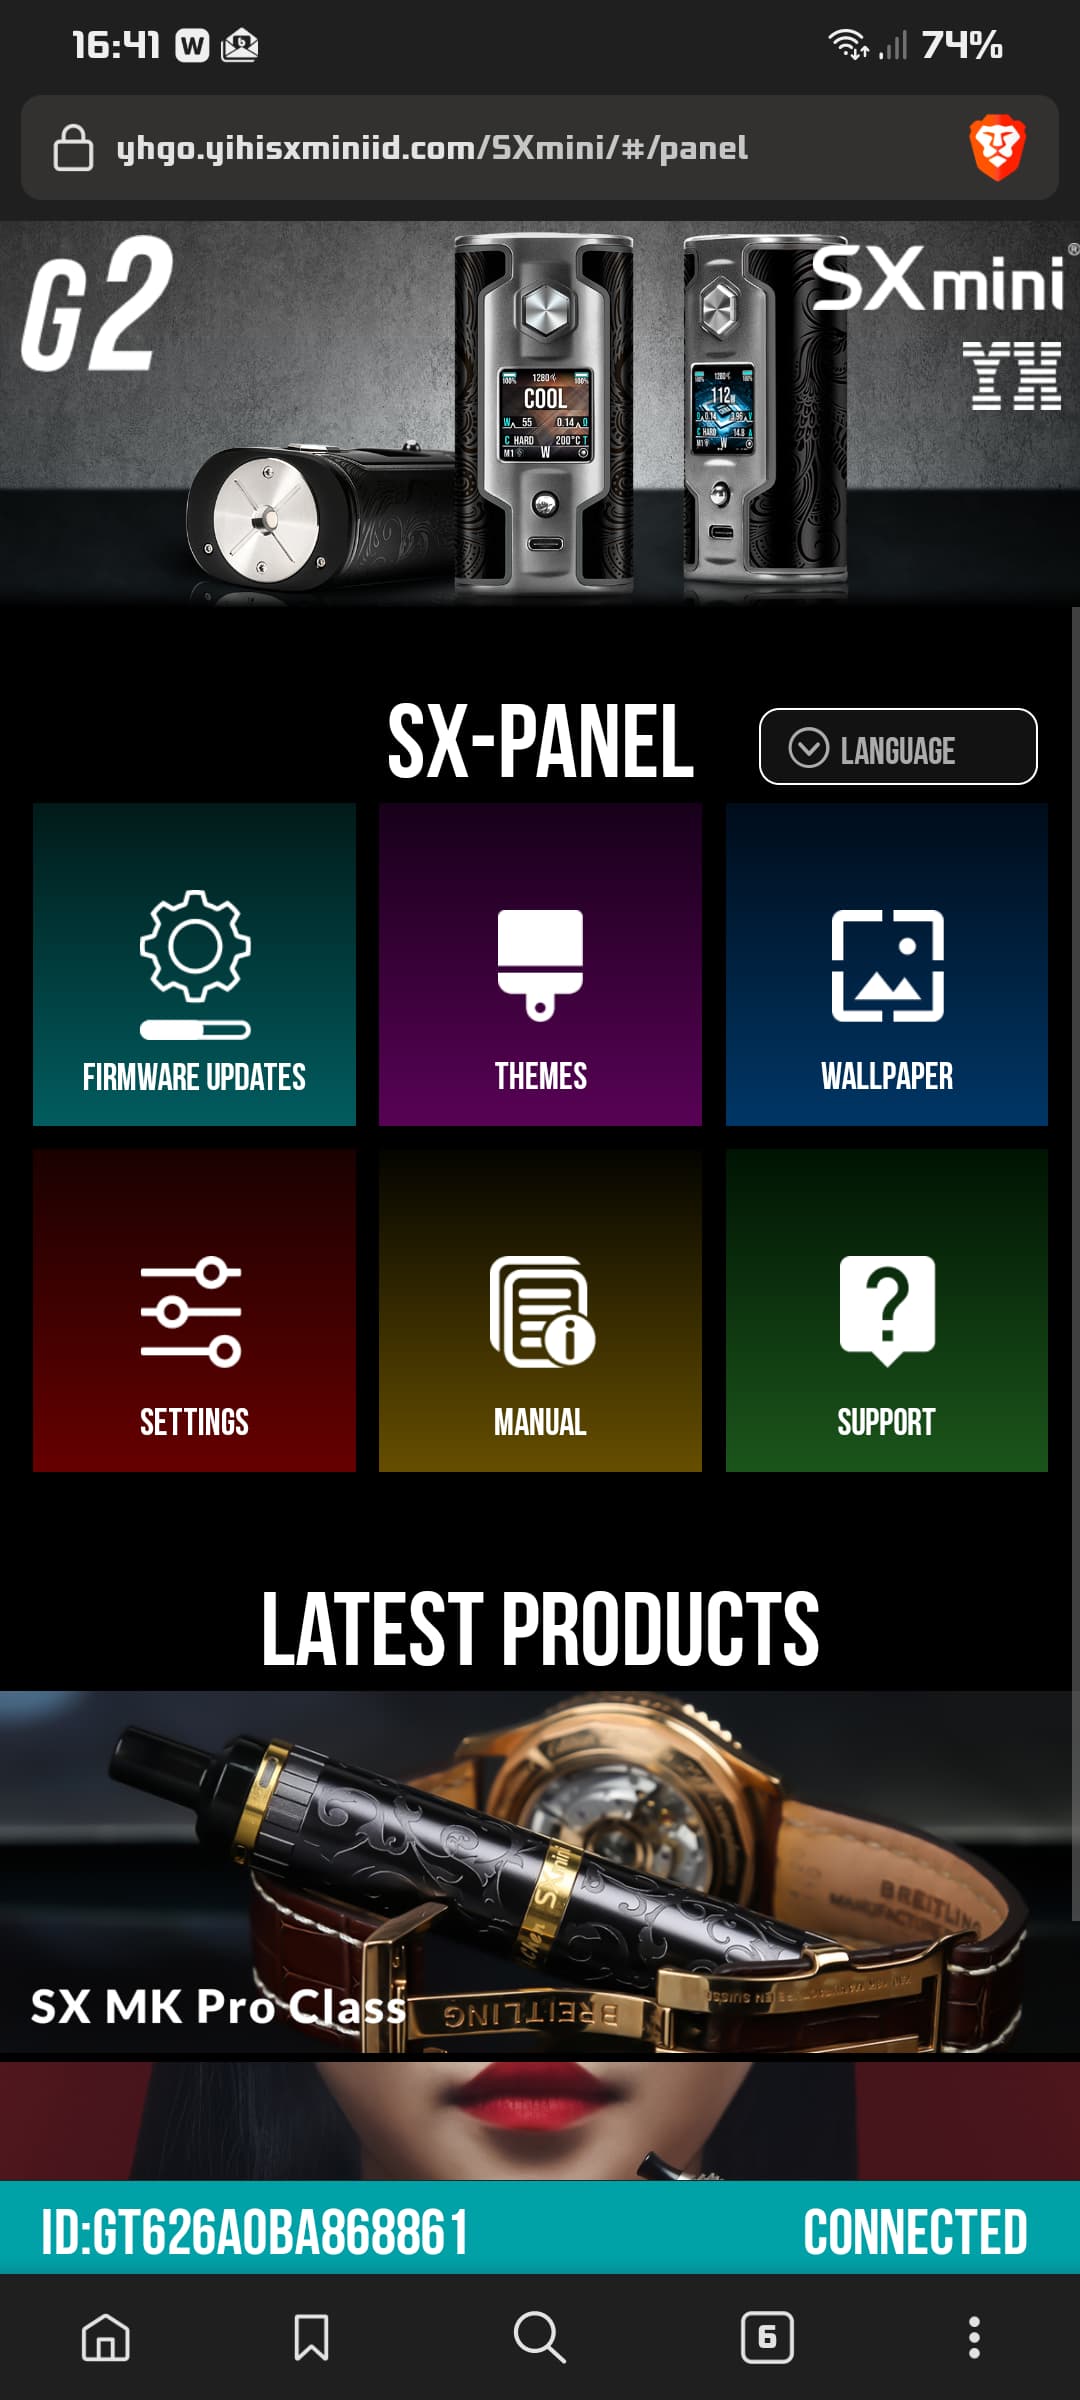
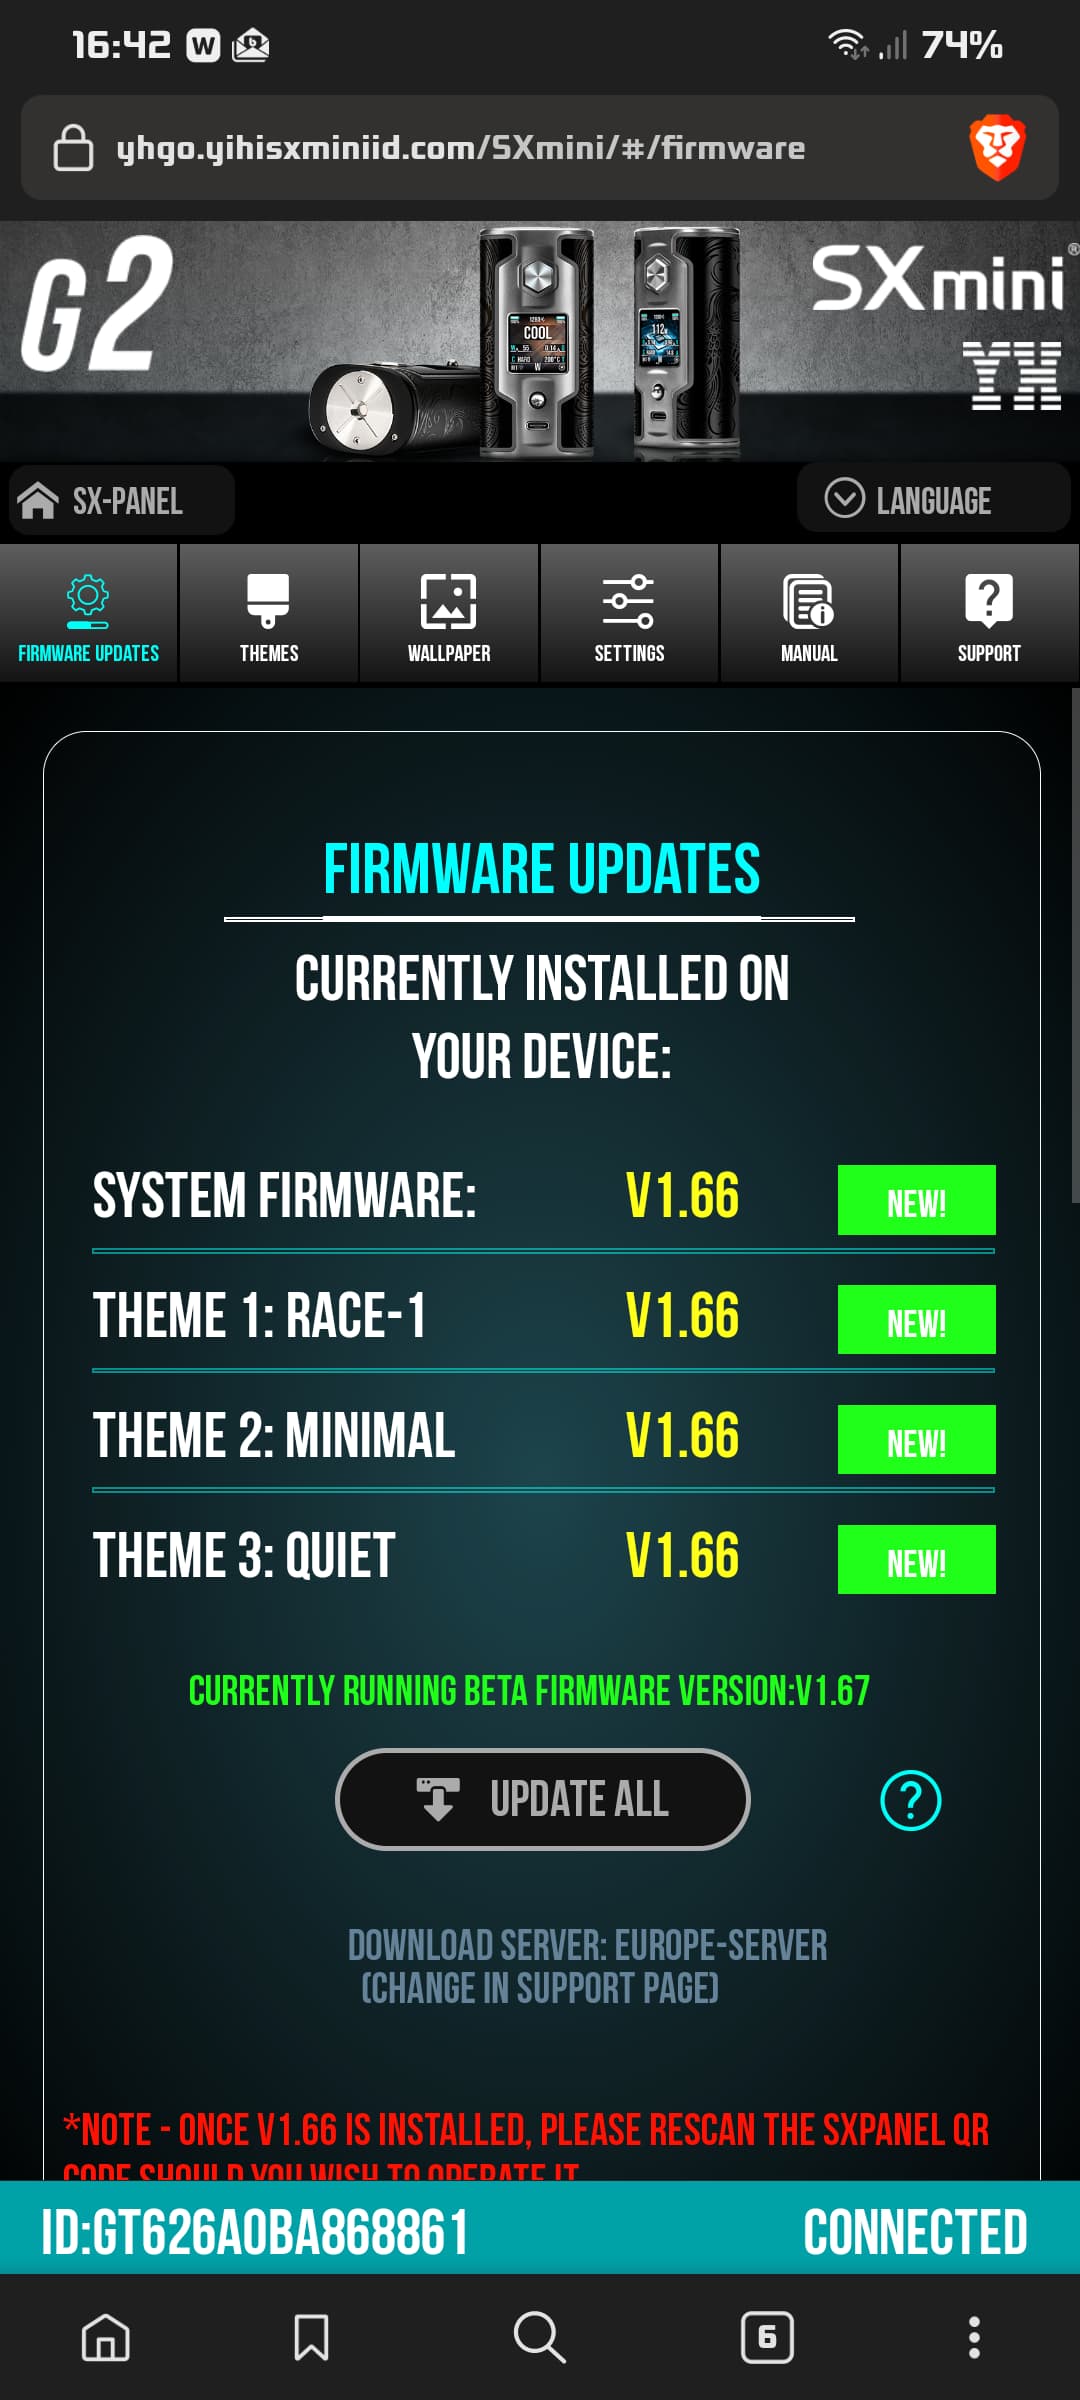
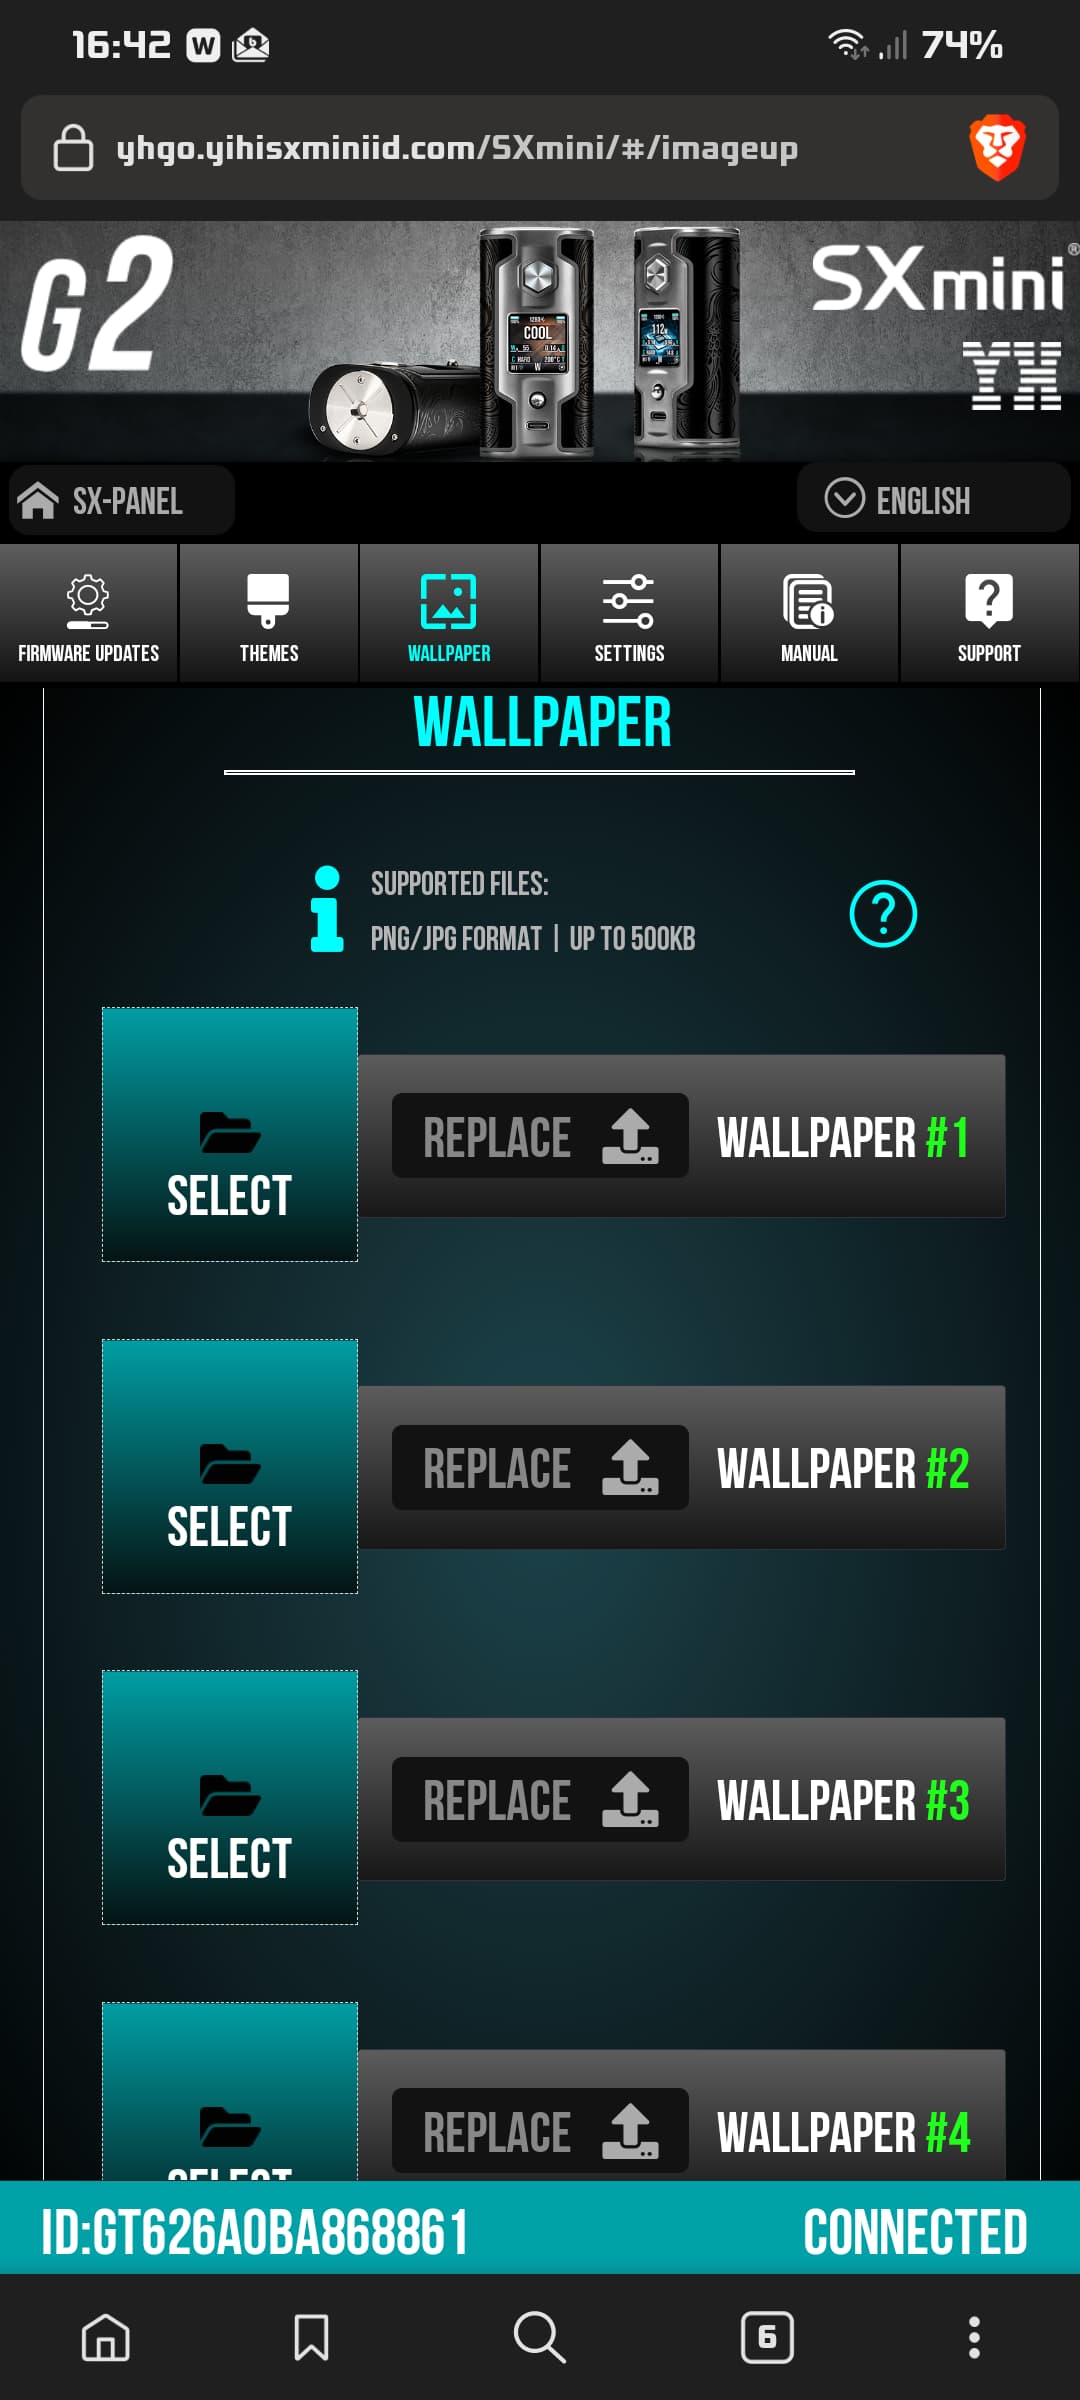
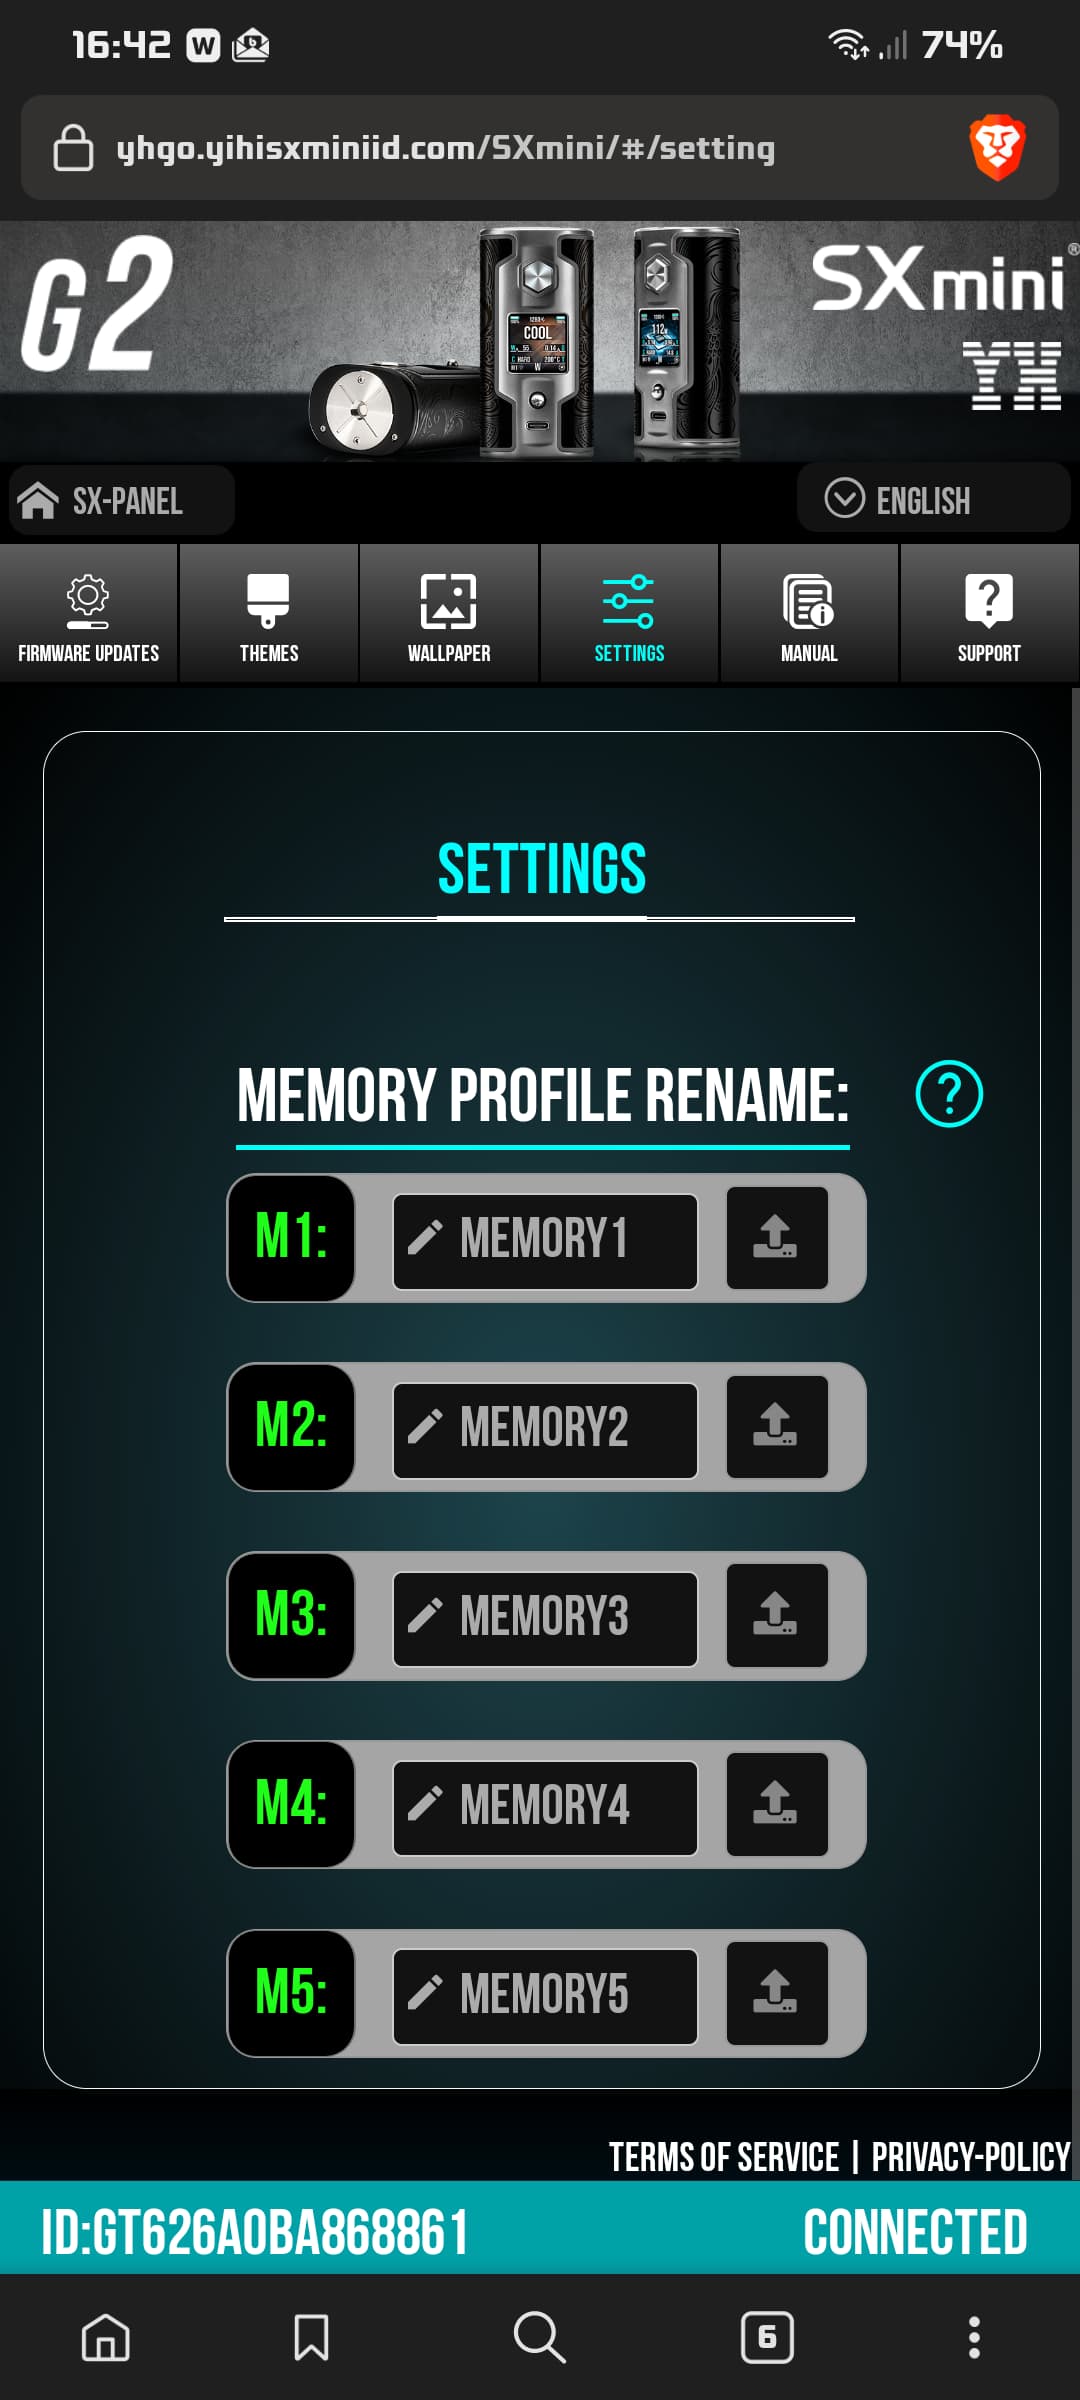
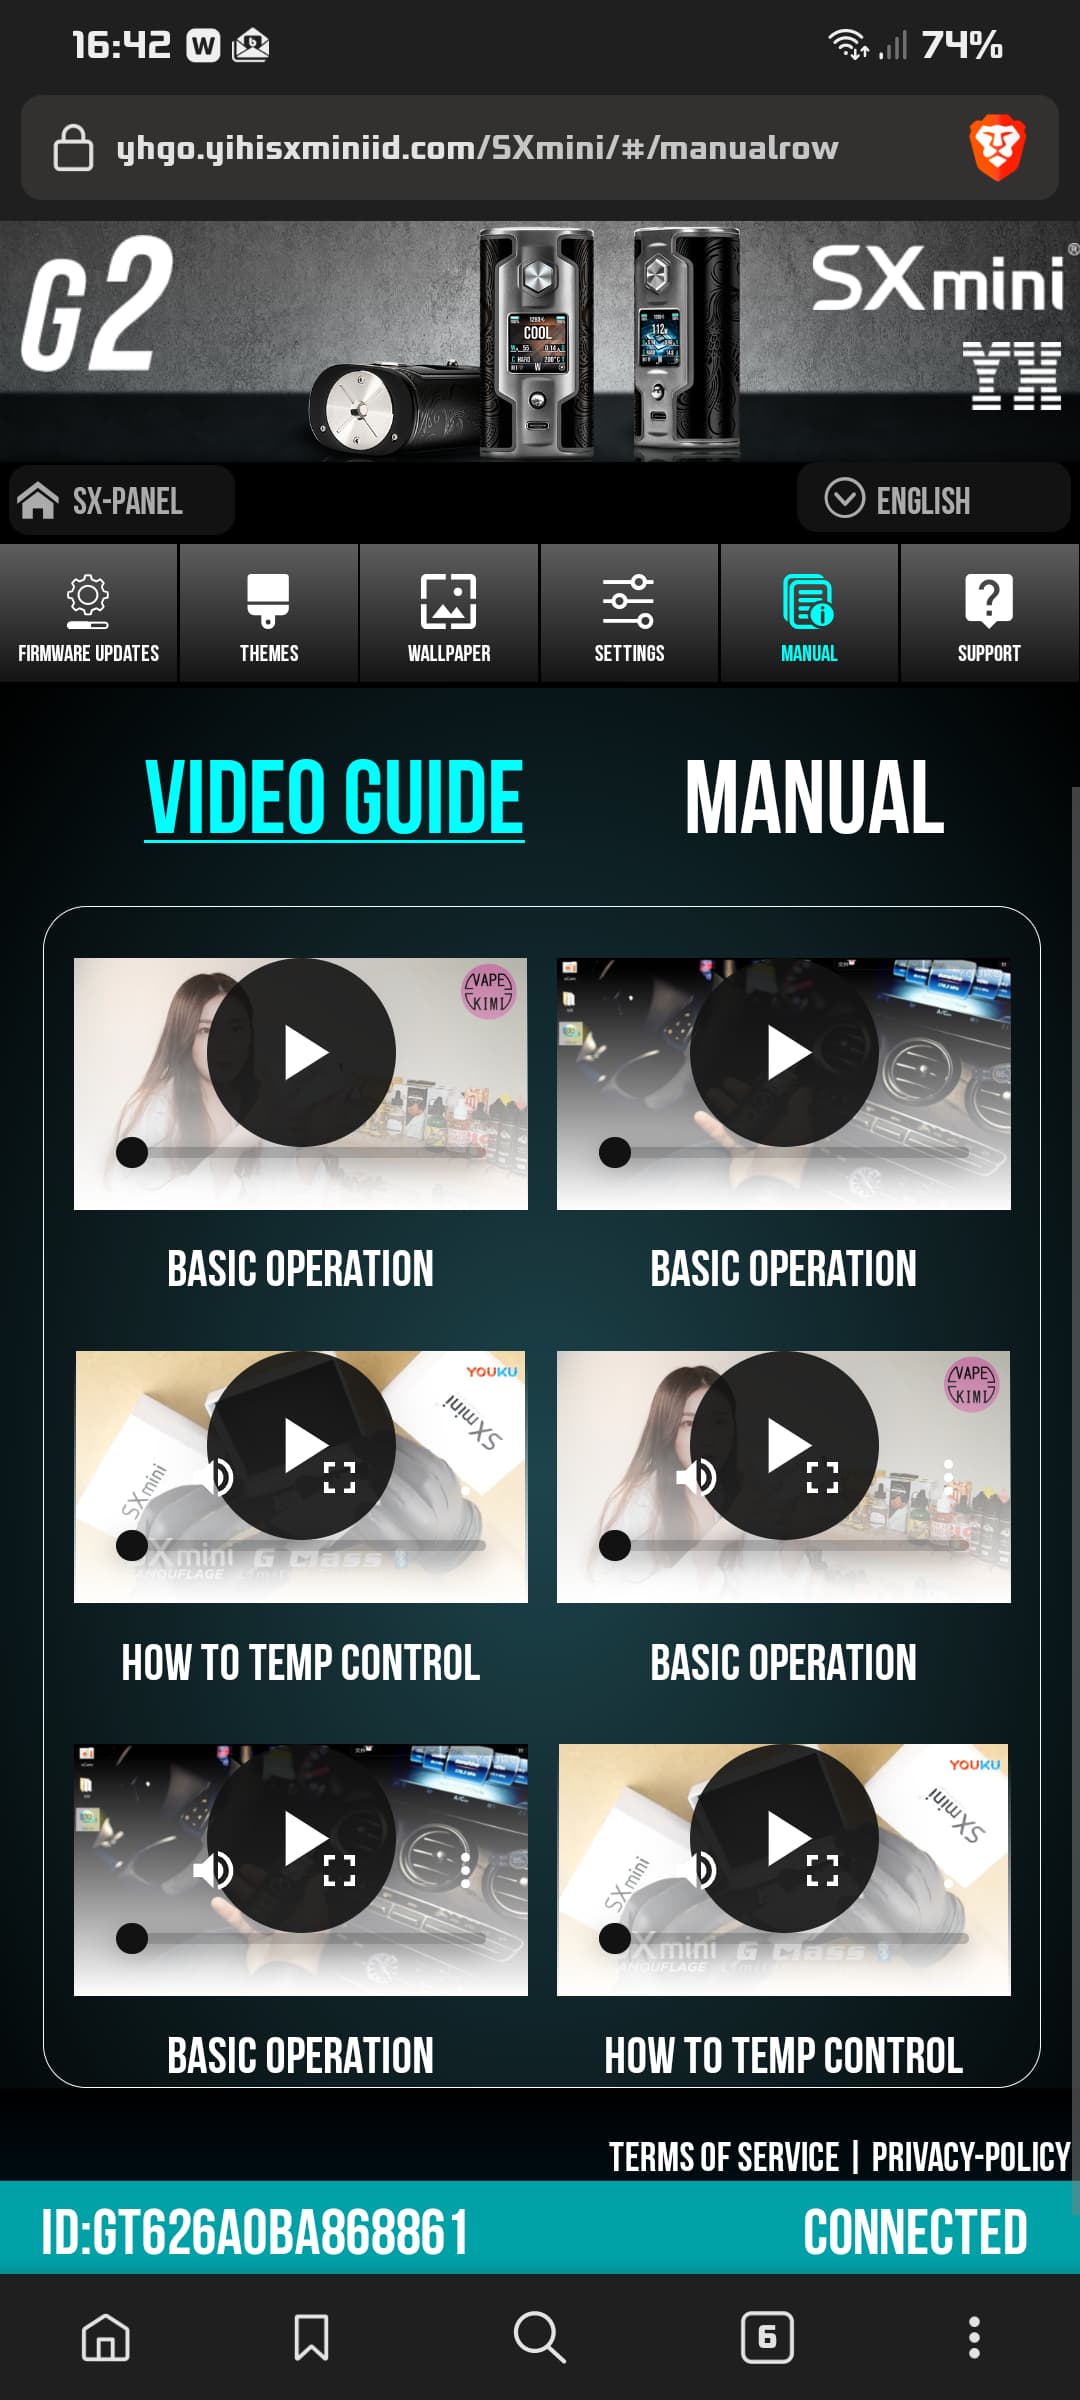
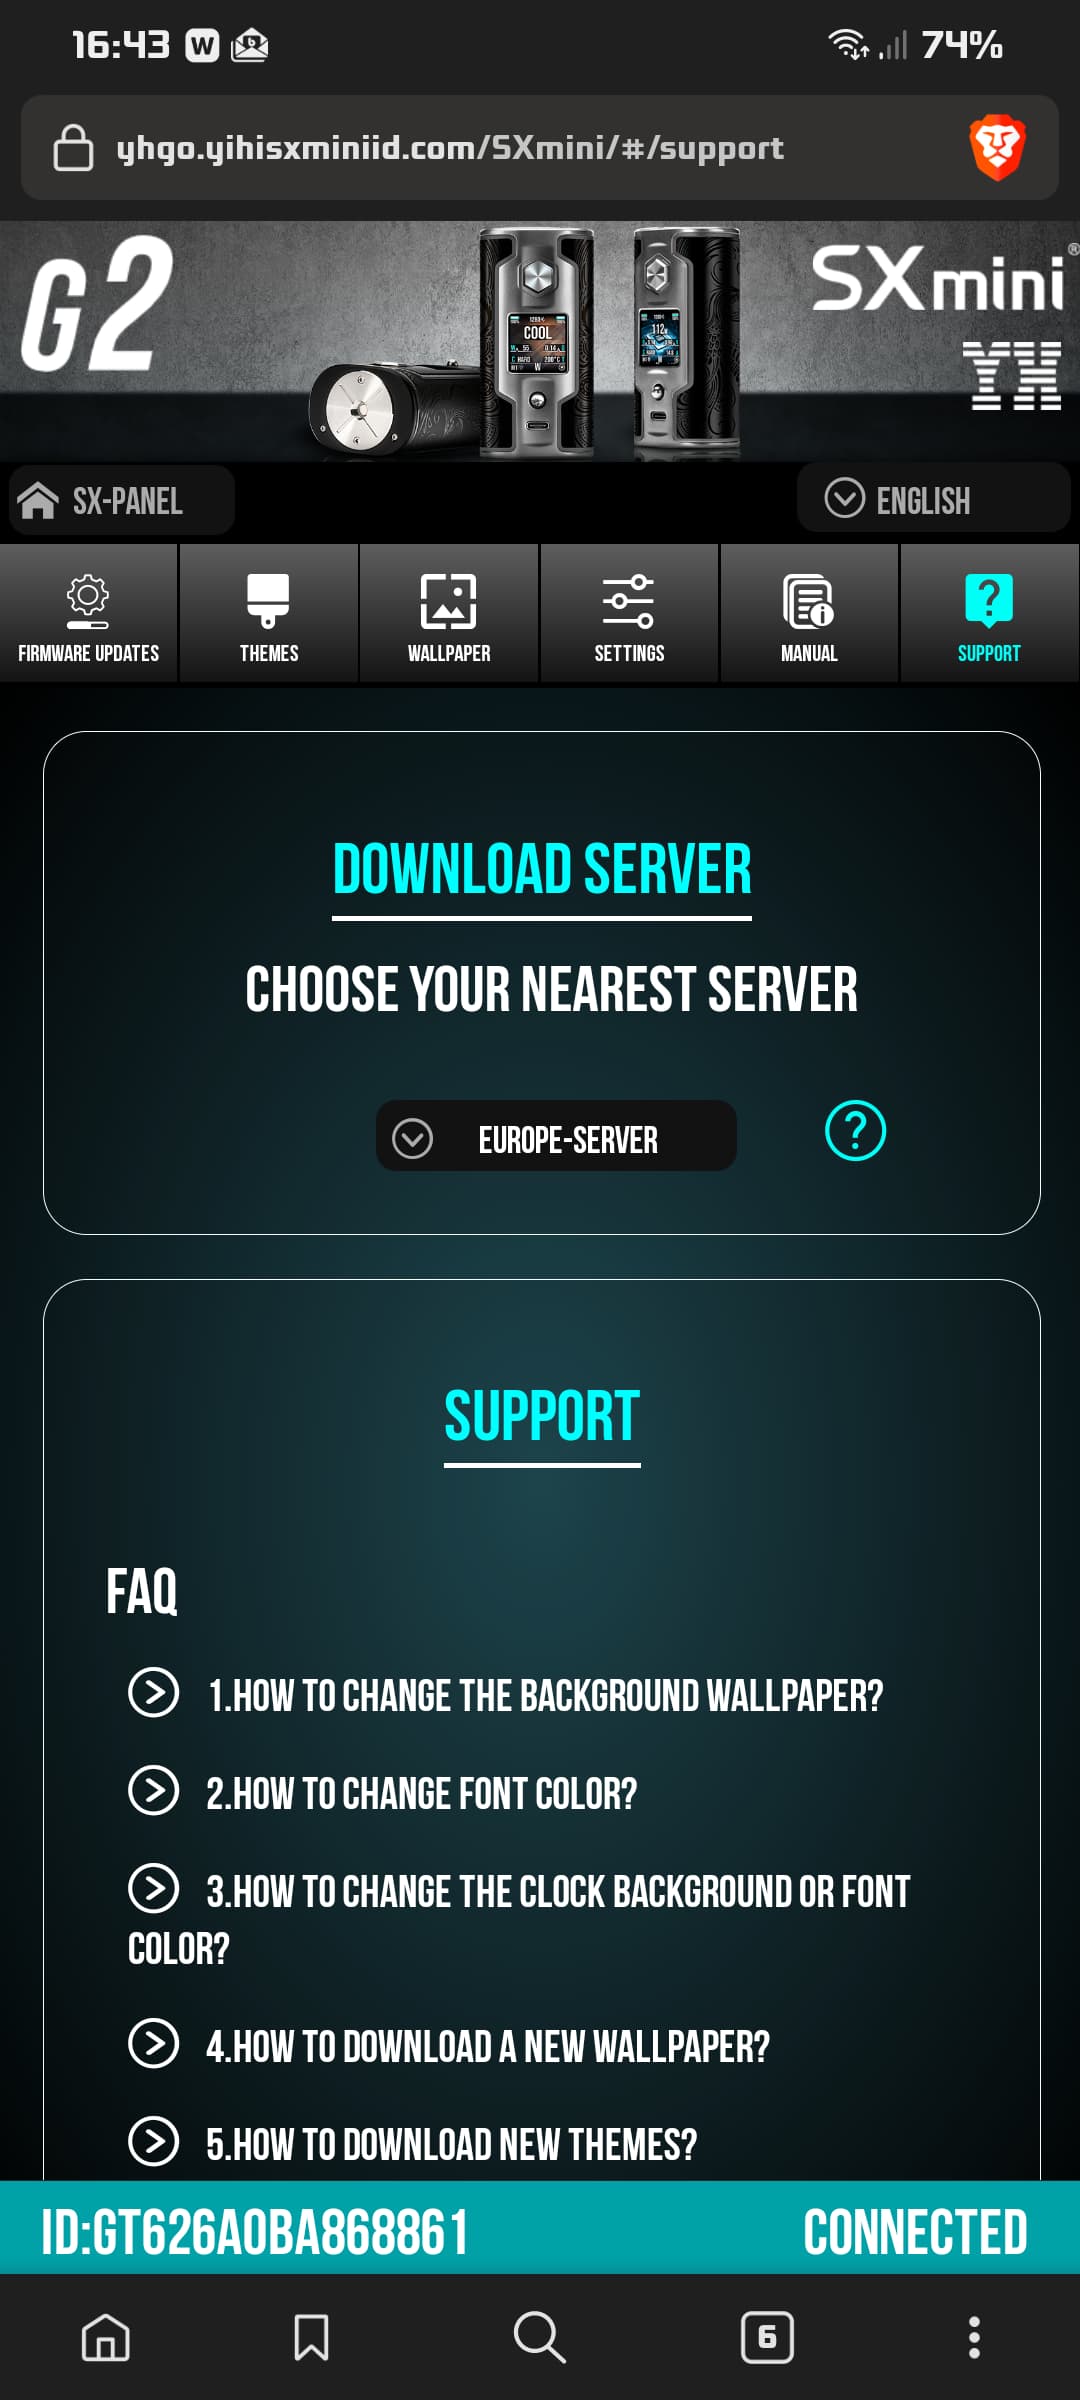
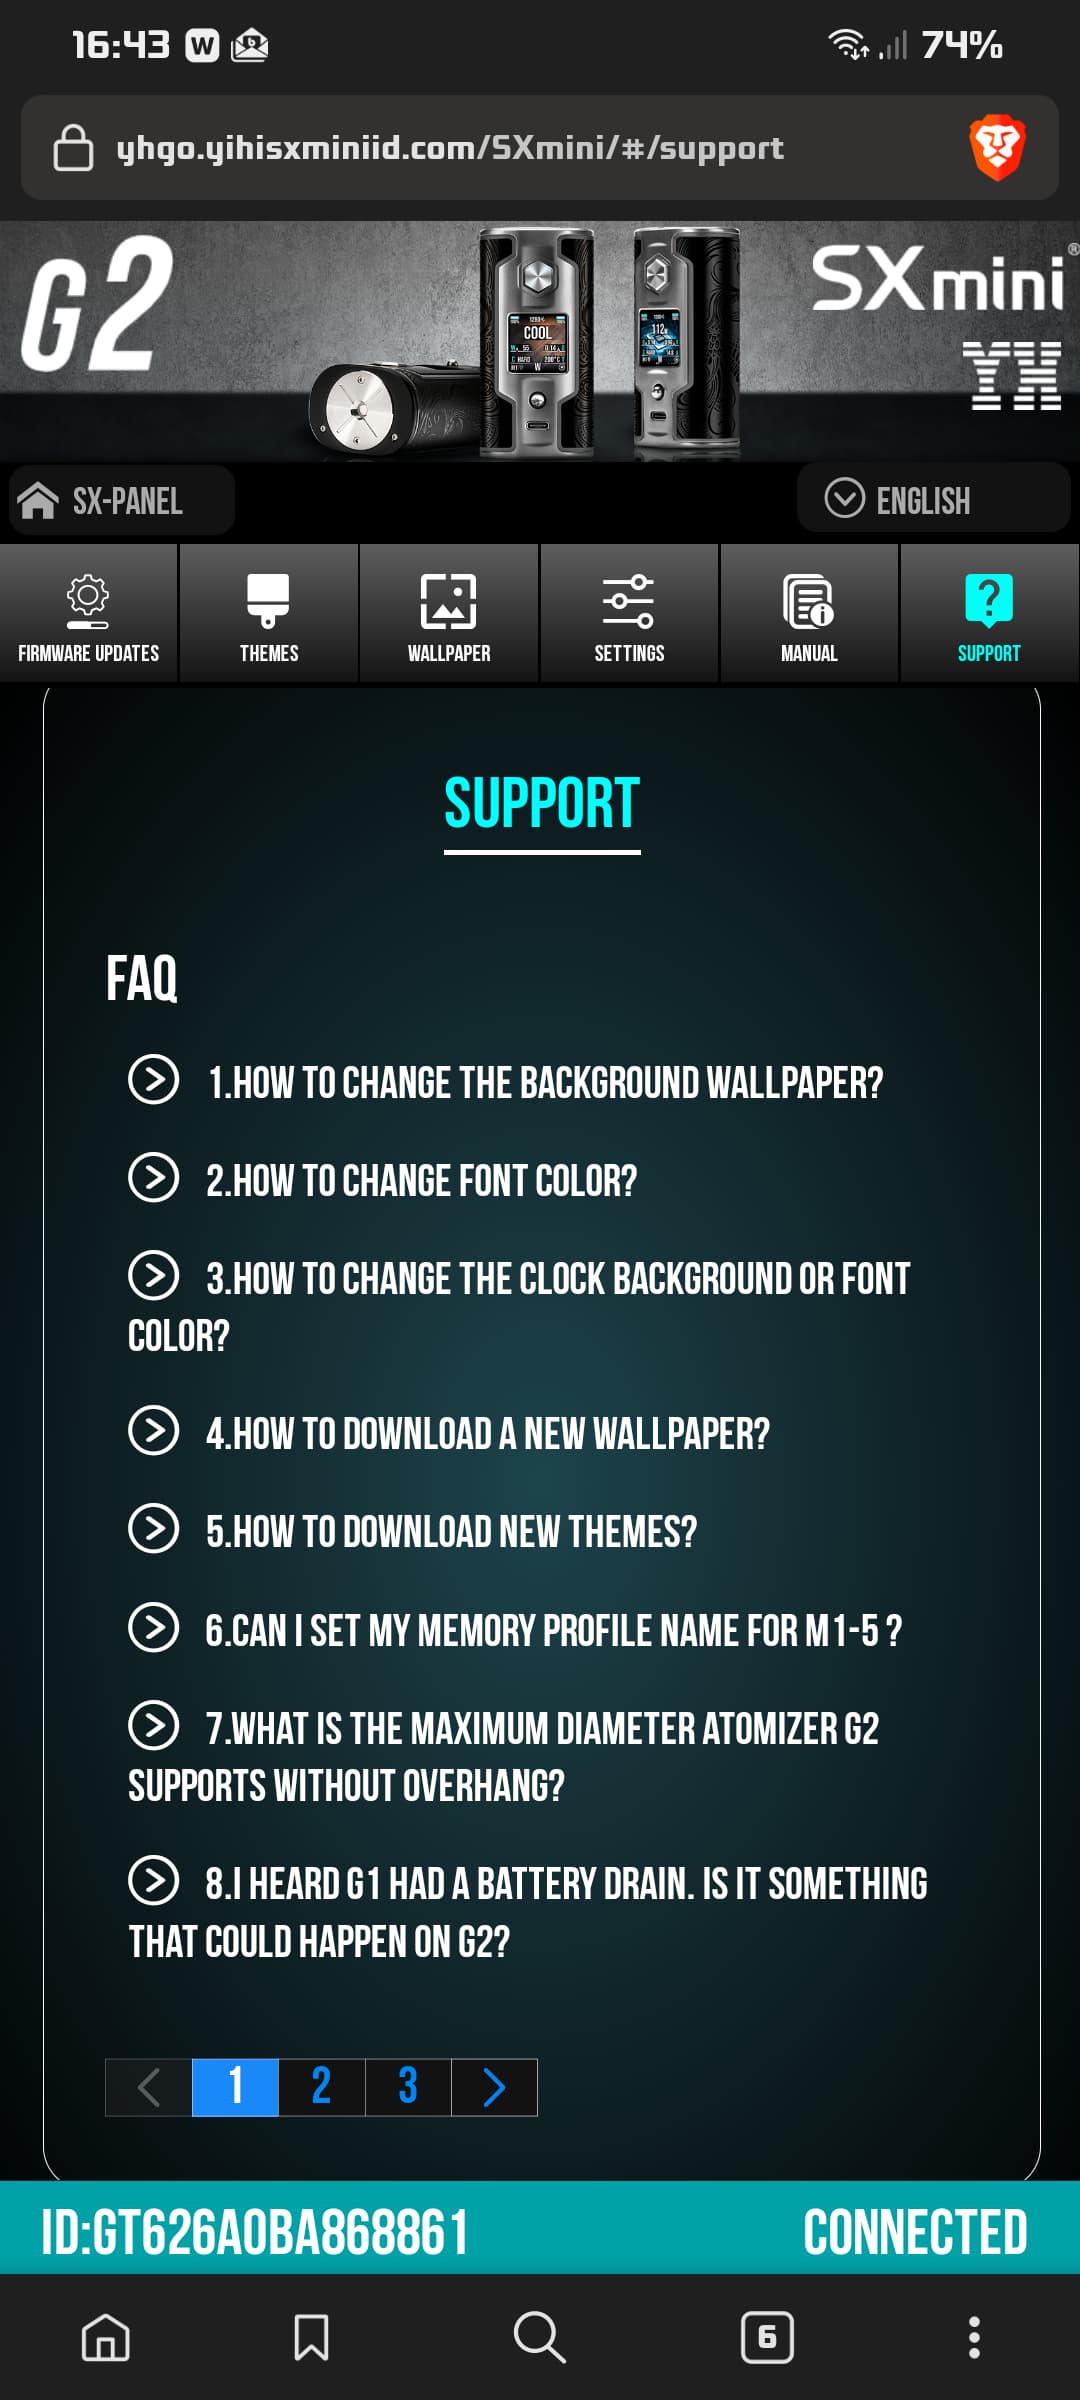
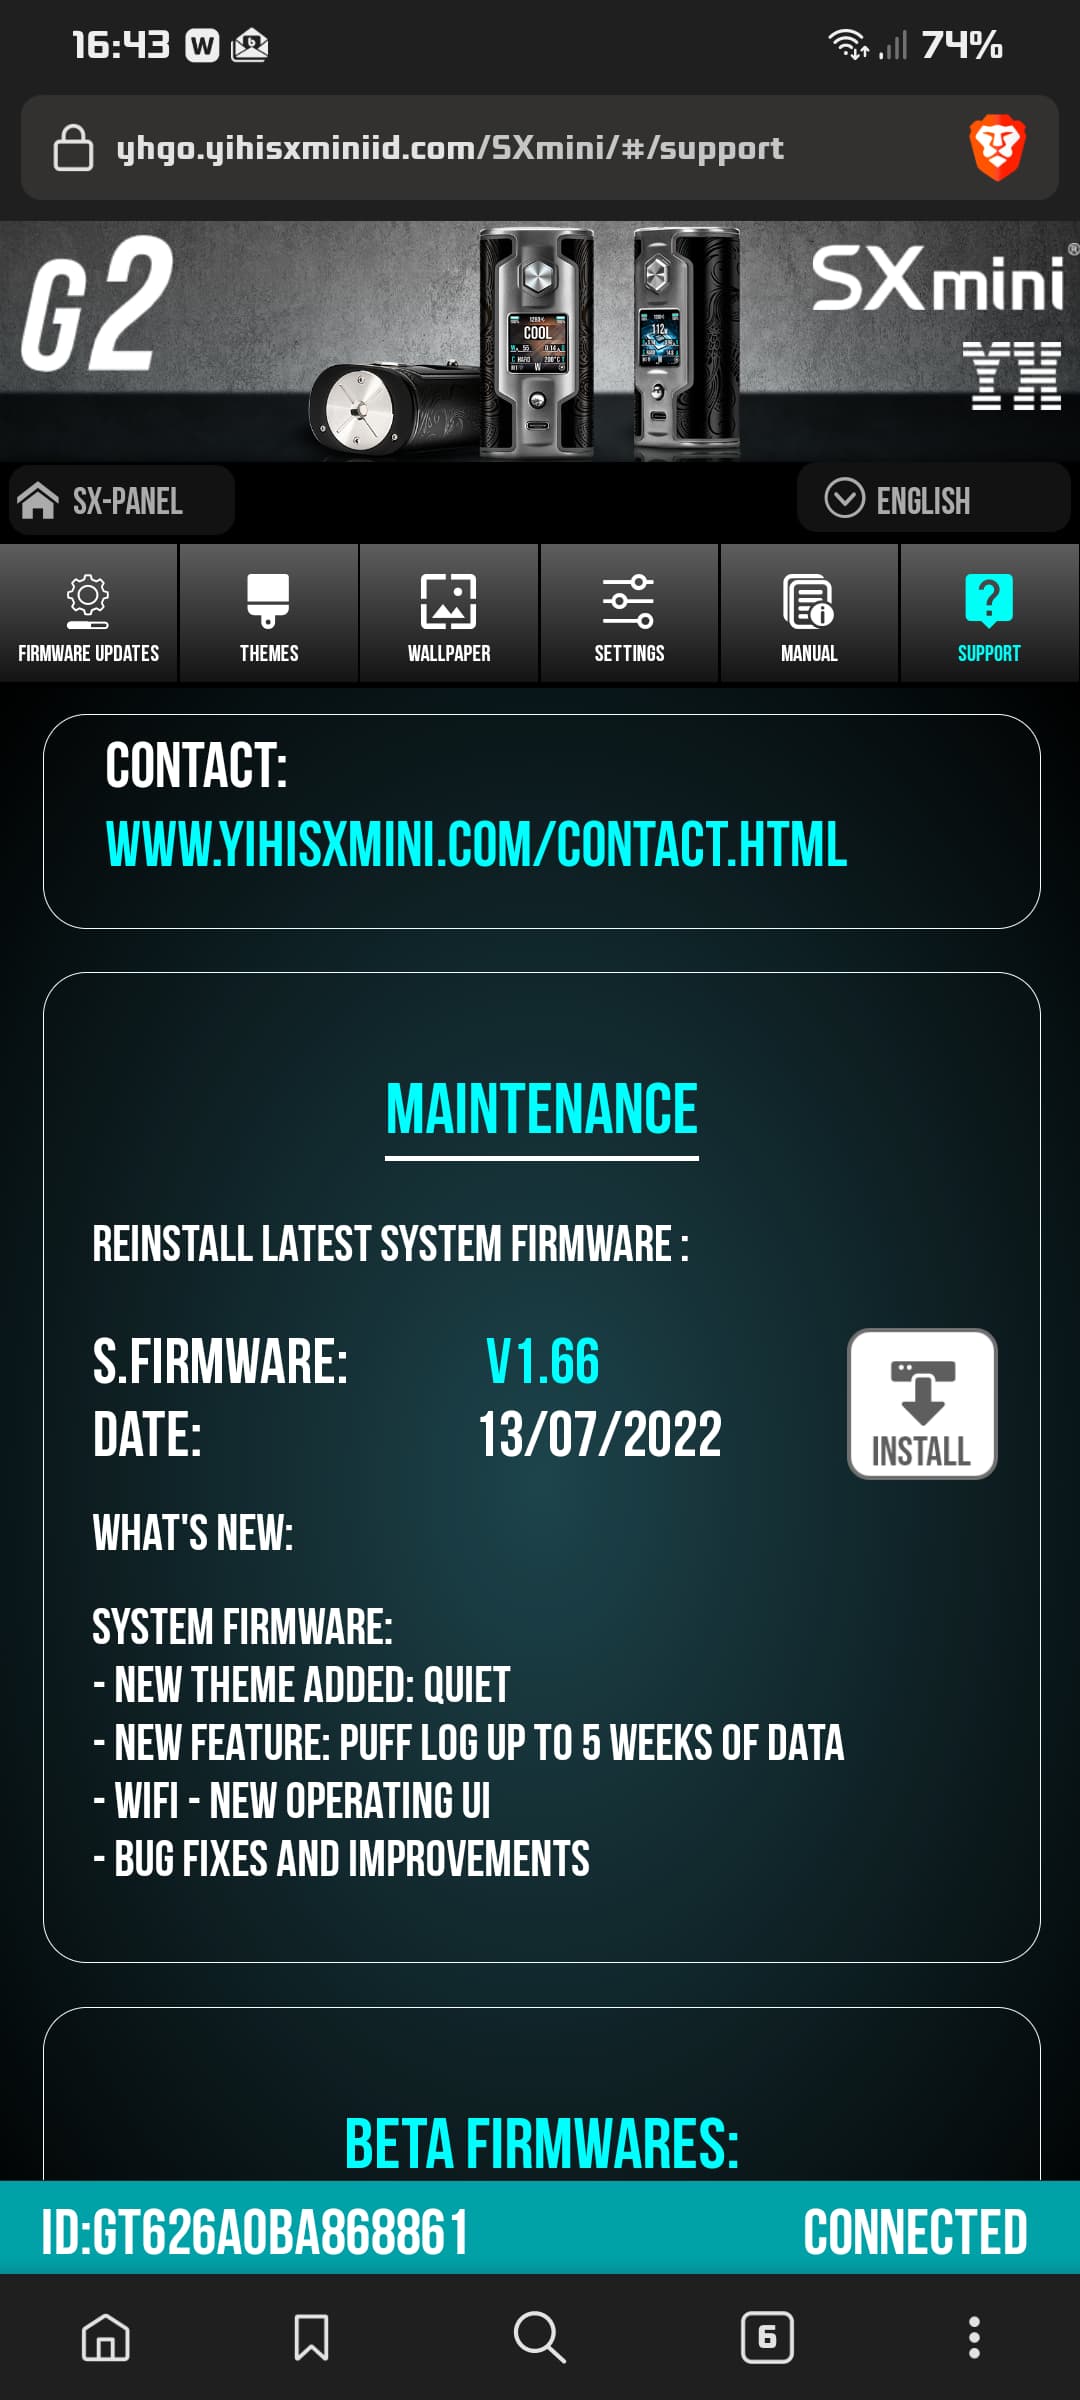
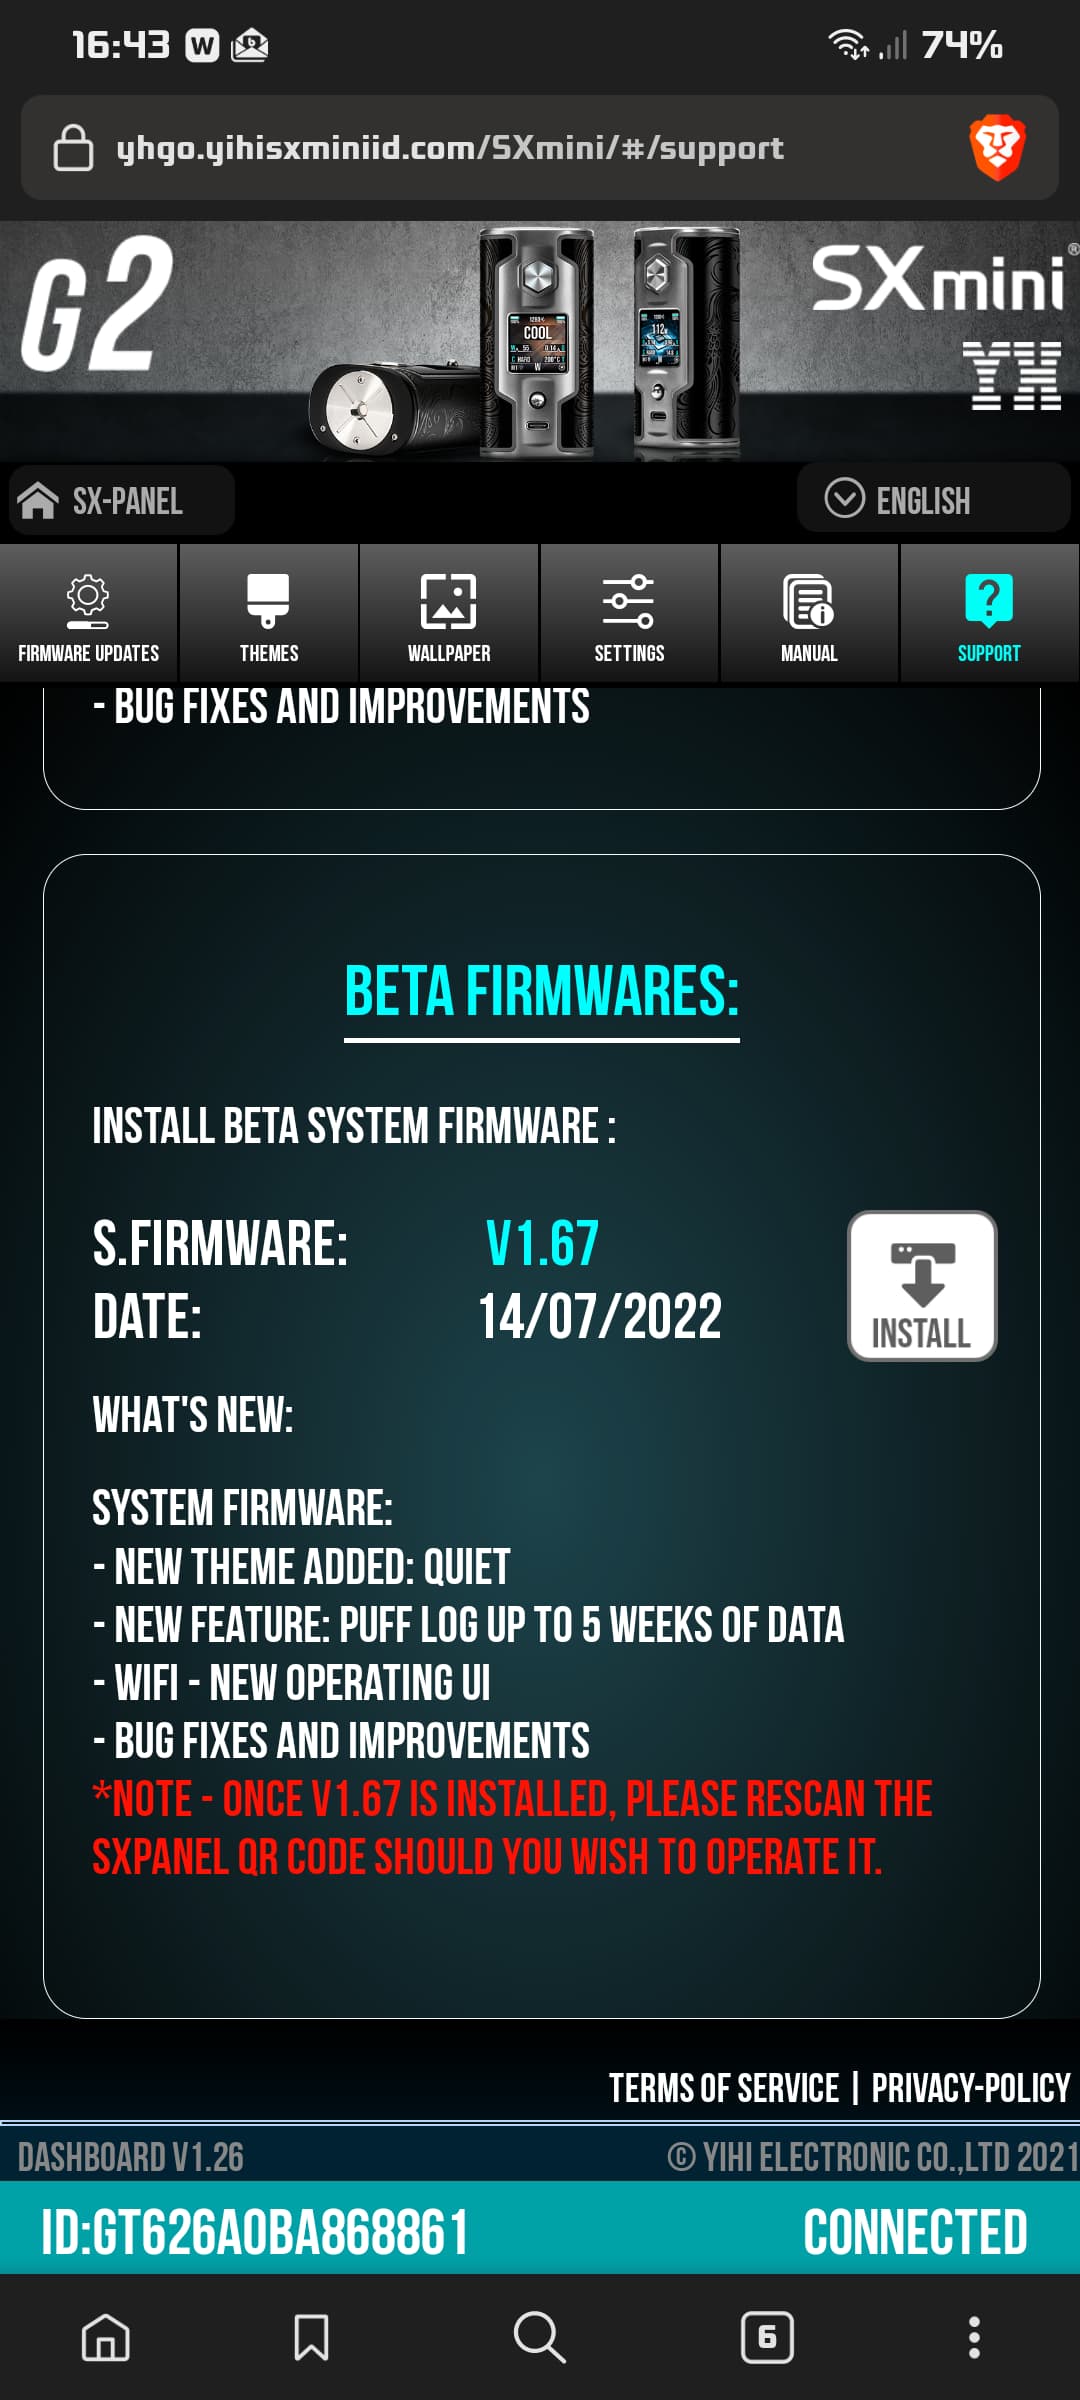
Once connected to your mobile device, you will have access to the SX Panel which allows the installation of new themes and wallpapers as well as help videos, troubleshooting guides, an online manual and of course firmware updates and access to beta versions of the firmware if desired.

Usage:
The G Class v2 comes with various modes including Wattage, Voltage, Bypass, TCR, SS316, SS430, NI200 and finally, Titanium. Temp control is the bread and butter of this mod so for the majority of testing I have focussed on that.
To begin with, the whole menu system and TC settings seemed quite daunting at first due to their complexity but like most things, you soon get used to it through use. I quite like the joystick but it can be a little on the fiddly side in certain situations but I’m really just nit-picking there.
In all honesty, this mod has worked flawlessly for me the entire time I’ve had it and it has quickly become one of my favourite mods to use. It fits well in the hand, the fire button is situated perfectly, it’s a good size, not too big, not too small. The sheer amount of customisations to your vape experience available on this mod is staggering. I cannot recommend this mod enough. If you don’t have one, you need one!
Pros:
- Excellent Temp Control capabilities
- Very good and clever Pre-heat function
- Waterproofed chipset
- Crazy amount of customisation
- Beautifully etched doors
- Outstanding build quality
- Can fit large atomisers
- USB-C
- Wireless firmware upgrades
- Large, very sharp and bright IPS display
- Dual processors, one dedicated to the UI and one for vaping
- Likely the most accurate coil resistance reading in the industry
- Daily puff counter that auto resets according to your schedule
Cons:
- Not 21700
- Joystick can be a little fiddly
- errrm, nope!
Conclusion and Final Thoughts:
After a couple of months of heavy usage of this device, I can tell you one thing with certainty, Nothing else comes close when it comes to temperature control. Move over Evolv, SXmini are the new kings of TC! The performance of this mod in TC mode is outstanding. It’s clear to see the countless amount of time, sweat, blood and tears that have gone into the design of this mod and chipset and its menu system and what a spectacular job has been done.
I have no idea how SXmini can possibly improve on this mod other than making it dual 21700, it is really that good.
If you’ve made it all the way here, well done! That’s a whole lotta reading! No doubt I’ve missed out loads of stuff as there is just so much to cover, feel free to hit me up if you spot anything!
For the eagle eyed wannabe detectives among you who noticed that I’ve been using this mod heavily for a couple of months but the lifetime puff counter only shows 643, this is because after some time the first mod I received developed a very rare issue and was replaced with the one you see here.
Huge thanks again go out to @David_SXmini for providing this mod for review.