What’s up VC’ers? It’s that time again for another review. Todays subject is the Vaporesso Gen 200 Kit which was sent for this review by Joyi from Sourcemore.

Specifications:
Gen 200 Mod:
- Dimensions: 80mm x 44mm x 29mm (138.5mm height with tank)
- 76g Weight
- 5 - 220w output
- F(t) mode, PUL mode, VW mode, DIY mode
- Fits 2x 18650 Batteries
- 0.96" TFT screen
- Gold plated 510 connector
- Fire, mode and up/down select buttons
- USB Type-C charging
- 40% Lighter
- Axon chip
- 4 Layers of rubber coating
- Ergonomic shape
- 6 Colours available
i-Tank:
- DTL Style tank
- 8ml E-liquid capacity (2ml TPD)
- 24.5mm Diameter
- 52.5mm Height with drip tip
- Slide-to-fill cap
- Compatible with new GTI coil system
- 3-way Turbo air-flow system
- Top filling
- Liquid self-cleaning system
Contents:
- 1x Gen 200 mod
- 1x Complete i-Tank
- 1x GTi 0.2Ω mesh coil (pre-installed (60-75w))
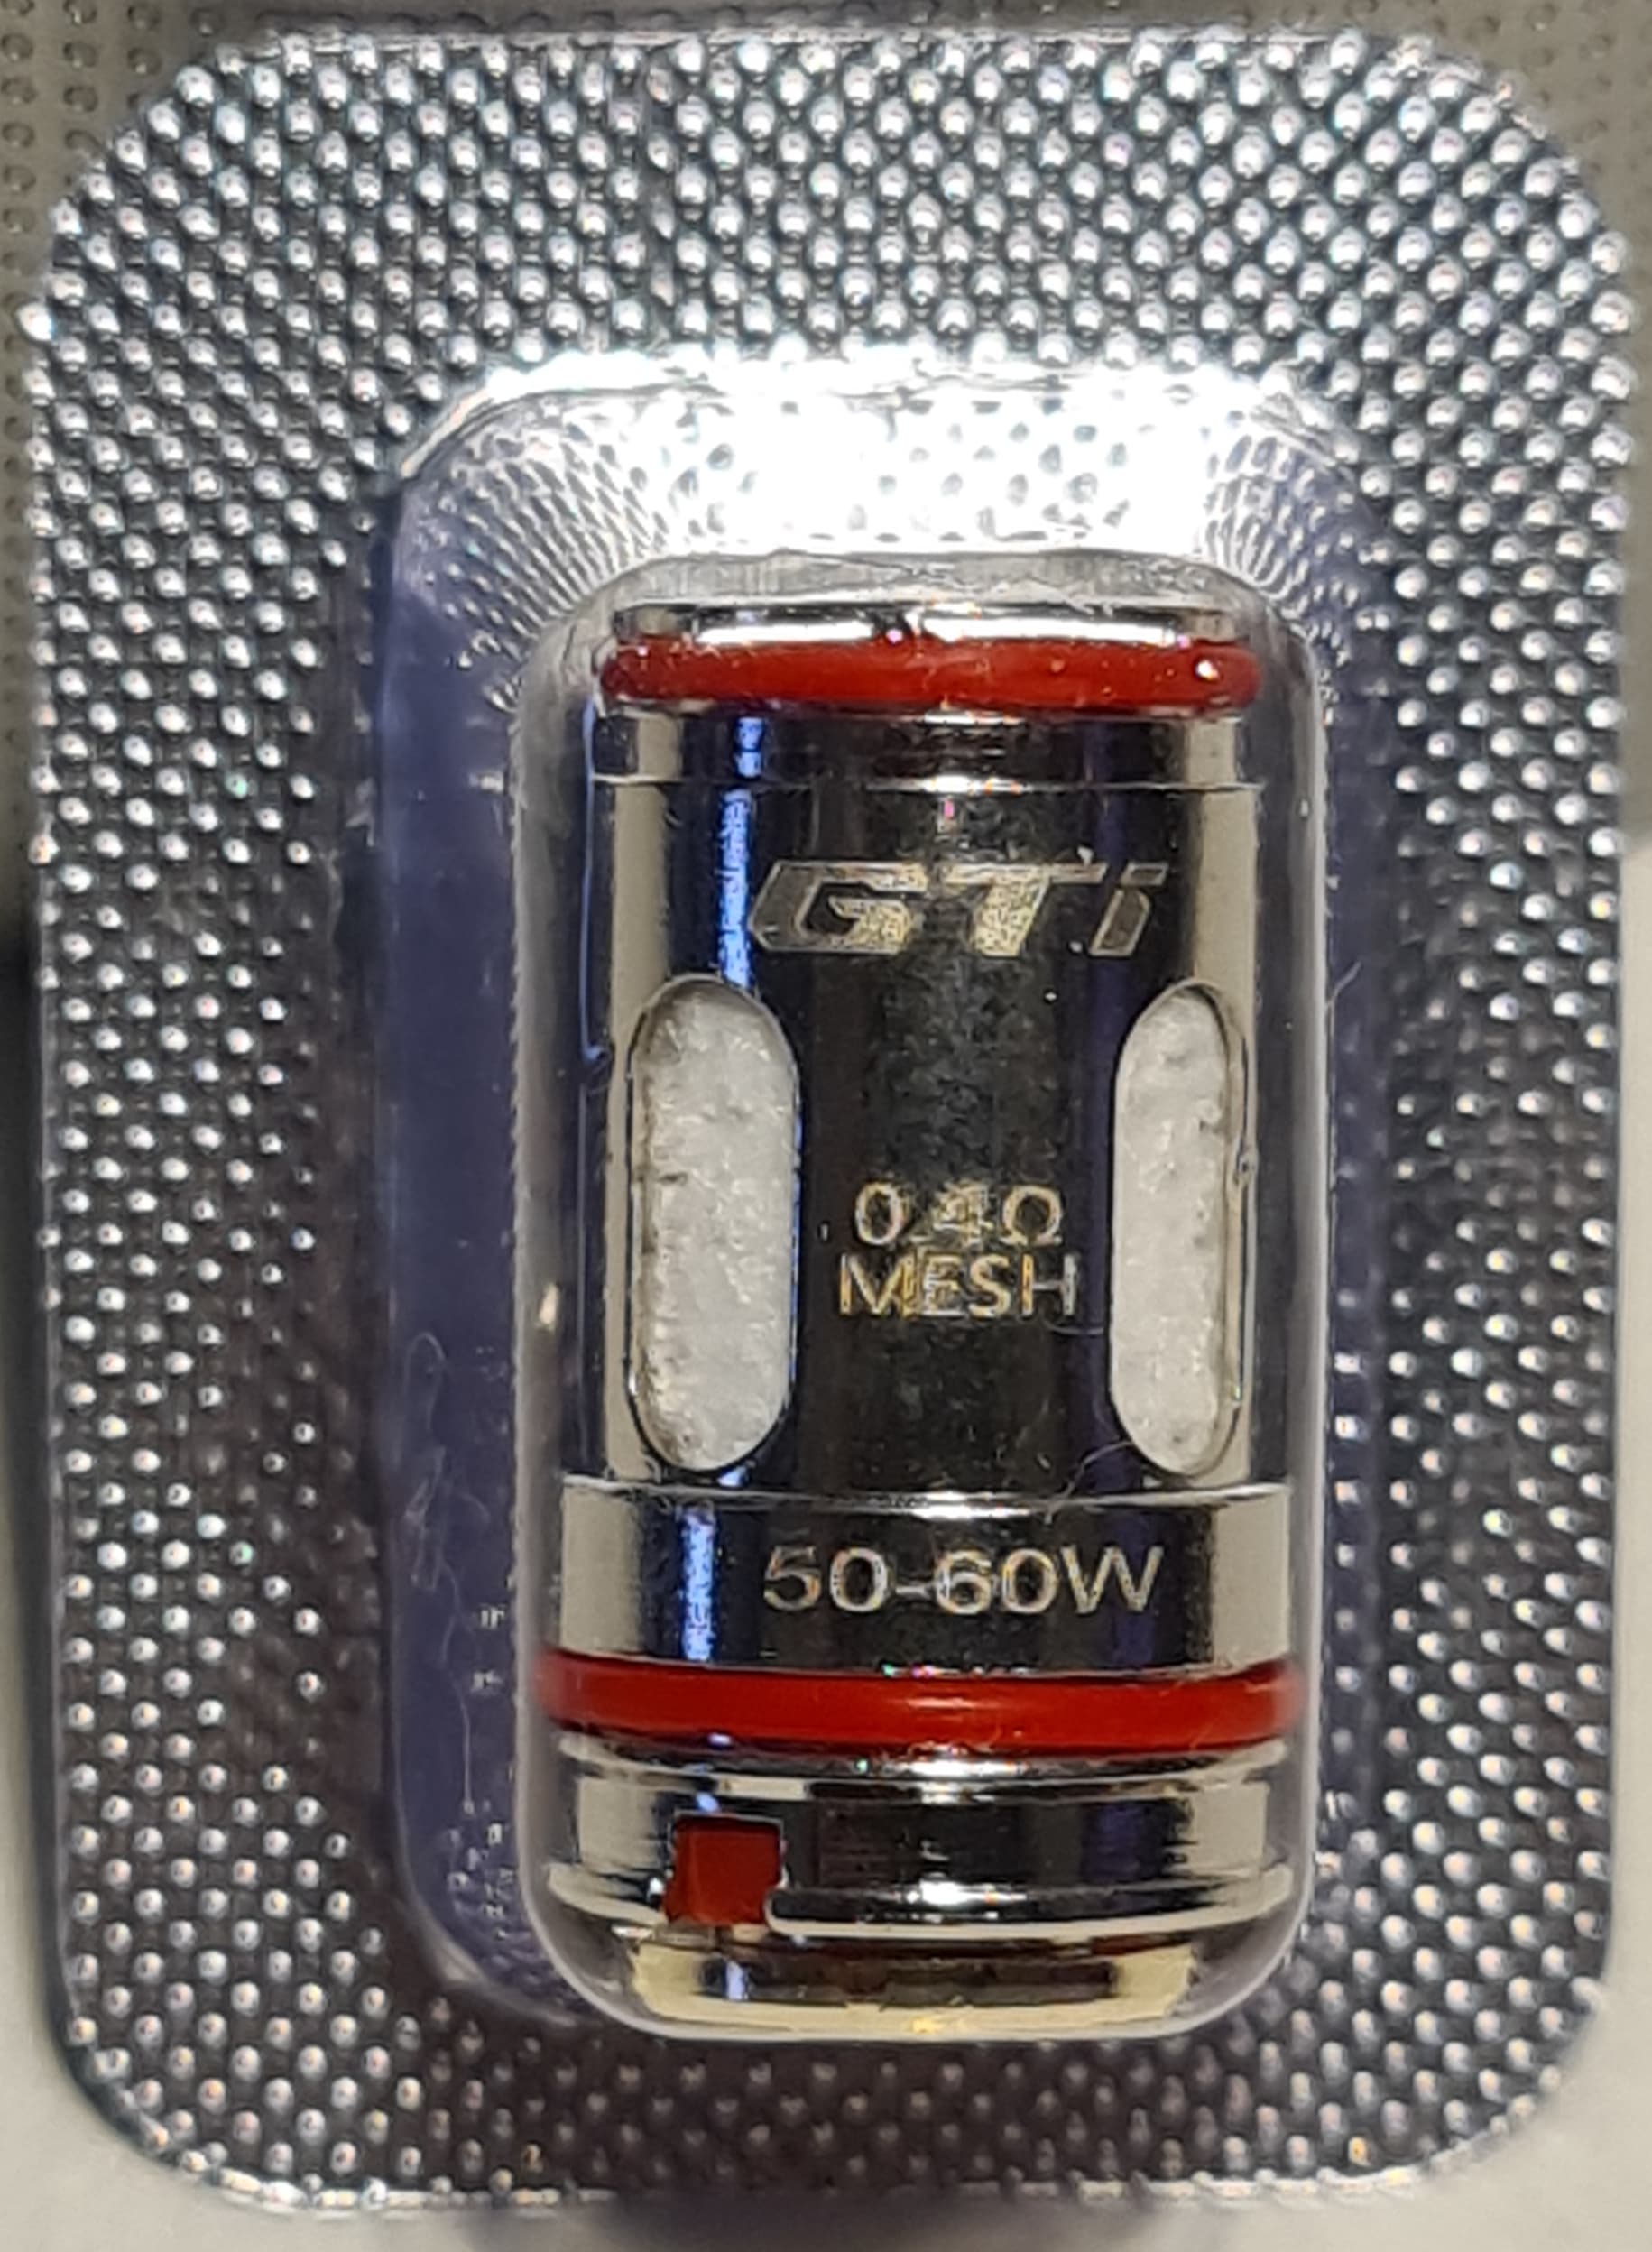
- 1x GTi 0.4Ω mesh coil (50 - 60w)
- 1x Spare straight glass
- 3x Spare o-rings
- 1x USB Type-C cable
- User manual
- Warranty card
Packaging:
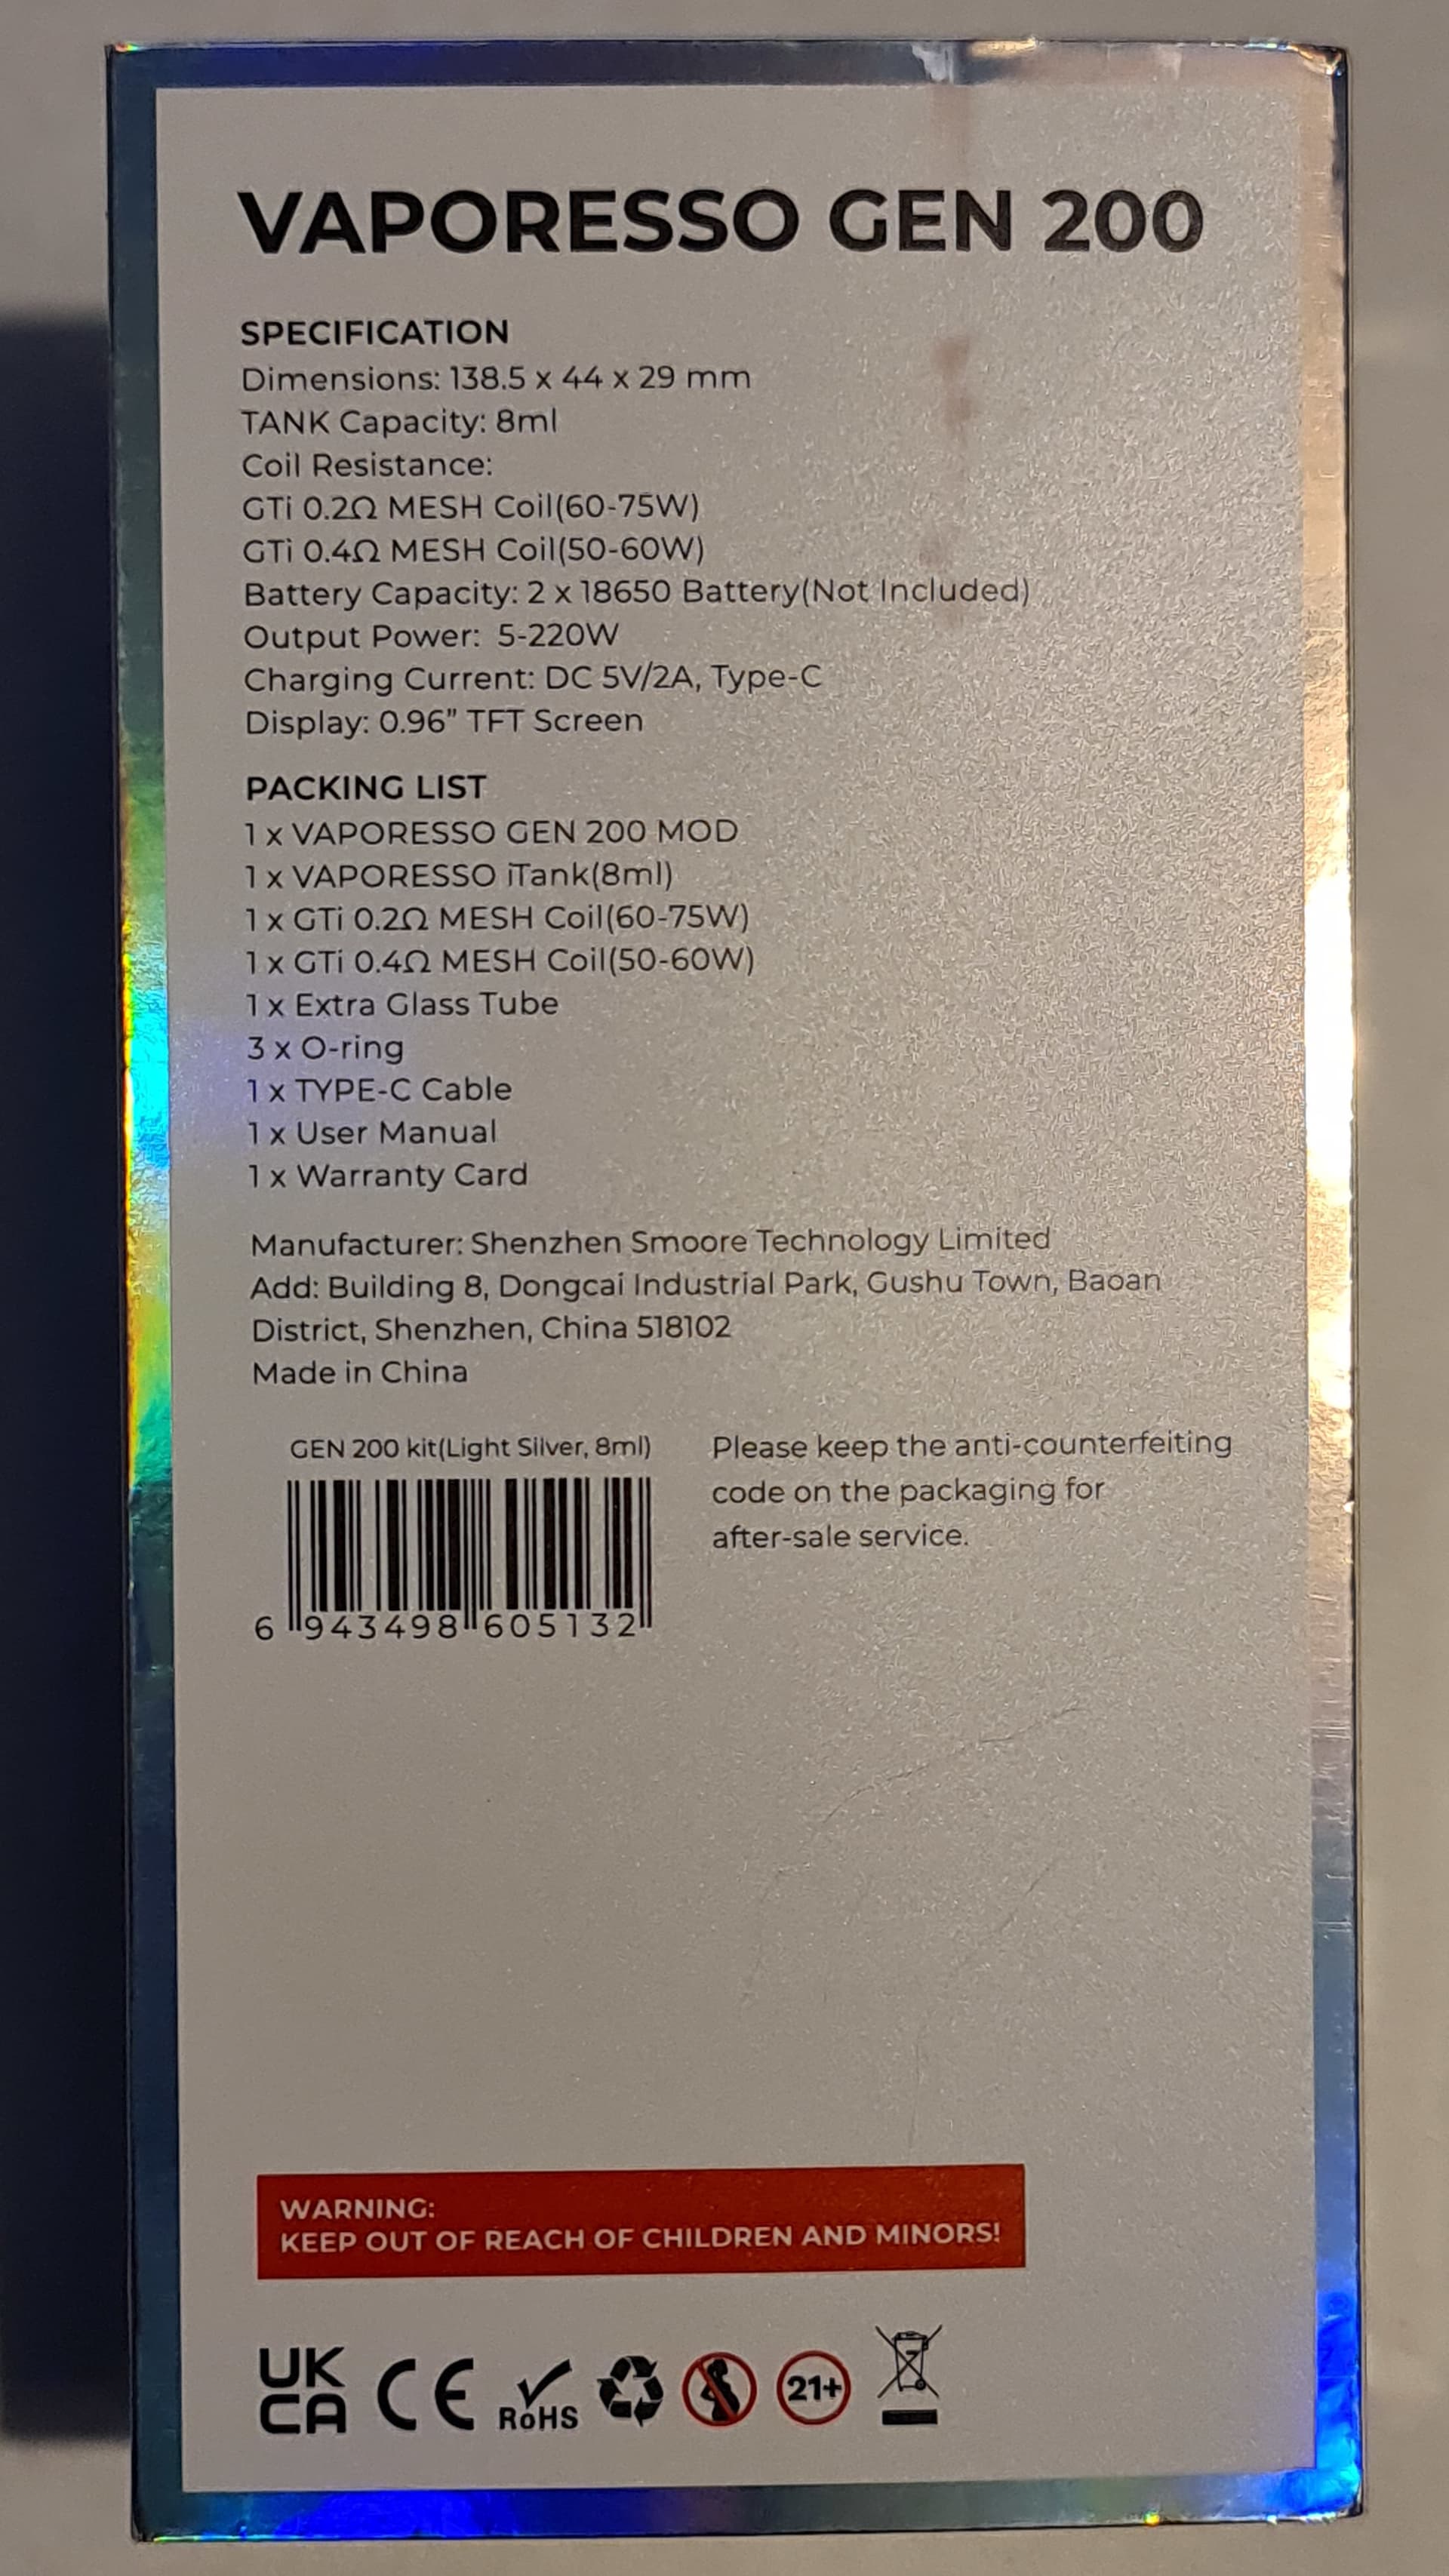
For the packaging we’ve got an outer sleeve showing the kit on the front and a bunch of specs and the contents on the back.

The sides show the model name on one side and on the other side some info about the logo change and an authenticity label.


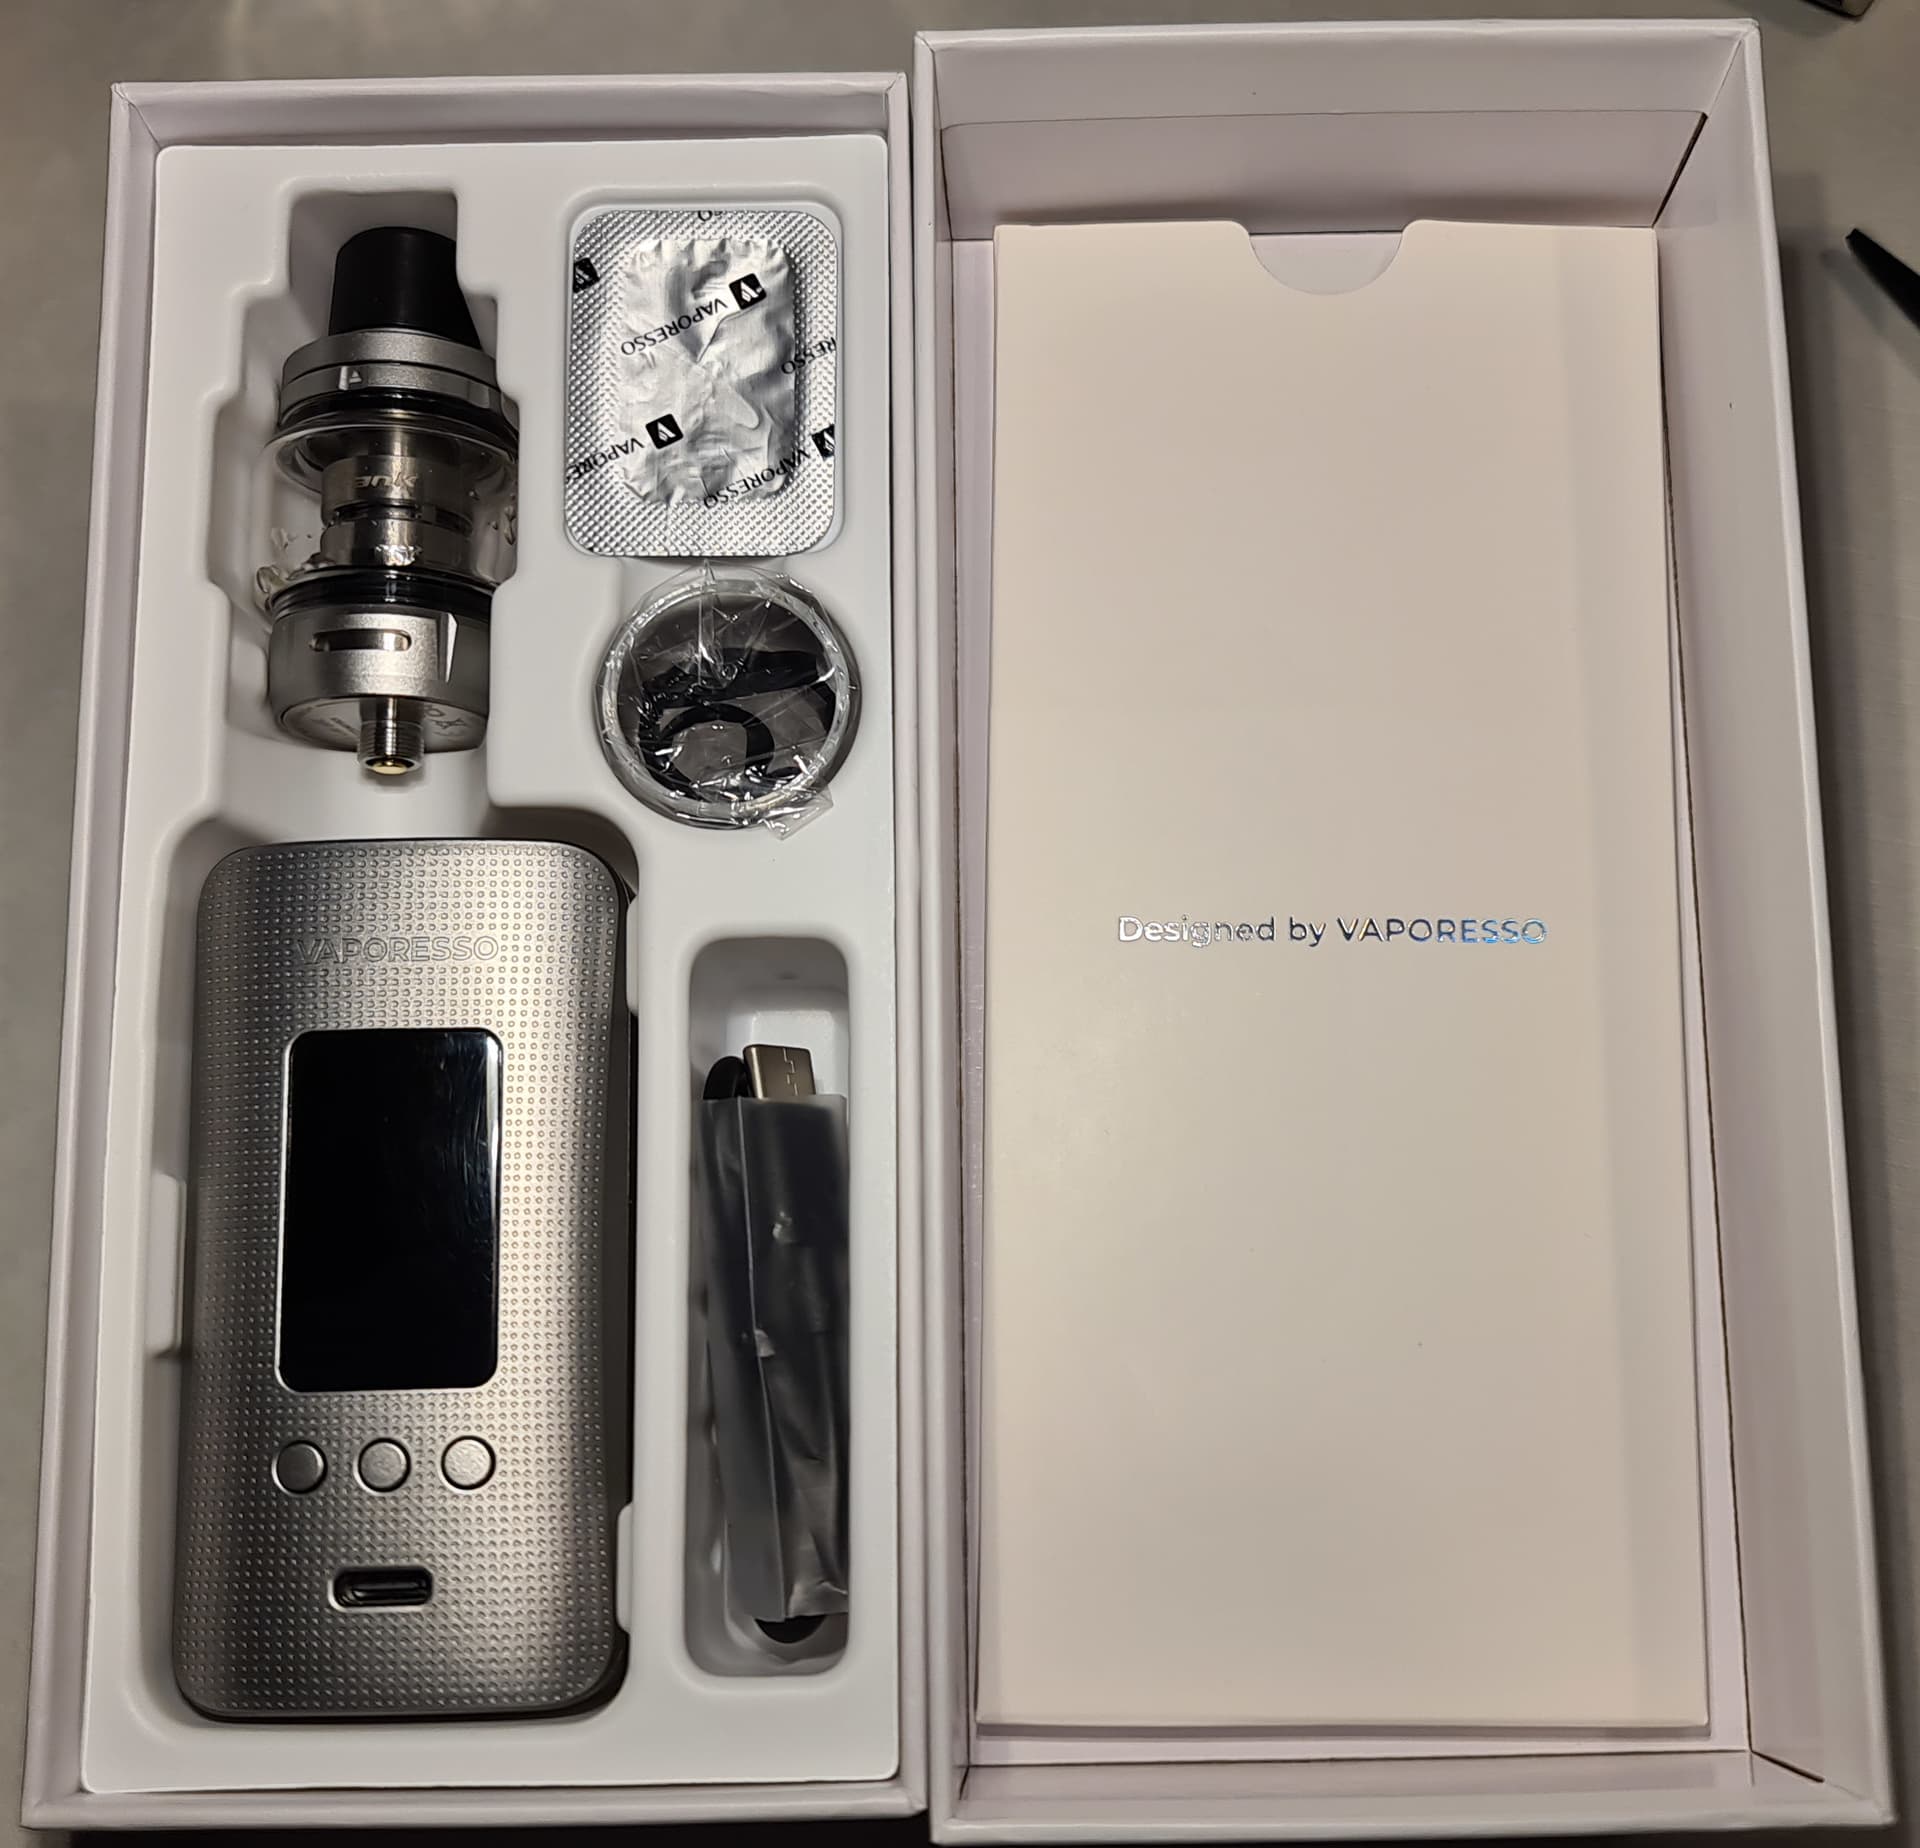
Once you remove the outer sleeve and open the box you’ll find a white envelope covering everything below.

Removing the white envelope we find inside it the user manual and warranty card. The writing in the user manual is very small and can be challenging to read properly.

Moving along, the box contains the tank and mod, a spare glass and 3 o-rings, 1 spare coil and the charging cable. Everything is well laid out with plenty of space while still well protected.
Once the box is relieved of it’s contents you’ll have this little pile of stuff:
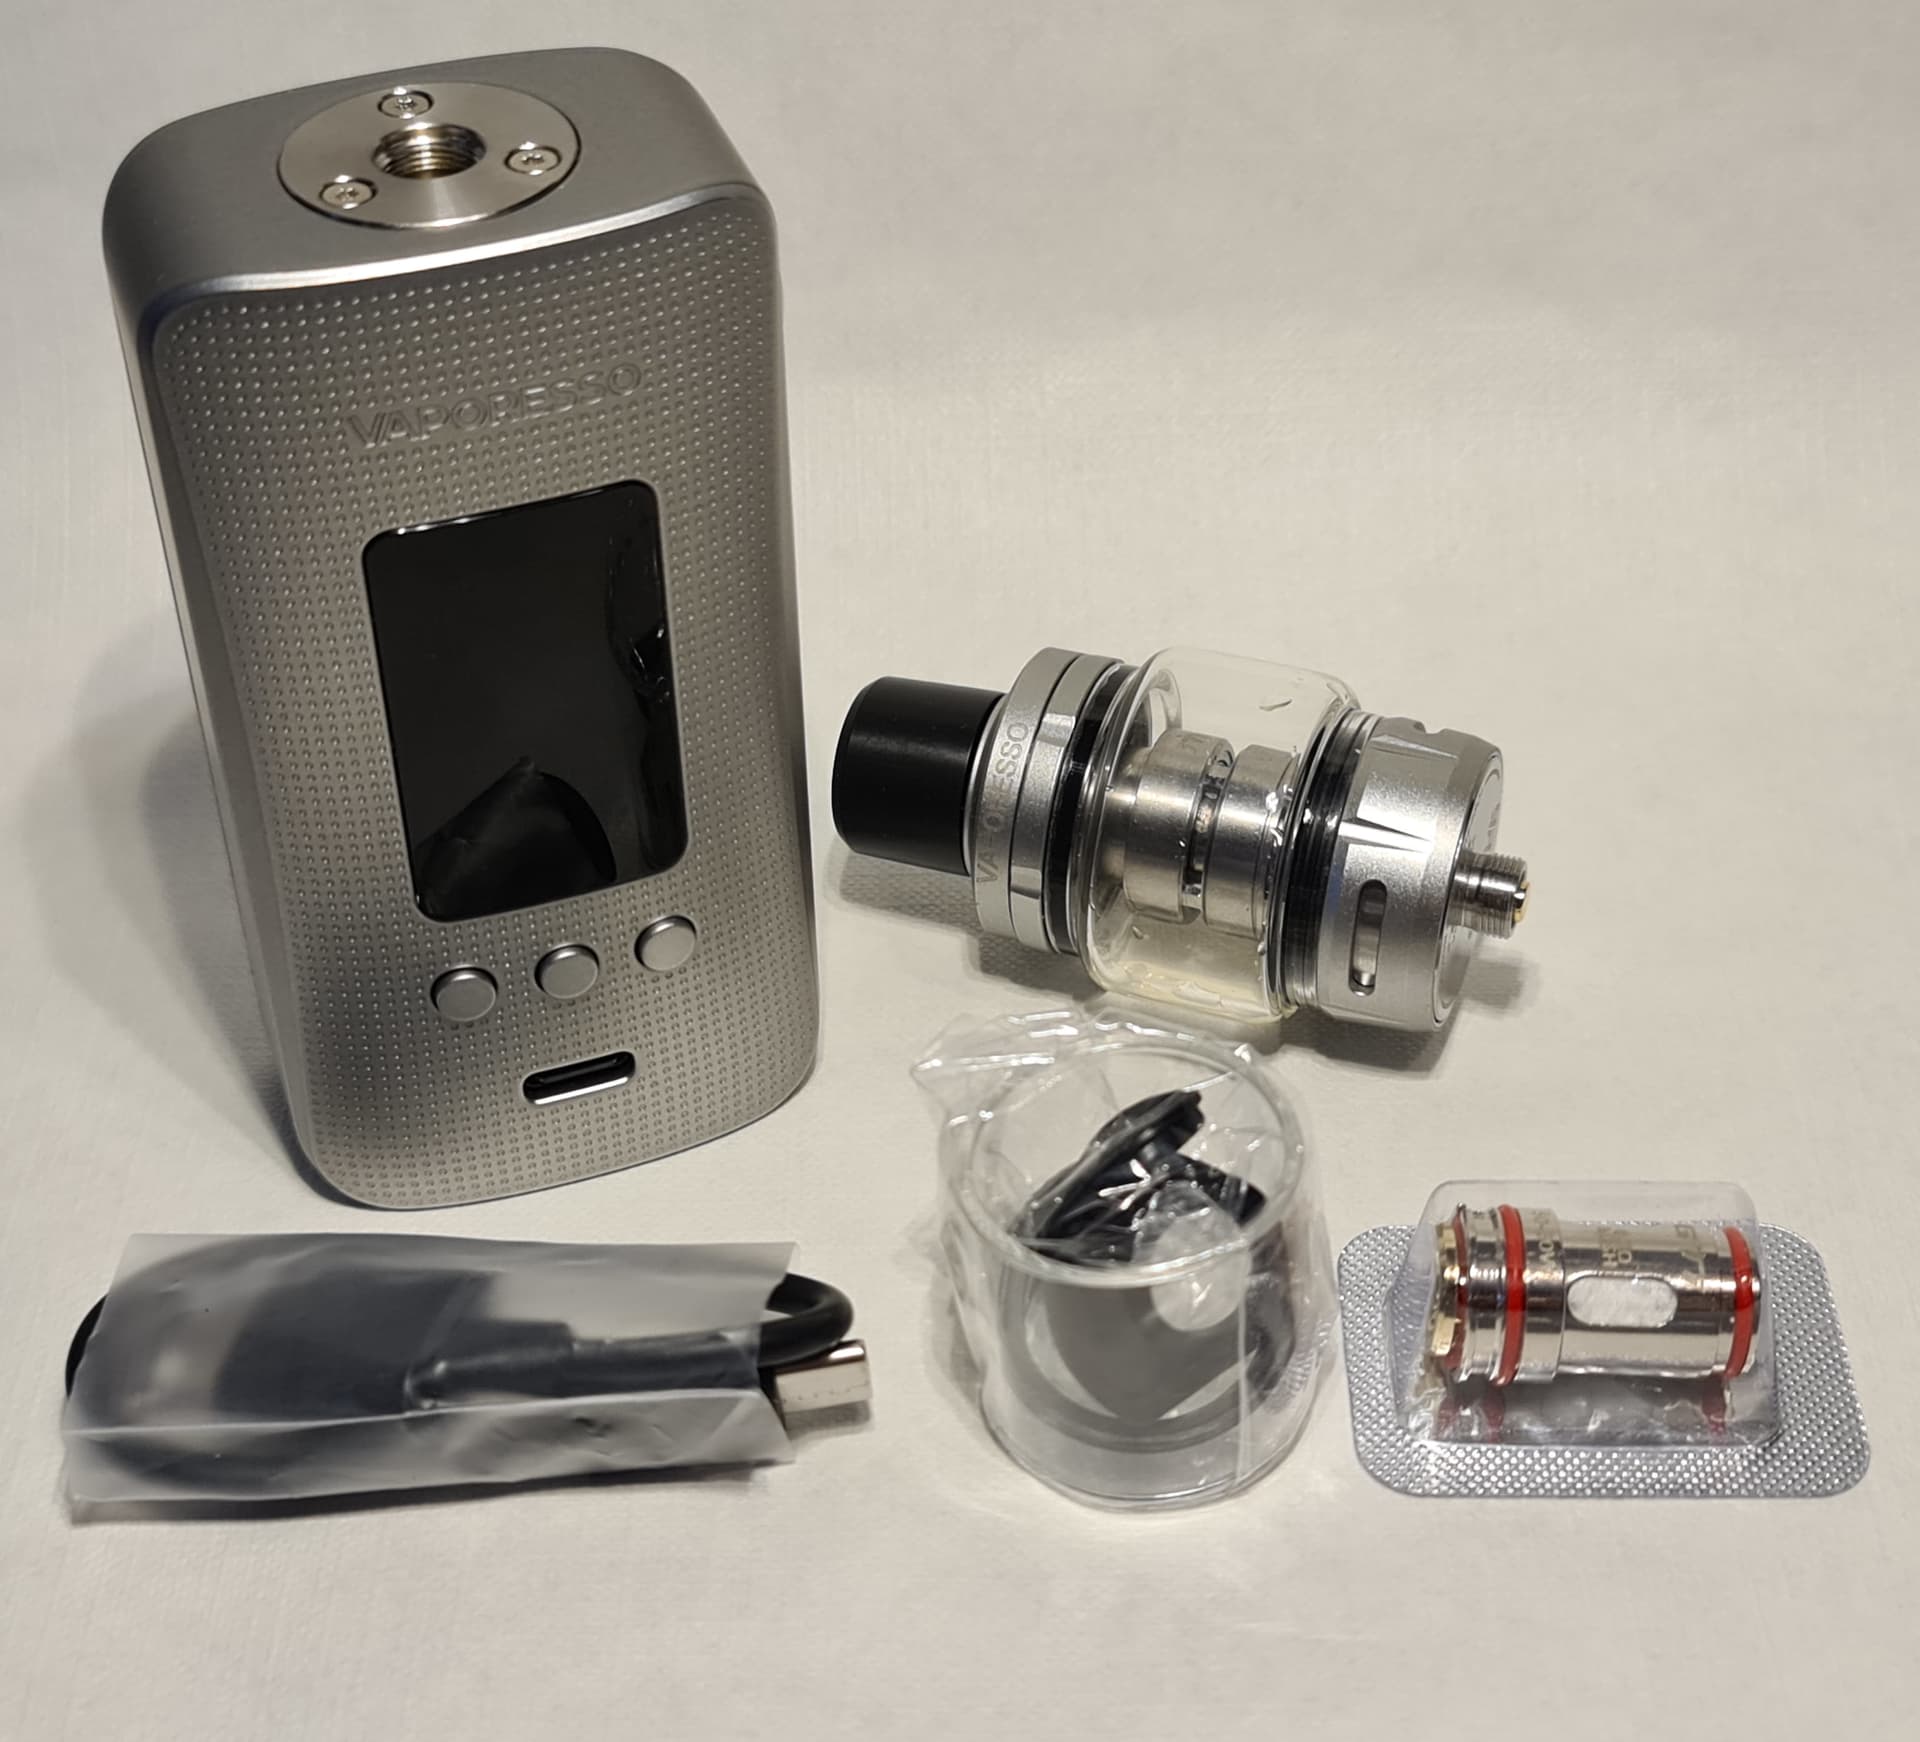
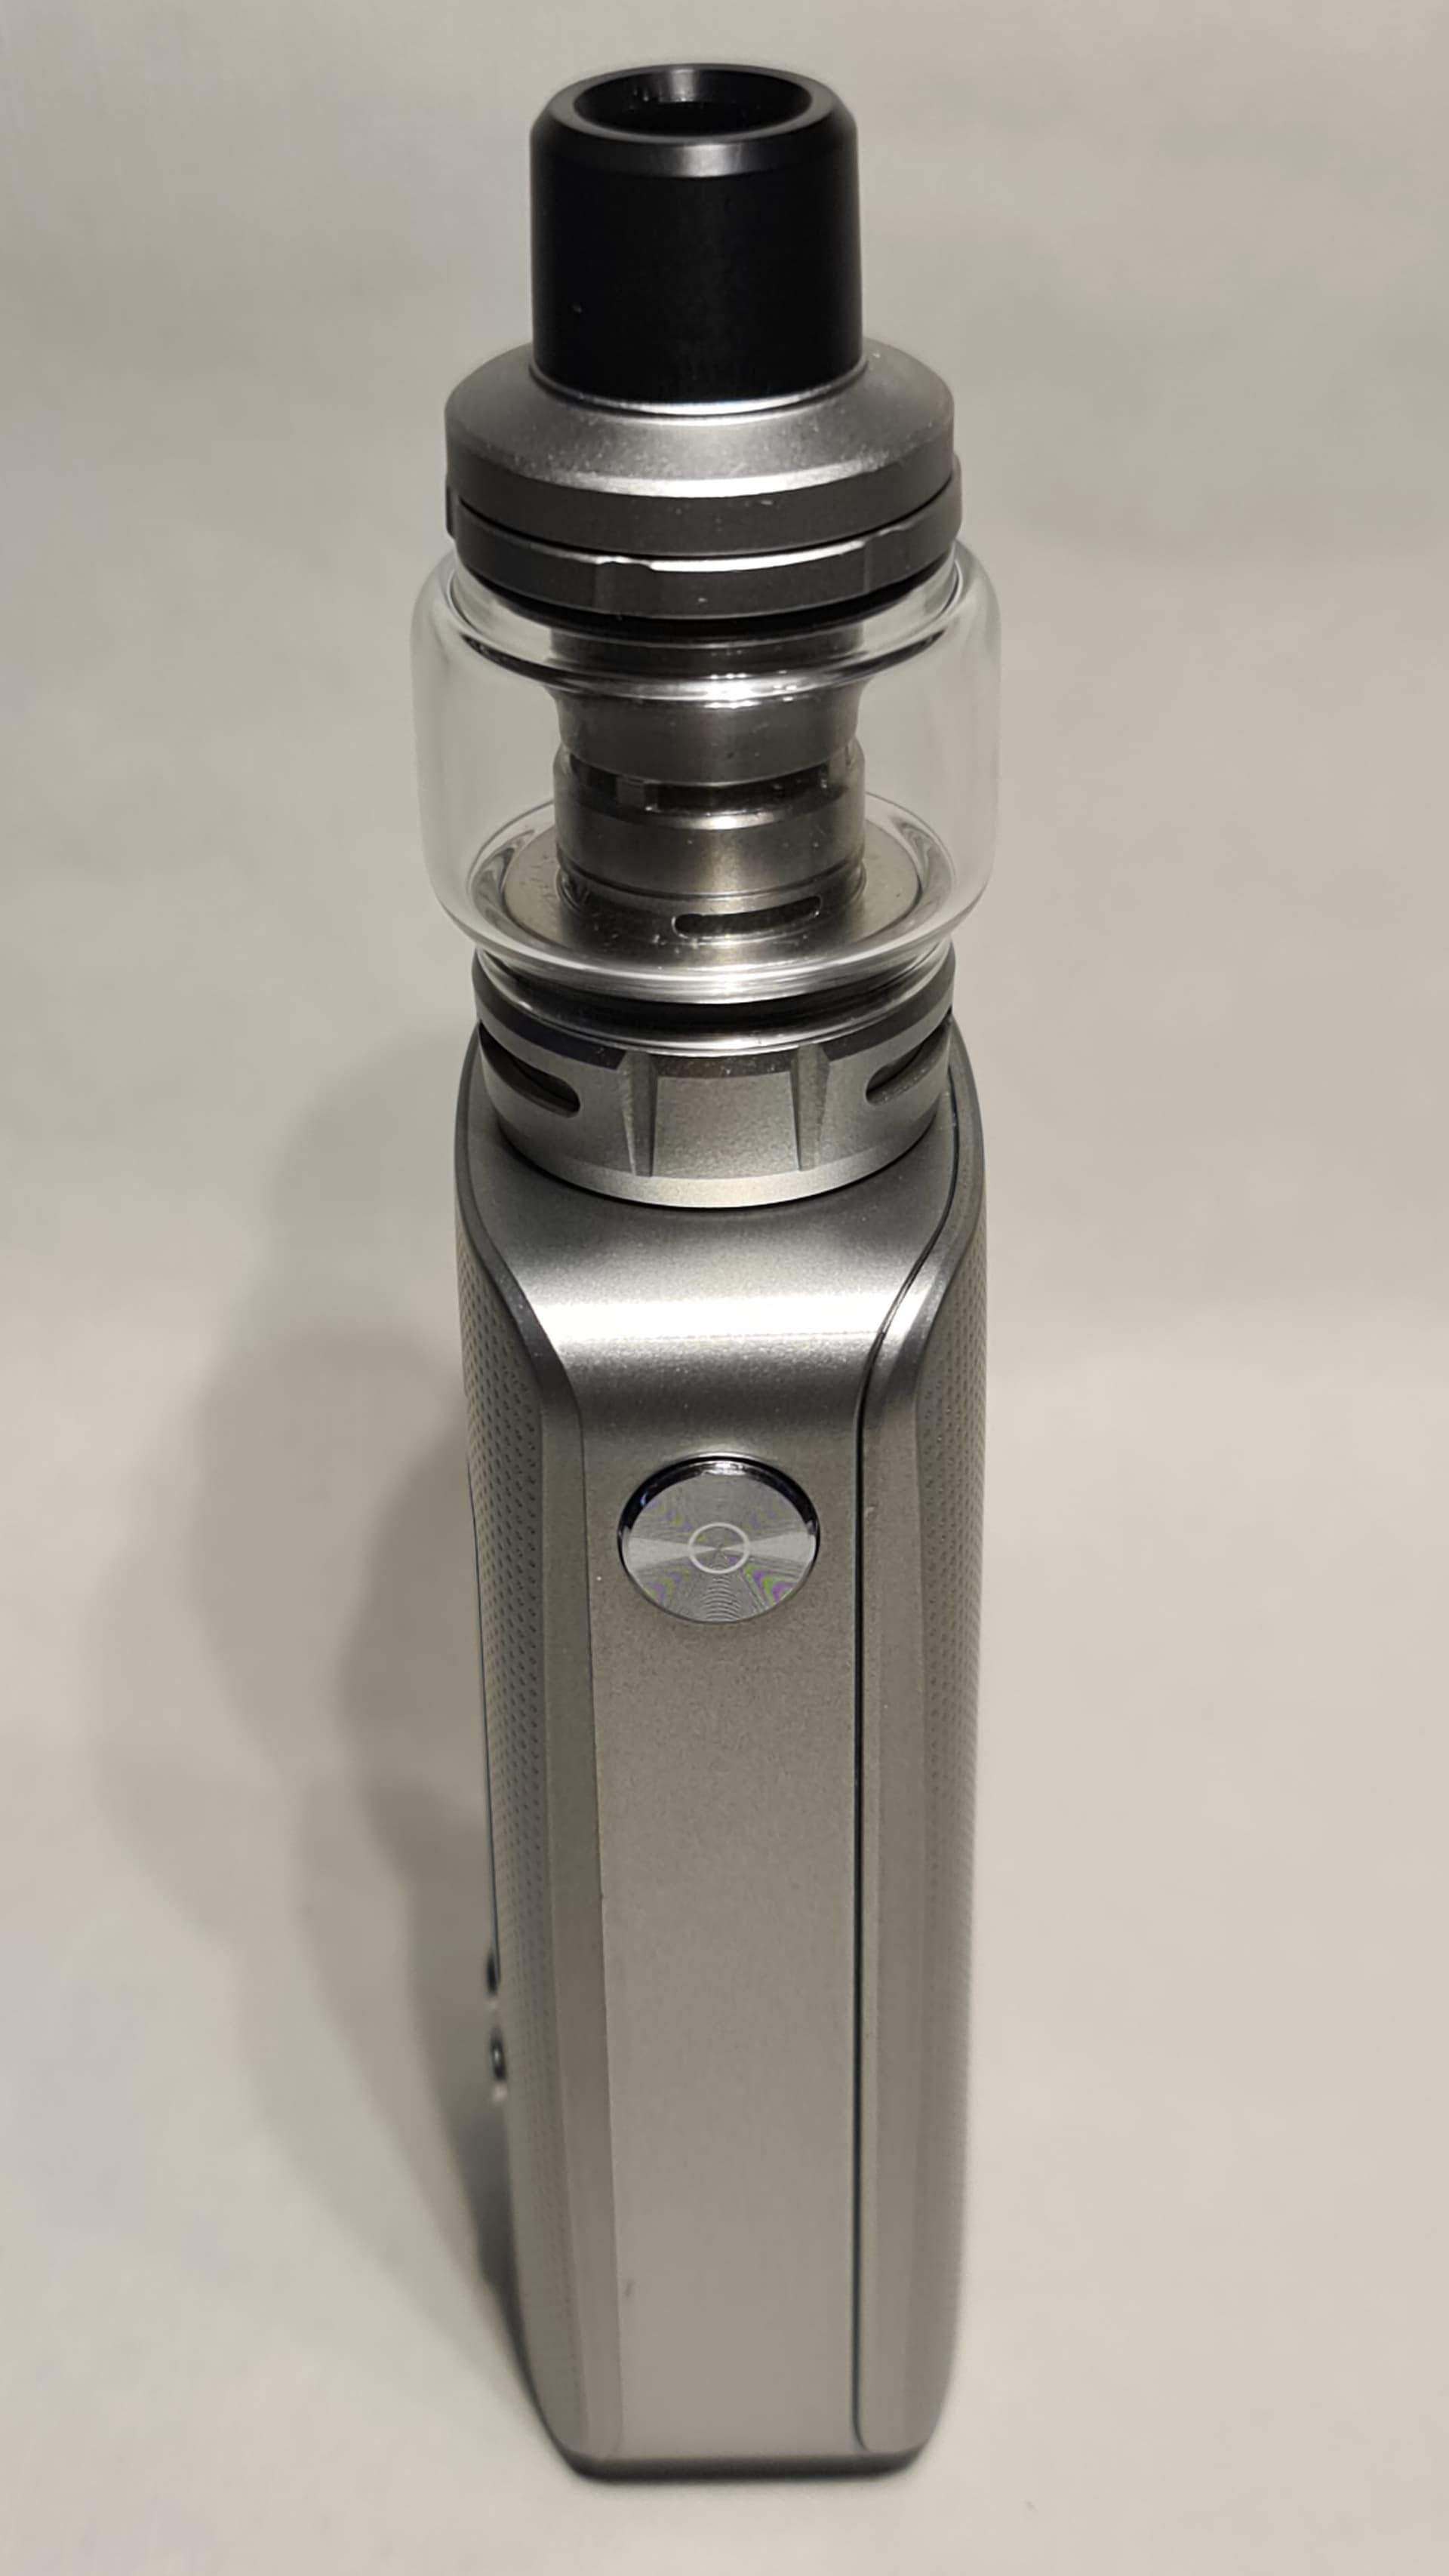
The mod itself is quite small and feels very nice in the hand with a good grippy rubber outer layer on the main body. Here on the front you can see the screen above the 3 menu buttons and at the bottom, the USB type-c socket.

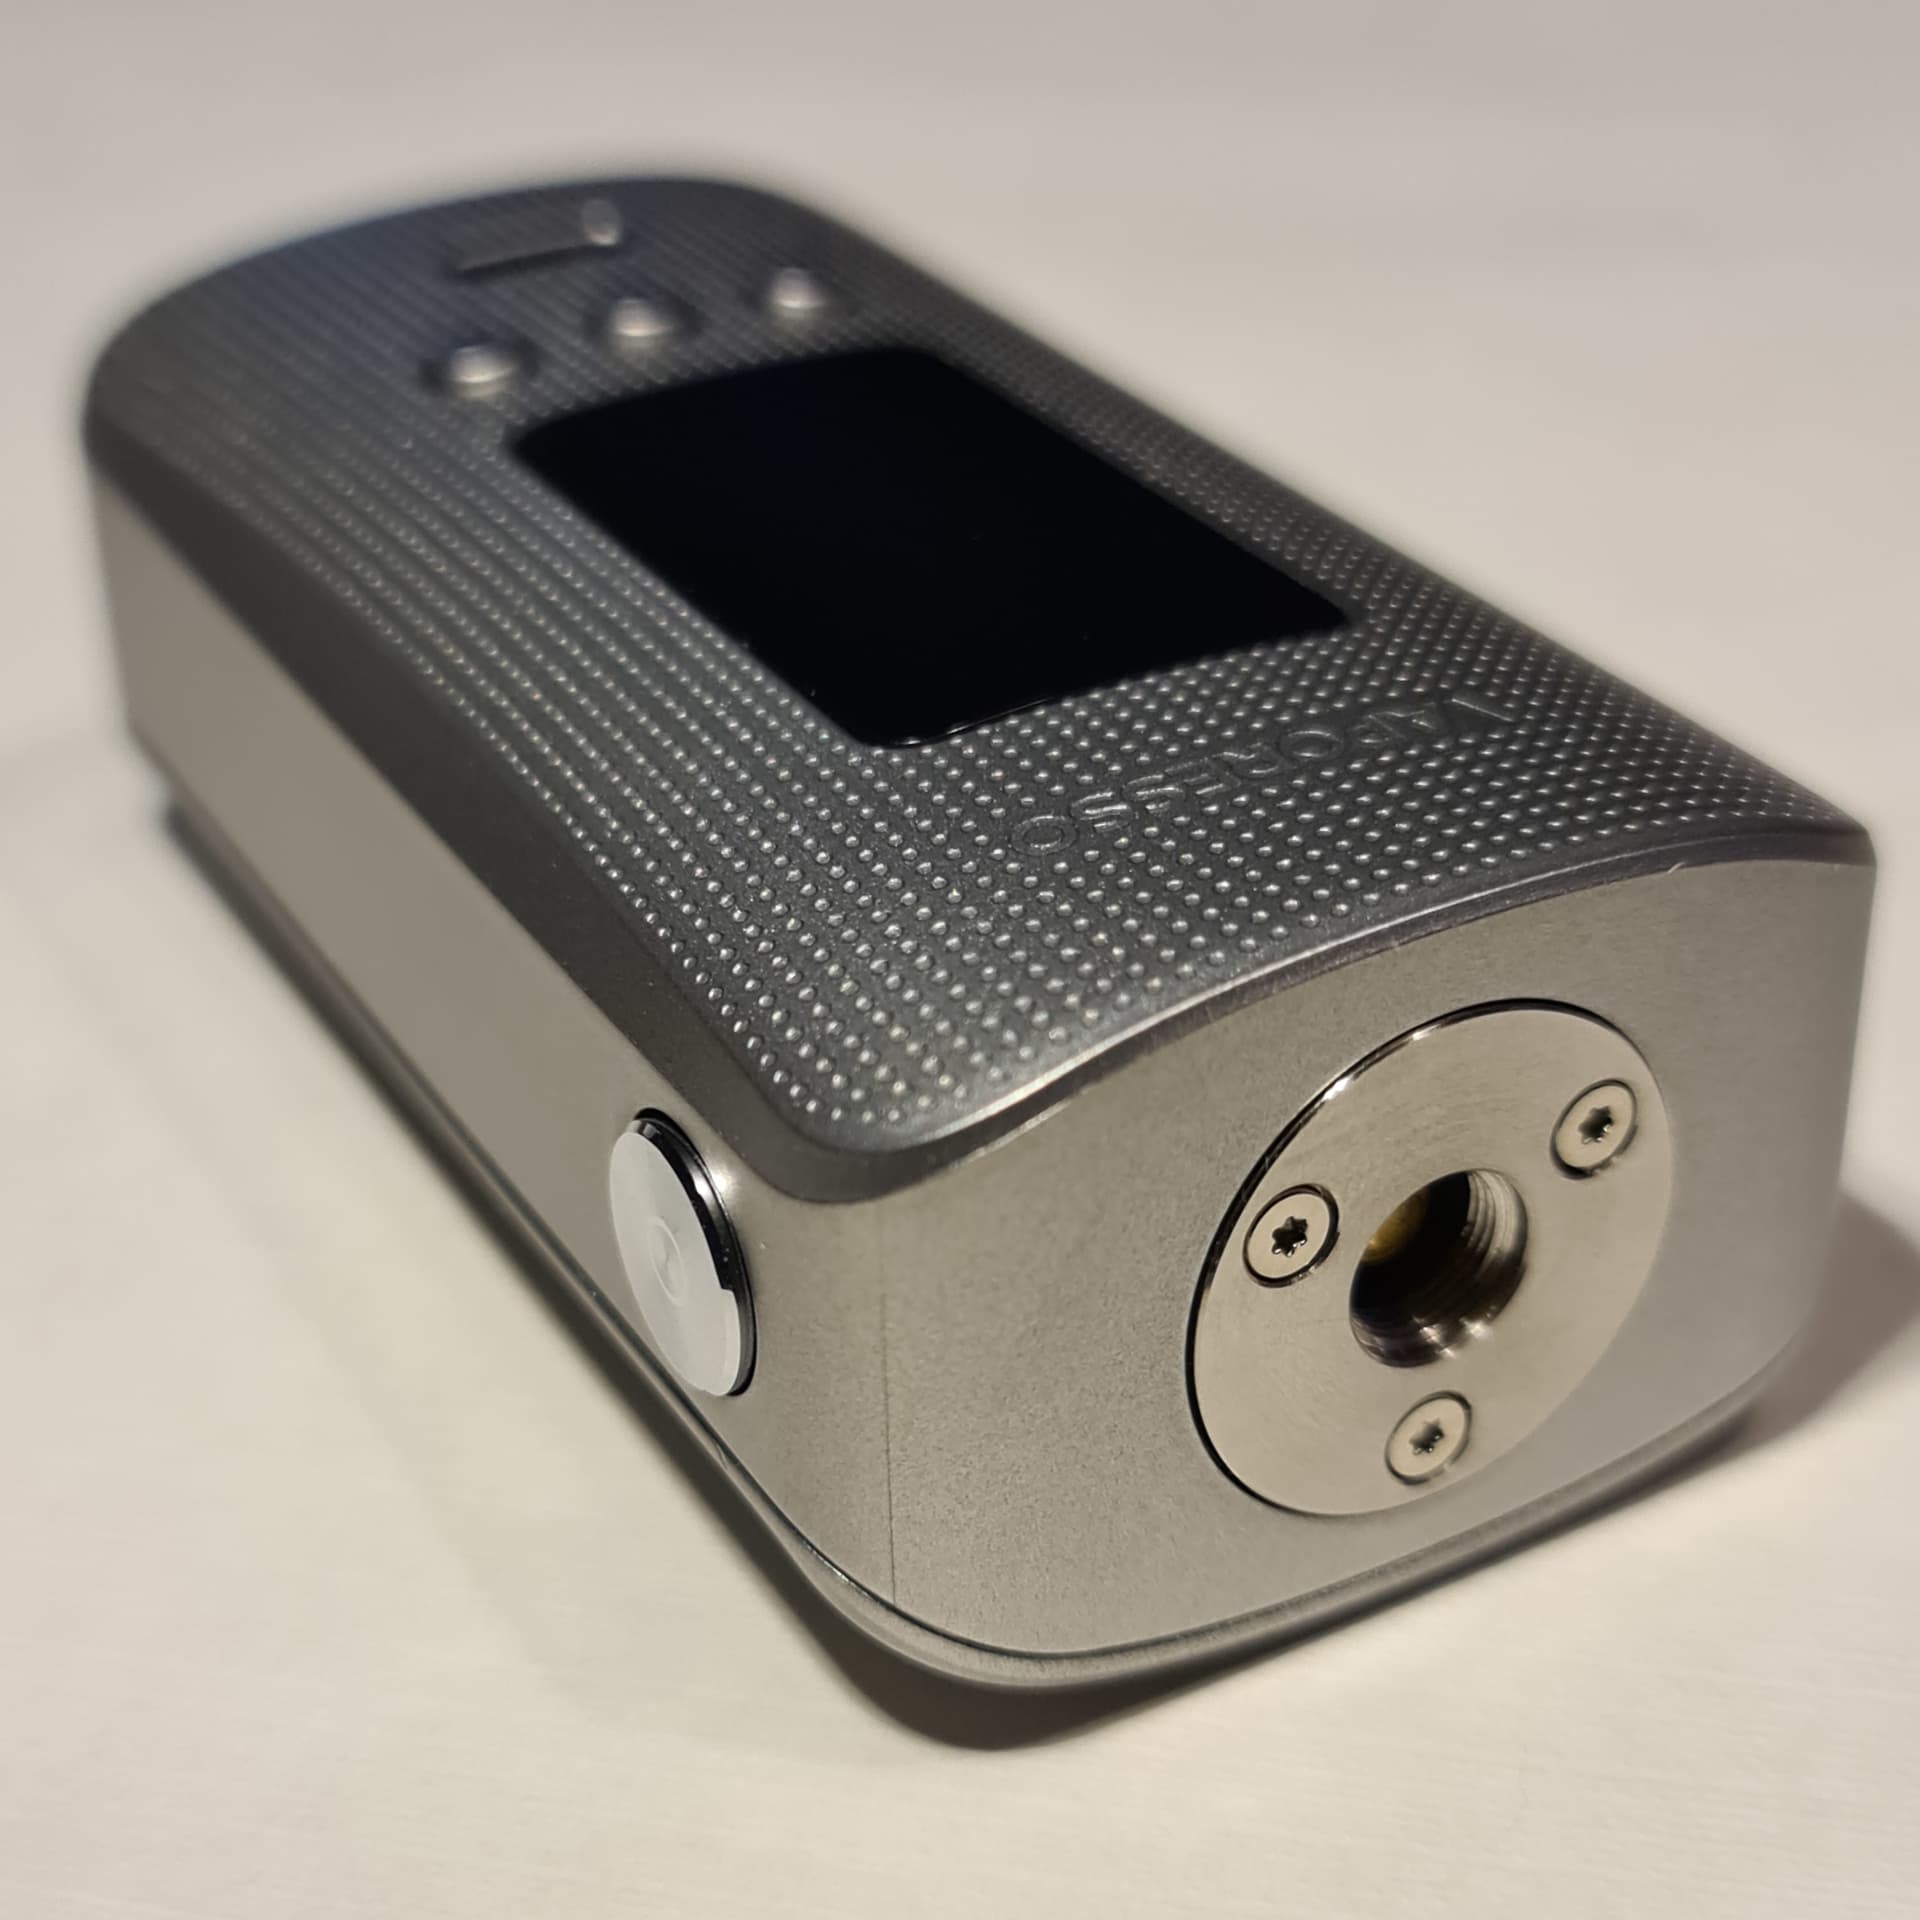
The fire button is located on one side of the mod and is well placed for use with either a finger or thumb.

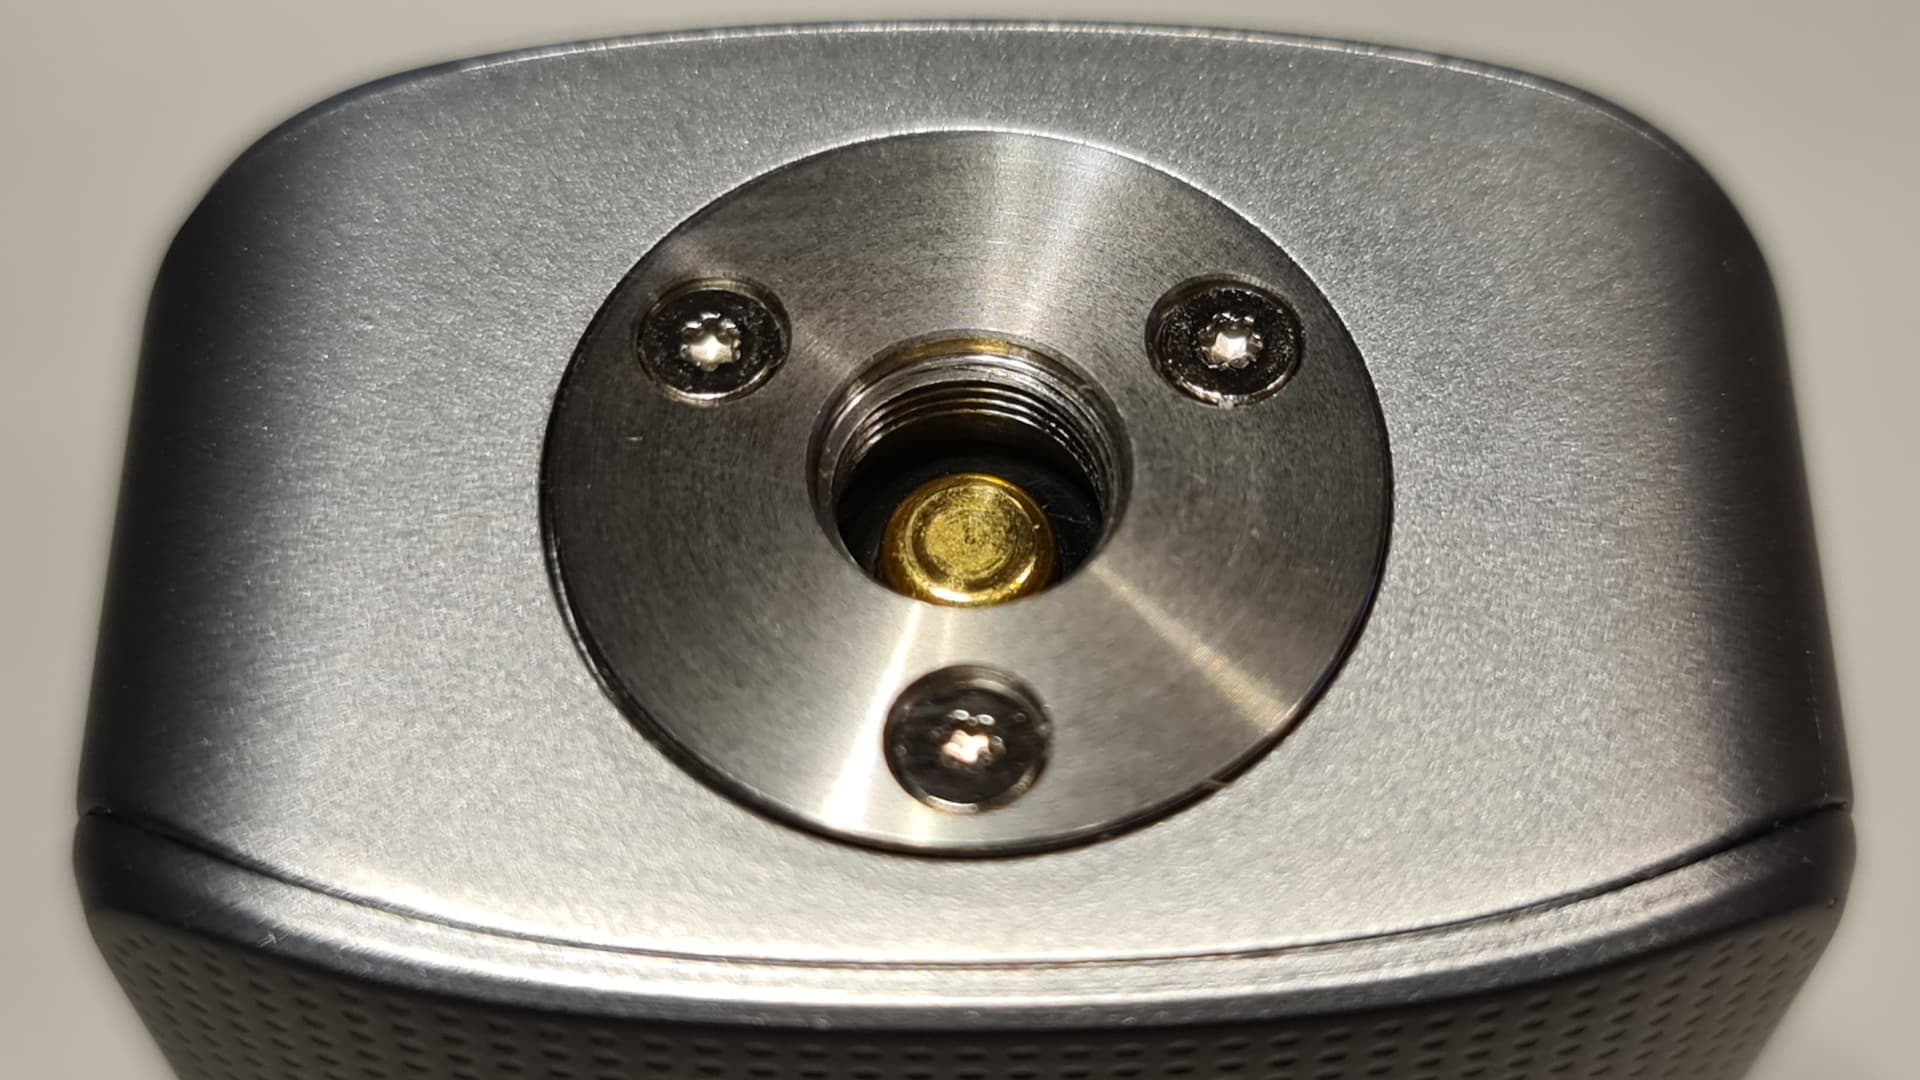
Up top we have a gold plated pin in the 510 connector.
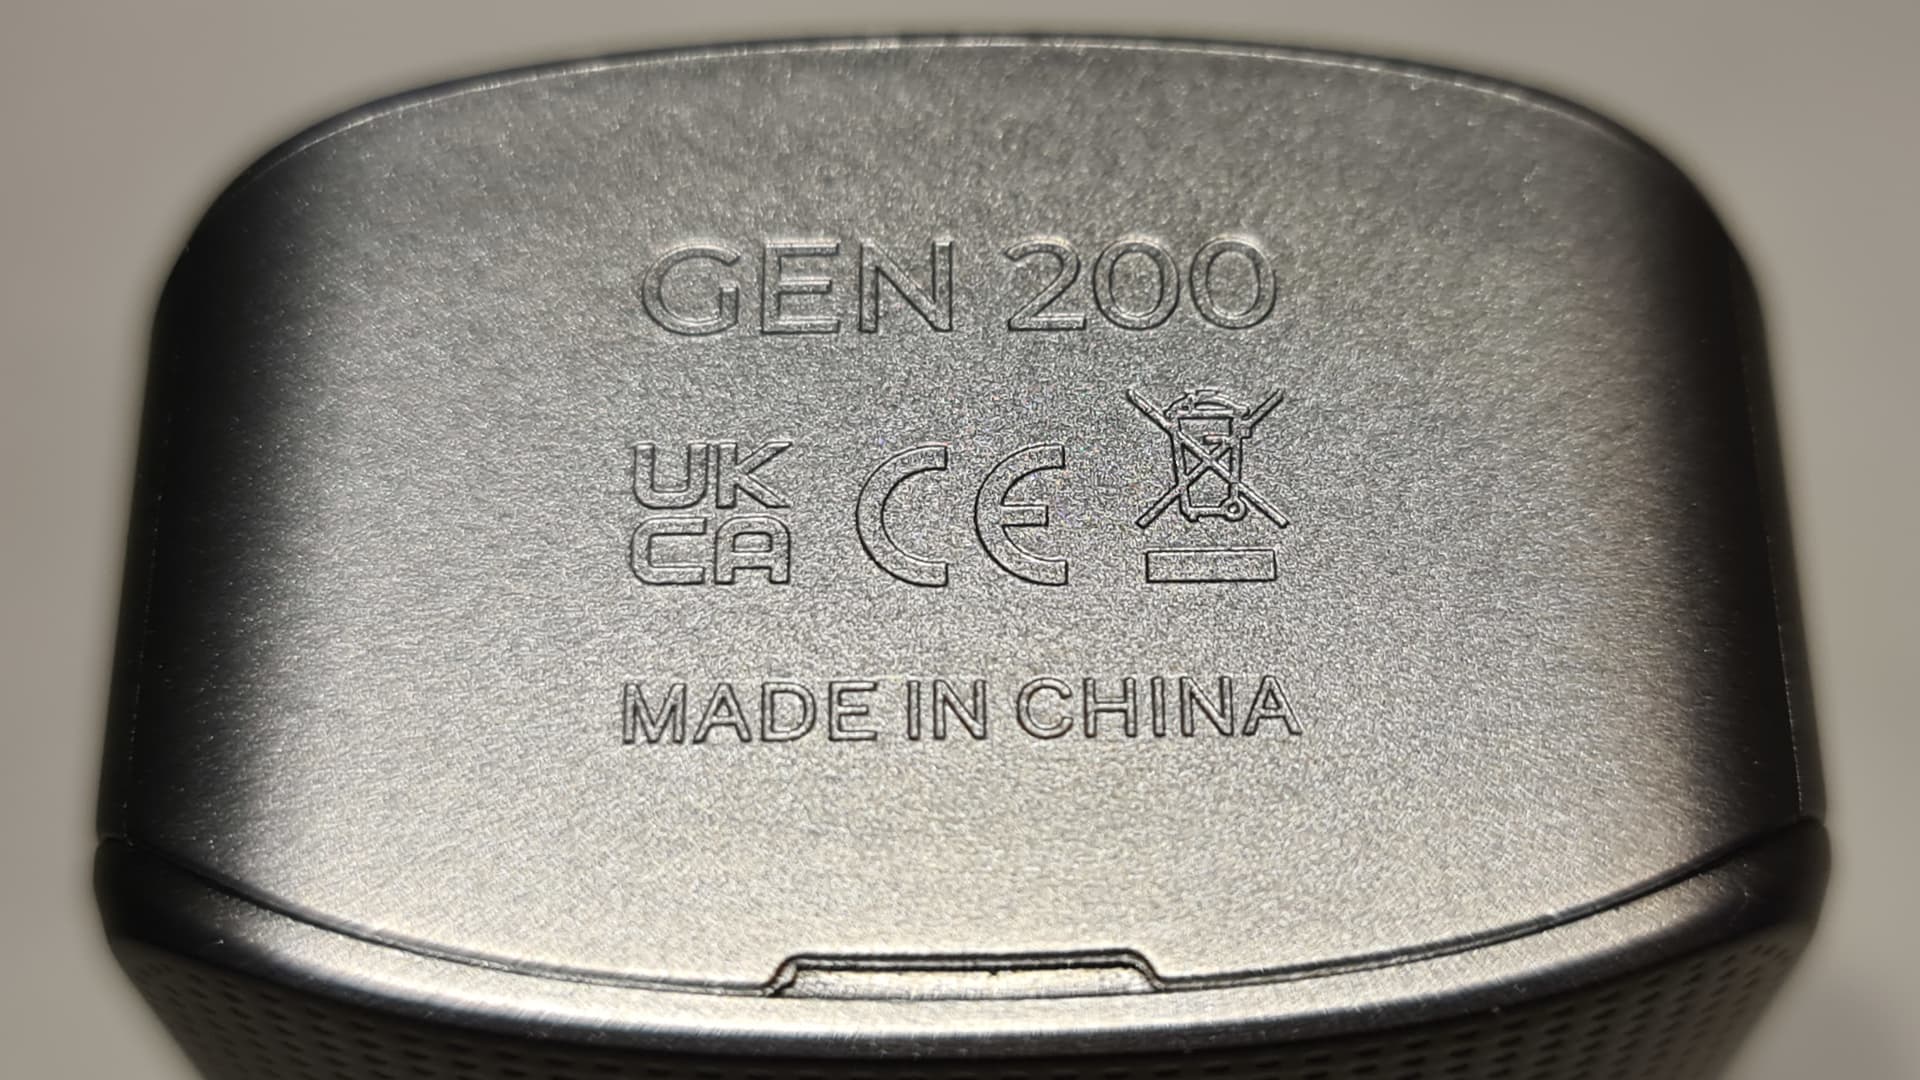
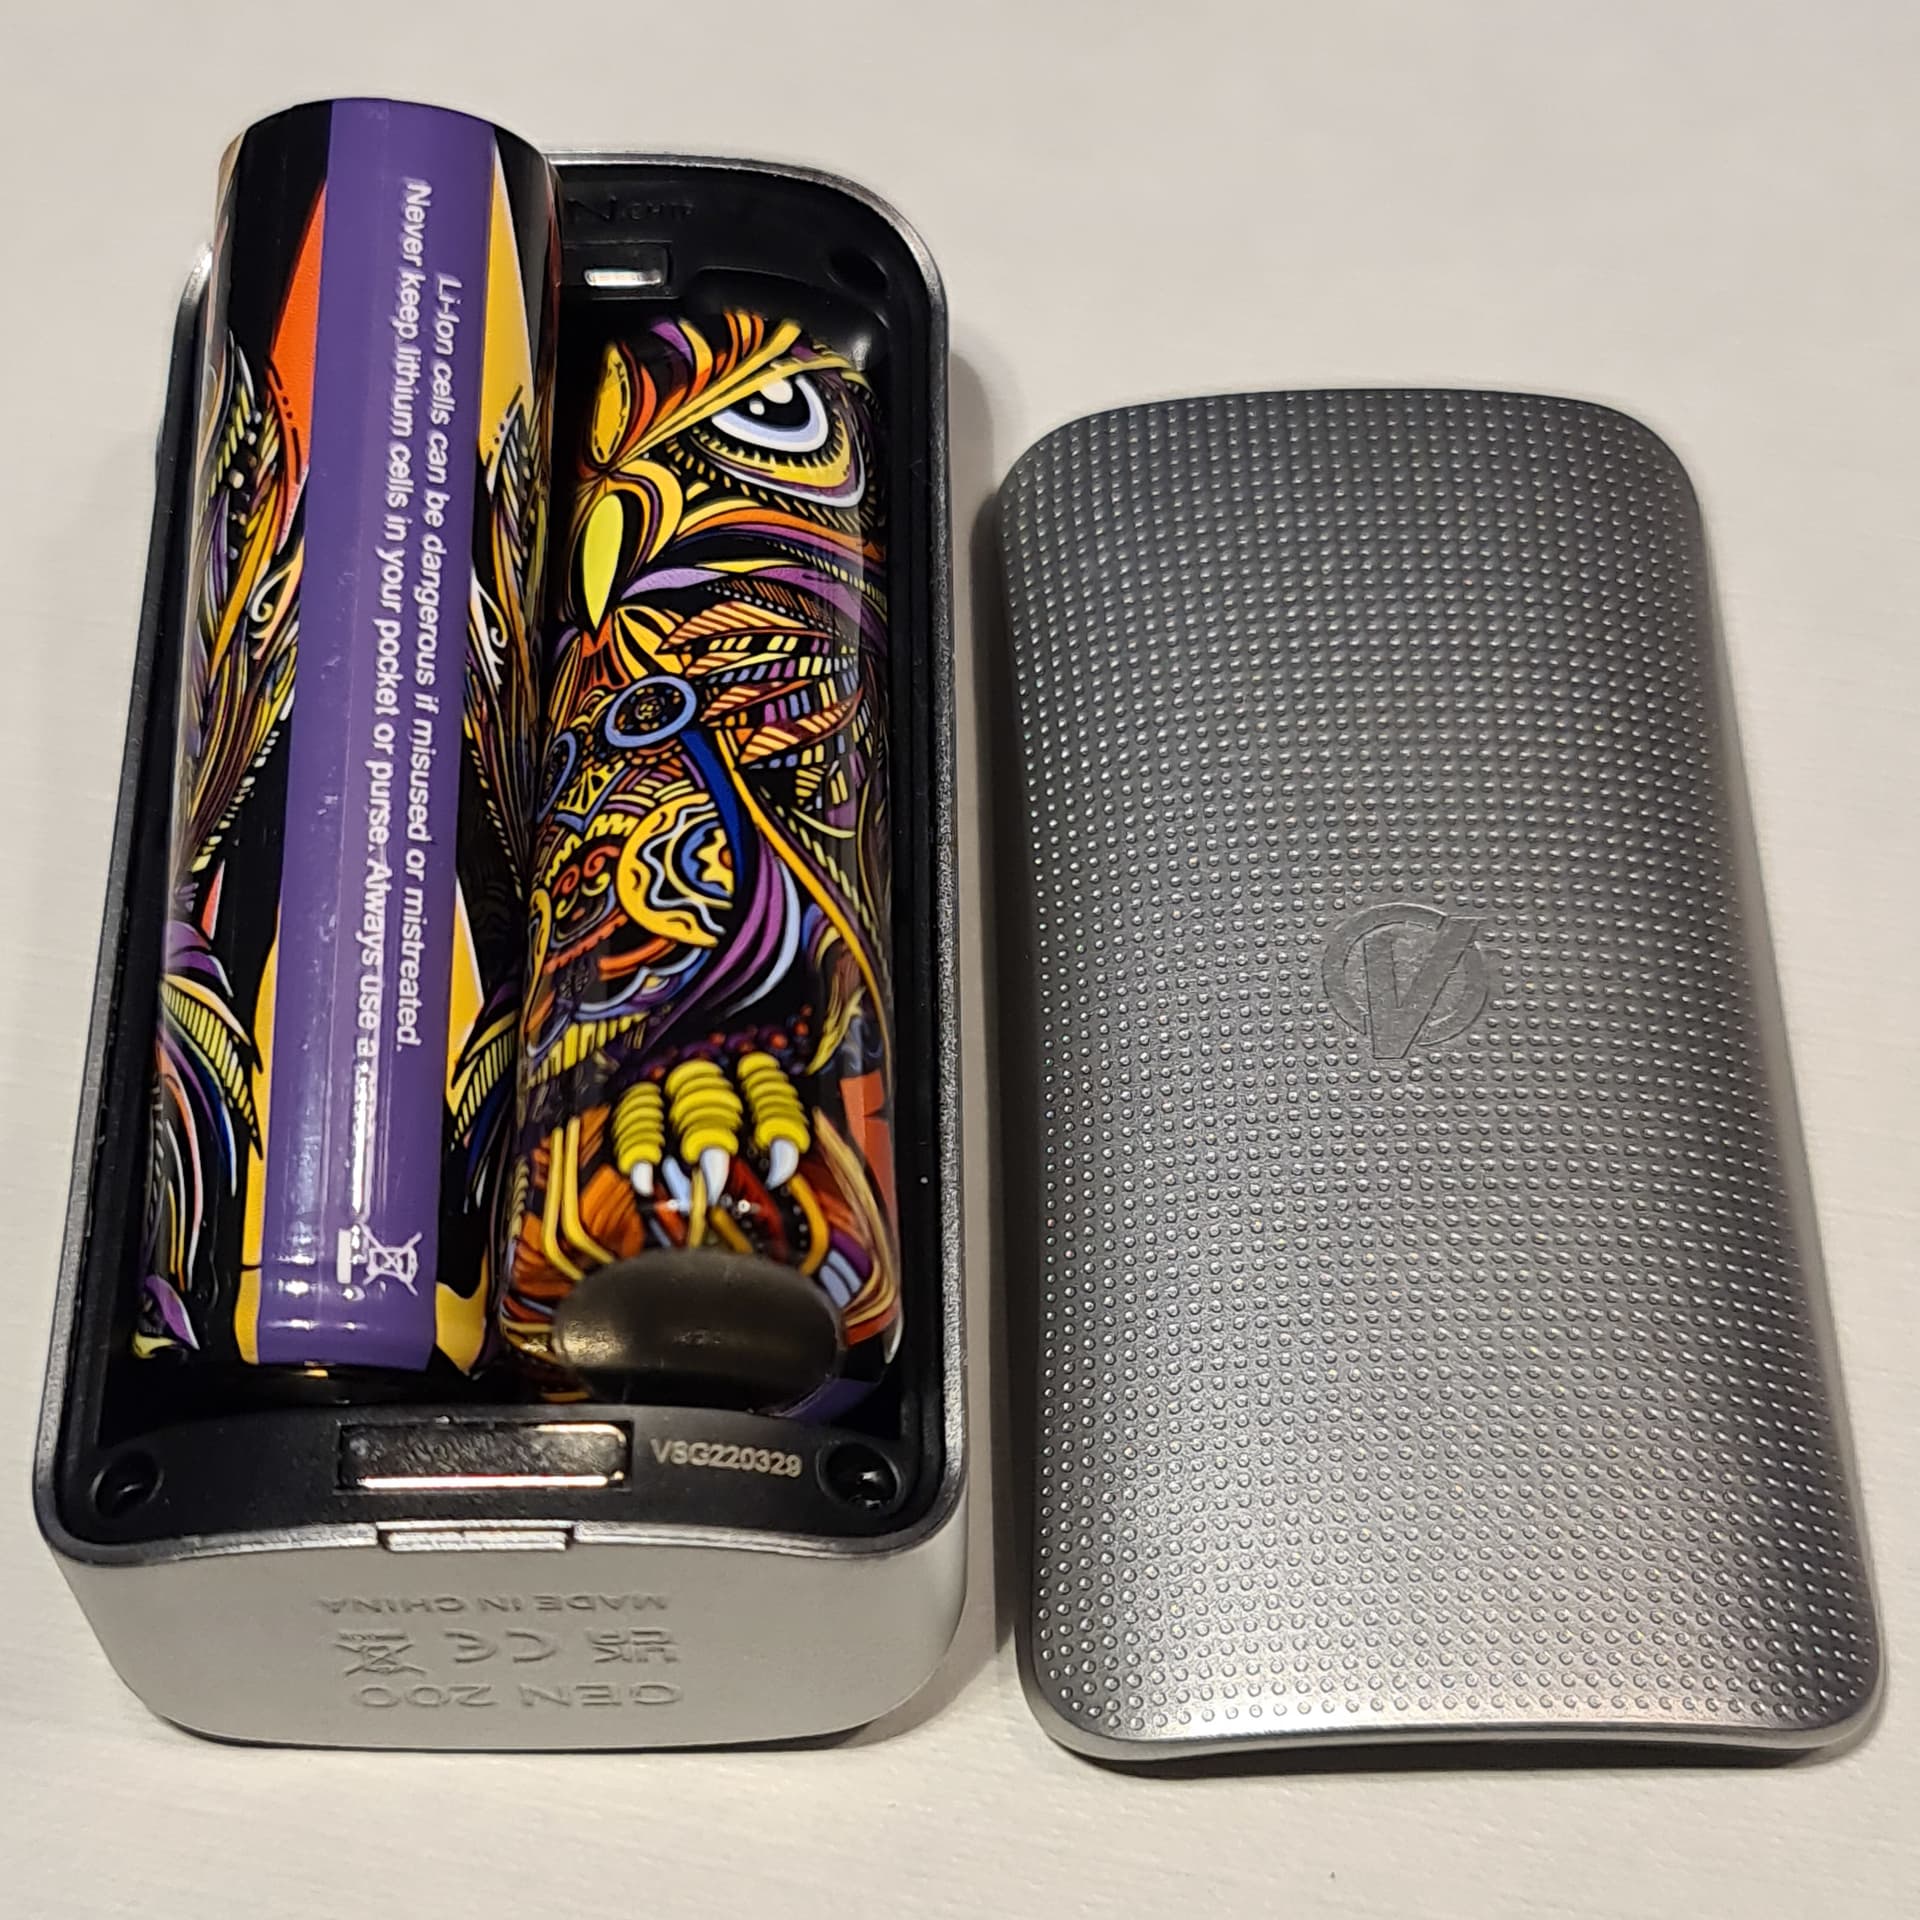
On the bottom is etched ‘Gen 200’, ‘Made in China’ and the usual safety certificates.
The back is quite subtle with only the new Vaporesso logo sat in the middle.

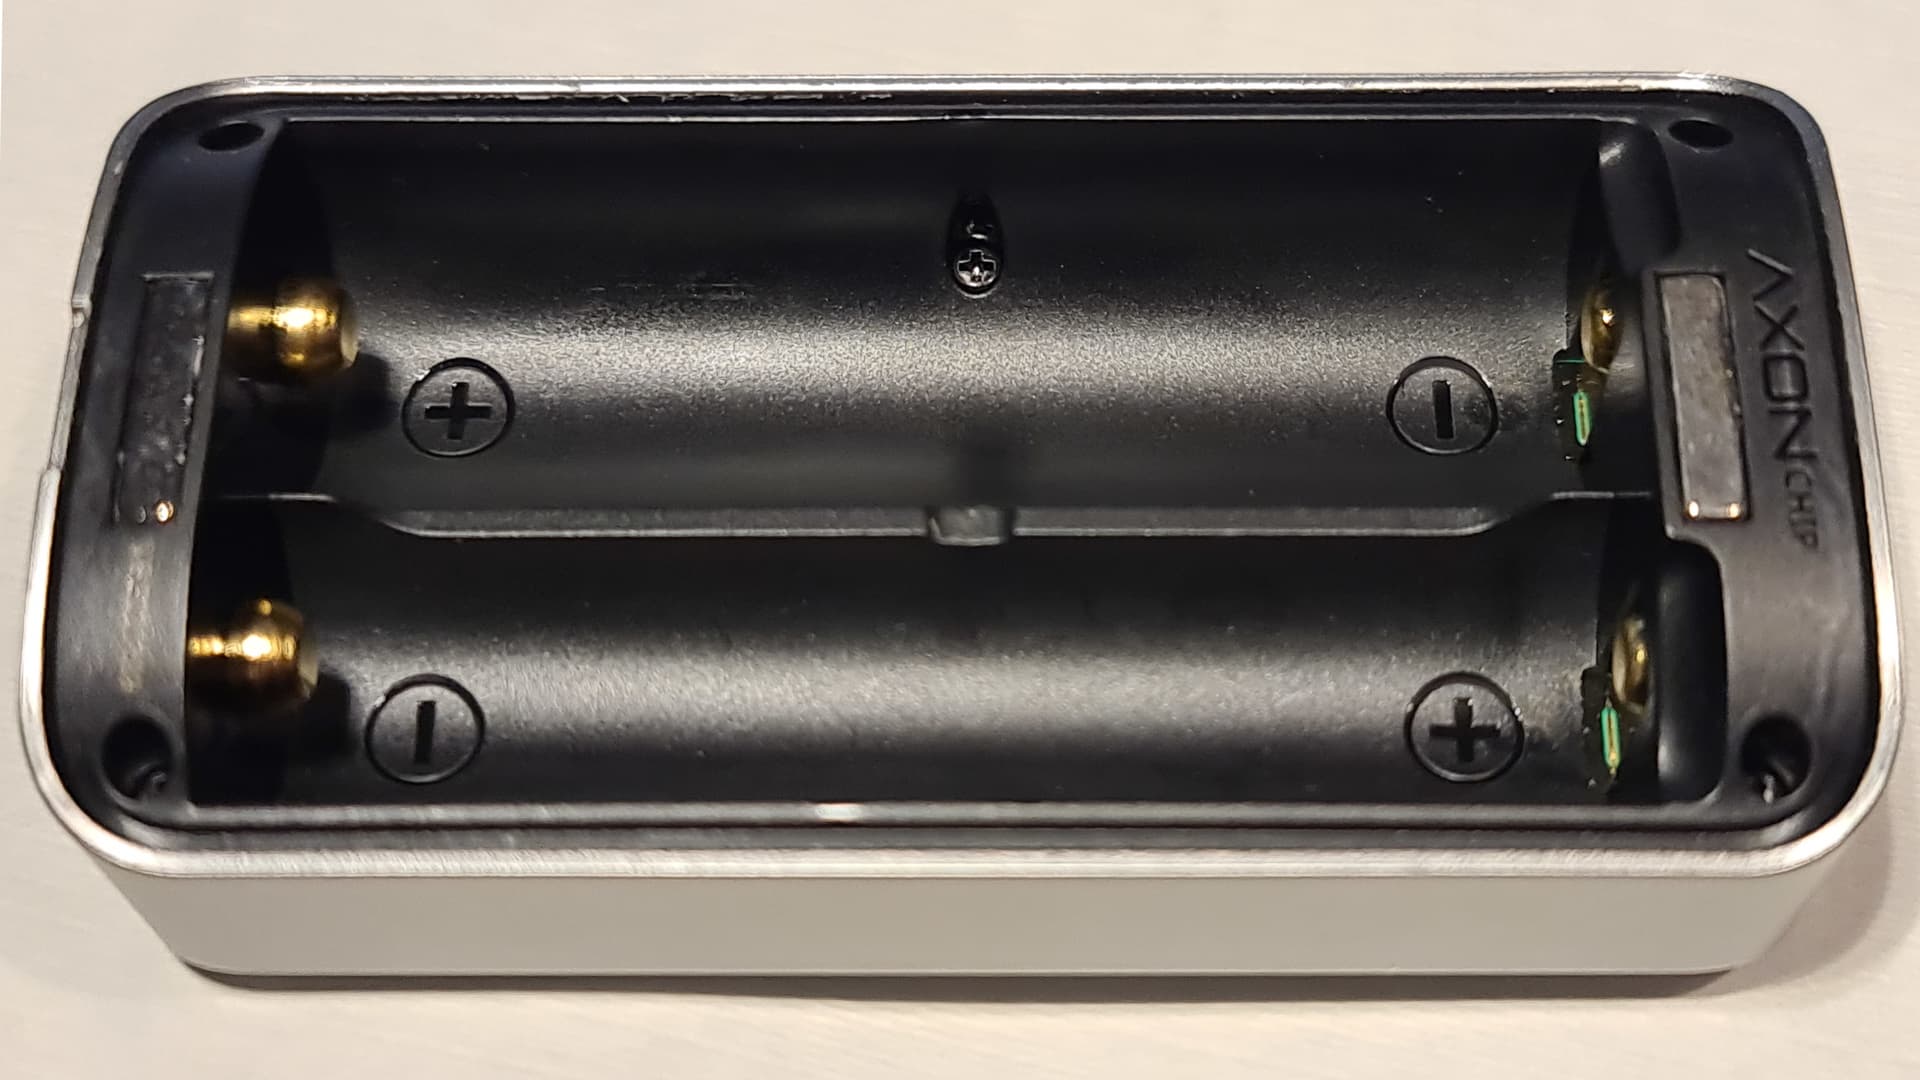
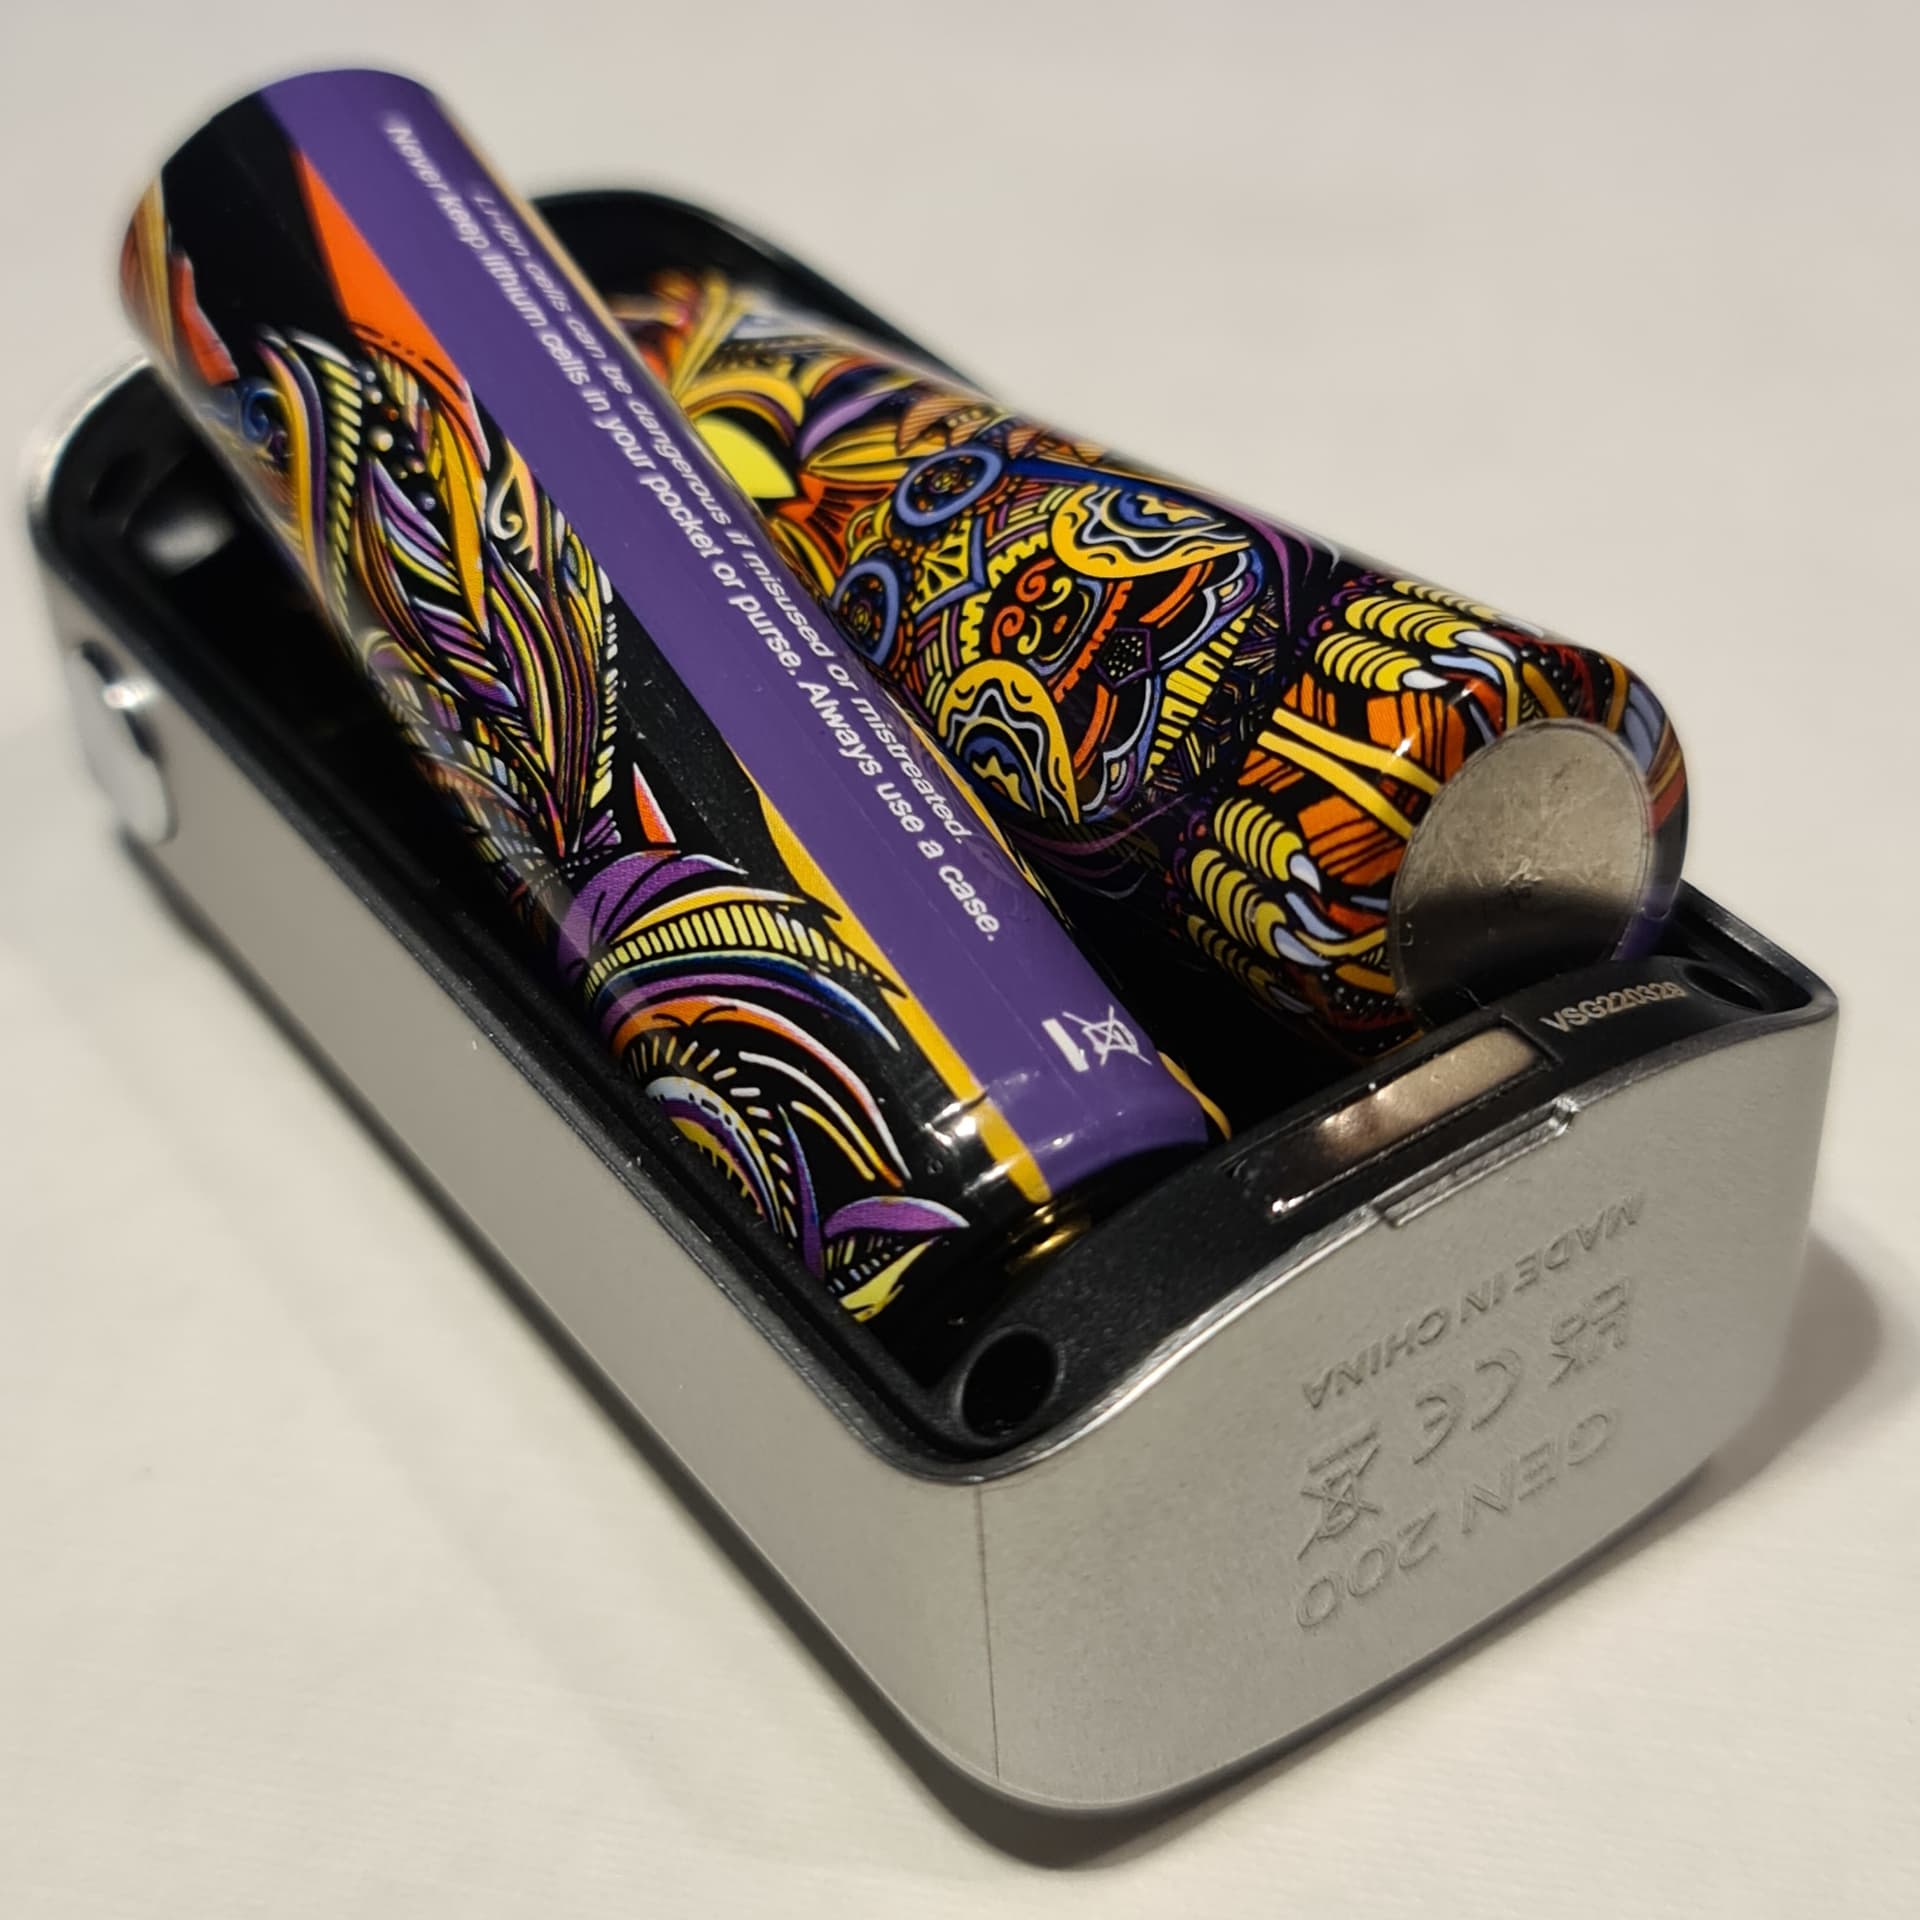
Installing batteries is very simple. It’s just a matter of removing the side panel, which is held on with strong magnets. The polarities are clearly marked inside the mod right at both ends of the battery sled.
Once the batteries are fitted the mod will come on and greet you with the welcome screen:

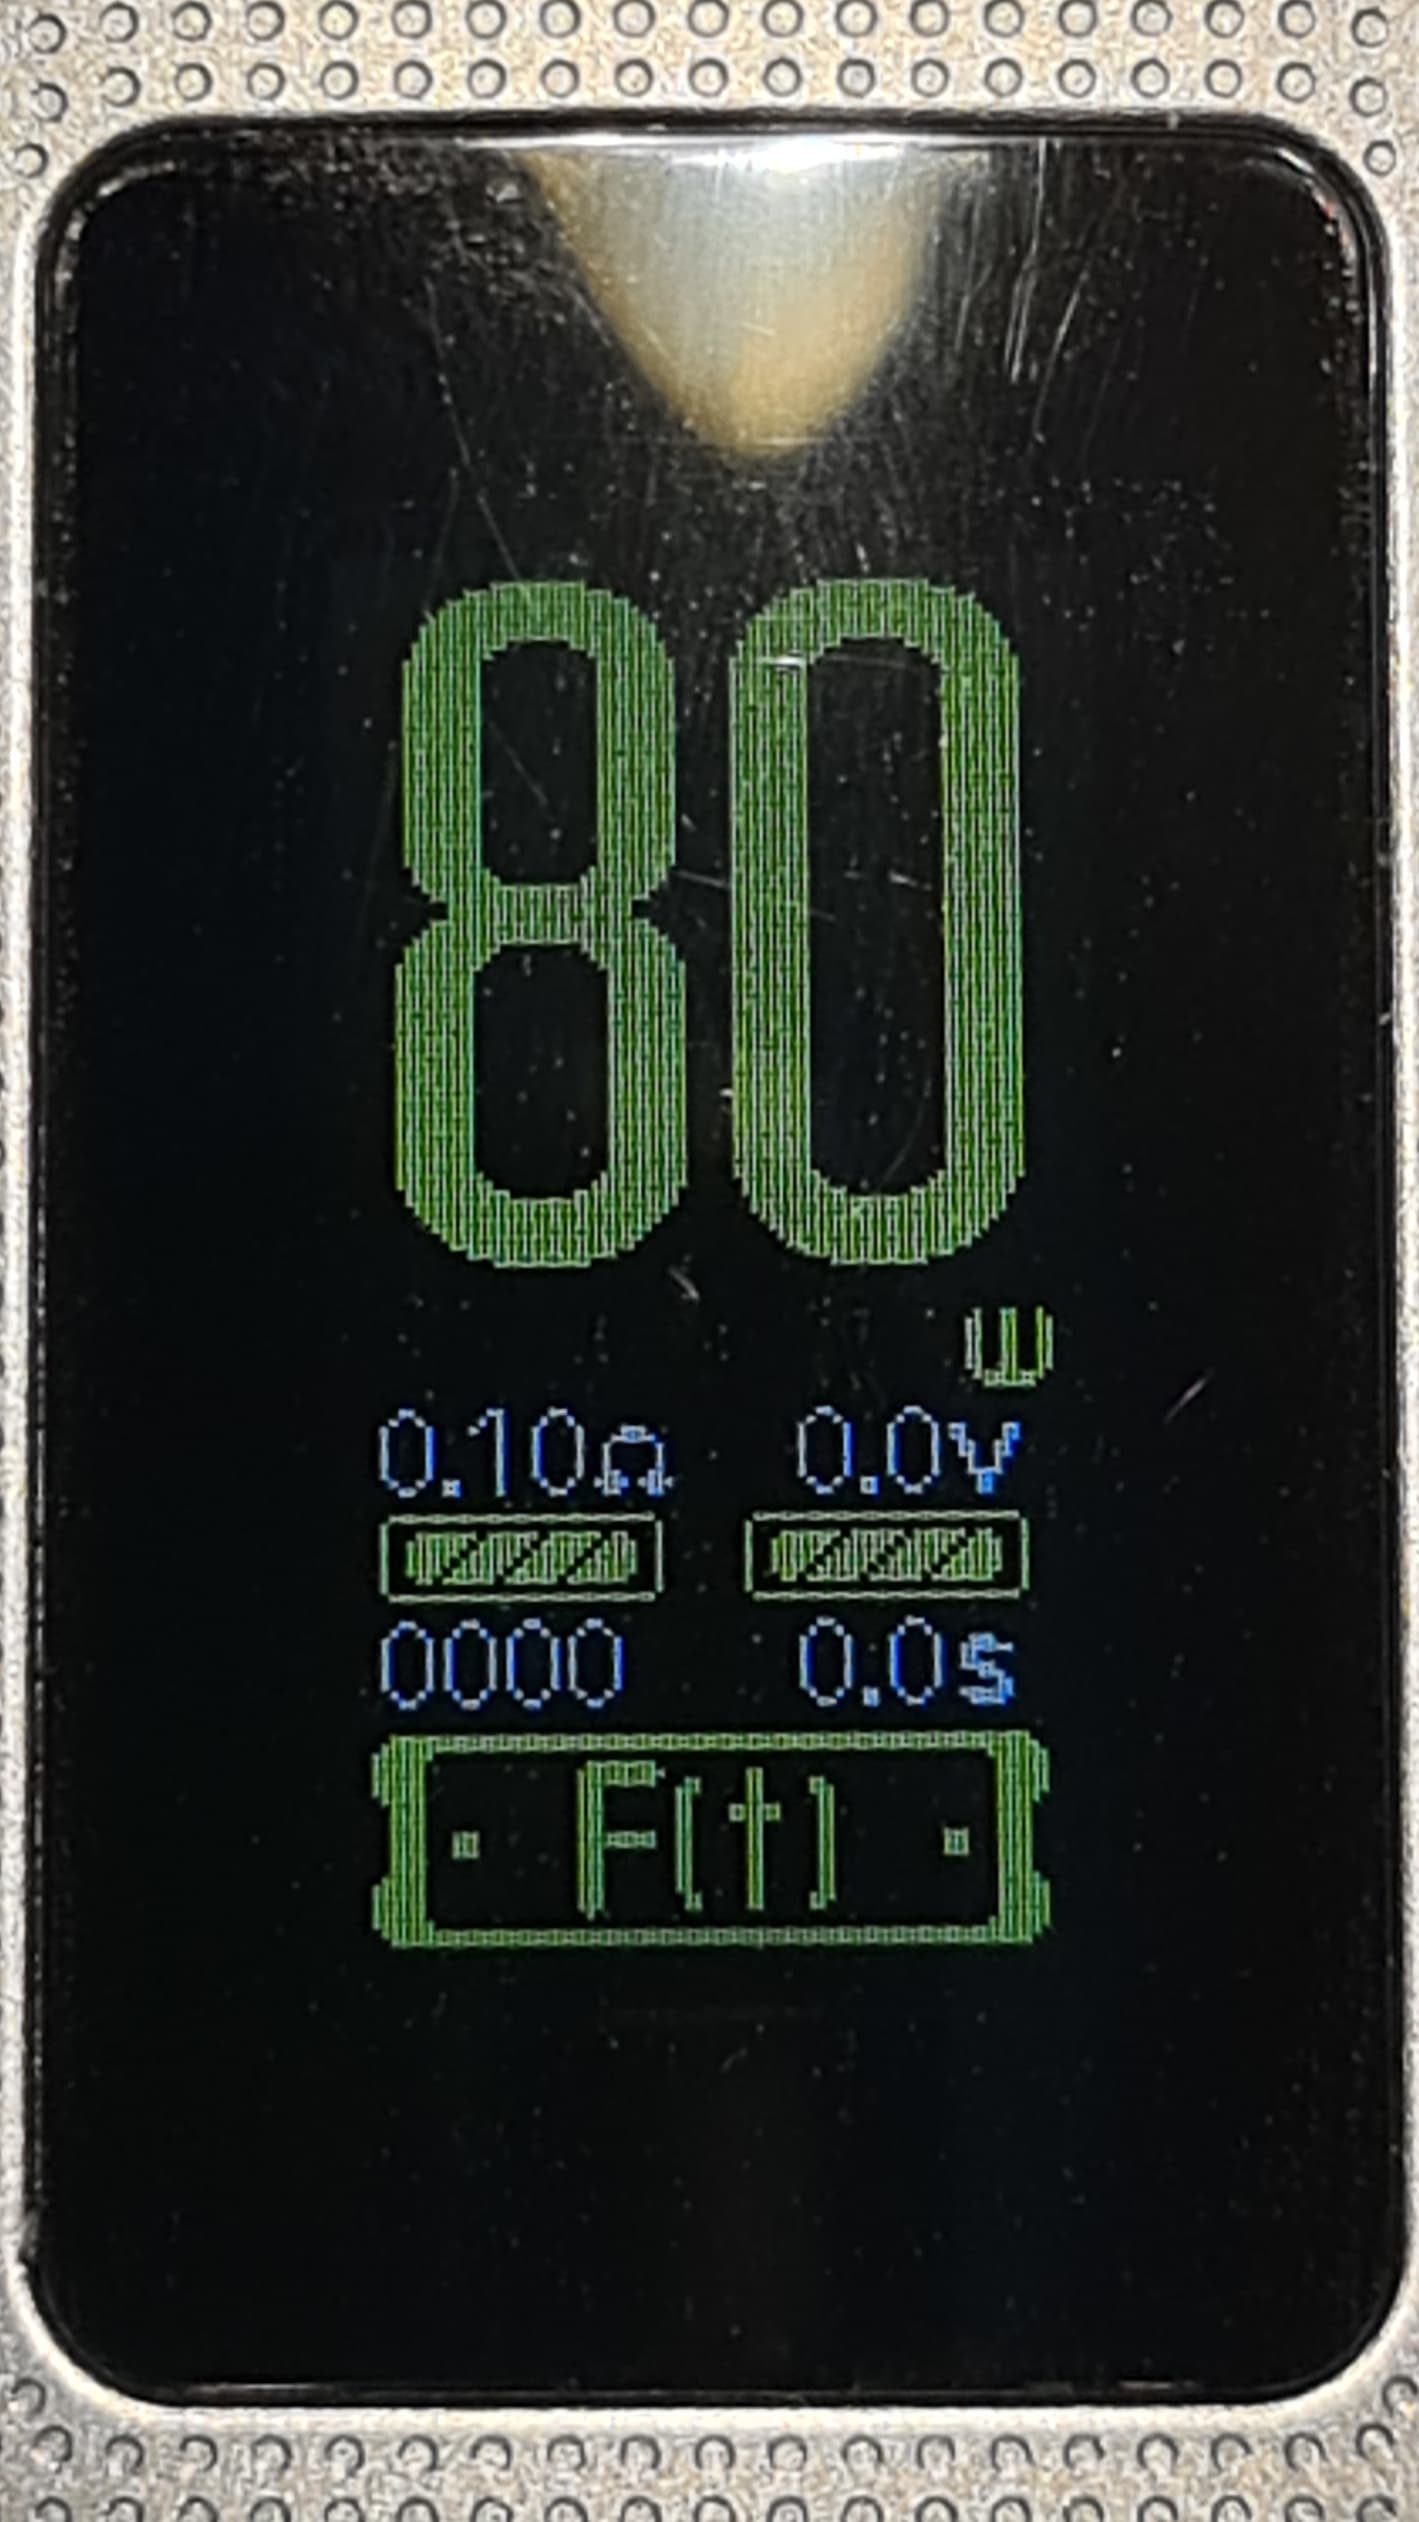
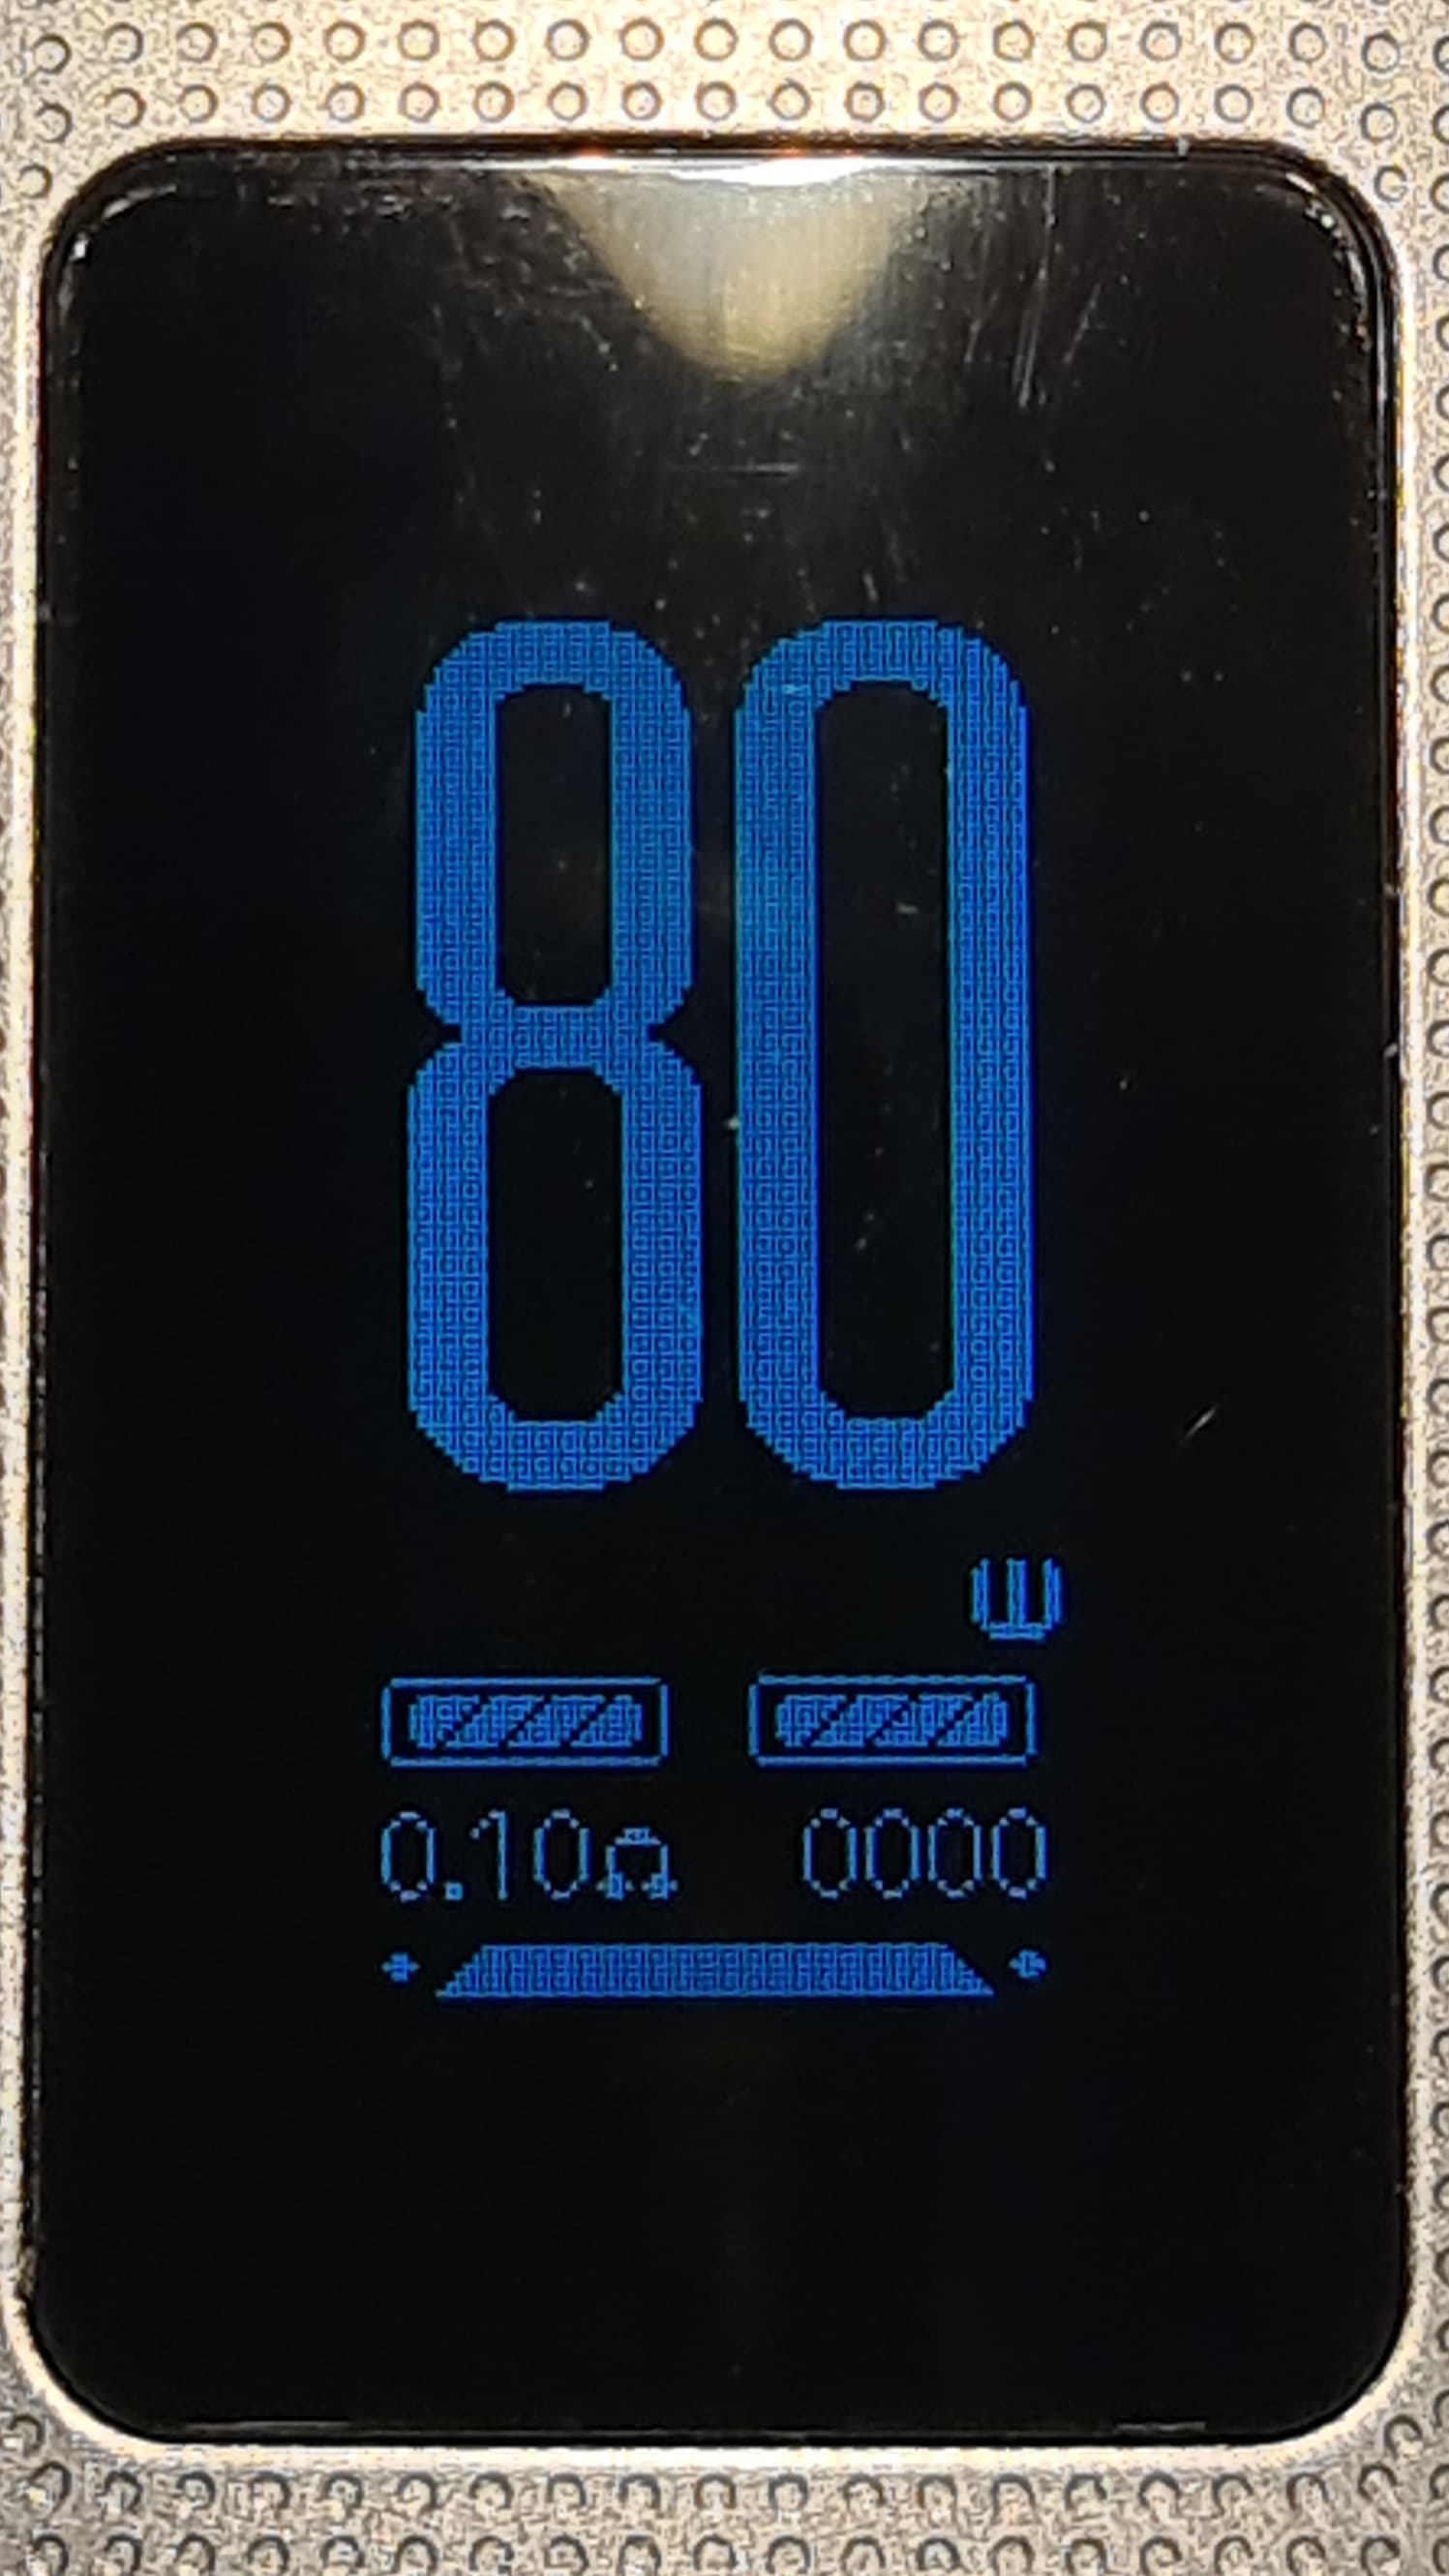
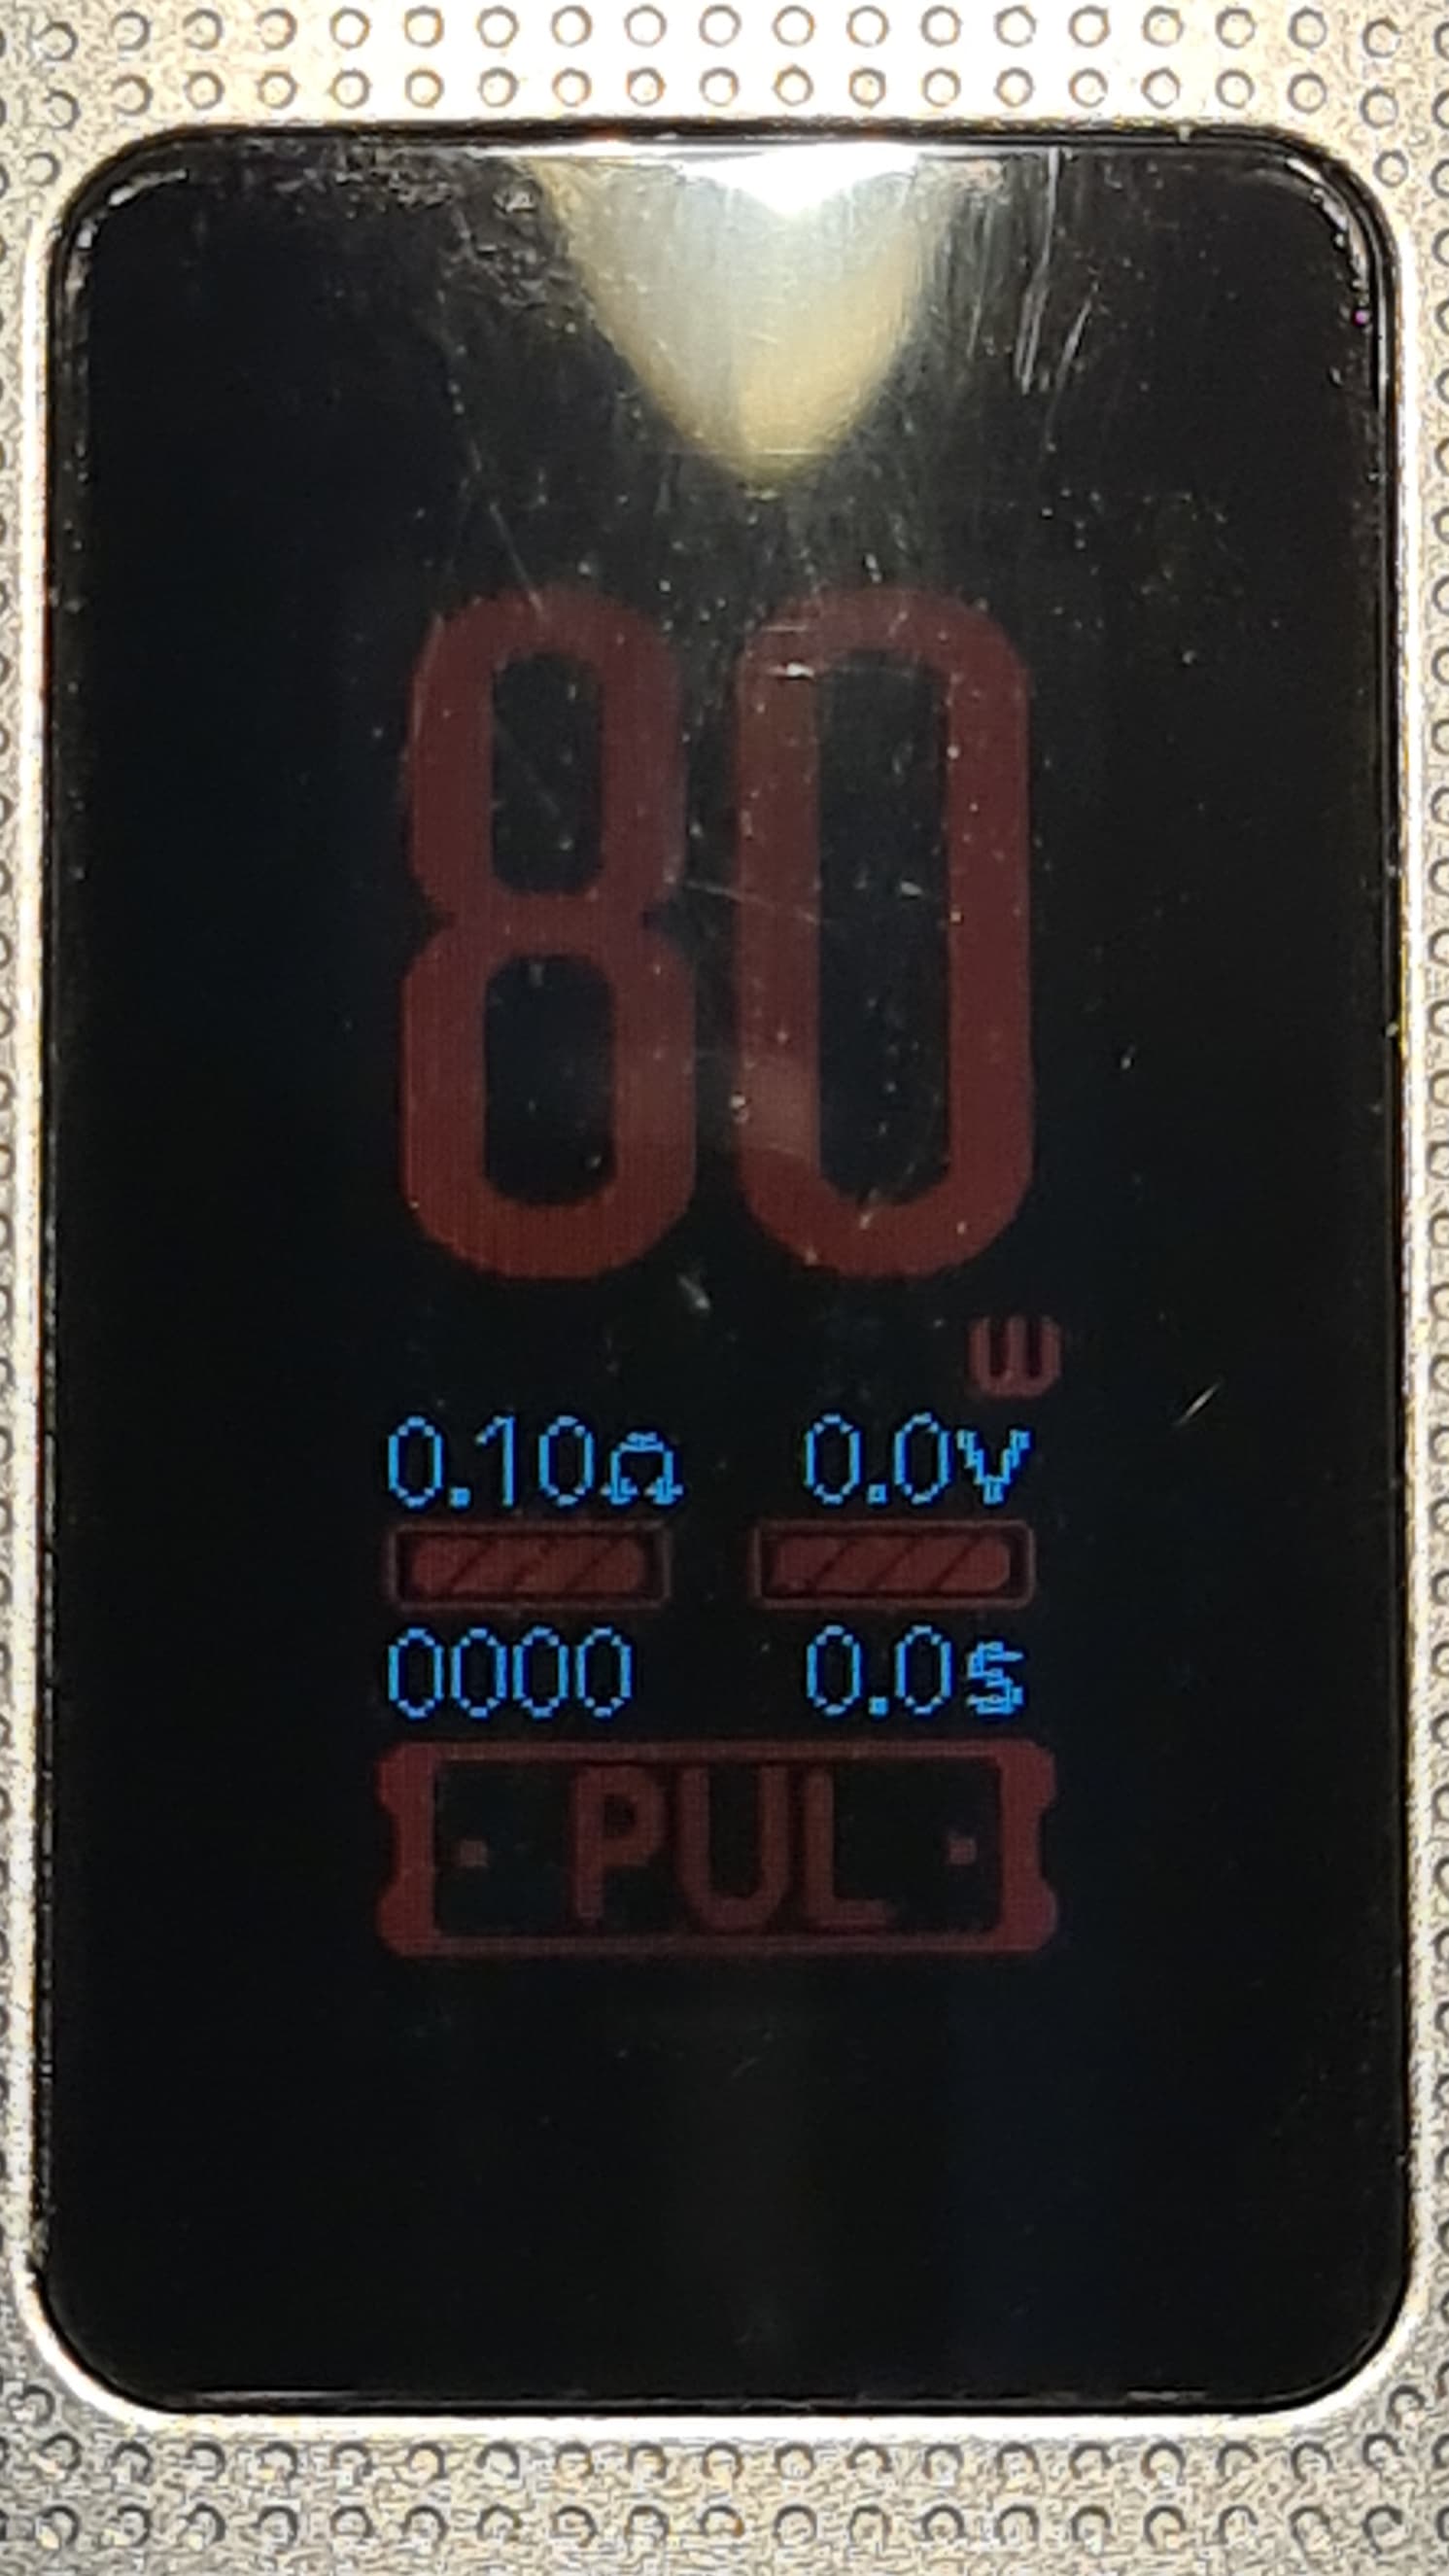
After the welcome screen you’ll land on the main screen. This shows the current wattage setting in large numbers which dominate the display, the resistance of the installed coil, the voltage, a 4 digit puff counter and a timer that show the length of the last puff. Below all of this it shows the currently selected mode.
The menu can be accessed by pressing the select button (centre) 3 times in quick succession and navigated using the up/down and select buttons. These are the options available from the main menu:
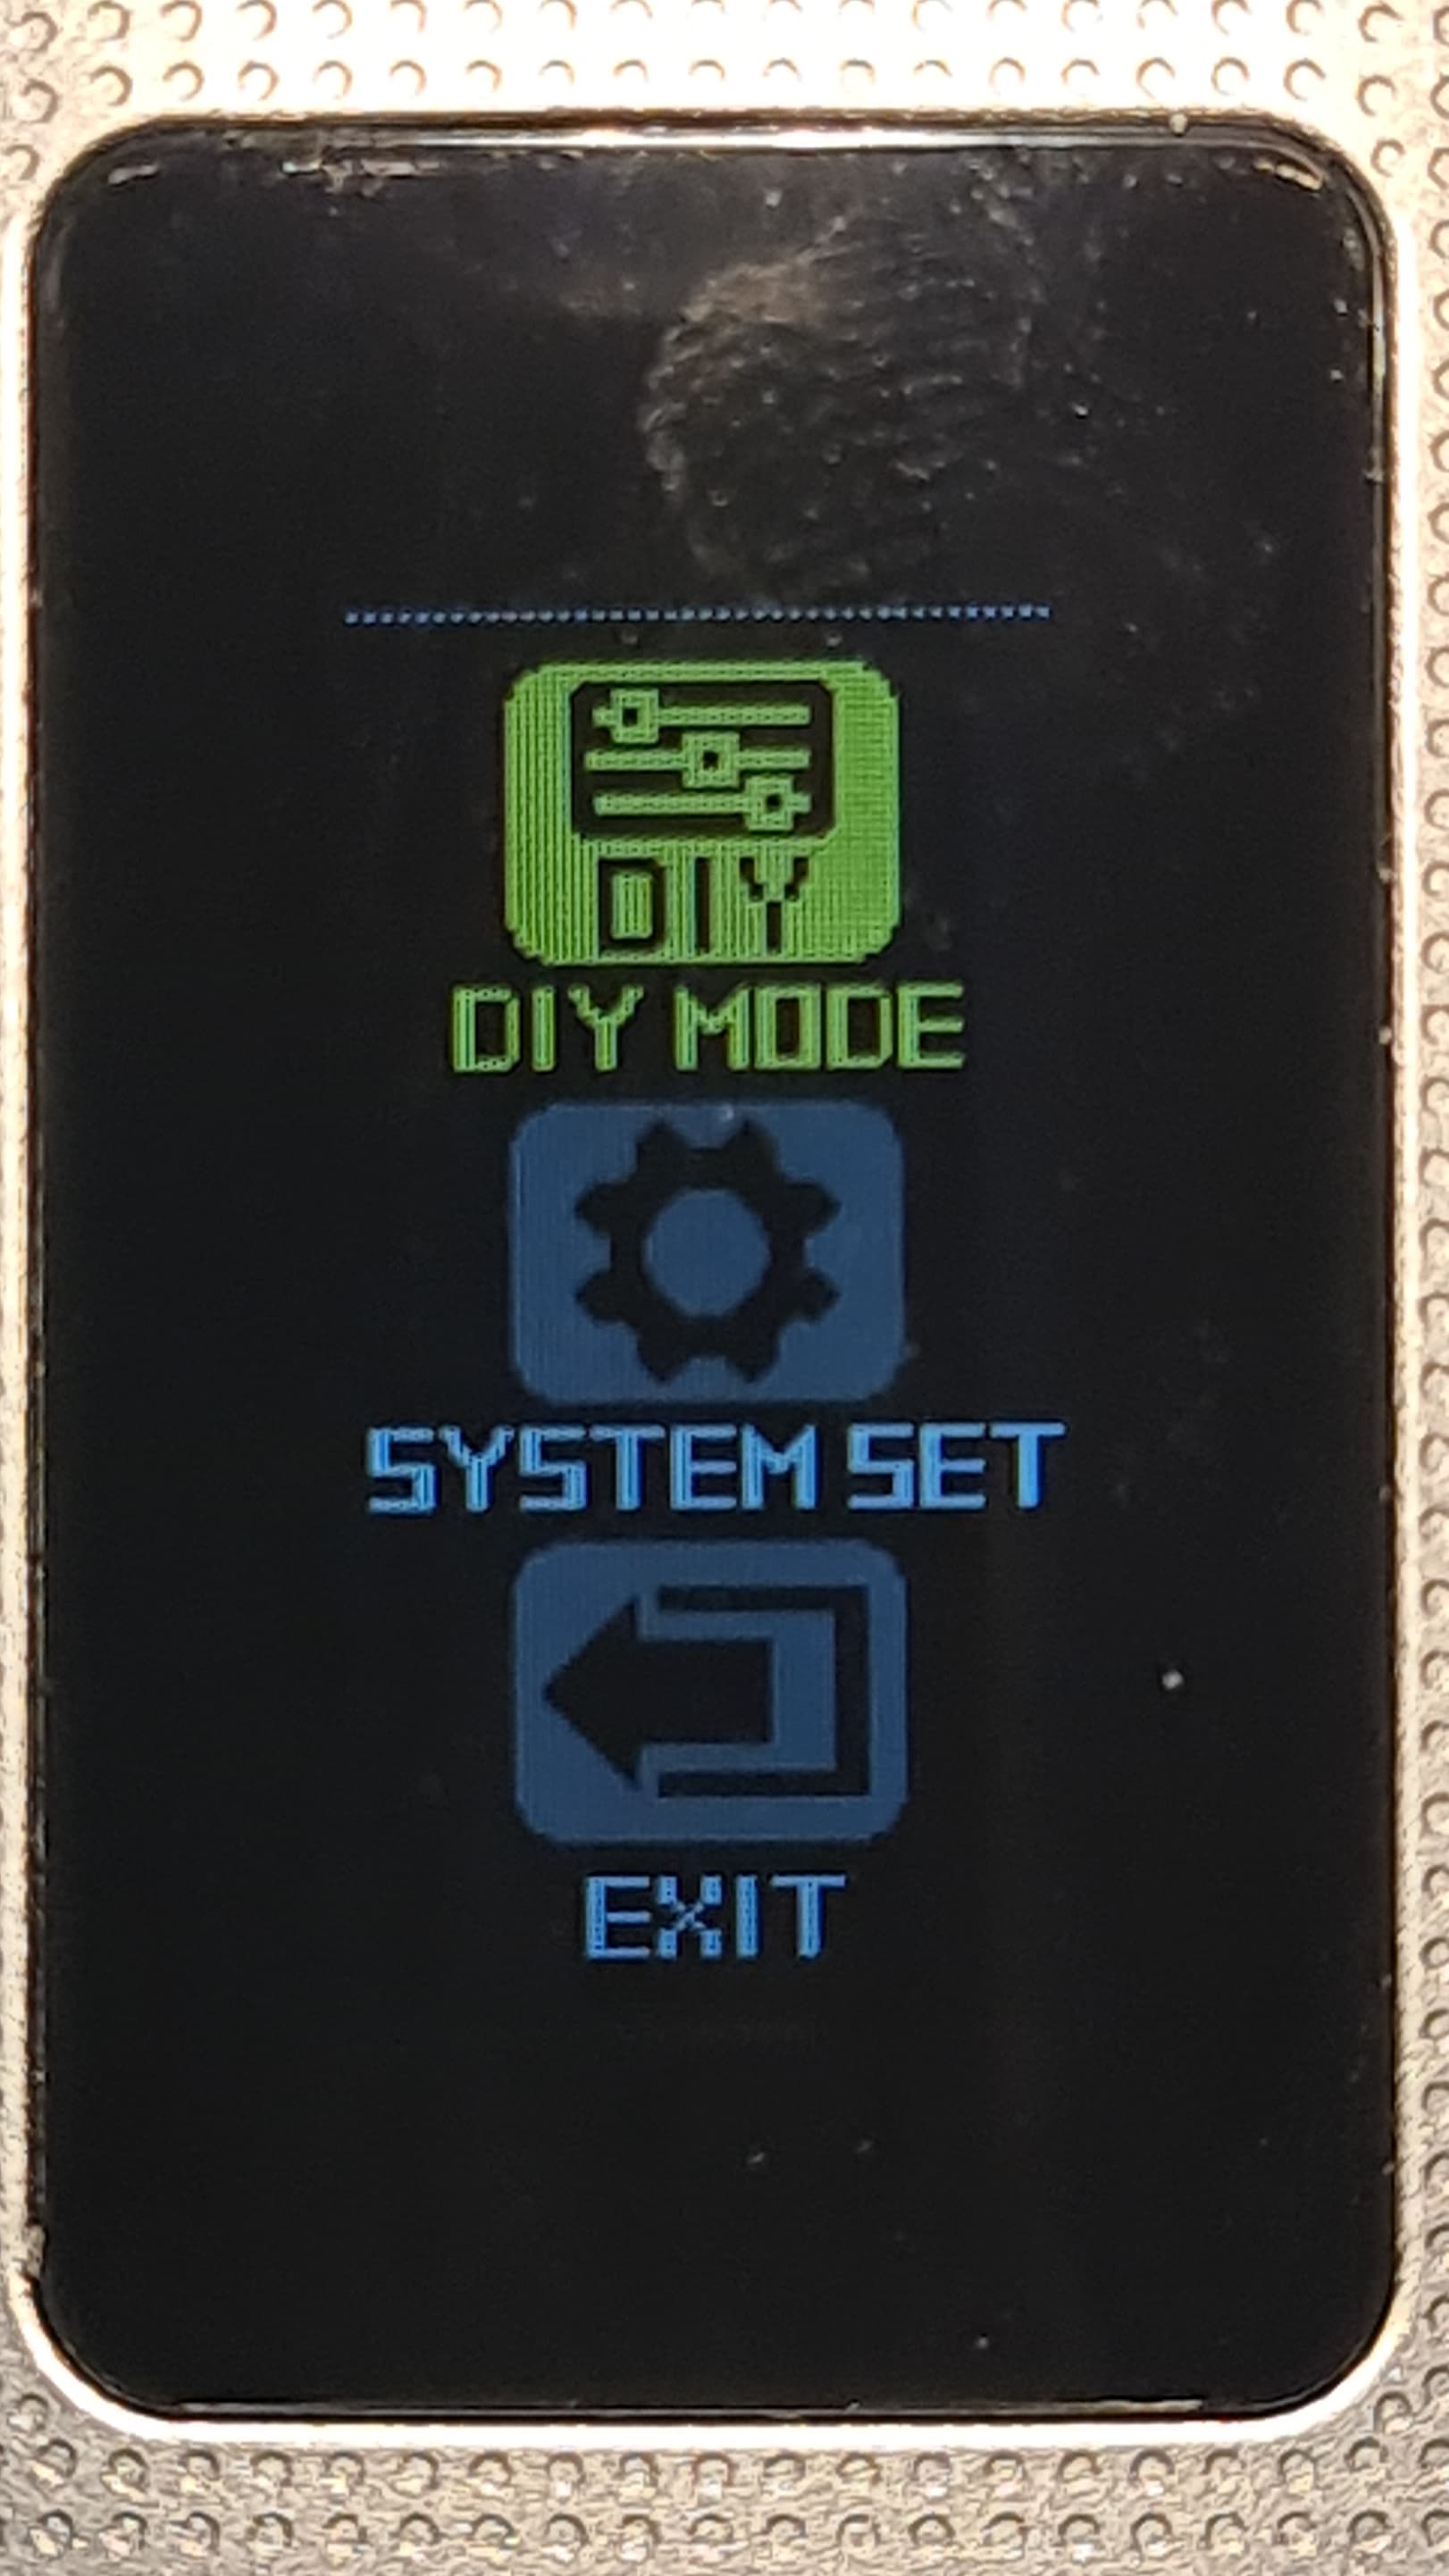
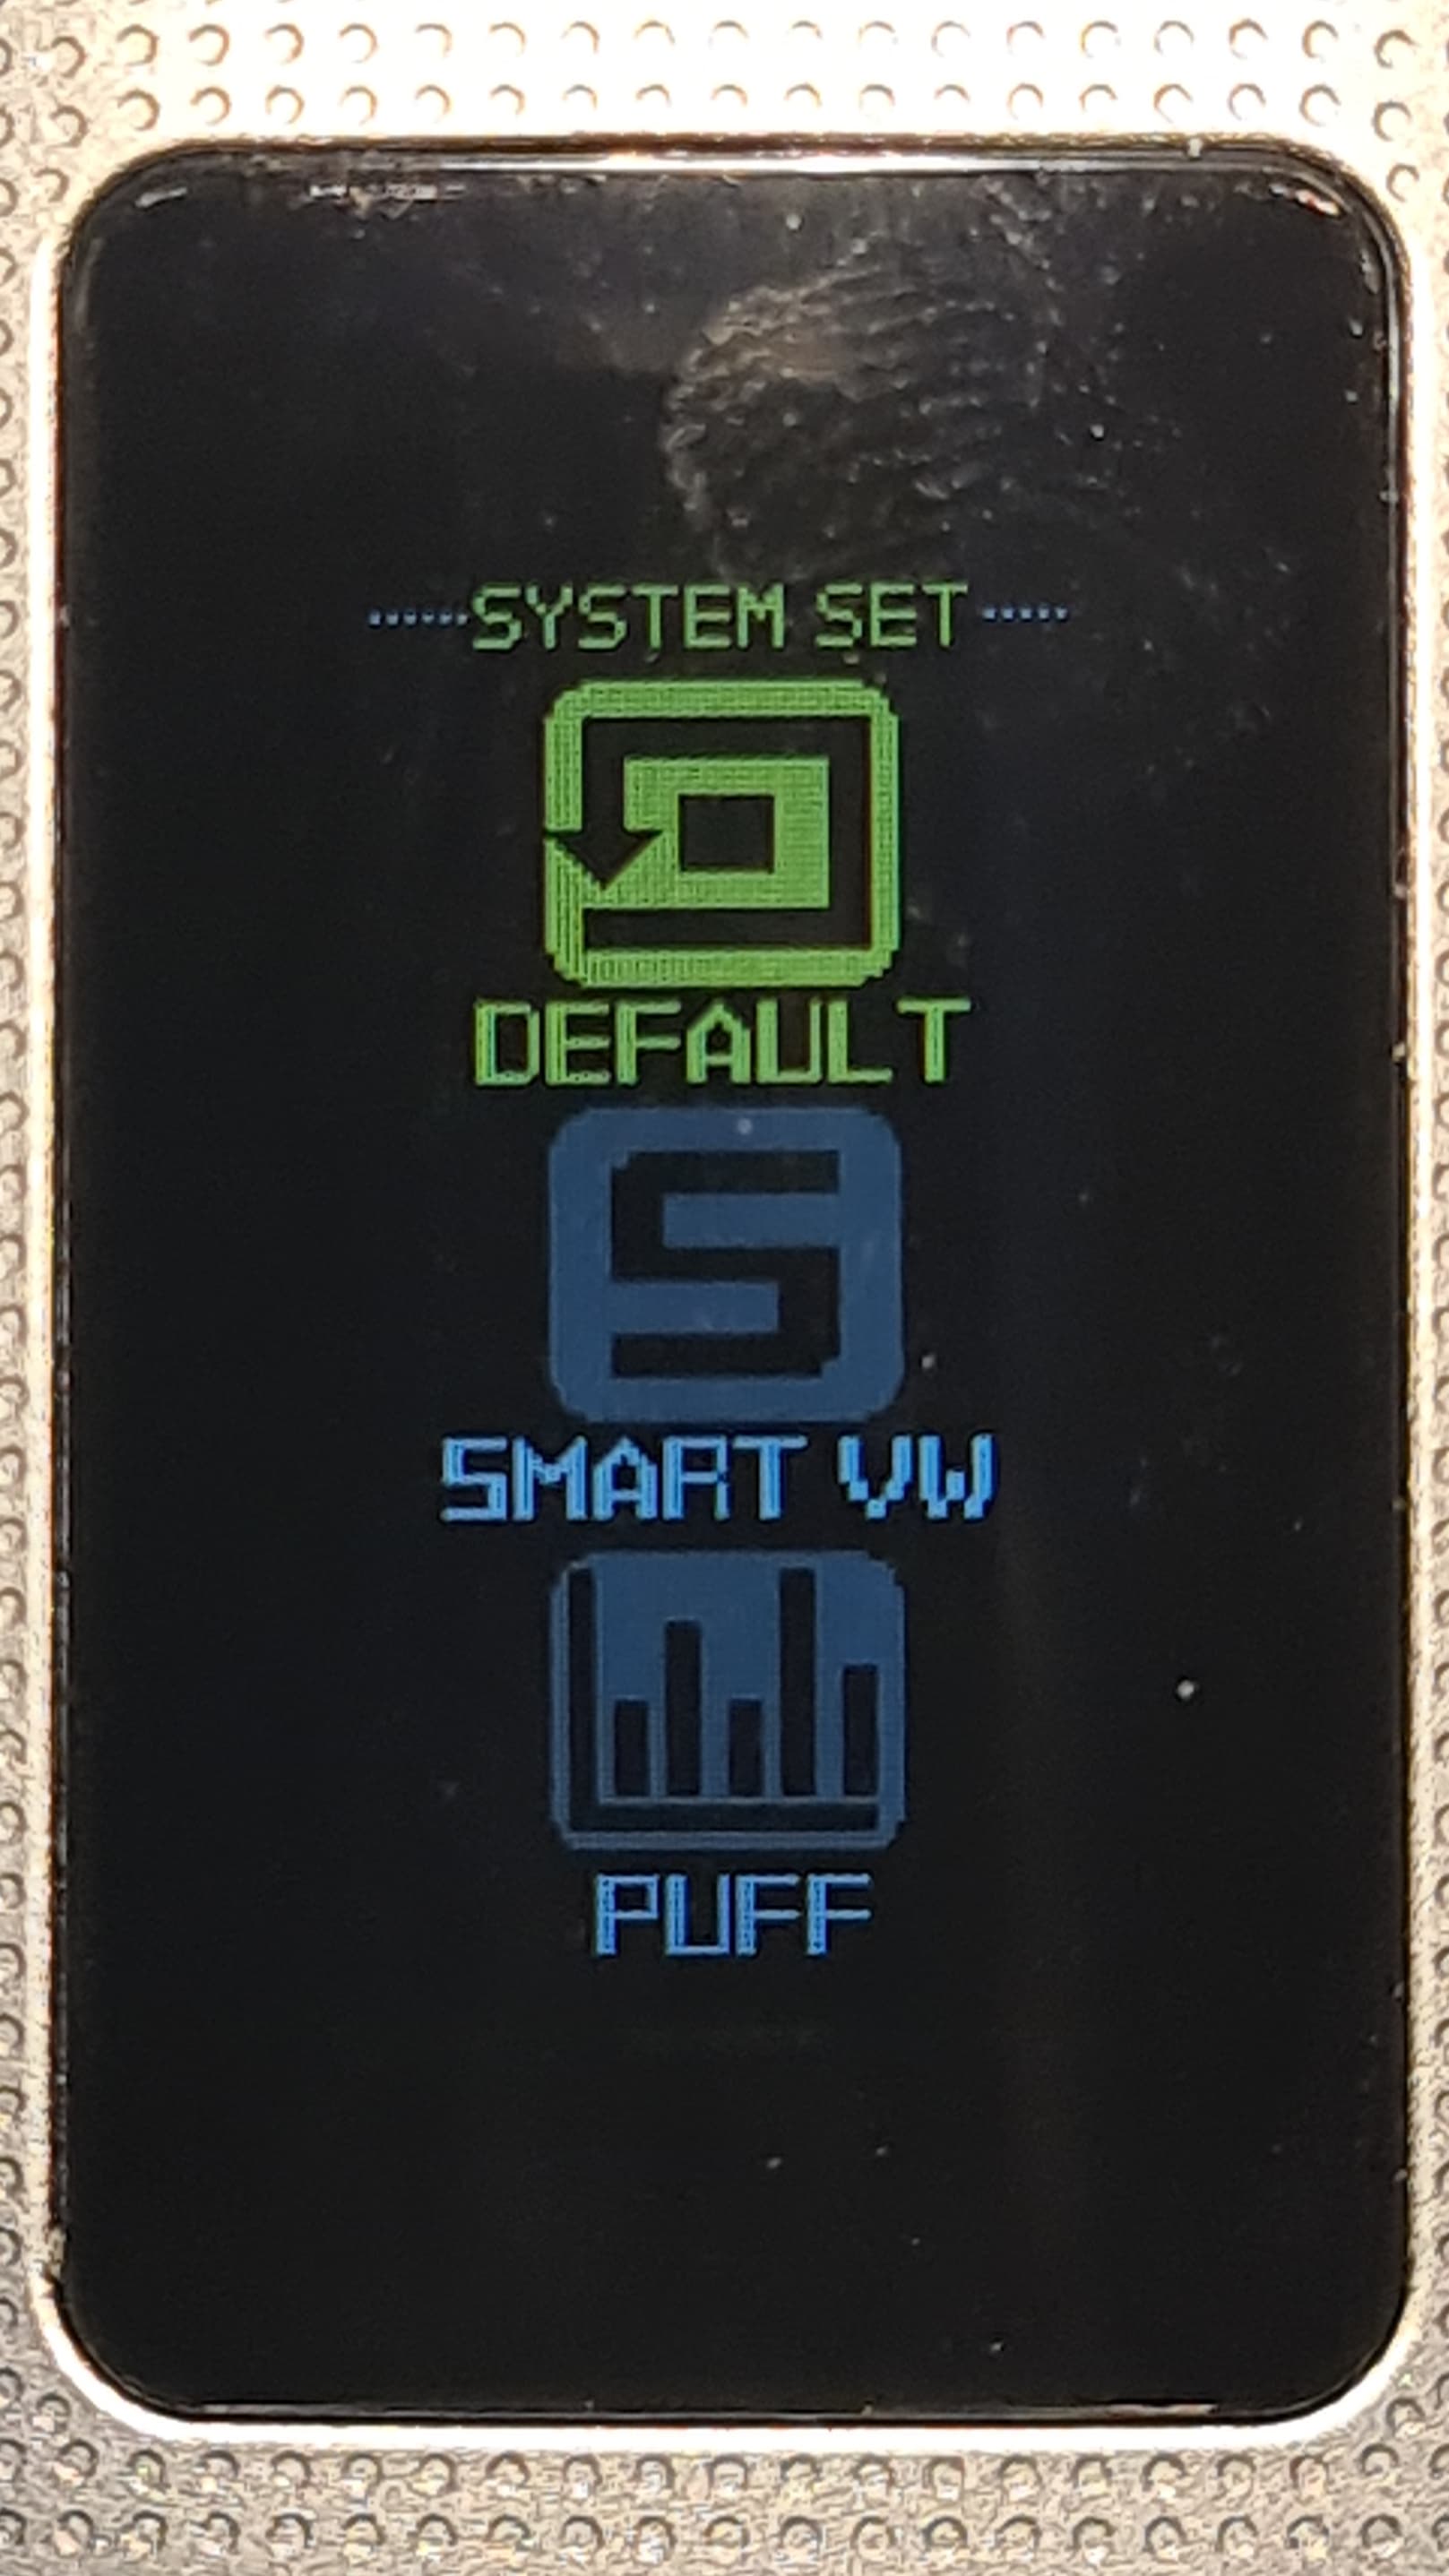
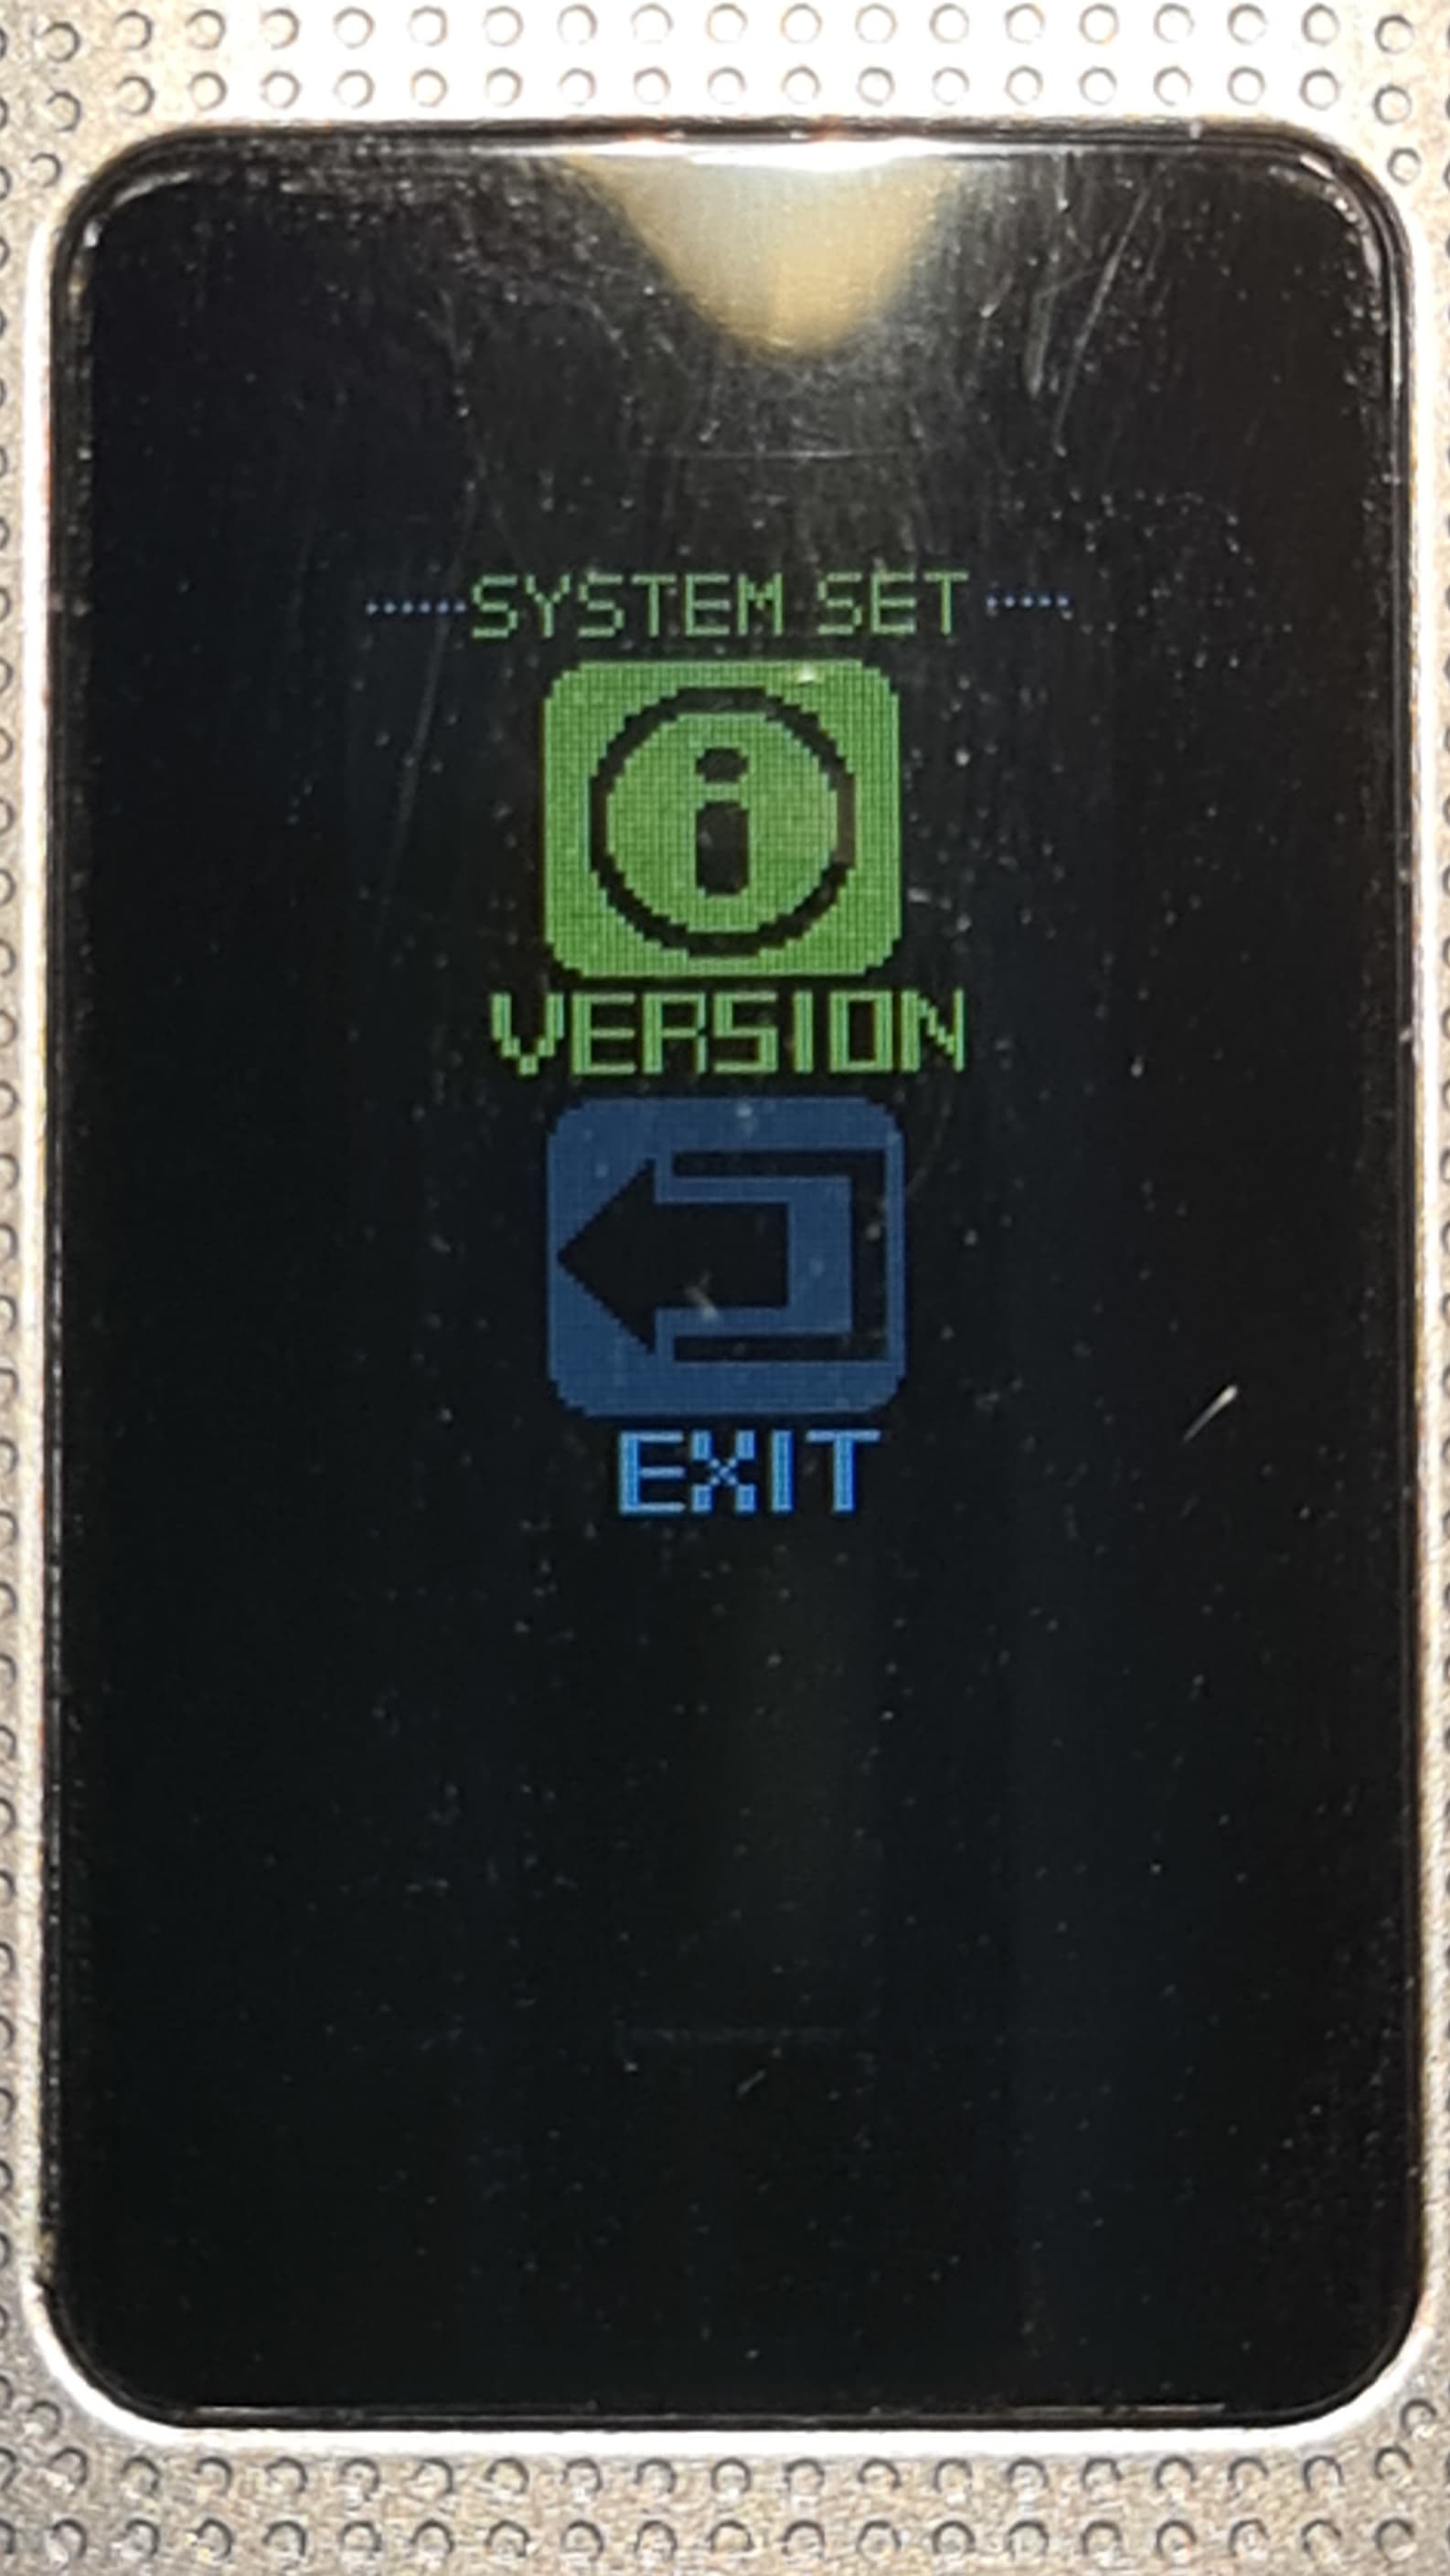
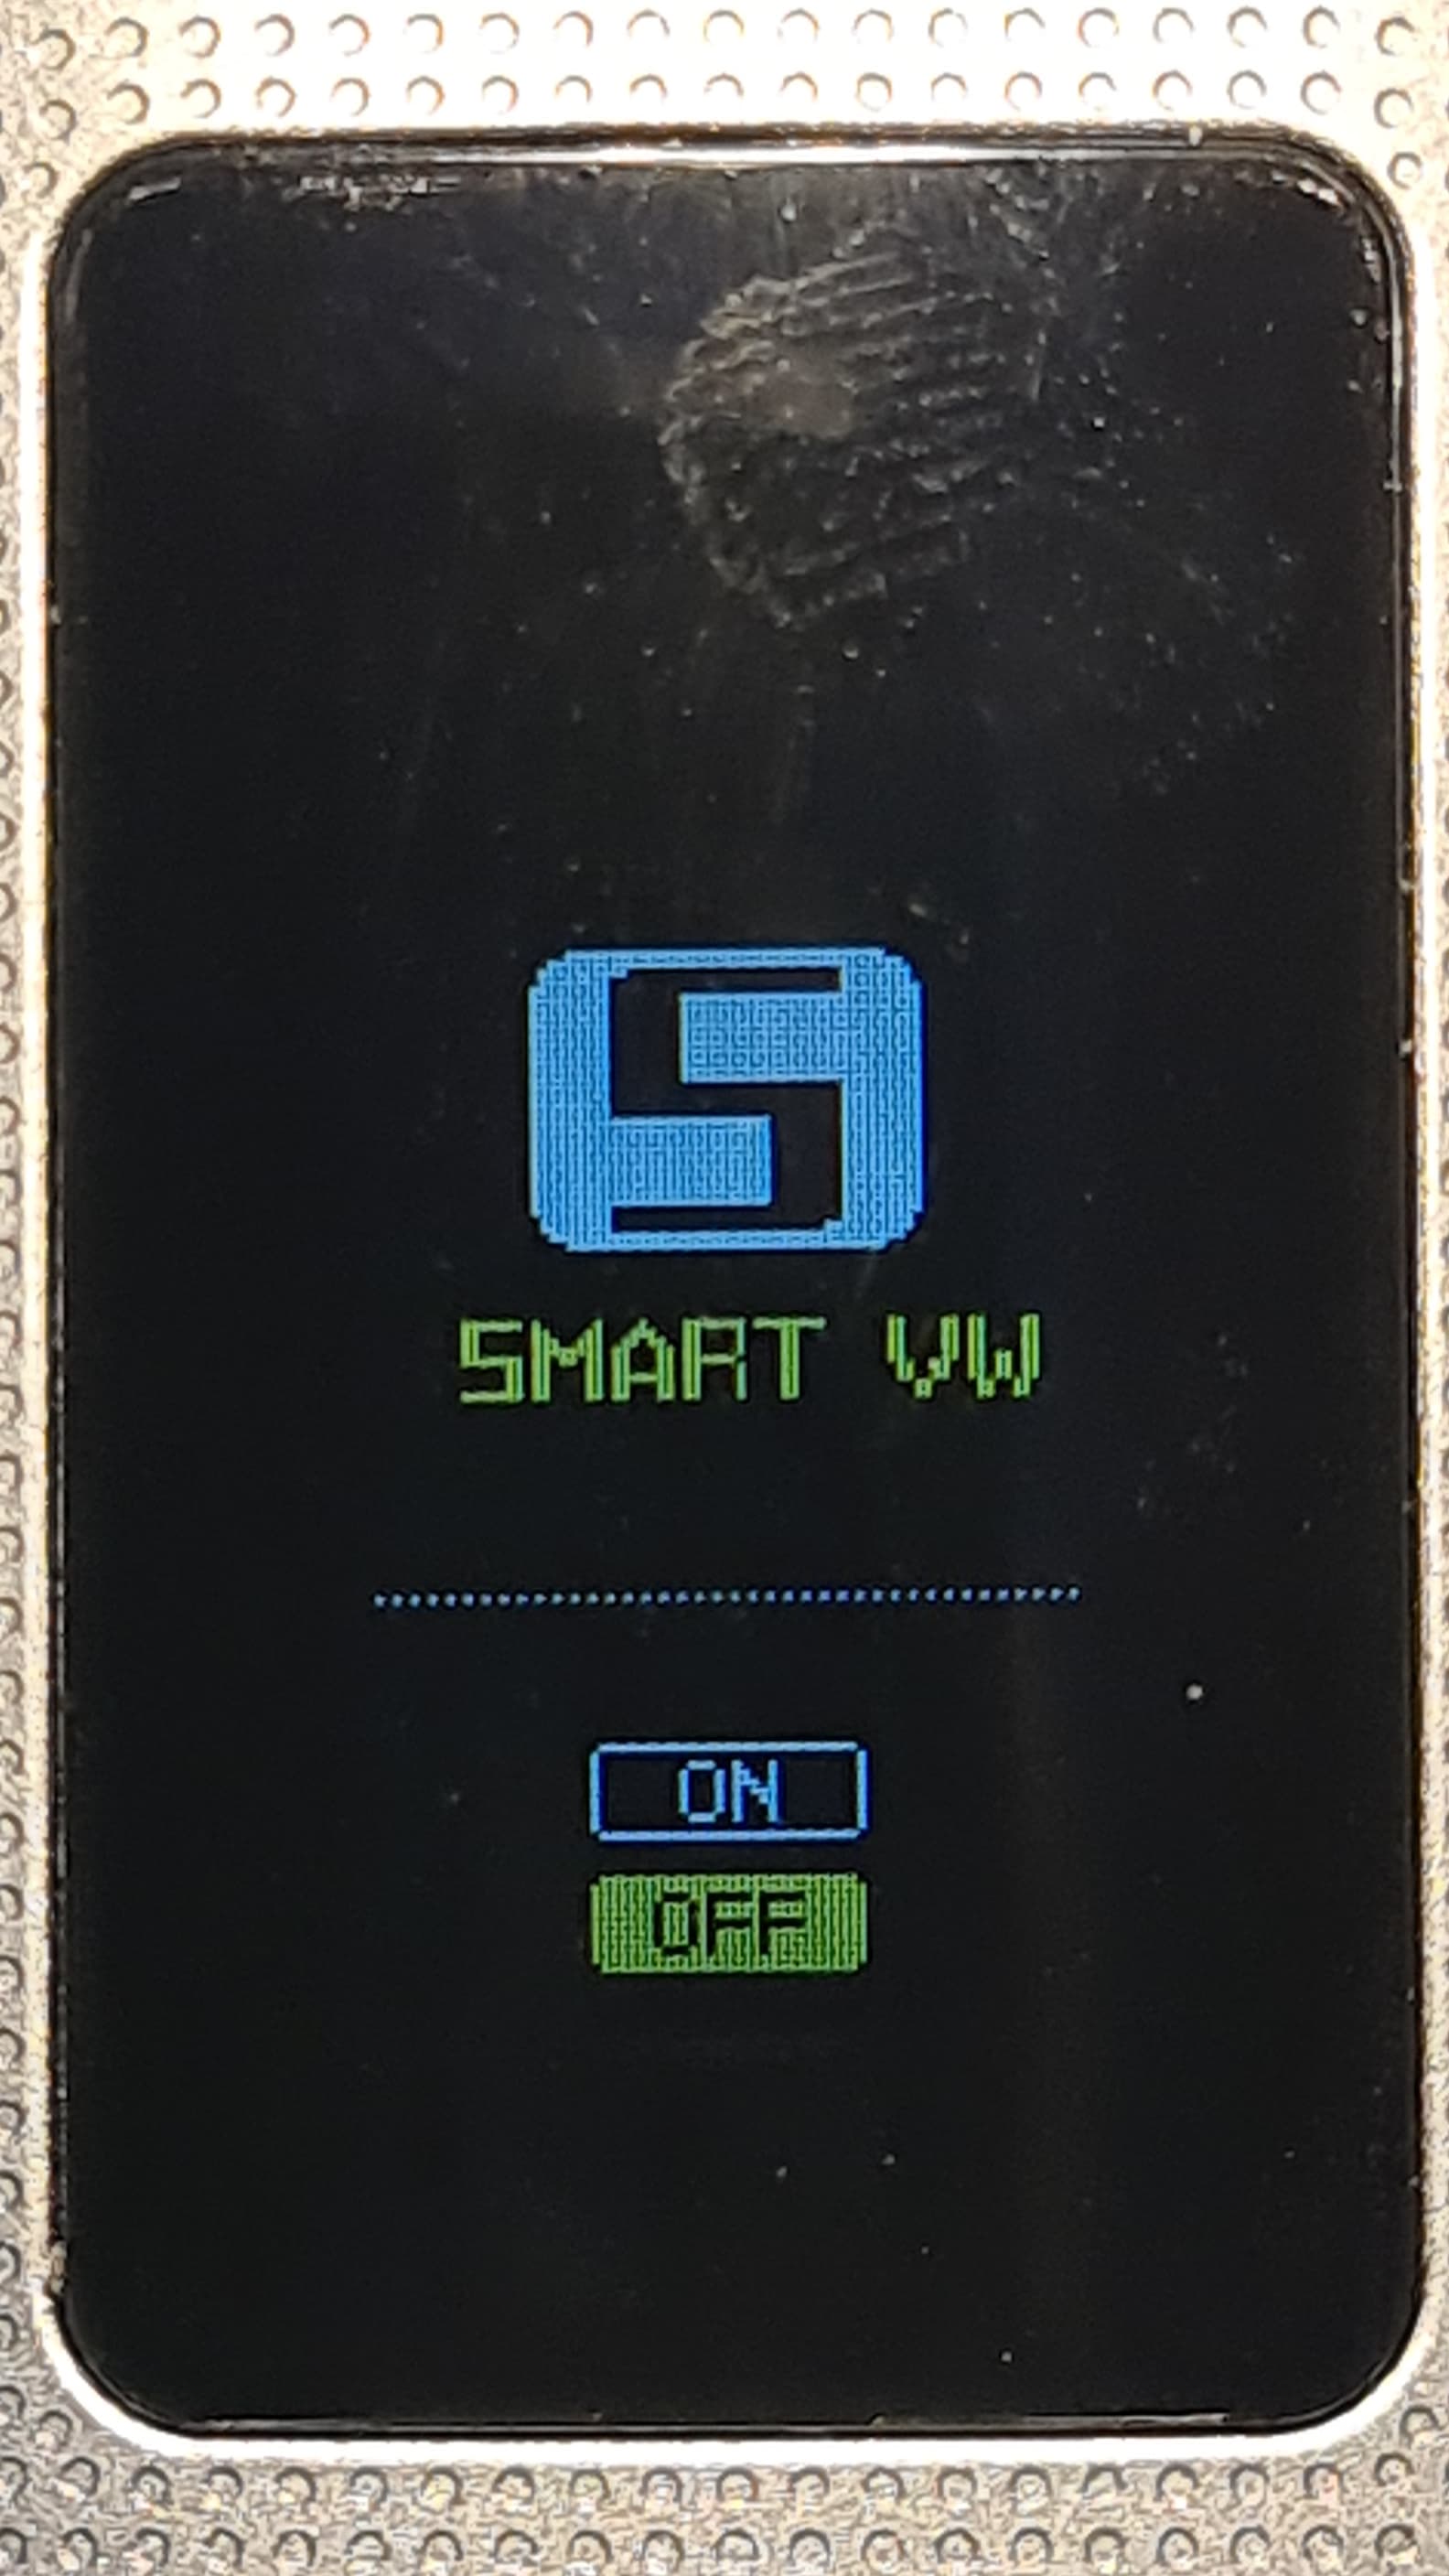
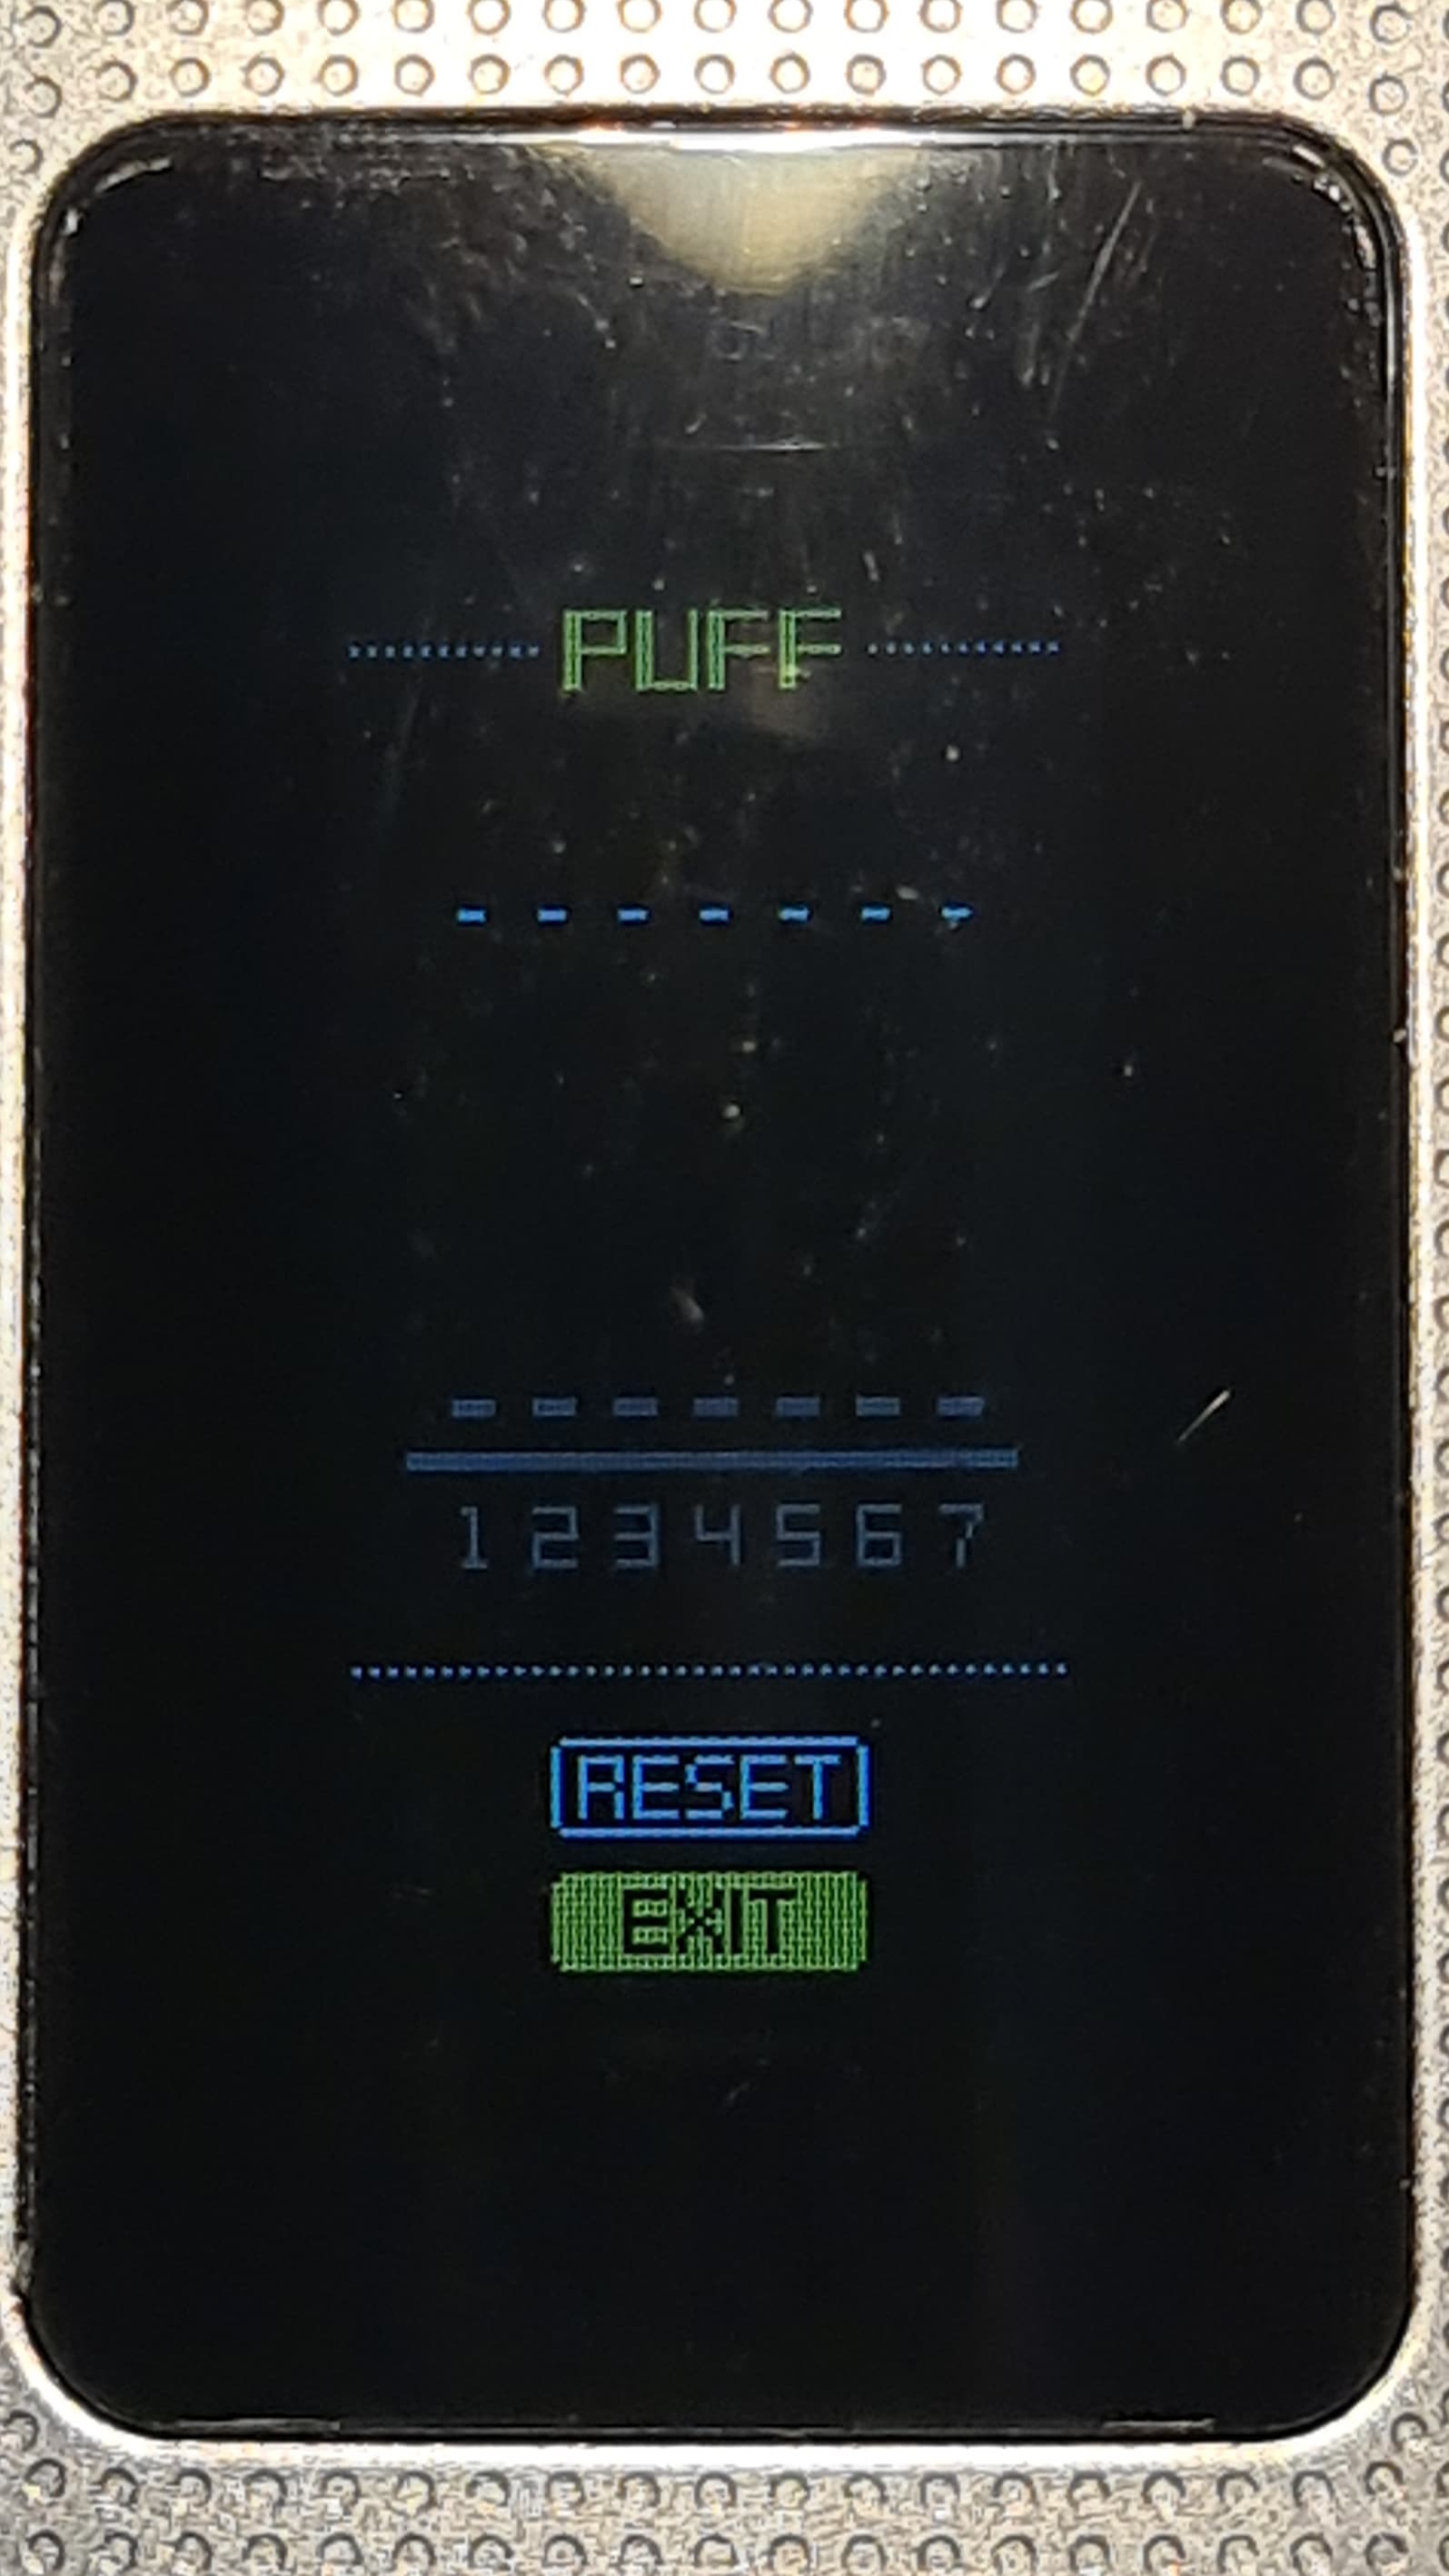
Entering the System Set mode will bring up the following menu options; There’s an option to reset the device to default settings. There is an option called Smart VW, which according to the user guide will recommend the best wattage based on the installed coil. Next is a puff counter which shows a count for the last 7 days. Last up is an option to show the version of the firmware currently installed.
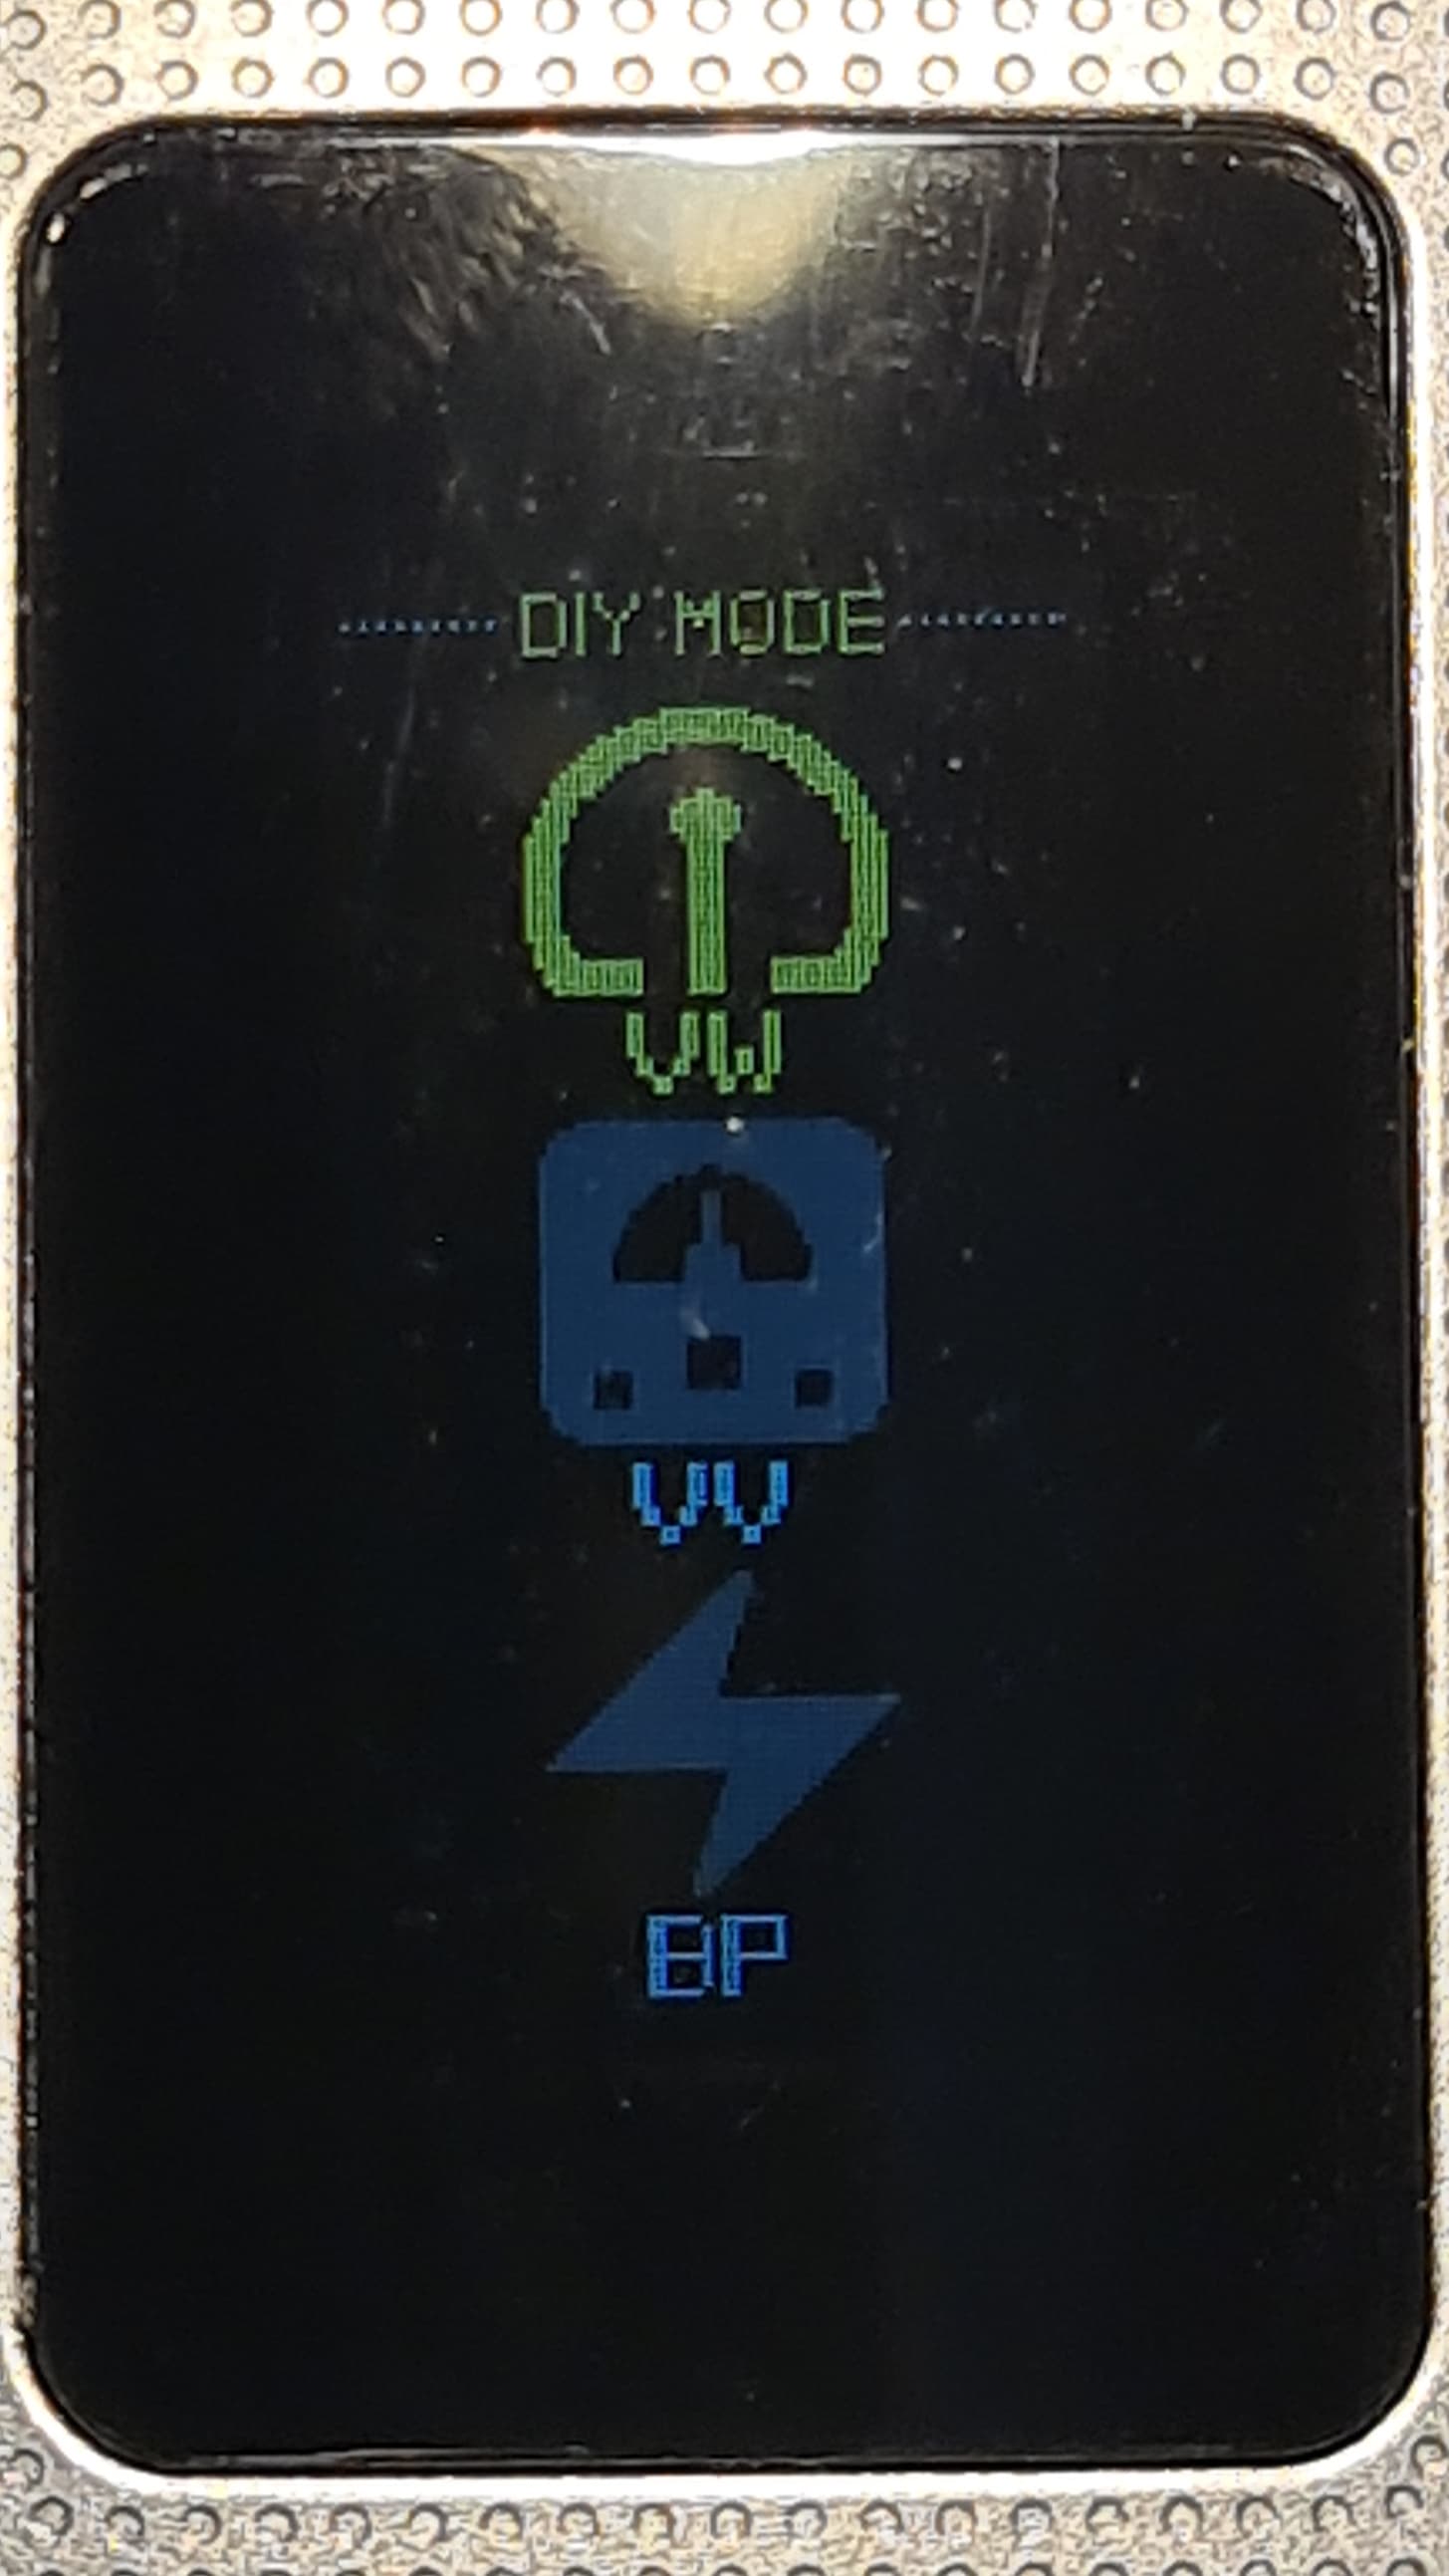
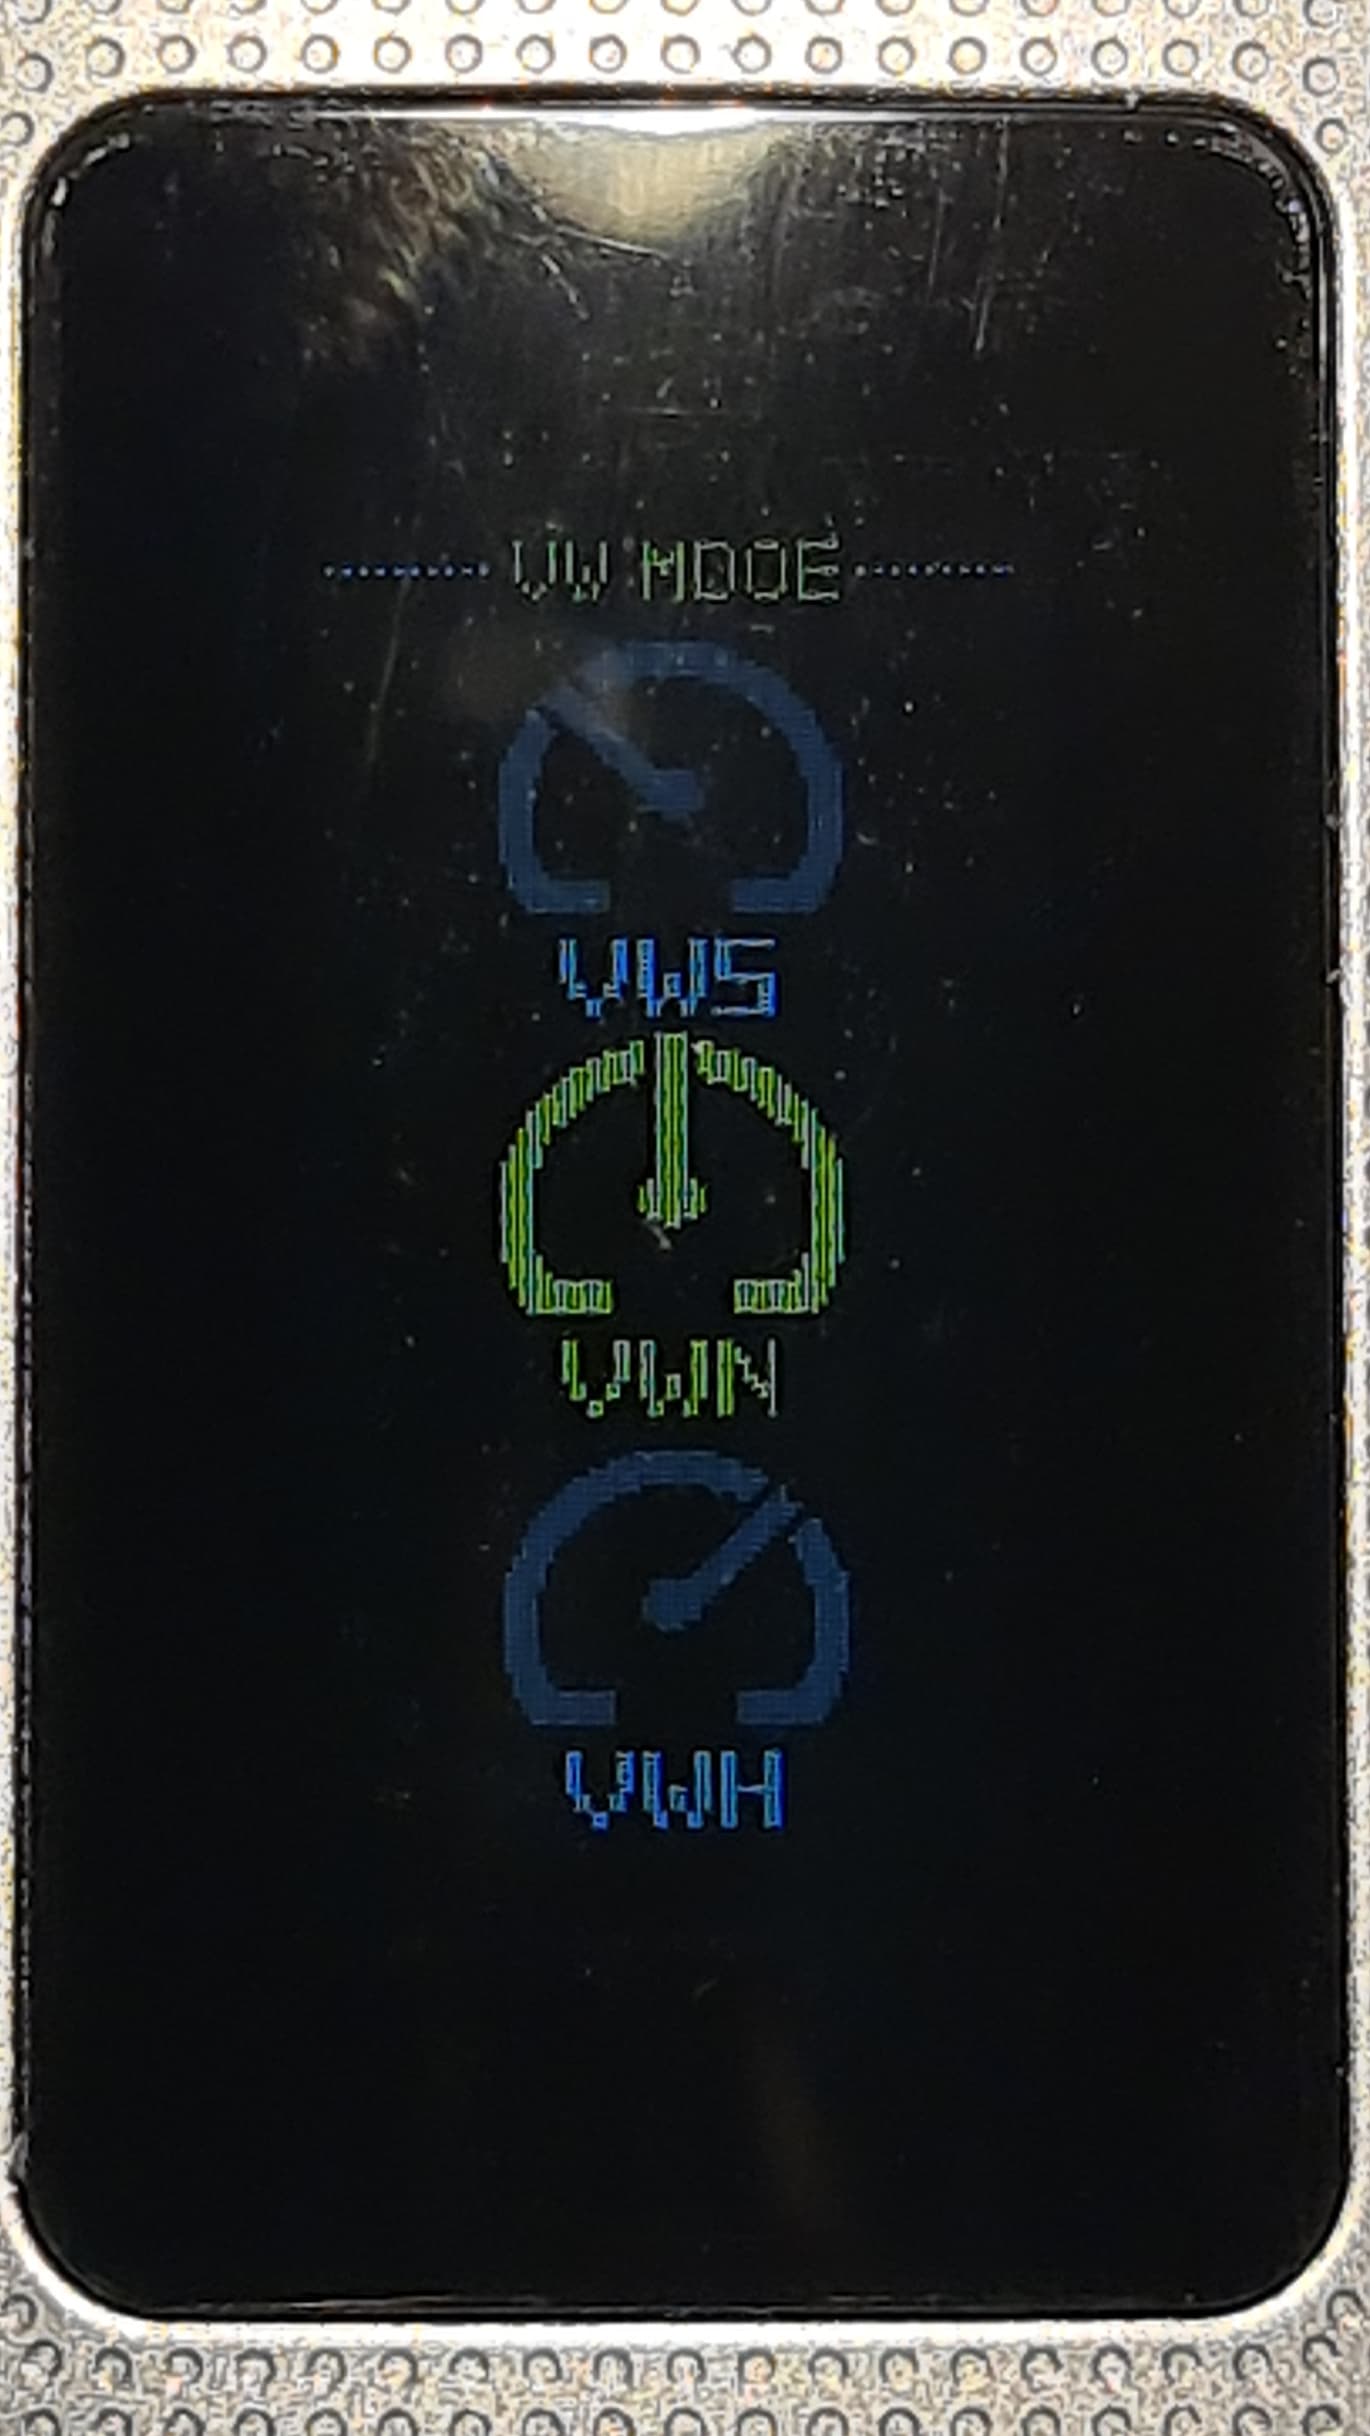
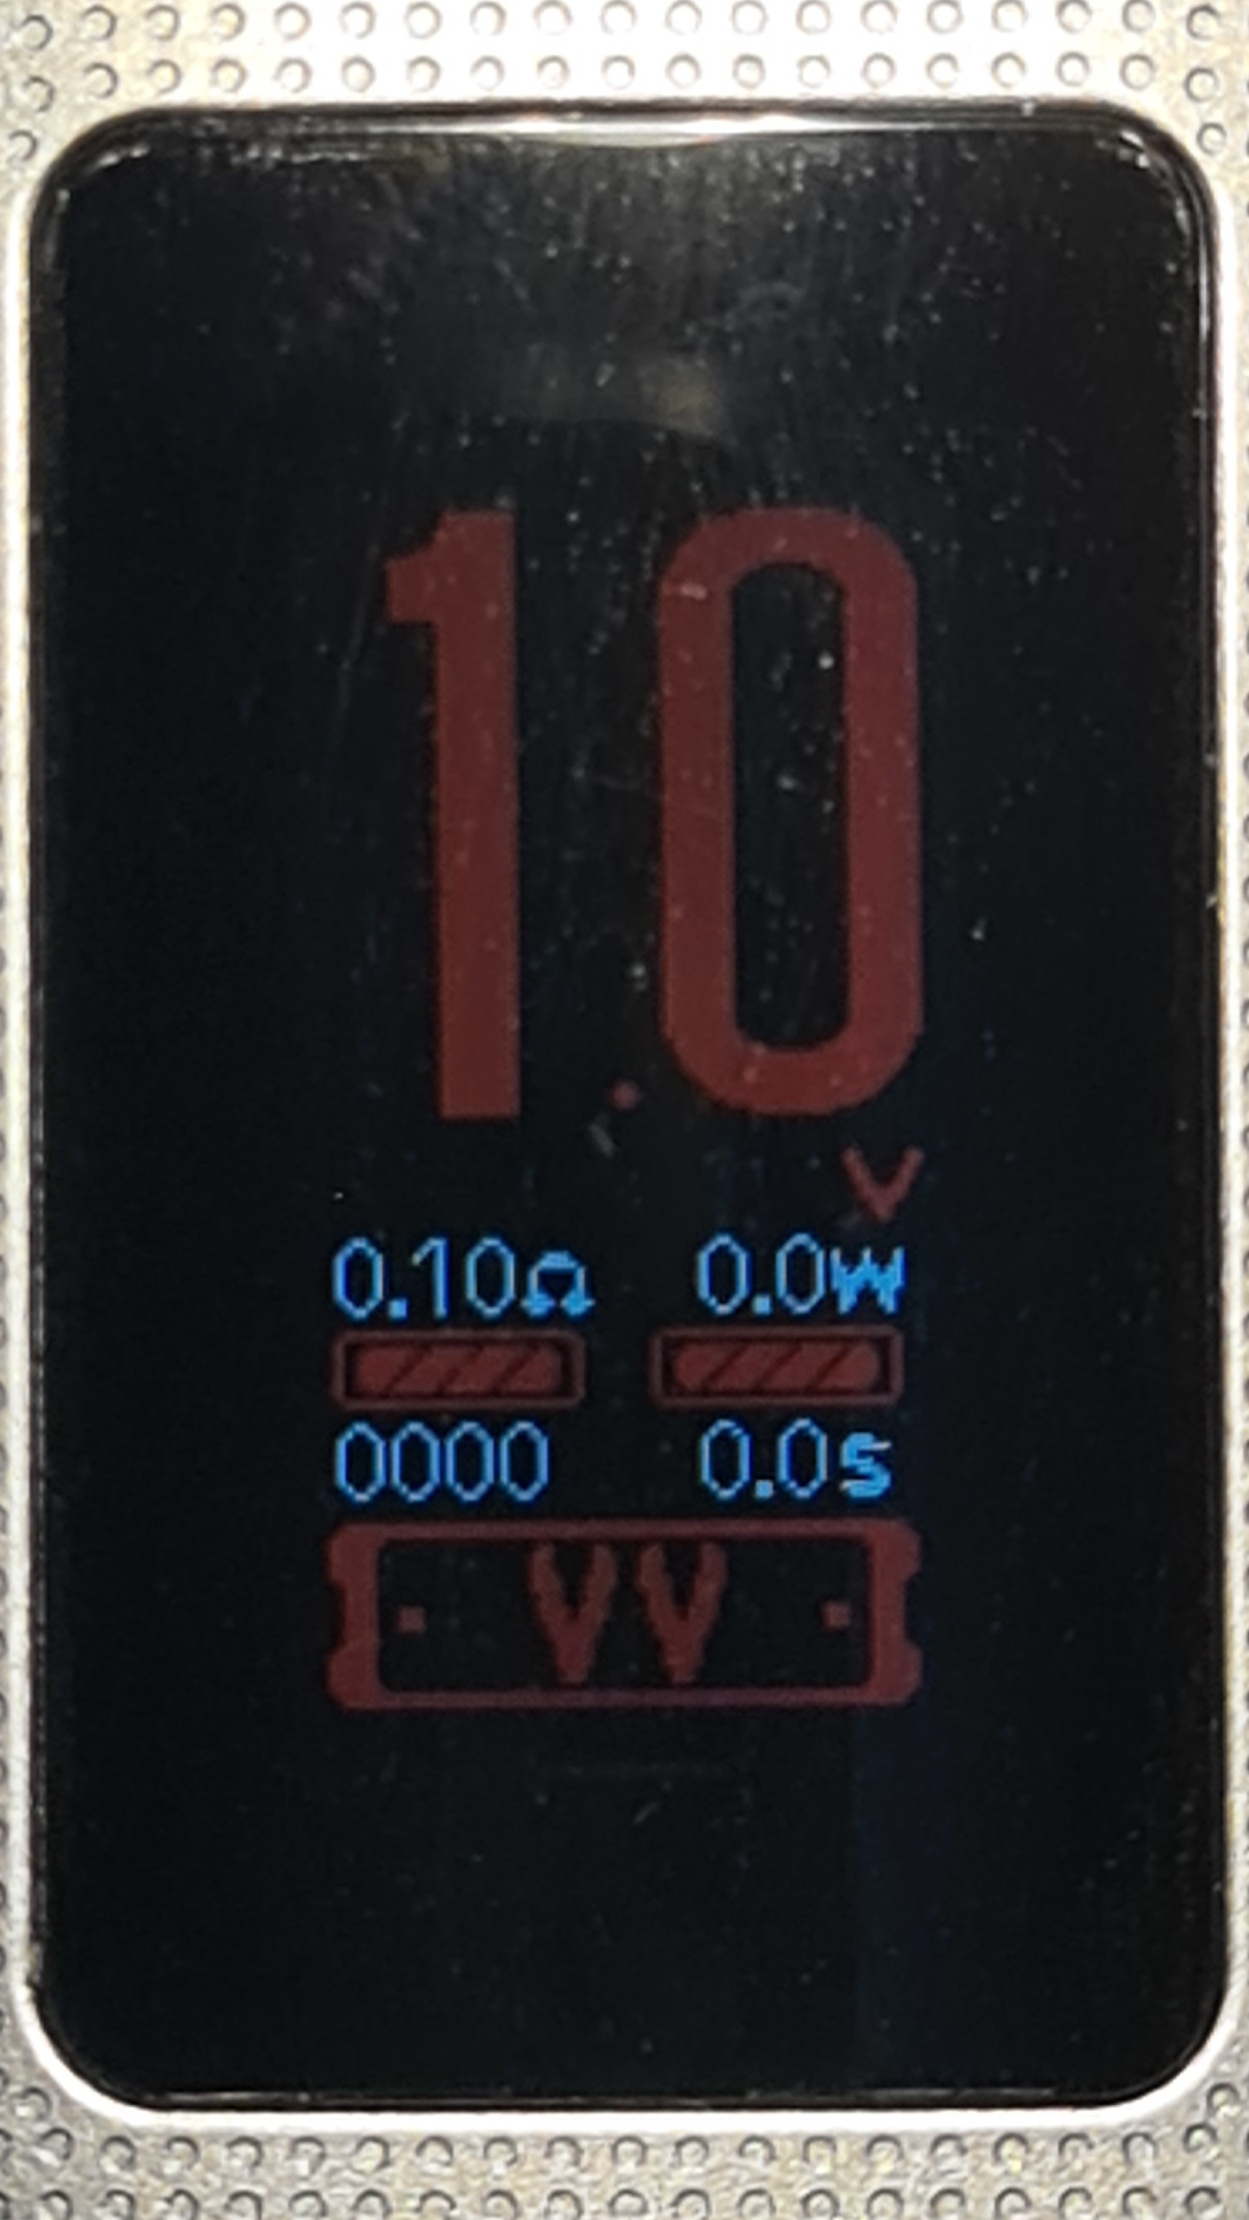
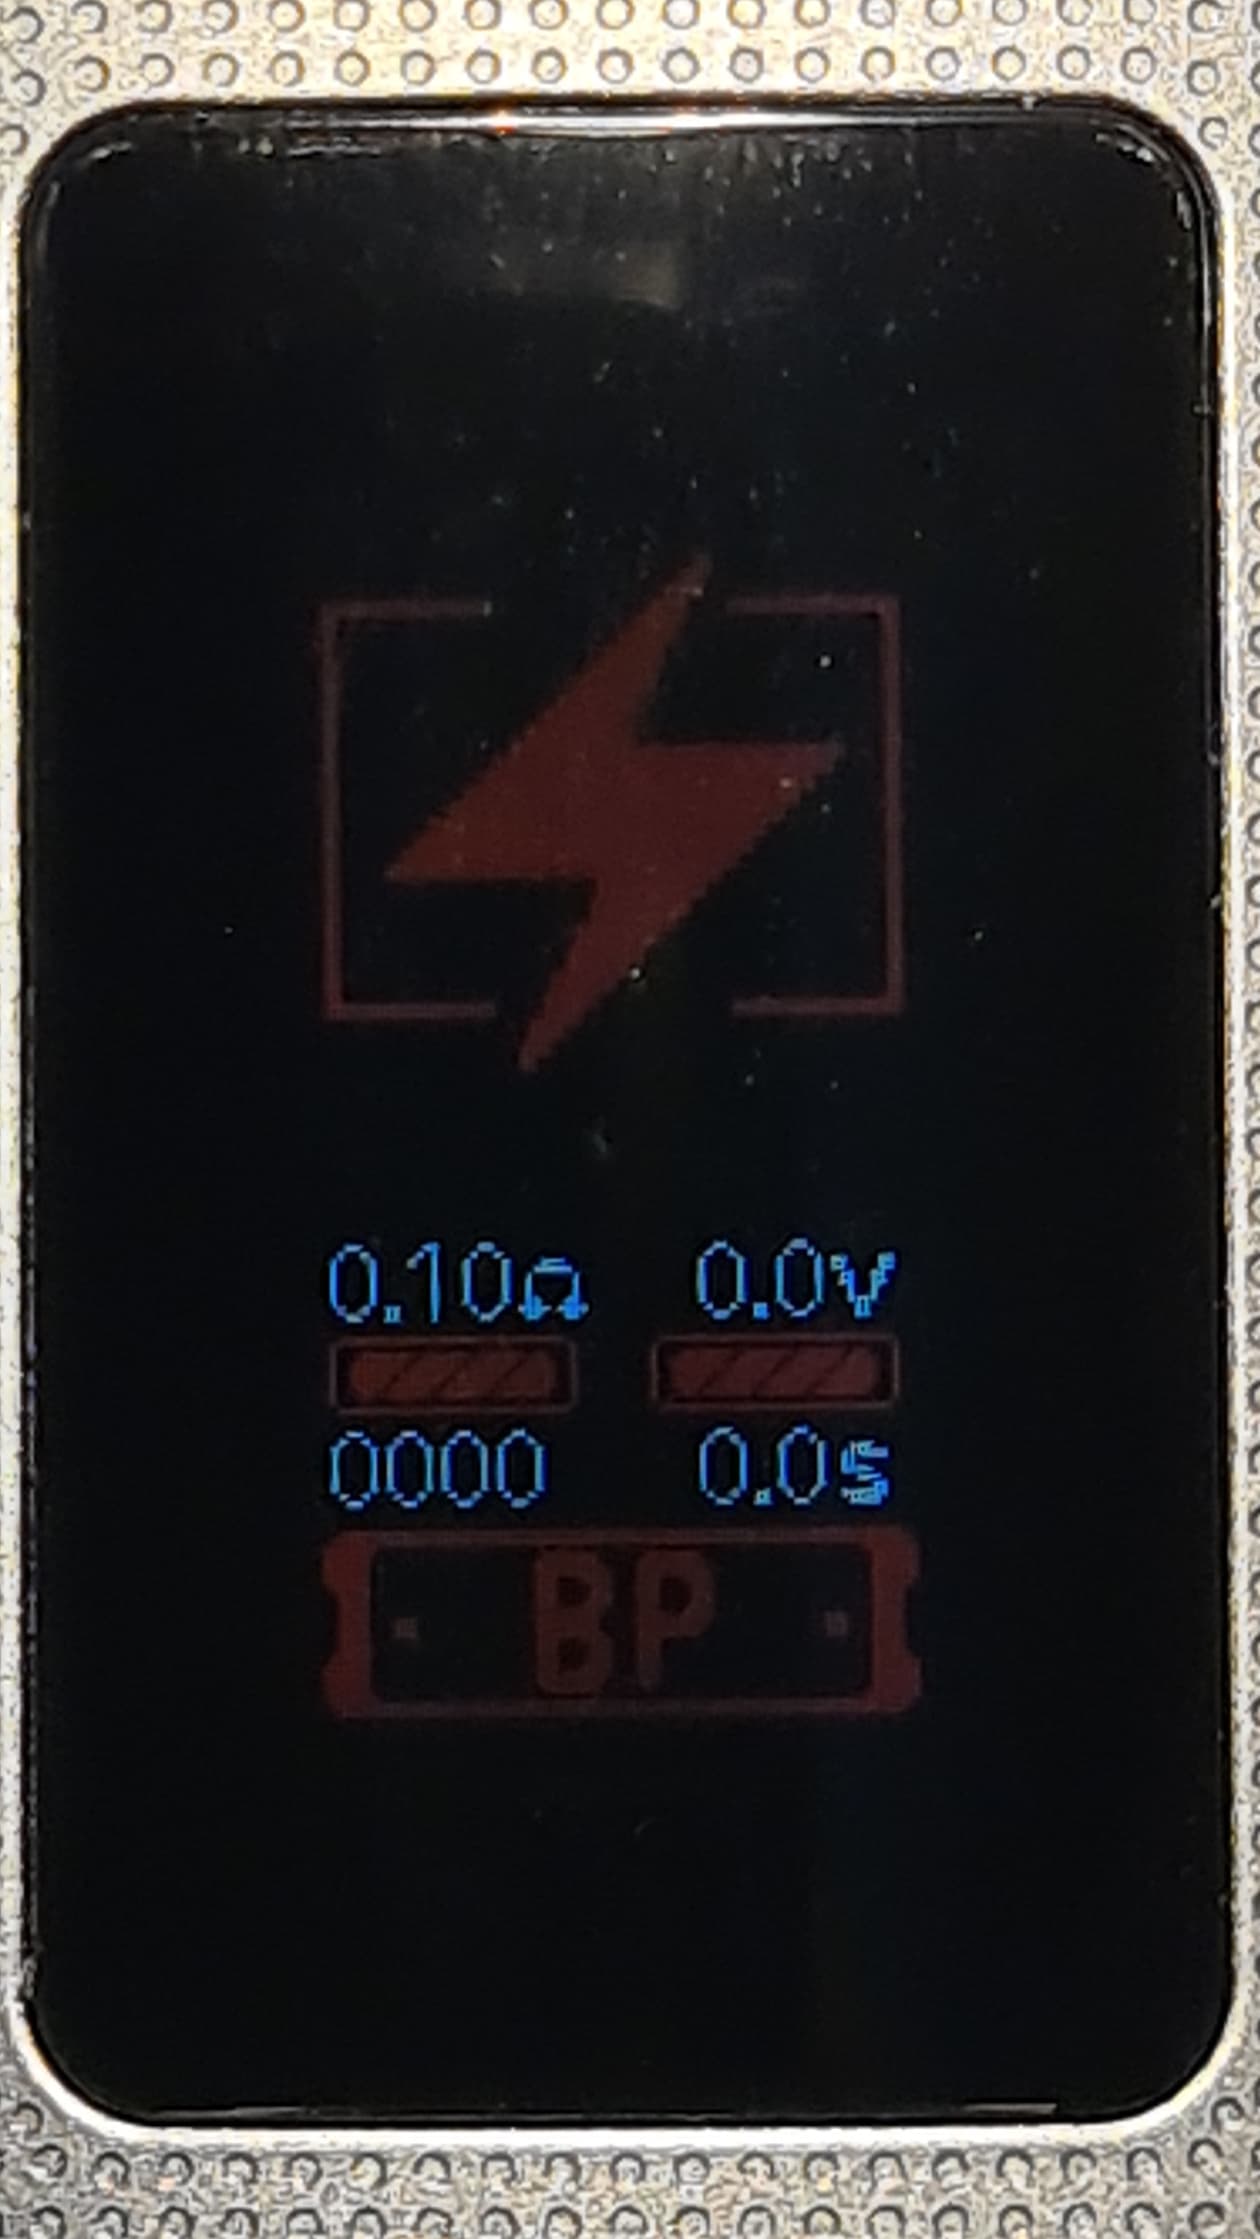
Entering the DIY setting will bring you to the following screen; This shows VW mode which seems to be similar to wattage mode but it allows you to choose from 3 different power curves, soft, normal and hard. Next is voltage mode and lastly bypass mode.
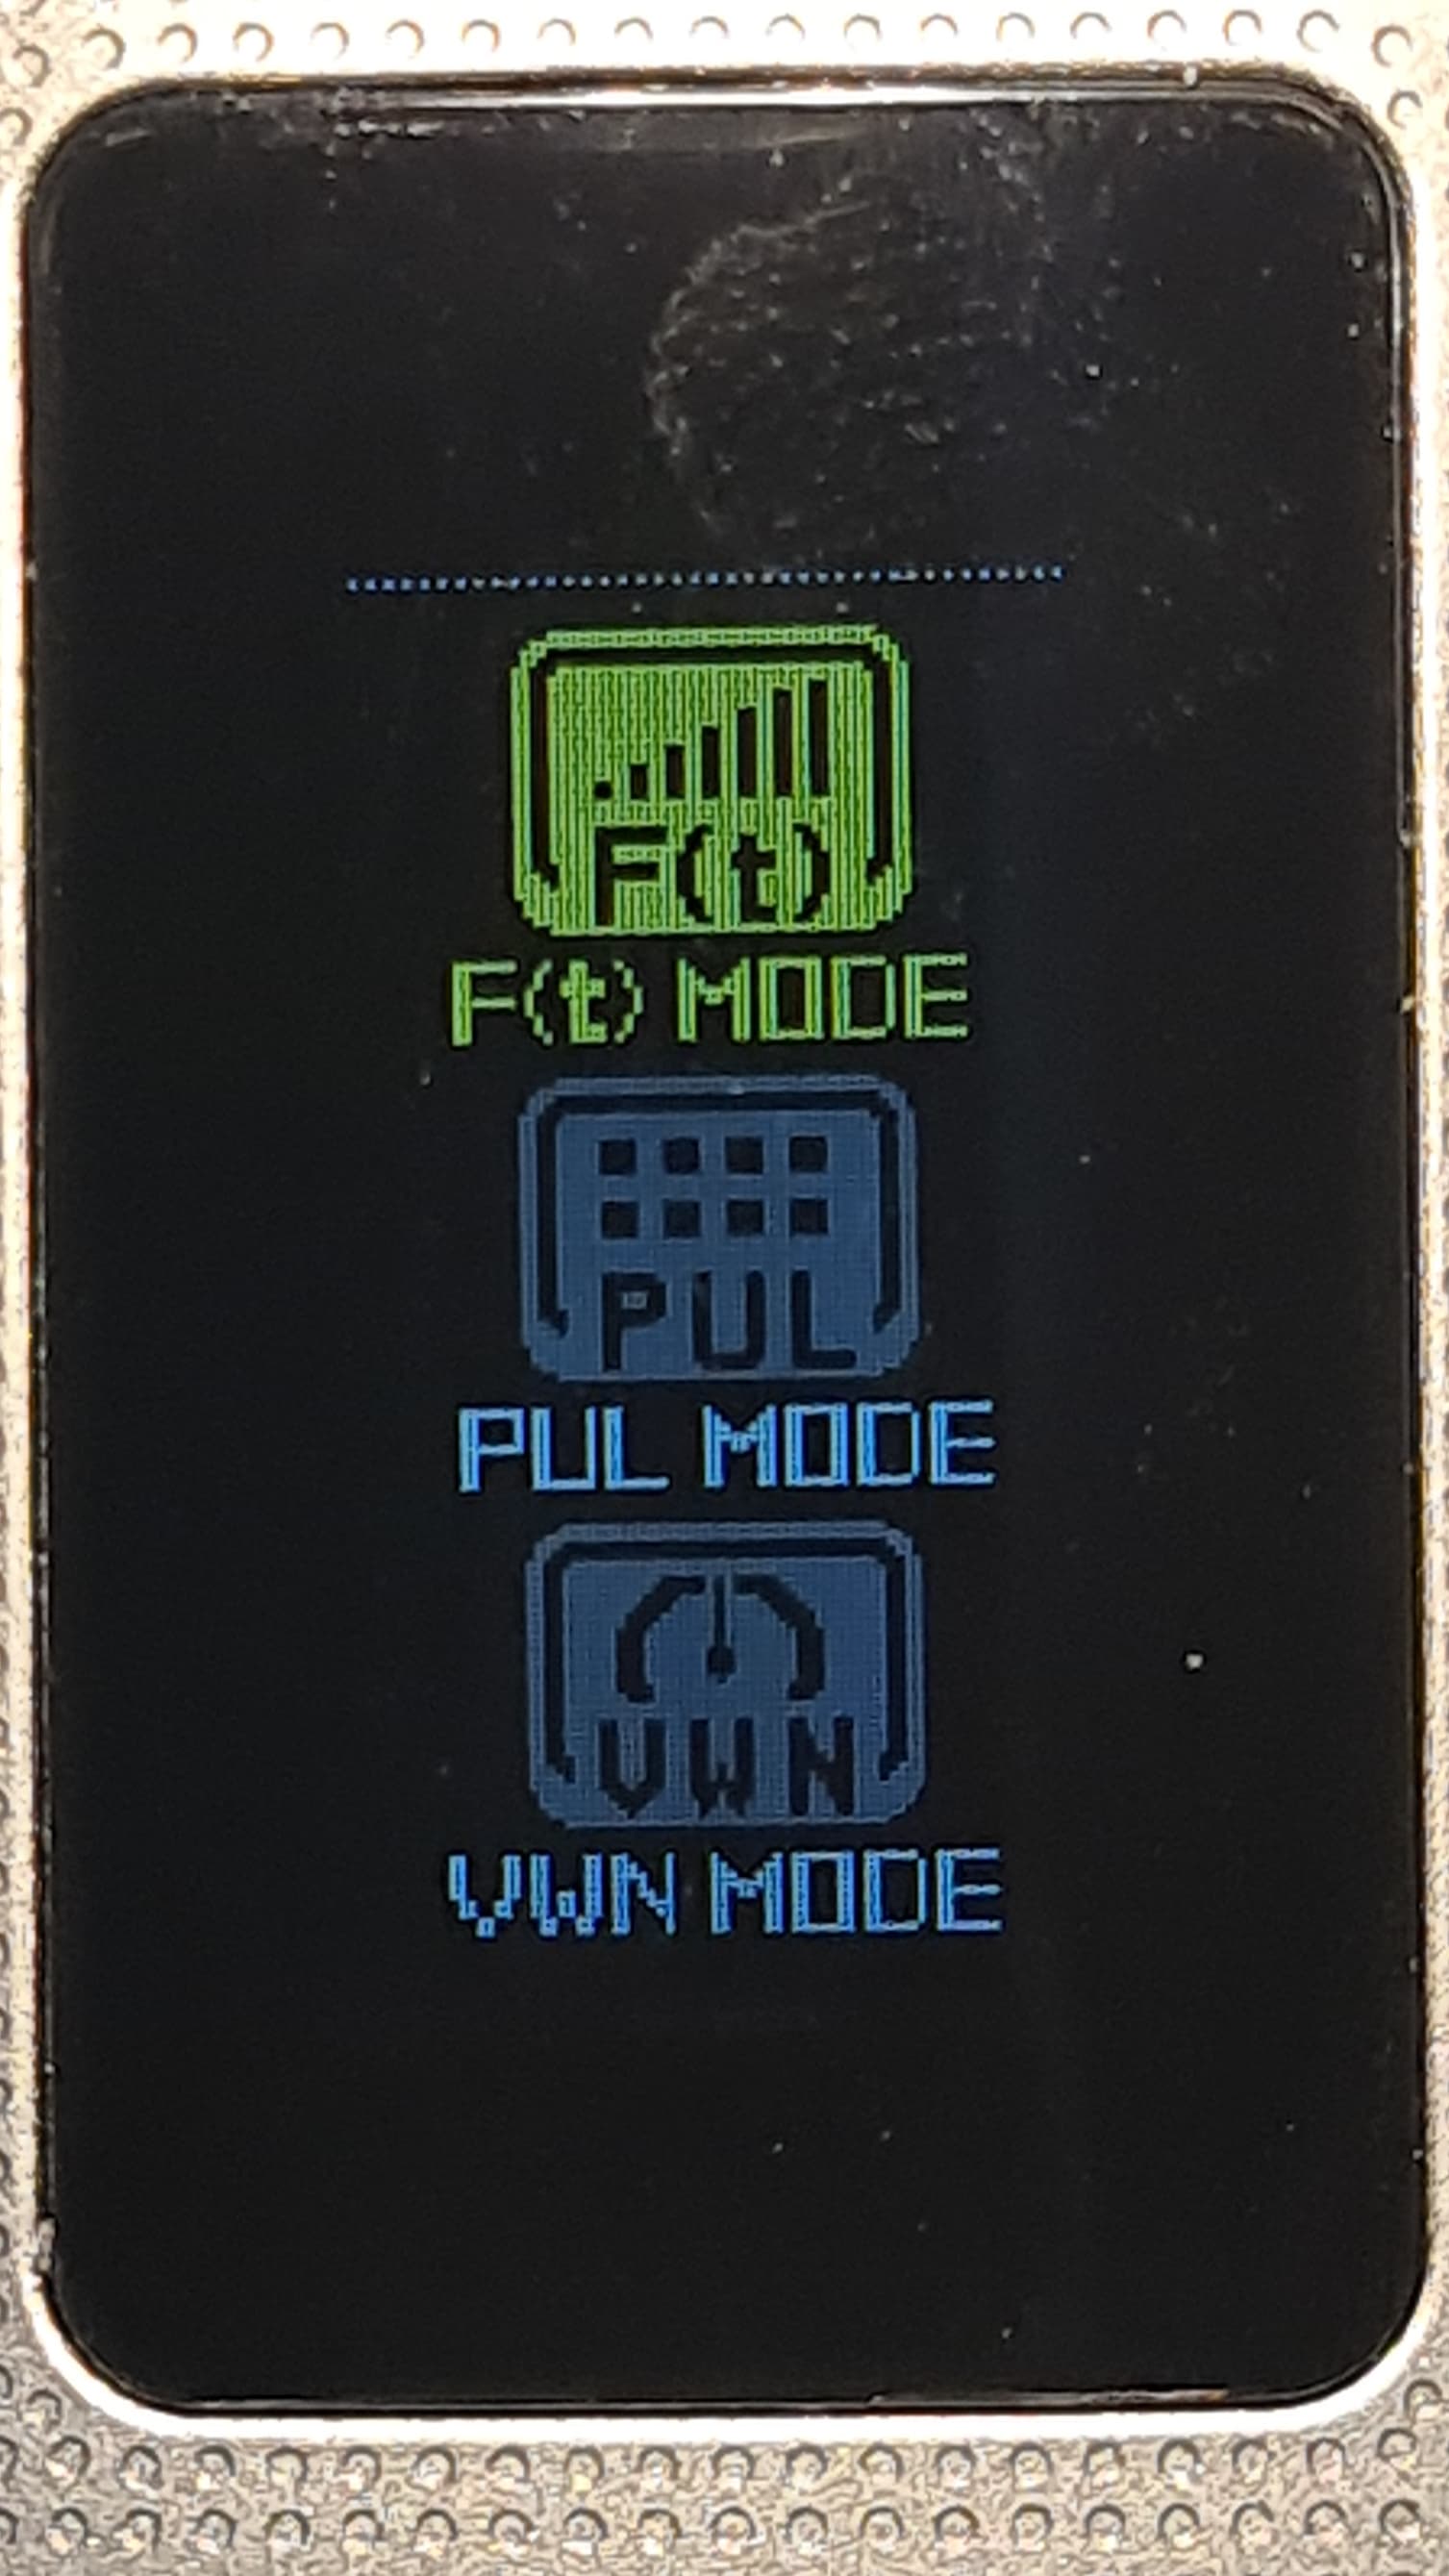
Here are all the mode screens; The screen colour changes depending on the currently selected mode. First up is the wattage mode screen which turns the UI blue. After that is F(t) mode which is yellow and ‘adjusts temperature and heating speed & time to deliver flavour adequately’. Next we have Pulse mode which is red and ‘provides a constant voltage output to deliver optimal flavour’. Voltage mode is also red, as is bypass mode.
5 clicks of the fire button will power off the device:

The current mode can also be changed without using the menu by holding down the select button until the mode flashes then you can use the up/down buttons to select from Watts, F(t) or PUL. 3 clicks of the fire button will lock everything except the fire button to prevent accidental adjustments while still allowing the device to be used.

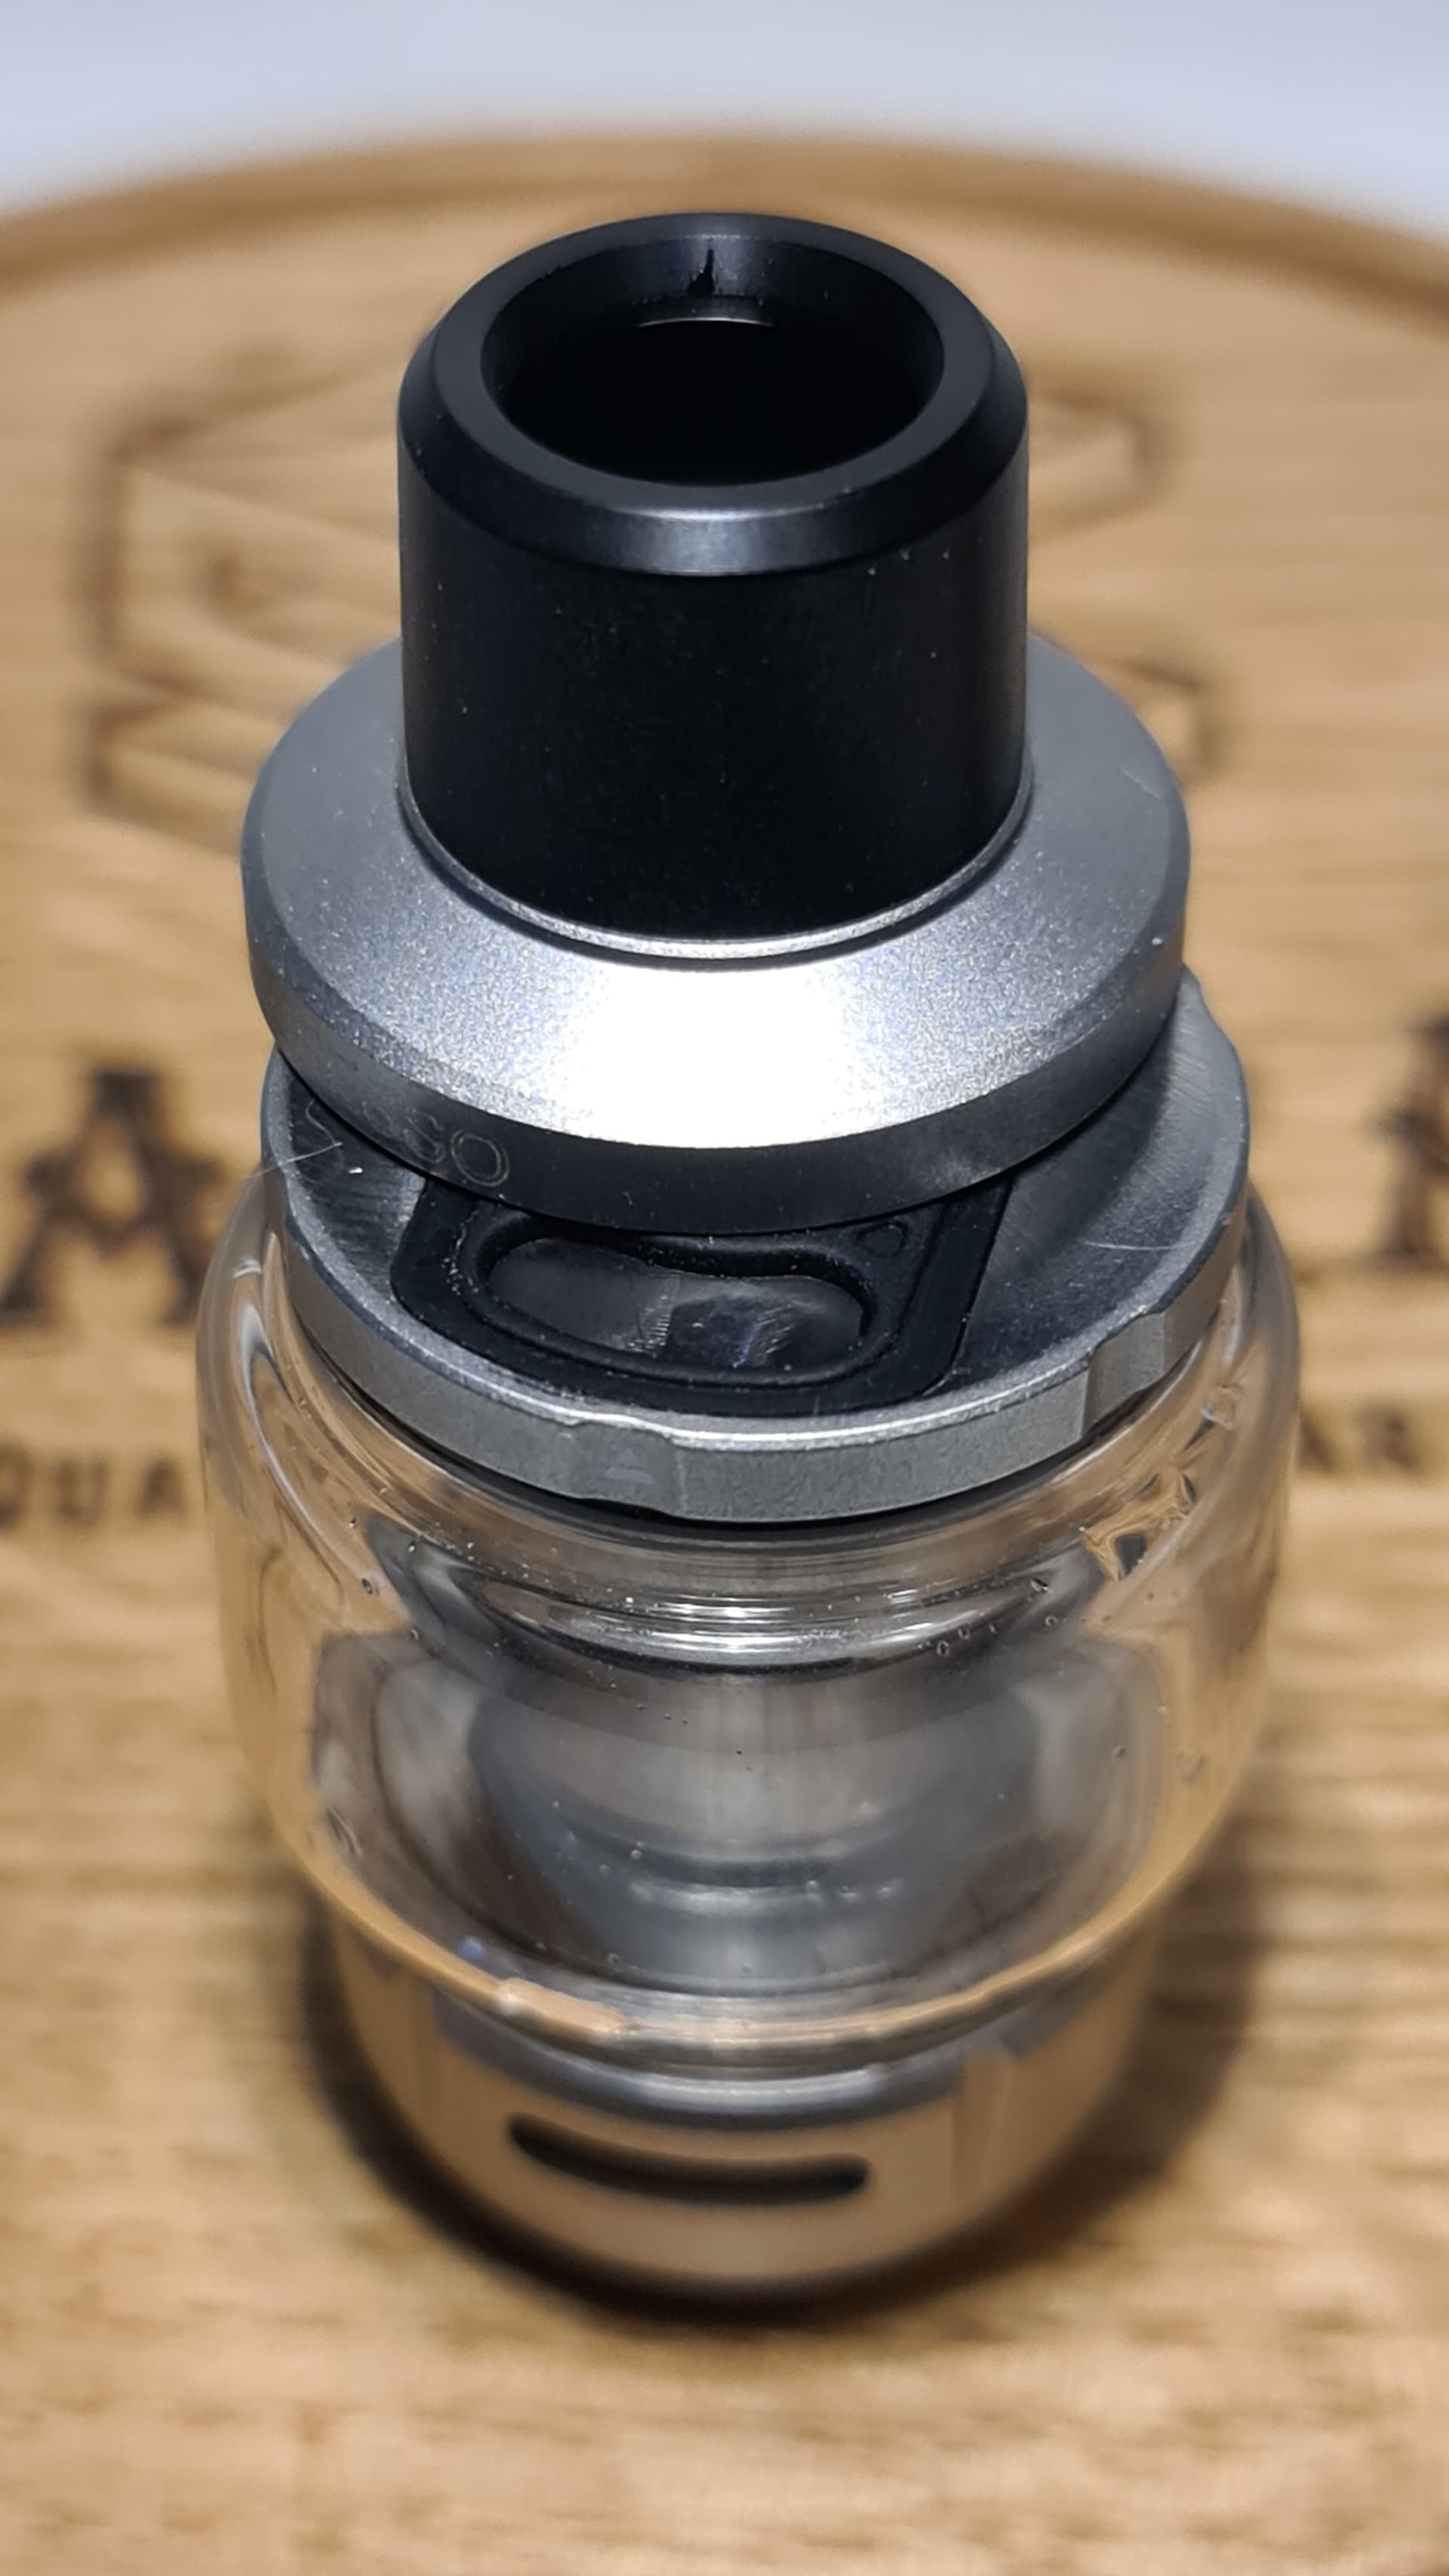
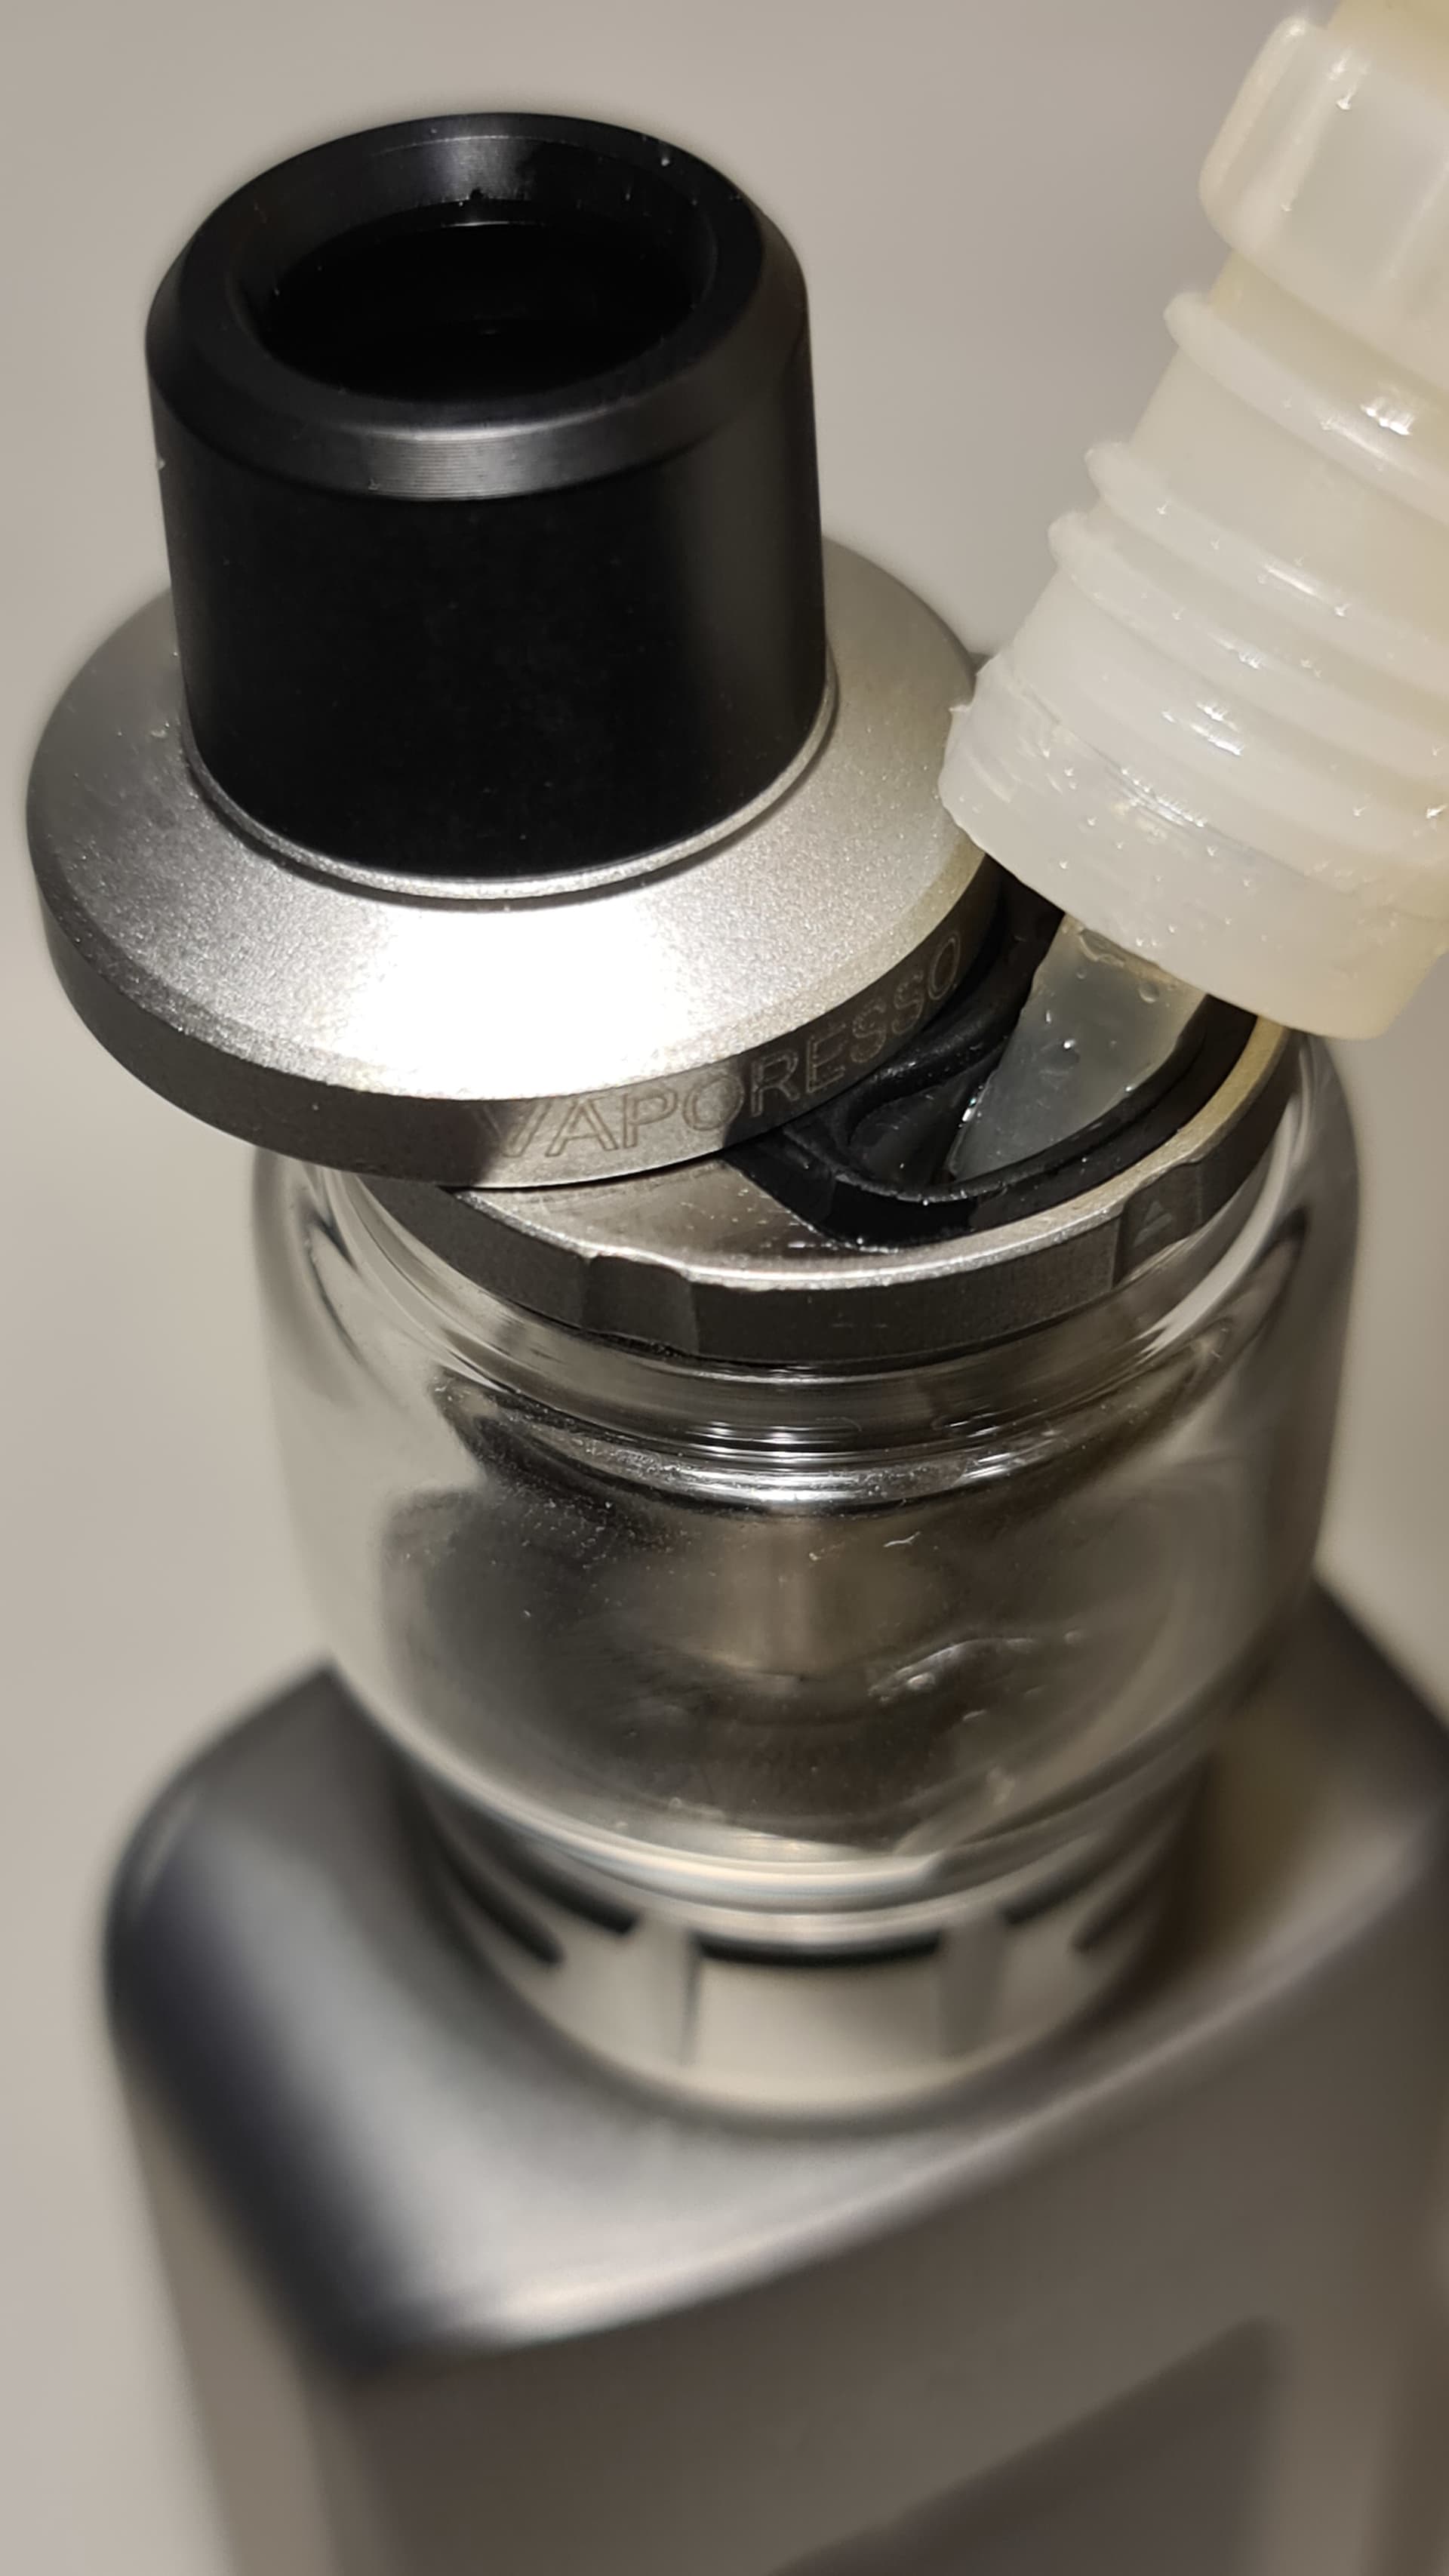
Moving on to the i-Tank, we have a 24.5mm diameter, 8ml (2ml TPD) capacity sub-ohm tank. Up top the cap slides across to reveal the membrane covered kidney shaped fill port. There is a small marking to show where to push. The drip tip is proprietary so you can’t use your favourite 510 or 810.
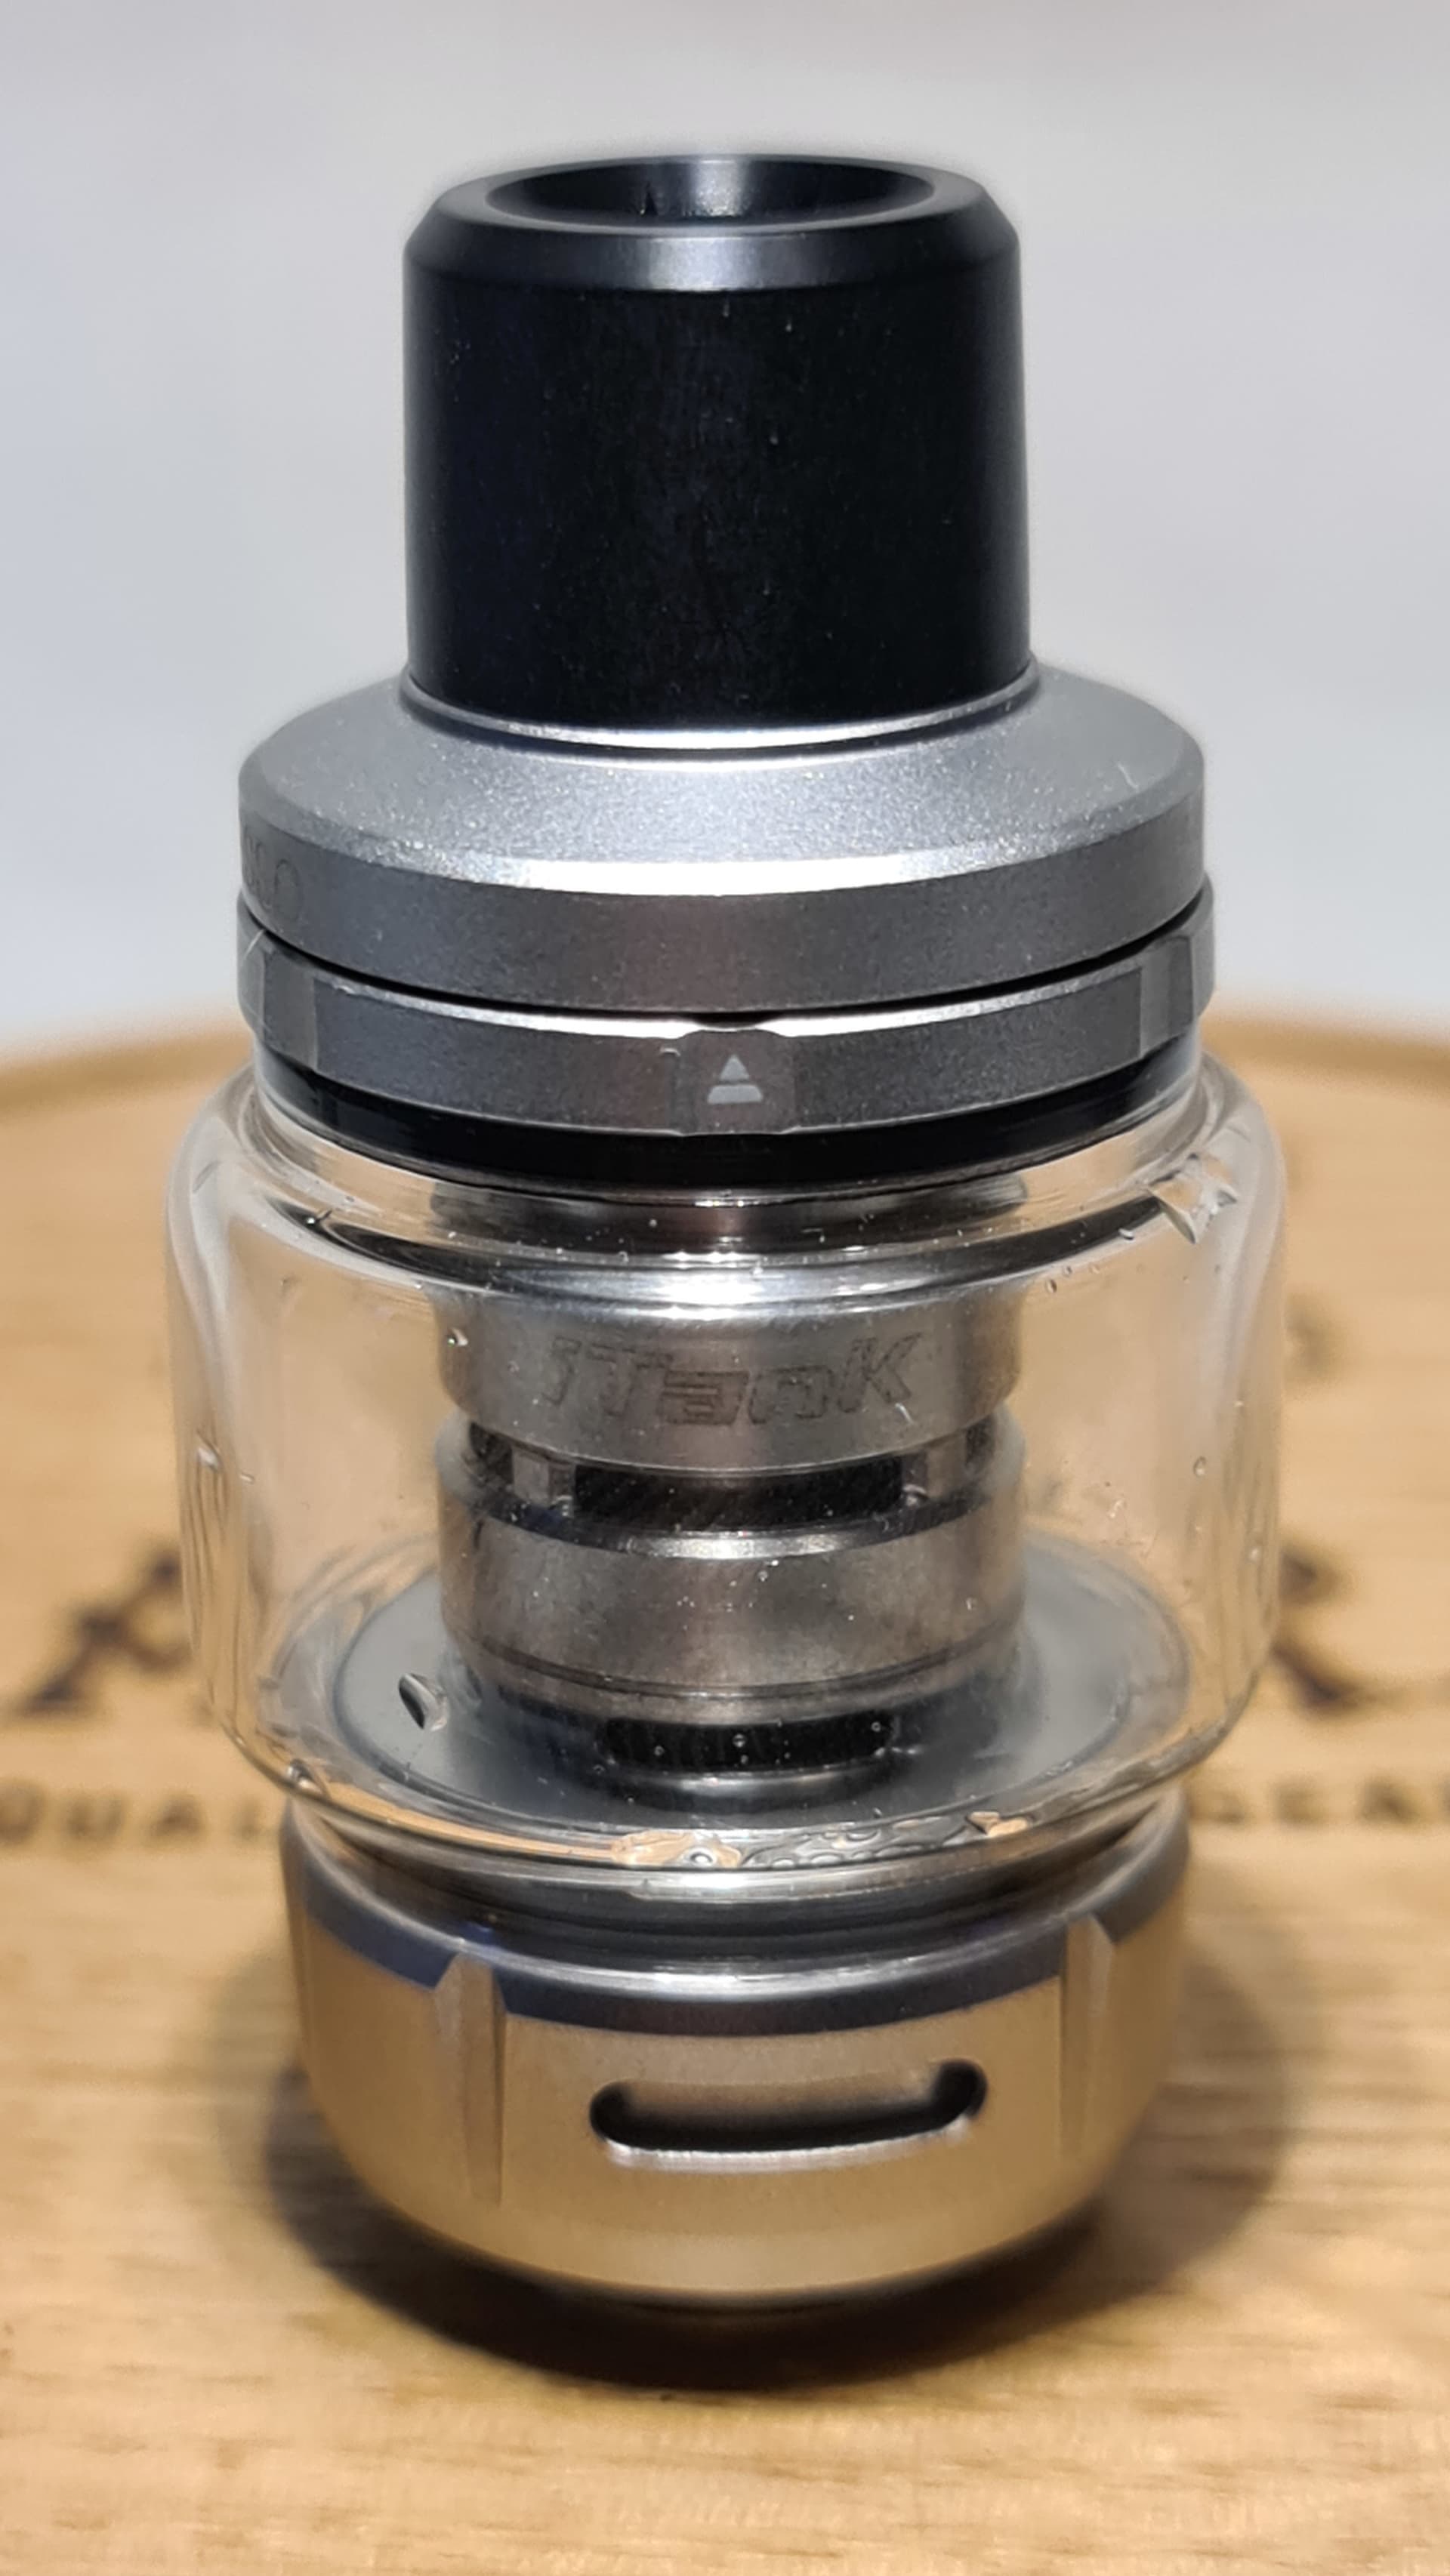
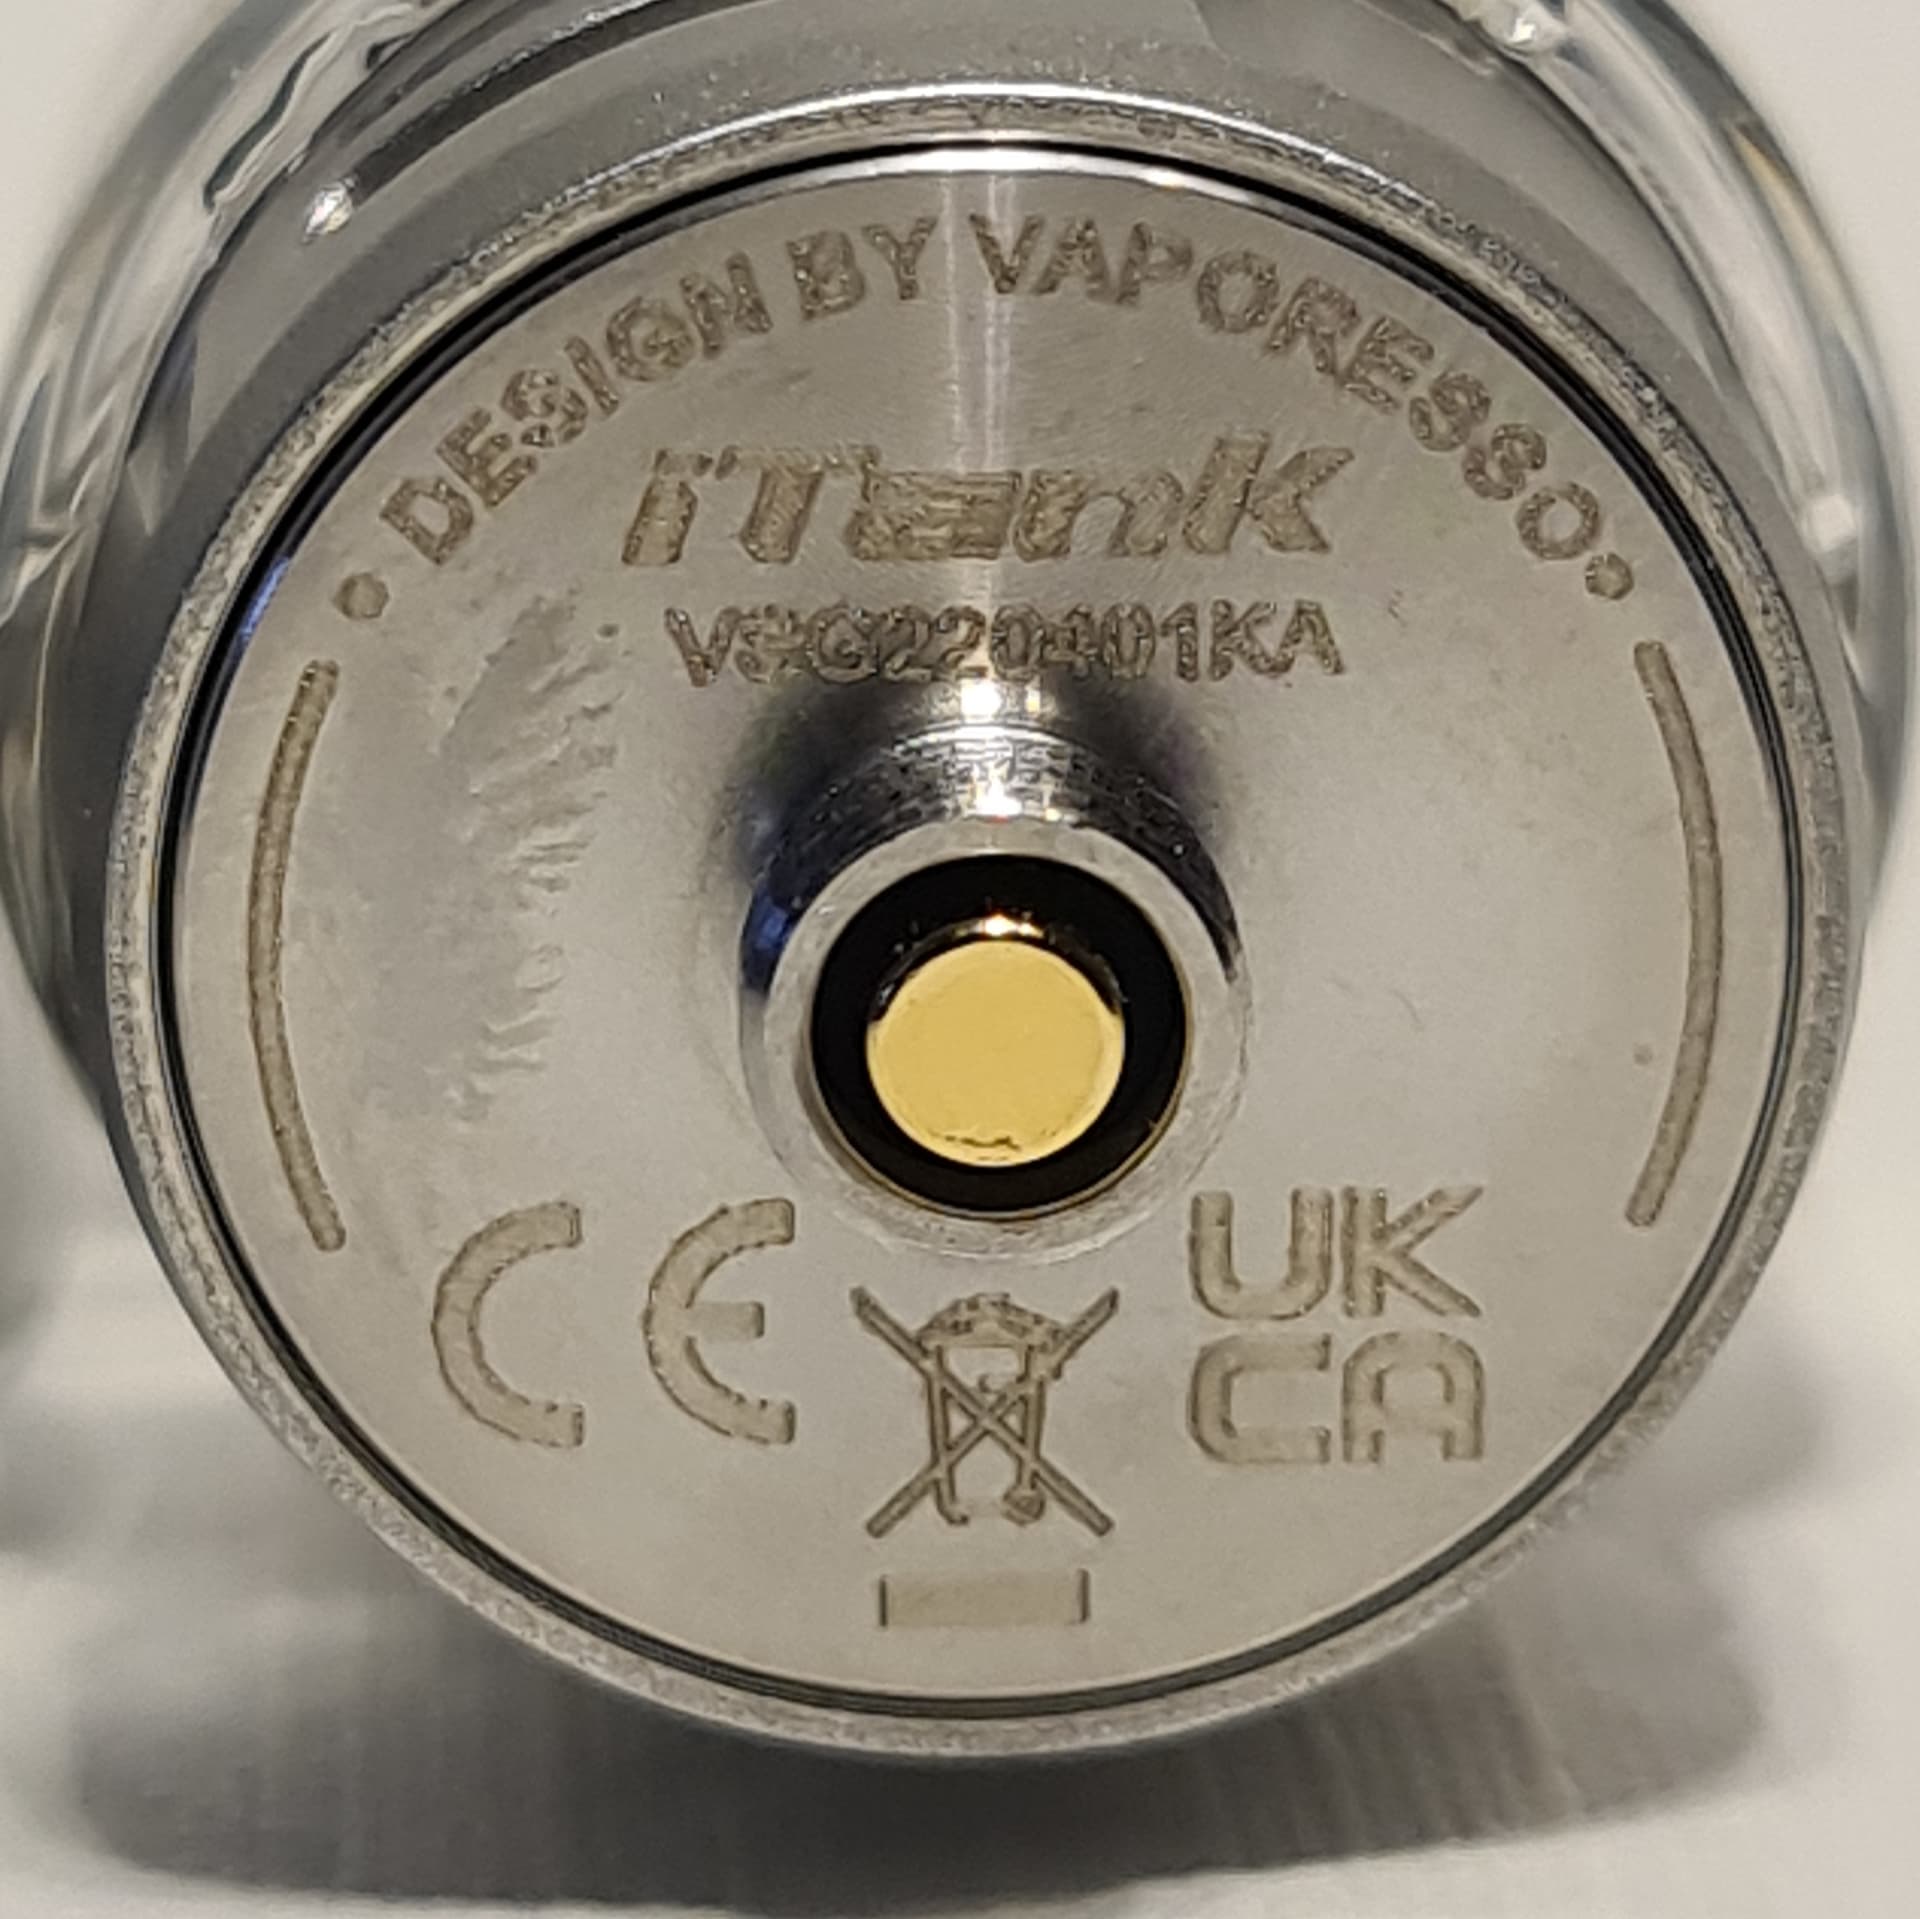
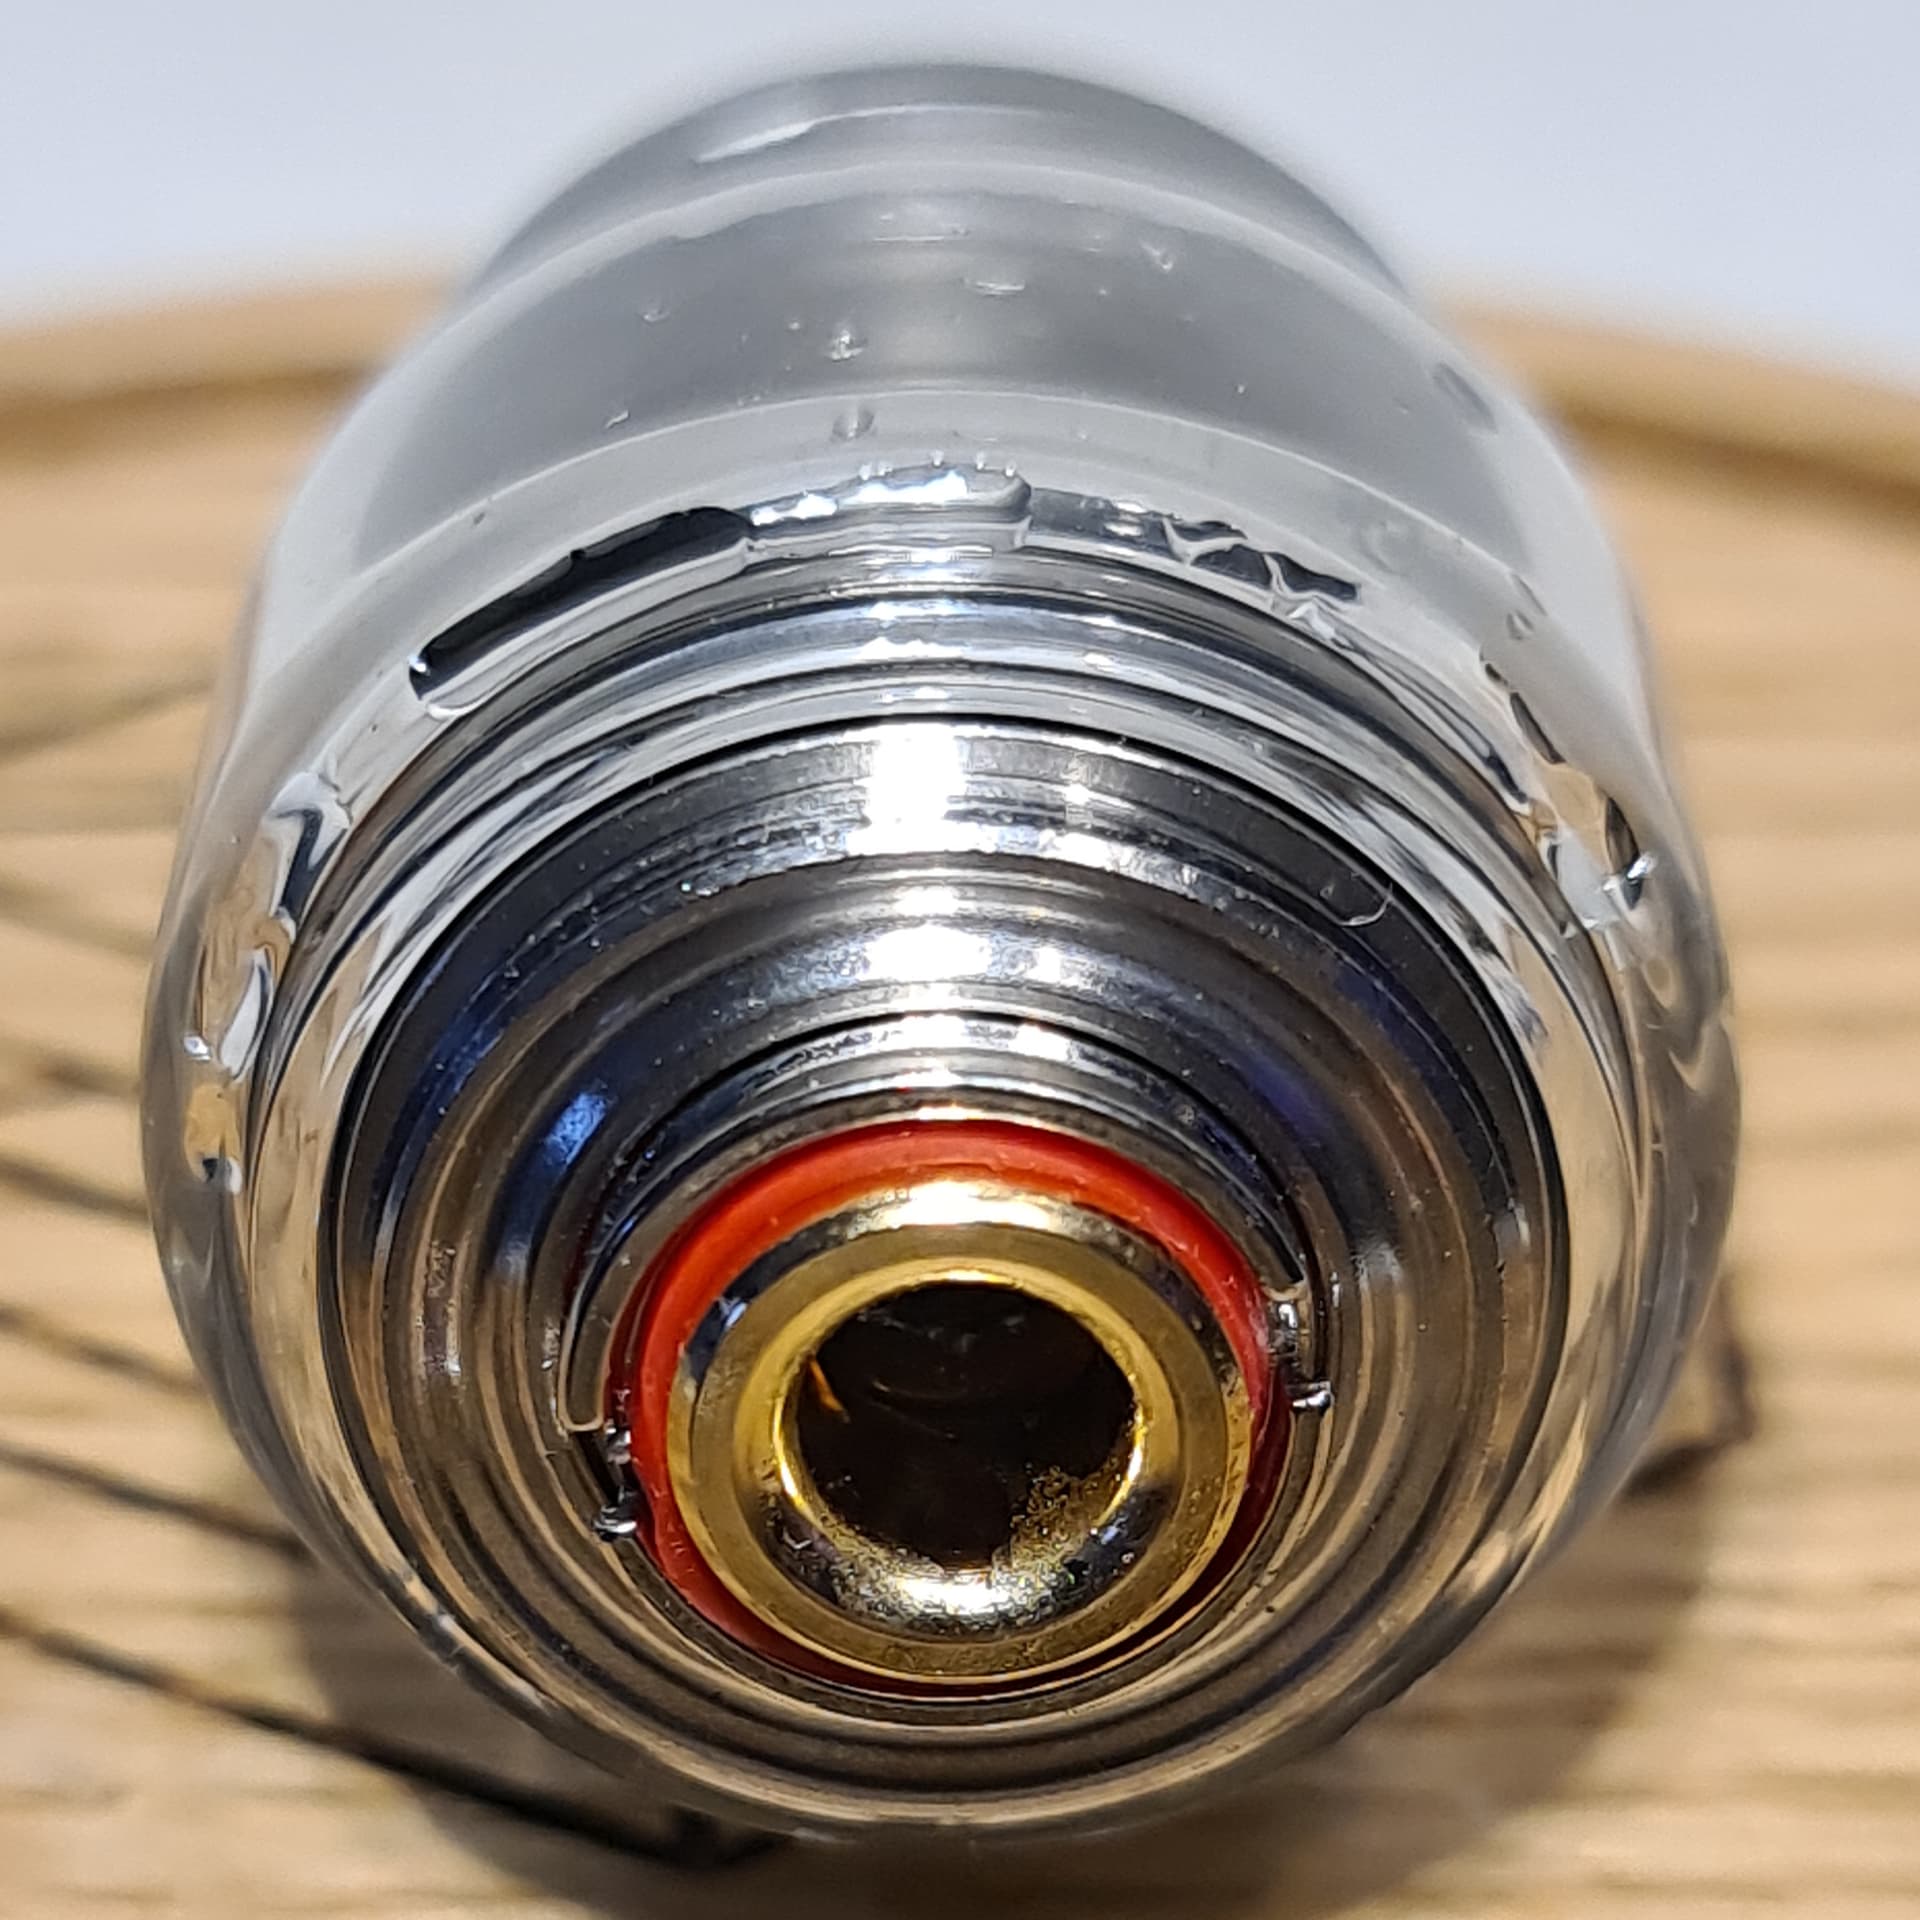
On the base is etched ‘Designed by Vaporesso’ above a serial number and safety certificates either side of the gold plated 510 pin. The tank has 3-way bottom air-flow which doesn’t feel at all restricted. This can be adjusted by turning the base.
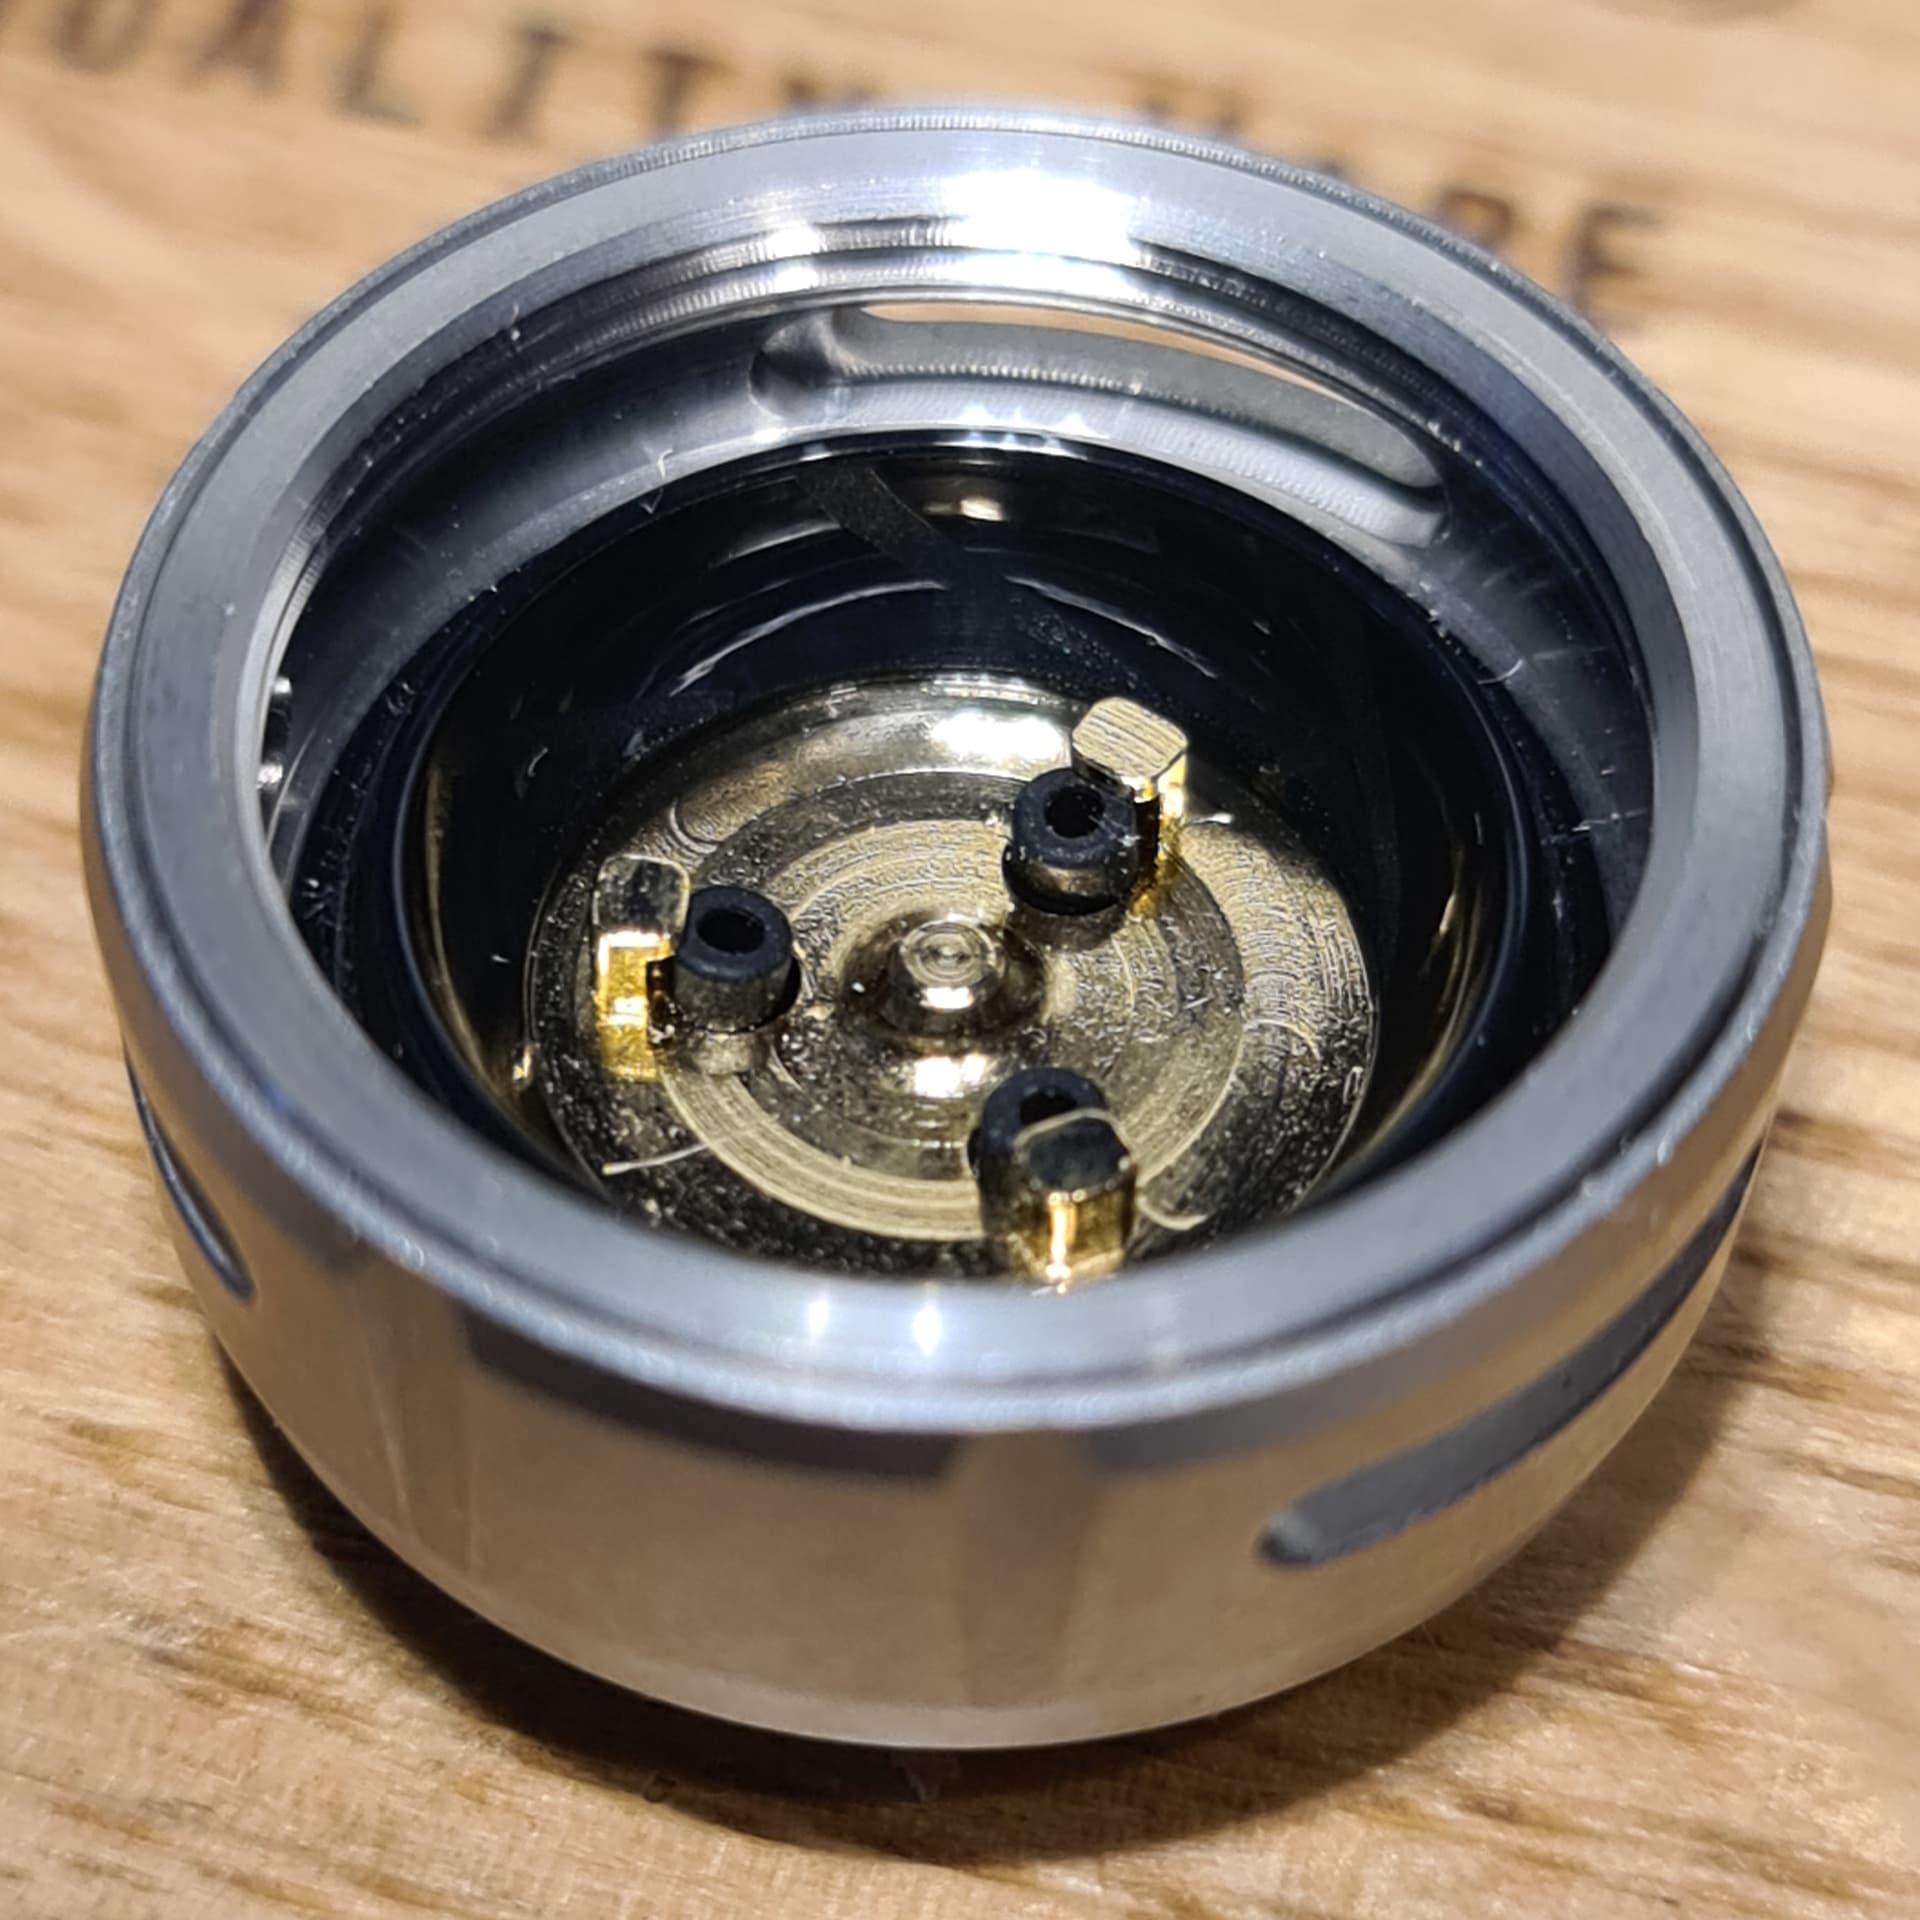
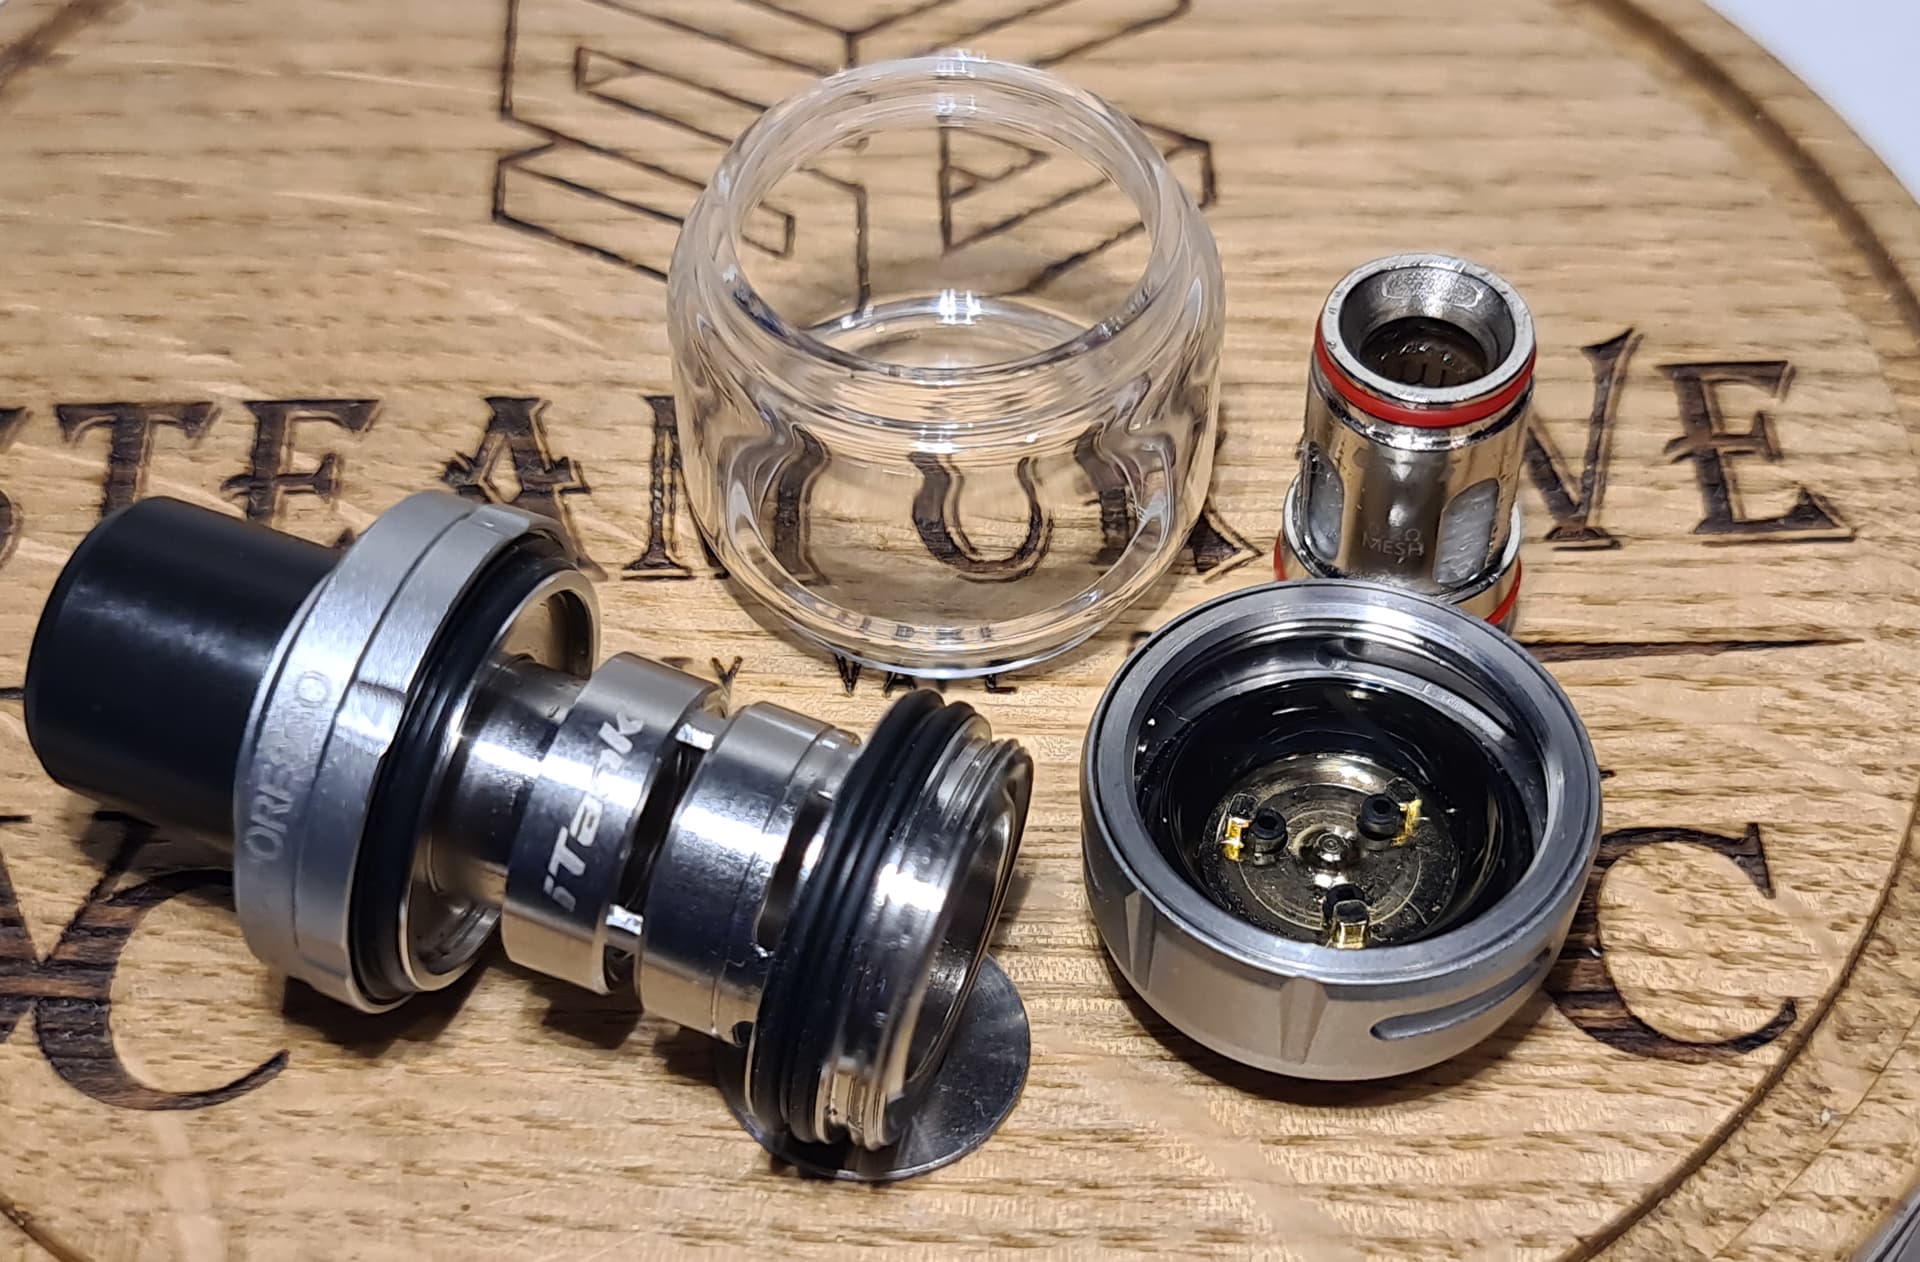
Removing the bottom cap is how the coil is changed. Once the cap is removed the coil can be pulled out.
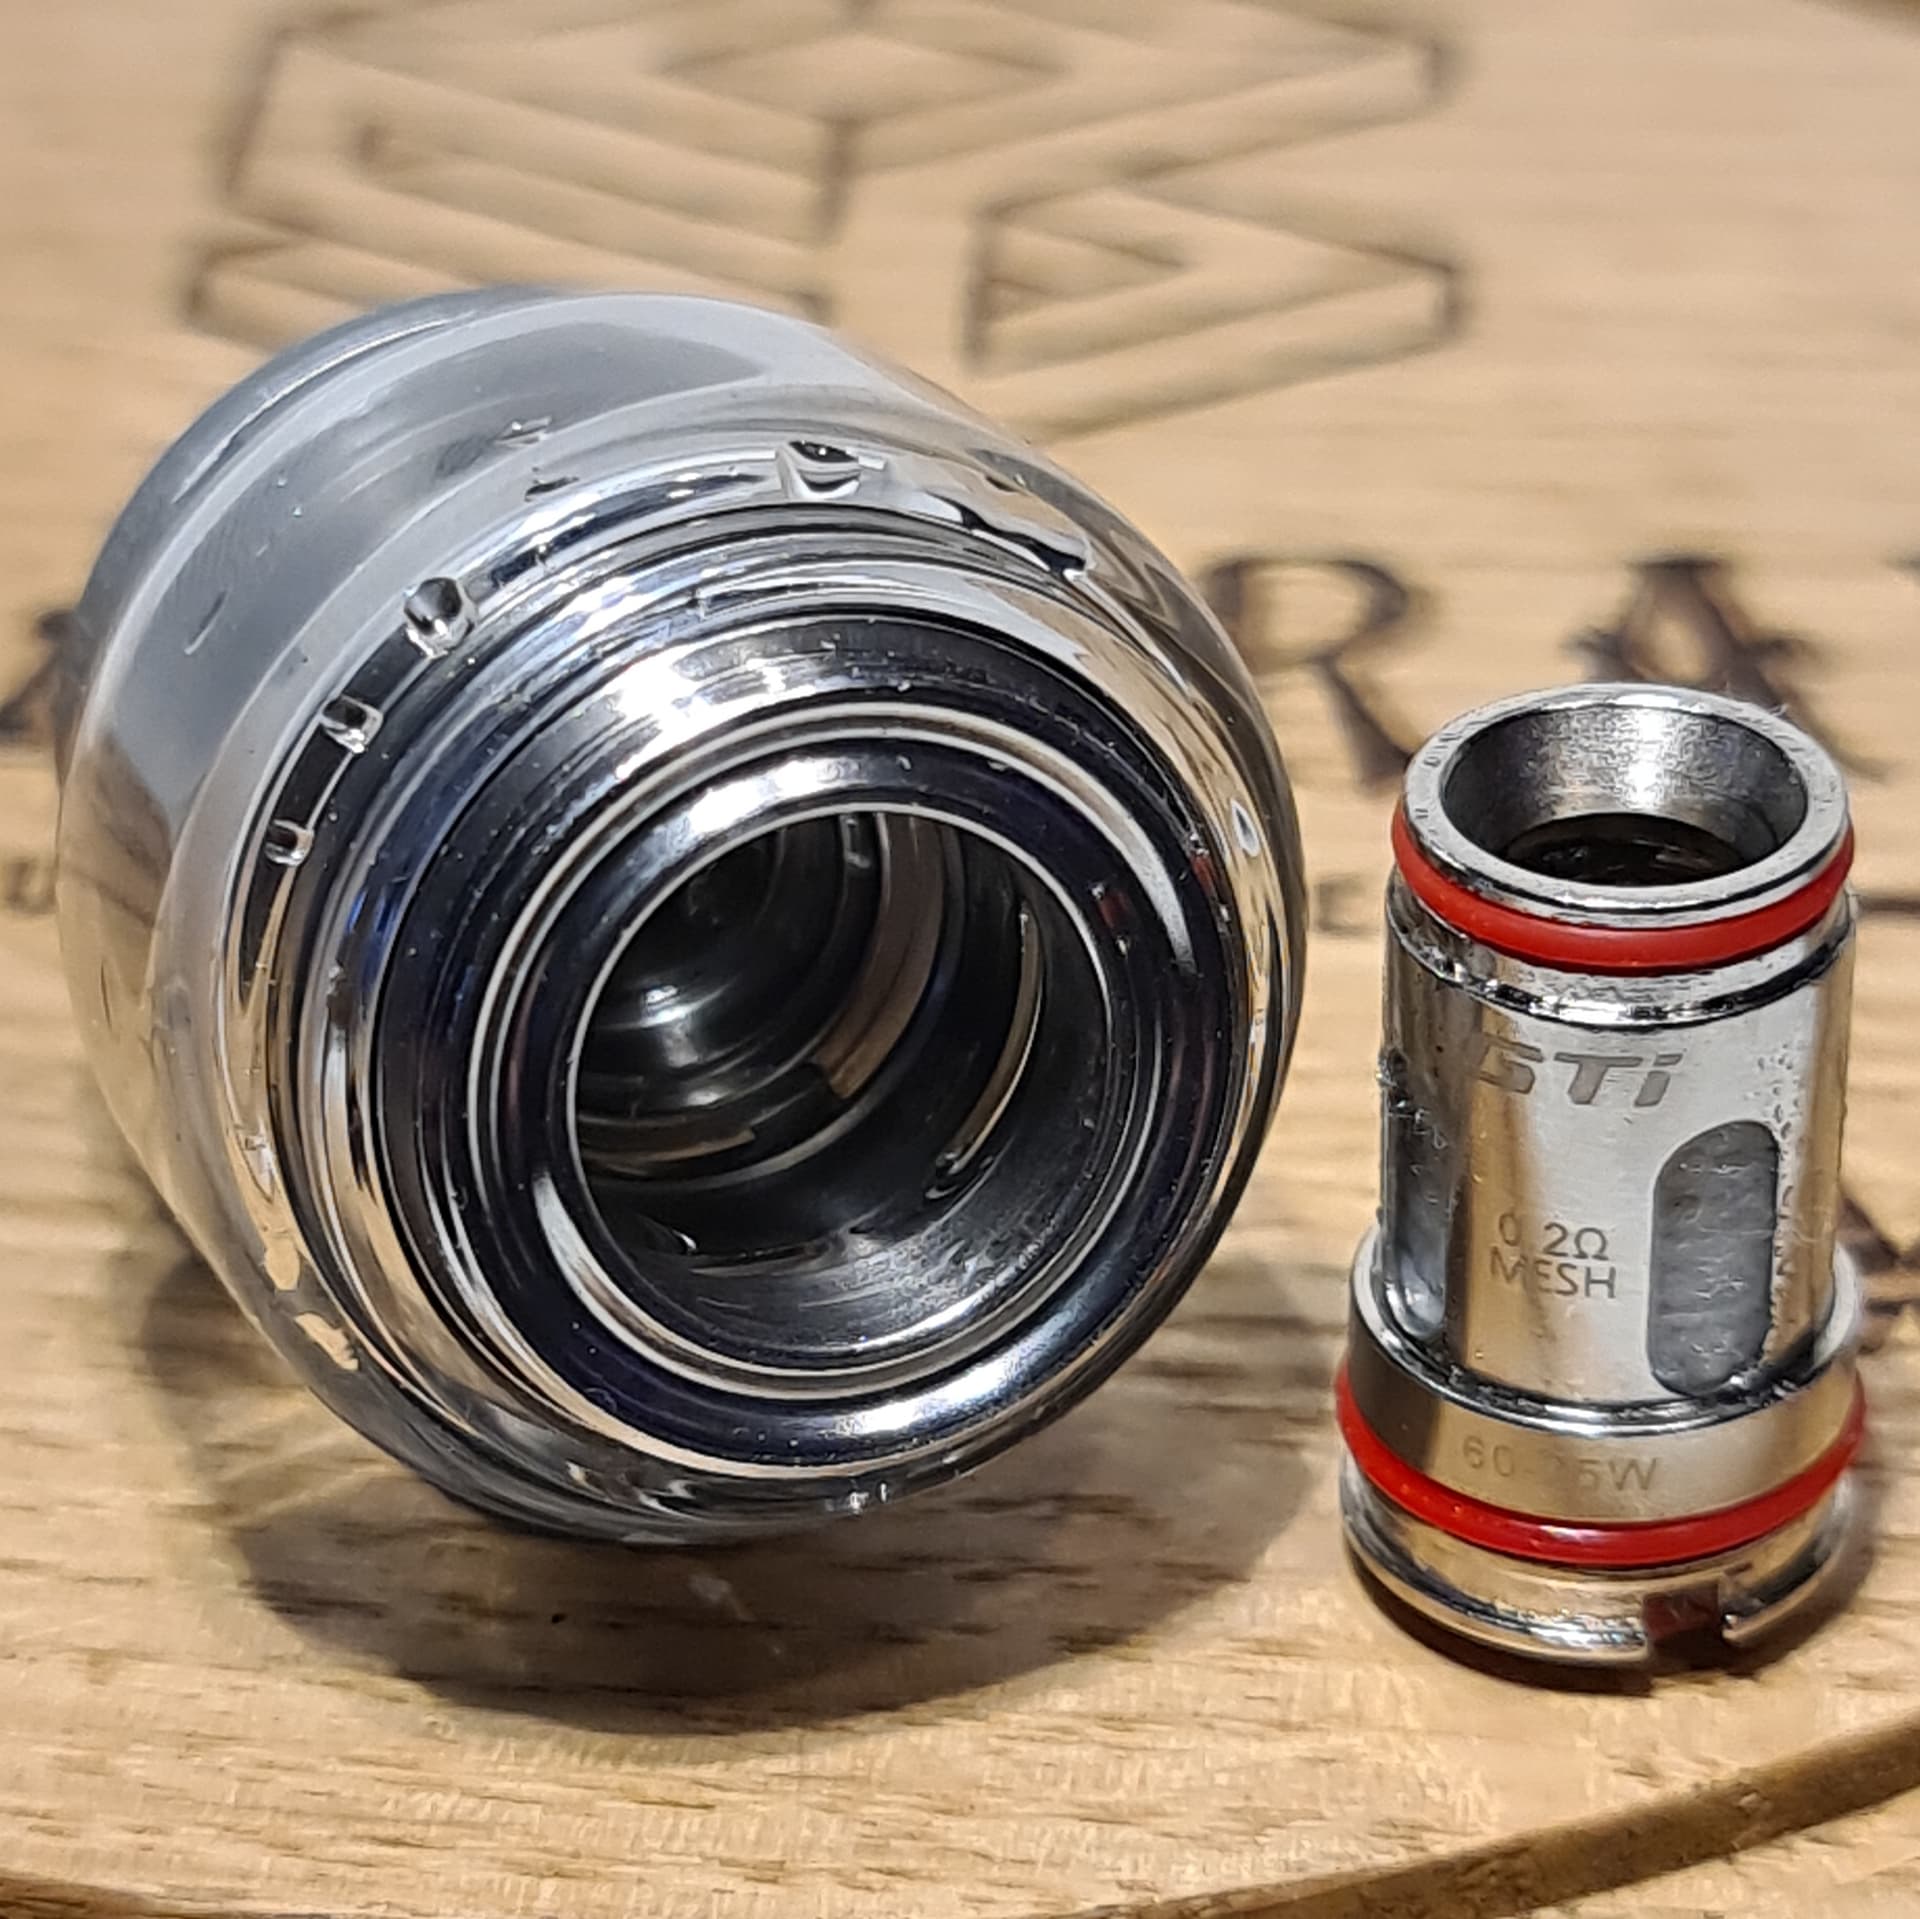
Stripped down we have 4 parts. The main body, the glass, the bottom section and the coil.
The Gen 200 Kit comes with 2 coils included. Fitted in the tank is a 0.2Ω coil and in the box you’ll find a 0.4Ω coil. There has recently been released a 0.15Ω coil version and there is a soon-to-be-released 0.5Ω coil.

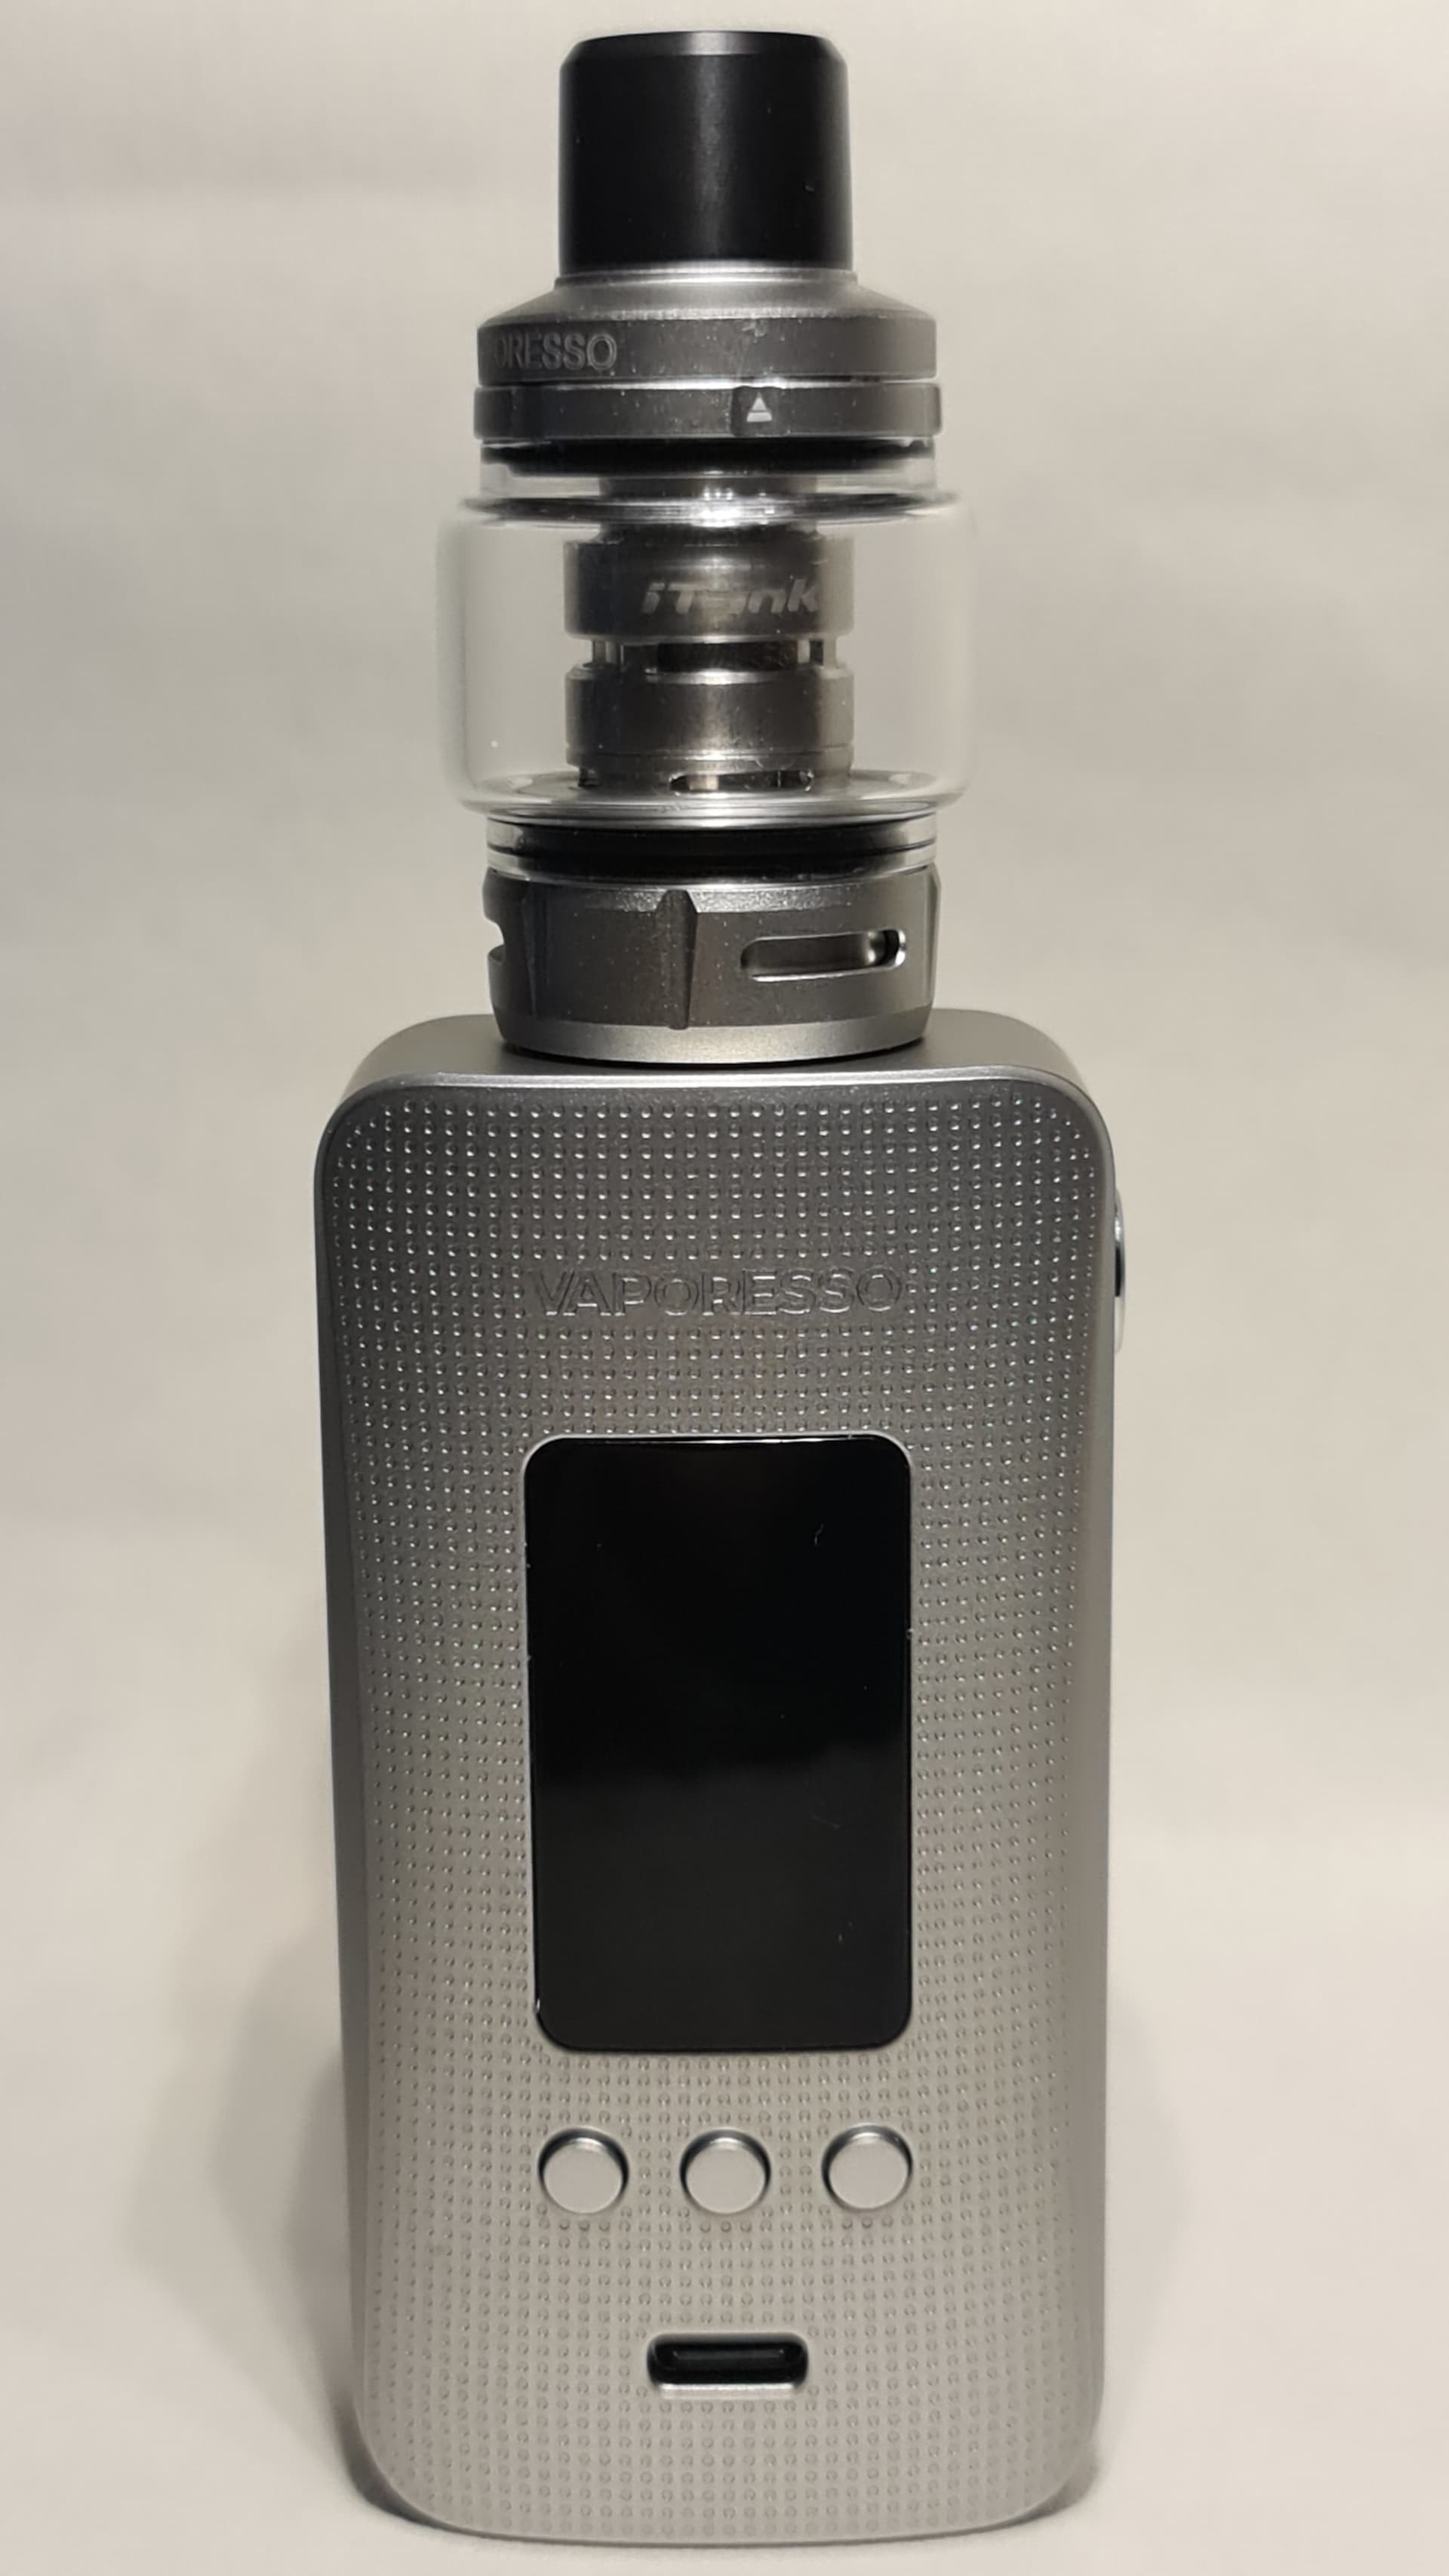
Once the tank is fitted to the mod the whole setup is still quite small so fits in the hand very well.
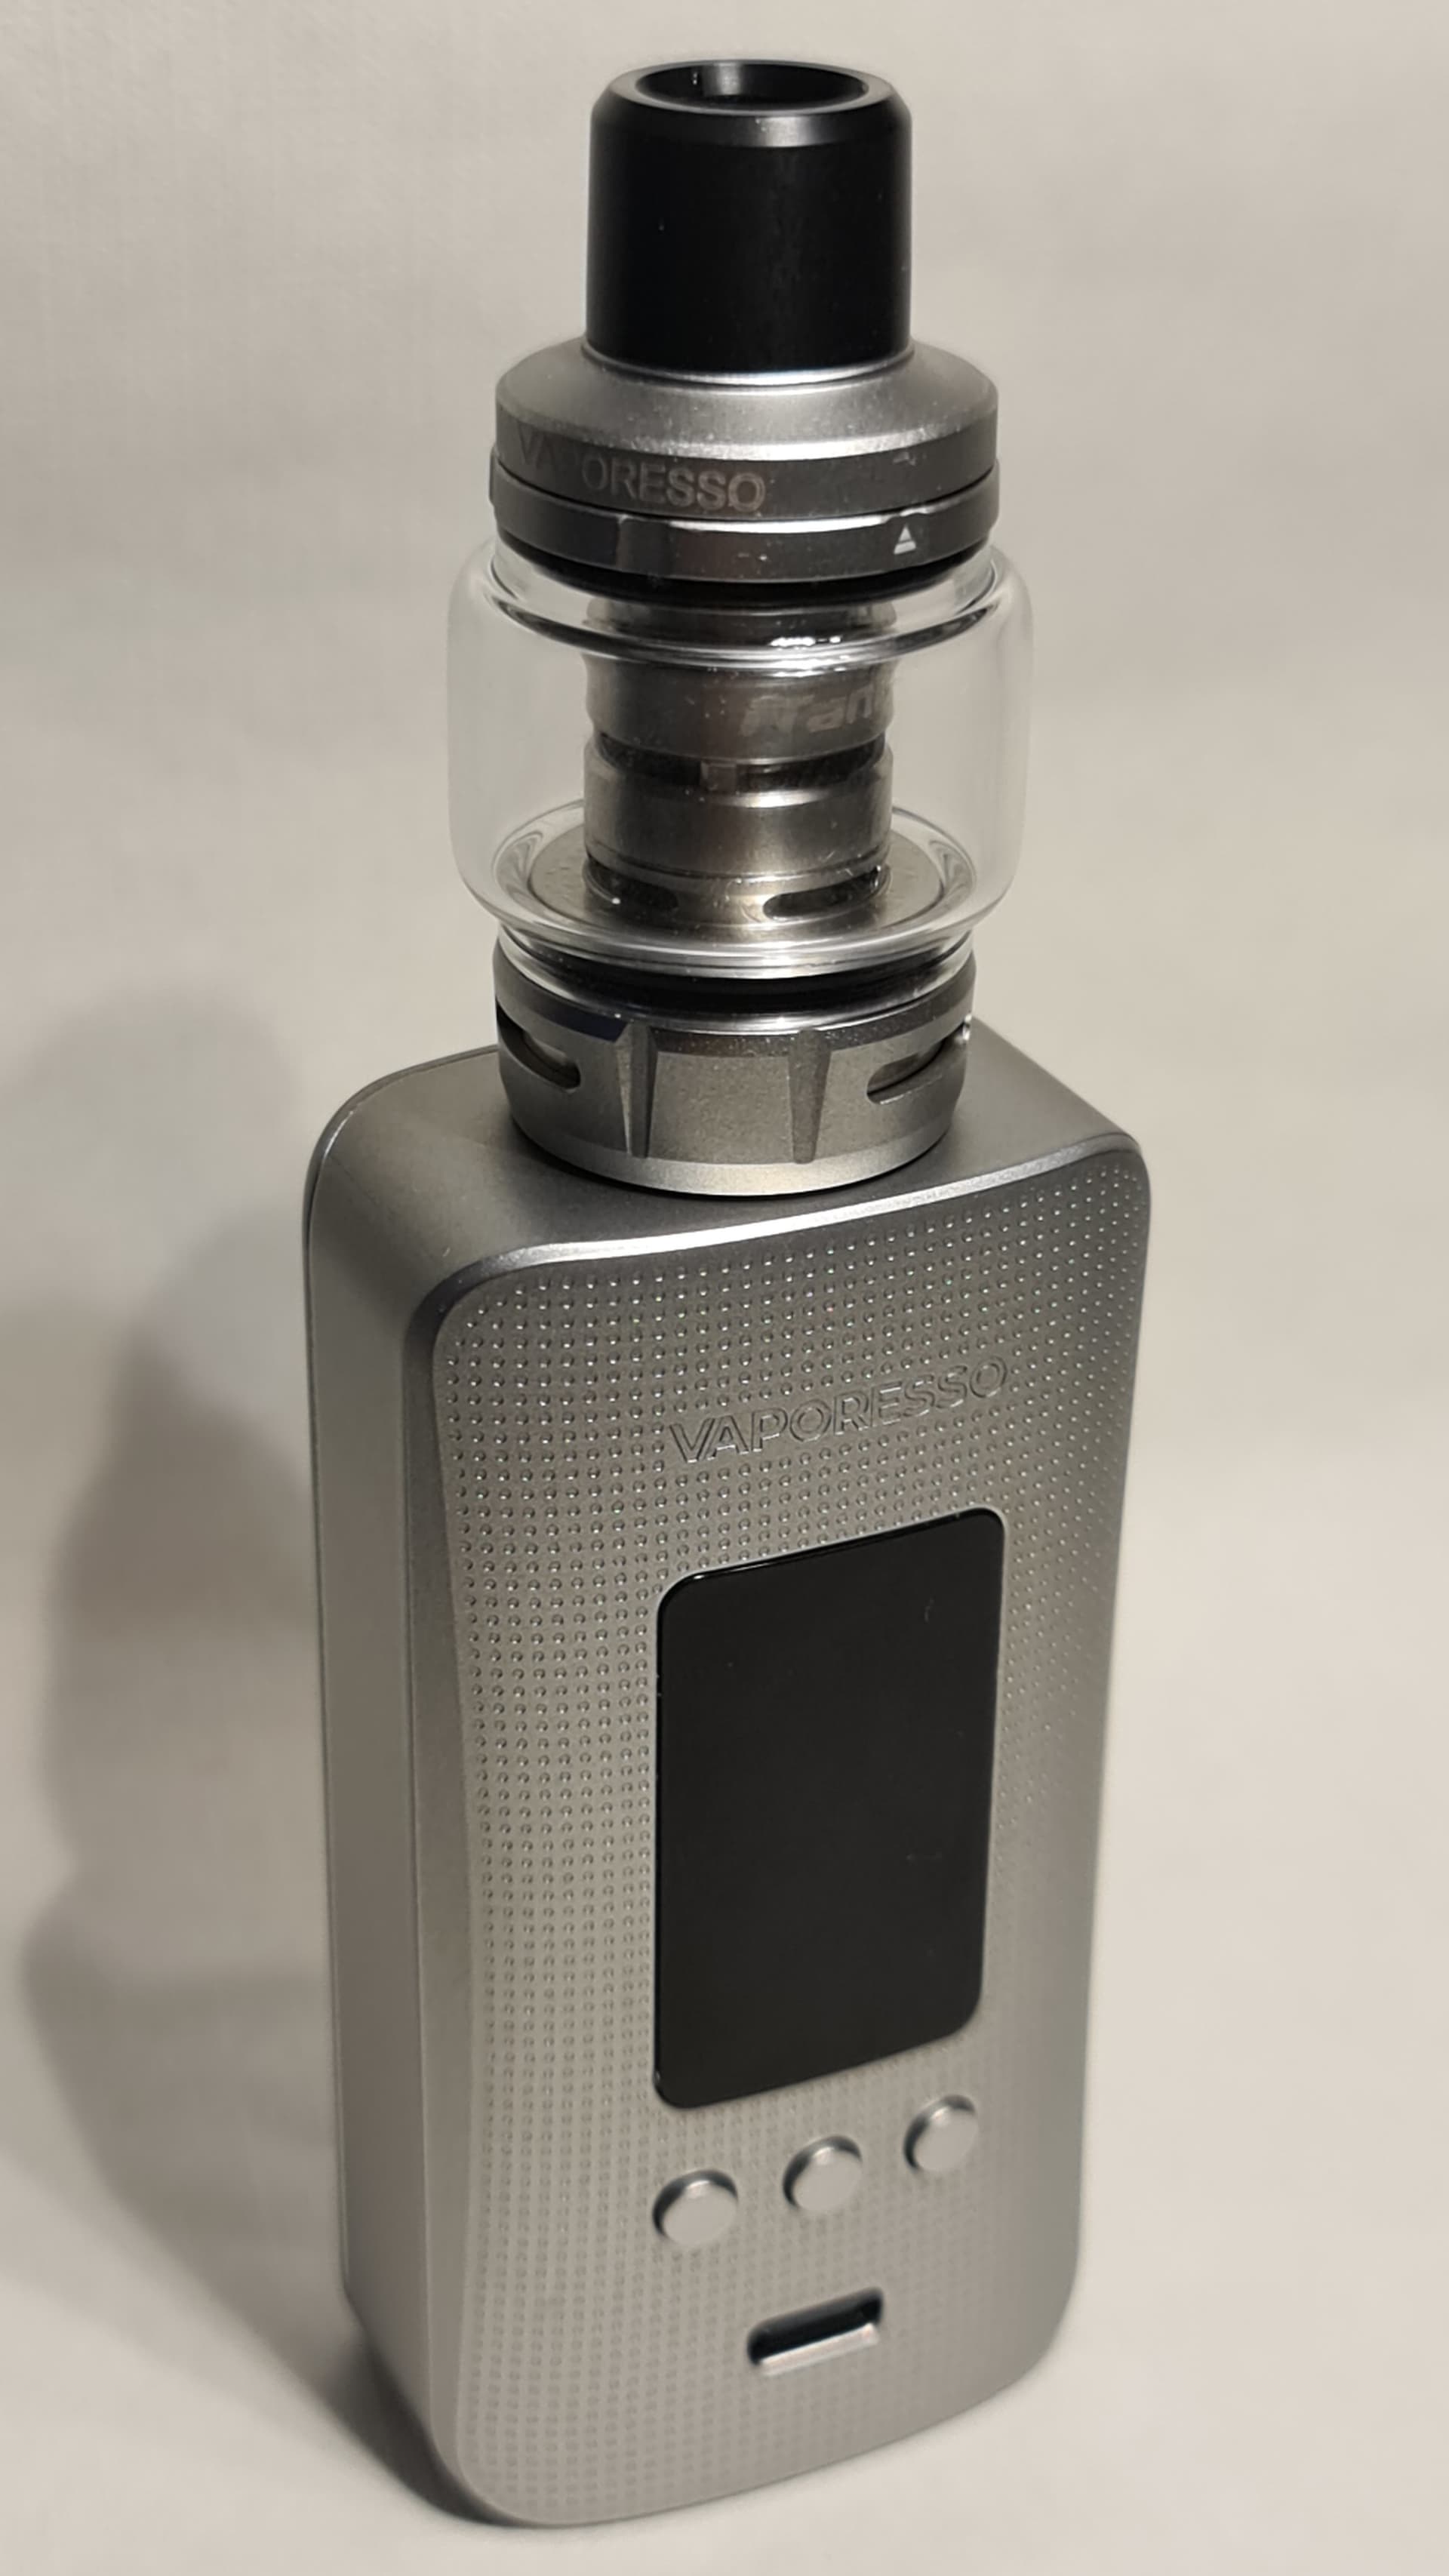

Filling up for use:
Usage:
During use this kit has performed very well and has given me no issues at all. The flavour is surprisingly good for a sub-ohm tank. Refilling is simple and I’ve had zero leakage throughout testing. The activation time from pressing the fire button is super fast and responsive. The menu system is easy to use and seems well enough designed to cater for new vapers and seasoned veterans alike. Some may find the lack of TC mode off-putting but others won’t care. The UI looks identical to the one used in the Target 200 but the screen itself is somewhat darker and there is no setting to adjust the brightness. Fitting and removing batteries is very easy with a simple pull-off side panel. All in all this makes a very good grab-and-go setup with minimal fuss and maintenance.
Pro’s:
- Compact size
- Large 8ml e-liquid capacity
- Great flavour
- Low maintenance
- Build quality
- Super-smooth vape
- Well placed fire button
- Easy access batteries
- Simple slide-to-fill top
- No leaks during testing
Cons:
- No TC mode
- No brightness setting for the screen
- Tiny writing in the user guide makes it very hard to read
- Proprietary drip tip
Conclusion:
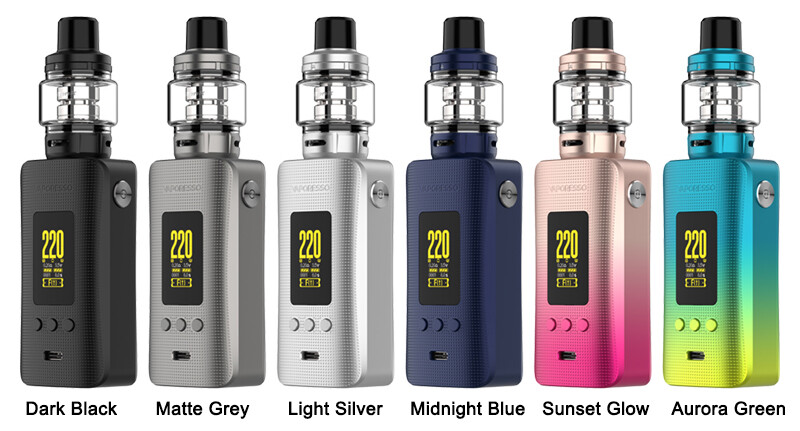
For anybody on the market for a sub-ohm kit, they can’t go far wrong choosing this kit. It comes with everything you need to get going (besides batteries and juice of course). There are 6 colours to choose from: Dark Black, Matte Grey, Light Silver, Midnight Blue, Sunset Glow and Aurora Green. The one in this test is the Light Silver. There’s currently 3 coil options, soon to be 4, which should provide enough choice to suit most peoples needs. Flavour is very impressive. Build quality is very good.
Thanks go out once more to Joyi from Sourcemore for providing this kit for review.
If you would like to snag yourself one of these kits, the following code will net you a nice discount:
$36.79 - Vaporesso GEN 200 Kit
Code: VG2K
Thanks for reading!