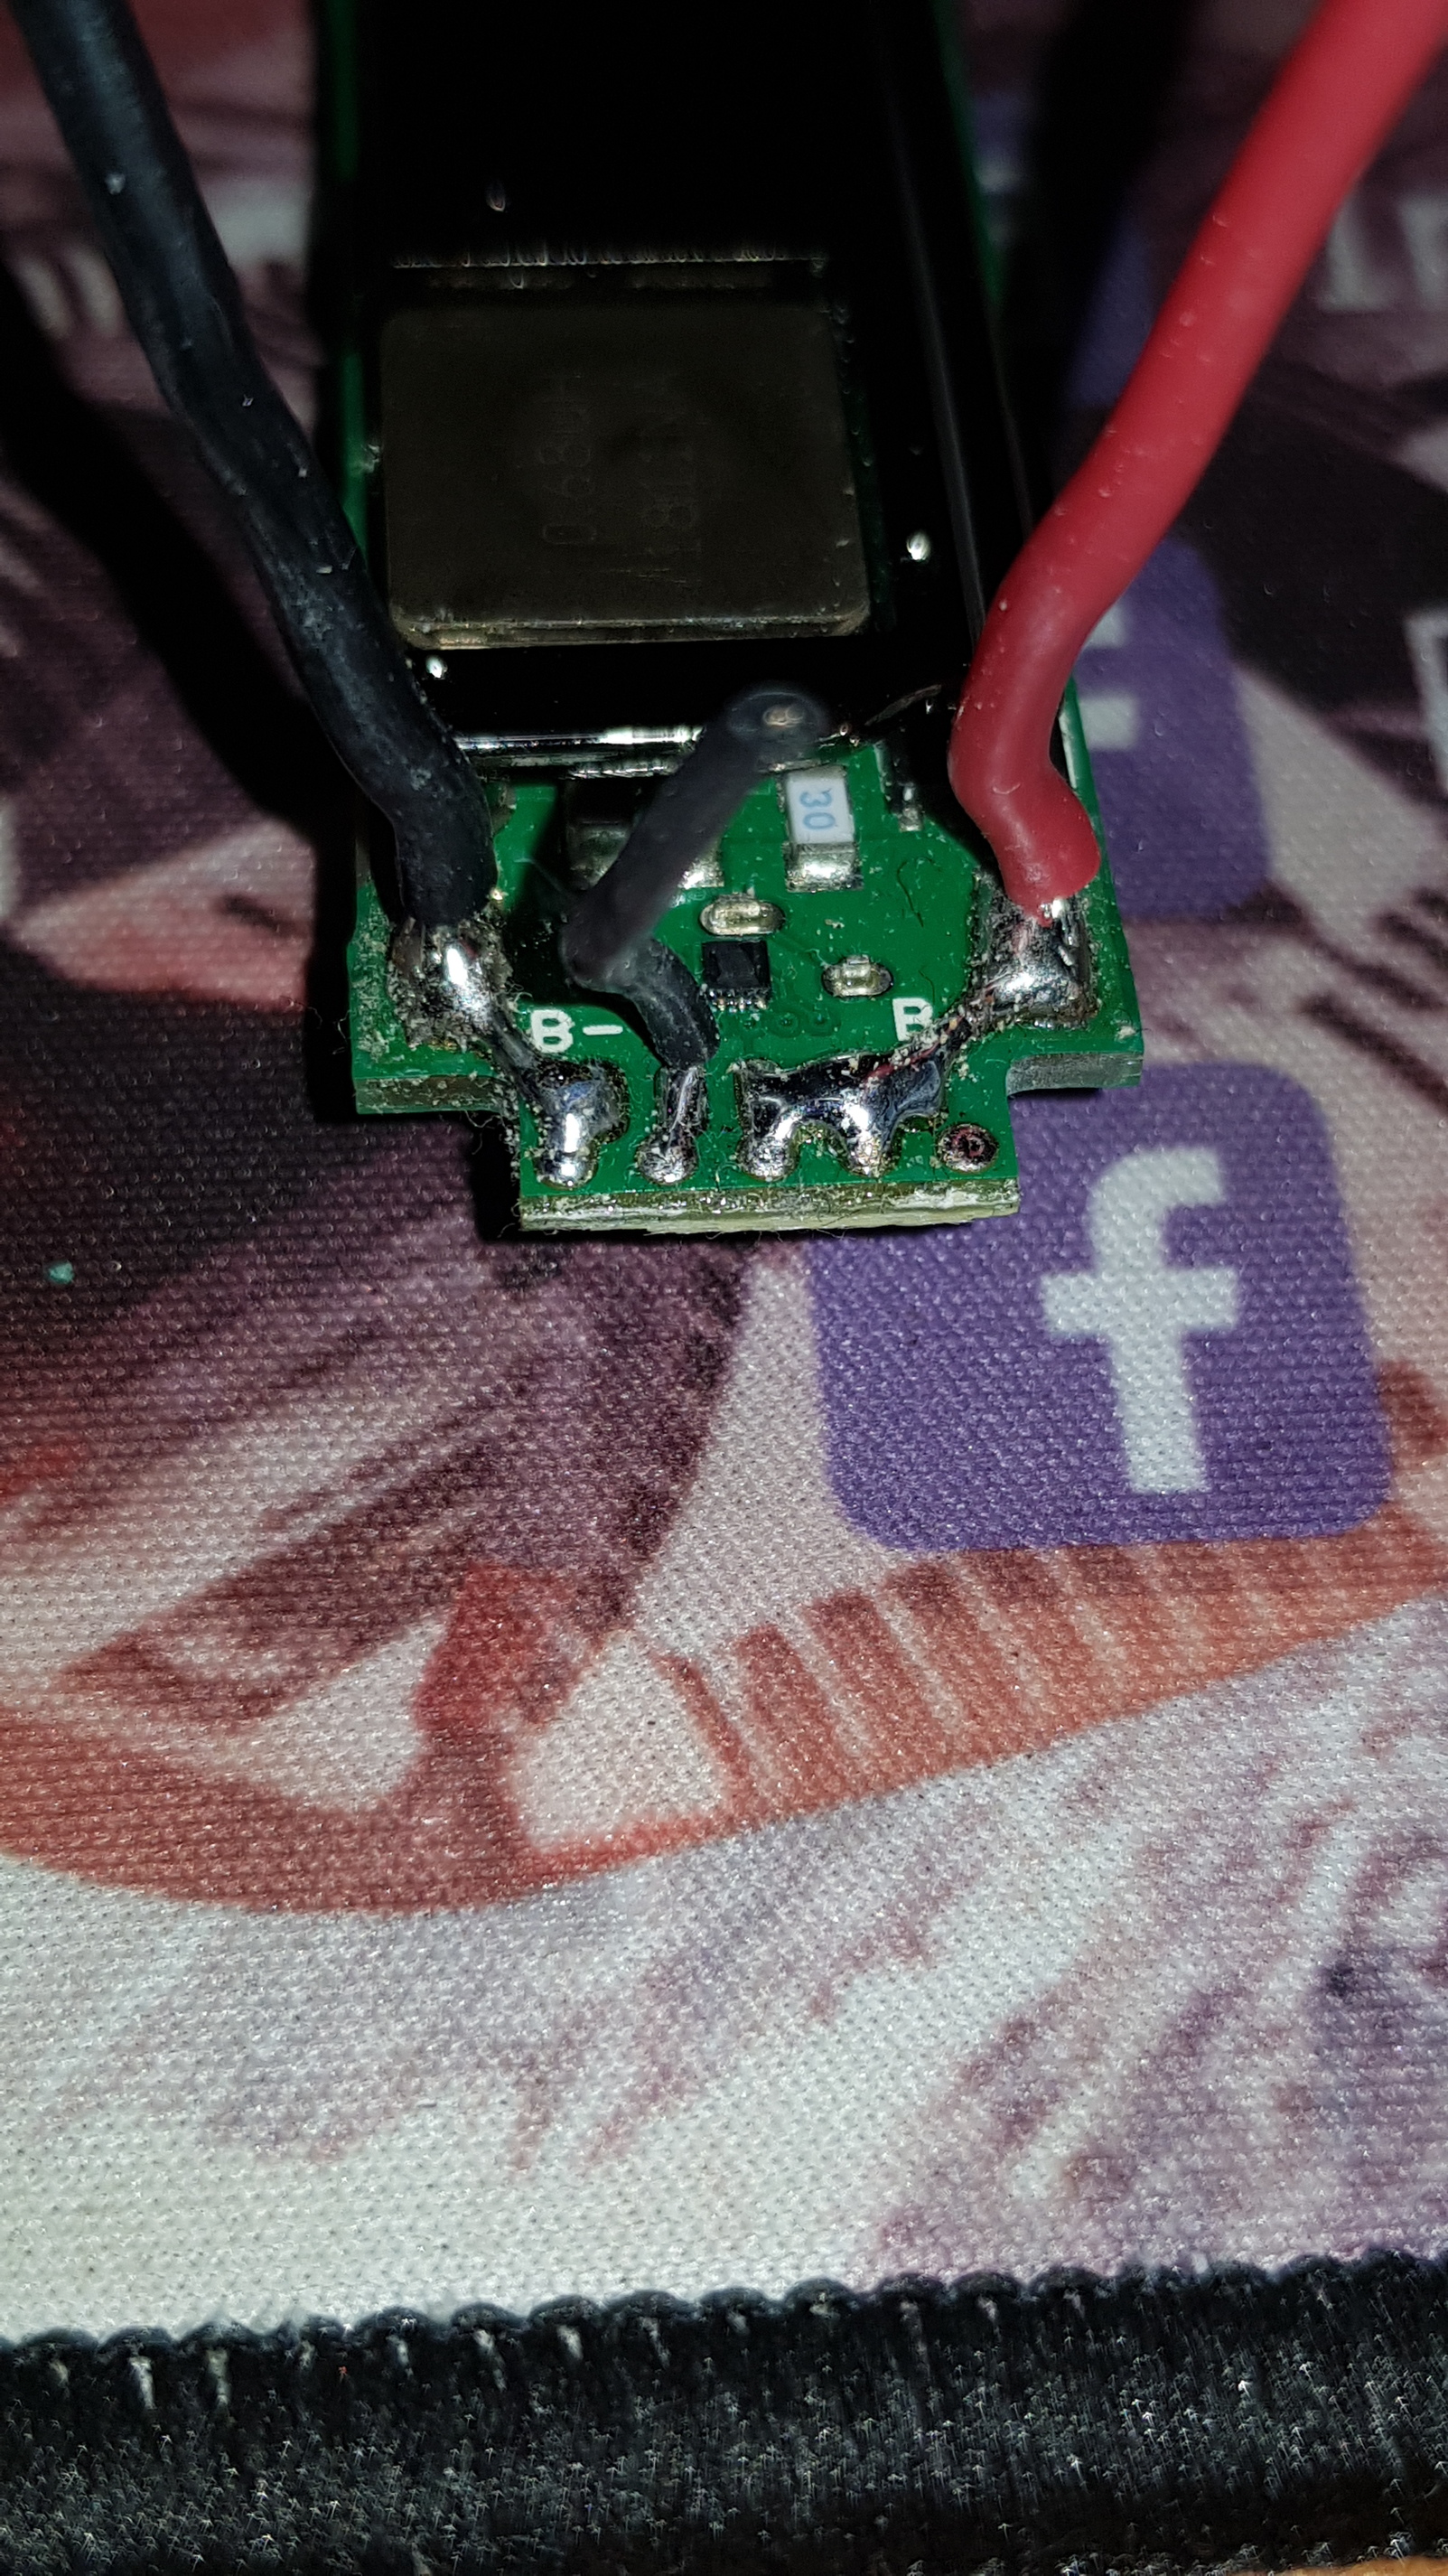
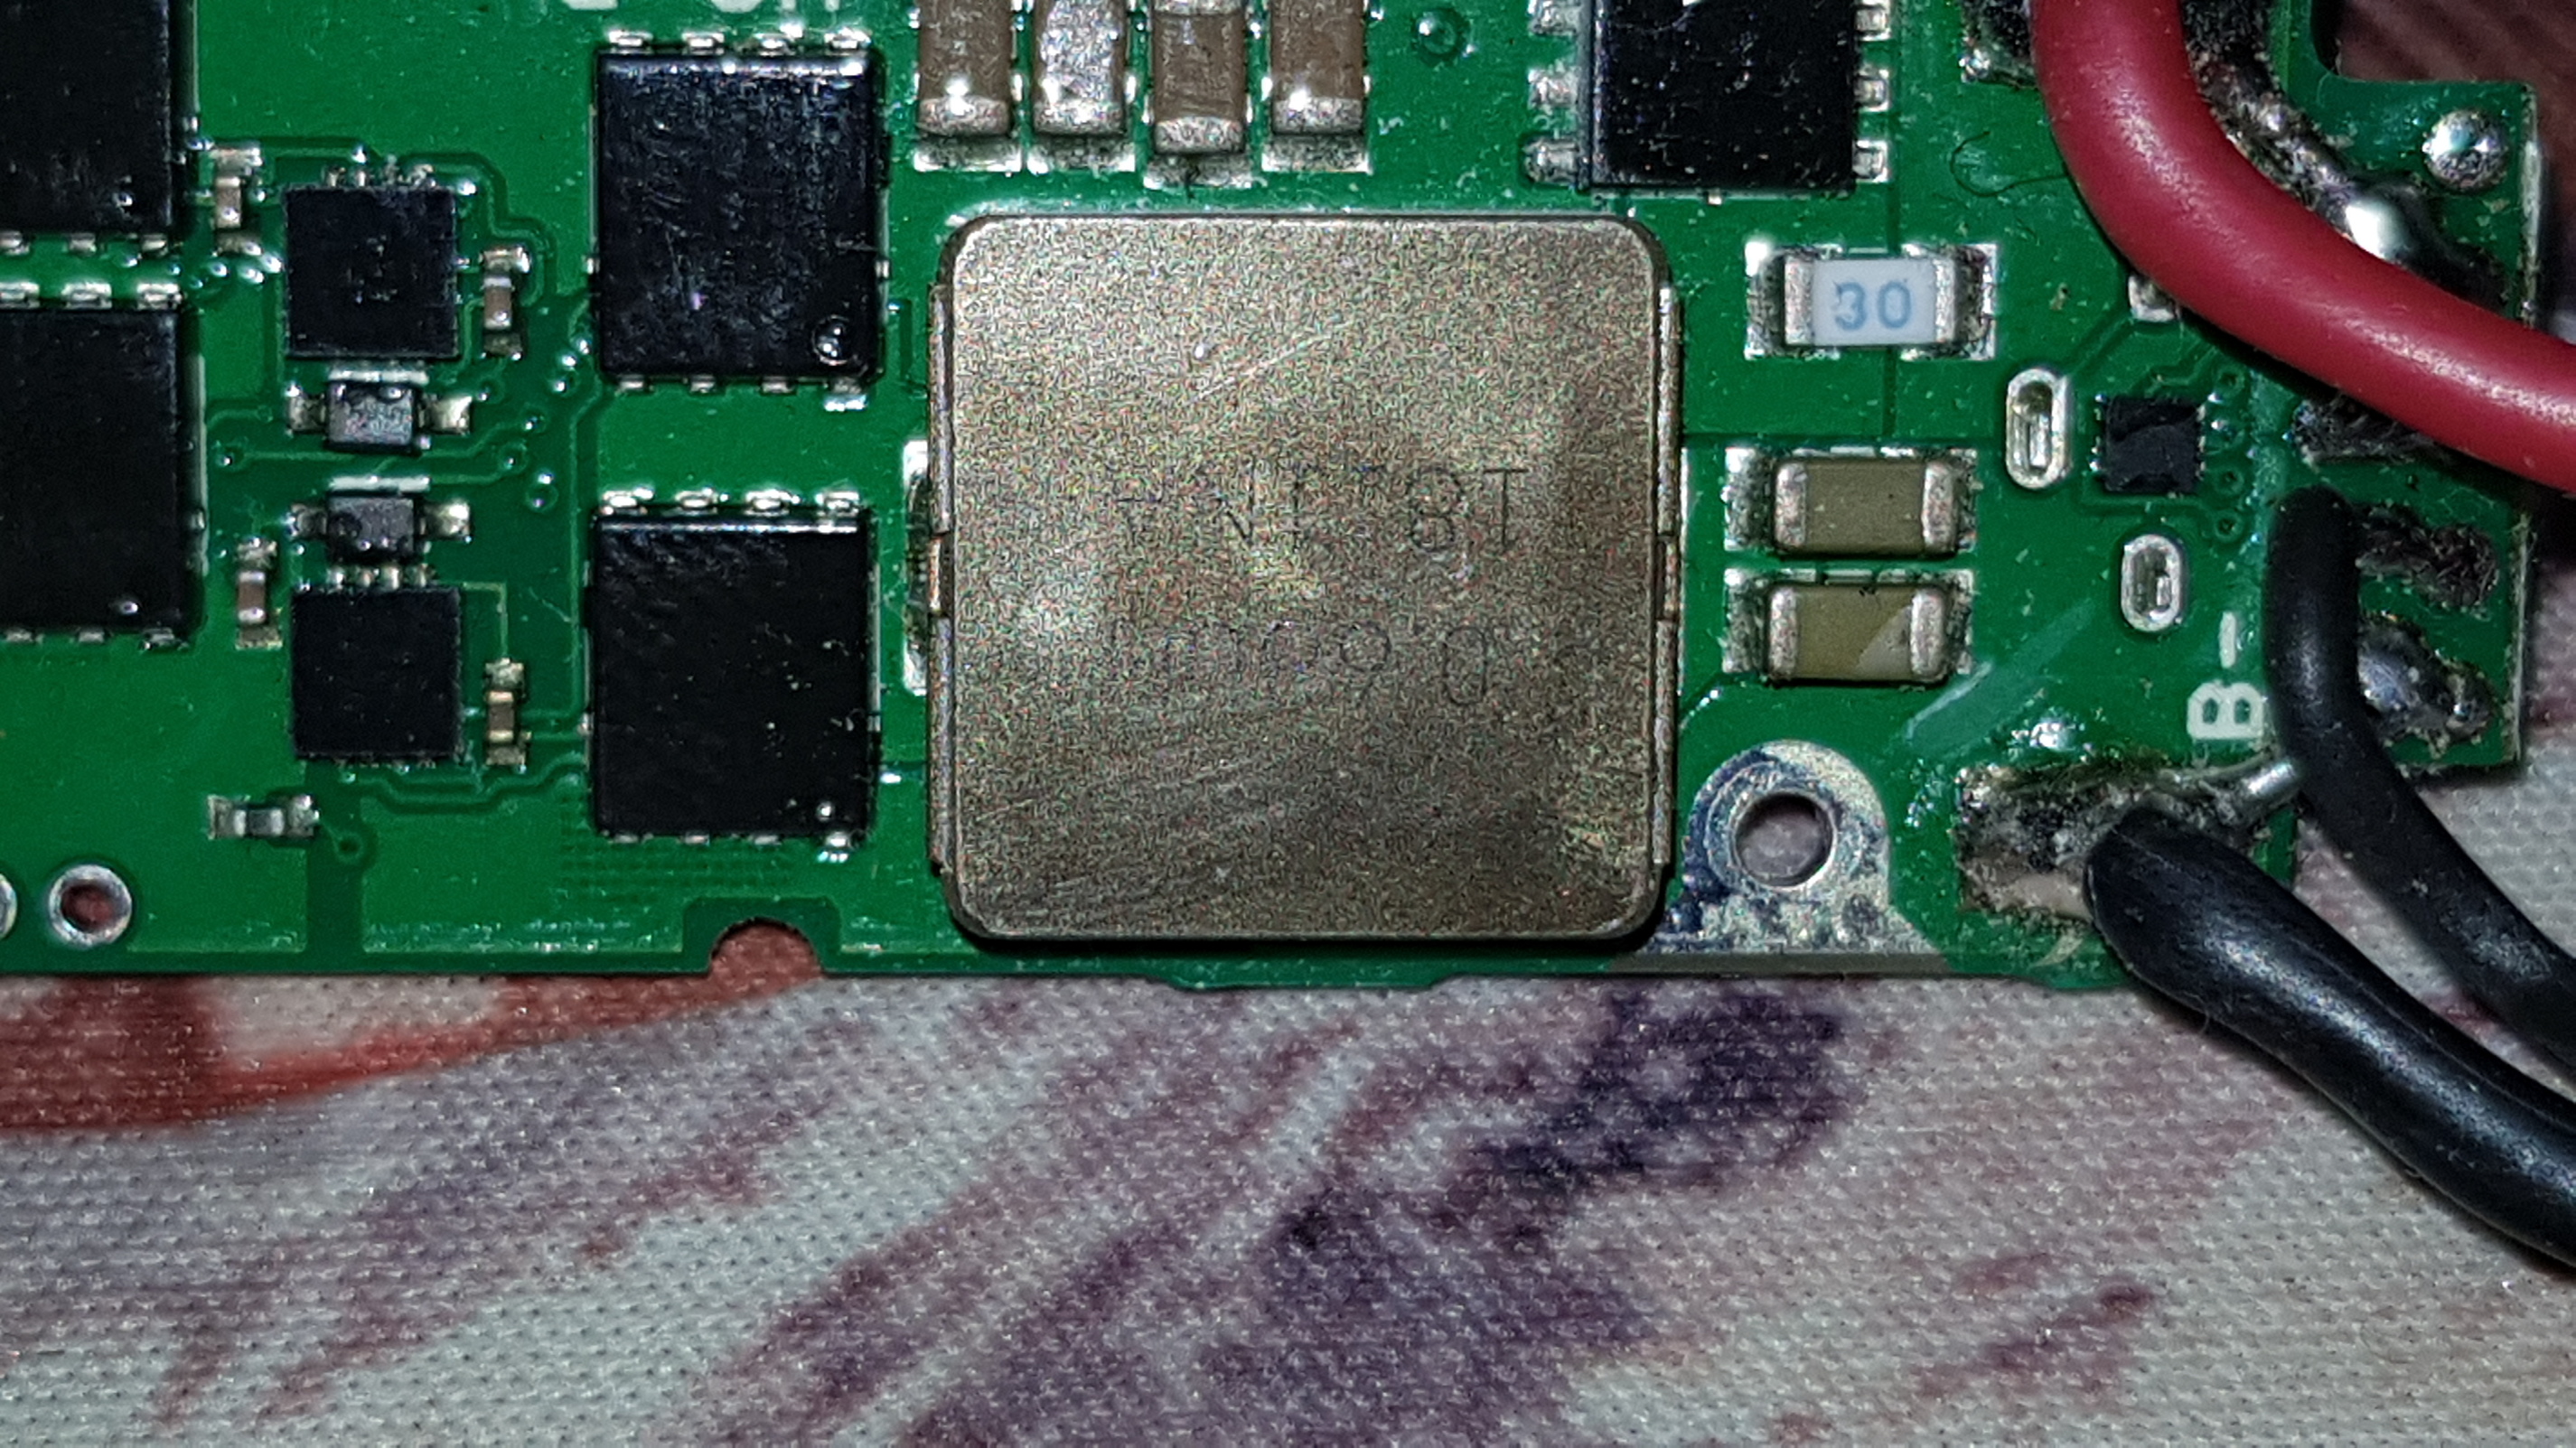
I had cause to pull down a paranormal today to fix a broken screen (screen is on order) but while I was poking around I noticed the bridging on the charge section of the board. While I am sure it is ok I can’t say I was super impressed by their method
I can post a few more pics if anyone wants to see anything specific.
2s wiring diagram
I will be brutally honest here, I know shit about all this, so the picture means nothing to me. But I do own a Paranormal, two actually, so I do like to be enlightened
@Jose the wiring diagram shows that for the board to work with 2 cells several of the board connections need to be joined. What lost vape has done is snail trail of solder between the connections which will work but on an expensive board in an expensive mod I would have expected something a bit more elegant.
I was thinking if @Sprkslfly or any of the other techies wanted a pics I can take em while it is still in pieces There really isn’t a lot to see & nothing else really jumps out as out of place.
I will say that if anyone decided to take one apart and wanted to put it together there is no way I can see of rebuilding it without a new screen as it would be next to impossible to get the screen detached from the board and reattached without unsticking from its cradle (which is in itself an impossible task)
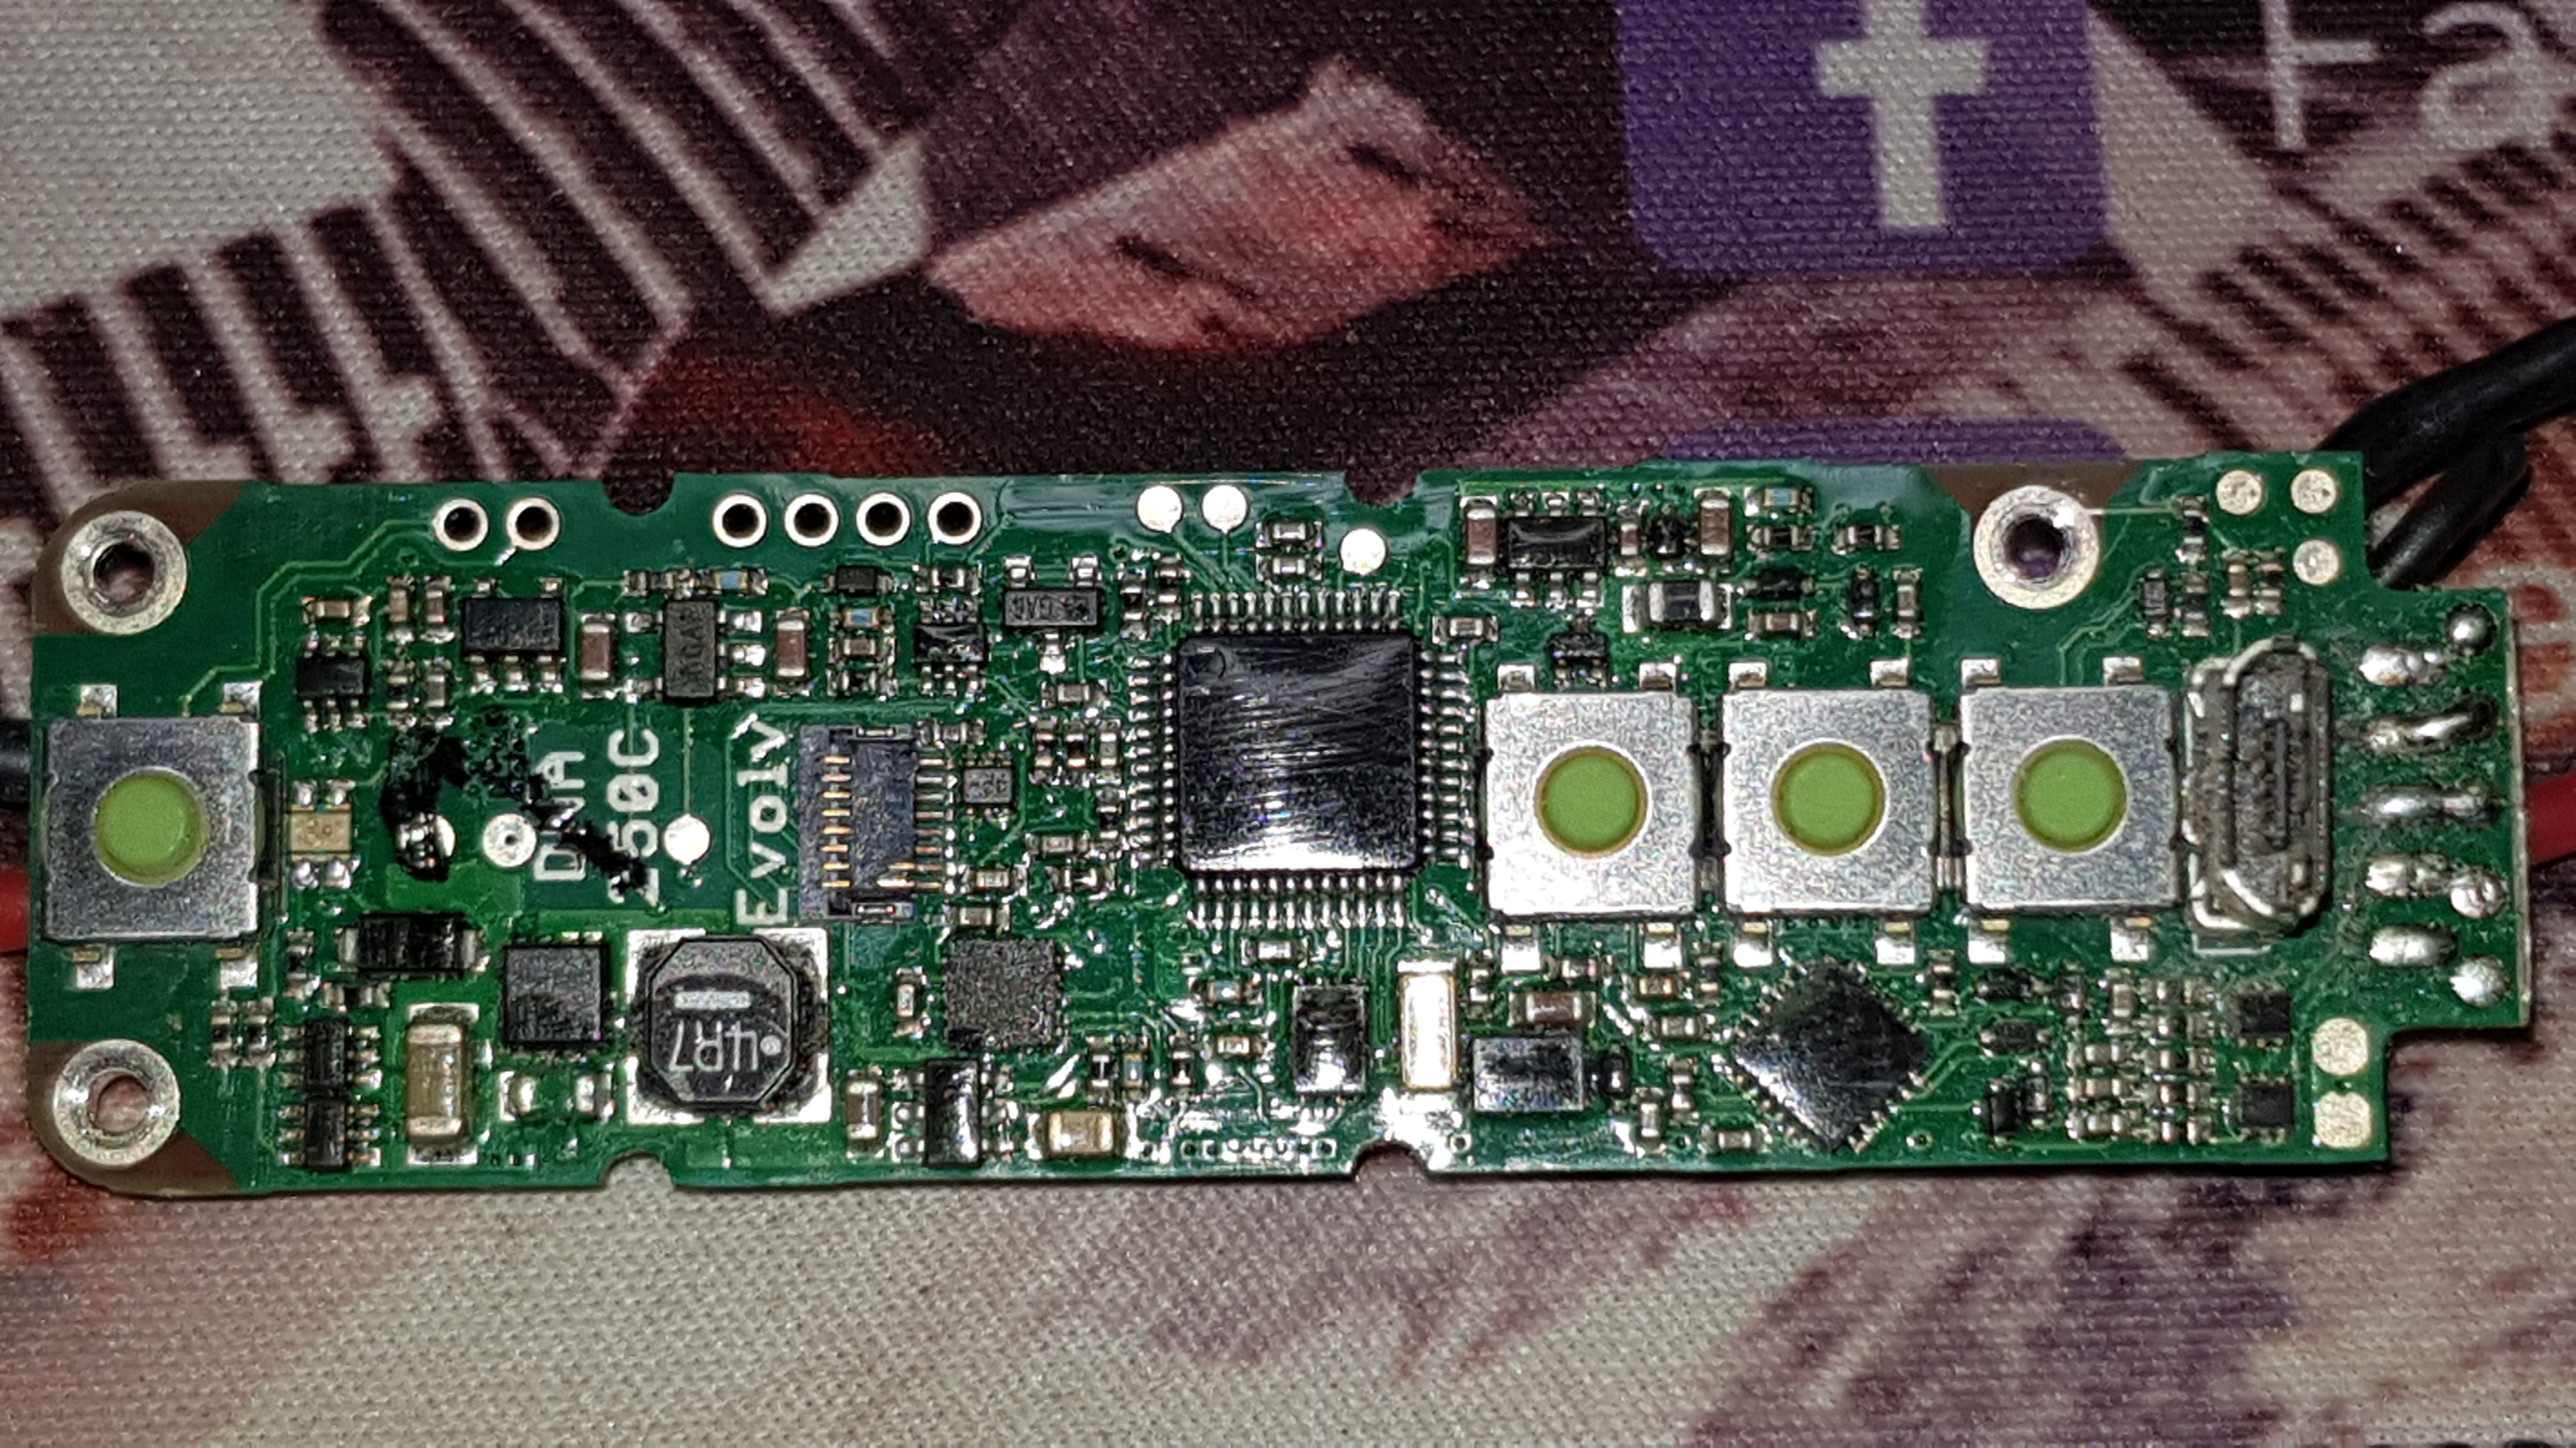
Nah, I have been known to enjoy taking things apart. Love to see the inner workings but disappointed to see how Lost Vape handled it. The DNA250C is still my favorite board but not many mfgs are using it, a shame really.
For awhile HCigar was sending them out un-calibrated. To get them to work correctly you had to run the temperature profile and set the internal resistance. What is really crazy with the bridging I seriously doubt they are saving any labor costs. I believe it would be as easy or easier to do it correctly. My biggest beef with Lost Vape is still the paint they use. A lot of paint has flaked off my Lost Vapes.


