Well hello there VC’ers. Today I’ll be taking a look at the Hellvape Hellheim RDTA, which was kindly sent to me free of charge for the purpose of this review by Joyi from Sourcemore.
Let’s begin with the specs shall we:
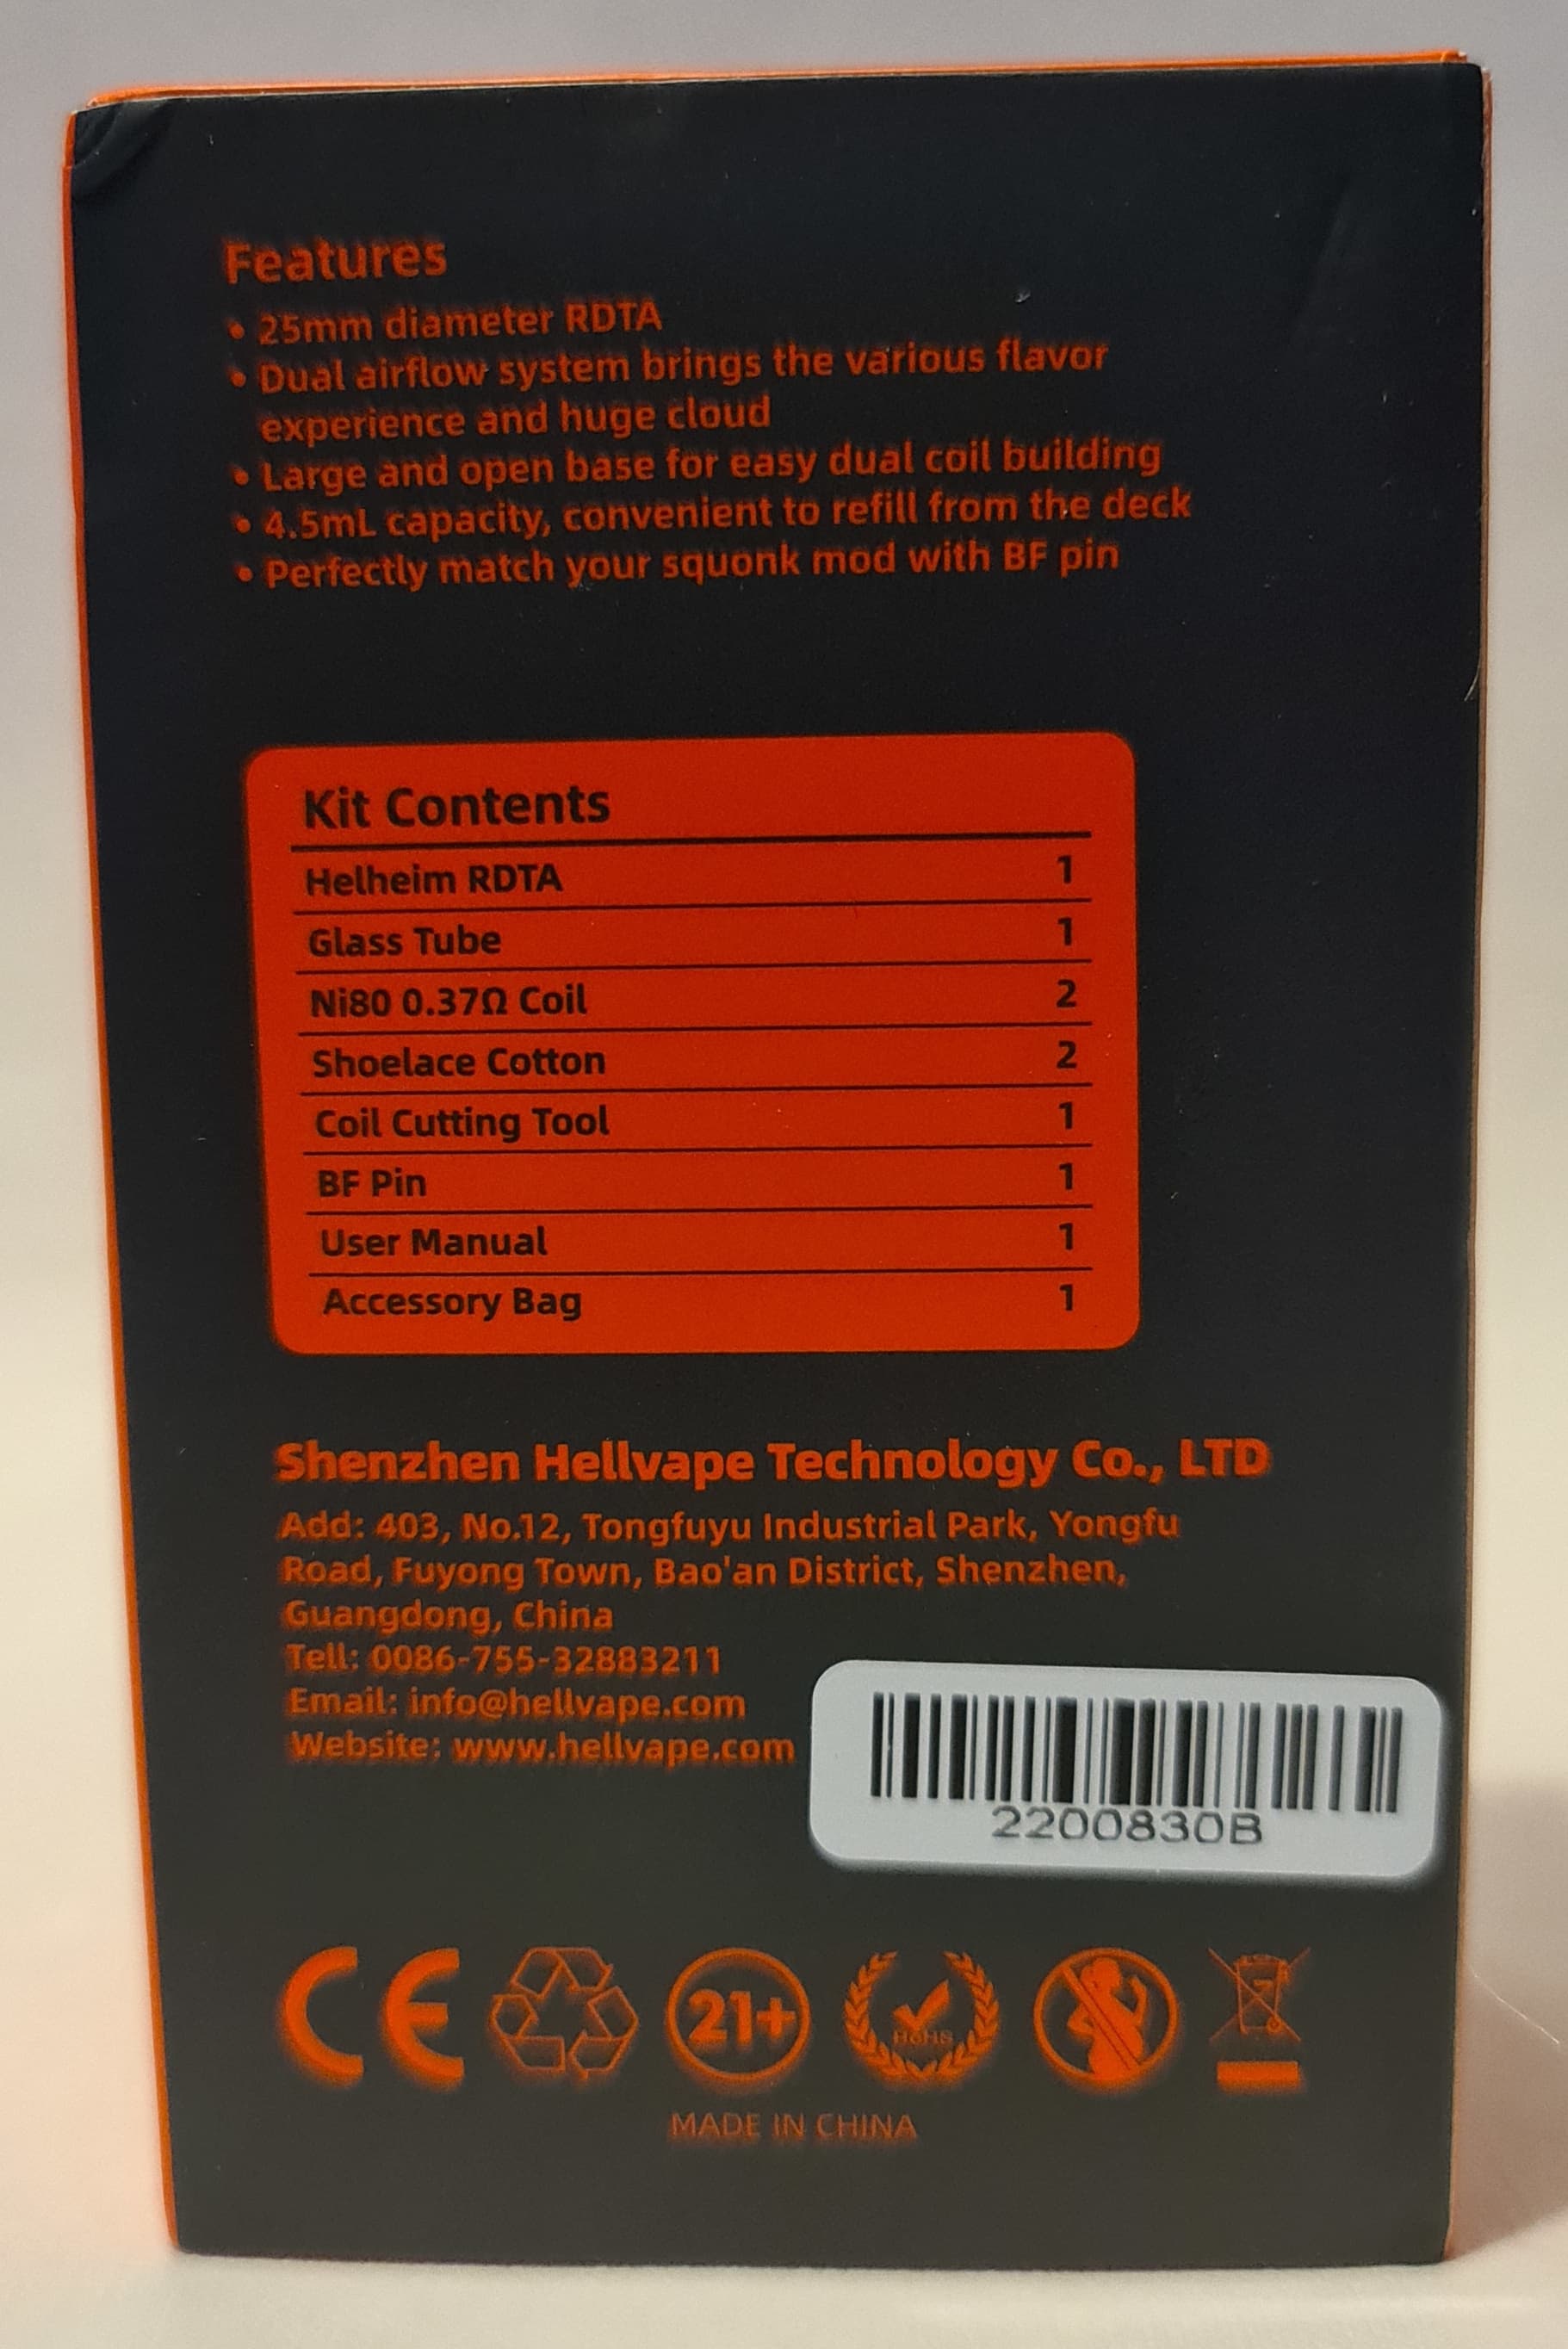
- 25mm Diameter.
- 51mm Height.
- 59g Net Weight.
- 4.5ml Tank Capacity.
- Postless 10mm x 13mm Build Deck.
- Dual Coil design.
- Separate Bottom and Side Honeycomb Airflow Control.
- Base Filling/Bottom feeding.
- Leak-Proof Design
- Very Easy Access Build Deck
- Huge Wicking Channels for Easy Wicking.
- 810 Wide-Bore Drip Tip.
- Gold Plated 510 Pin.
- Large, Open Build Deck.
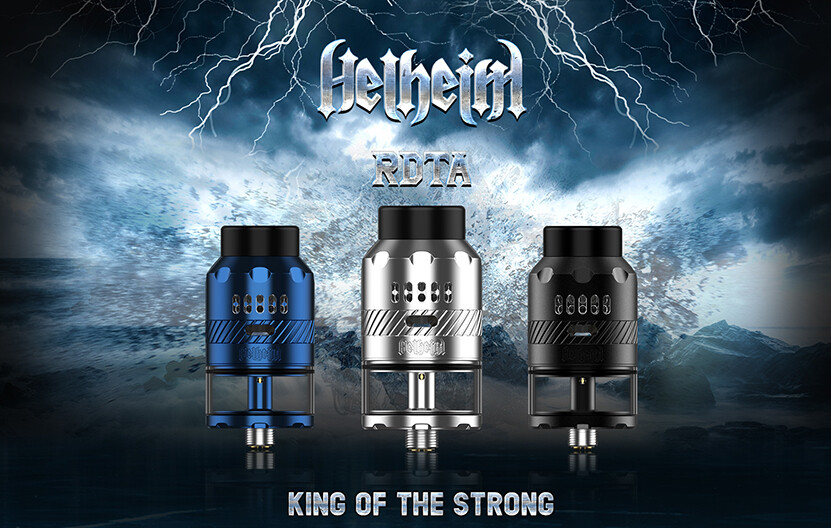
- Available Colours: Stainless Steel, Full Matte Black, Gunmetal, Gold and Blue.
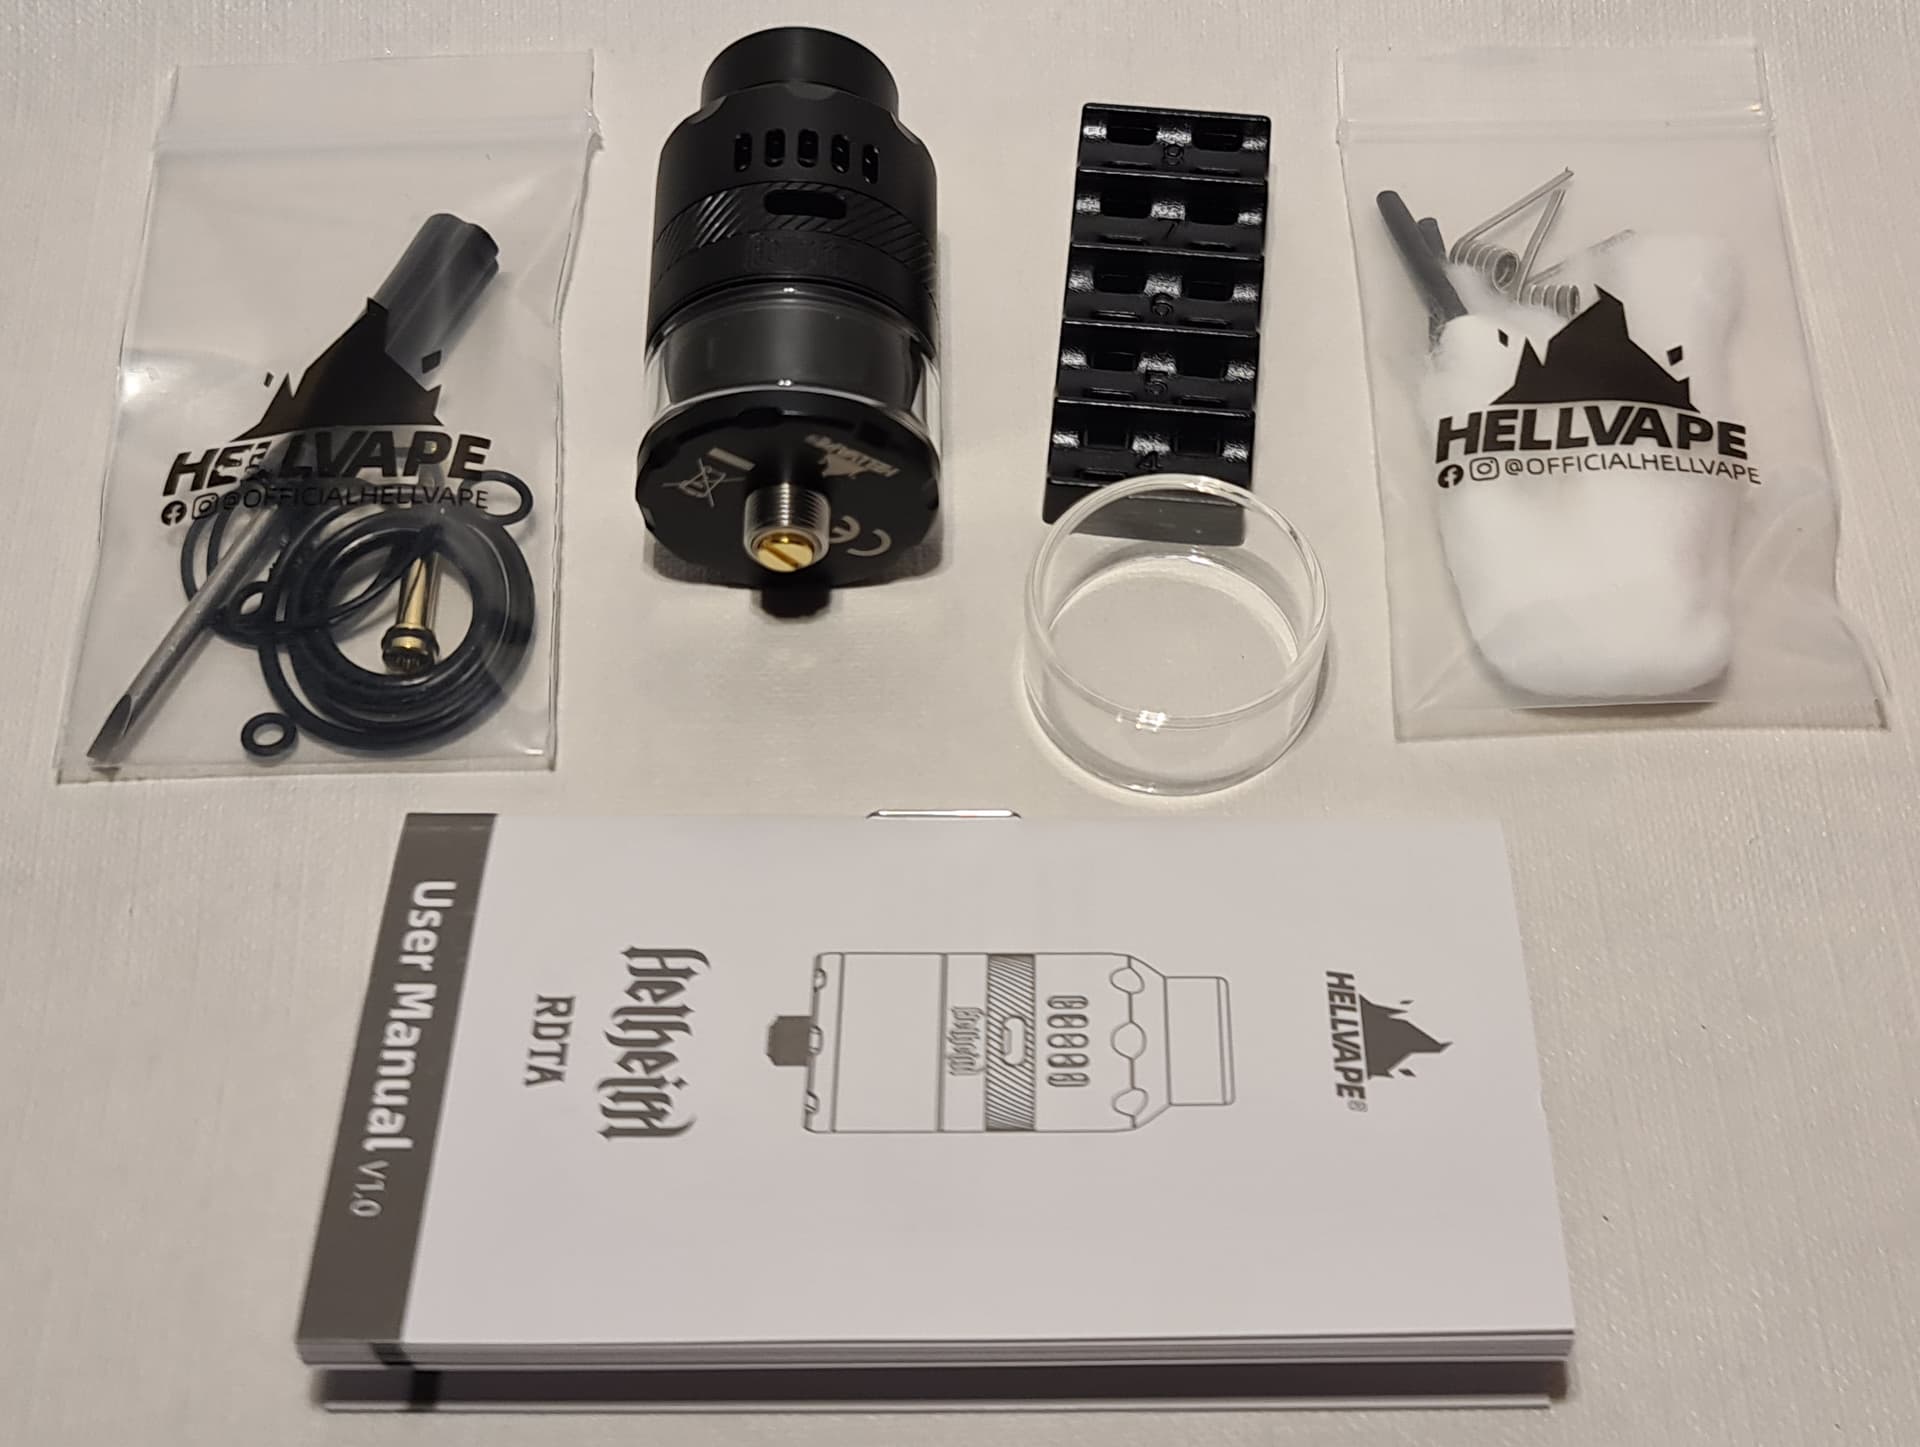
Package Contents:
- Hellvape Hellheim RDTA.
- 1x Spare Straight Glass.
- Coil Cutting Tool.
- 2x Ni80 0.37Ohm Coils.
- 2x Shoelace Cotton Pieces.
- Gold Plated BF Pin.
- Accessory Bag.
- User Manual.
Let’s get down to business then!
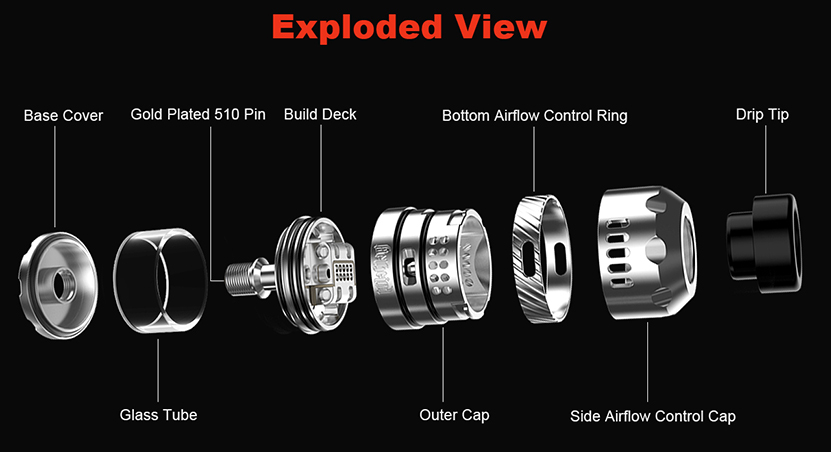
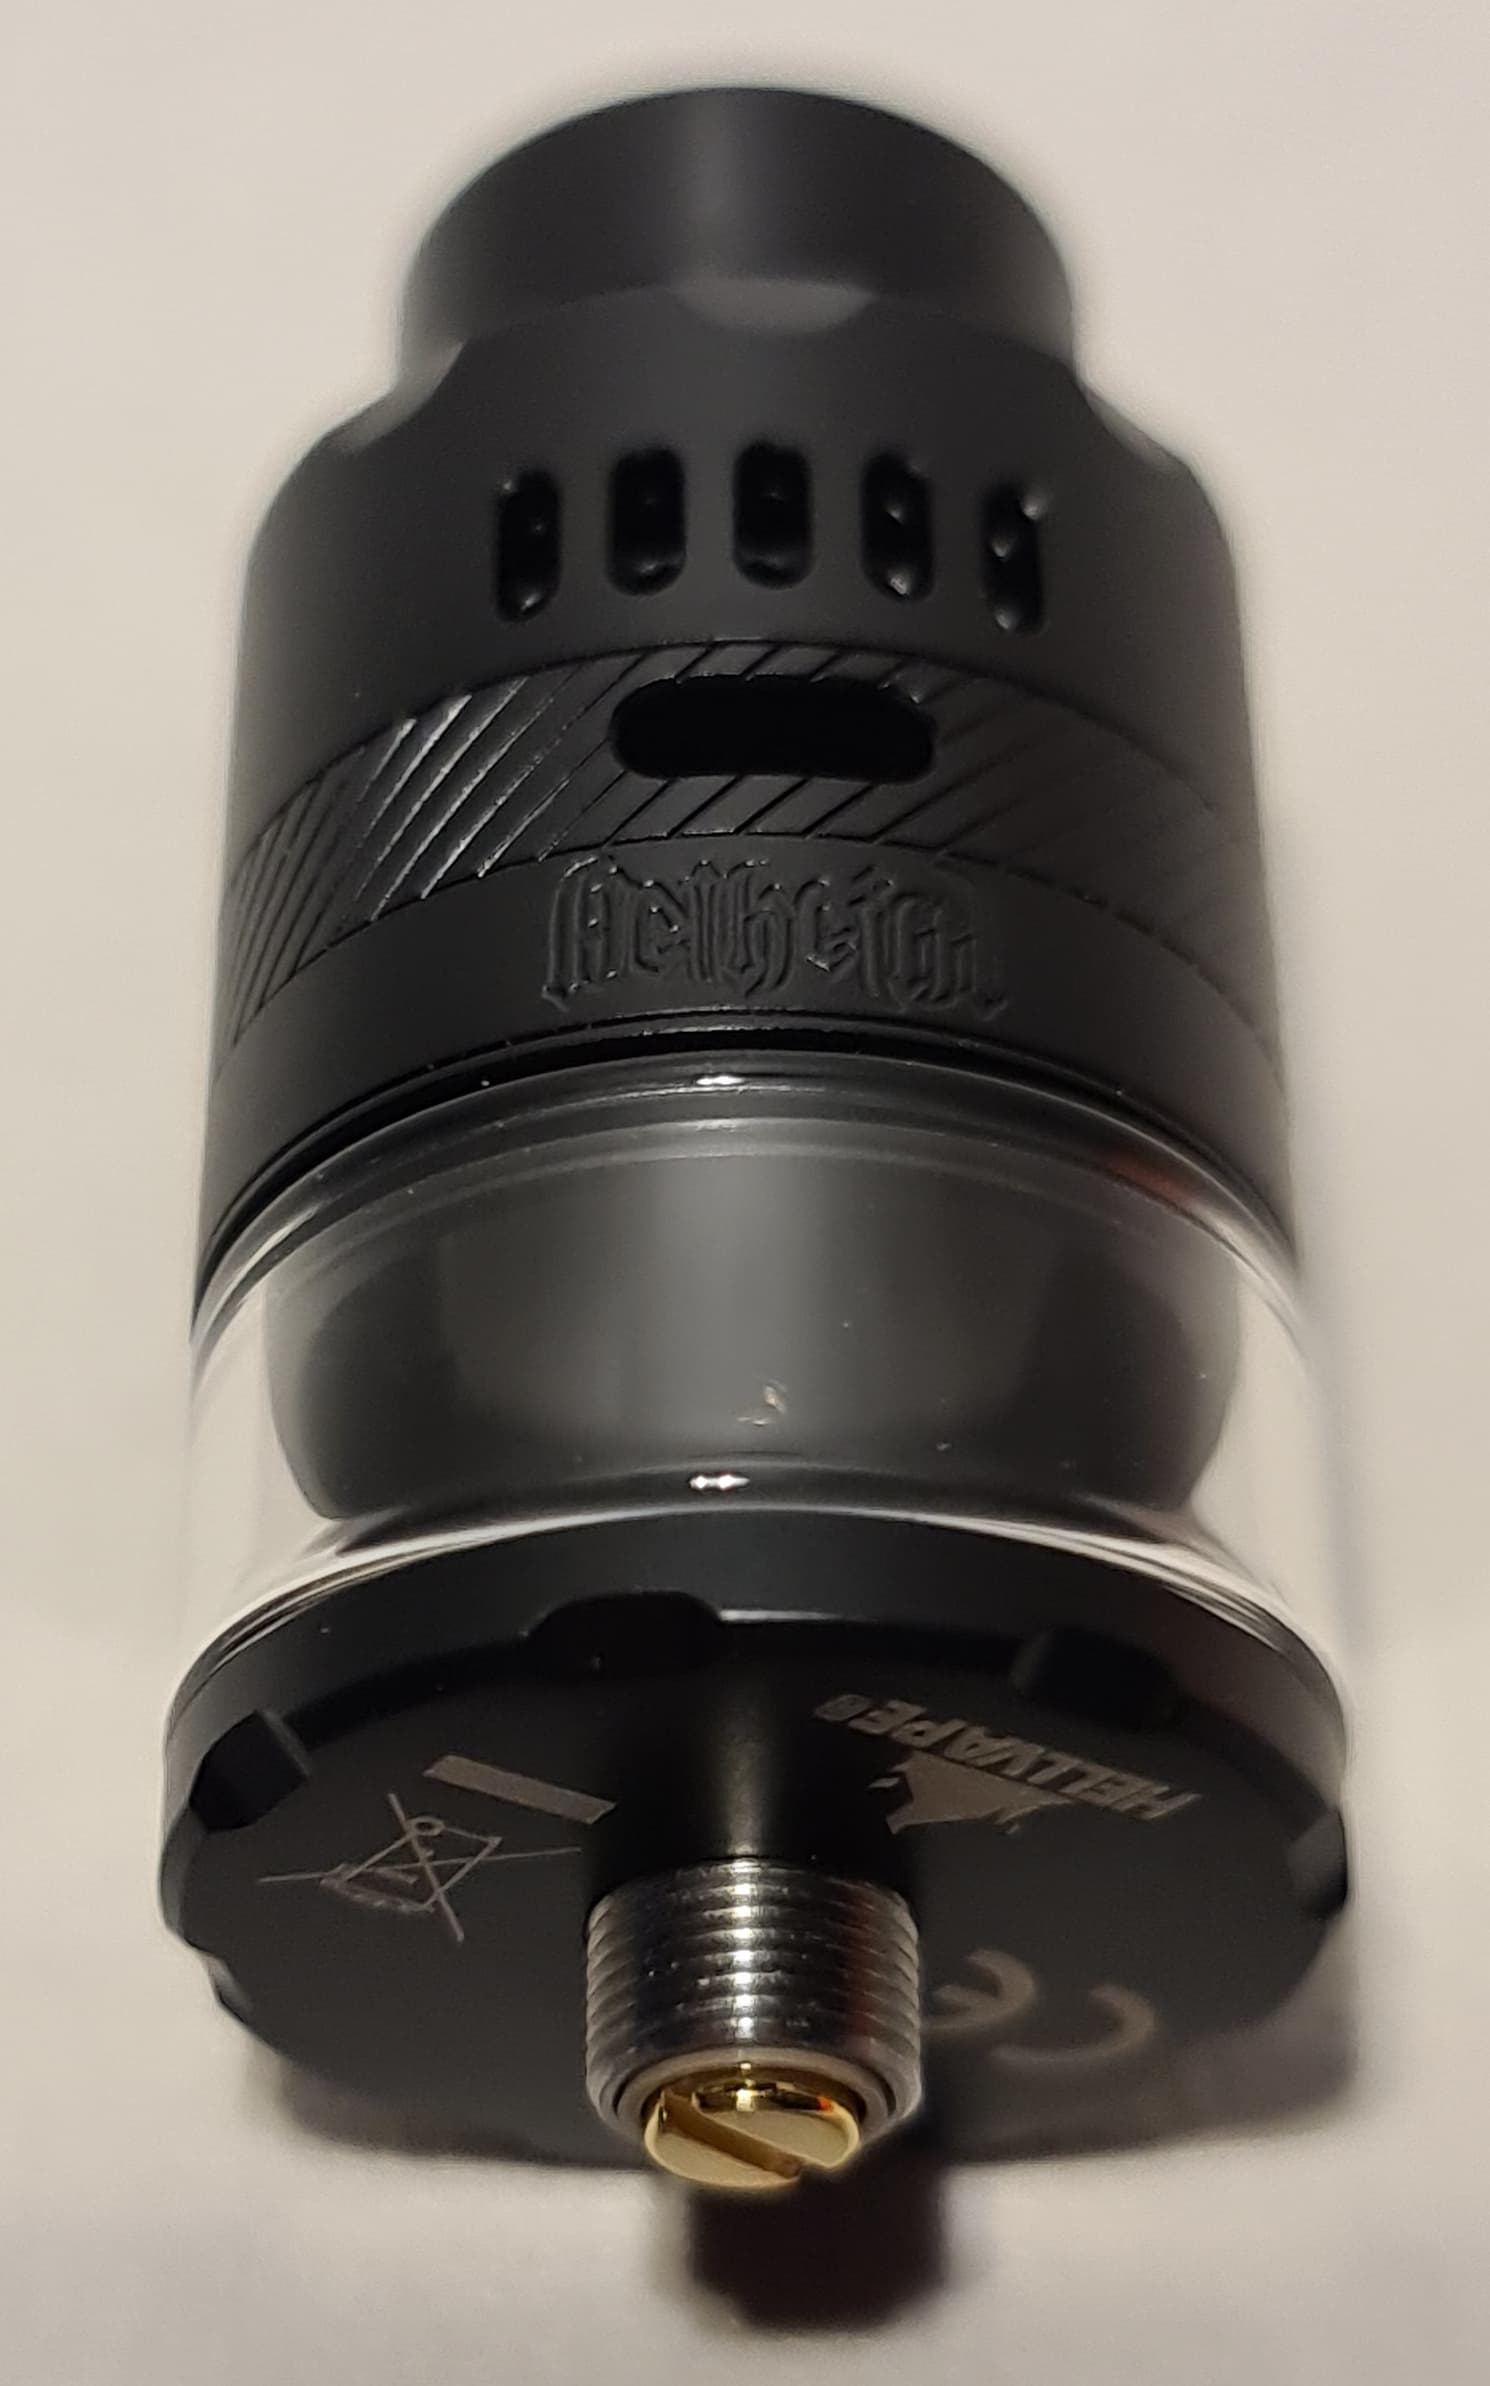
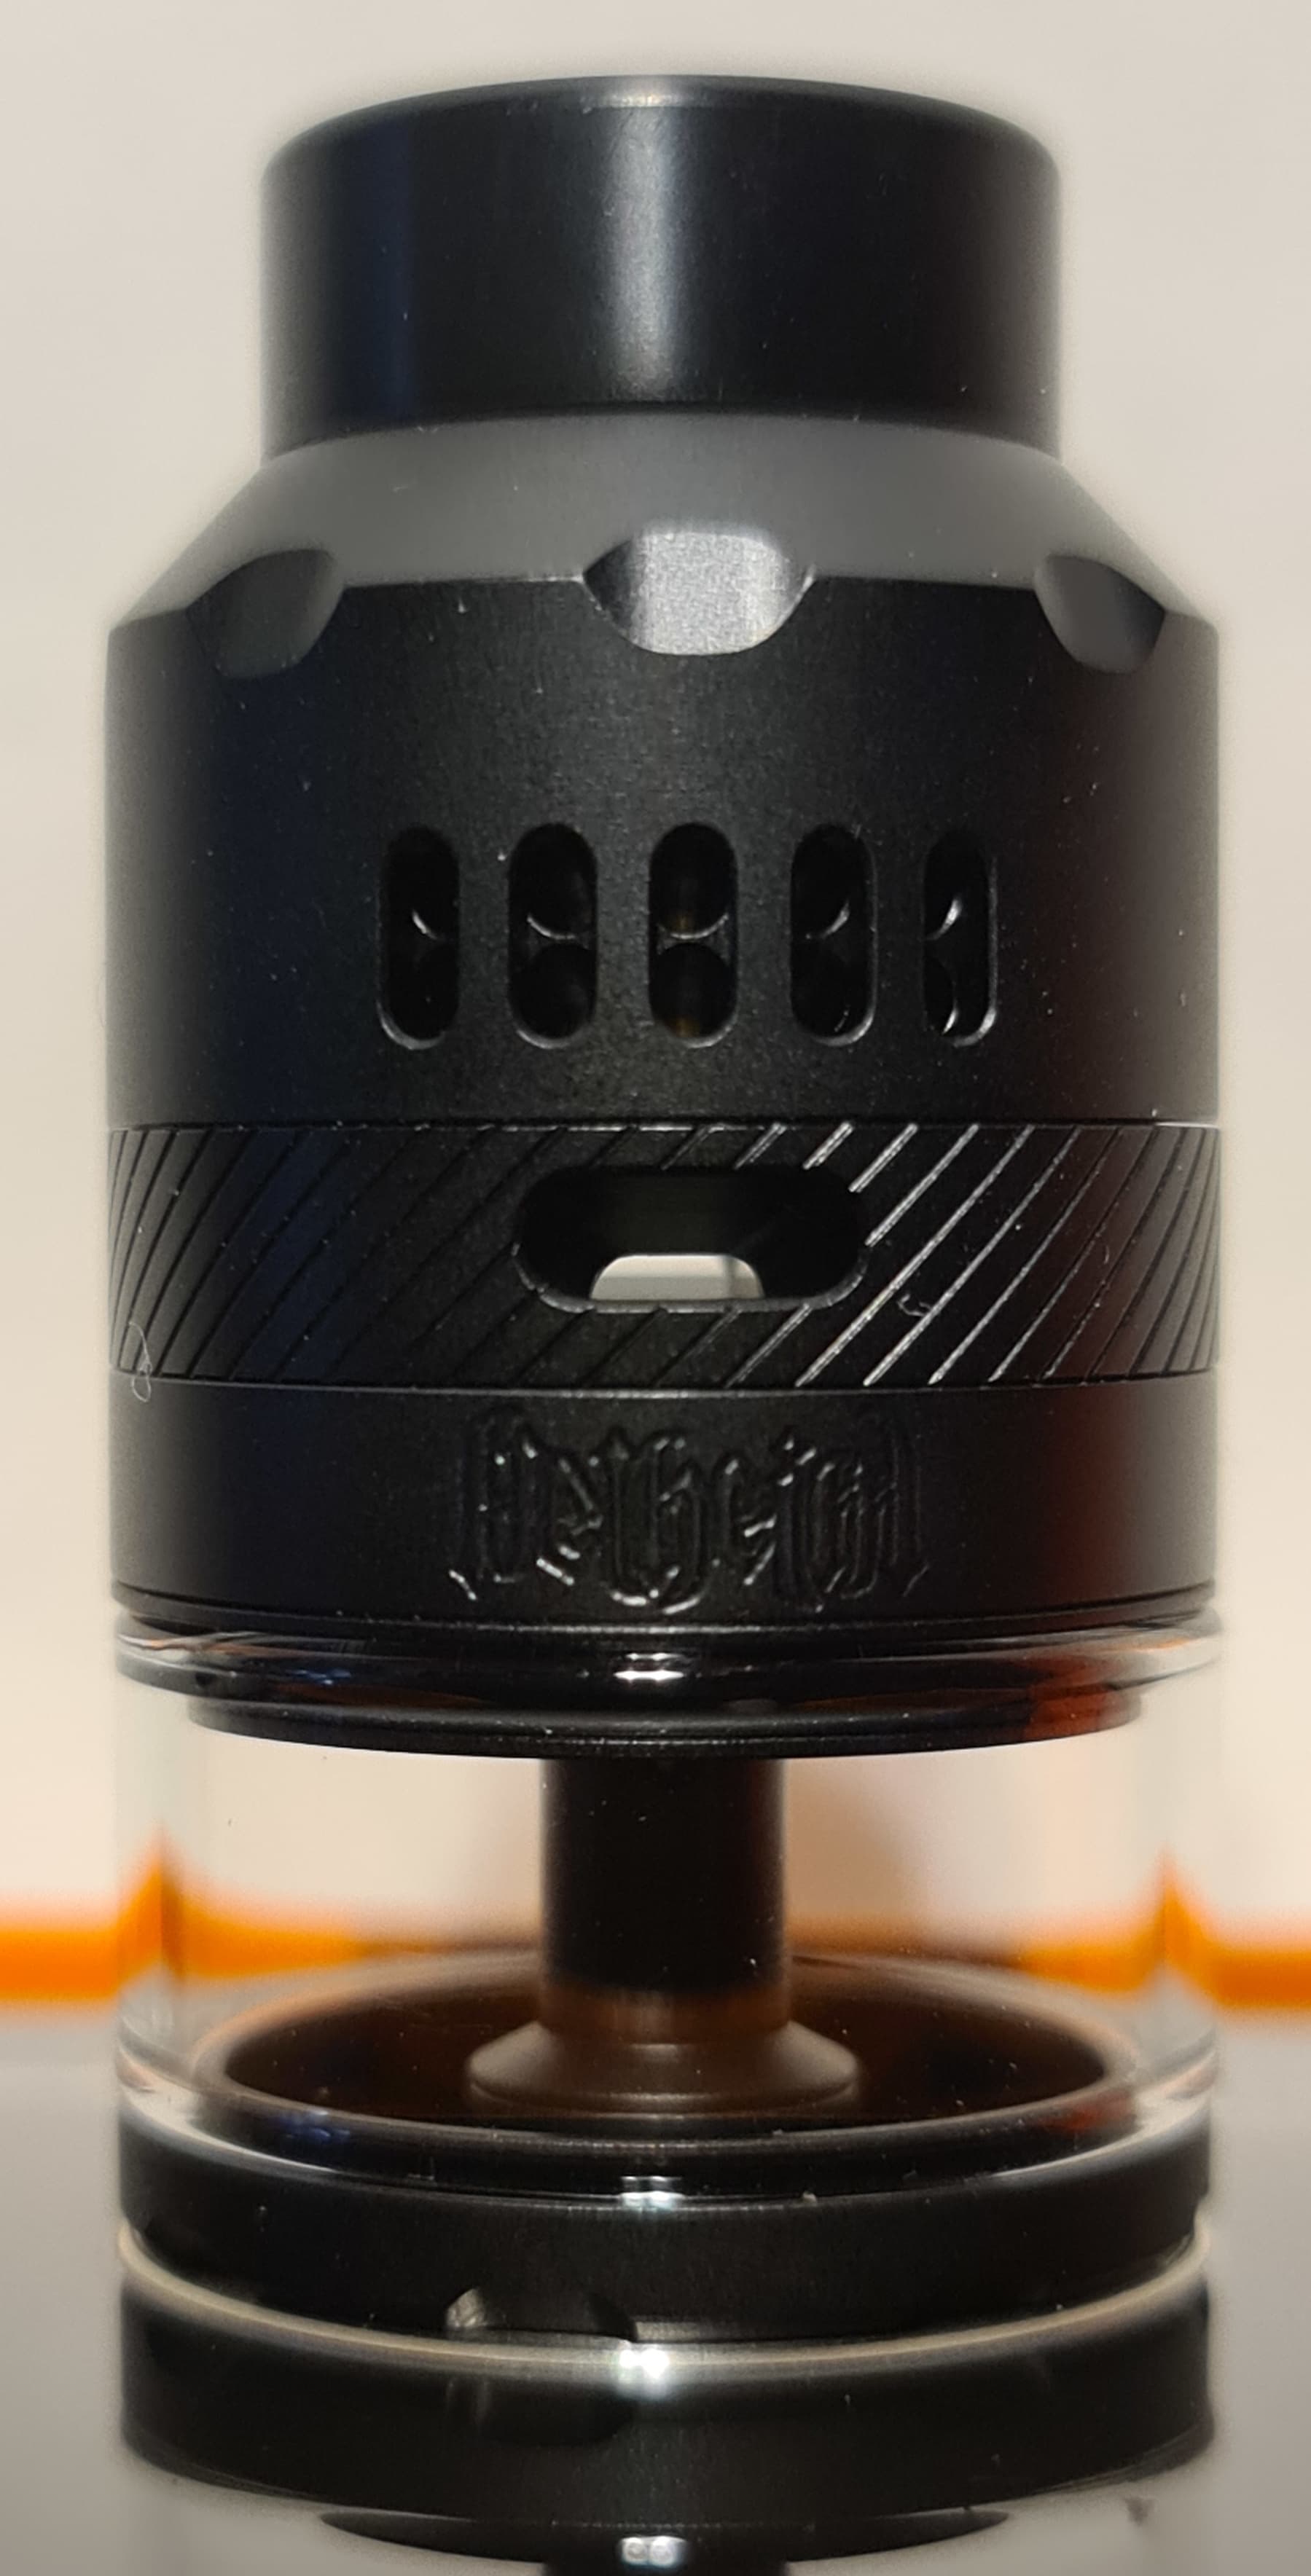
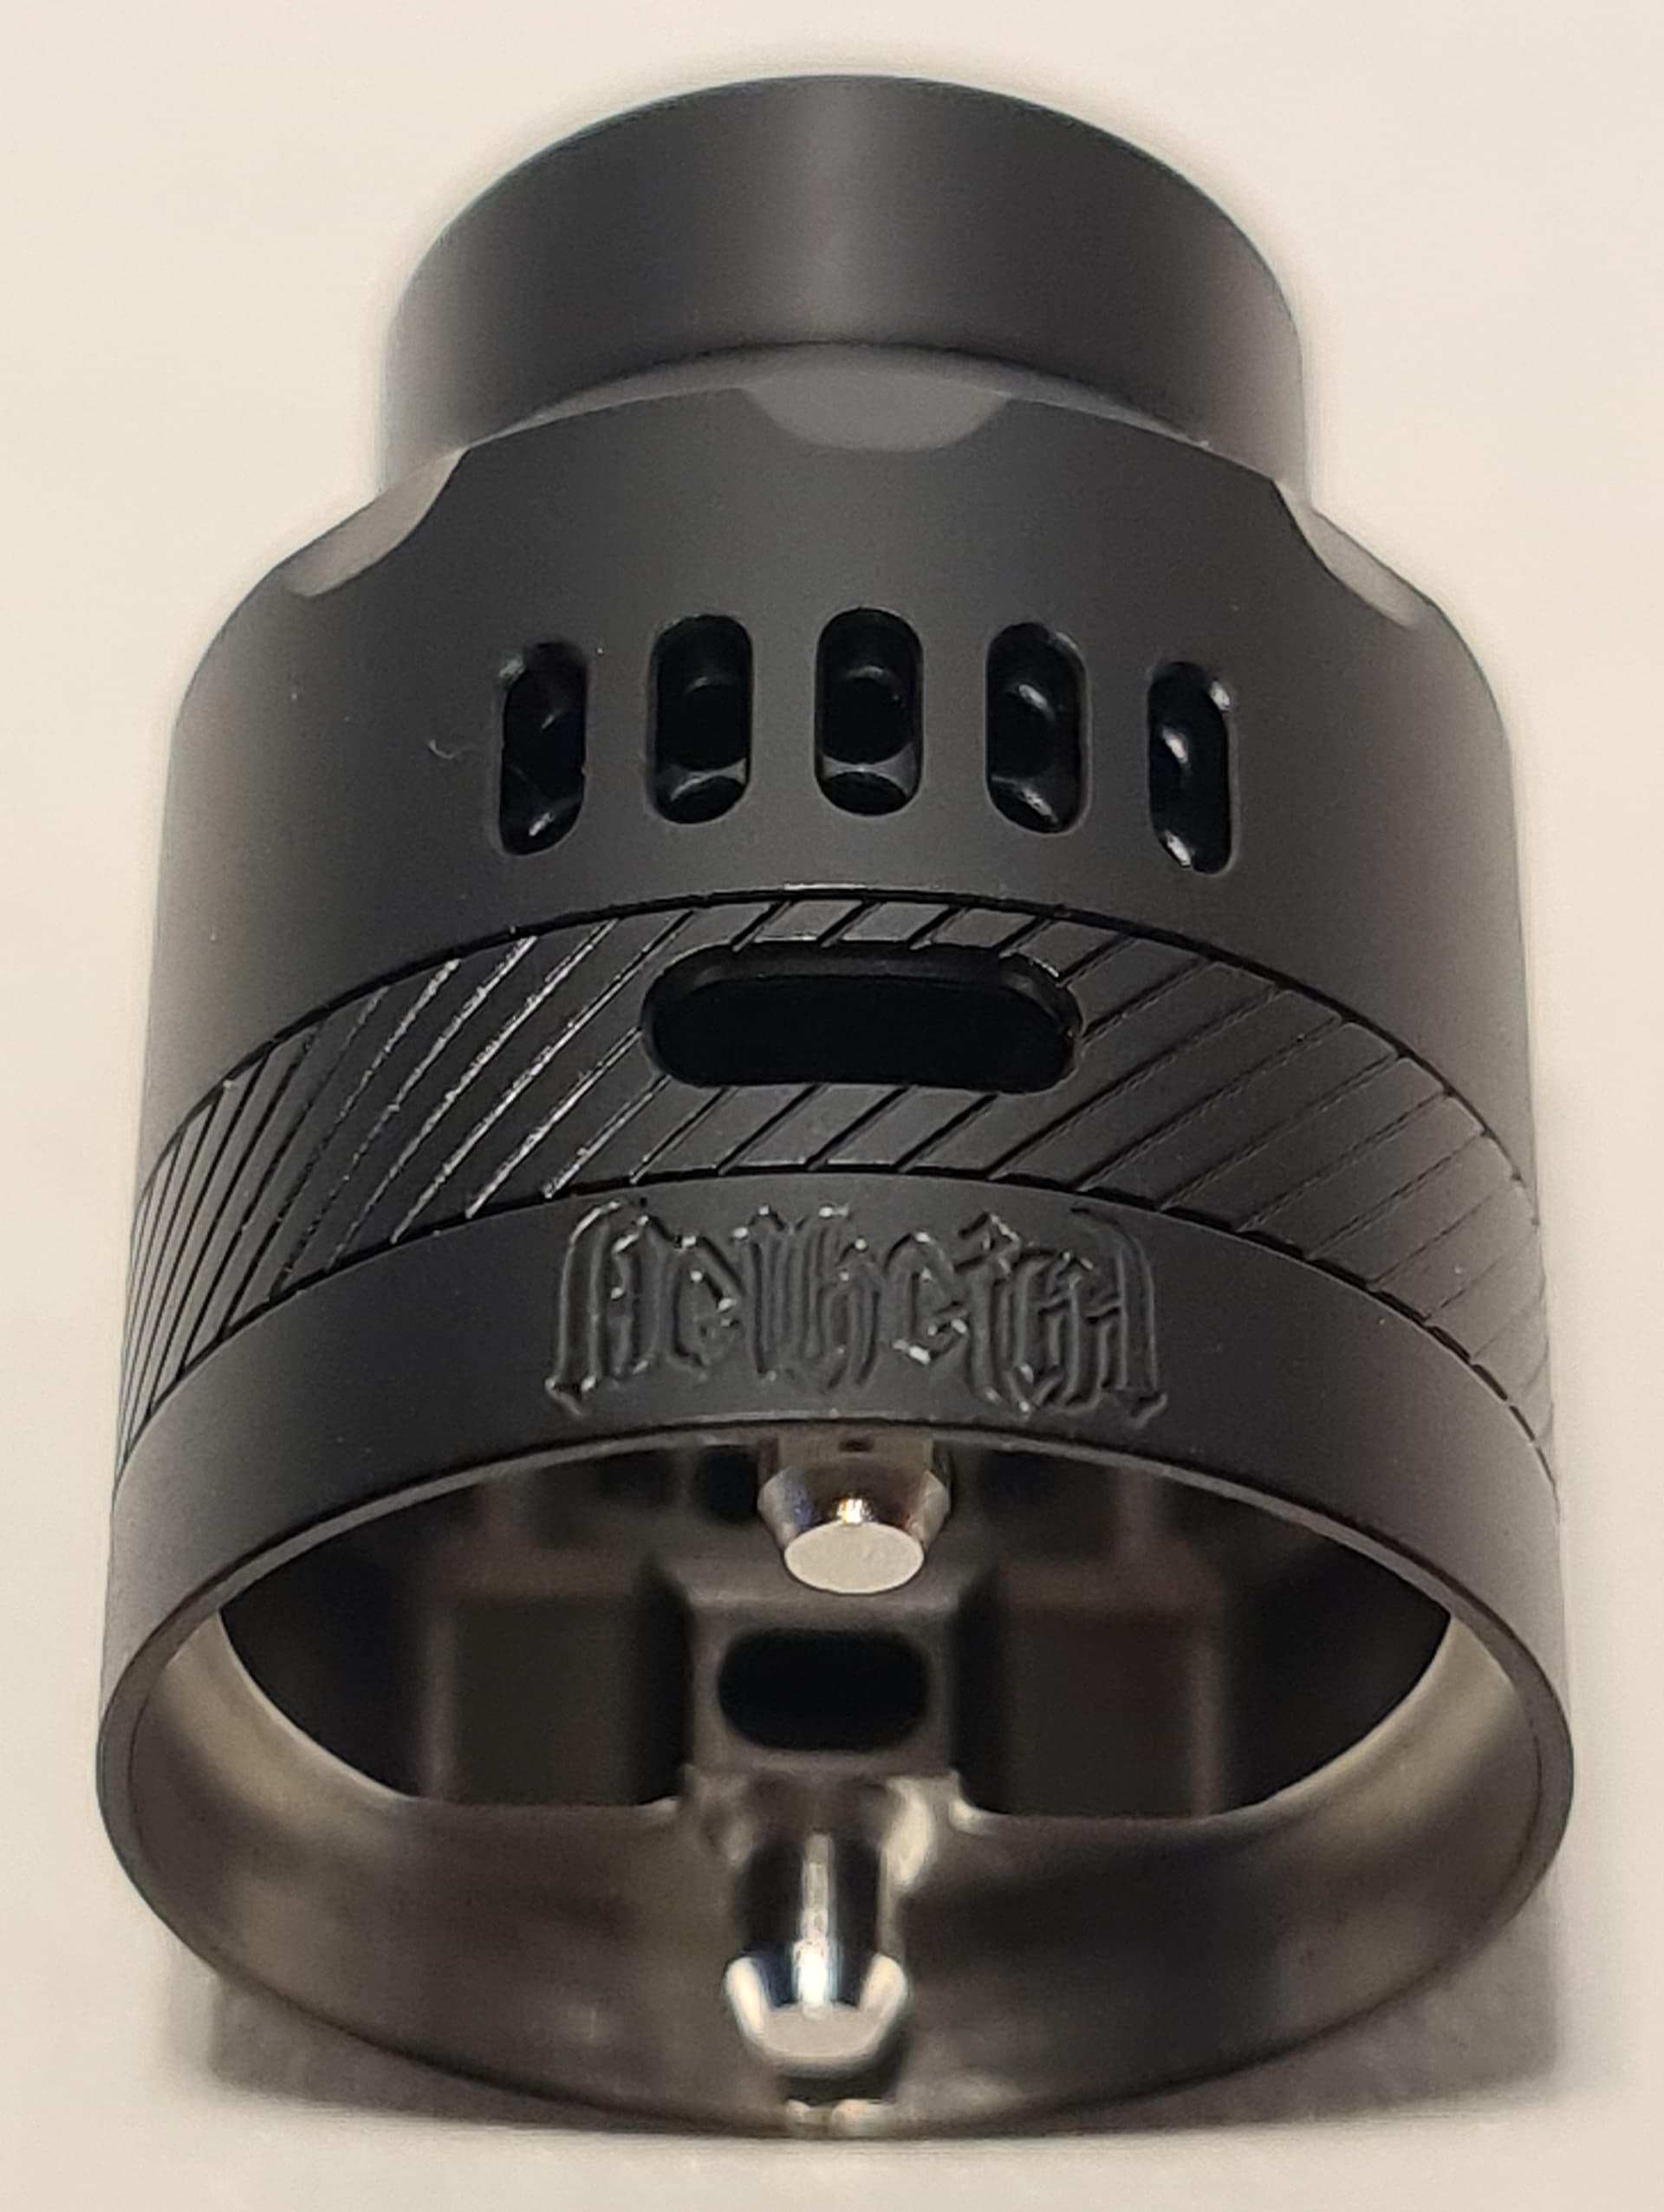
The Hellvape Hellheim boasts dual, separate, airflow control. The top cap controls the airflow to the side of the coils, while the smaller airflow control ring below that, controls the airflow to below the coils:
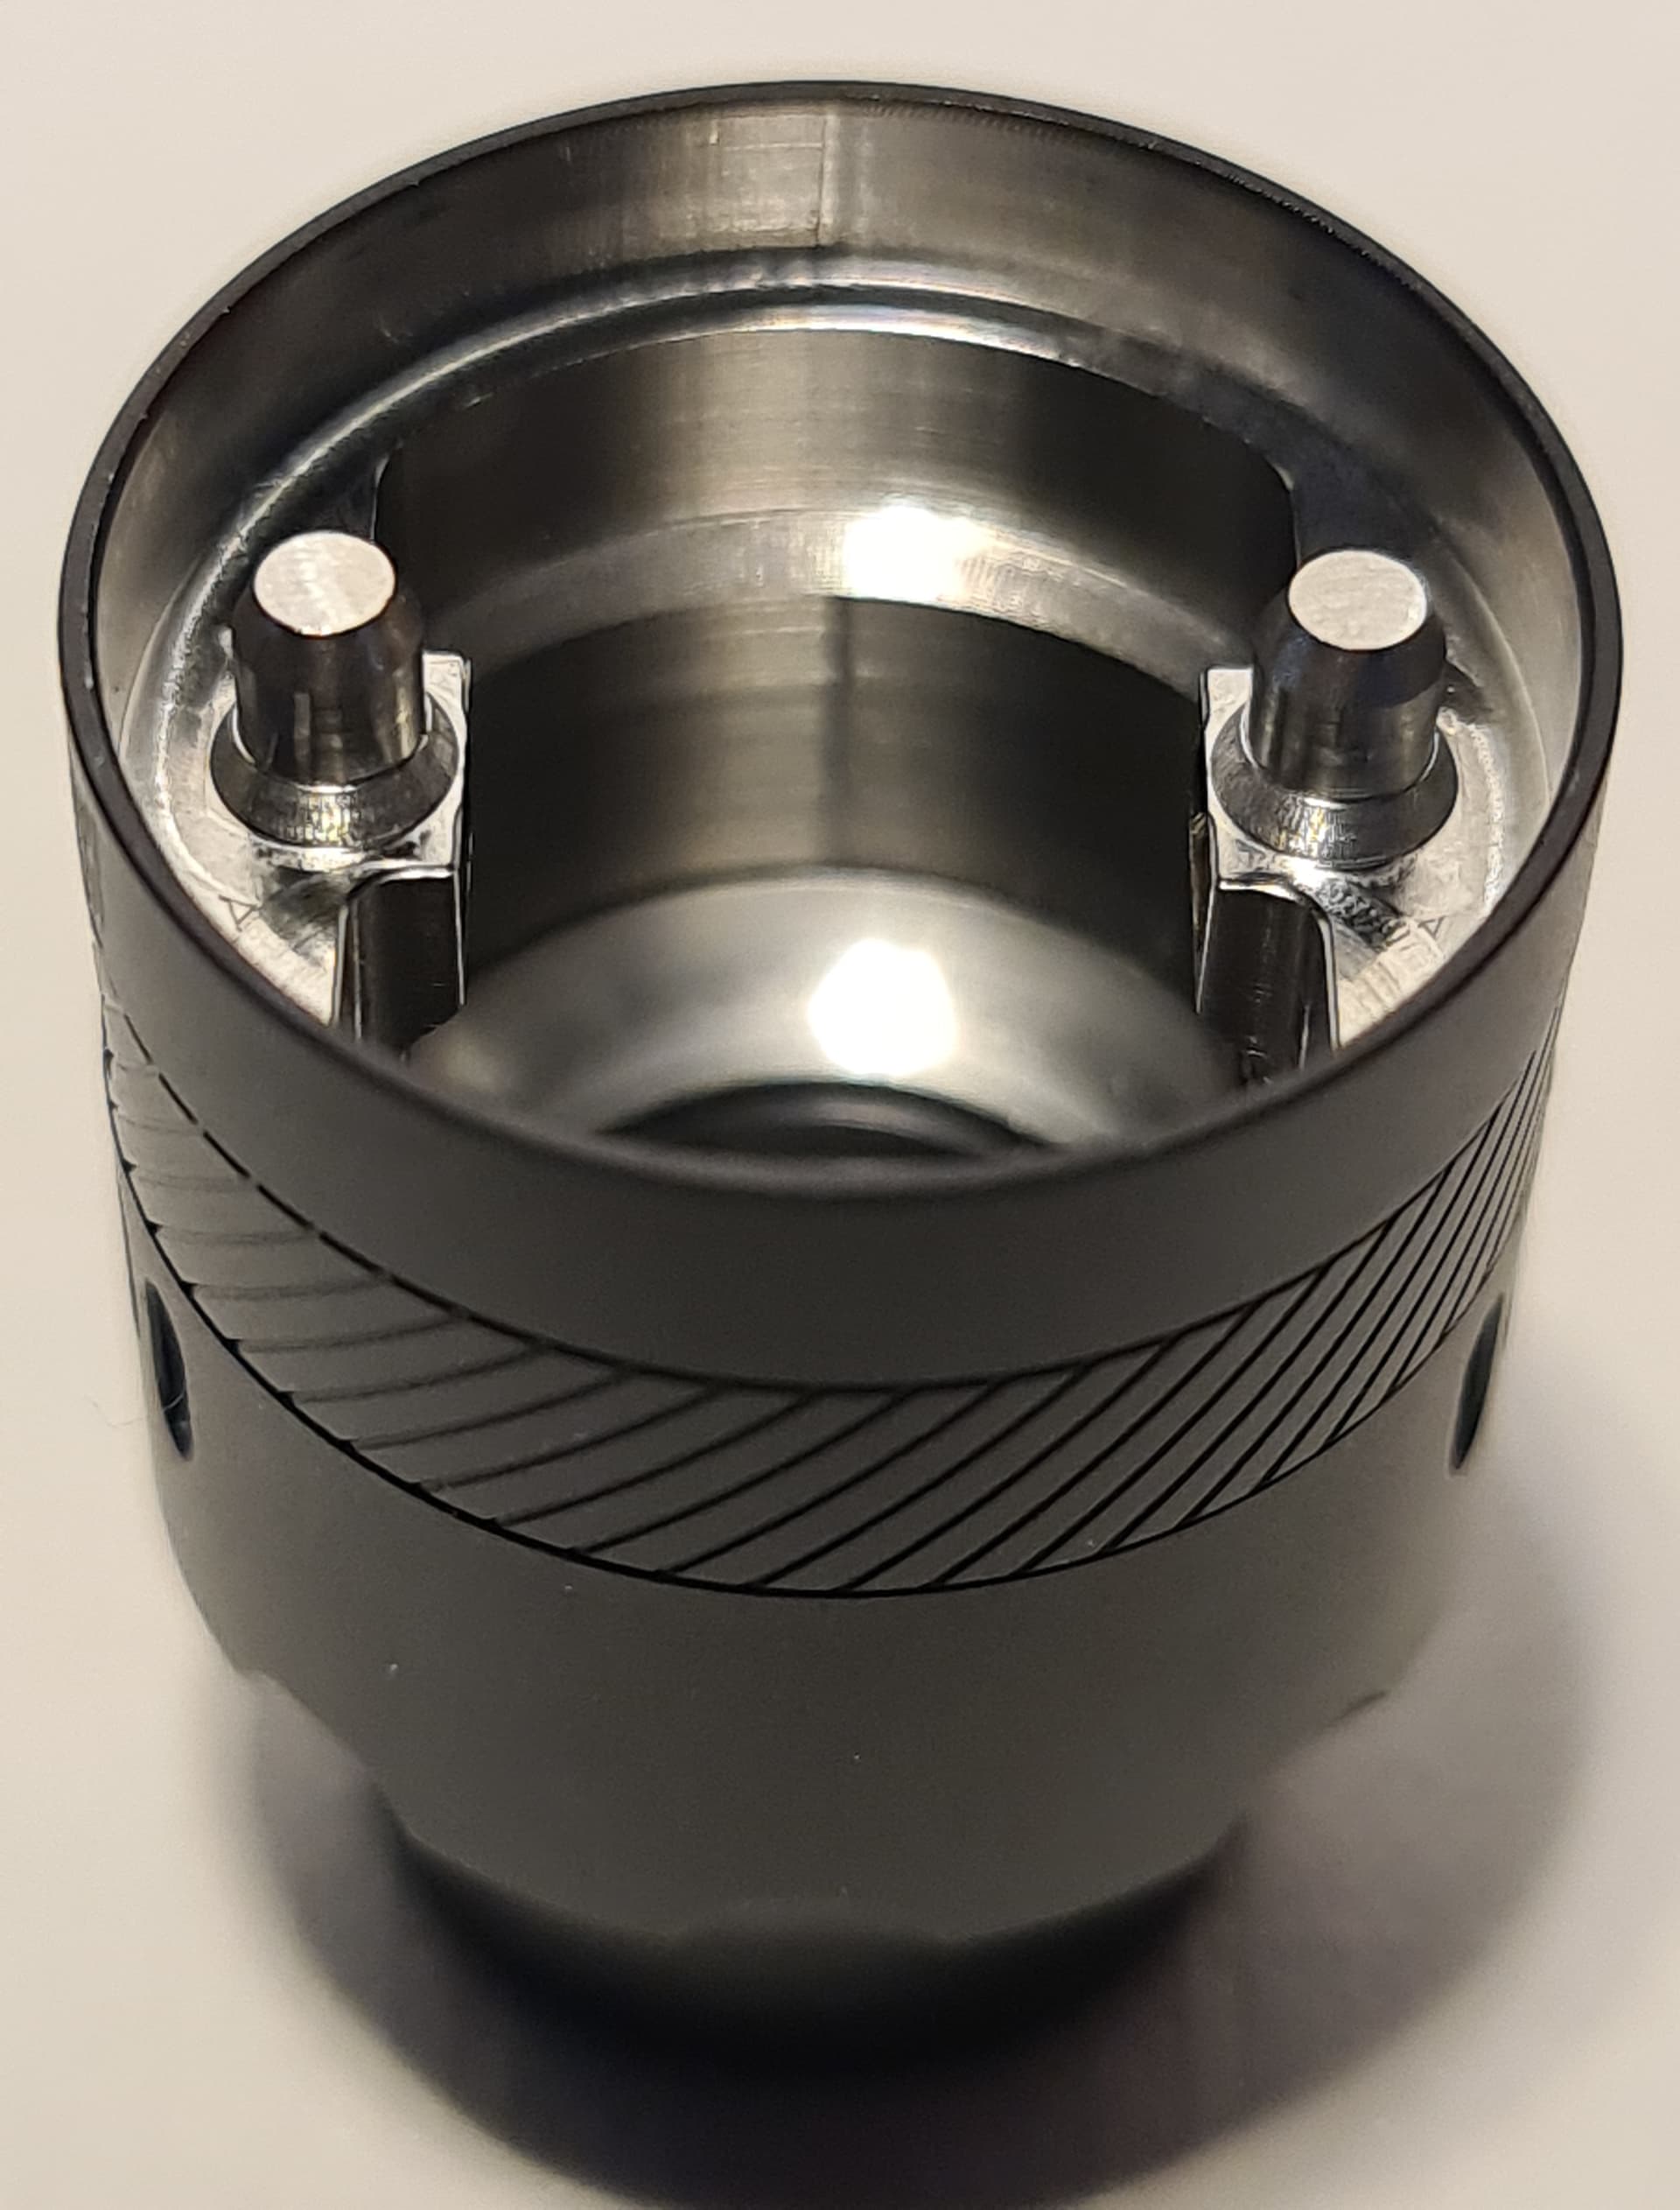
The tank is filled by pulling off the top cap to uncover the two fill ports, one on either side of the deck, or by using the included gold plated BF pin, to feed juice directly into the tank from your squonk mod.
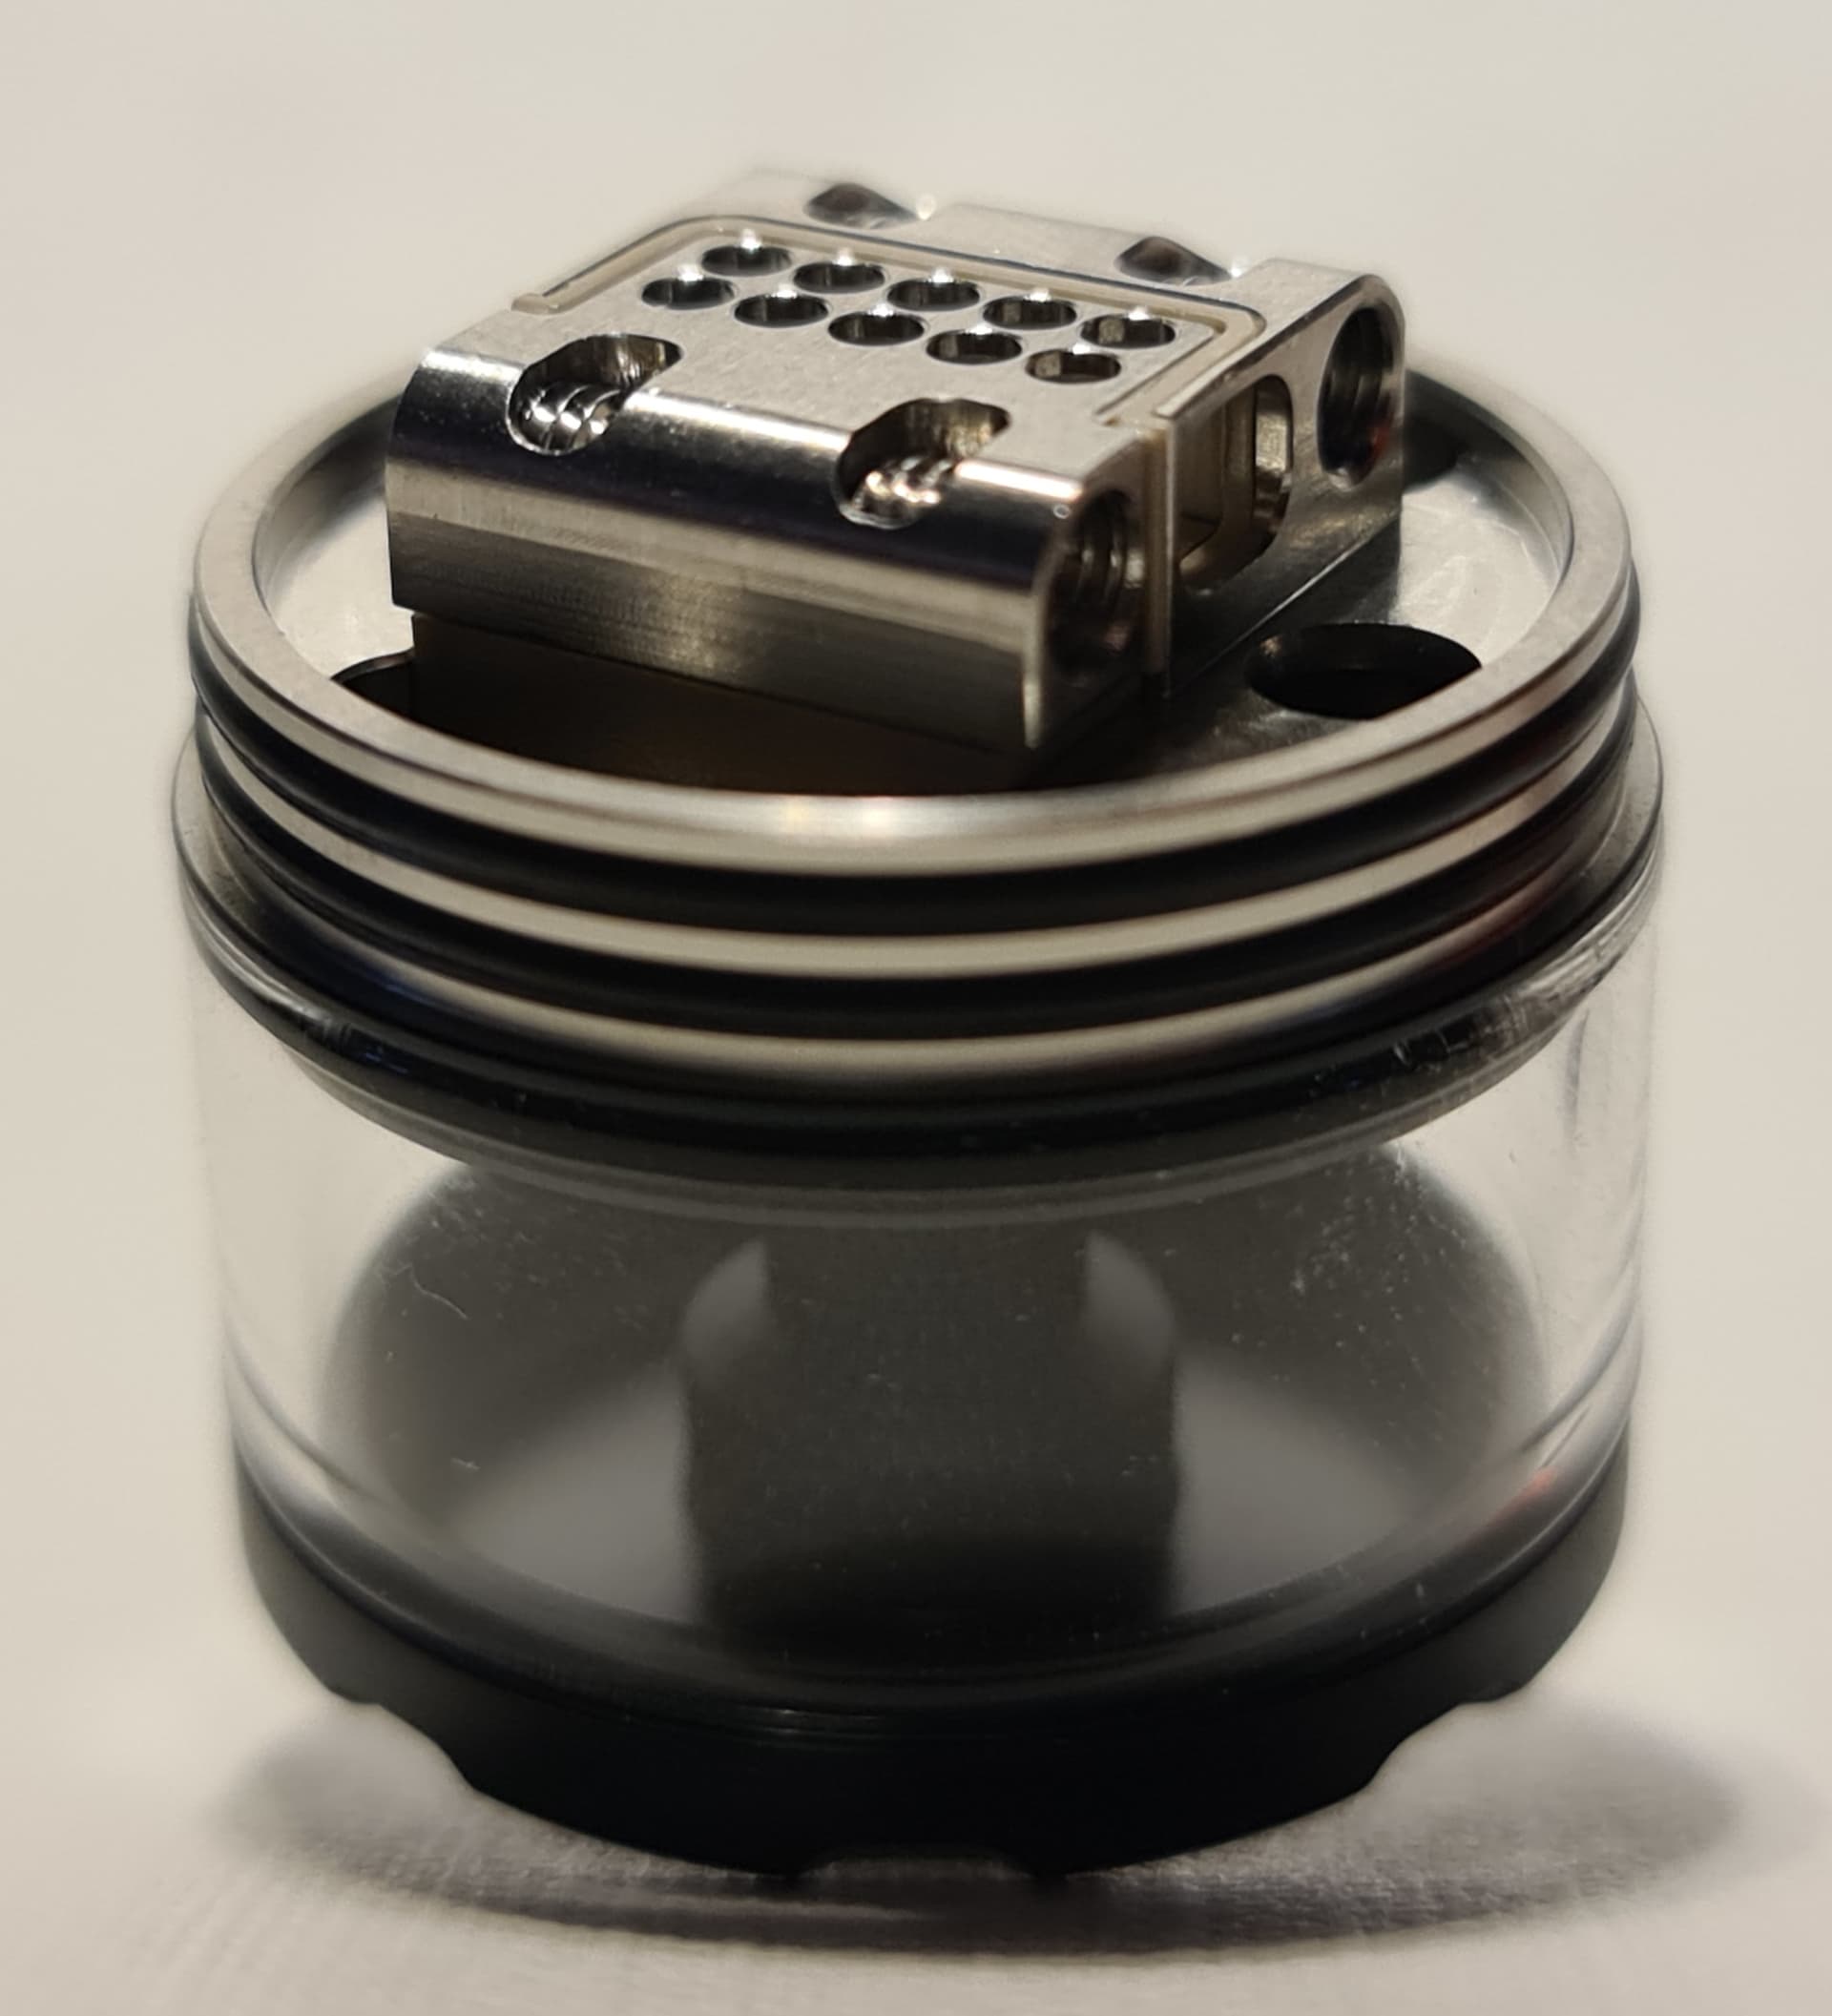
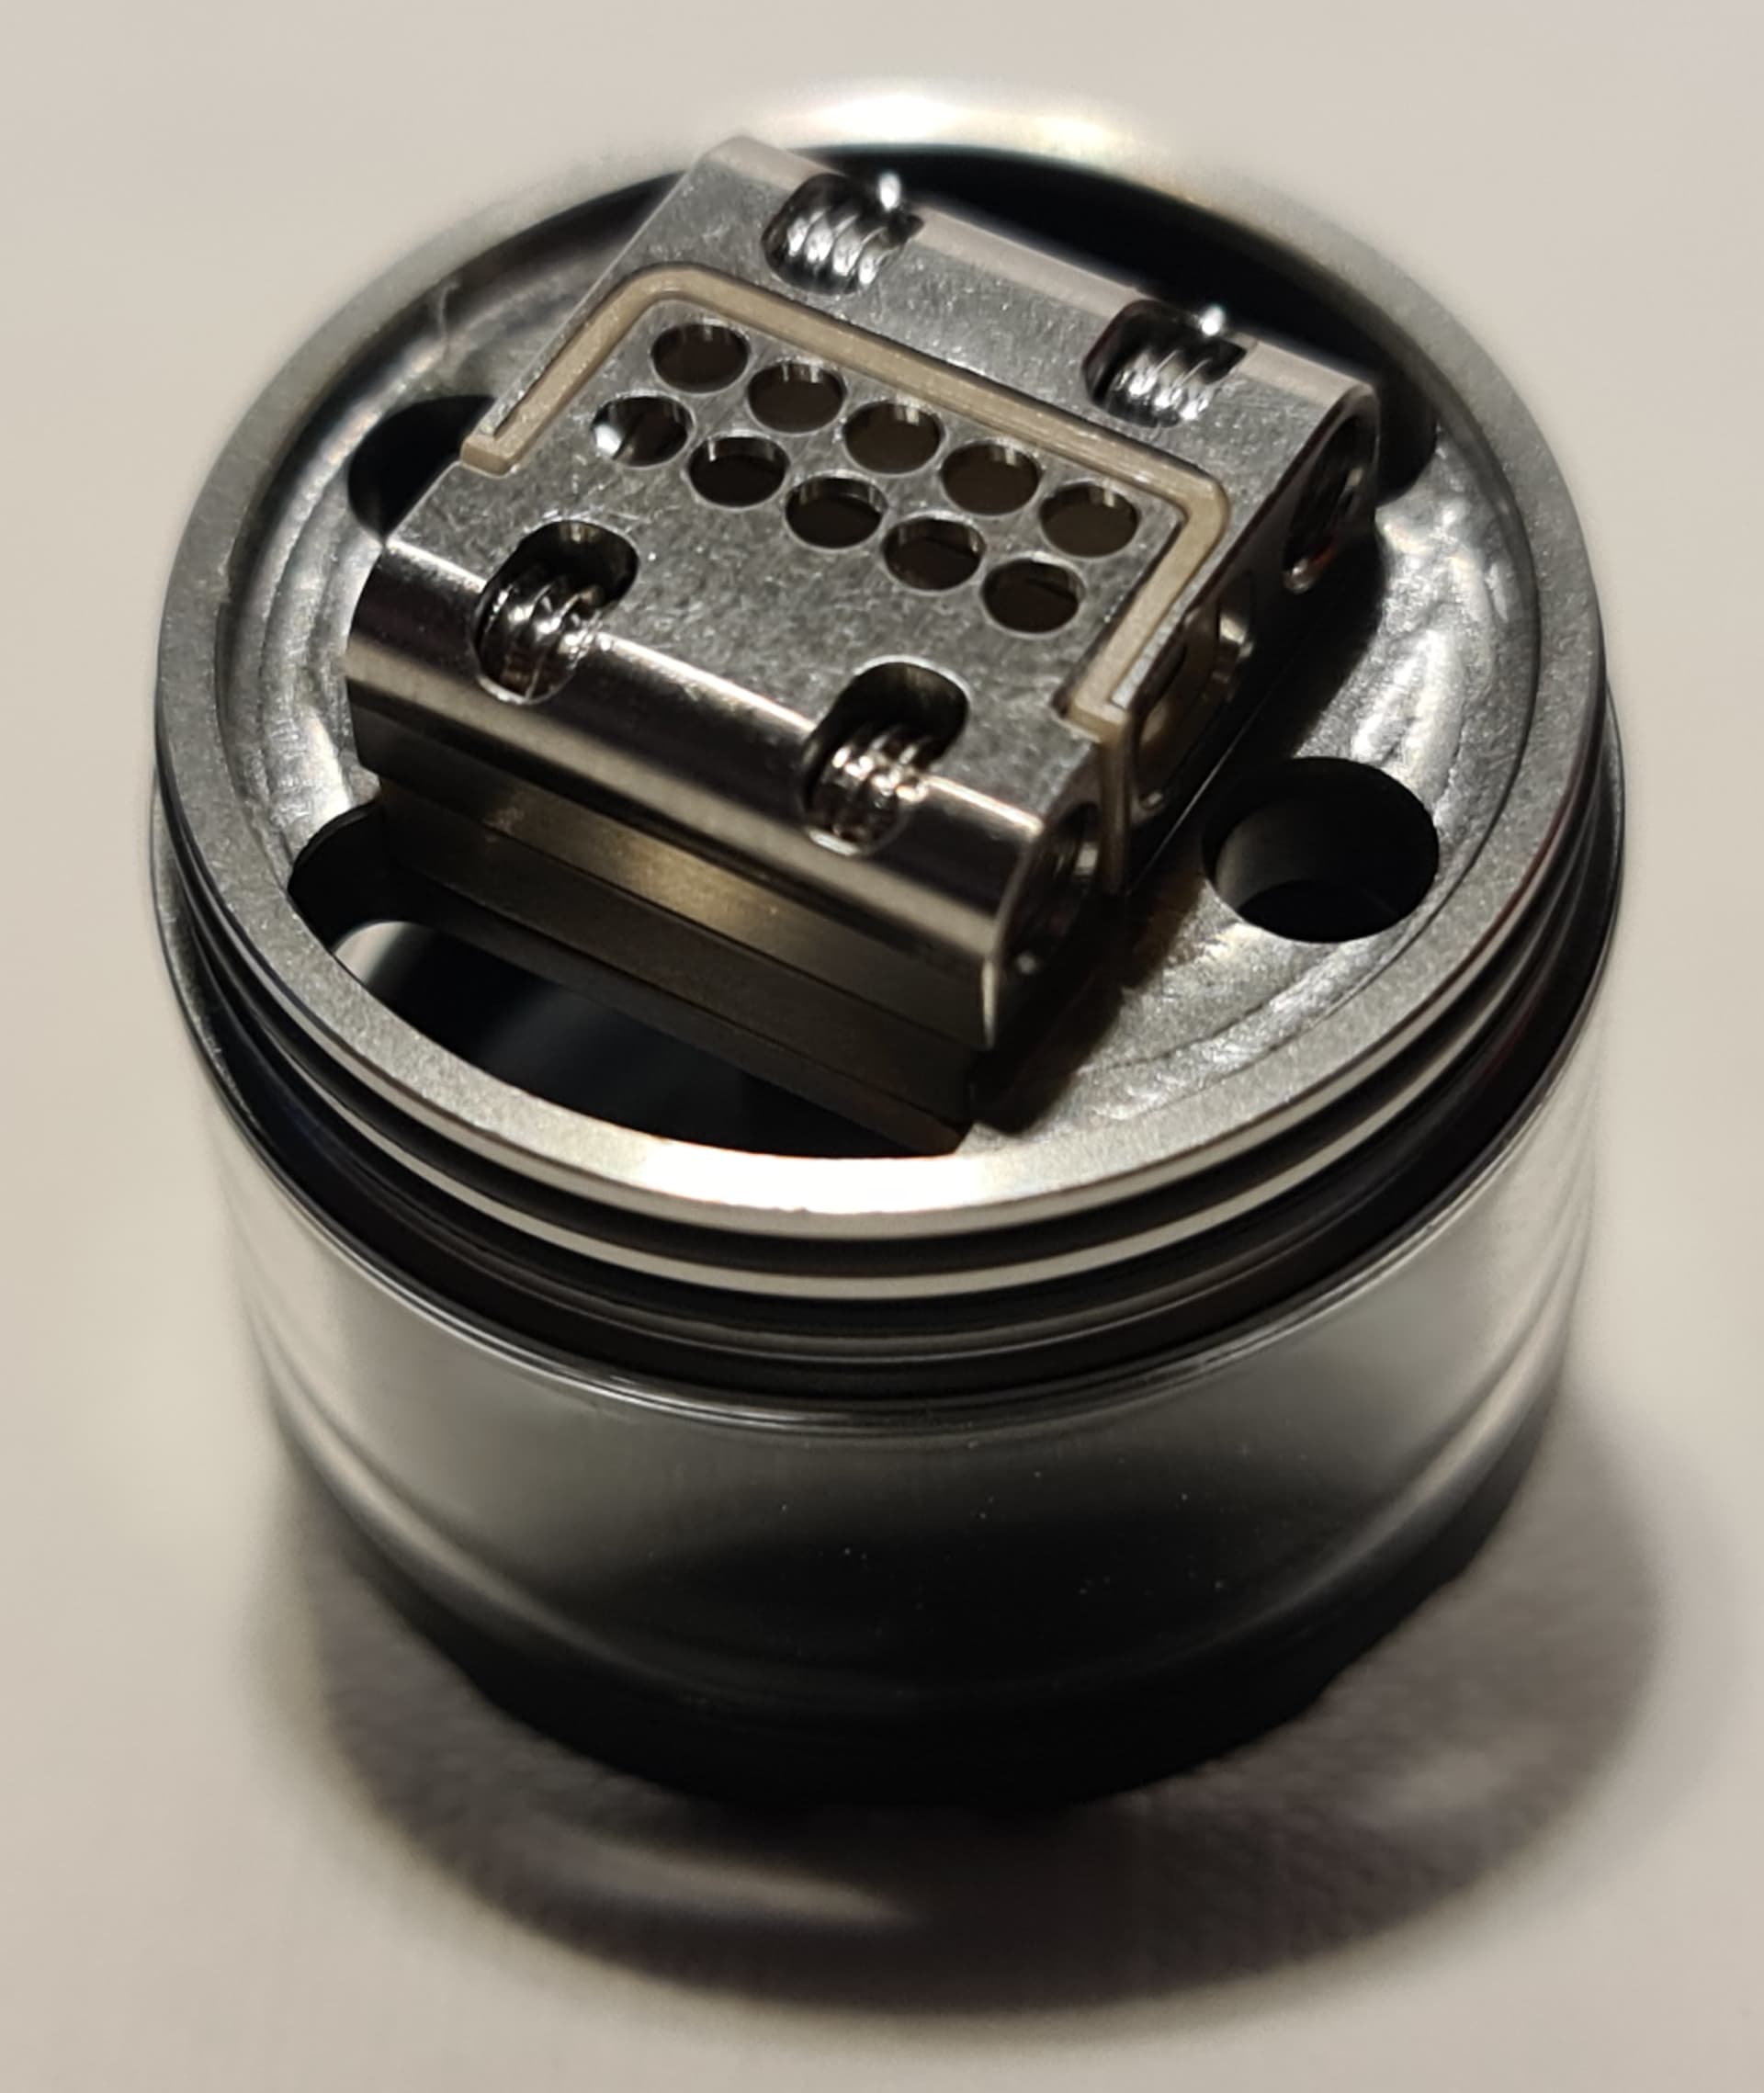
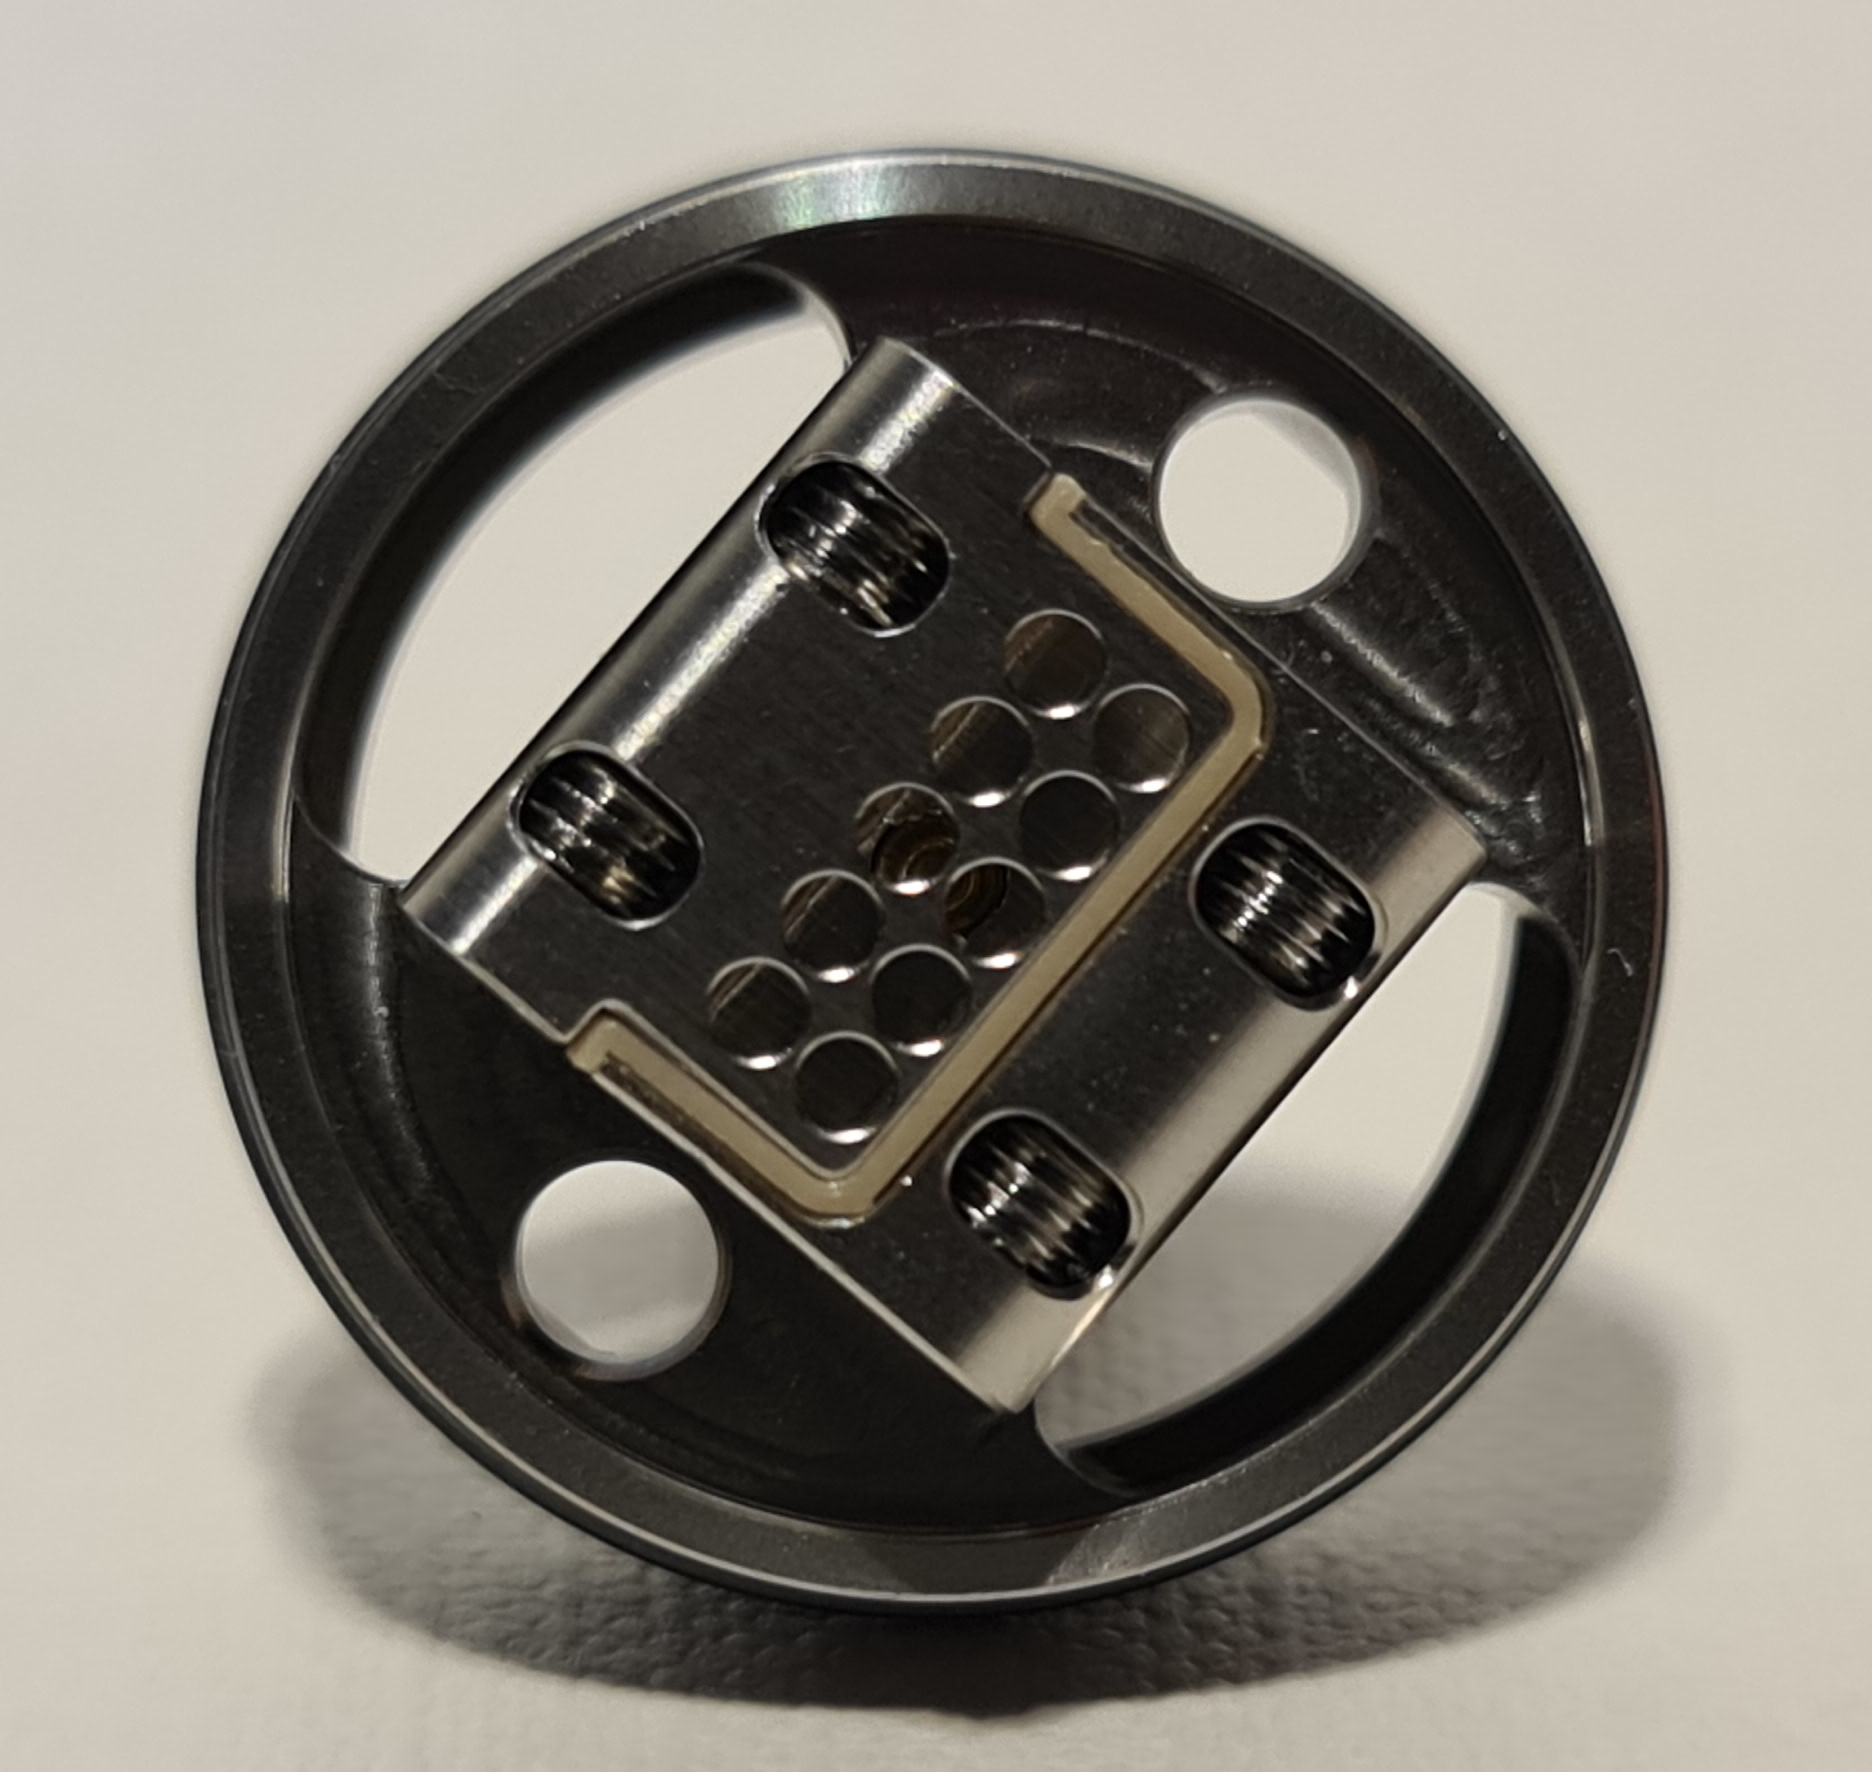
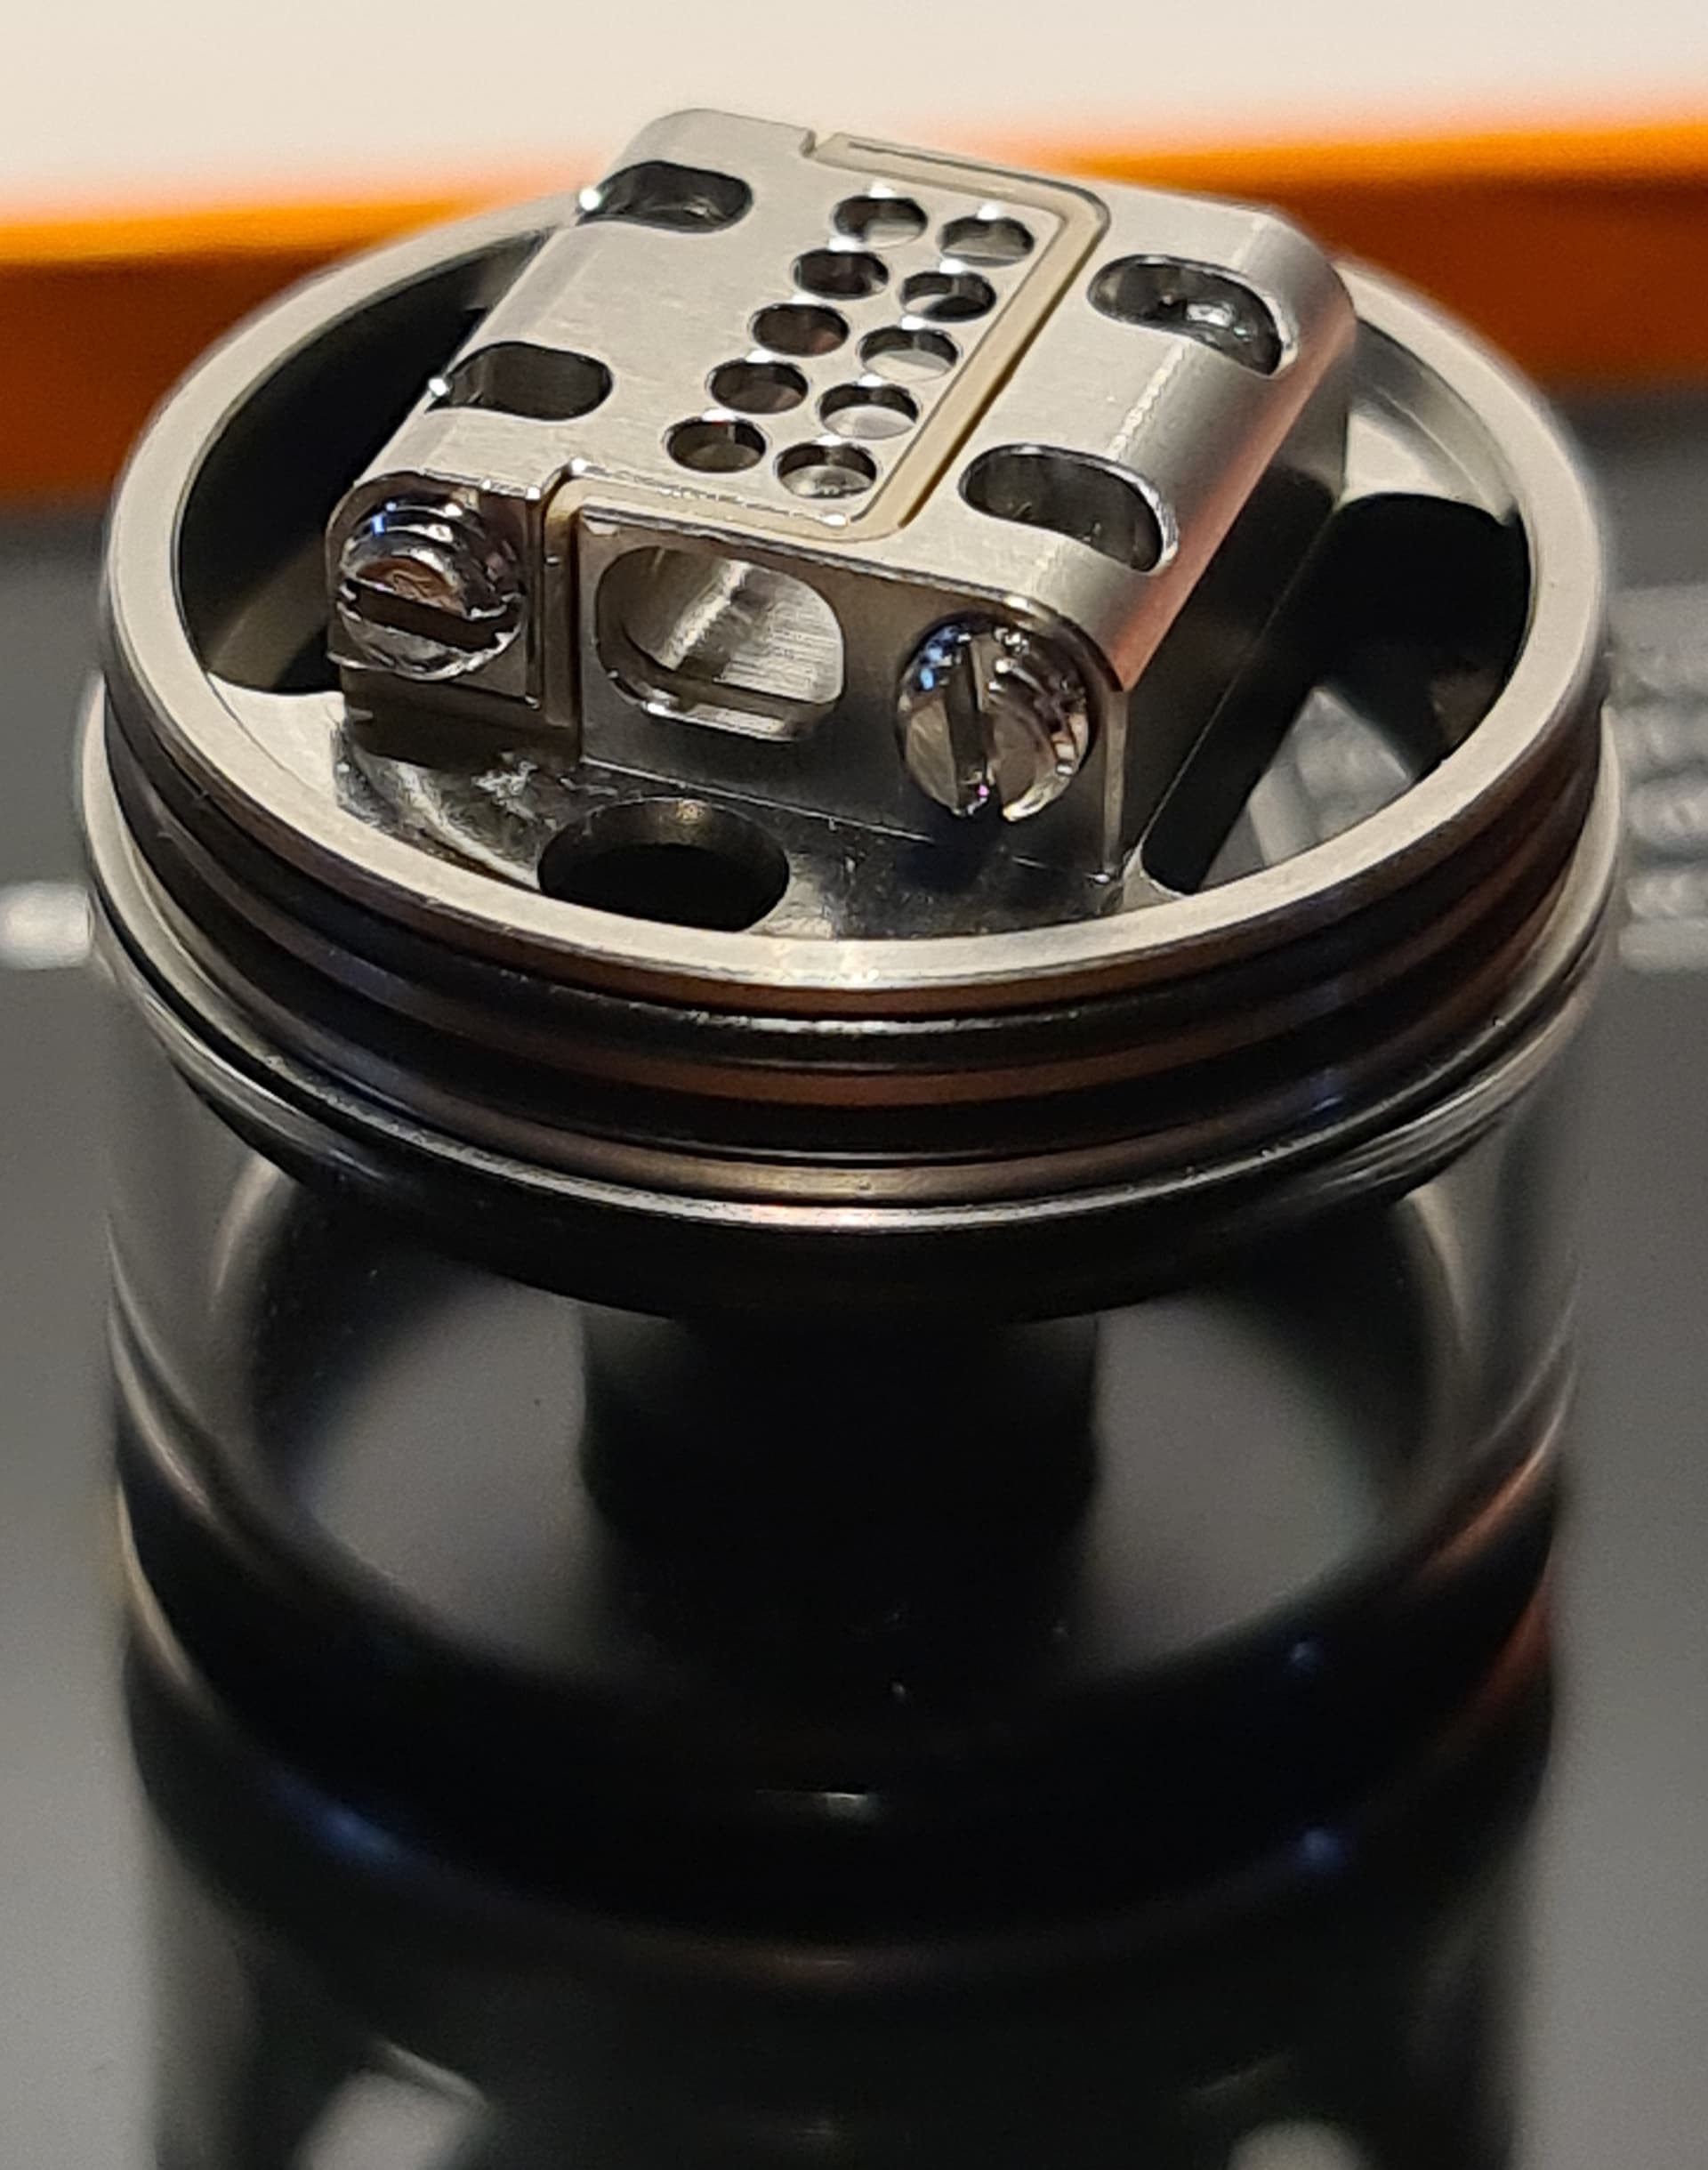
The postless build deck is very spacious, easy to build on, and has honeycomb airflow holes below the coils which are fed by the bottom airflow control ring. The juice fill ports, for when you’re not using the included BF pin, are located right next to the coils, just below the build deck. The Wicking channels are huge which makes wicking on this tank a breeze. The build deck itself measures 13mm x 9mm with the distance between the coil post holes being 9mm and the post holes themselves measure 3mm x 2mm and have flat-headed grub screws to secure the coils in place:
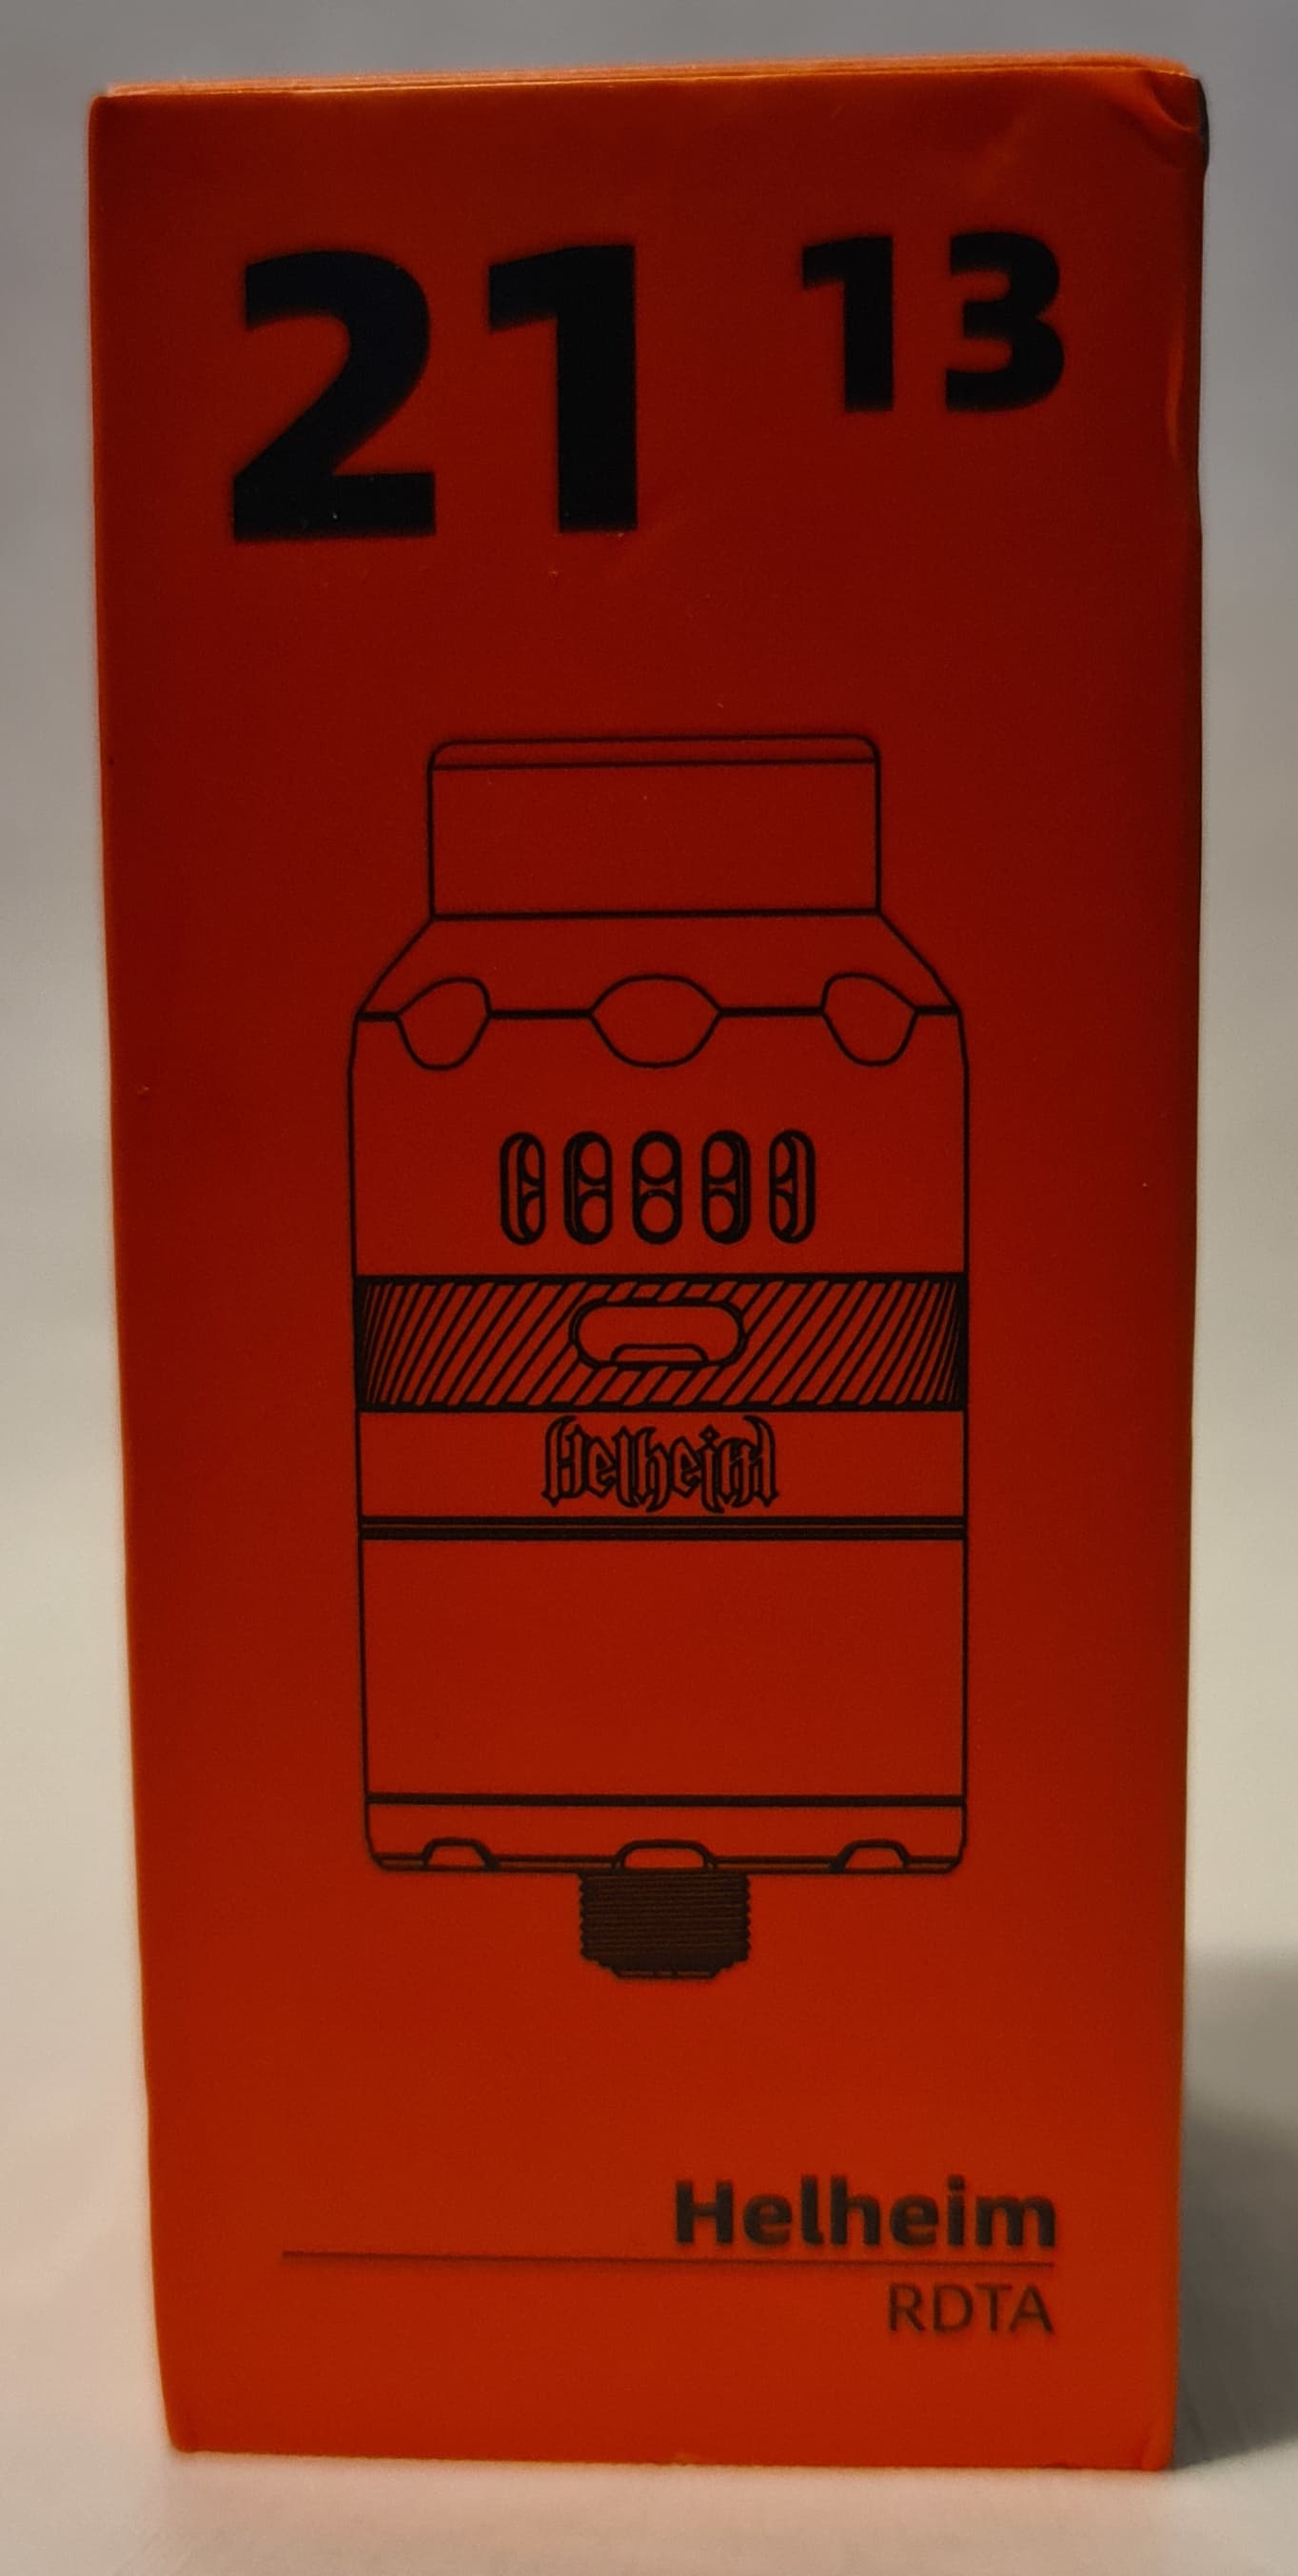
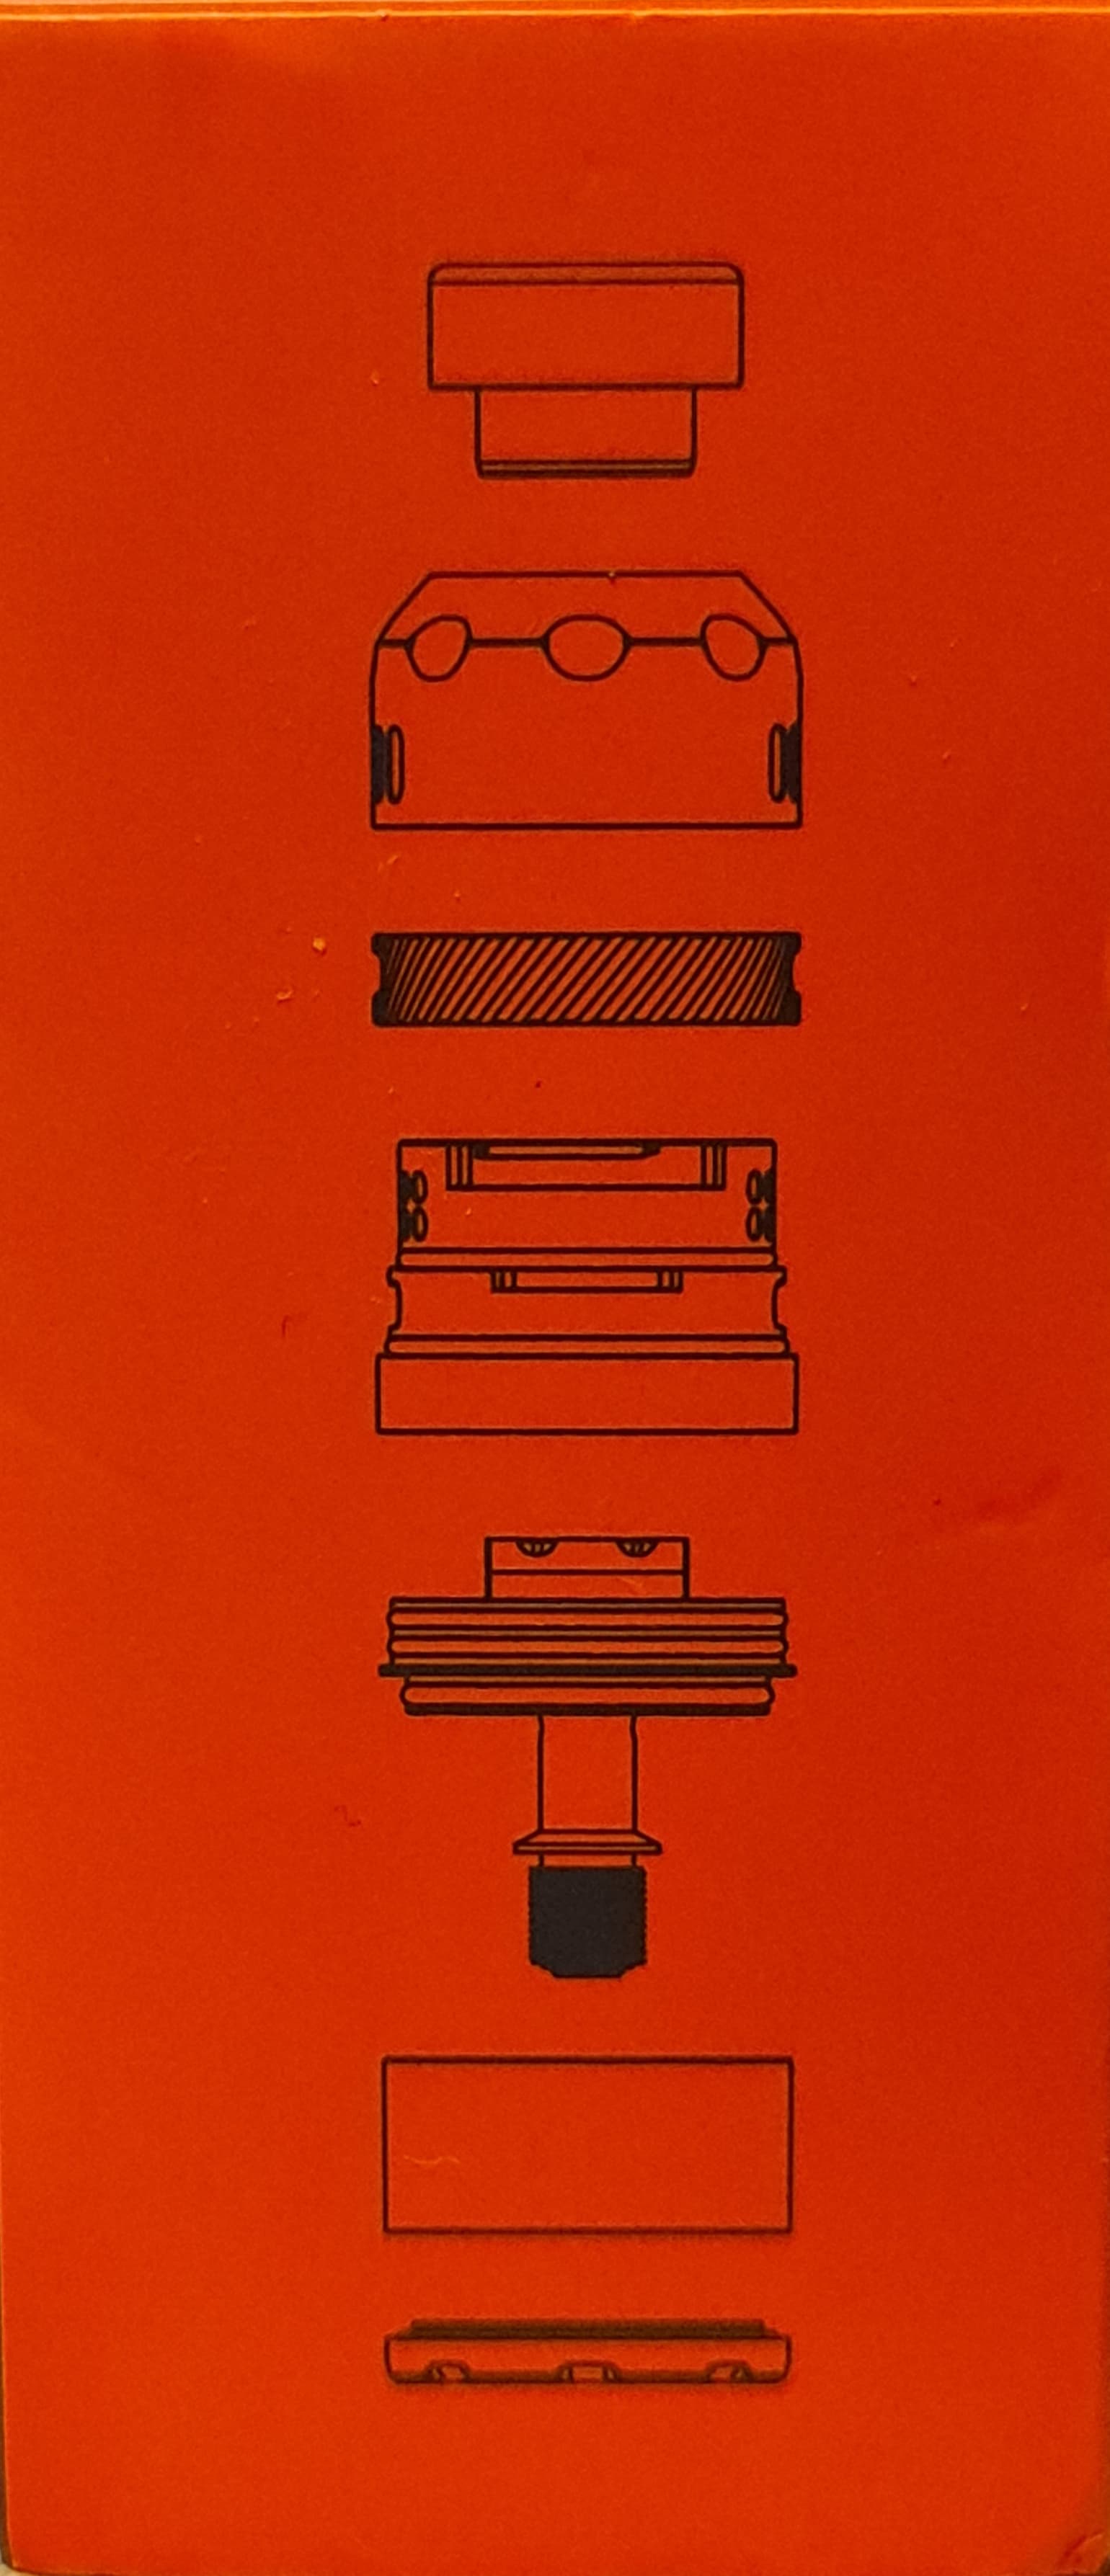
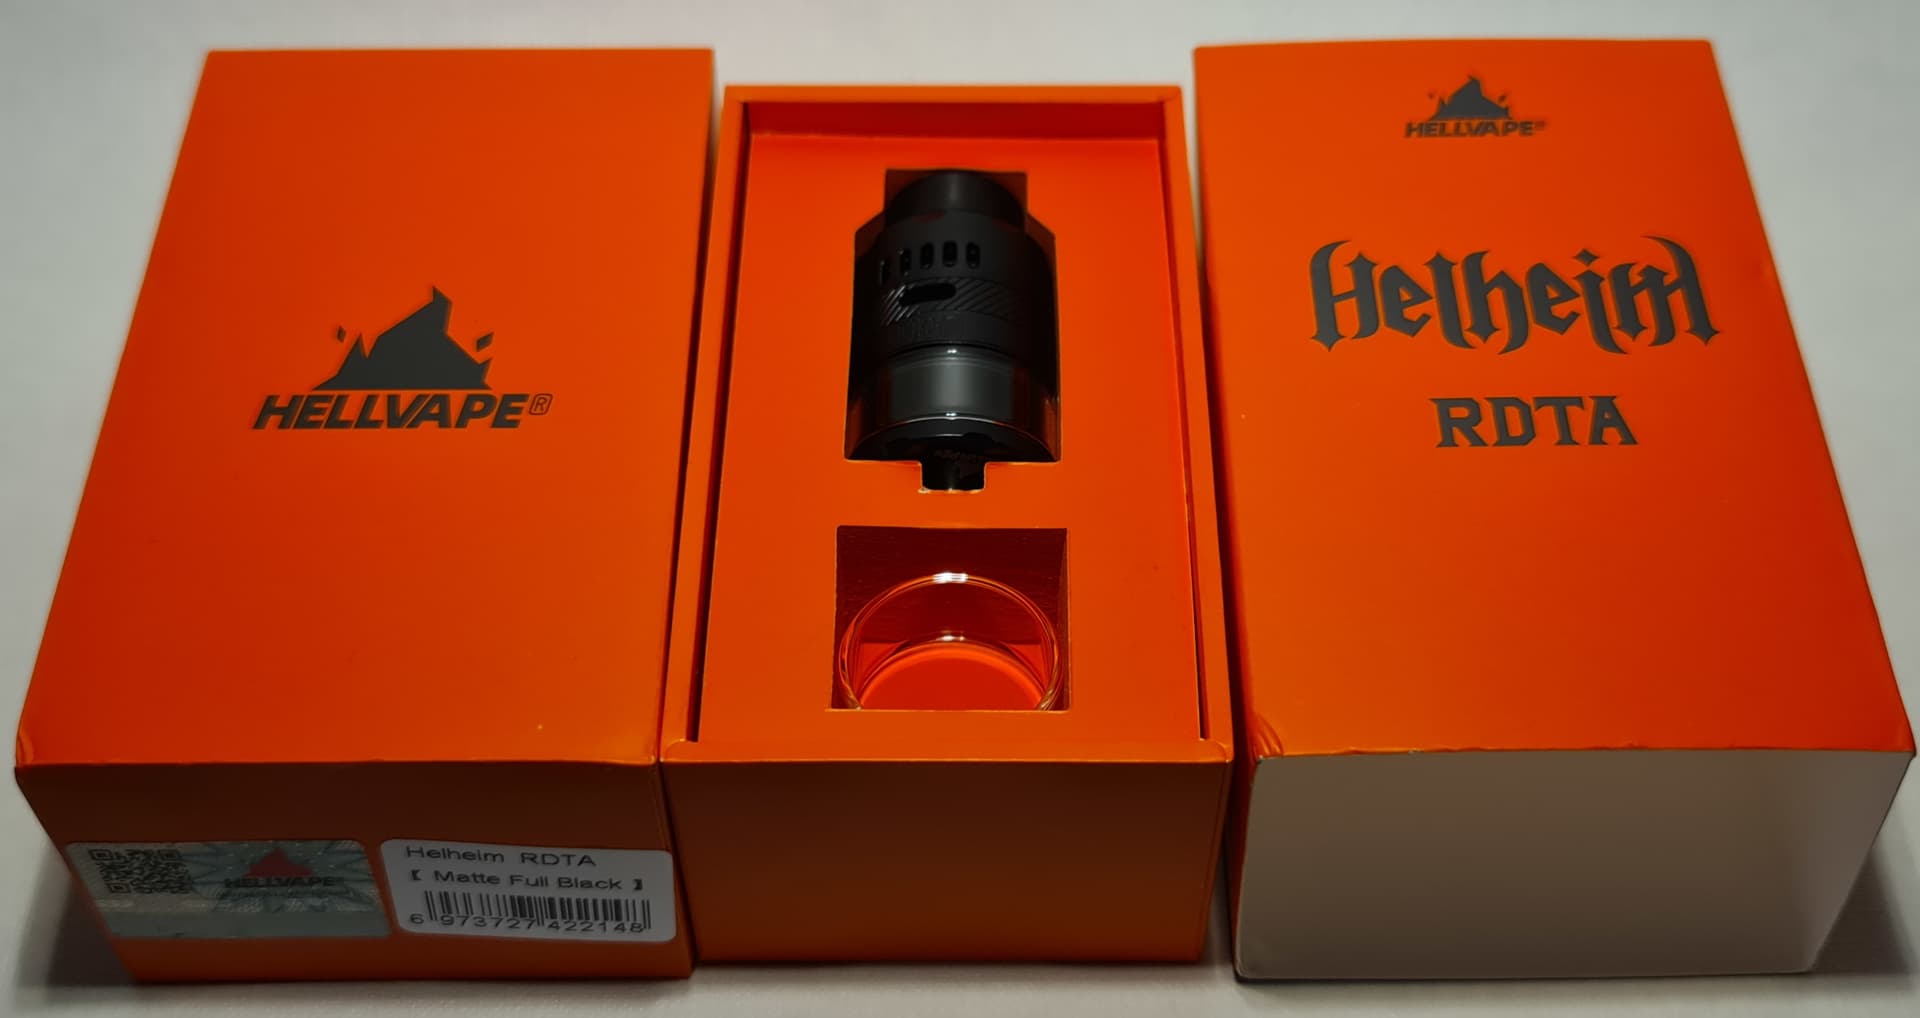
The packaging comprises of an orange outer sleeve which easily slides off of, yep, you guessed it, another orange box. The outer sleeve comprises of the Hellheim branding on the front, a picture of the tank on one side and an exploded view on the other side. On the rear you will find a list of specs and some of the features as well as the usual required safety markings. On the bottom of the box you’ll find a barcode with the model name and included colour, along with a scratch-off authenticity sticker:

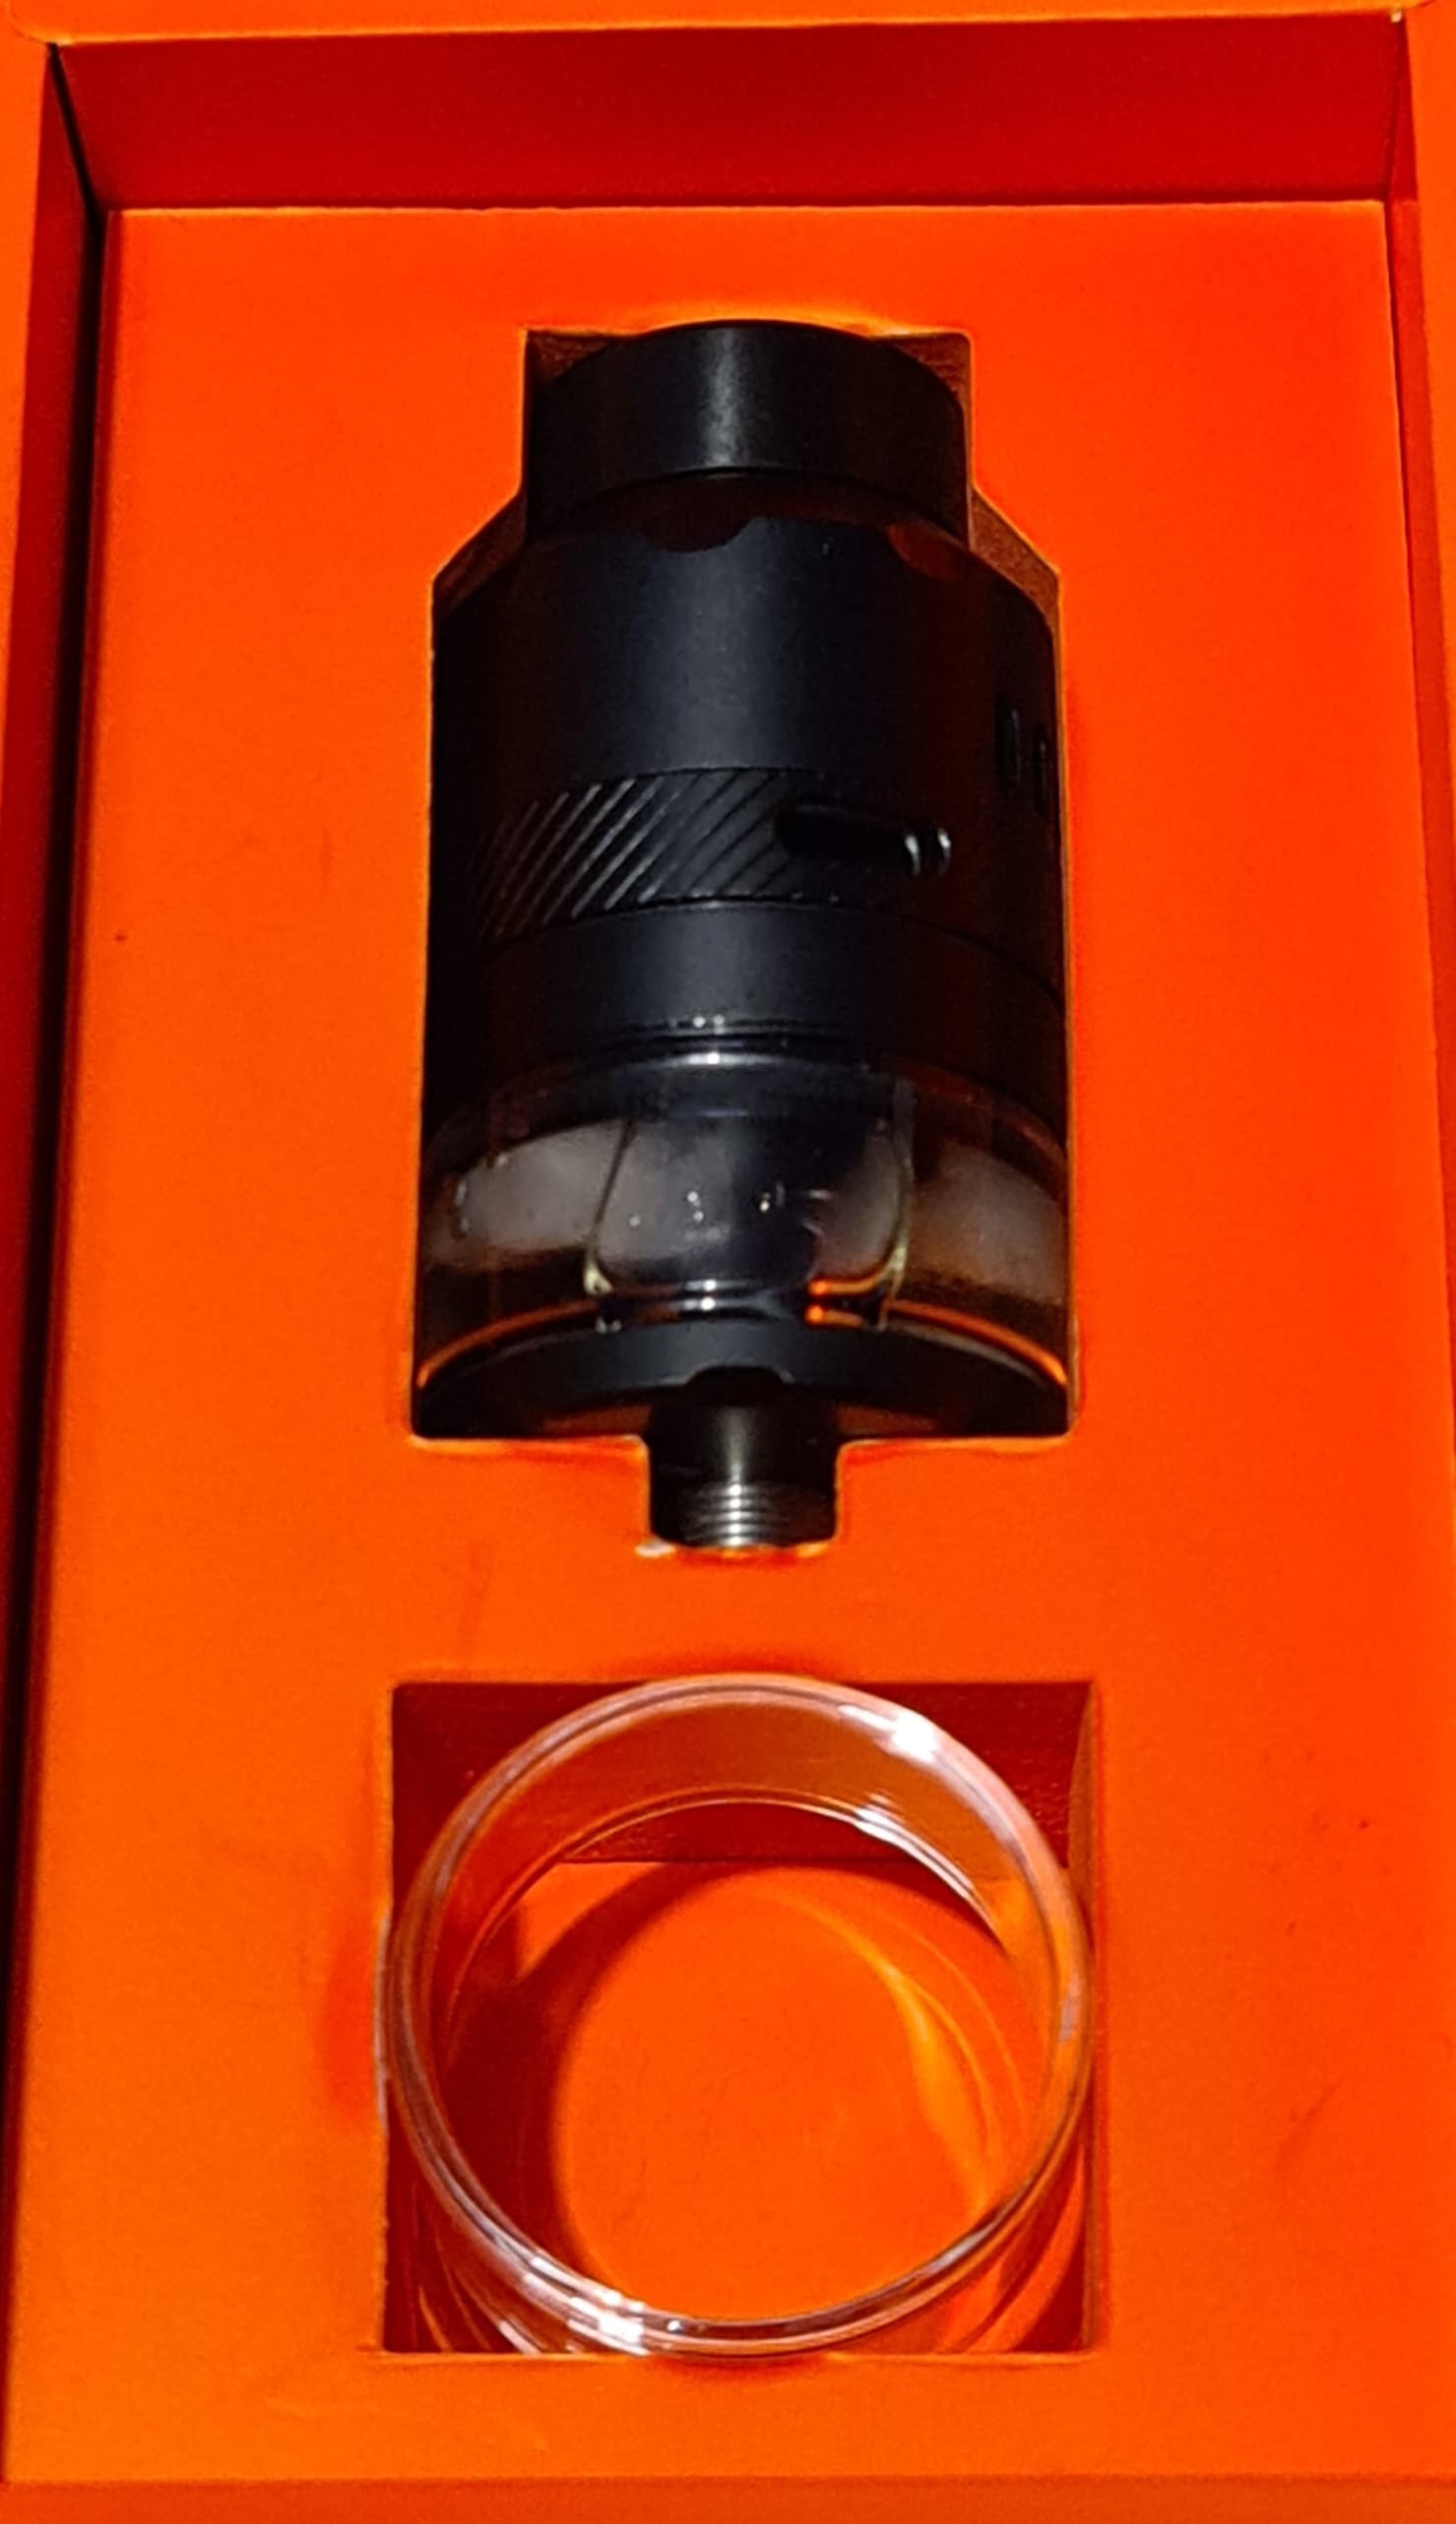
Once you slide off the outer sleeve, you will find the inner box, which opens like a regular box but has no thumb notches to hold onto the lower half with, so requires a little shaking about for the bottom to slide out. Upon opening this inner box, you will find the Hellvape Hellheim RDTA along with the spare straight 4.5ml glass:
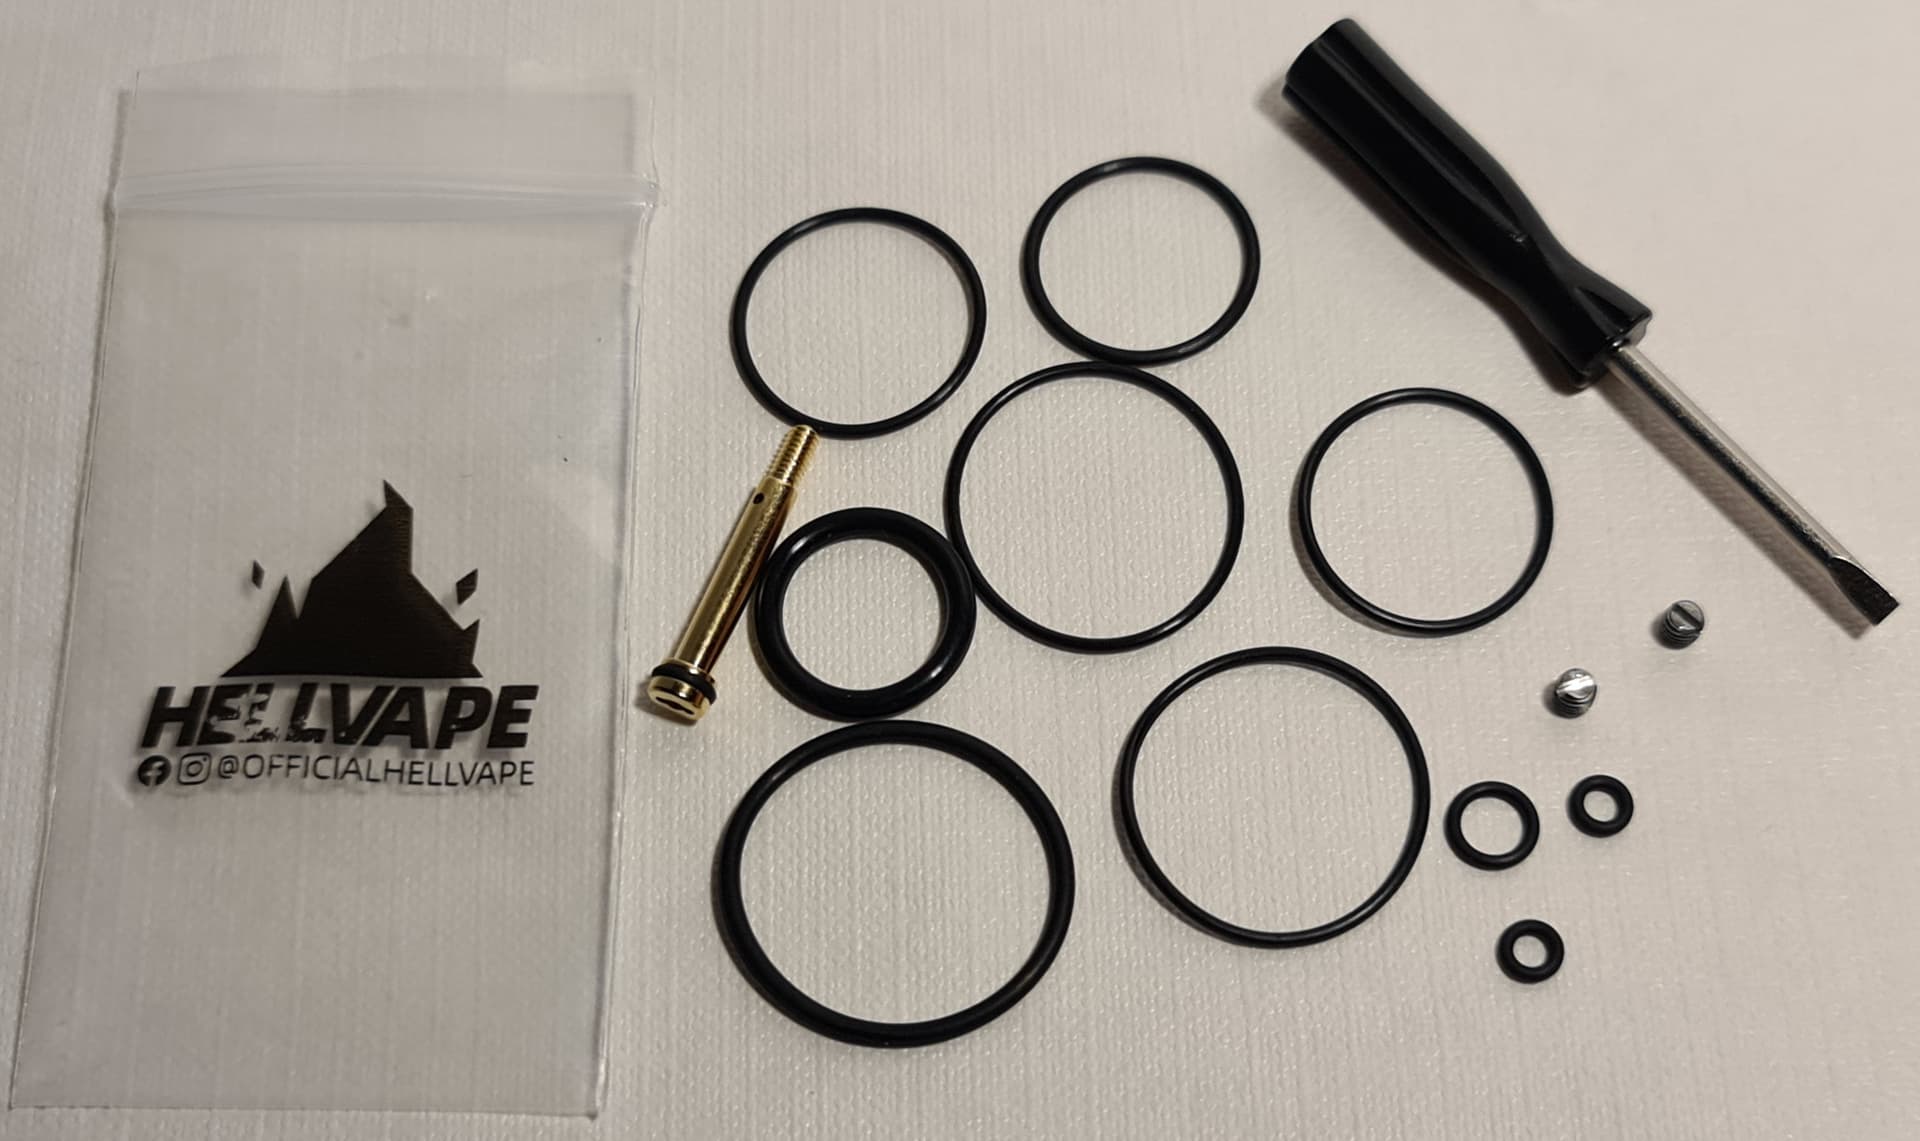
Removing the tank, spare glass and the orange (obviously!) cardboard covered foam, you’ll find the included user manual, spare o-rings, 2 spare grub screws, gold plated BF pin, coil cutting tool and the required parts to get cracking with your first build:
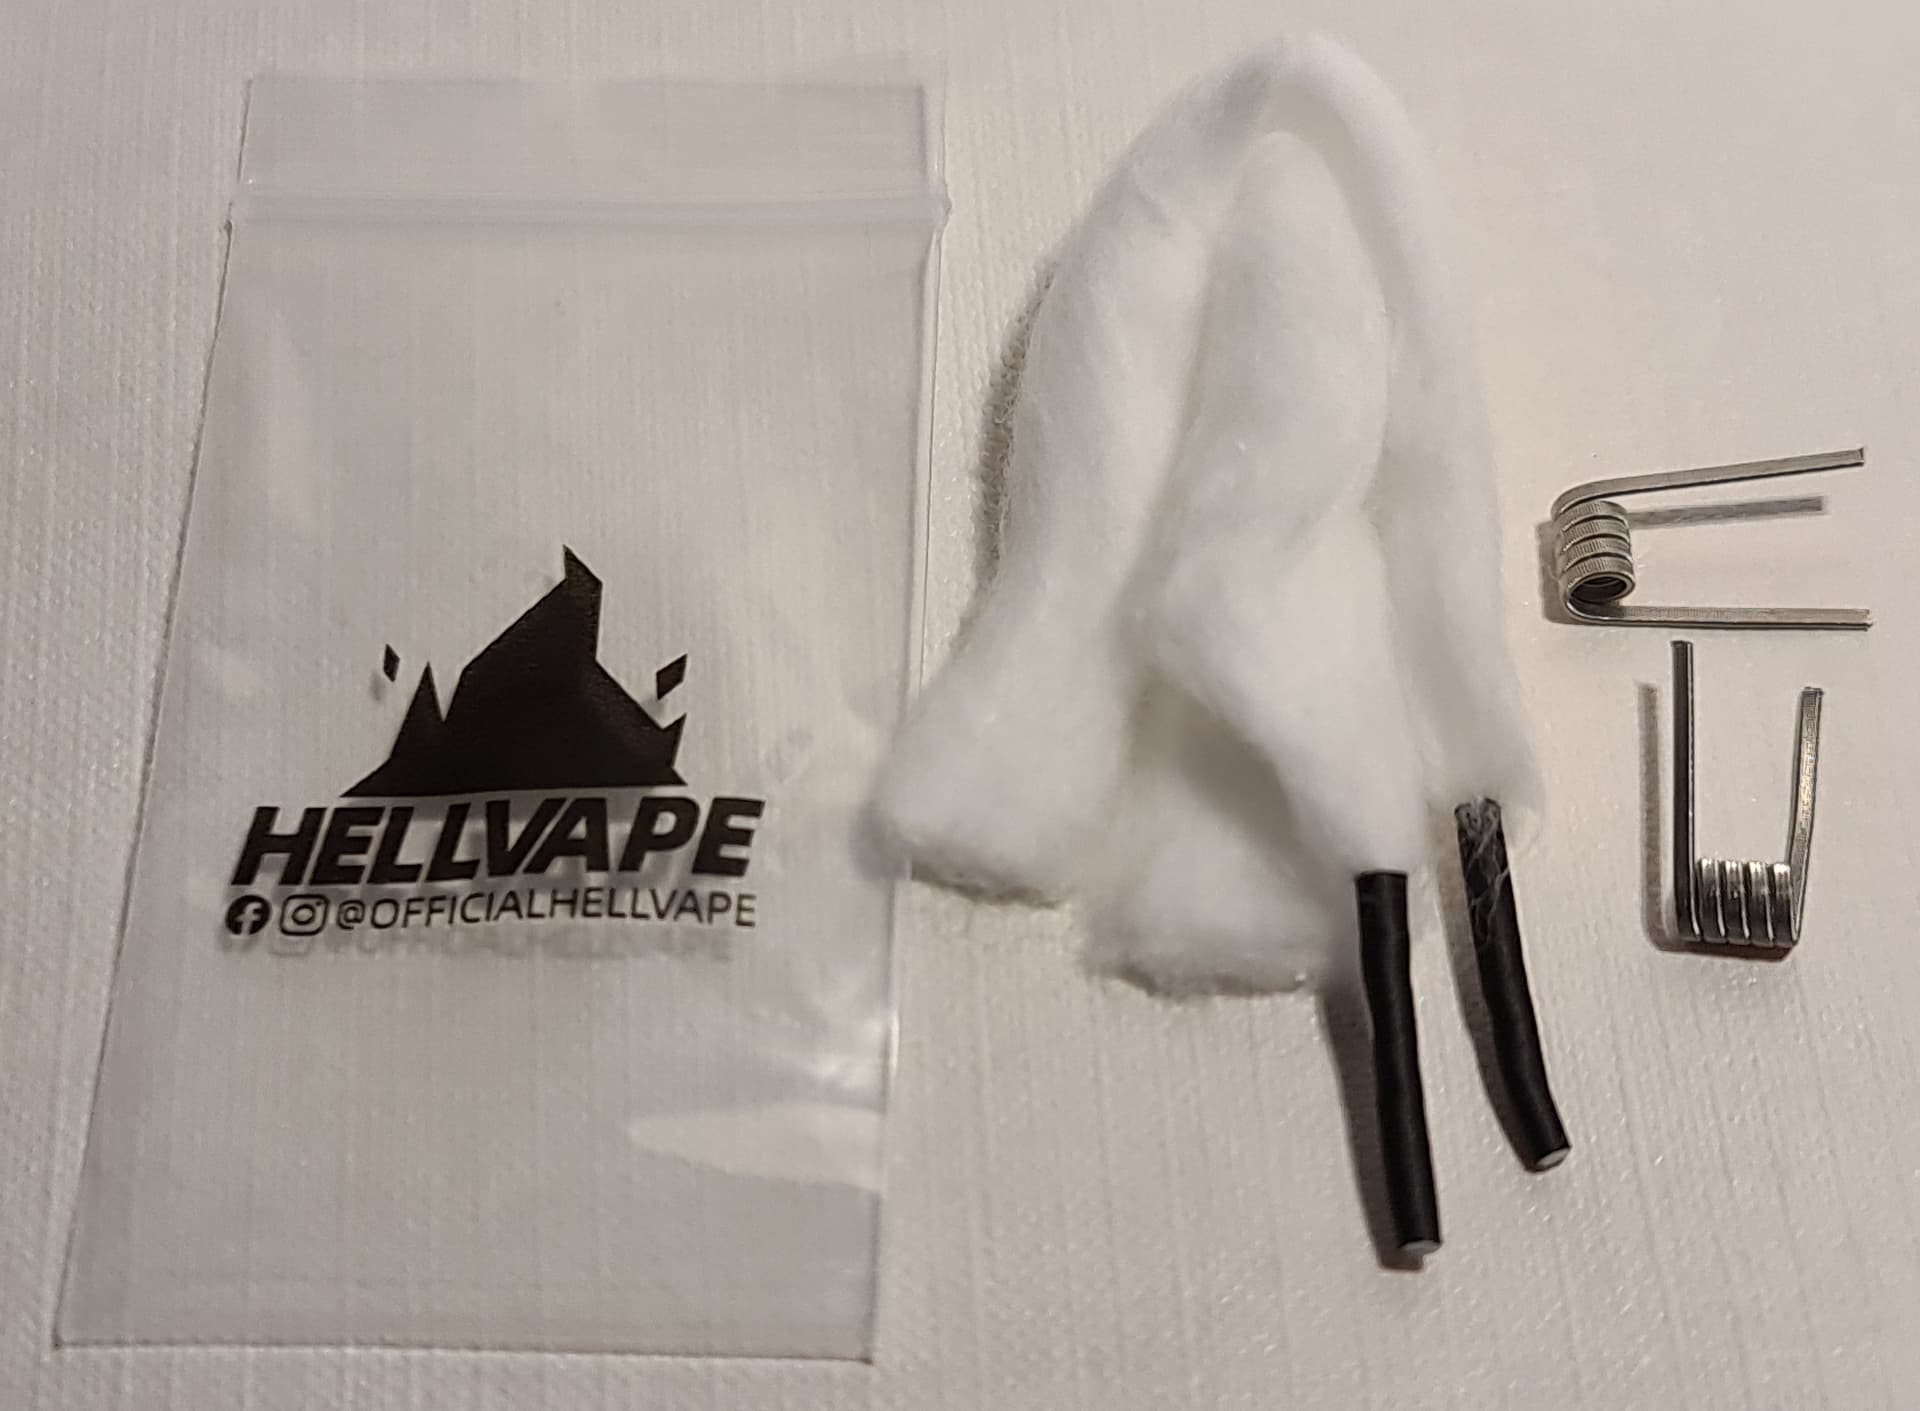
There is no information about the included coils other than the fact that they are Ni80 and 0.37ohms each.
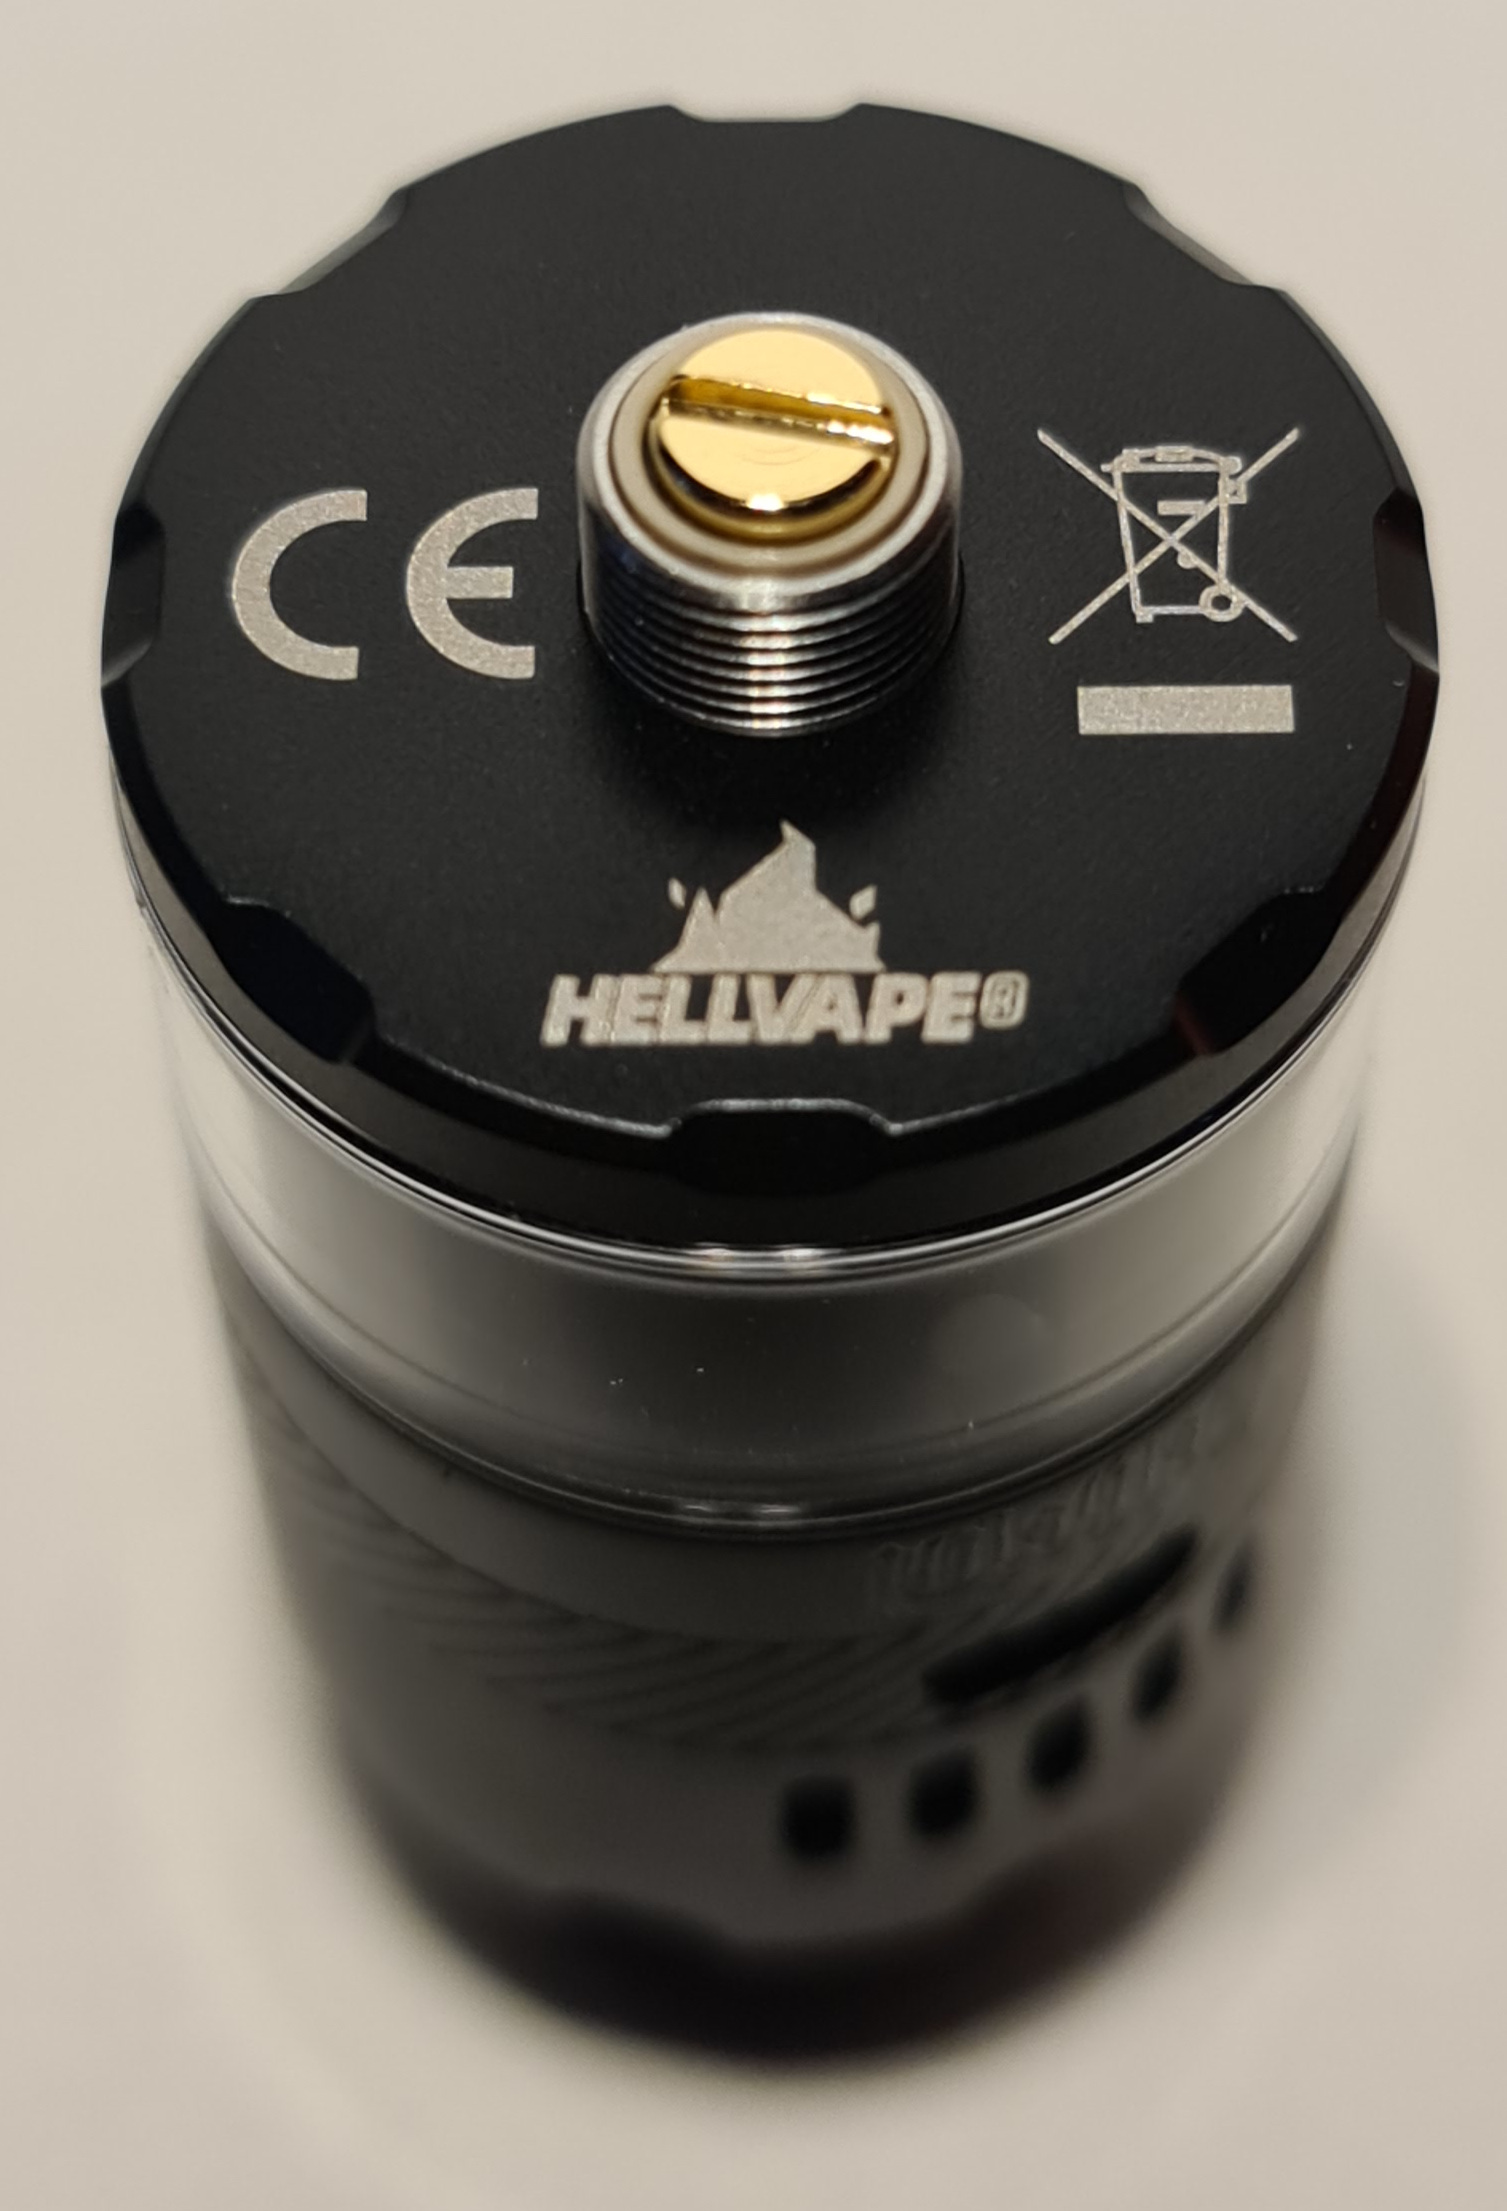
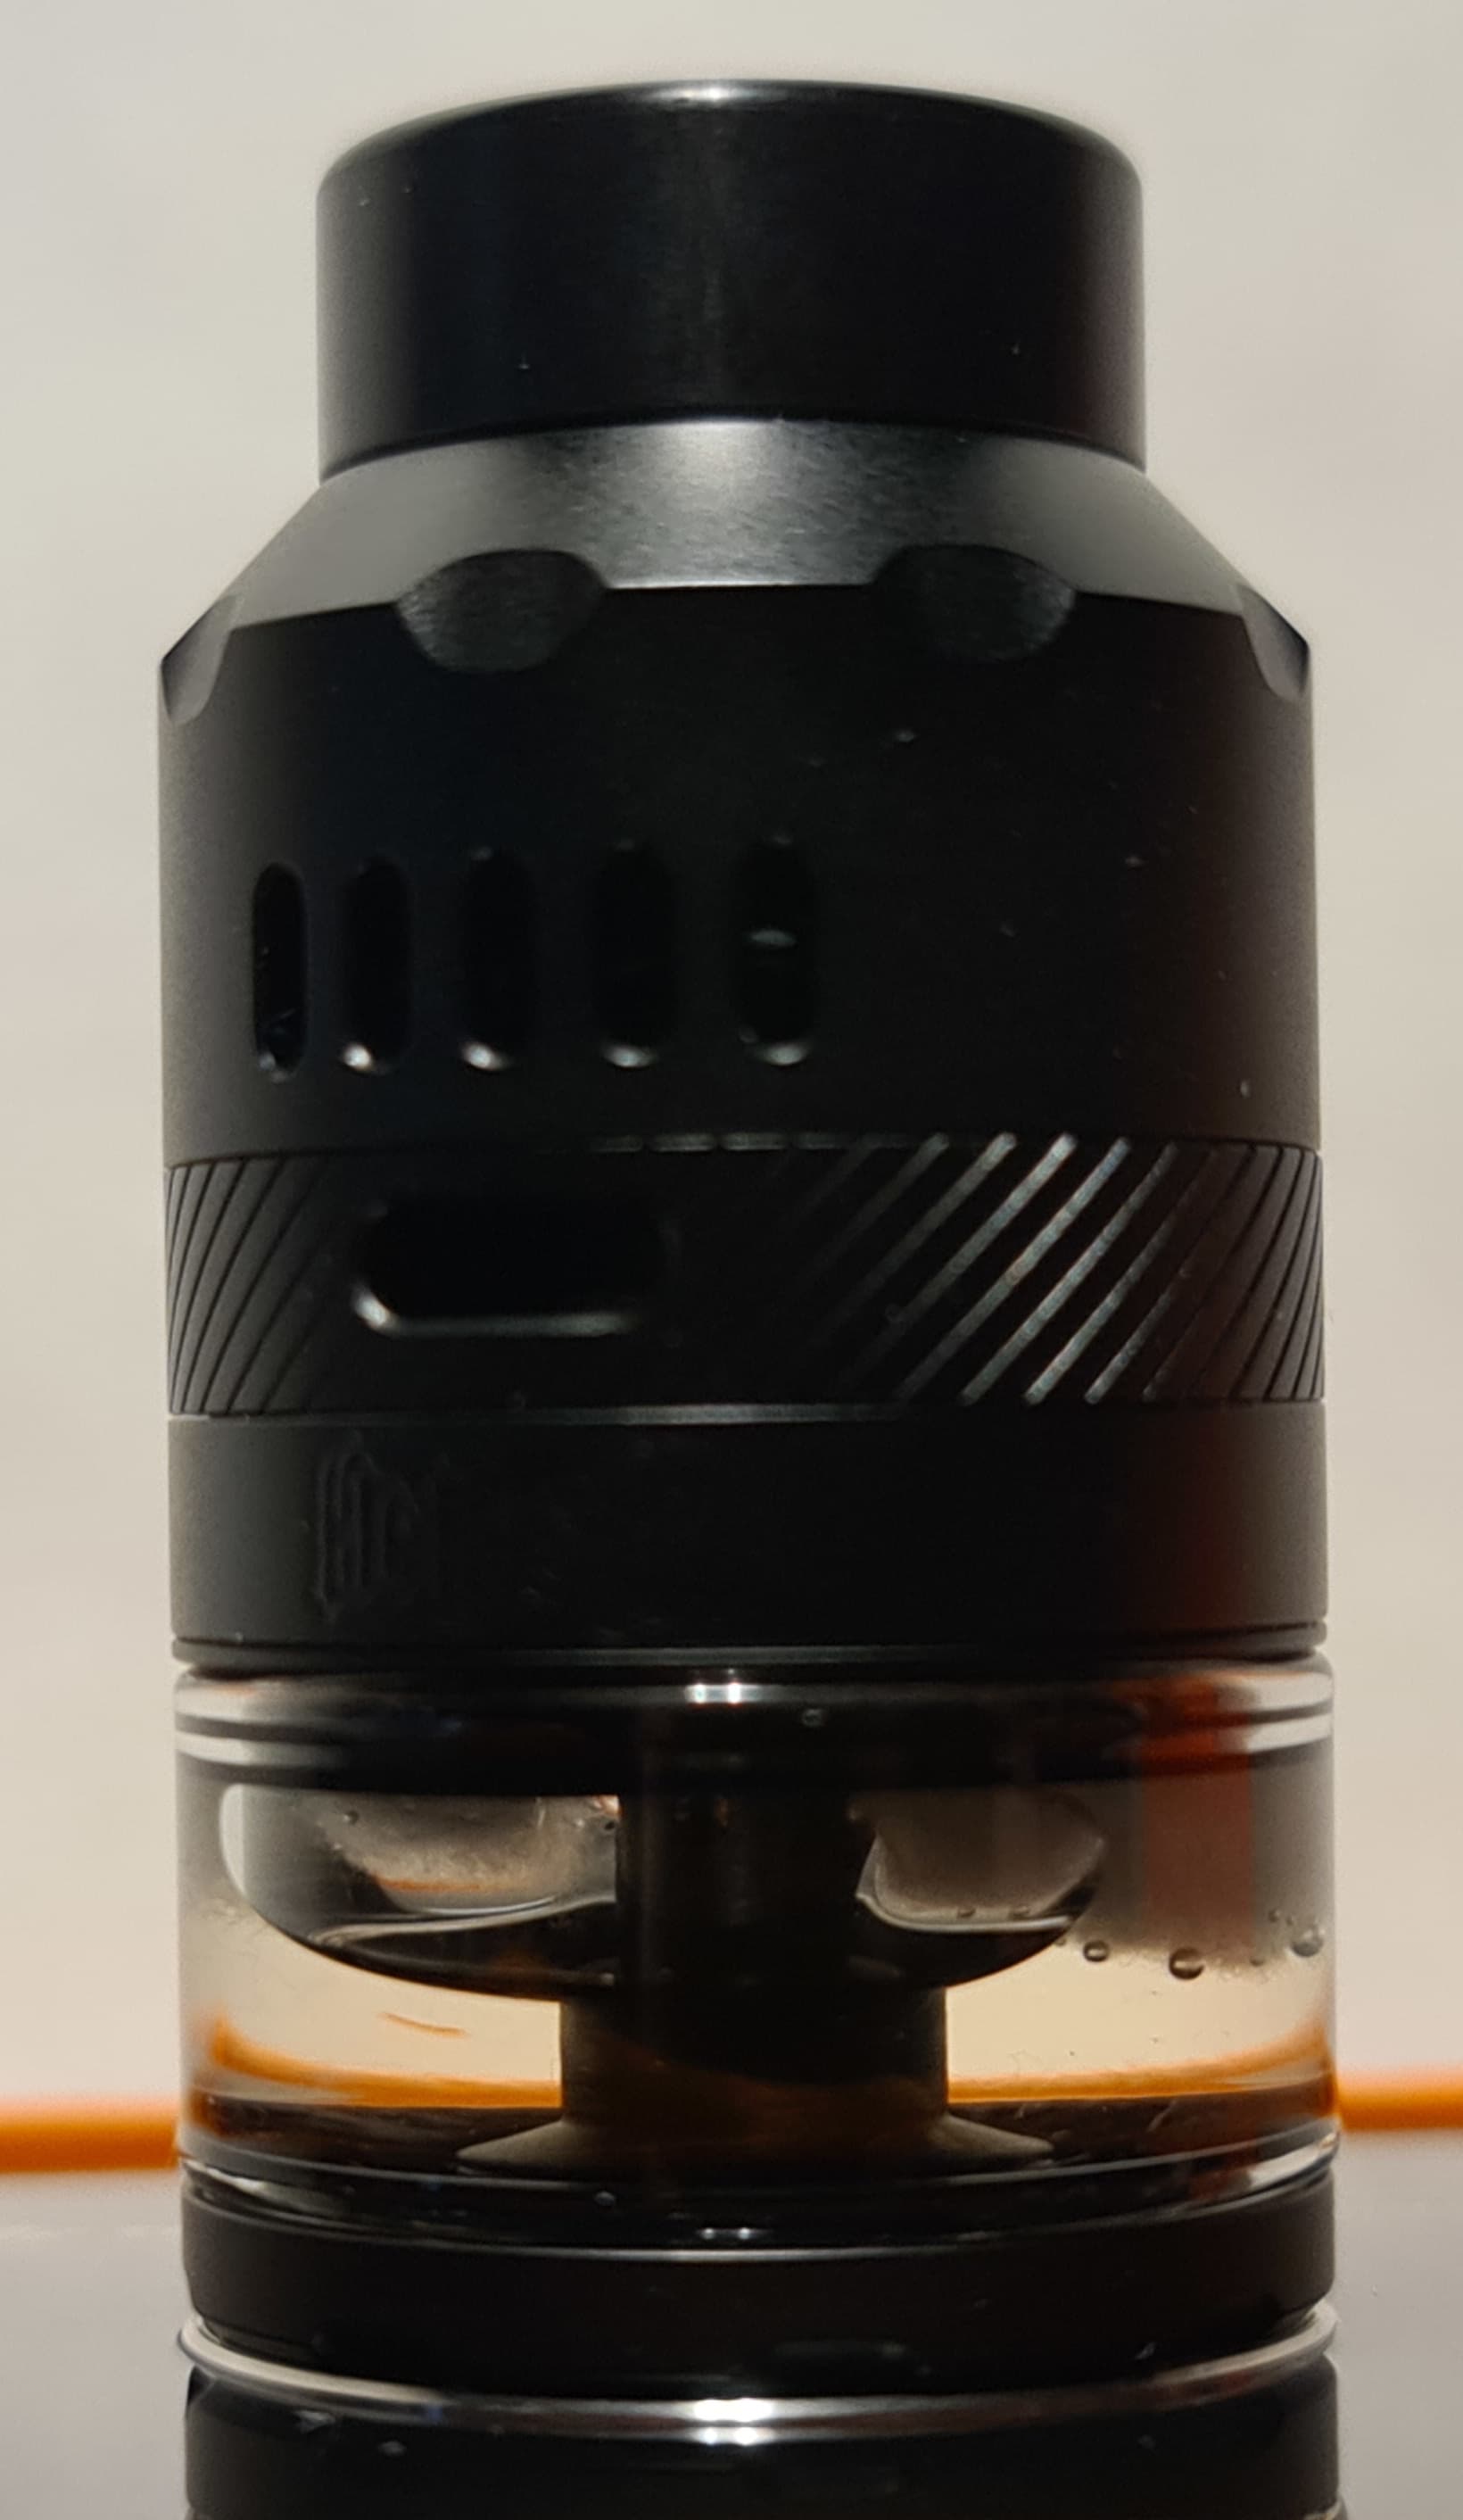
I was sent the Full Matte Black version ![]() On the base you will see the Hellvape logo and the usual safety markings. On one side you’ll find the name of the tank, Hellheim, etched into the tank just below the lower airflow control ring.
On the base you will see the Hellvape logo and the usual safety markings. On one side you’ll find the name of the tank, Hellheim, etched into the tank just below the lower airflow control ring.
Let’s take a closer look:
The tank is very easy to strip down. Just pull off the top cap, pull off the drip tip and slide off the lower airflow control ring. The only part that needs screwing off is the base. Once this is done, the glass and build deck will come free:
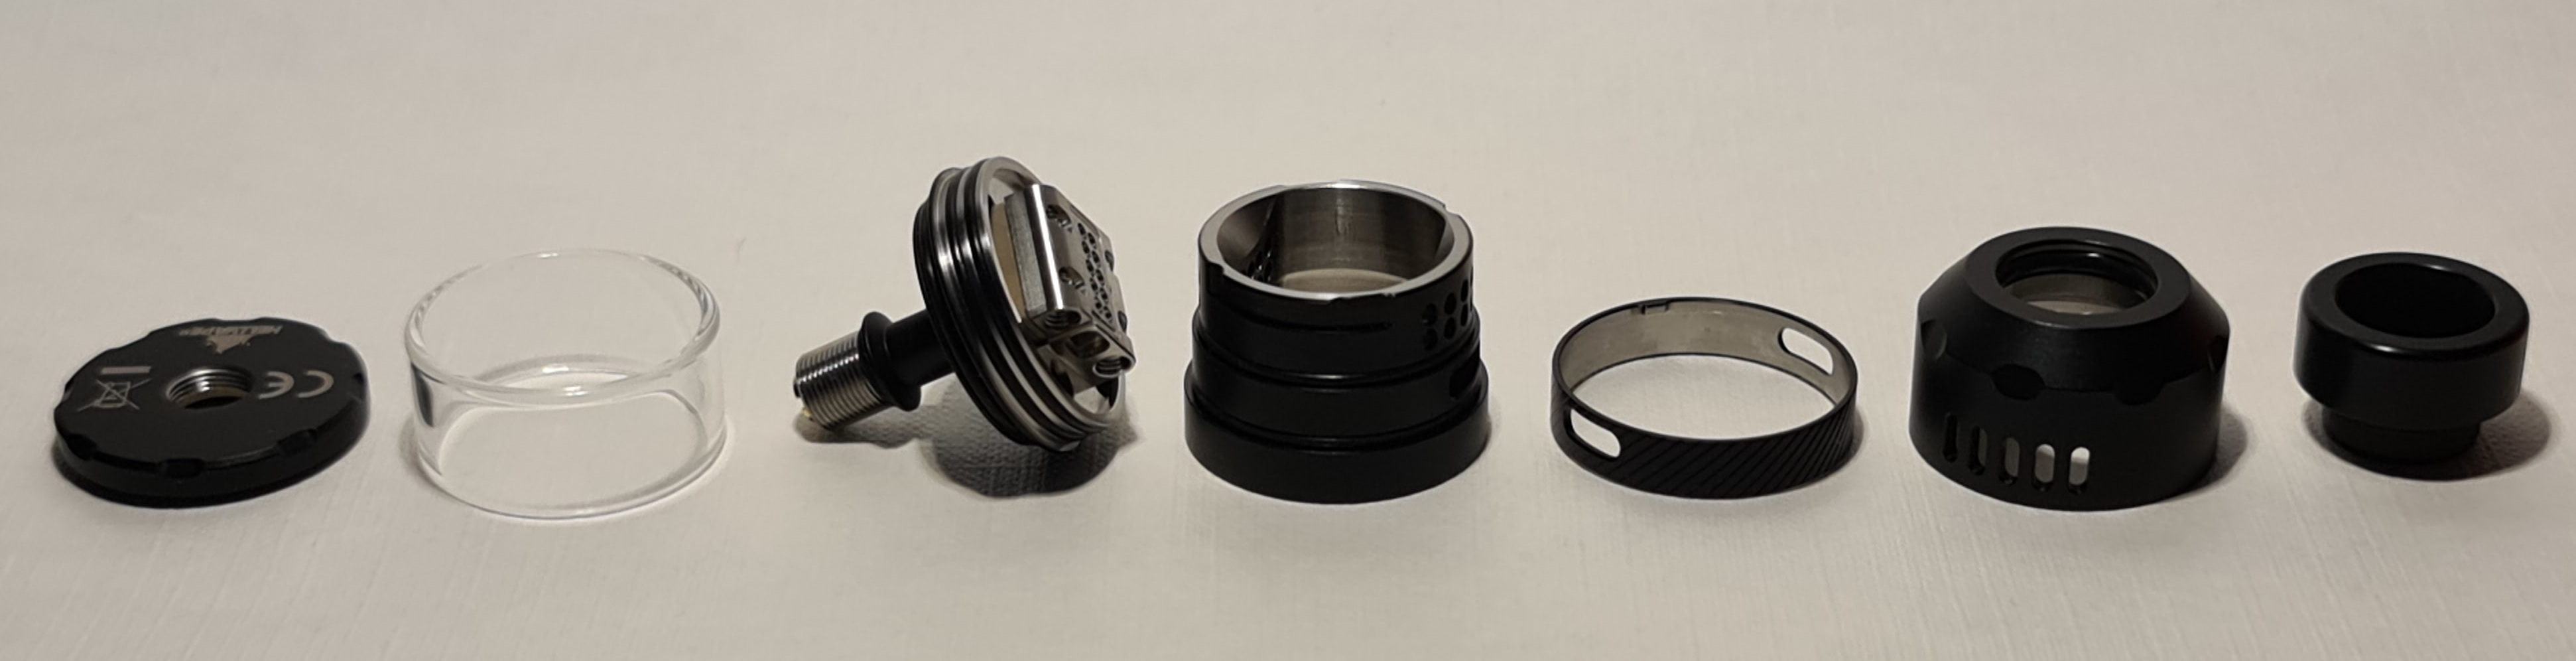
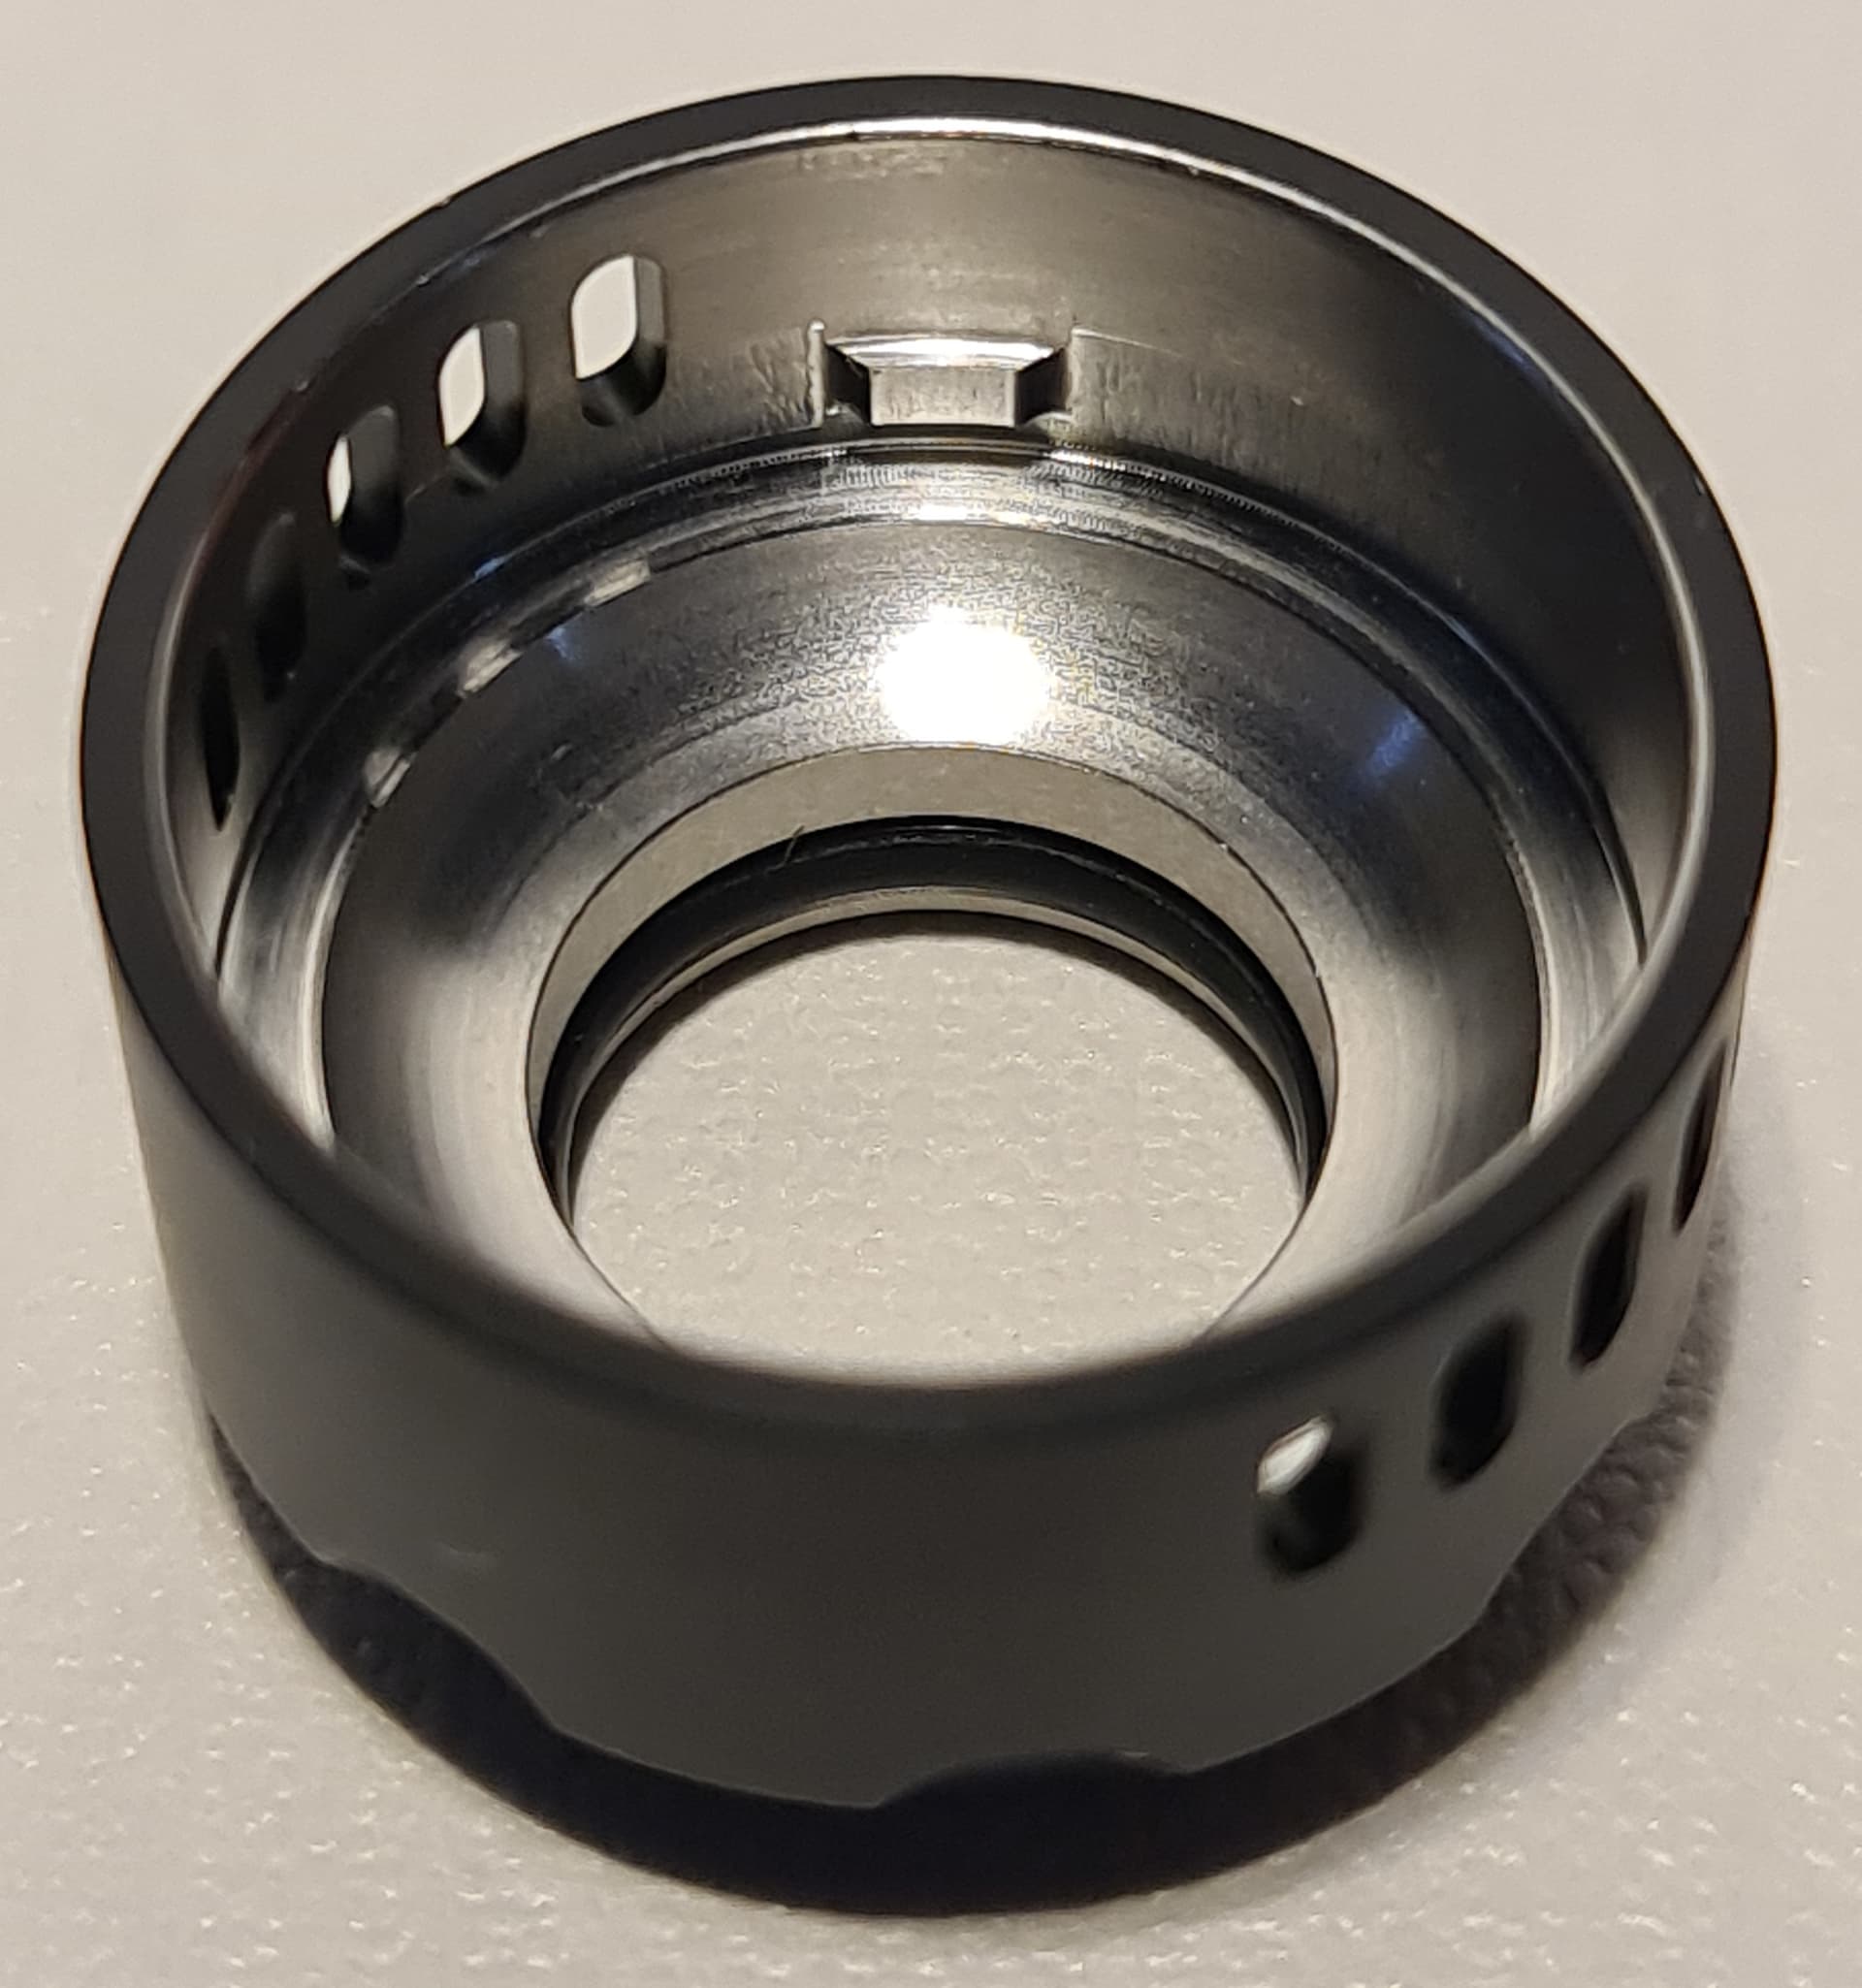
The lower airflow control ring has a small tab sticking out on the inside, which needs lining up with a notch on the inside of the main unit to be able to fit it back on and limit its turning so it doesn’t spin all the way around. The top cap, which doubles up as the airflow control ring for the side airflow, also fit on in this way, with 2 notches on the inside which need lining up to replace it and also to remove it:

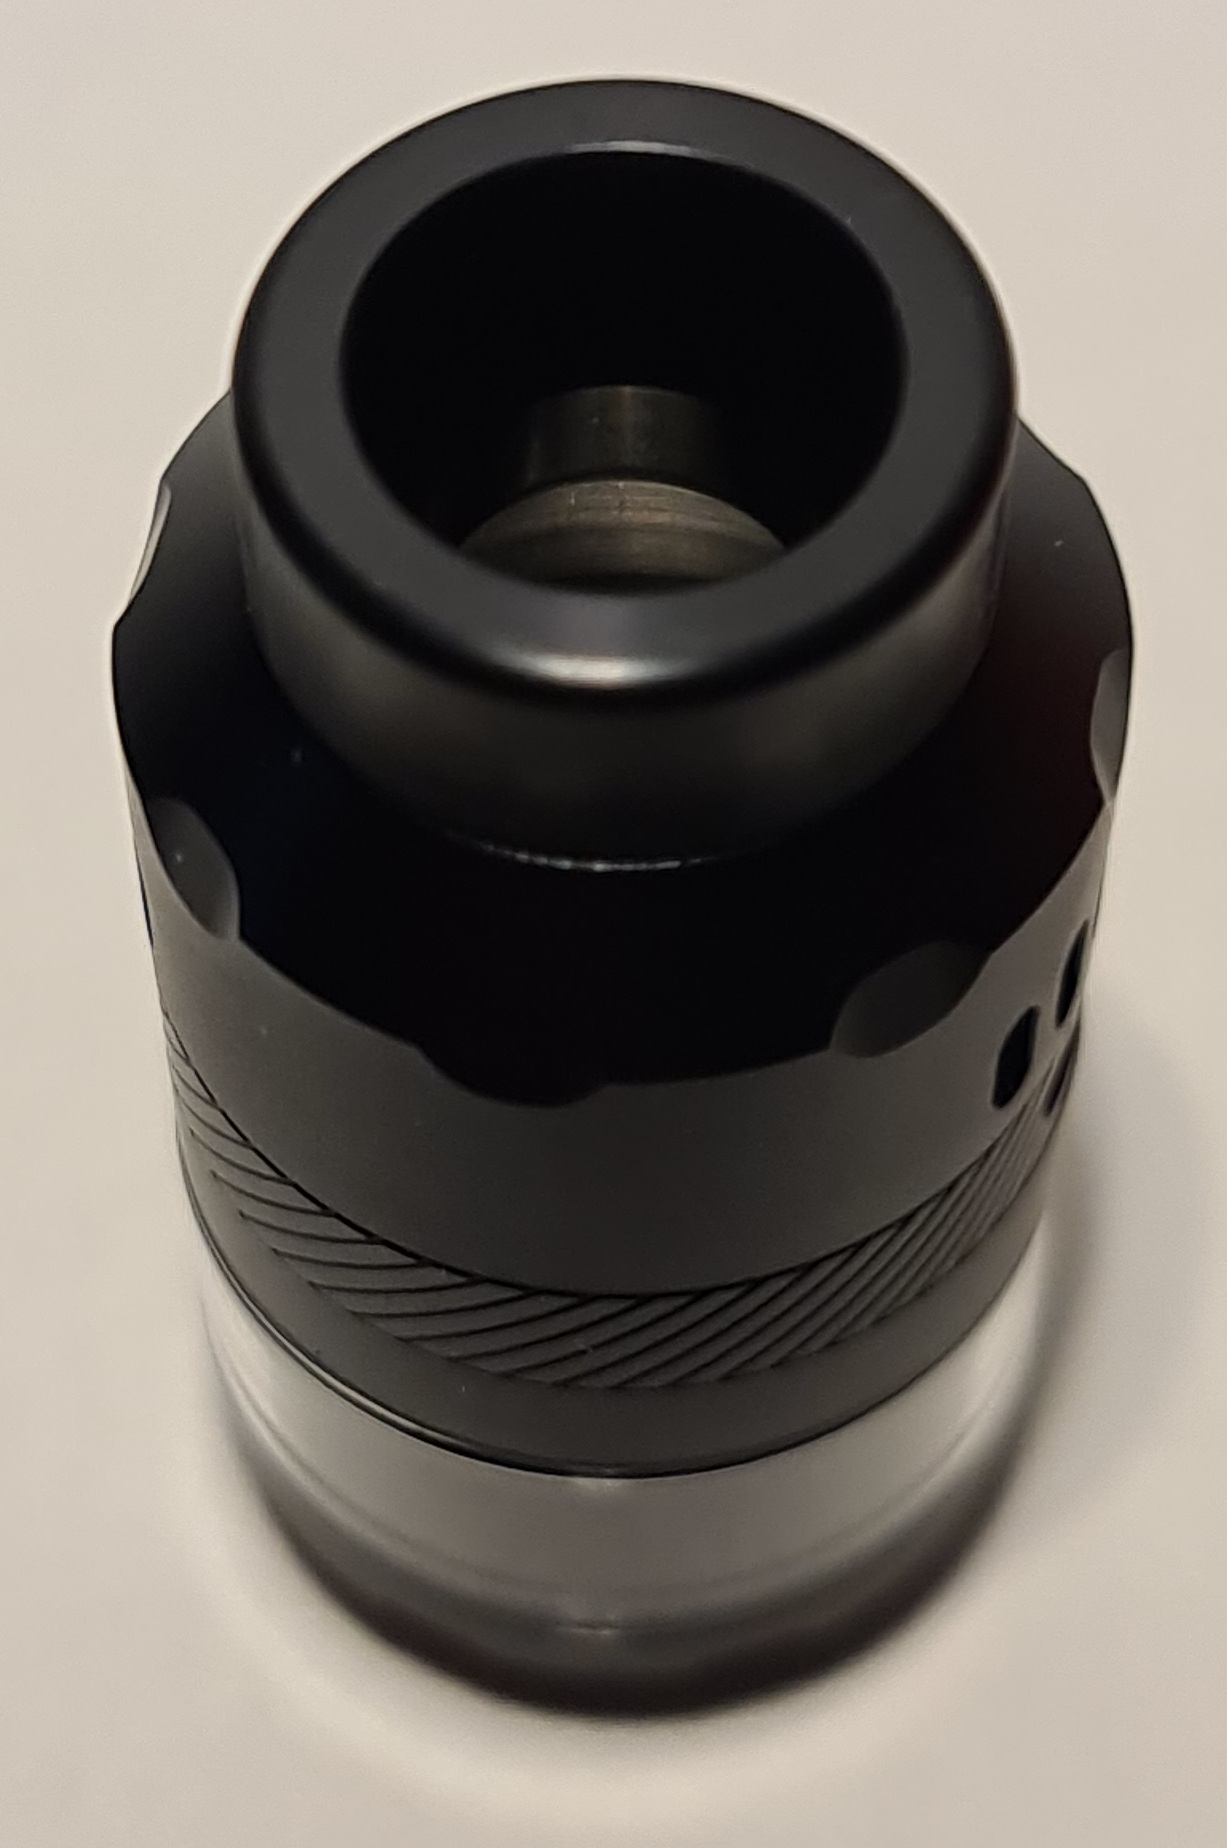
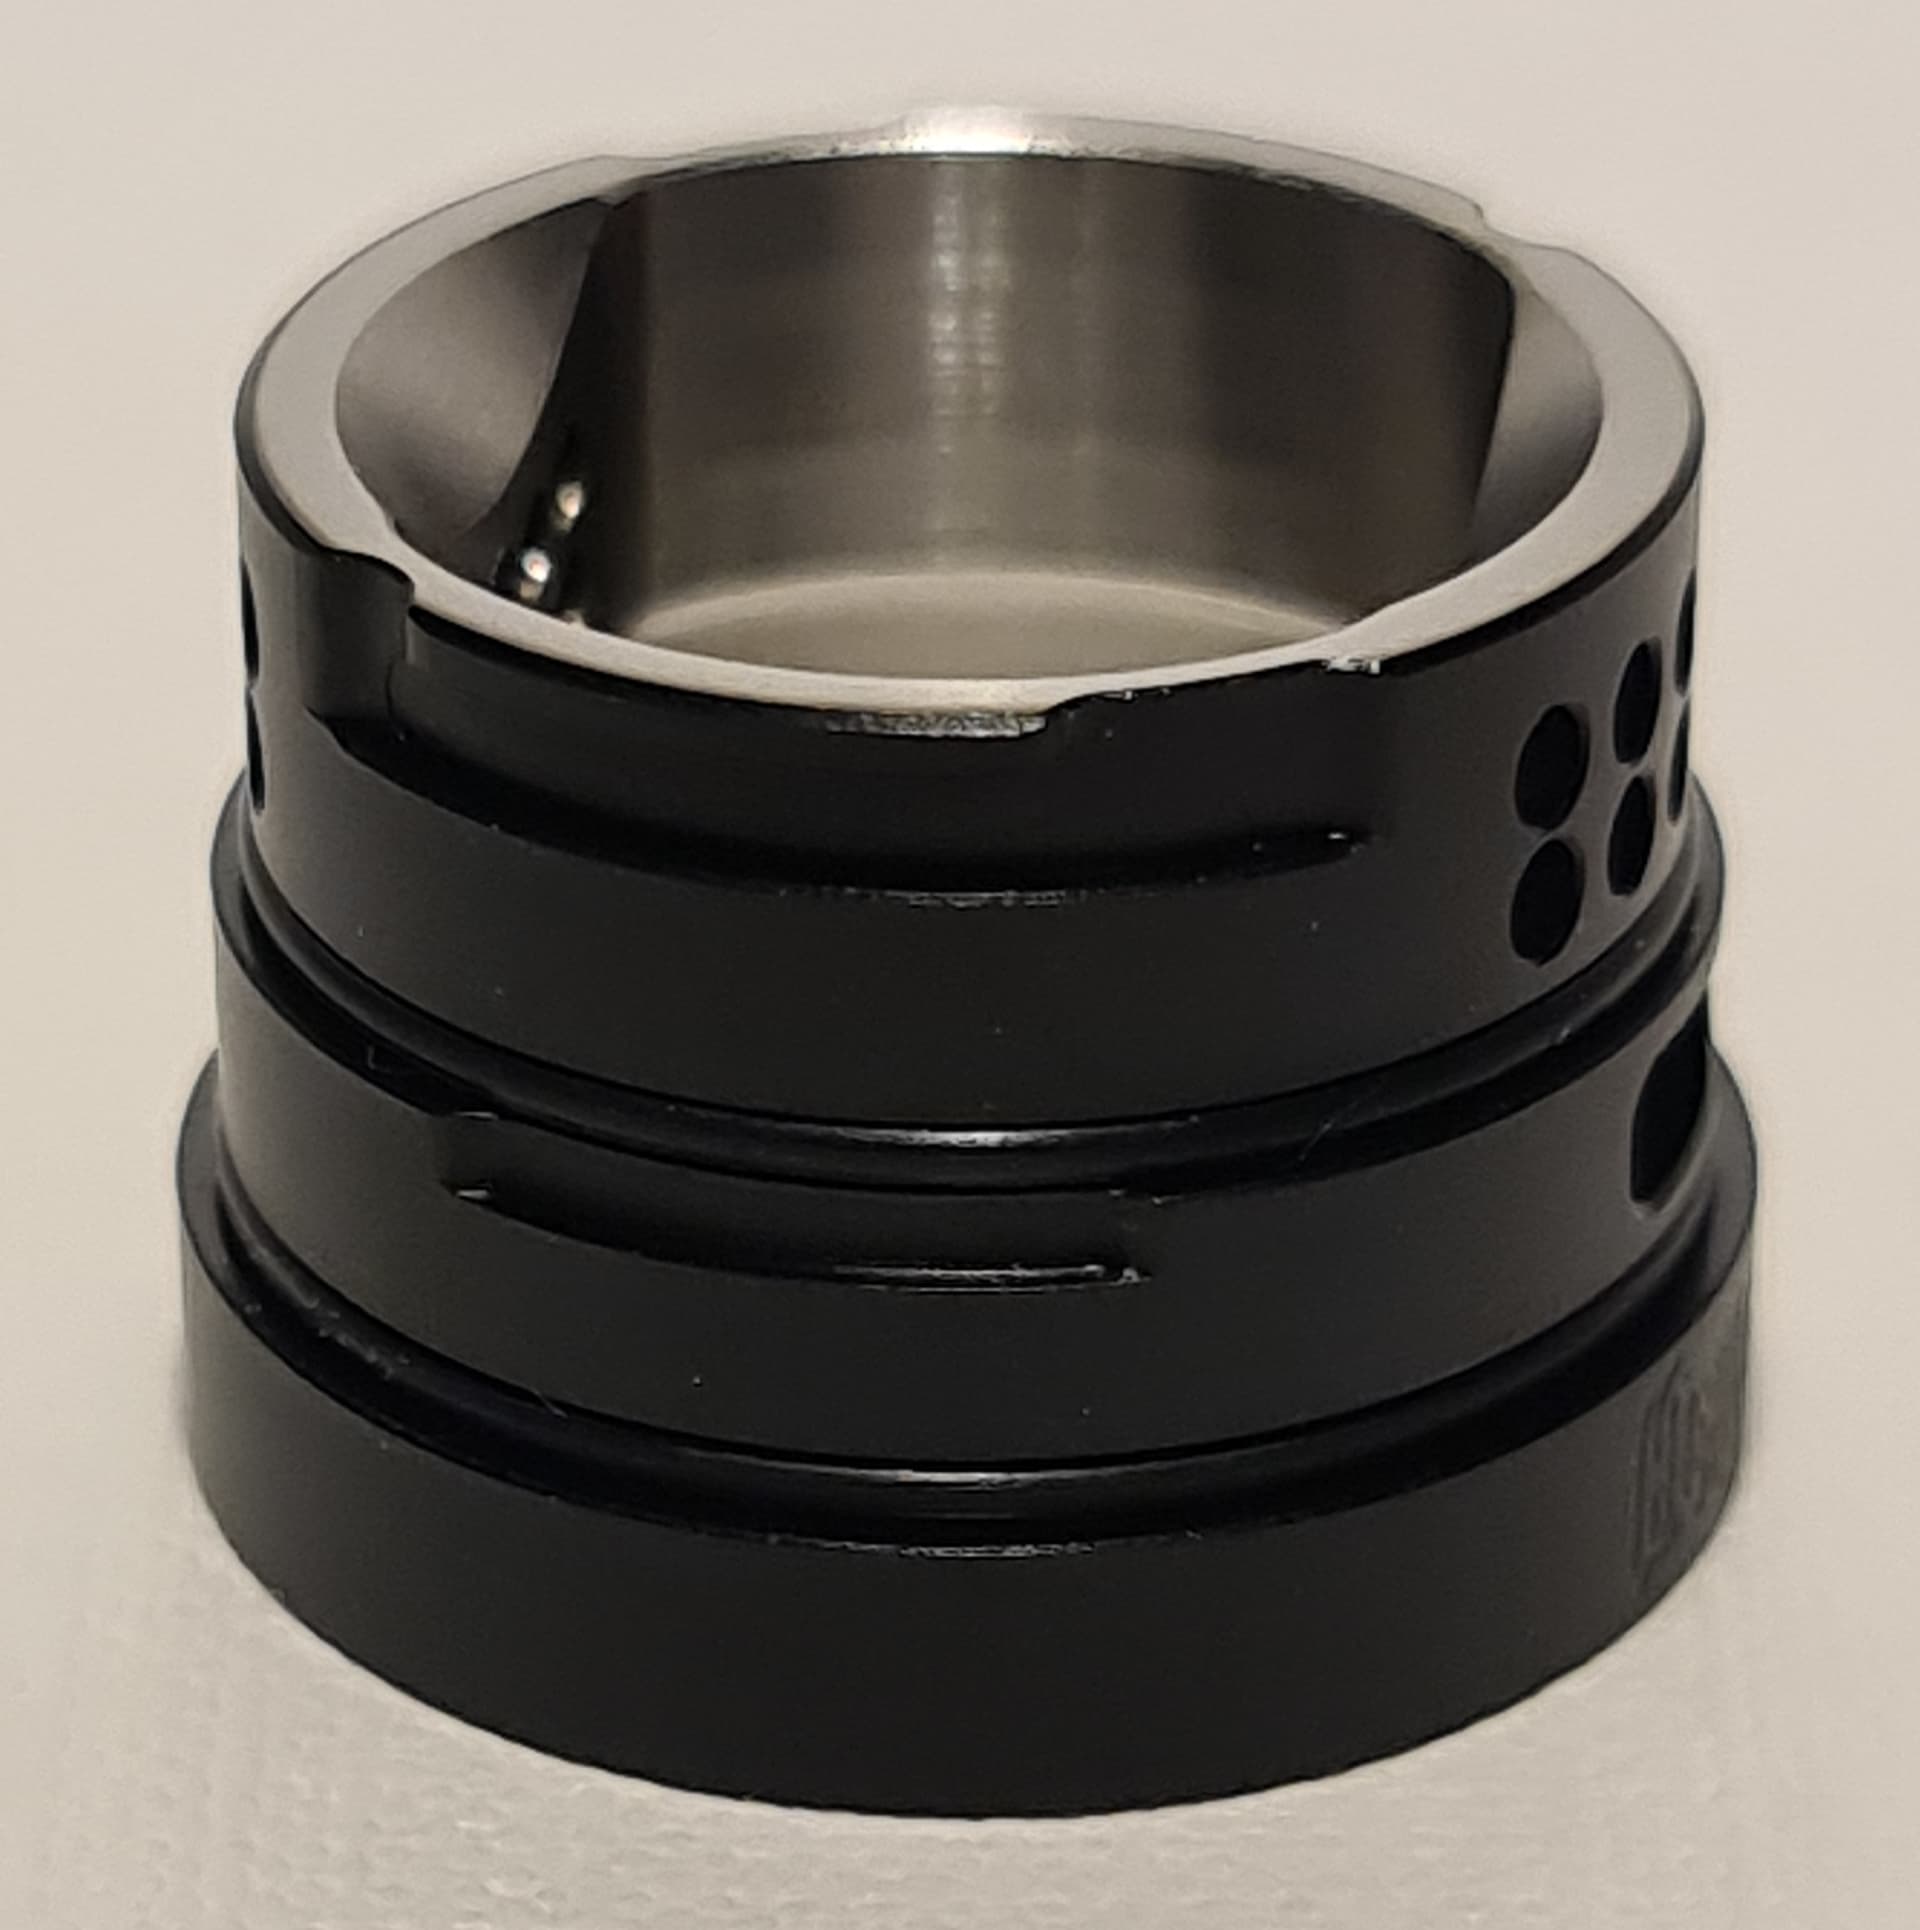
You can see the upper and lower grooves which the airflow control rings fit into in the below pic:
With the top cap and airflow rings all put together, to access the build deck it’s a very simple matter of just pulling it off. The 2 juice filling ports on the lower part of the build deck double up to hold the top cap on there when it’s pushed on. This makes for super easy access and very easy and convenient coil or wick adjustments or refits. The top fits very snugly into these holes with pegs that protrude from inside the top section. There is no movement whatsoever once it is in place and unless your mod weighs a ton and you pick it up by the top half of the tank and shake it about, there’s literally no chance of it coming apart by accident. It’s very well designed and thought out and works very well:
Lets get down and dirty with the build then!
Build deck, with tank and base attached, screwed onto my ohm reader (thanks @Grubby)
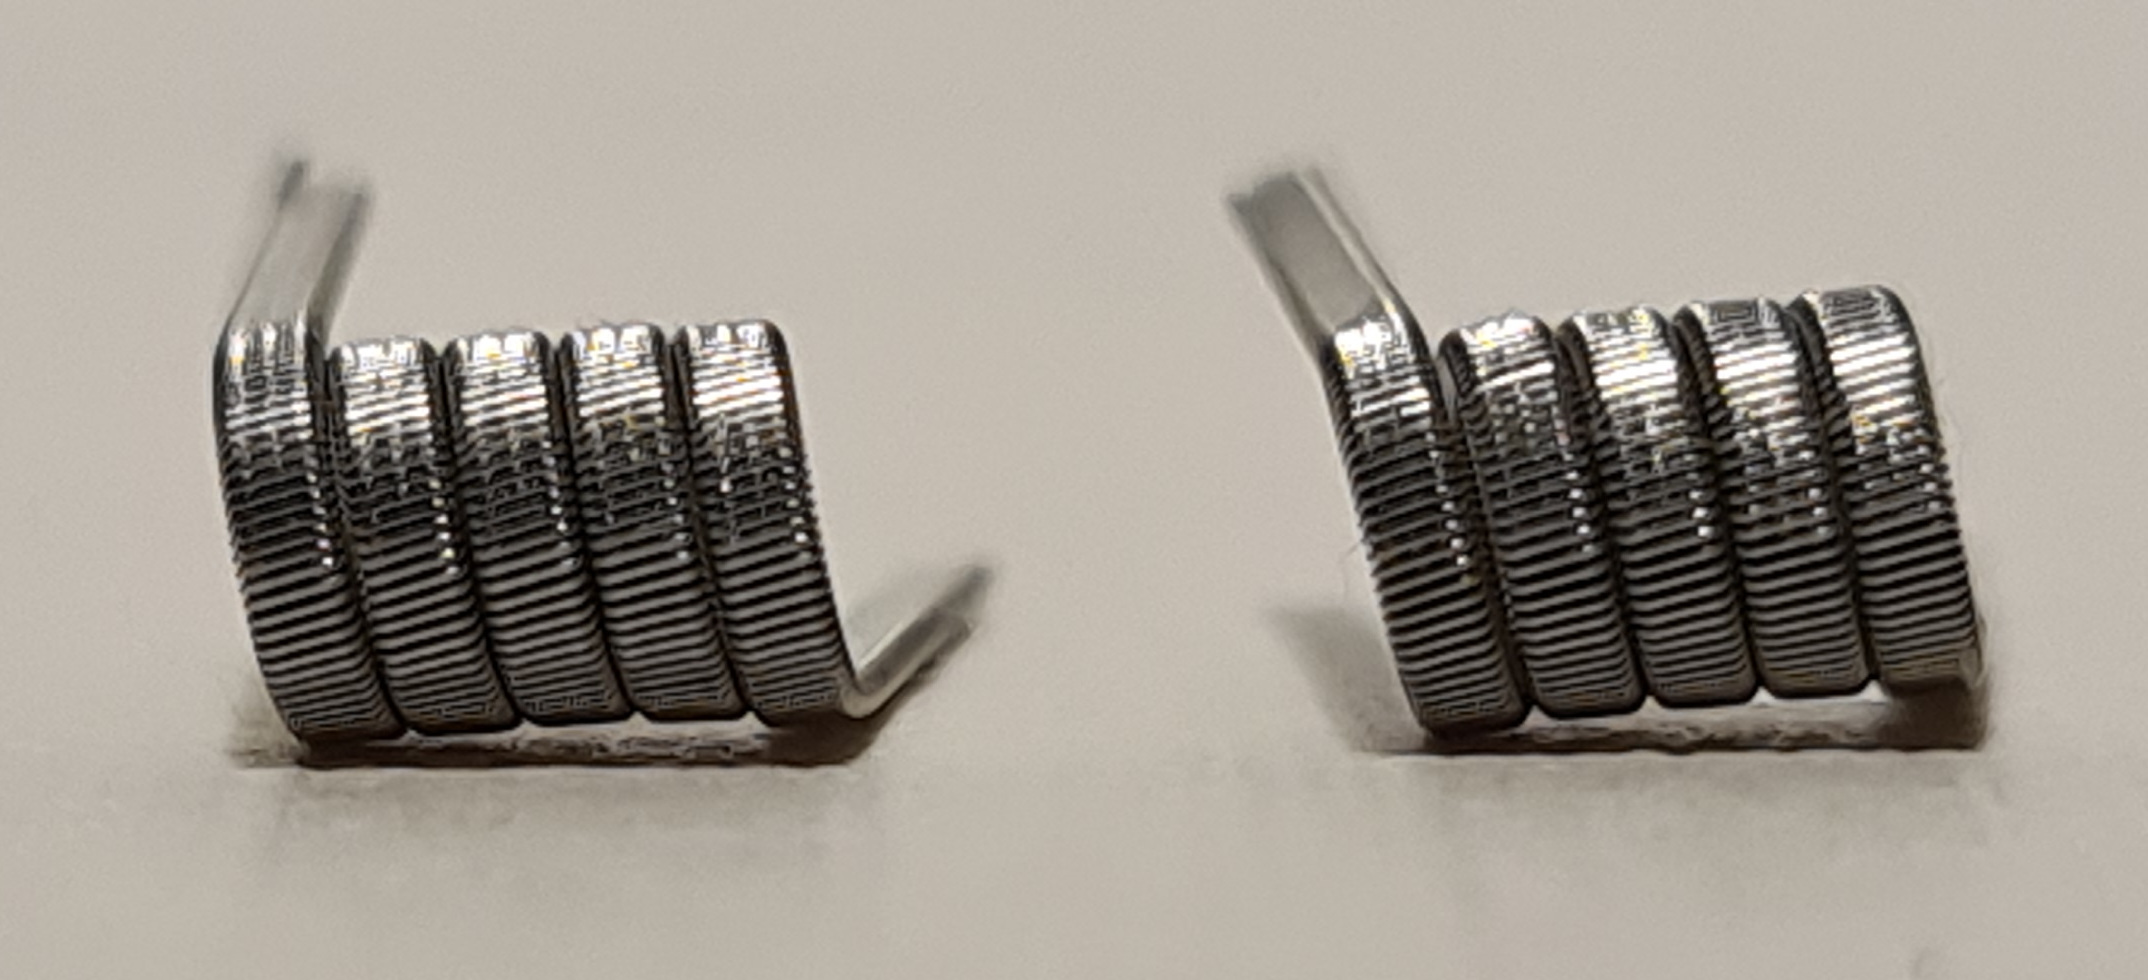
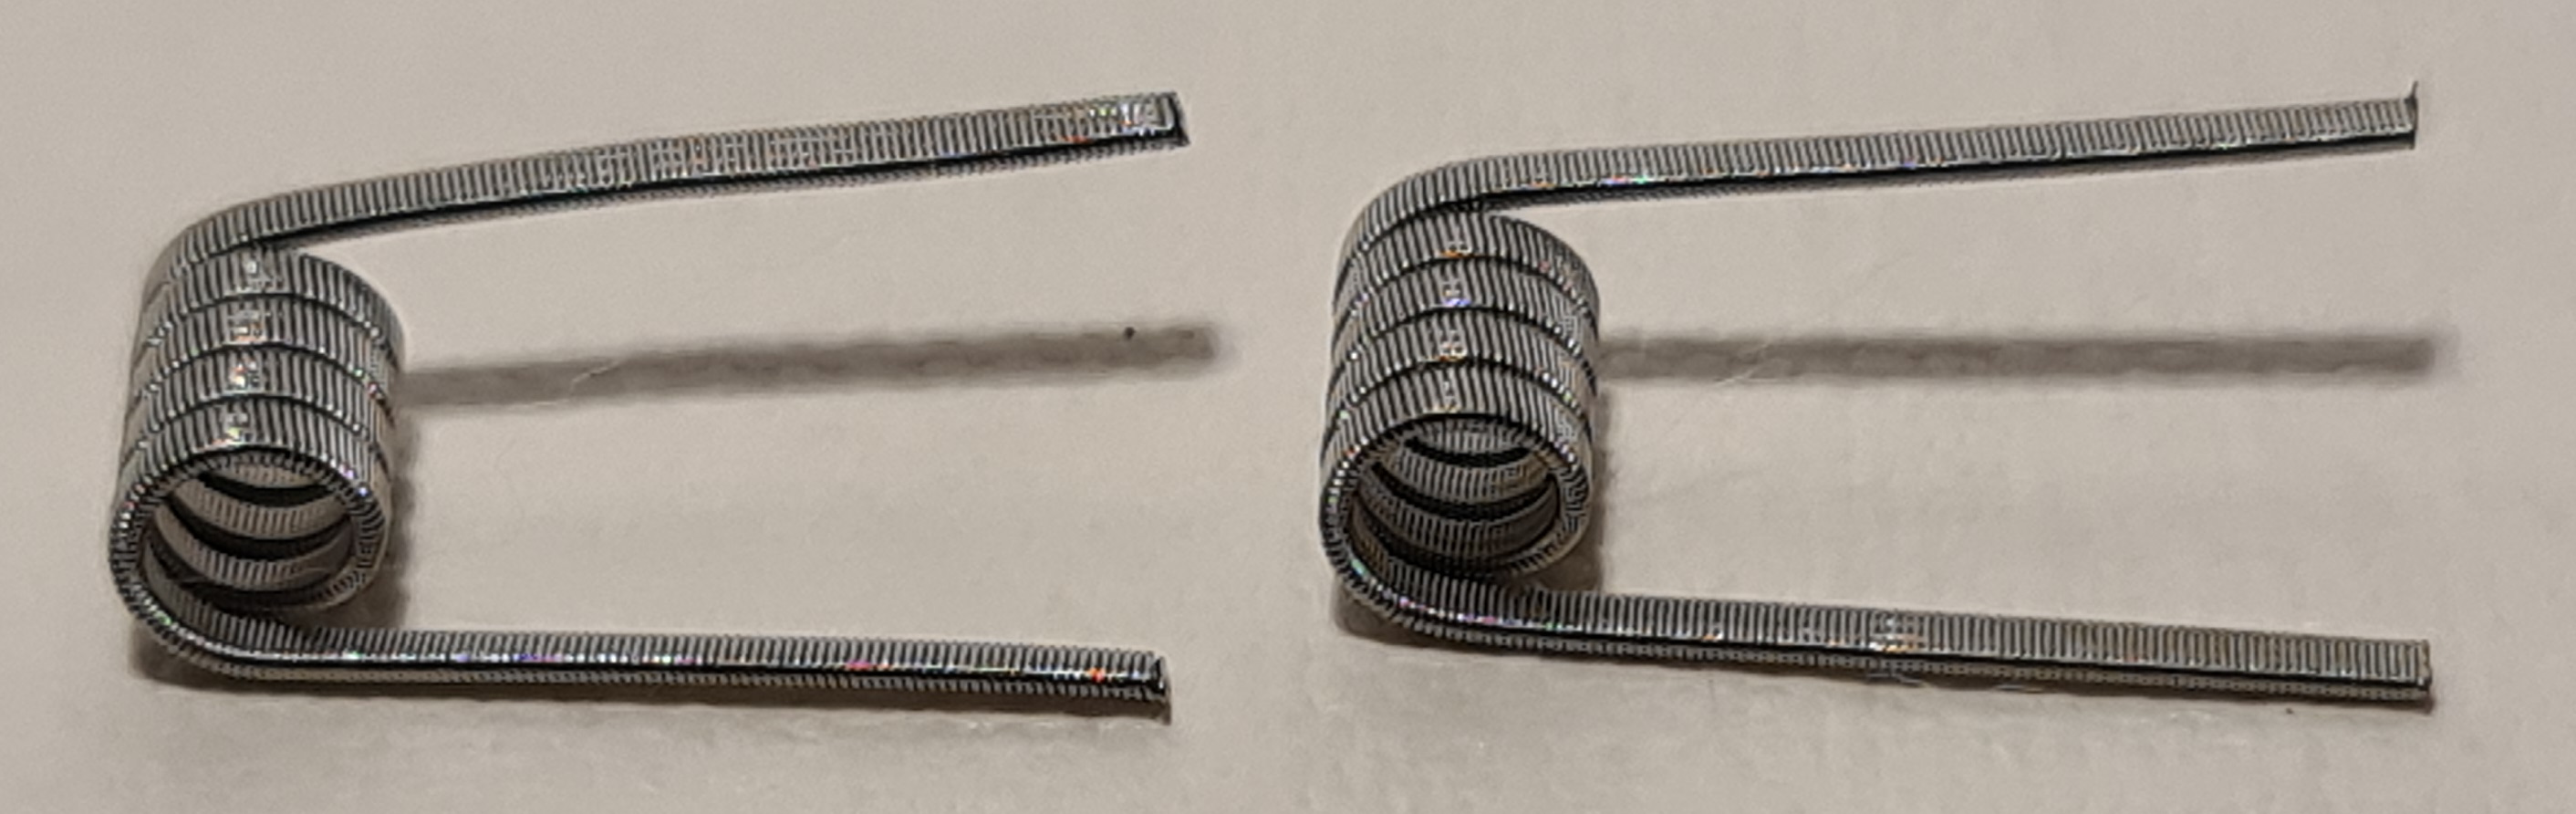
I used the 2 included Ni80 coils for the purpose of this build. There was no recommendation included on the length to cut the coil legs to, so I went with 5mm and that seemed to work just fine:
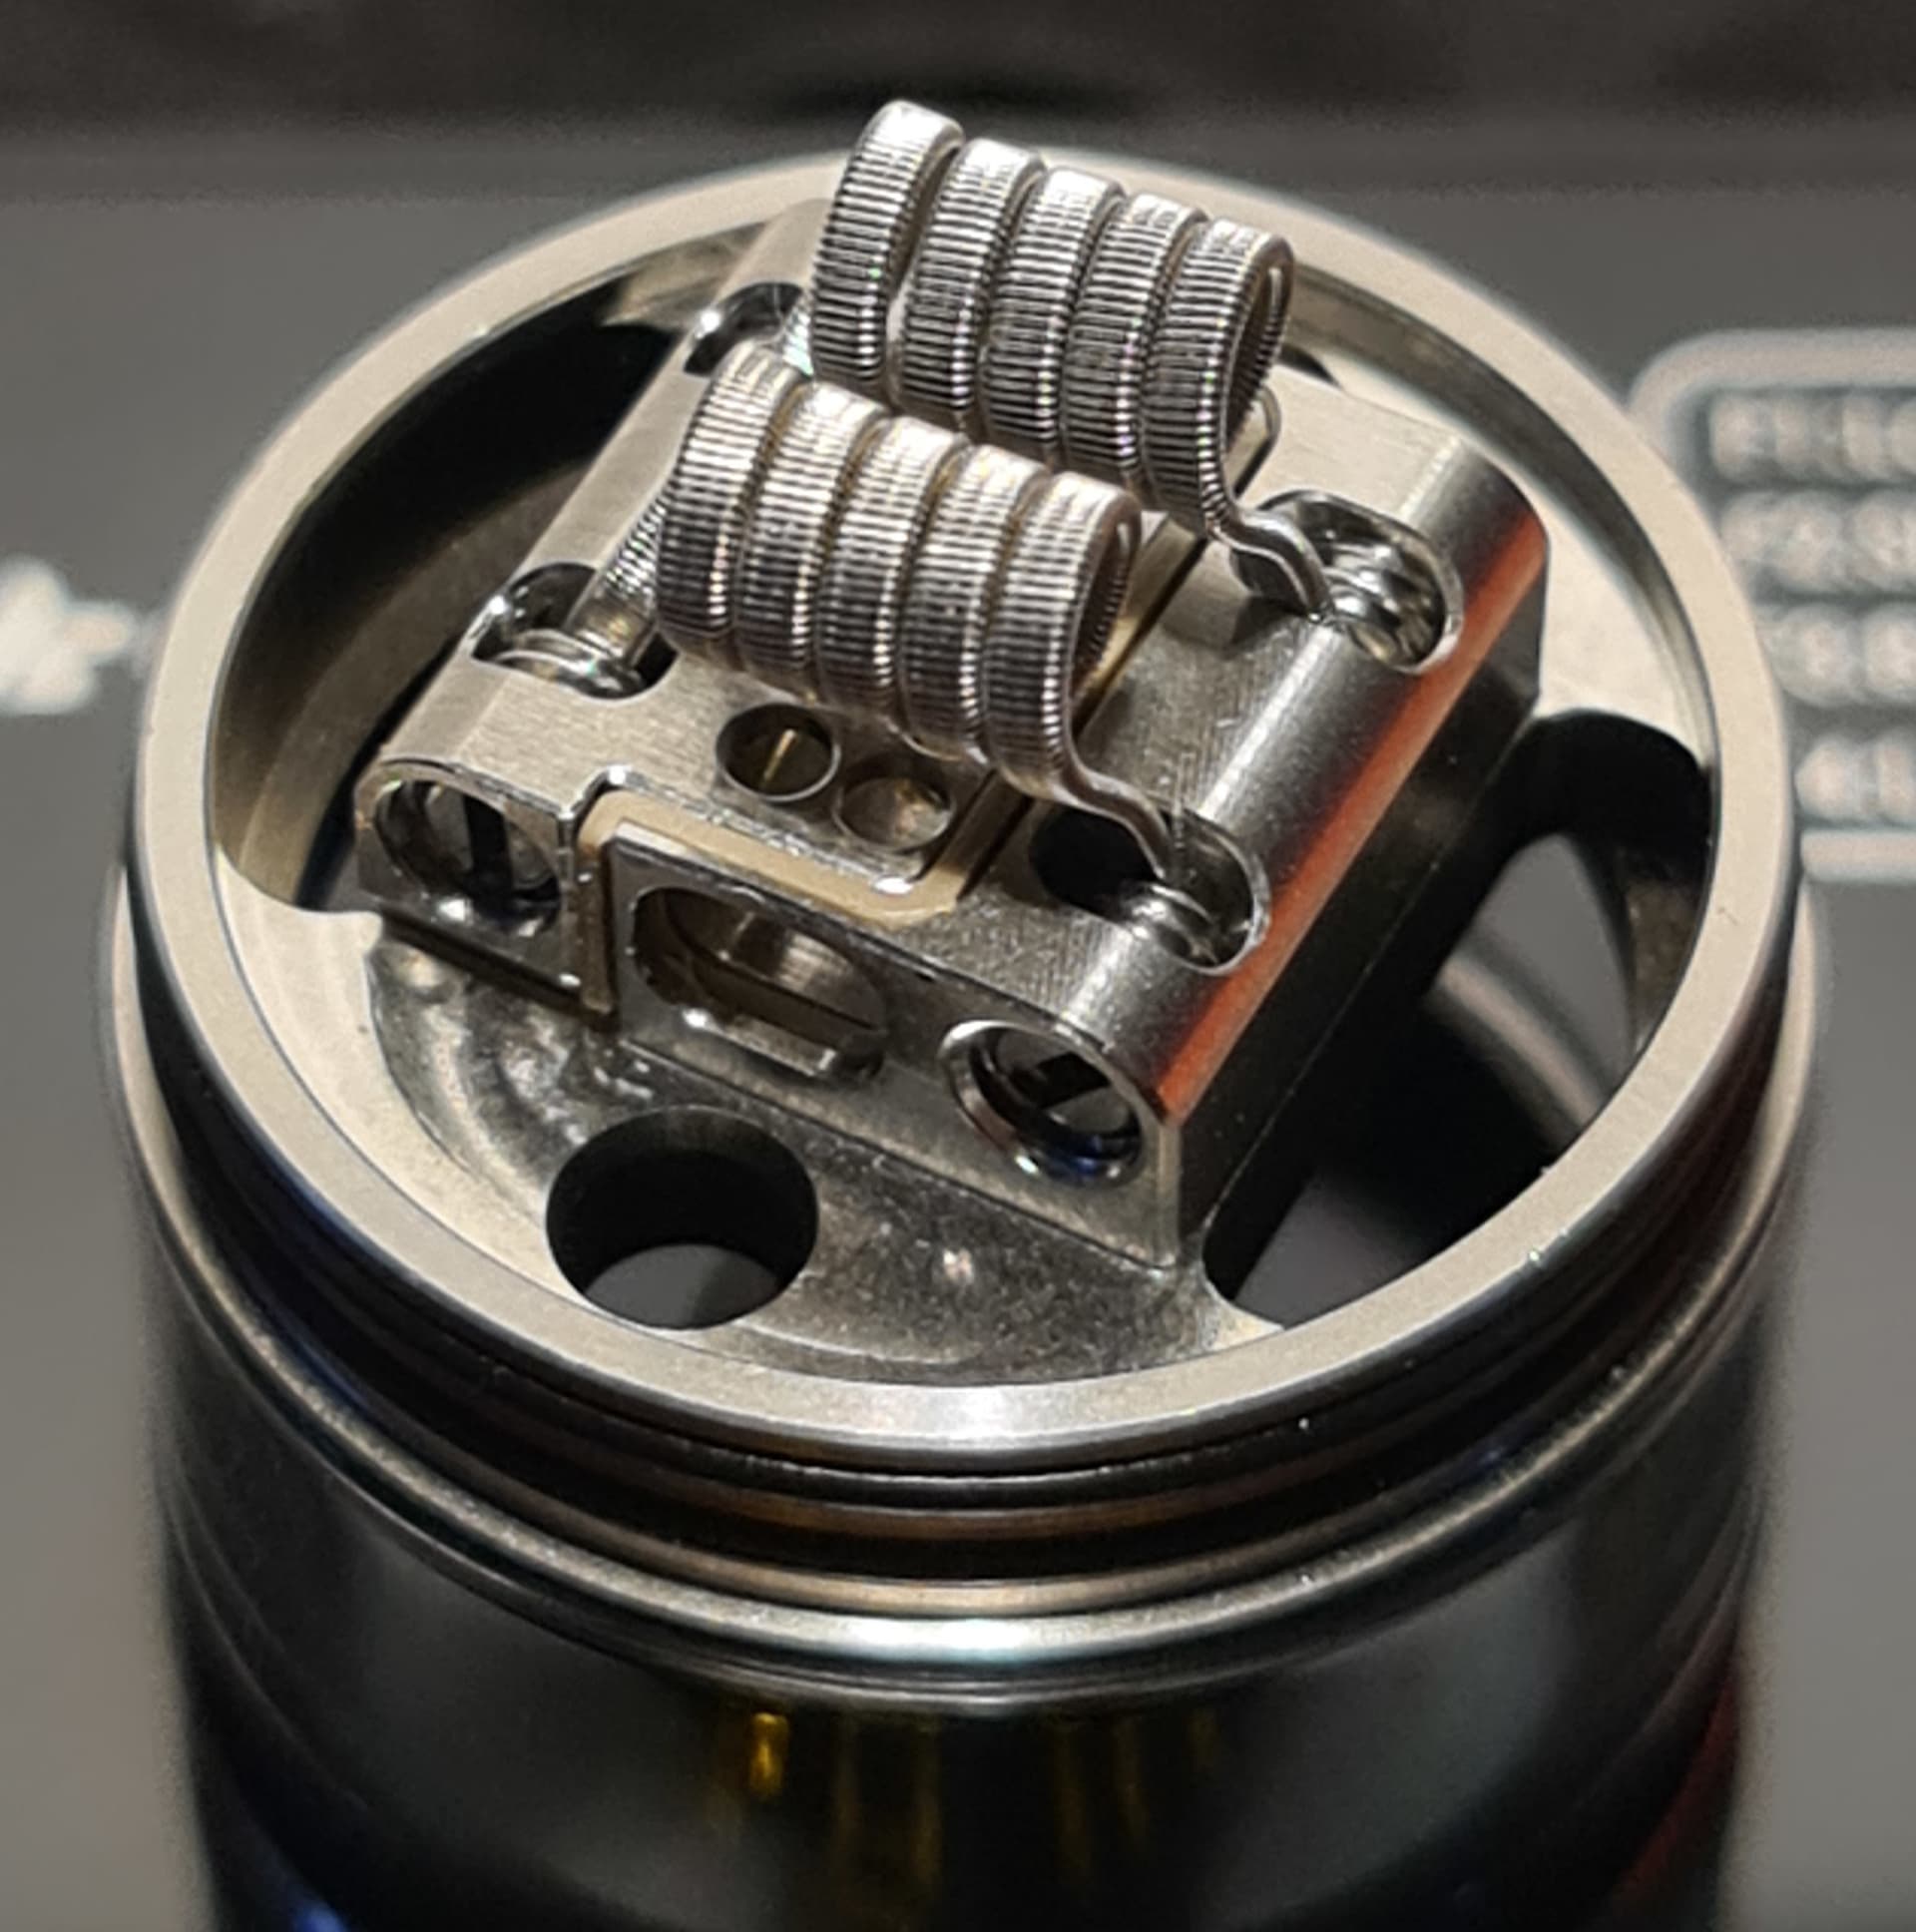
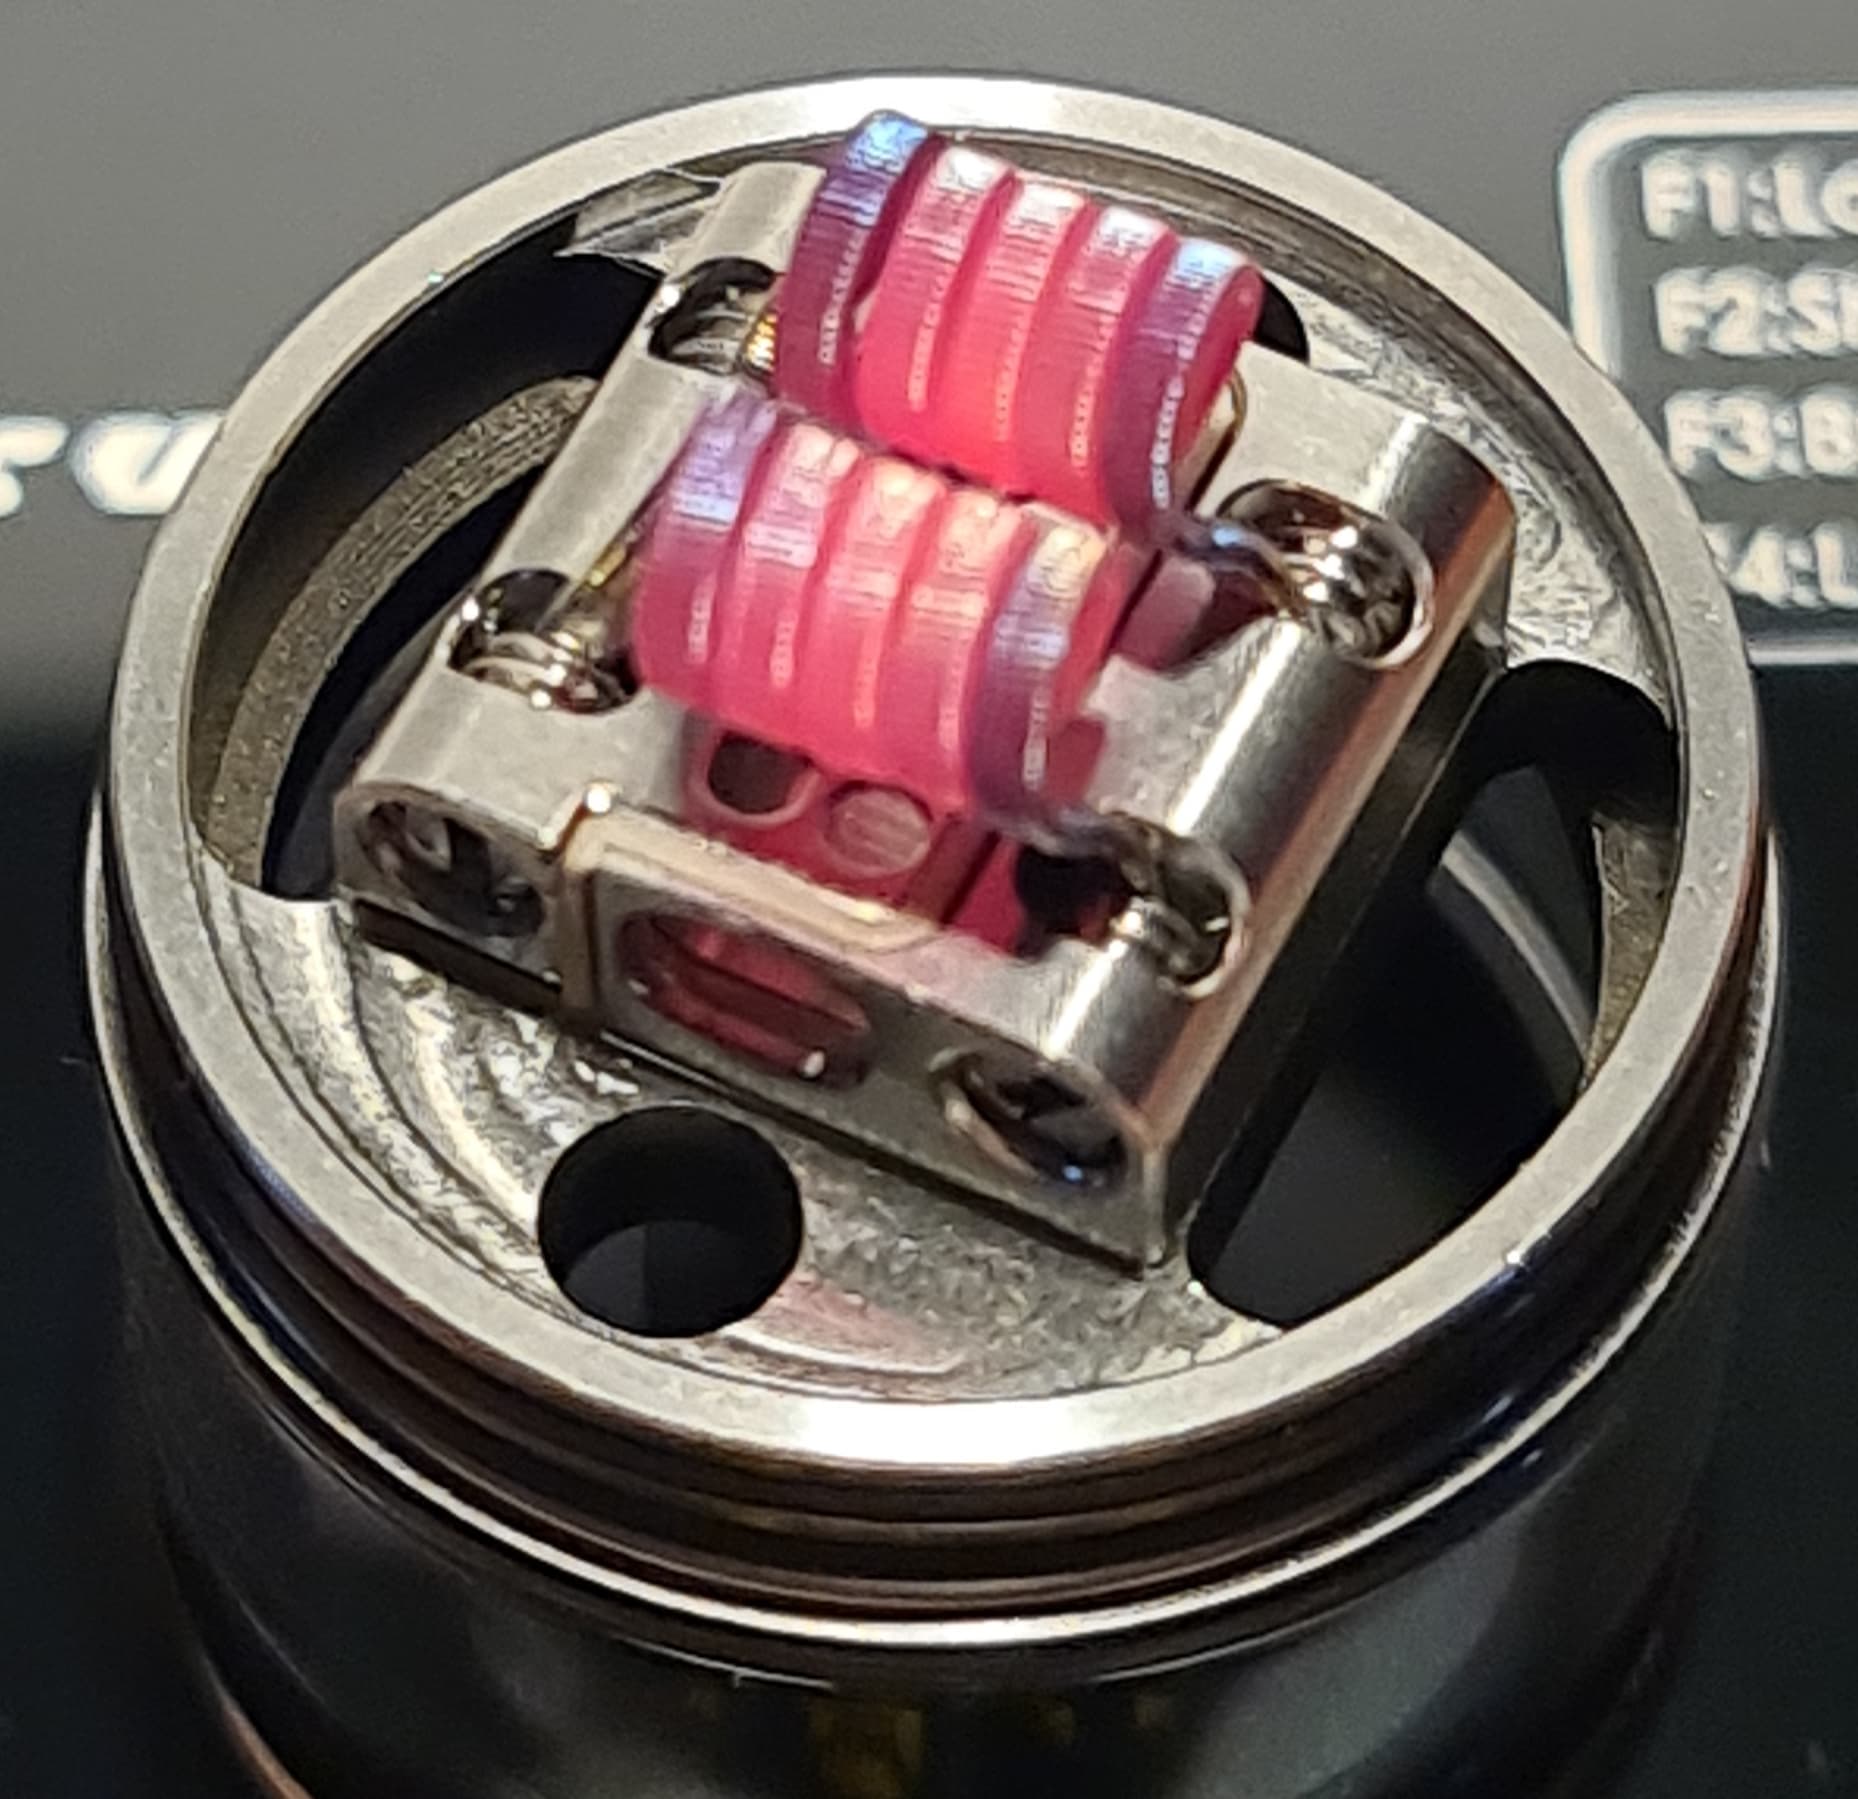
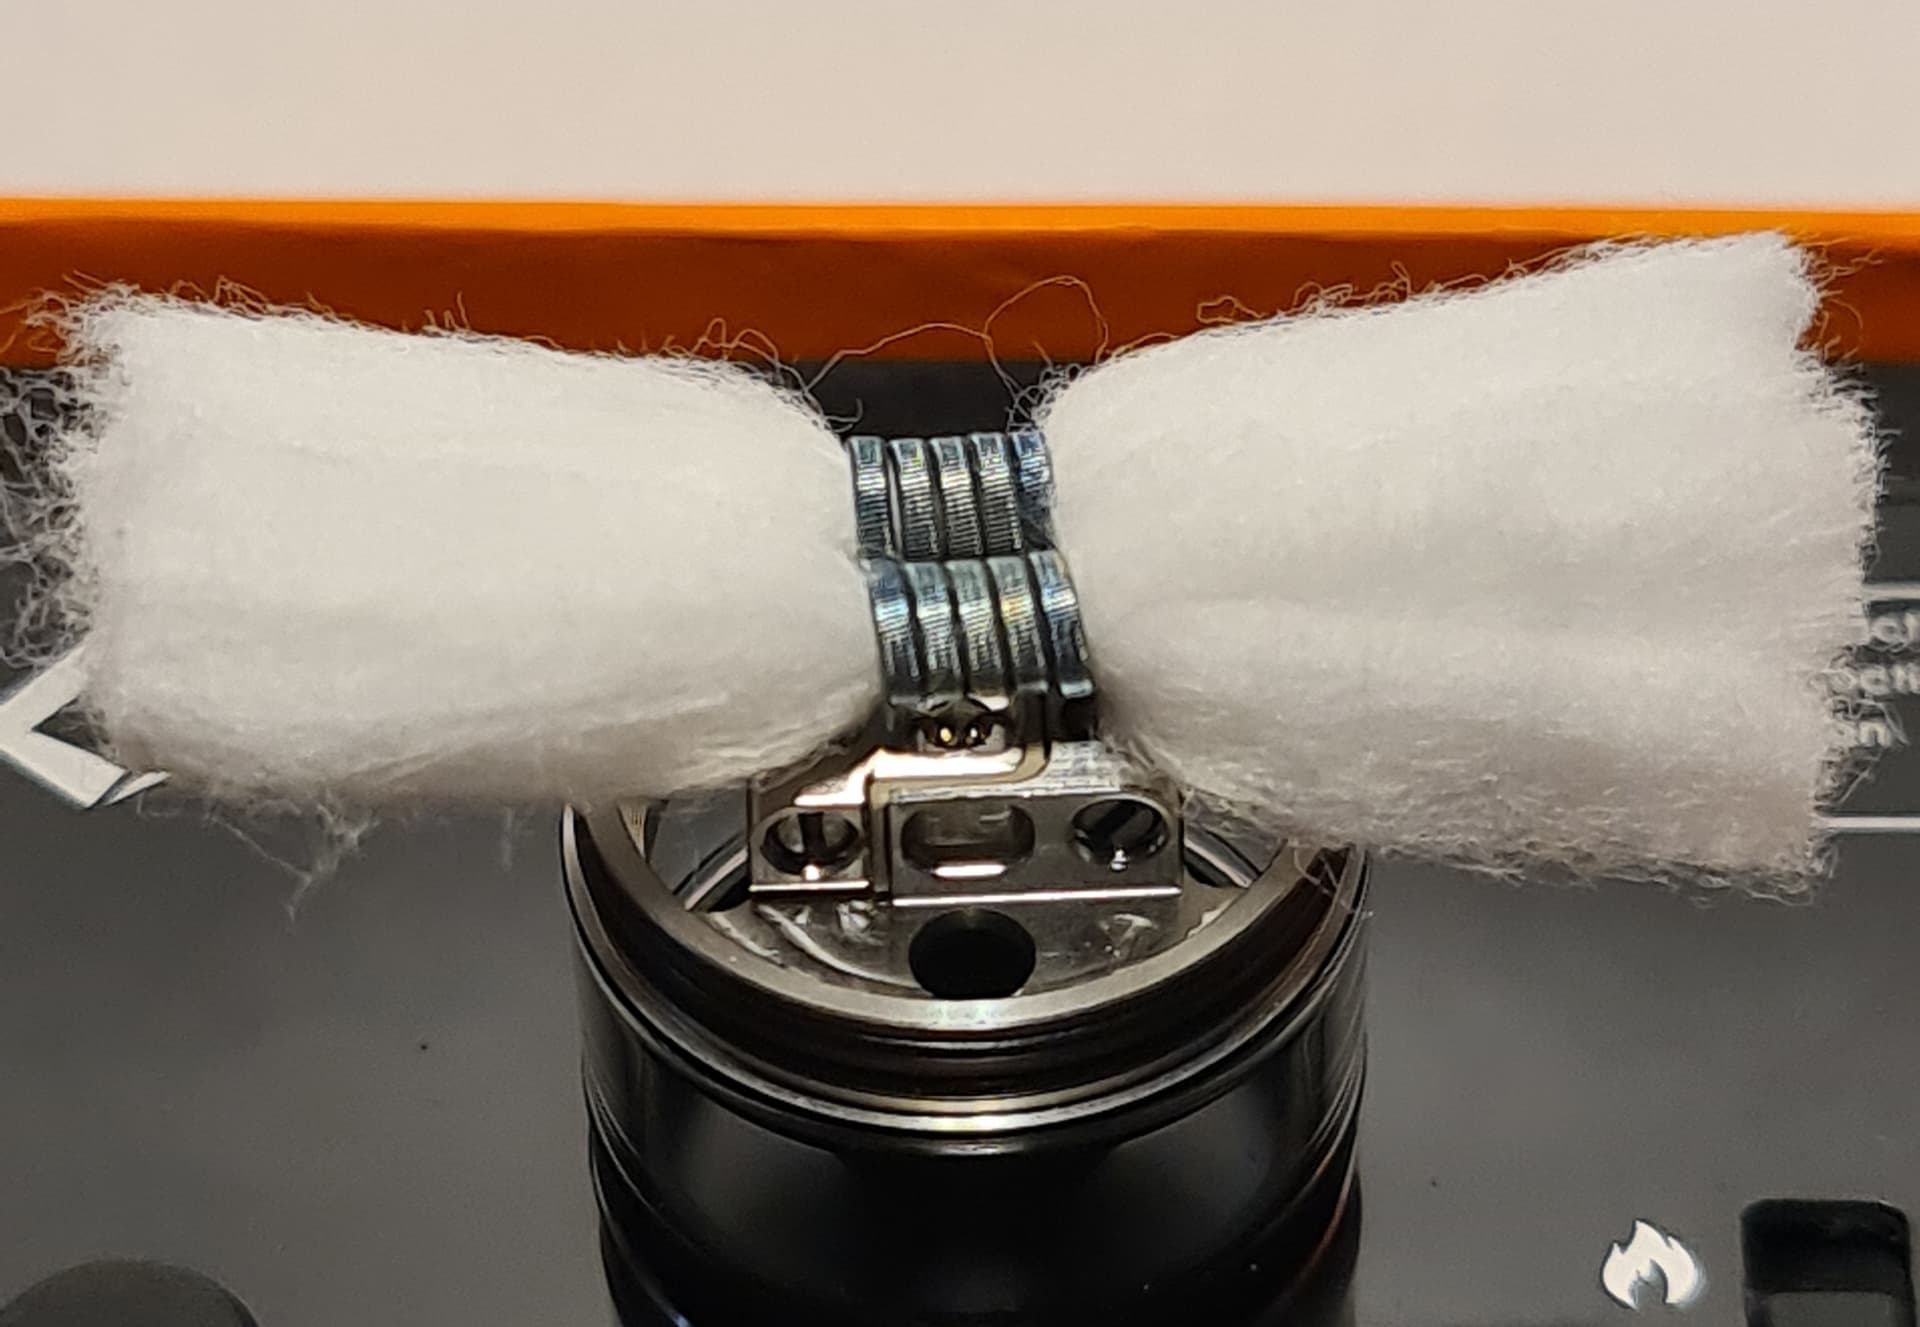
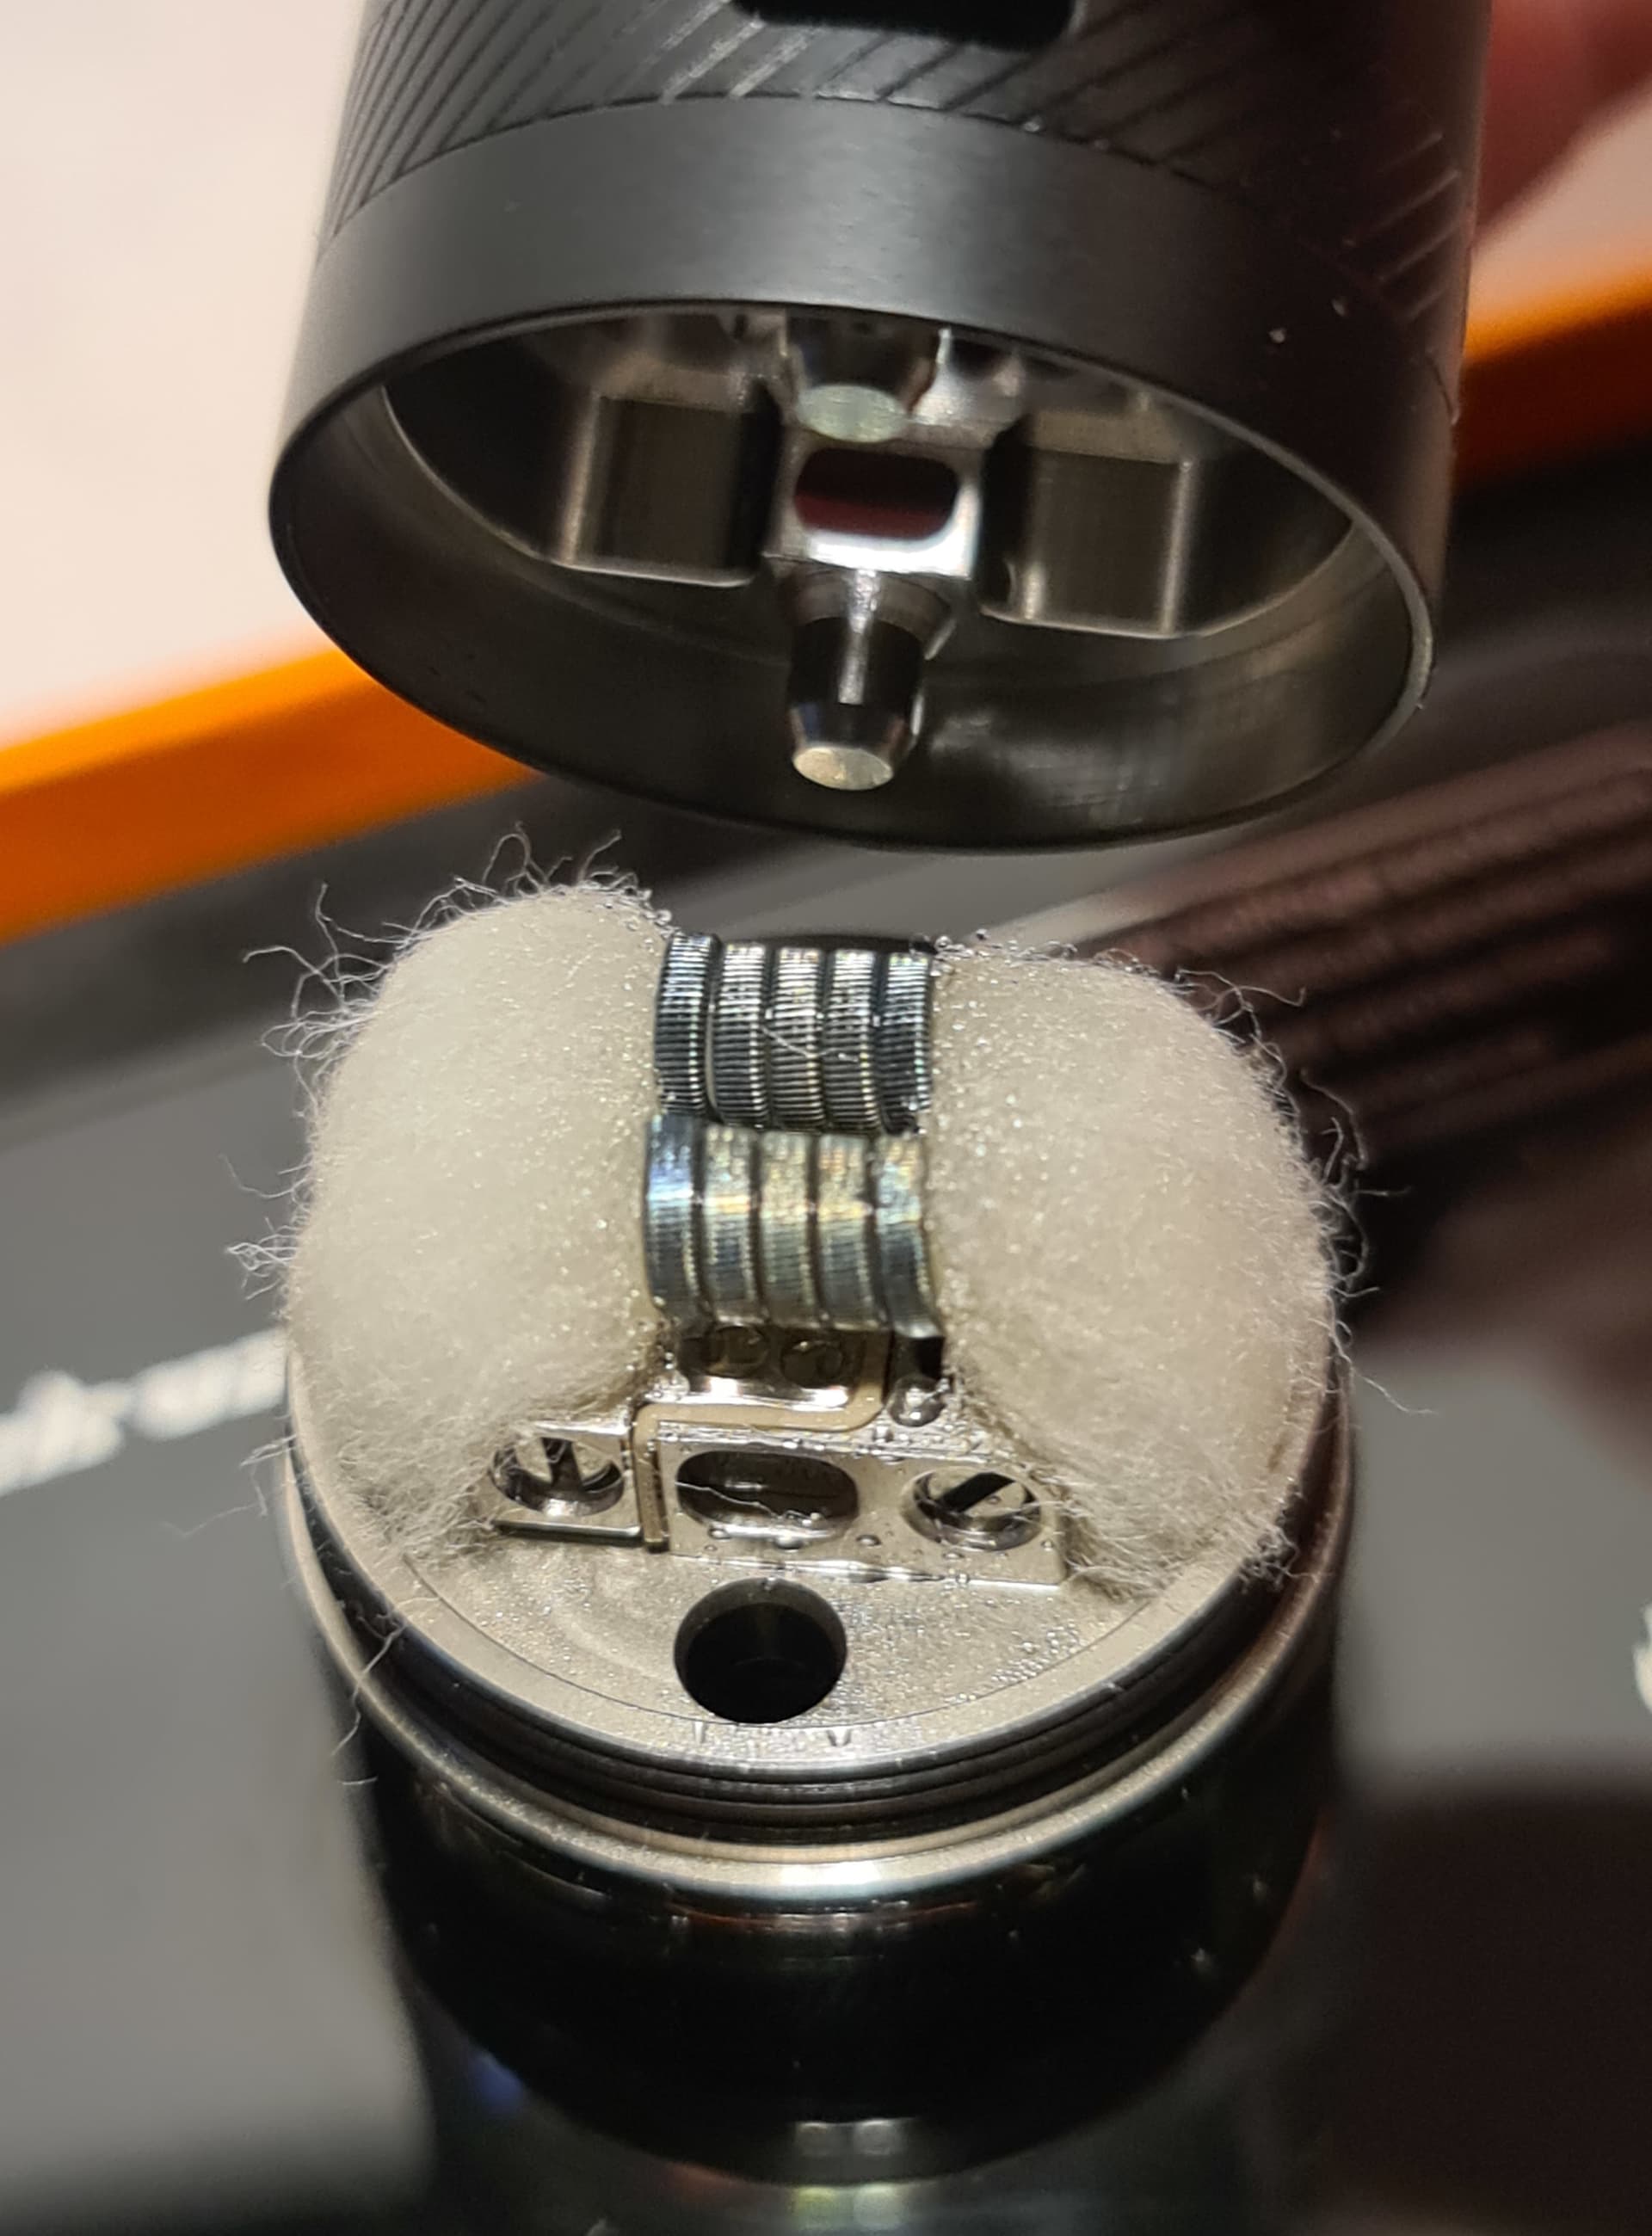
Dry burned and strummed out the couple of hotspots. Look at the size of those wicking channels! I had to be careful not to fall in there while doing the build!
As you can see, the included shoelace cotton is a generous length and there is more than enough to get a build done on this deck, maybe even enough for two builds if you use sparingly:
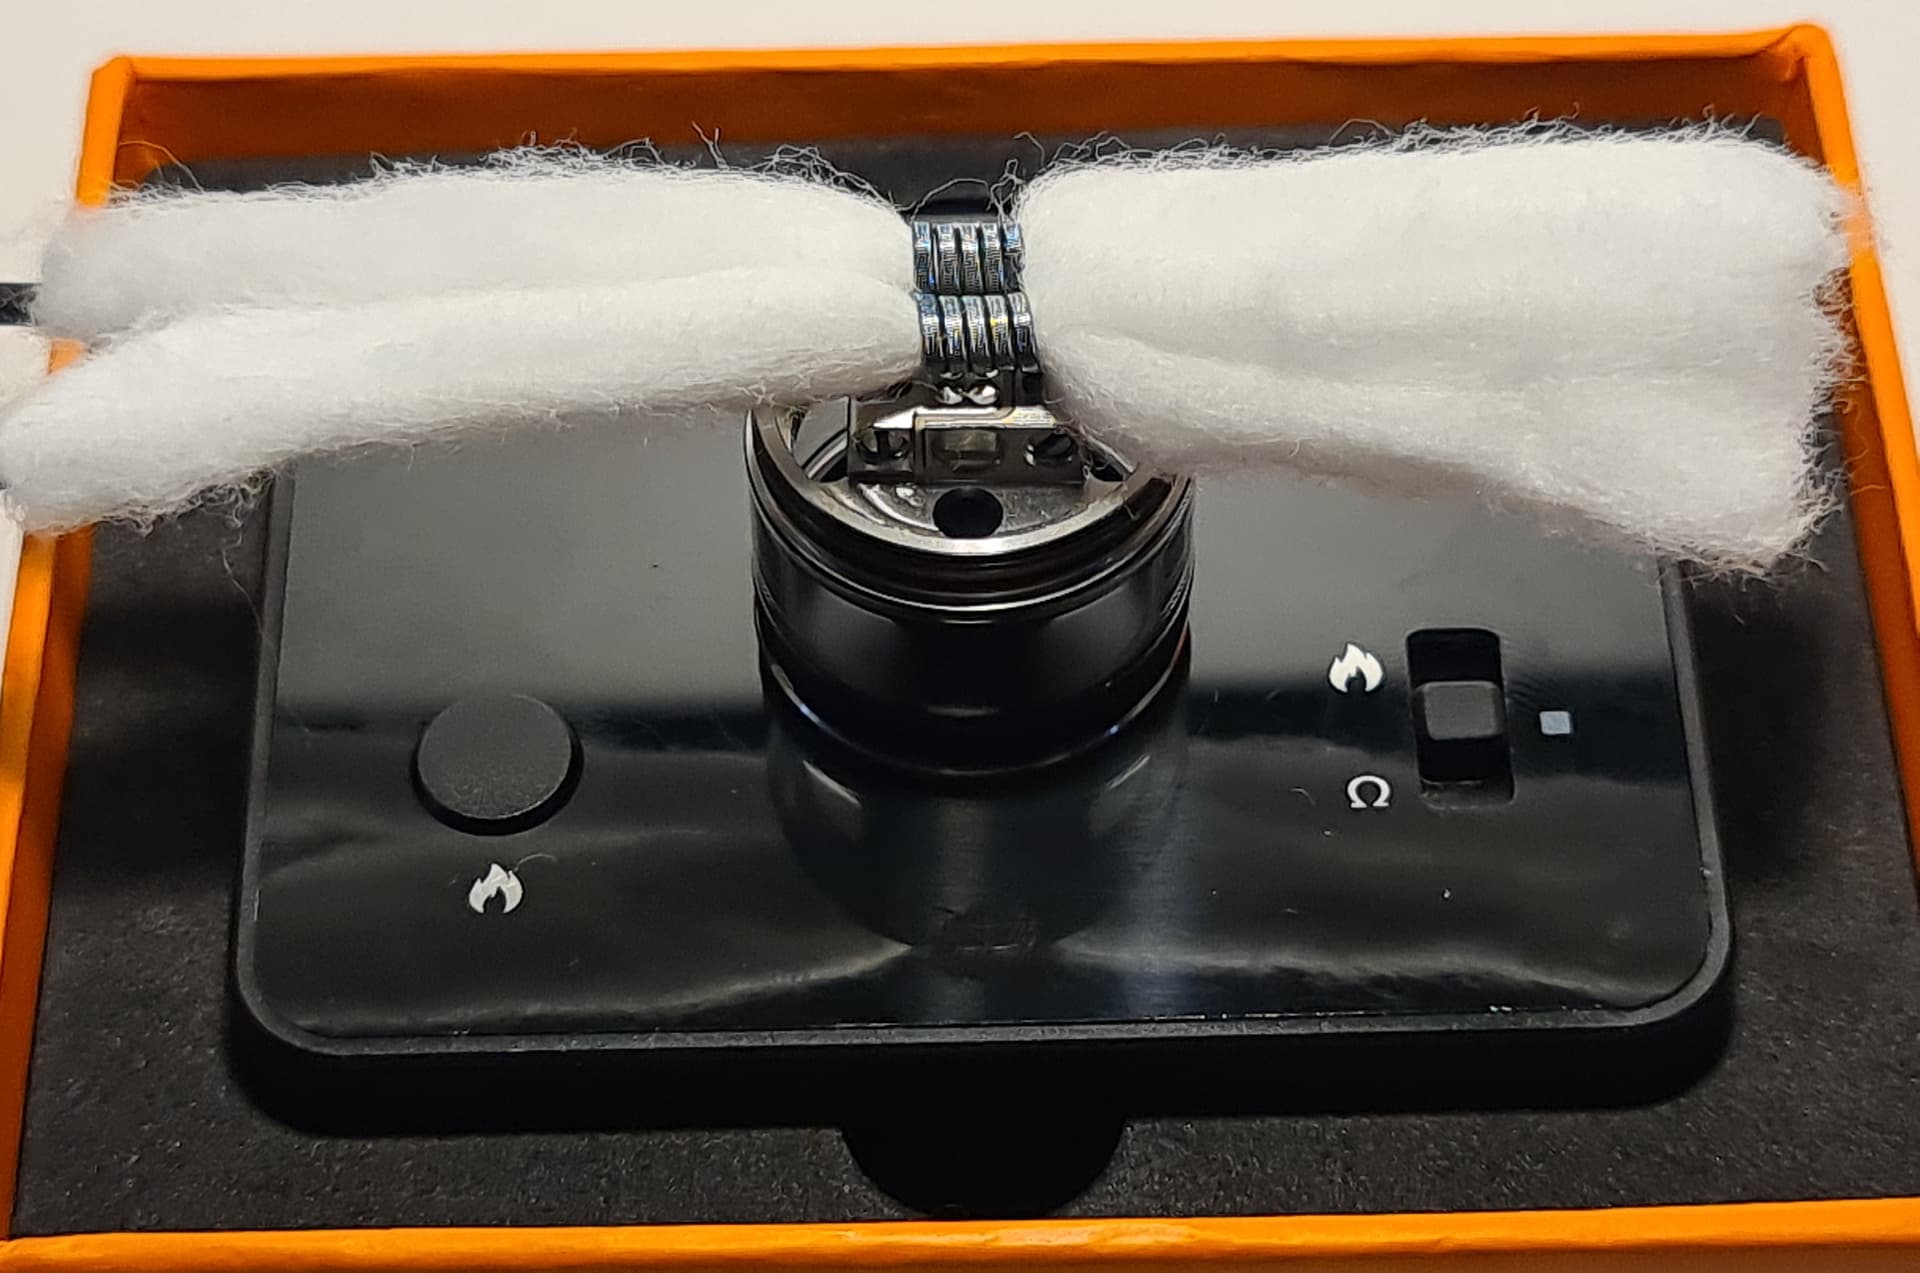
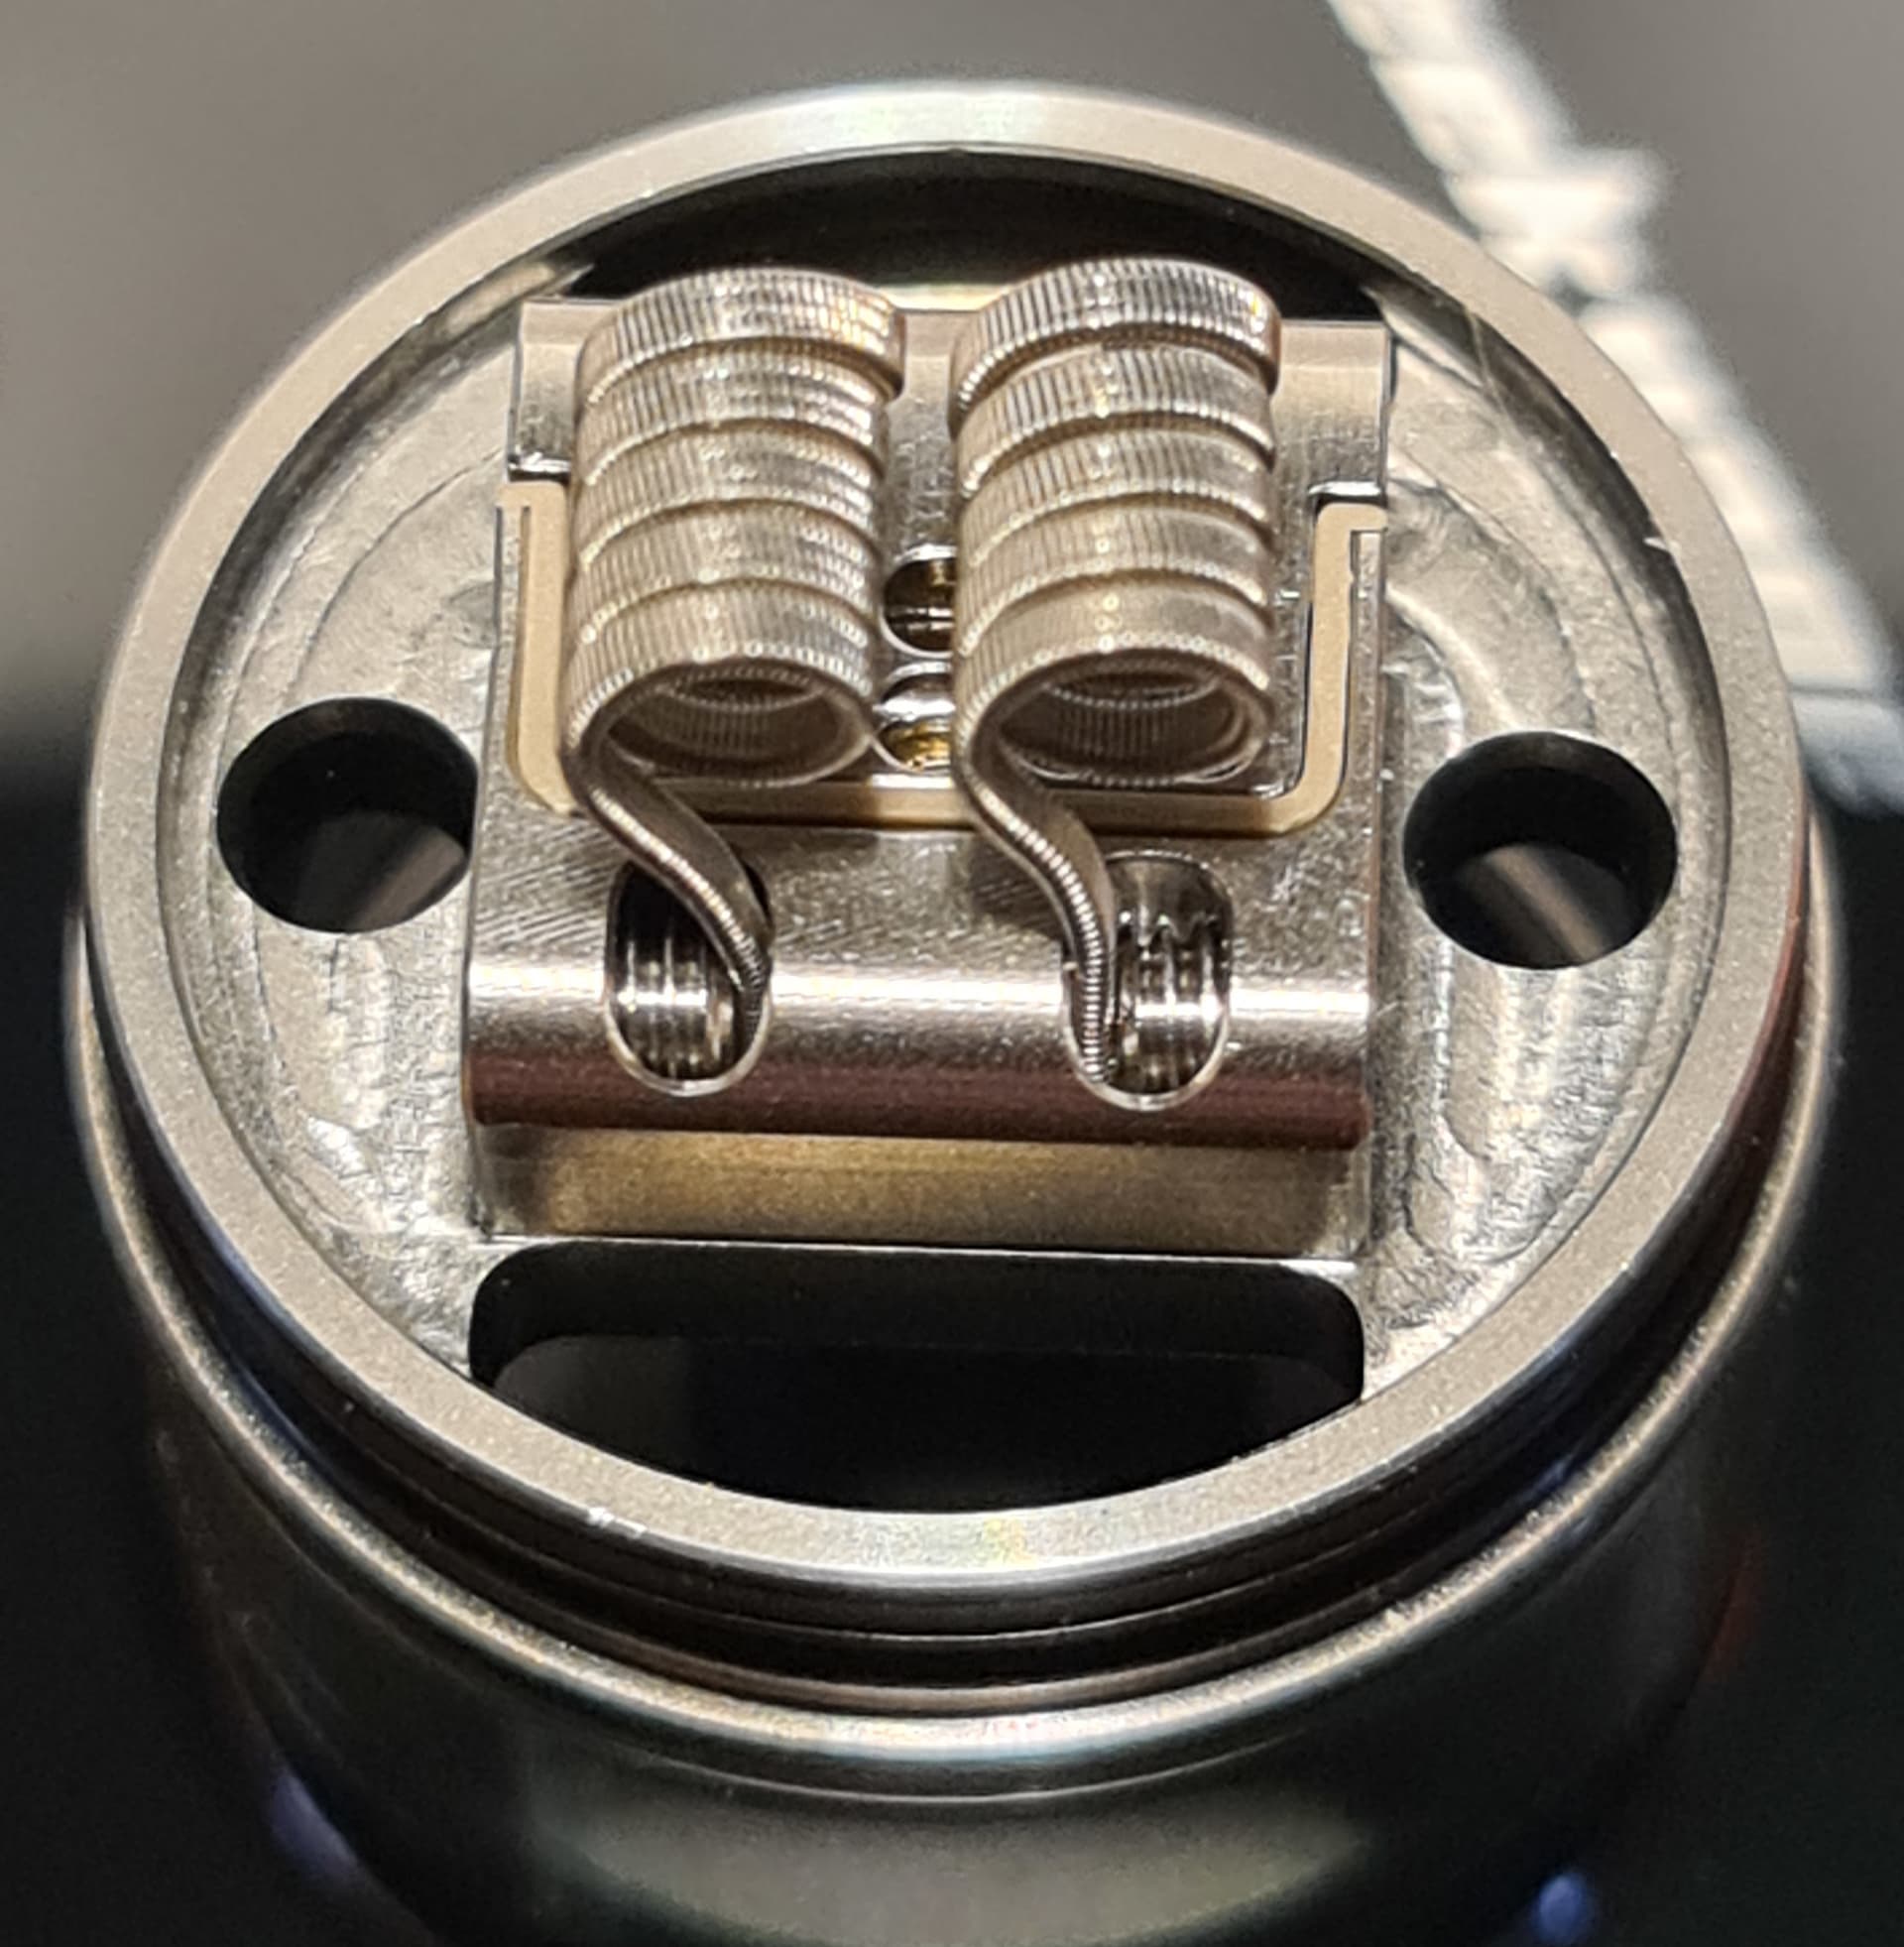
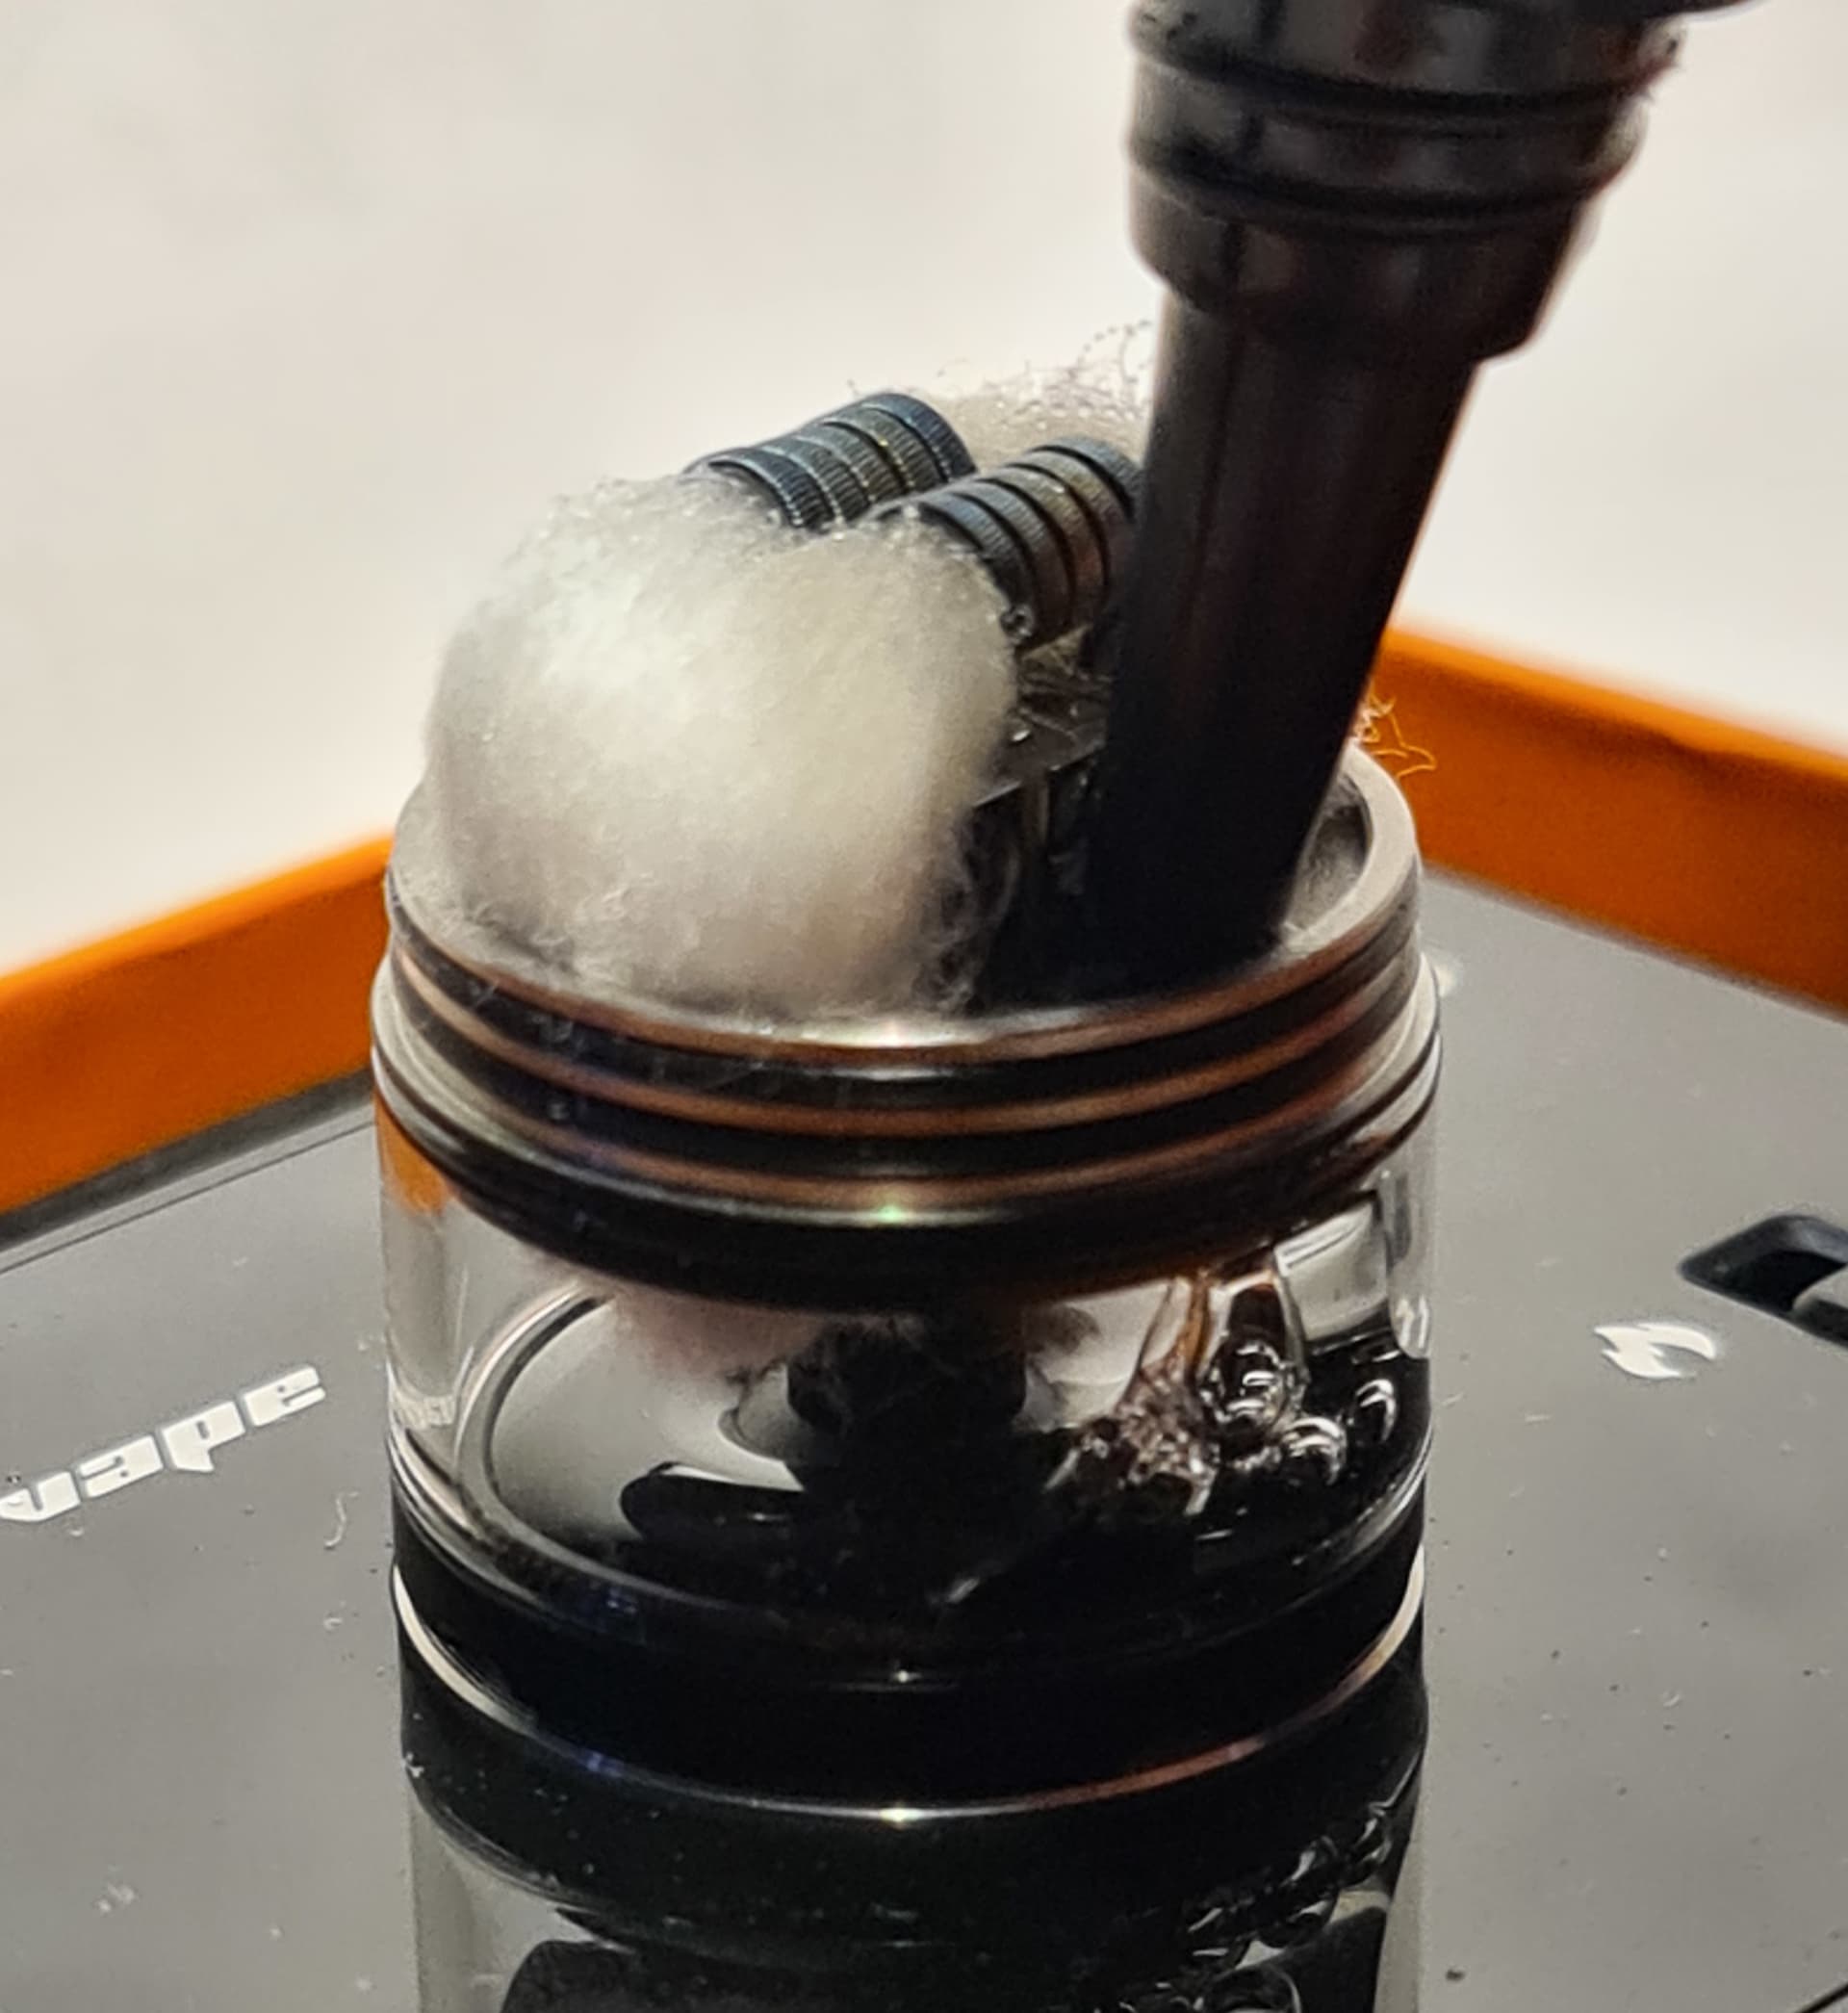
Wicks cut down but not too much, there needs to be some dangling into the tank to soak up that awesomesauce:
Nicely tucked in to those enormous wicking channels with a little dangling into the tank:
Juicing up with my own Toffee Caramel Cream:
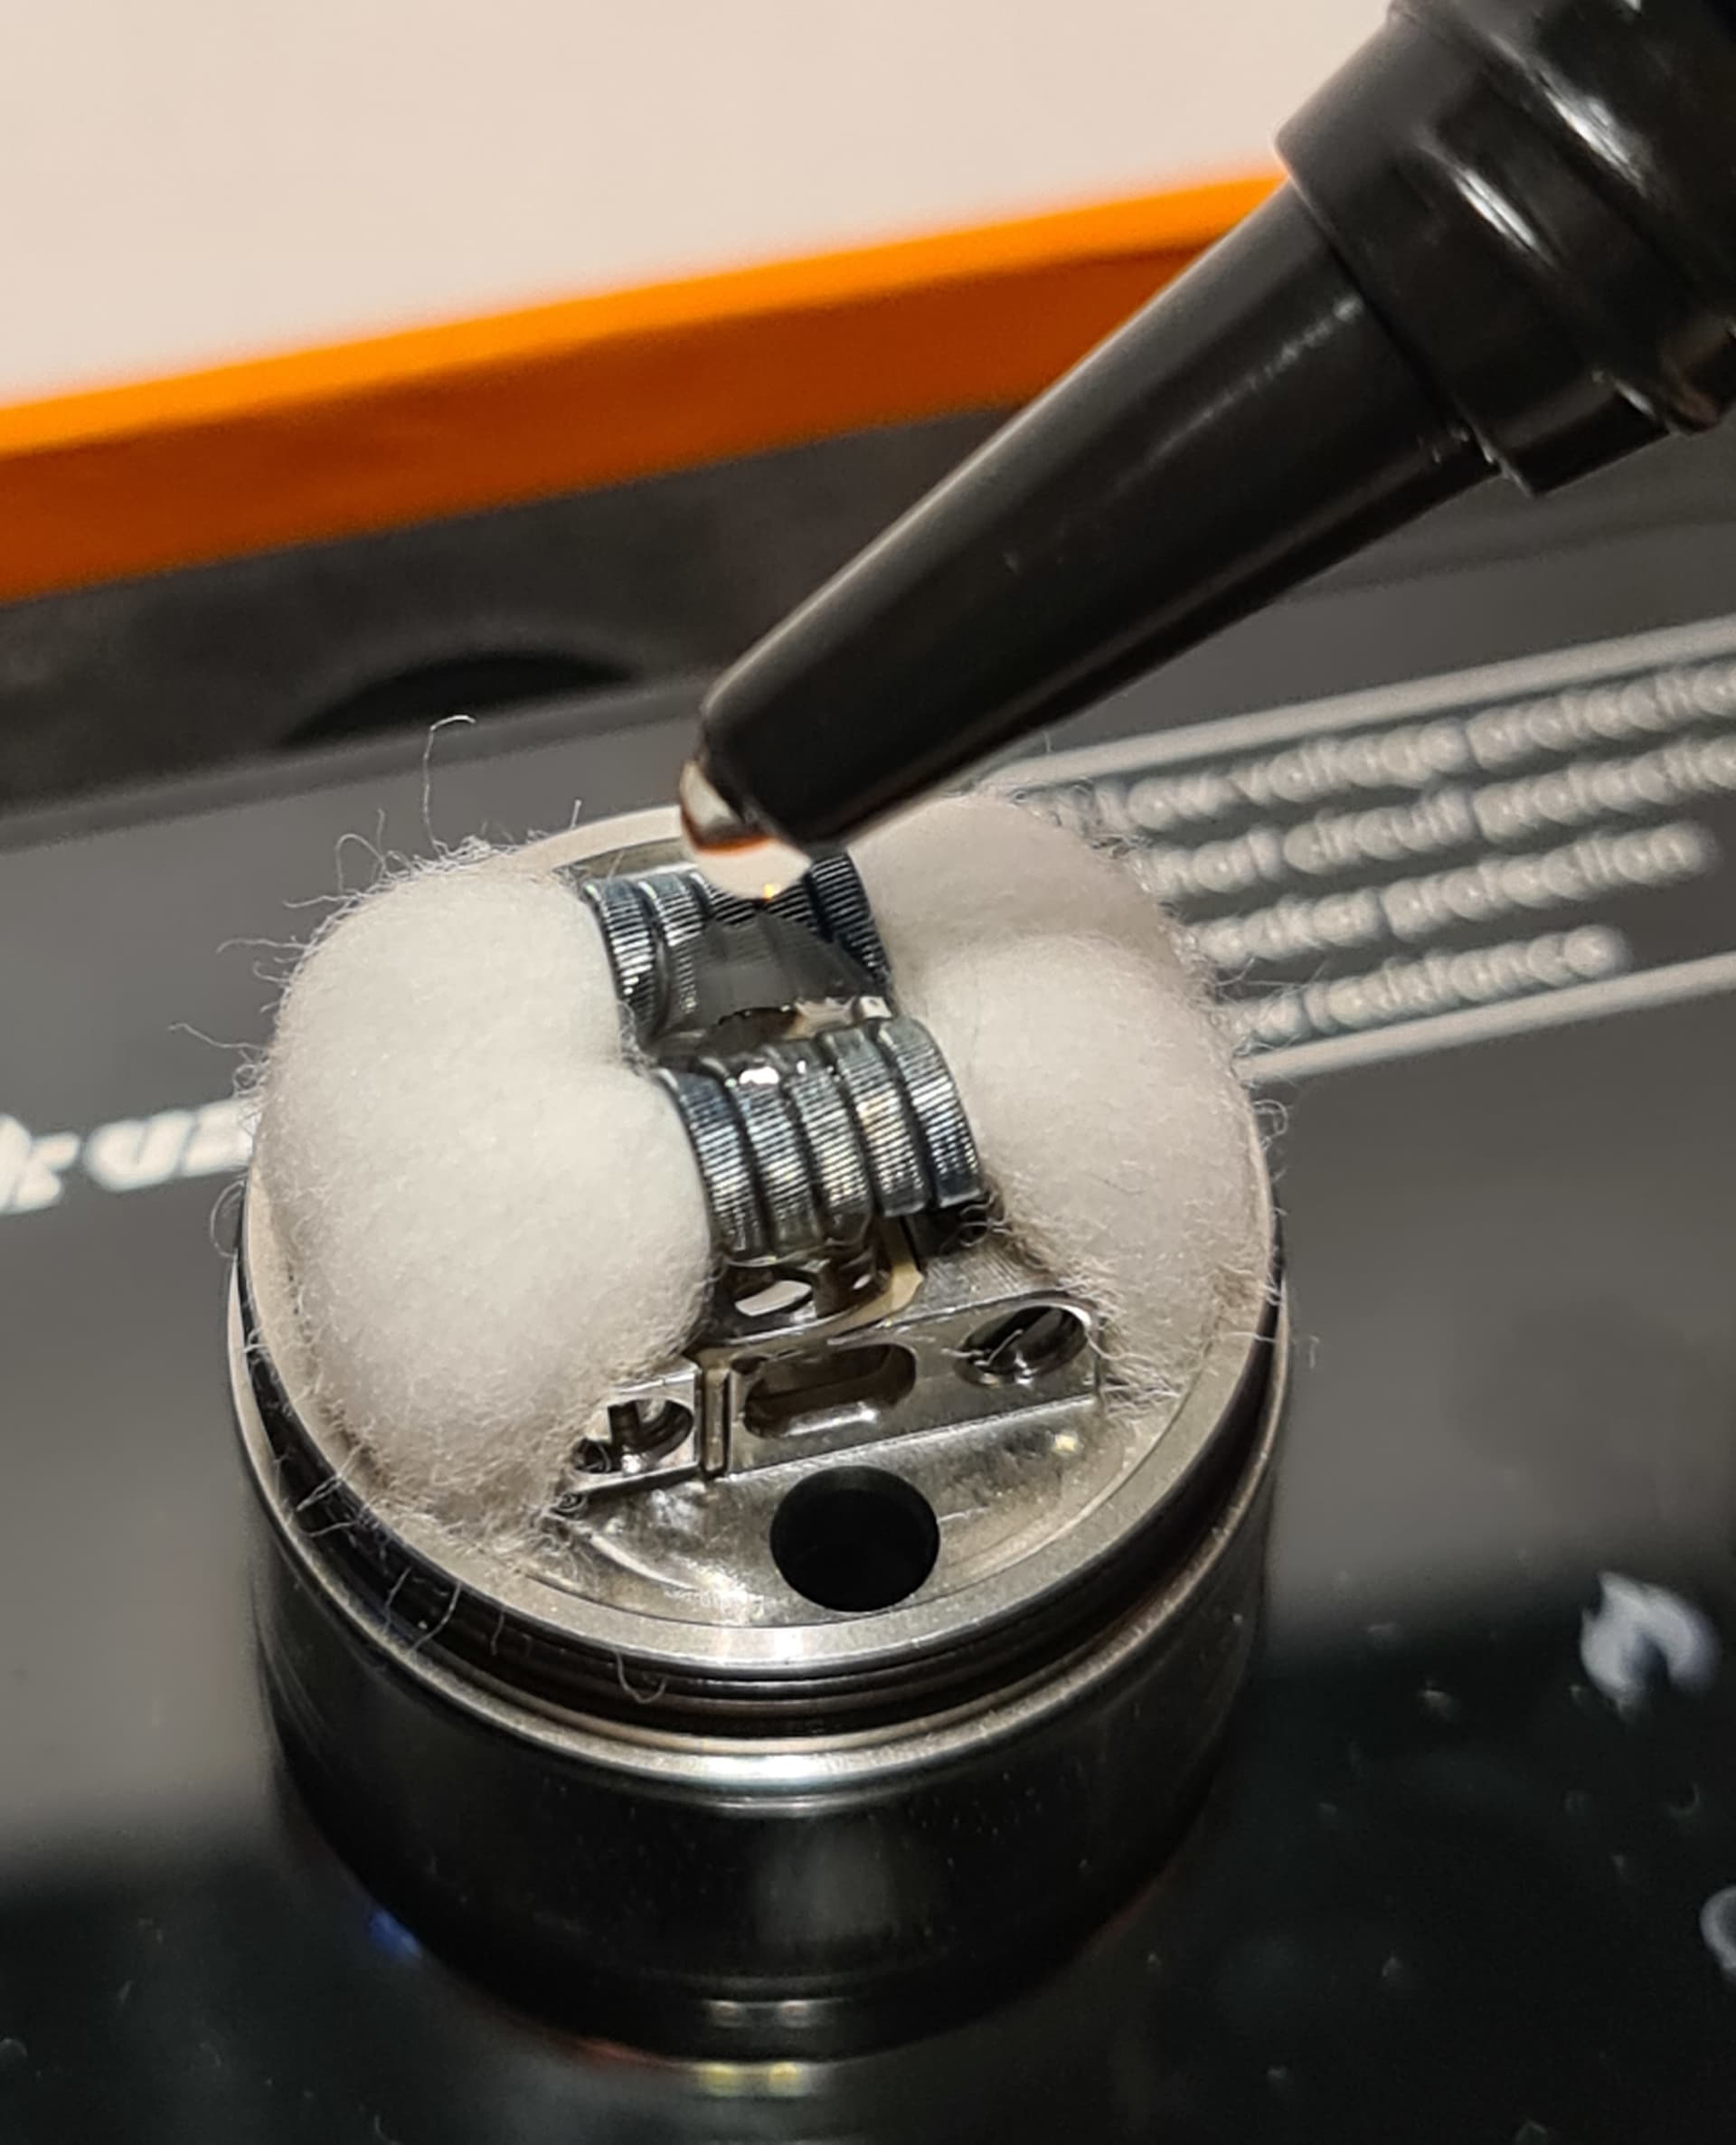
Filling the tank is probably more suited to a needle tip but I had no trouble using the spouted bottle I had my liquid in:

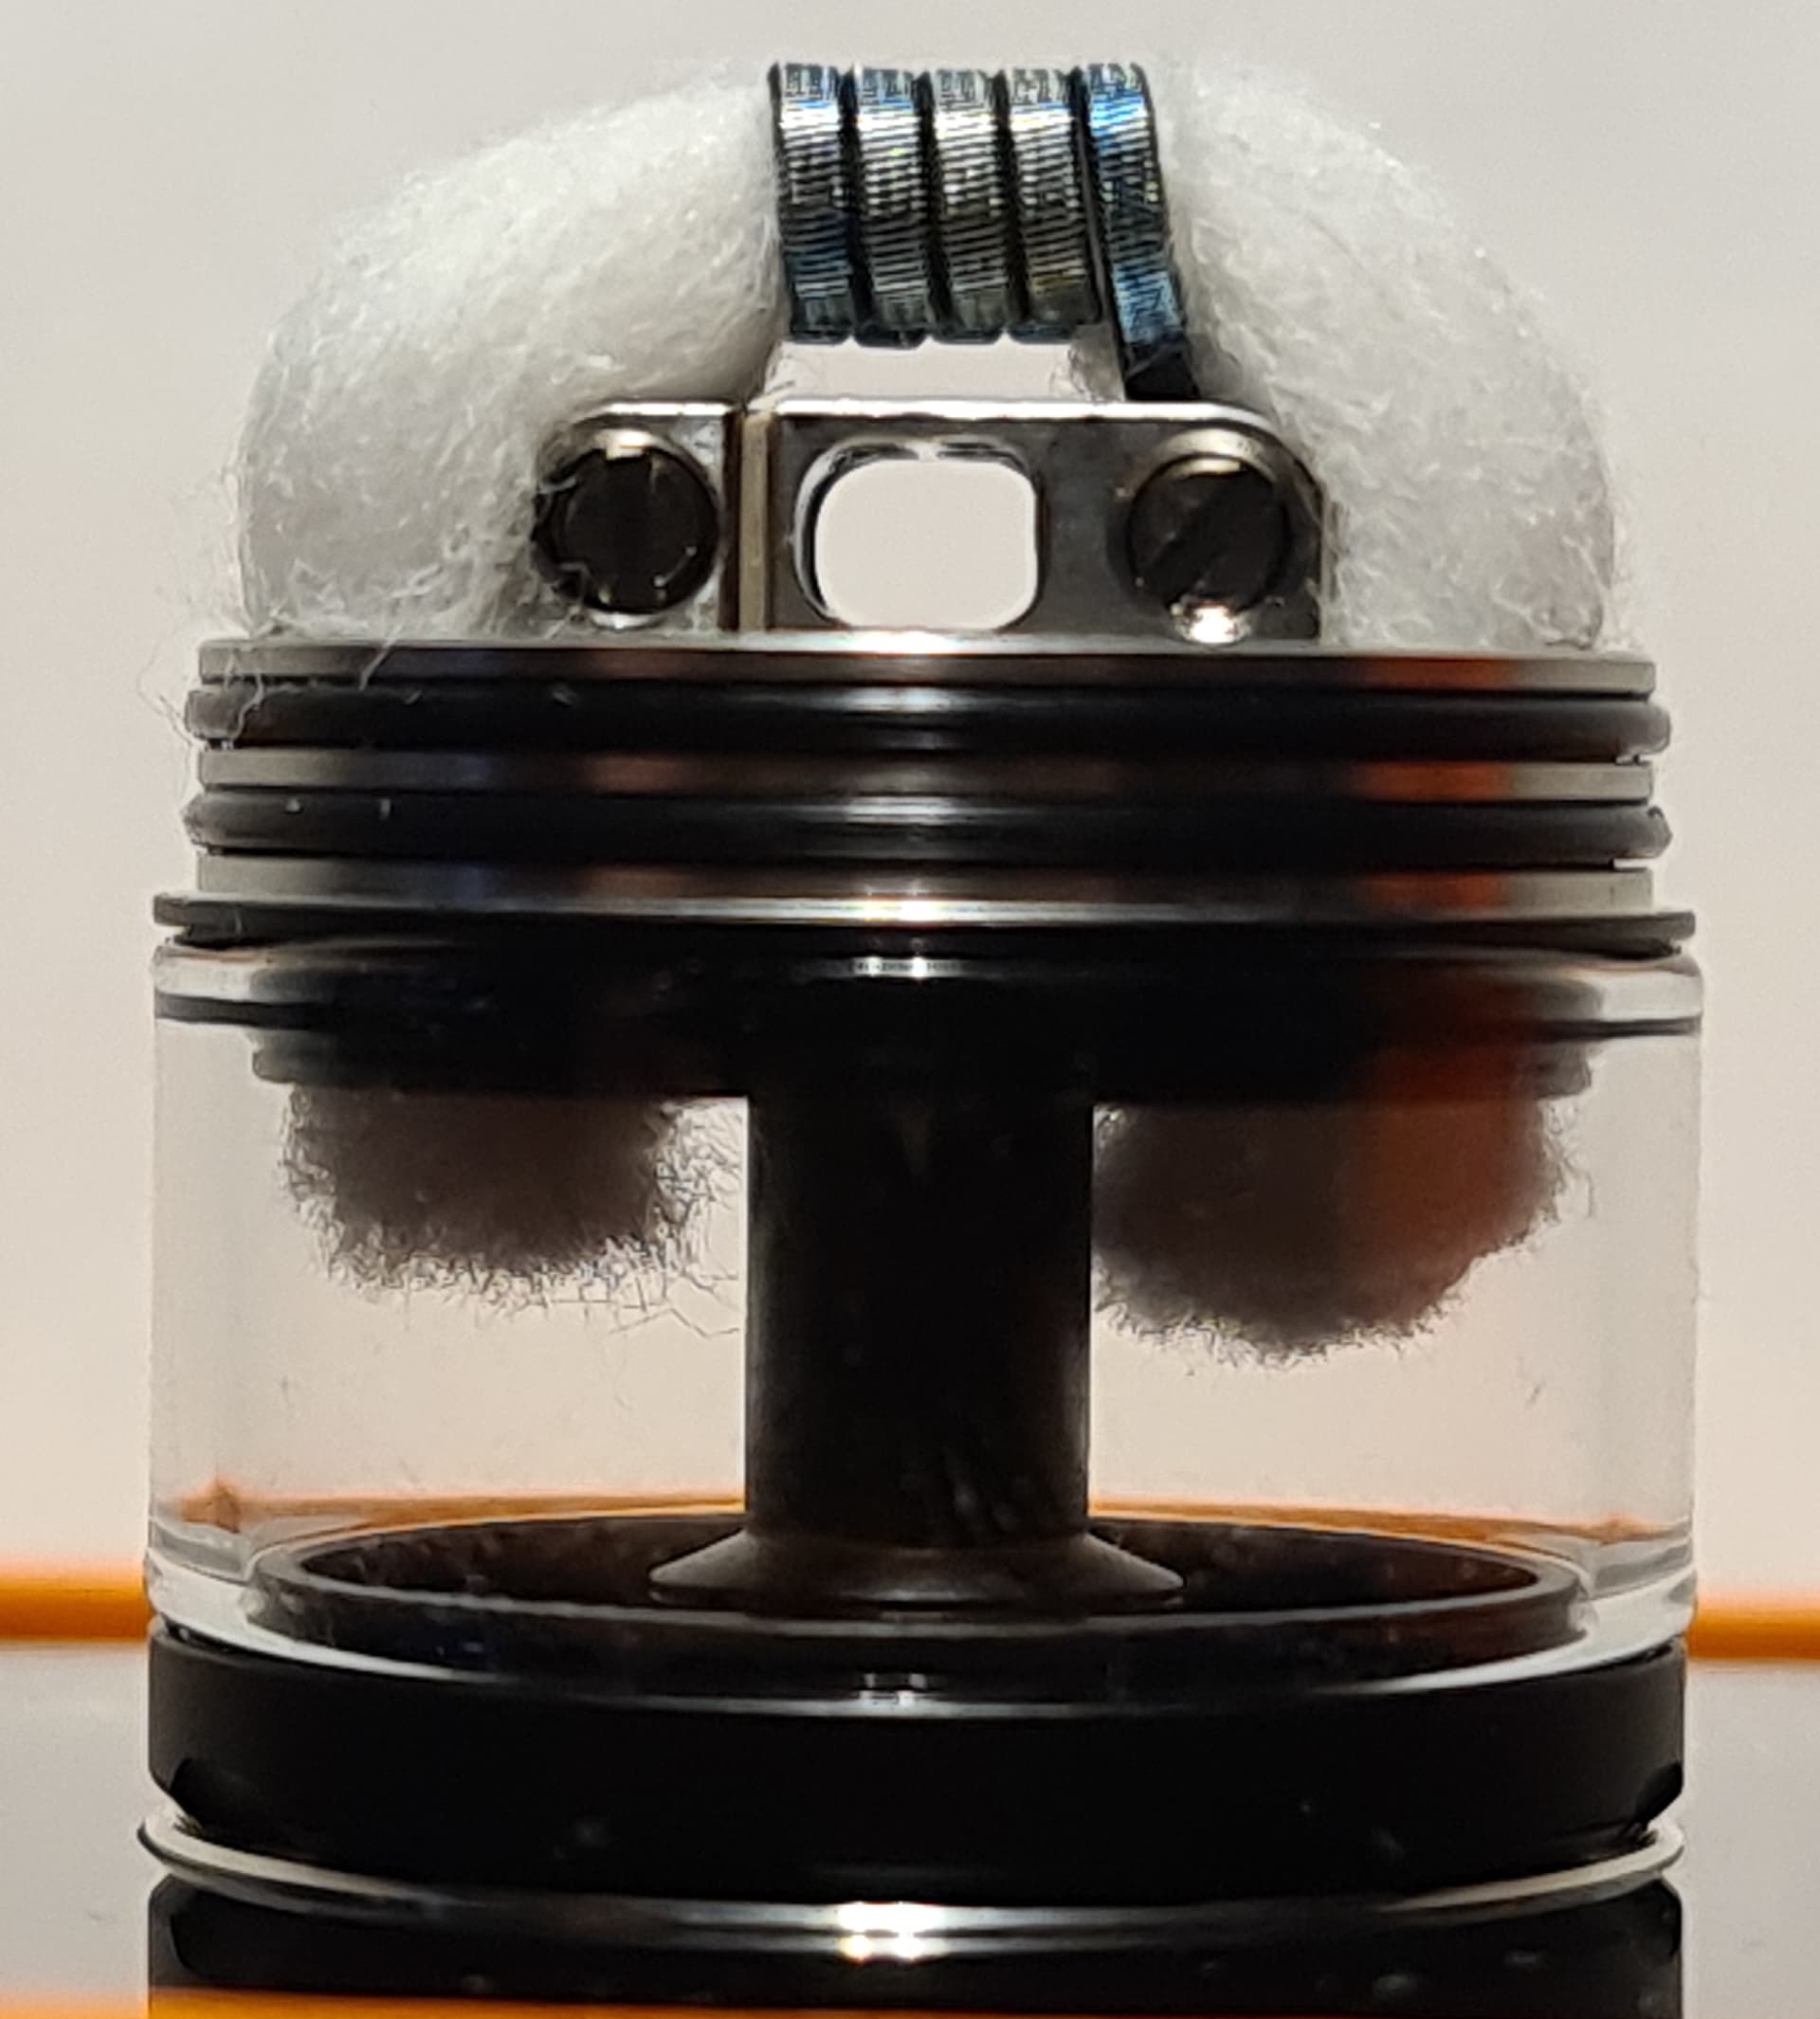
Tank nice and full:
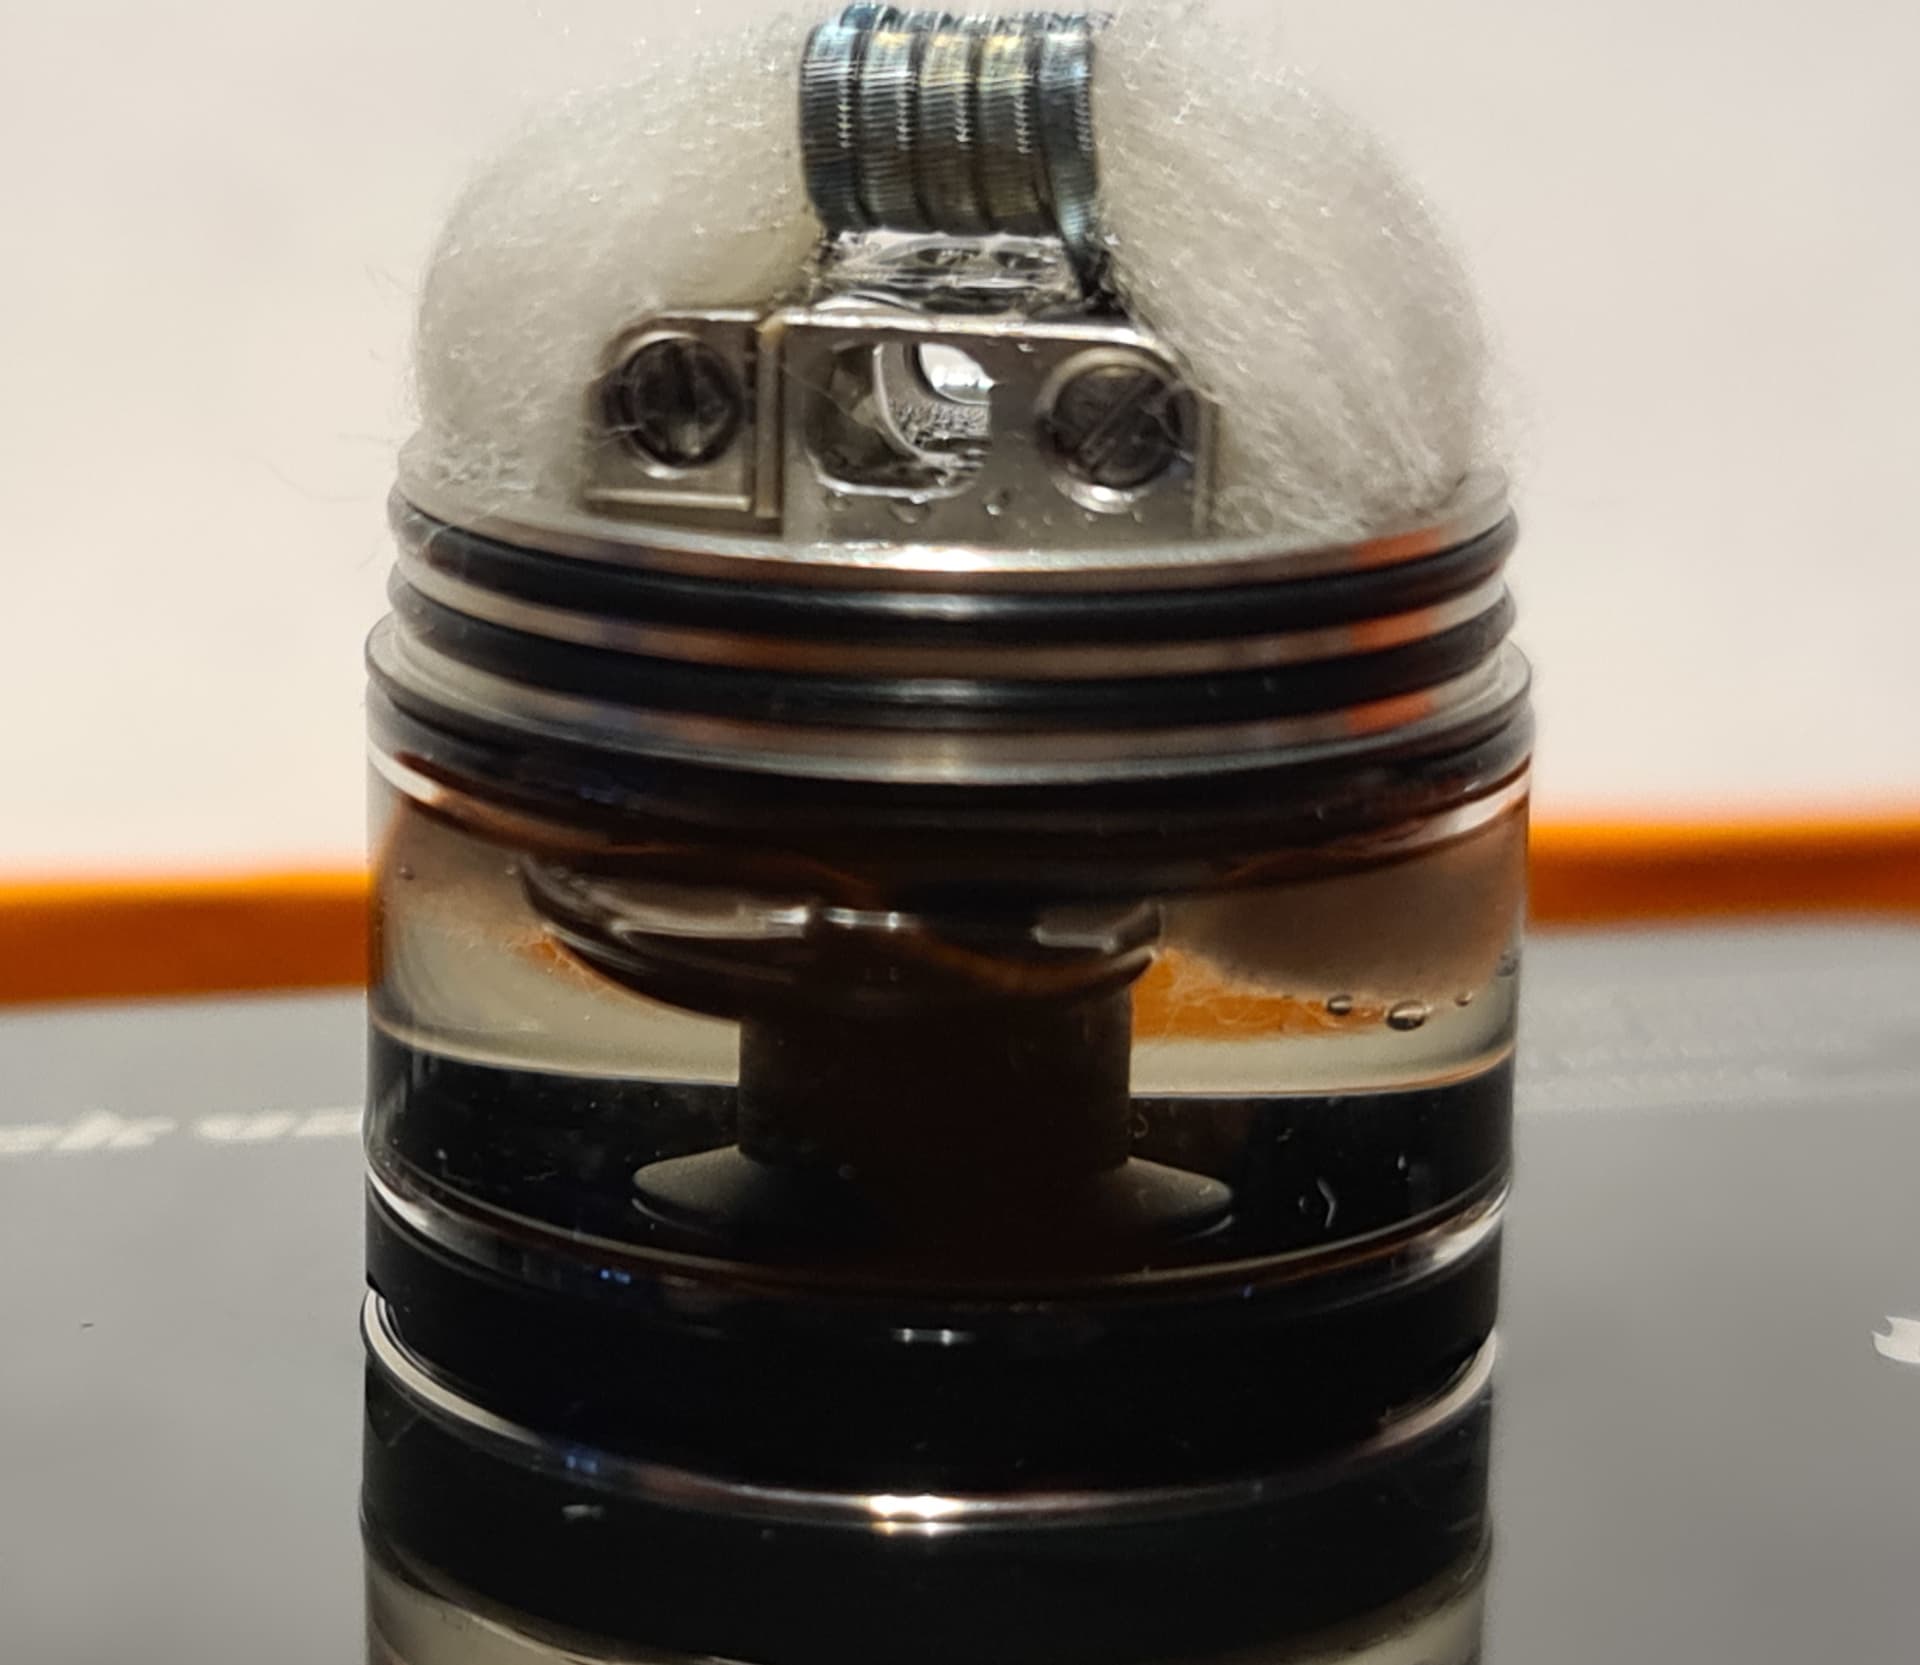
Replace the top section very easily by just lining up the pegs and pushing it down into place:
Job done!
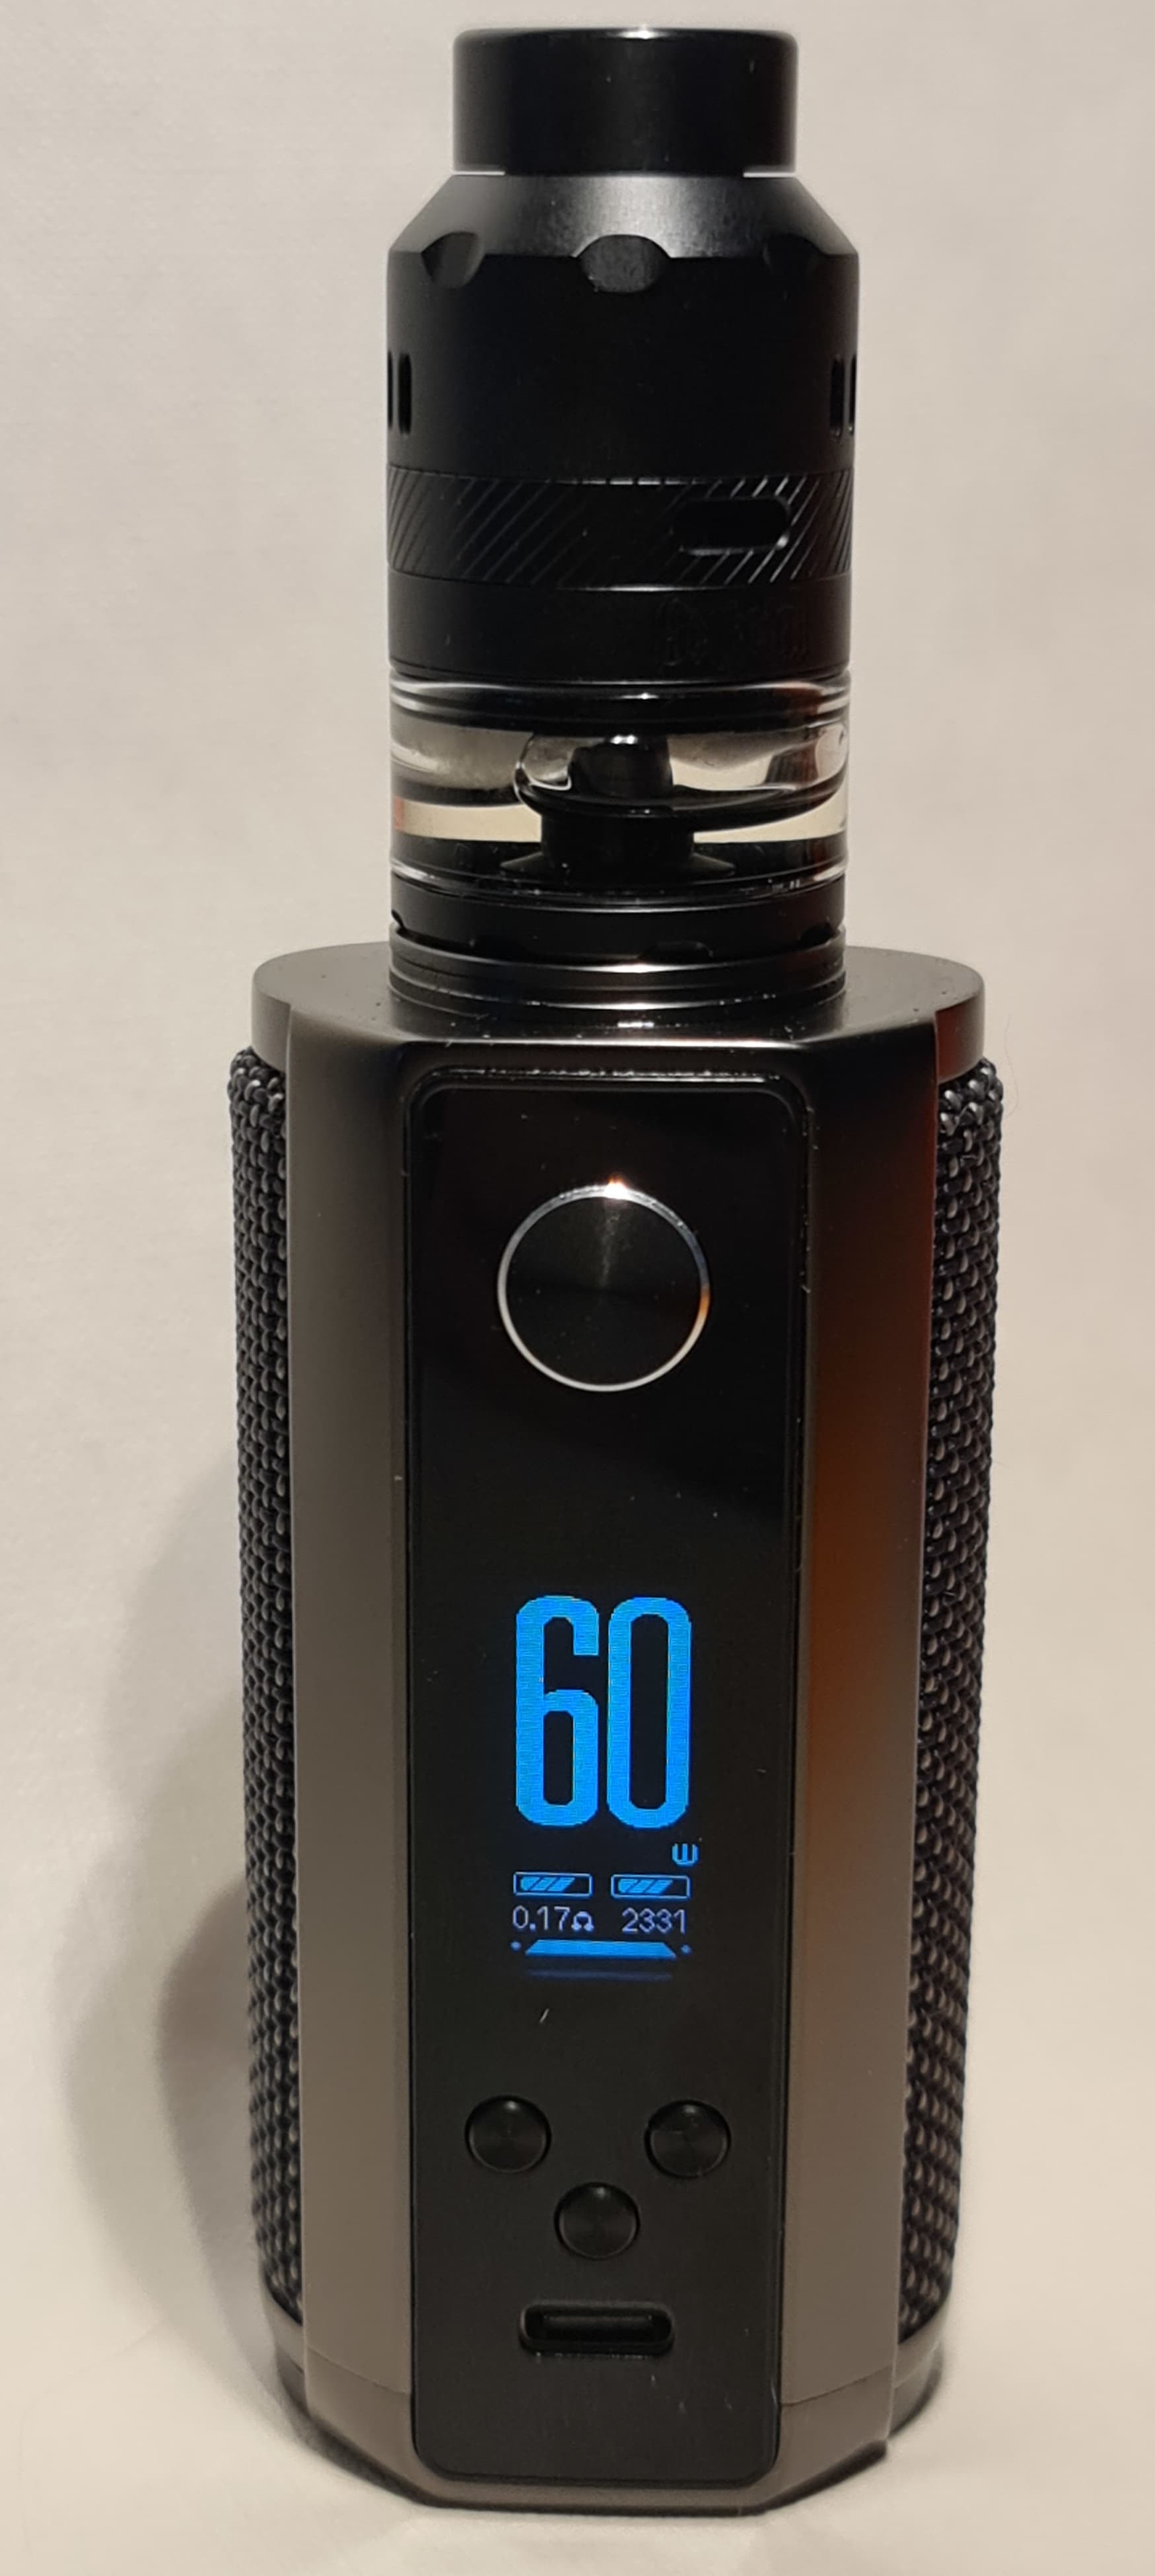
The Hellvape Hellheim RDTA fits perfectly onto my Vaporesso Target 200.
Time to get vaping and see how this thing performs…

Usage:
I am pleasantly surprised by this tank. It’s one of the easiest to build on that I’ve tried to date. It is the tank with the easiest access to the build deck and fill ports that I’ve seen. The airflow is highly customizable to suit your taste. I’m a lover of lots of airflow and this tank provides it in spades. Even with the top airflow closed, there is still plenty of airflow from the bottom one to keep me more than happy. The build deck is very spacious and easy to build on without anything getting in the way. You do need to cut the coil legs pre-install but that doesn’t bother me at all. The drip tip fits well and it’s high enough for my liking as I’m not a great fan of the short stubby ones. Now for the best bit. The flavour this thing chucks out is stupendous! I am very surprised how good it is, it’s easily up there with my Supreme v3, if not better. (ducks to avoid SD’s slap) It really is an amazing flavour chucker and at the price it is, is a must have for any flavour lover. You can even vape it with the top airflow closed so all the air coming in comes from below the coils and there is still plenty of airflow. I suppose I should mention the clouds, even though I don’t care about them, others do I guess and this tank should keep them happy enough.
Pros:
- Flavour (amazing!)
- Leakproof design. (I can’t believe this isn’t even mentioned anywhere)
- Build deck access is the easiest yet. No need to empty the tank or anything. Just pull off the top and away you go.
- Decent sized build deck for a tank of this size. It’s bigger than the build deck on a 30mm RTA I recently bought…
- Huge wicking channels for super easy wicking
- Dual airflow rings and very good airflow even with the top one completely closed.
- Did I mention the flavour?
- Very good build quality. The single threaded part on it (not counting the 510 connector) is silky smooth and everything else fits together like a glove.
- Perfectly fitting airflow control rings. Just the right amount of tension needed to turn them.
- Price. Very competitively priced for such a good tank. Currently £23.94 ($31.27) at Sourcemore
Cons:
I’m really struggling to come up with any cons to be honest but there is one or two teeny tiny ones.
- The top airflow control can’t really be closed completely or the top cap just comes off in your hand. You can just overlap the last pair of honeycomb holes with the grid cut-outs on the top cap to pretty much cover them but if there was just a few mm more of turning before it came off it would be perfect.
- The juice fill ports could be a little more accommodating for bigger tipped bottles but again, this is a minor gripe and is more than likely down to the way the tank is designed with the juice fill ports doubling up to hold the top cap in place and with them being on the lower part of the build deck. Another mm or two wouldn’t have hurt though.
- The inner box could do with a notch on each side to grip it with one hand while removing the lid with the other.
Final thoughts:
Flavour, flavour, flavour. This is way up there among the best RTA/RDTA’s that I’ve tried for flavour, it really is that good. I’m so impressed with it that I may well get at least another one. Or two…
Well that’s your lot for this Hellvape Hellheim RDTA review. I hope it is informative enough for you as this is literally the first time I’ve ever reviewed anything, vape related or otherwise, in my entire life, so apologies if it isn’t up to scratch. If you managed to get this far without falling asleep, then feel free to give yourself a big pat on the back!
I am not affiliated in any way with Sourcemore but I have been asked by Joyi to include this code in my review which will get you a nice discount:
$22.69 - Hellvape Helheim RDTA - Code: HELR
You’d be silly not to buy this flavour chucker at that price to be honest!
I’d like to once again thank Joyi from Sourcemore for providing me with the Hellvape Hellheim RDTA for the purpose of this review.
Thanks for reading!