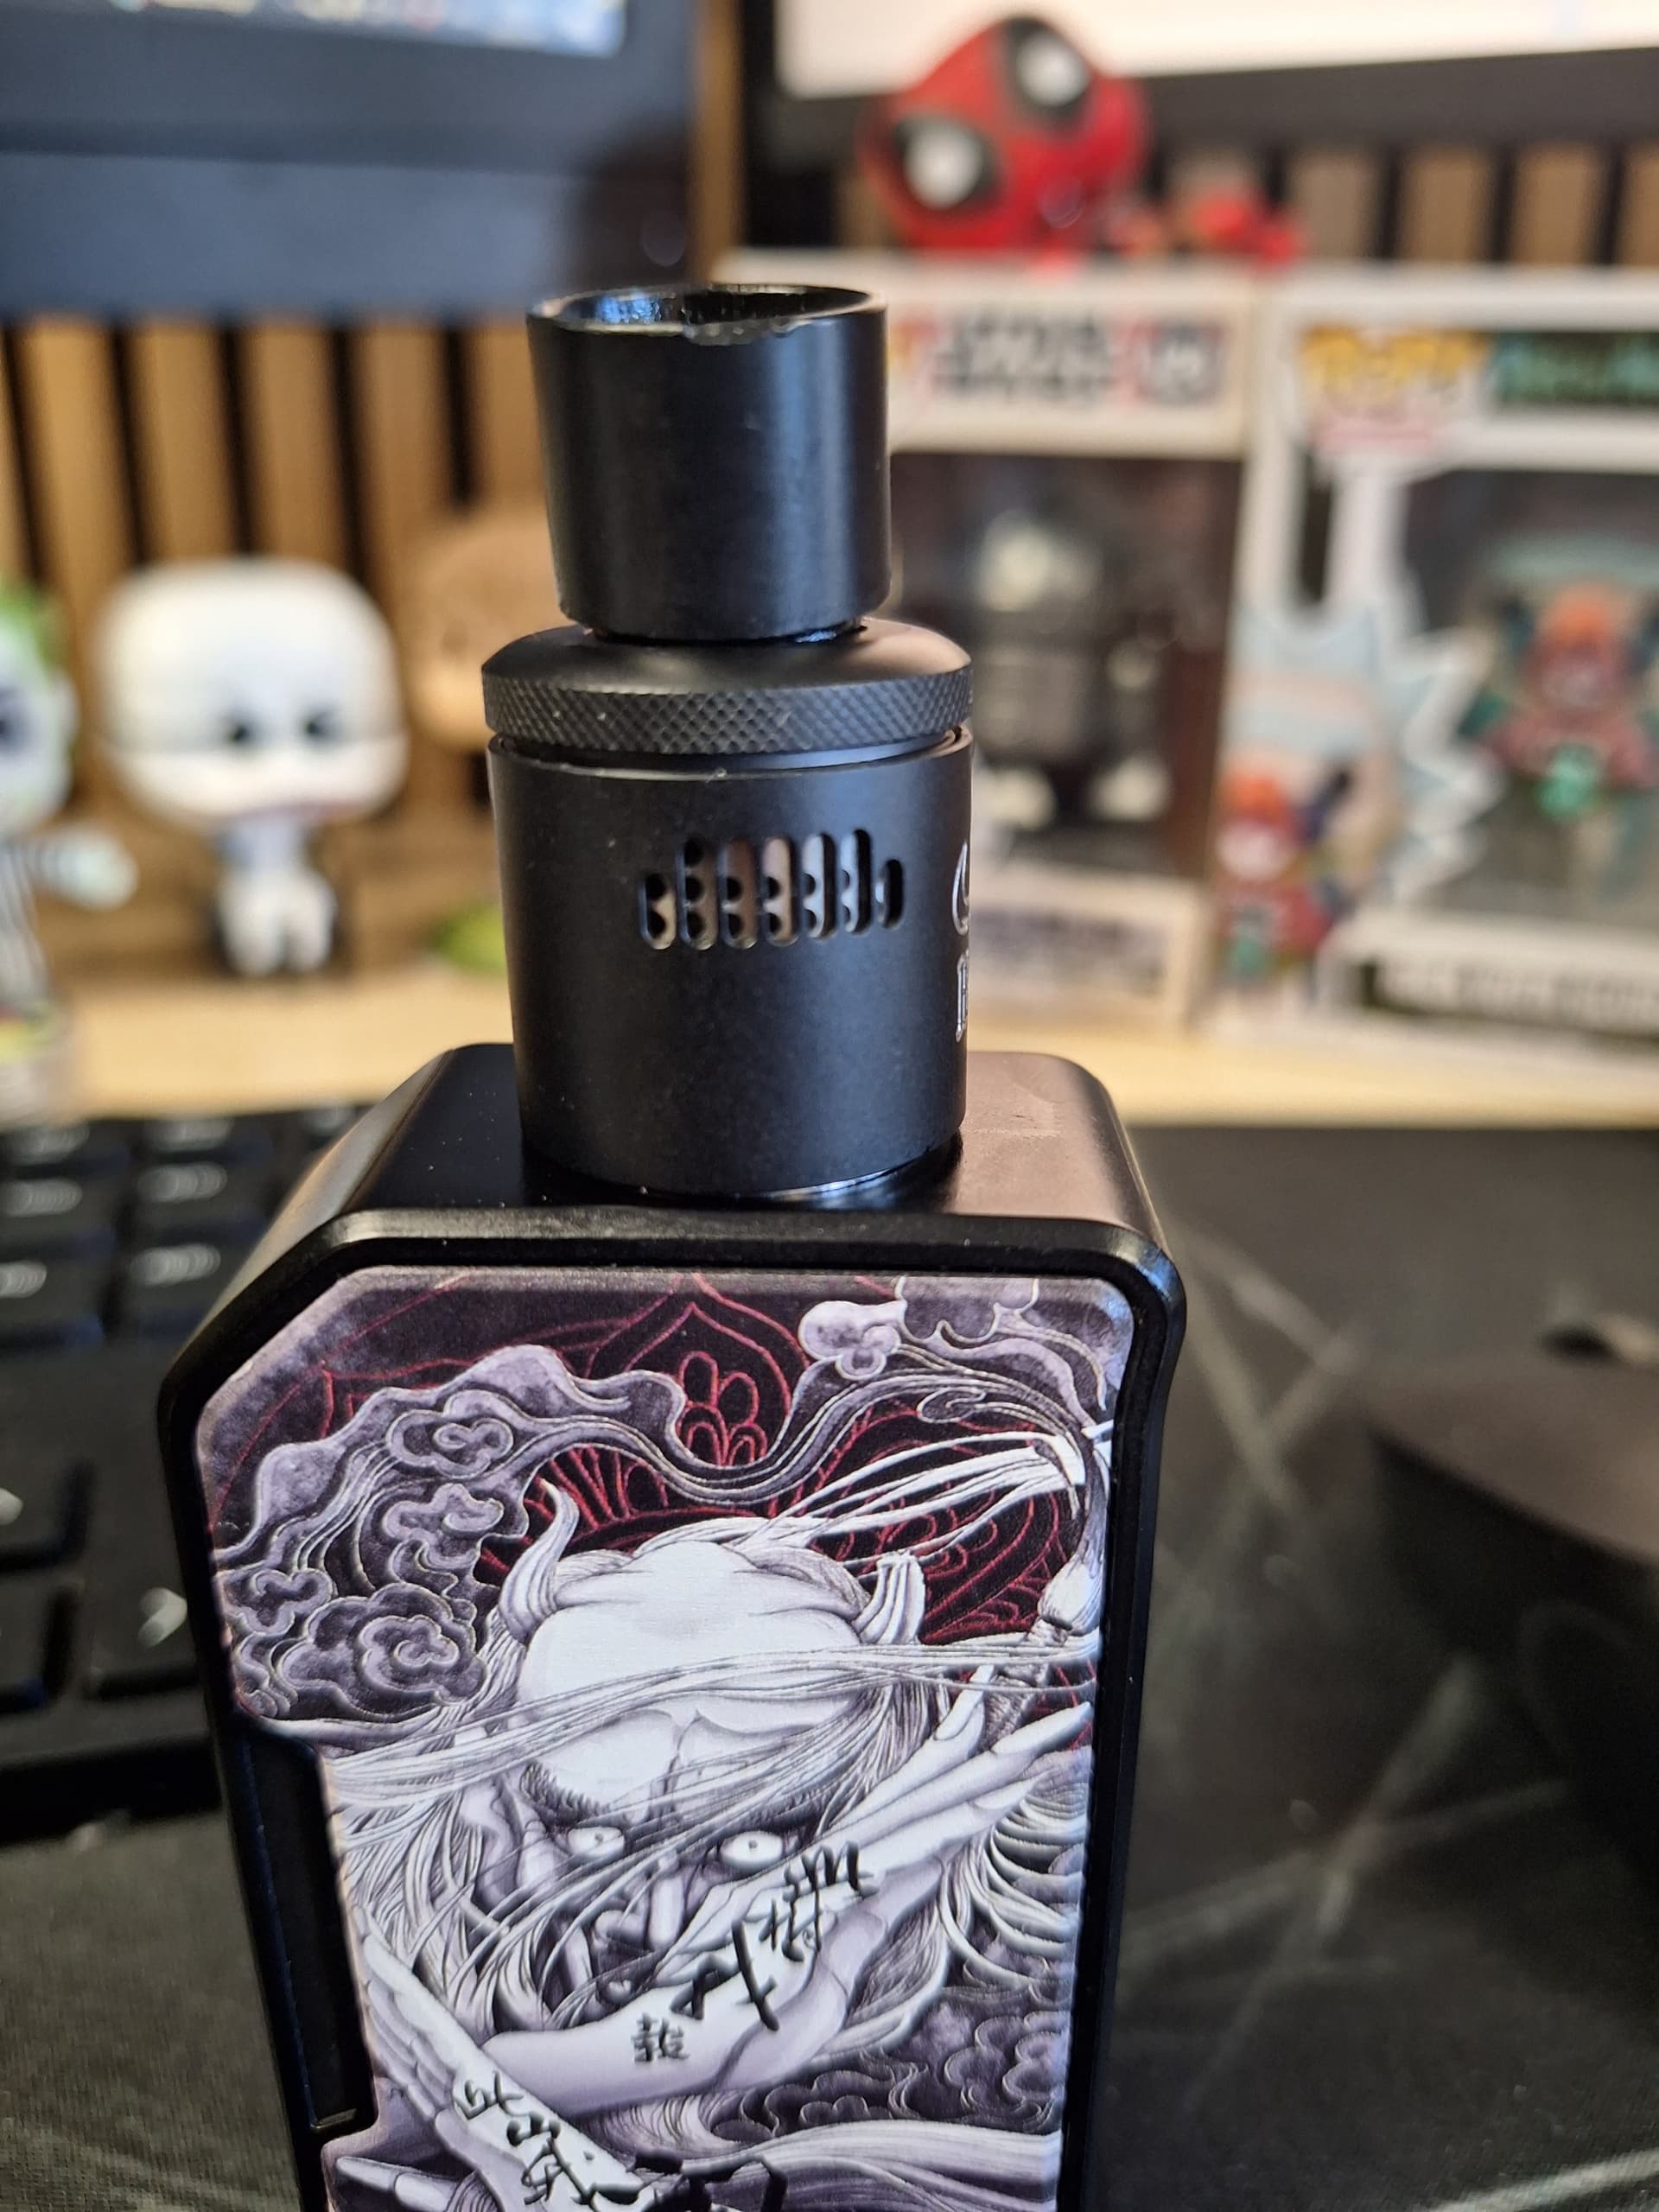
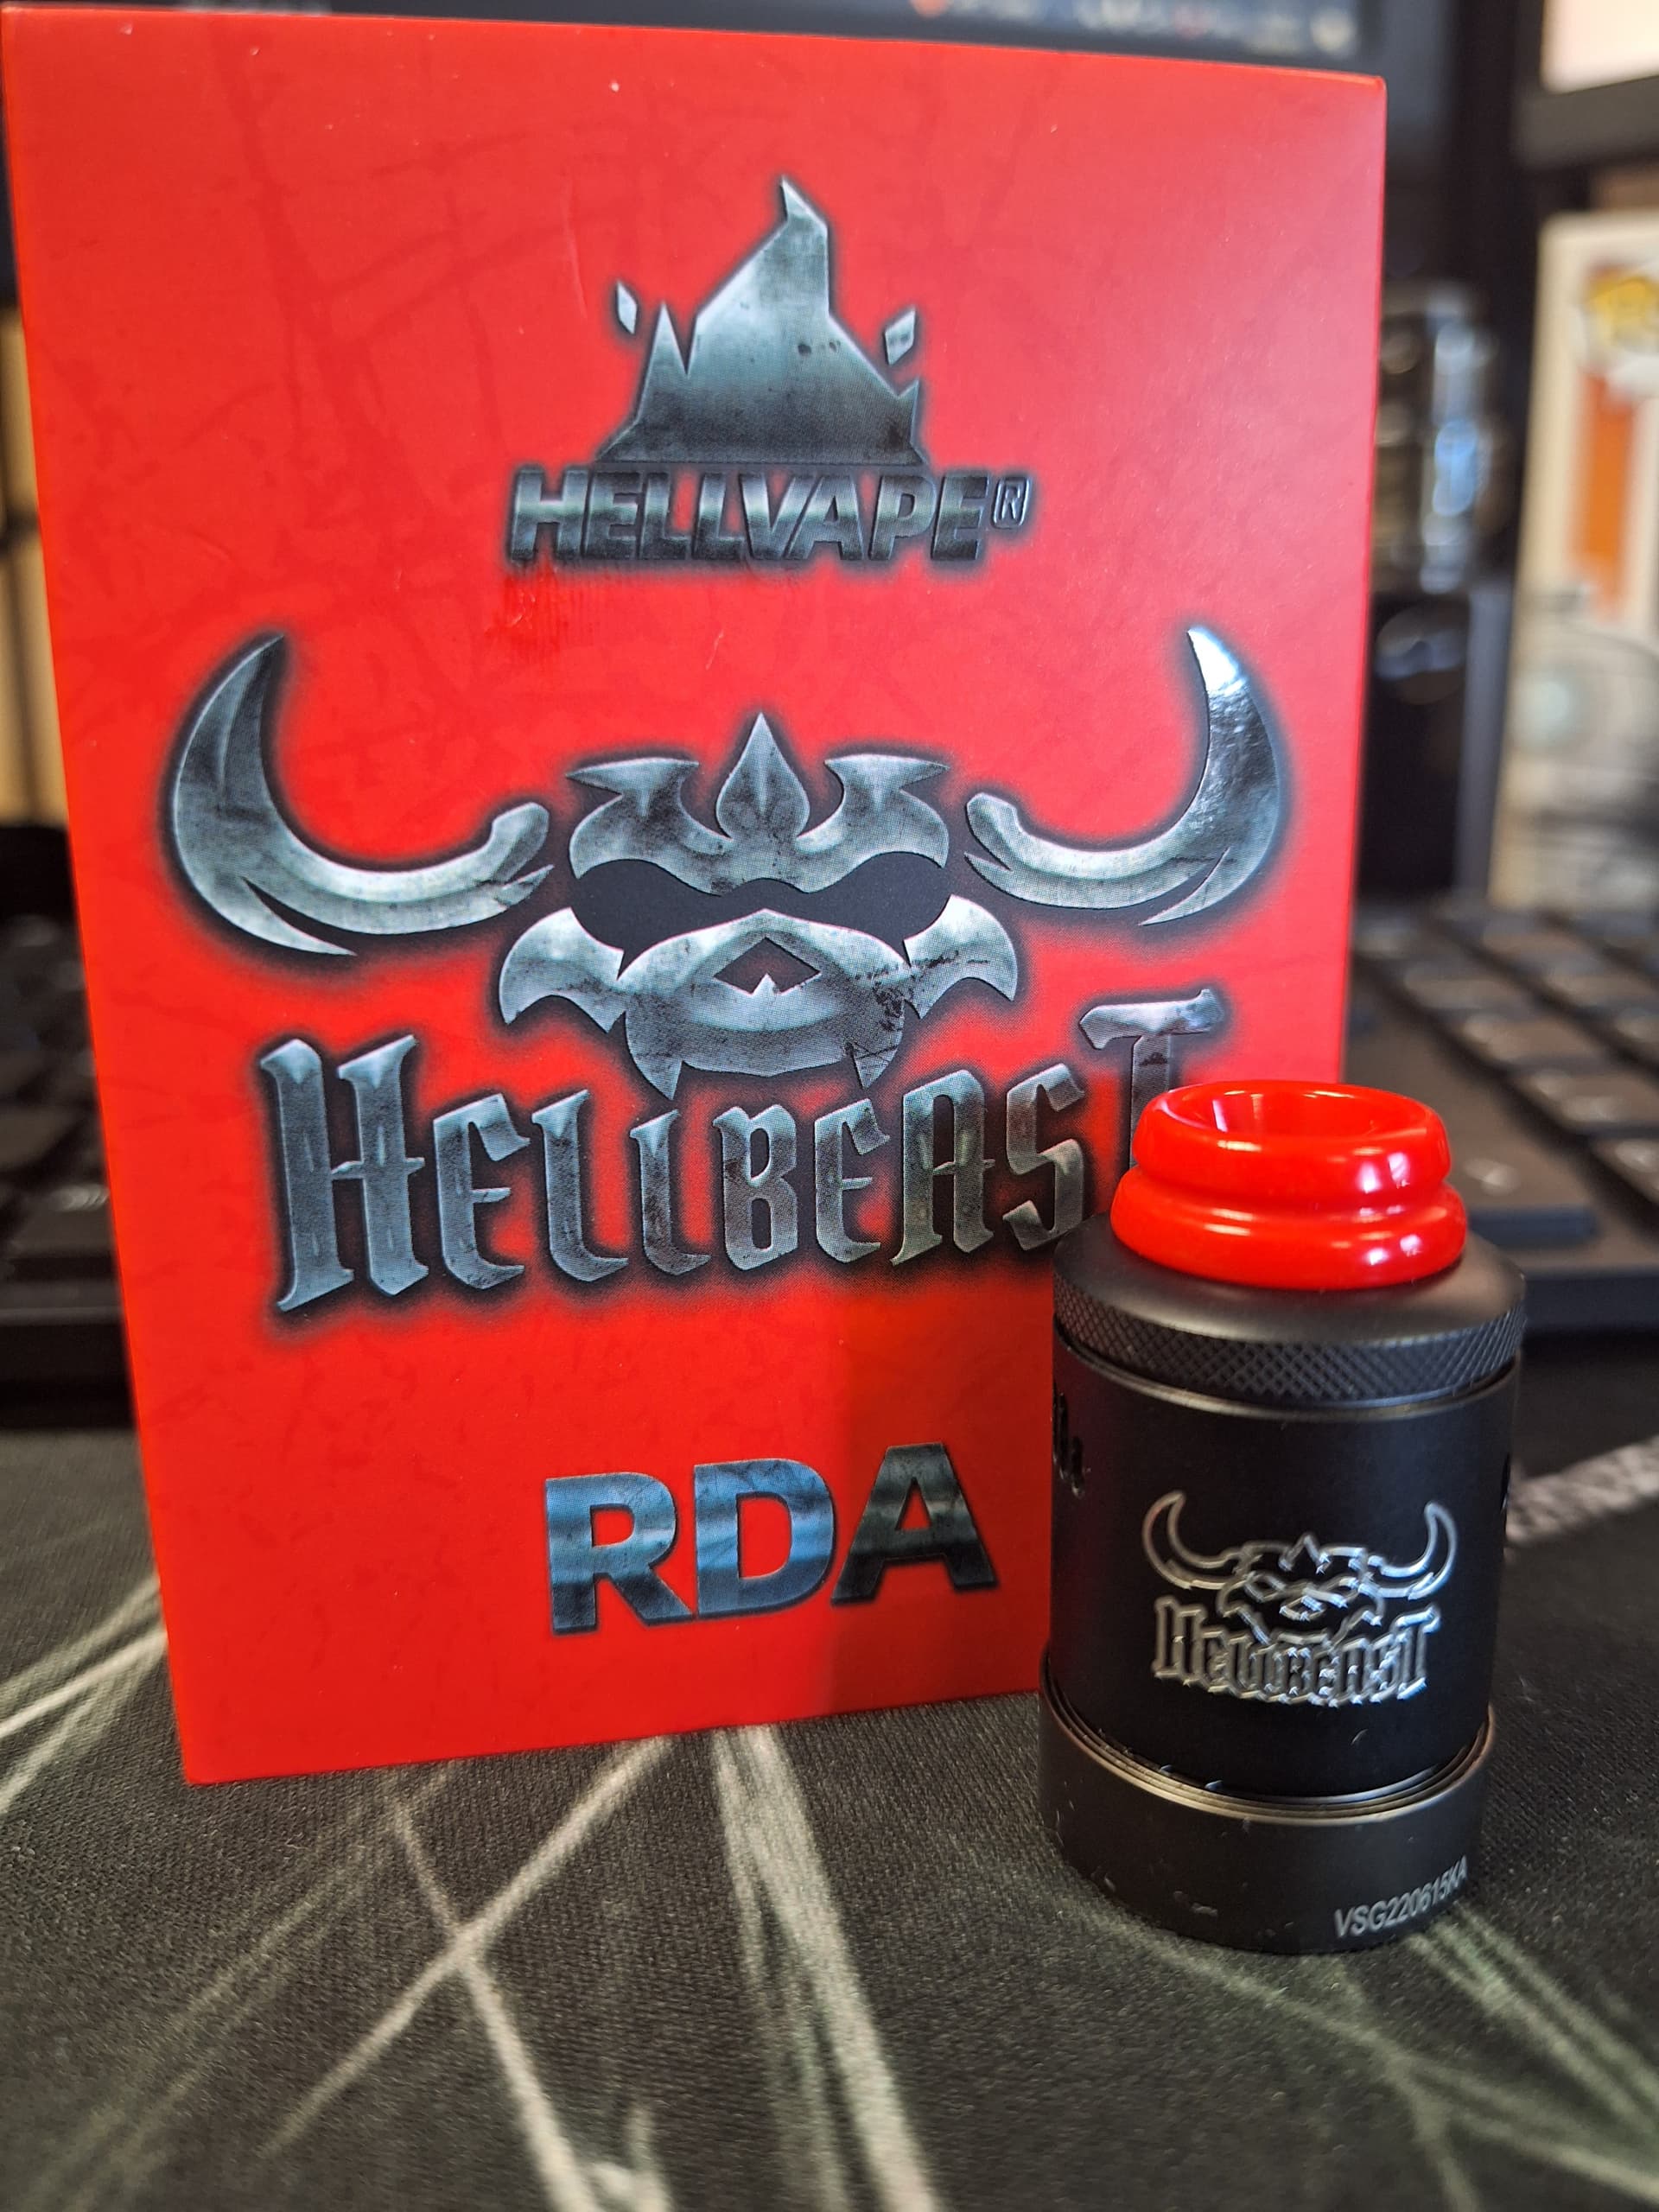
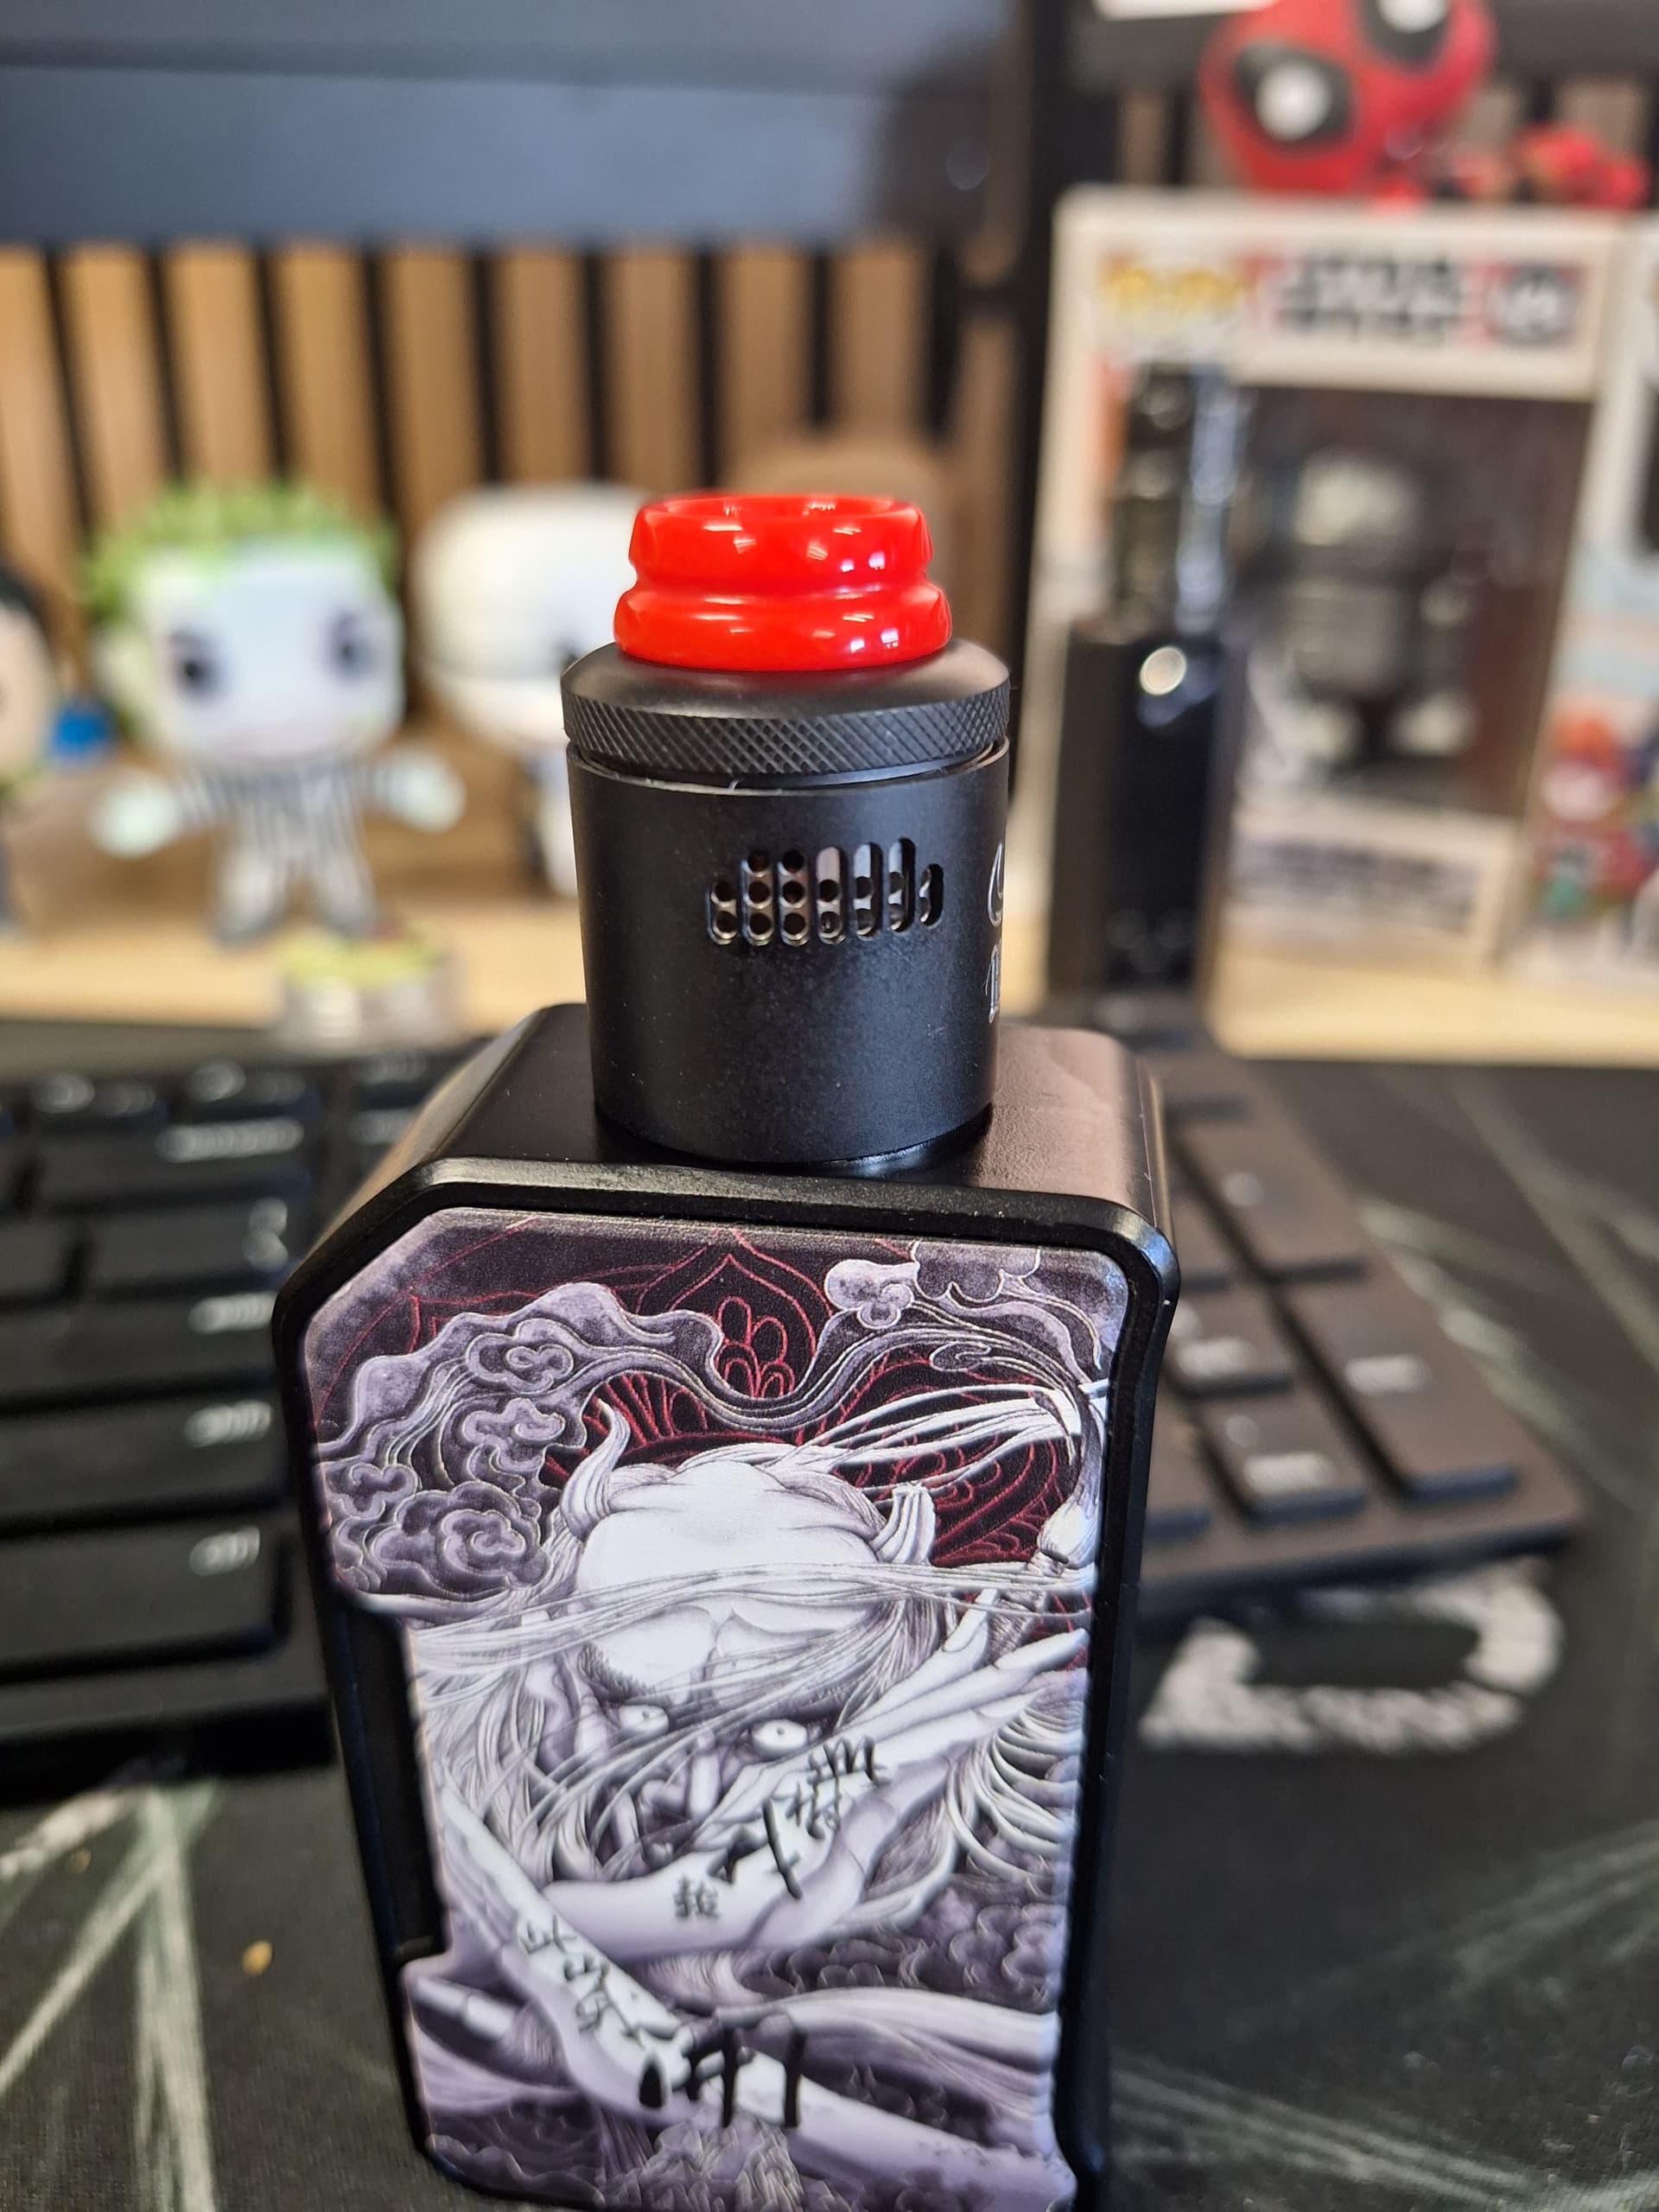
The Hellvape Hellbeast RDA is a standout in the world of rebuildable dripping atomizers, offering a unique combination of style, versatility, and exceptional flavor. As an avid vaper who appreciates the finer details of design and performance, I have thoroughly enjoyed my experience with the matt black variant adorned with the silver demon skull logo. Paired with my Dovpo MVV featuring the White Devil design, the Hellbeast RDA completes a striking setup that demands attention.
Appearance:
The matt black finish of the Hellbeast RDA, coupled with the intricately designed silver demon skull logo, creates an alluring visual contrast that adds an edgy touch to any mod it graces. While personal preferences vary, the amalgamation of these elements makes for a compelling aesthetic, especially when complemented by the White Devil design on the Dovpo MVV. The combination is eye-catching and satisfyingly cohesive.
Performance and Flavor:
One of the standout features of the Hellbeast RDA is its remarkable flavor production. When it comes to mixing and sampling e-liquids, this RDA proves to be the quintessential companion. The flavor nuances are vividly portrayed, offering a depth and richness that other atomizers may struggle to replicate. This makes it an essential tool for those who enjoy exploring the subtleties of different e-liquid profiles.
Airflow Versatility:
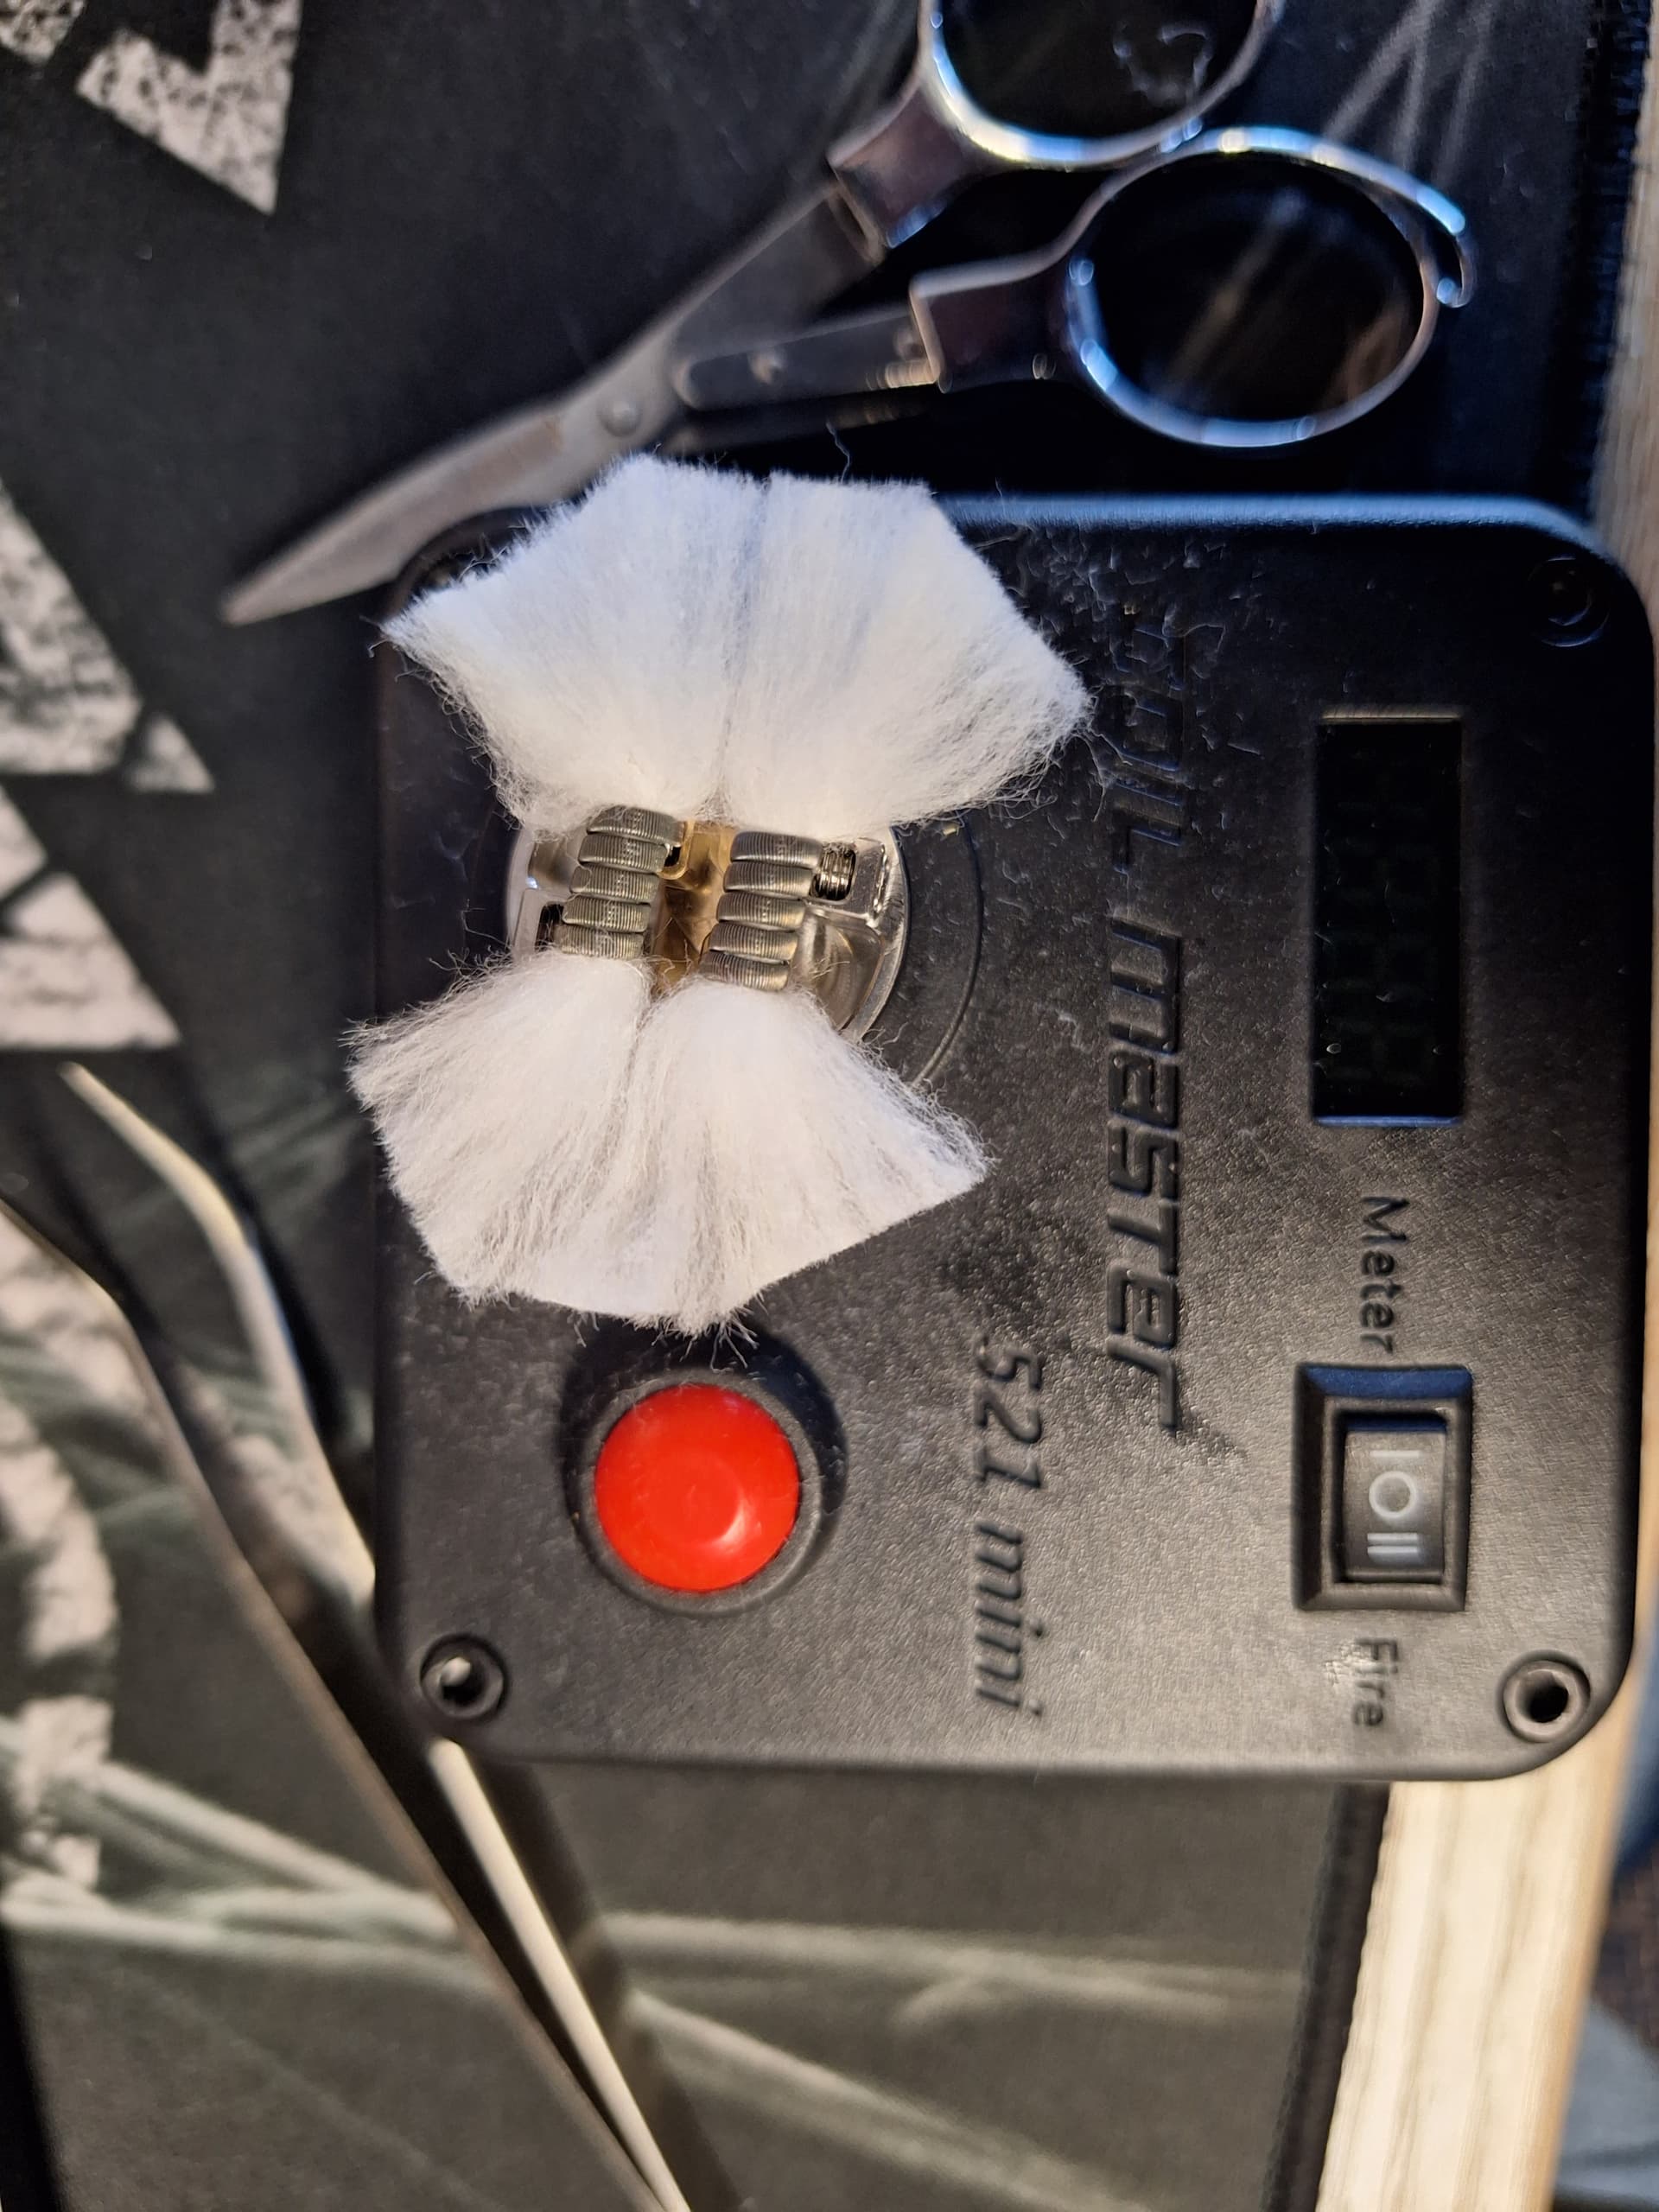
The Hellbeast RDA’s airflow system is a marvel of engineering, boasting an astonishing 72 air holes that grant an unparalleled level of customization. This impressive array of options allows for fine-tuning your vaping experience to perfection. Personally, I find satisfaction in configuring the airflow so that the top row remains mostly closed, save for two holes. This setup provides a balance of restricted draw and ample vapor production, enhancing the overall enjoyment of each vape.
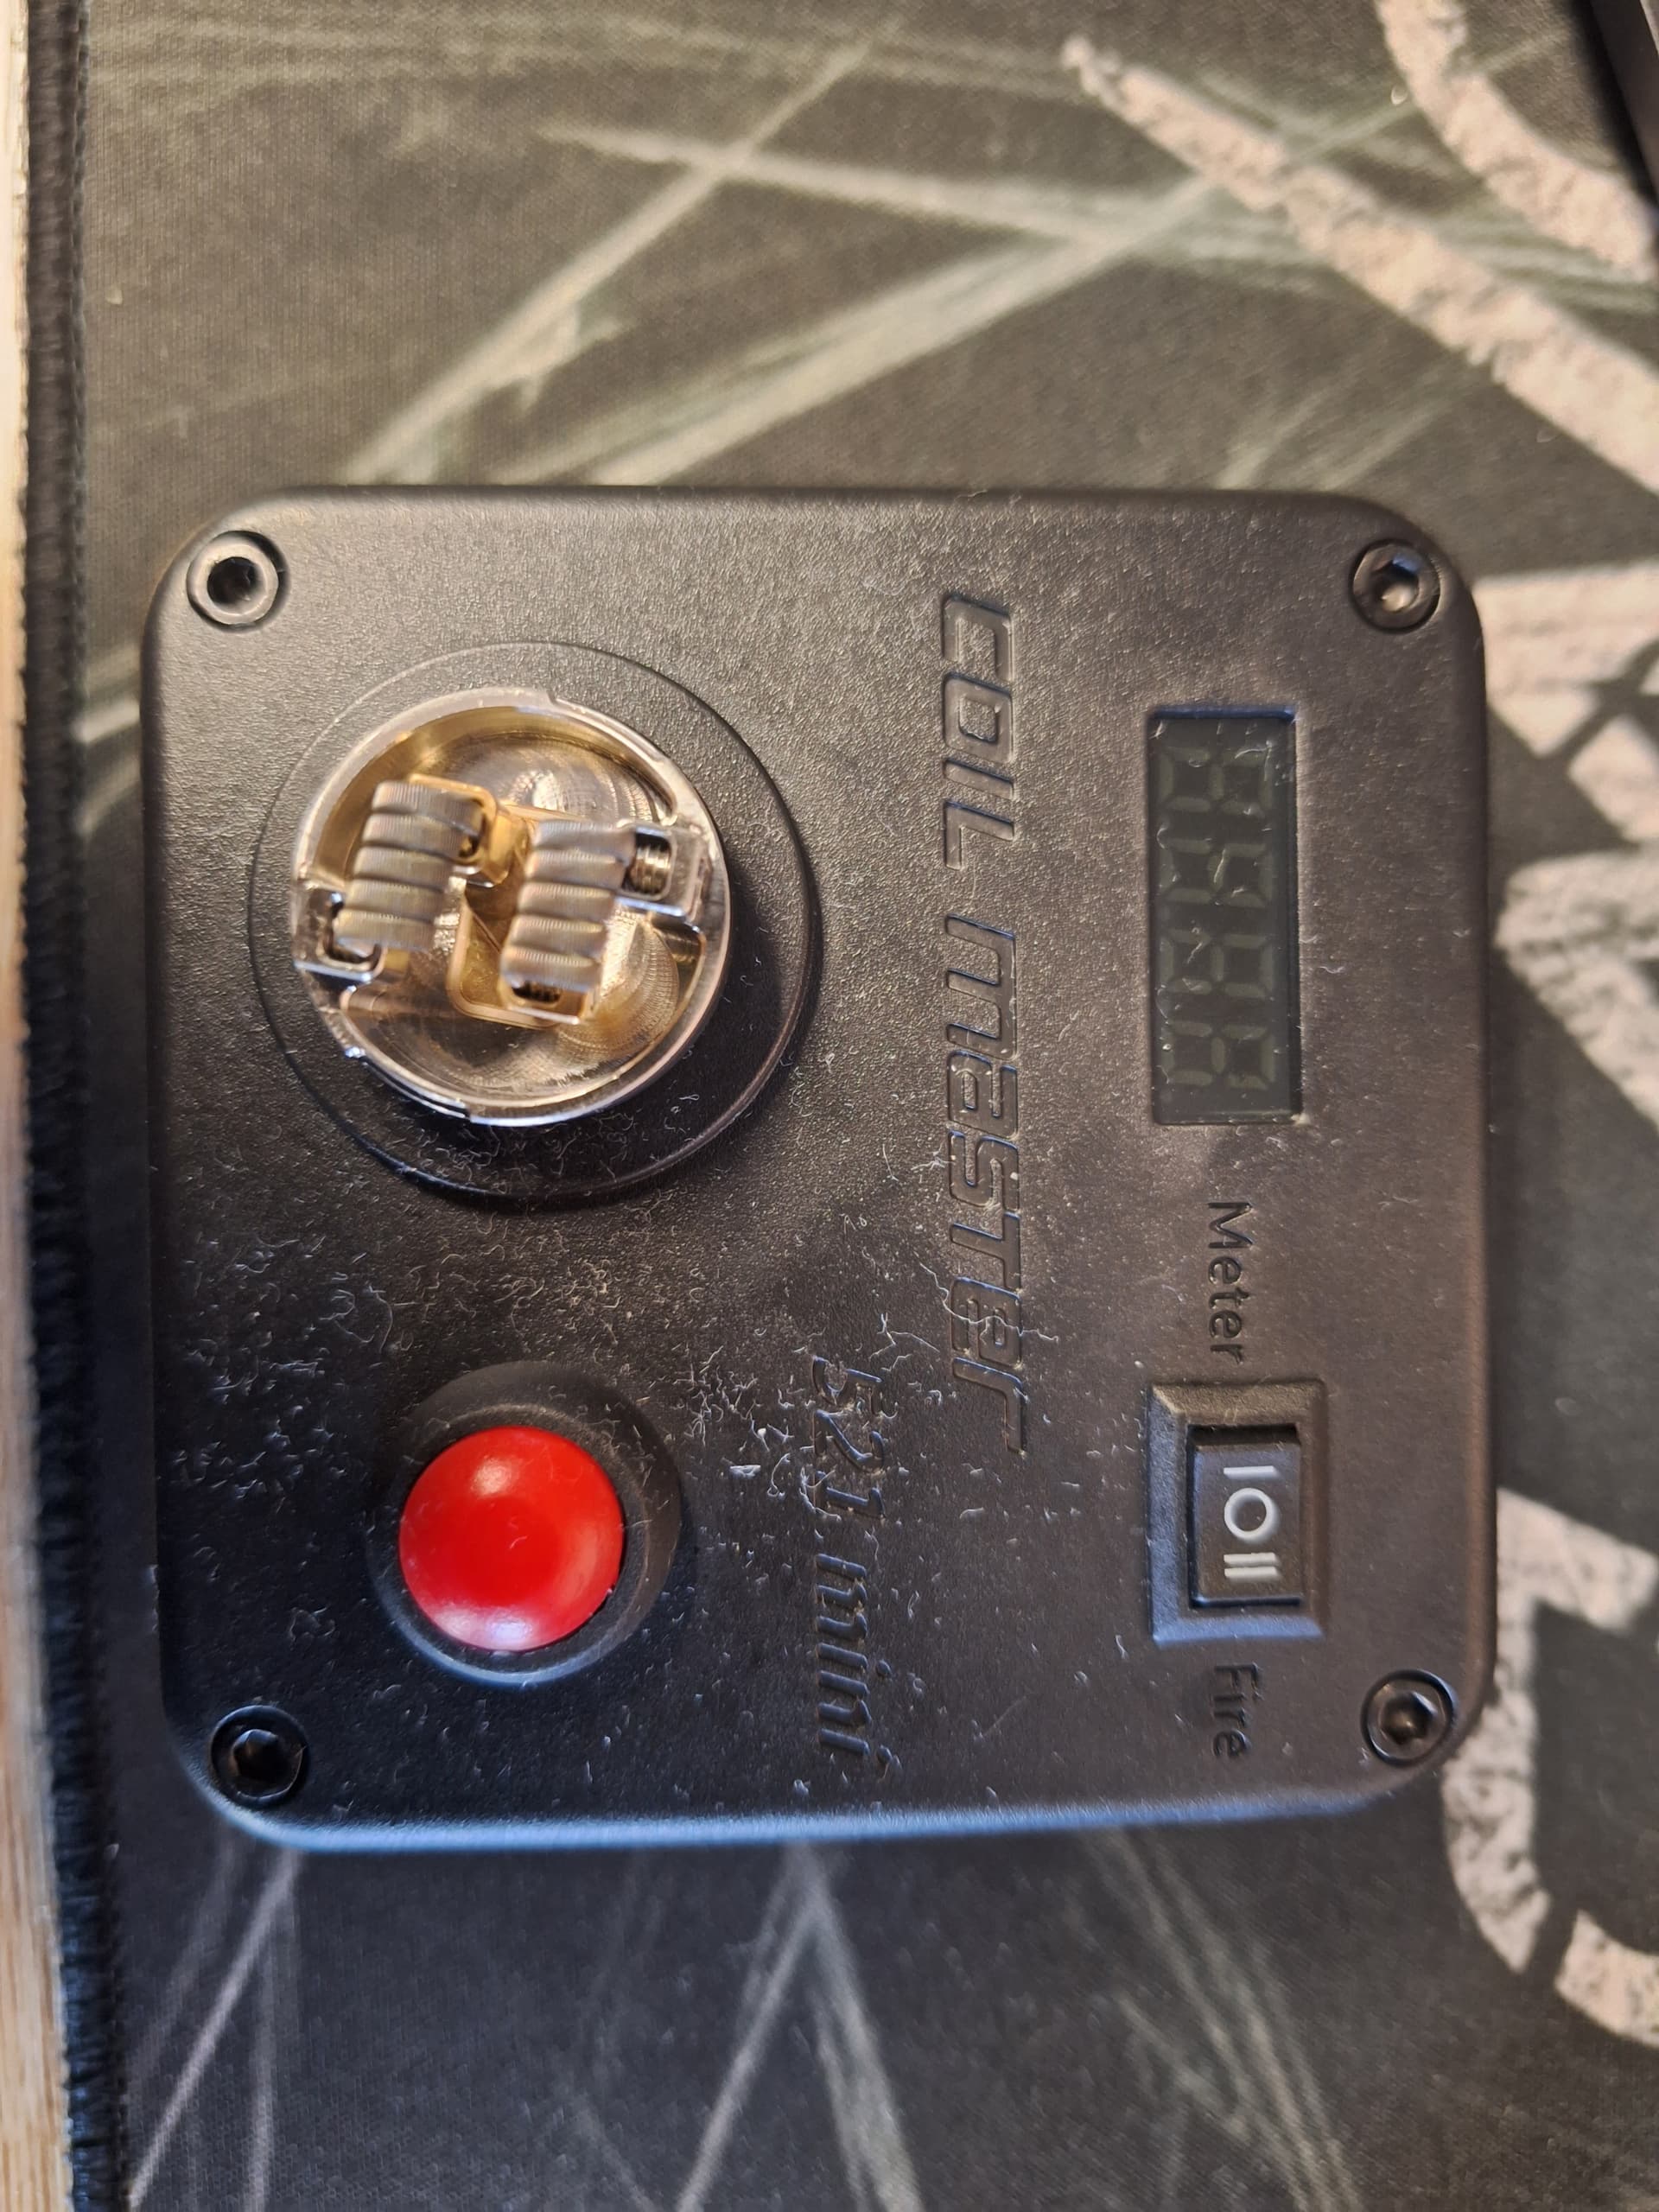
Build-Friendly Deck:
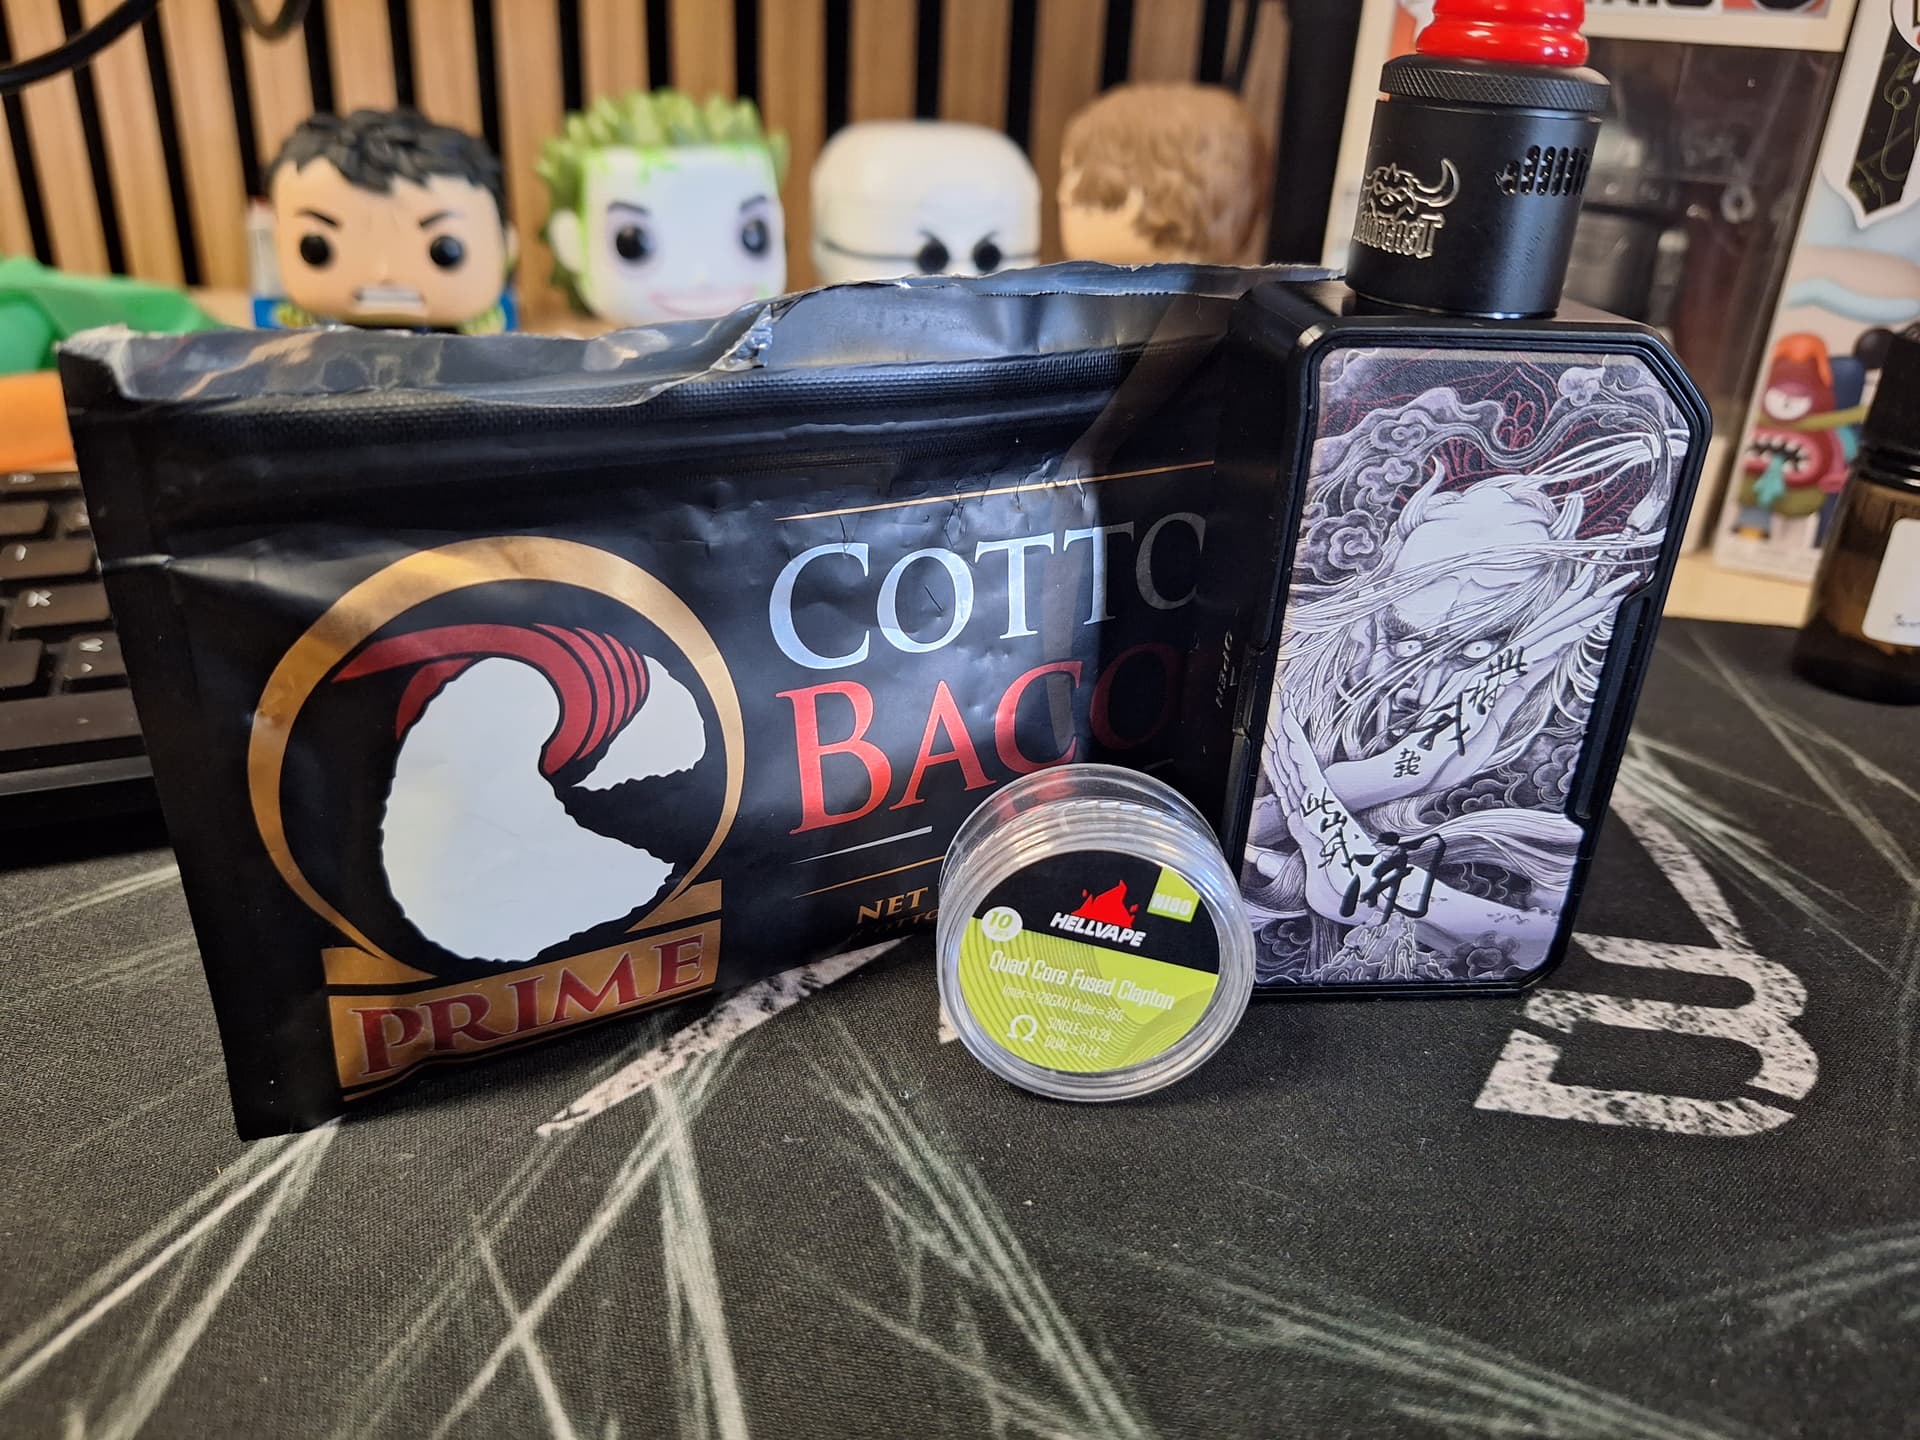
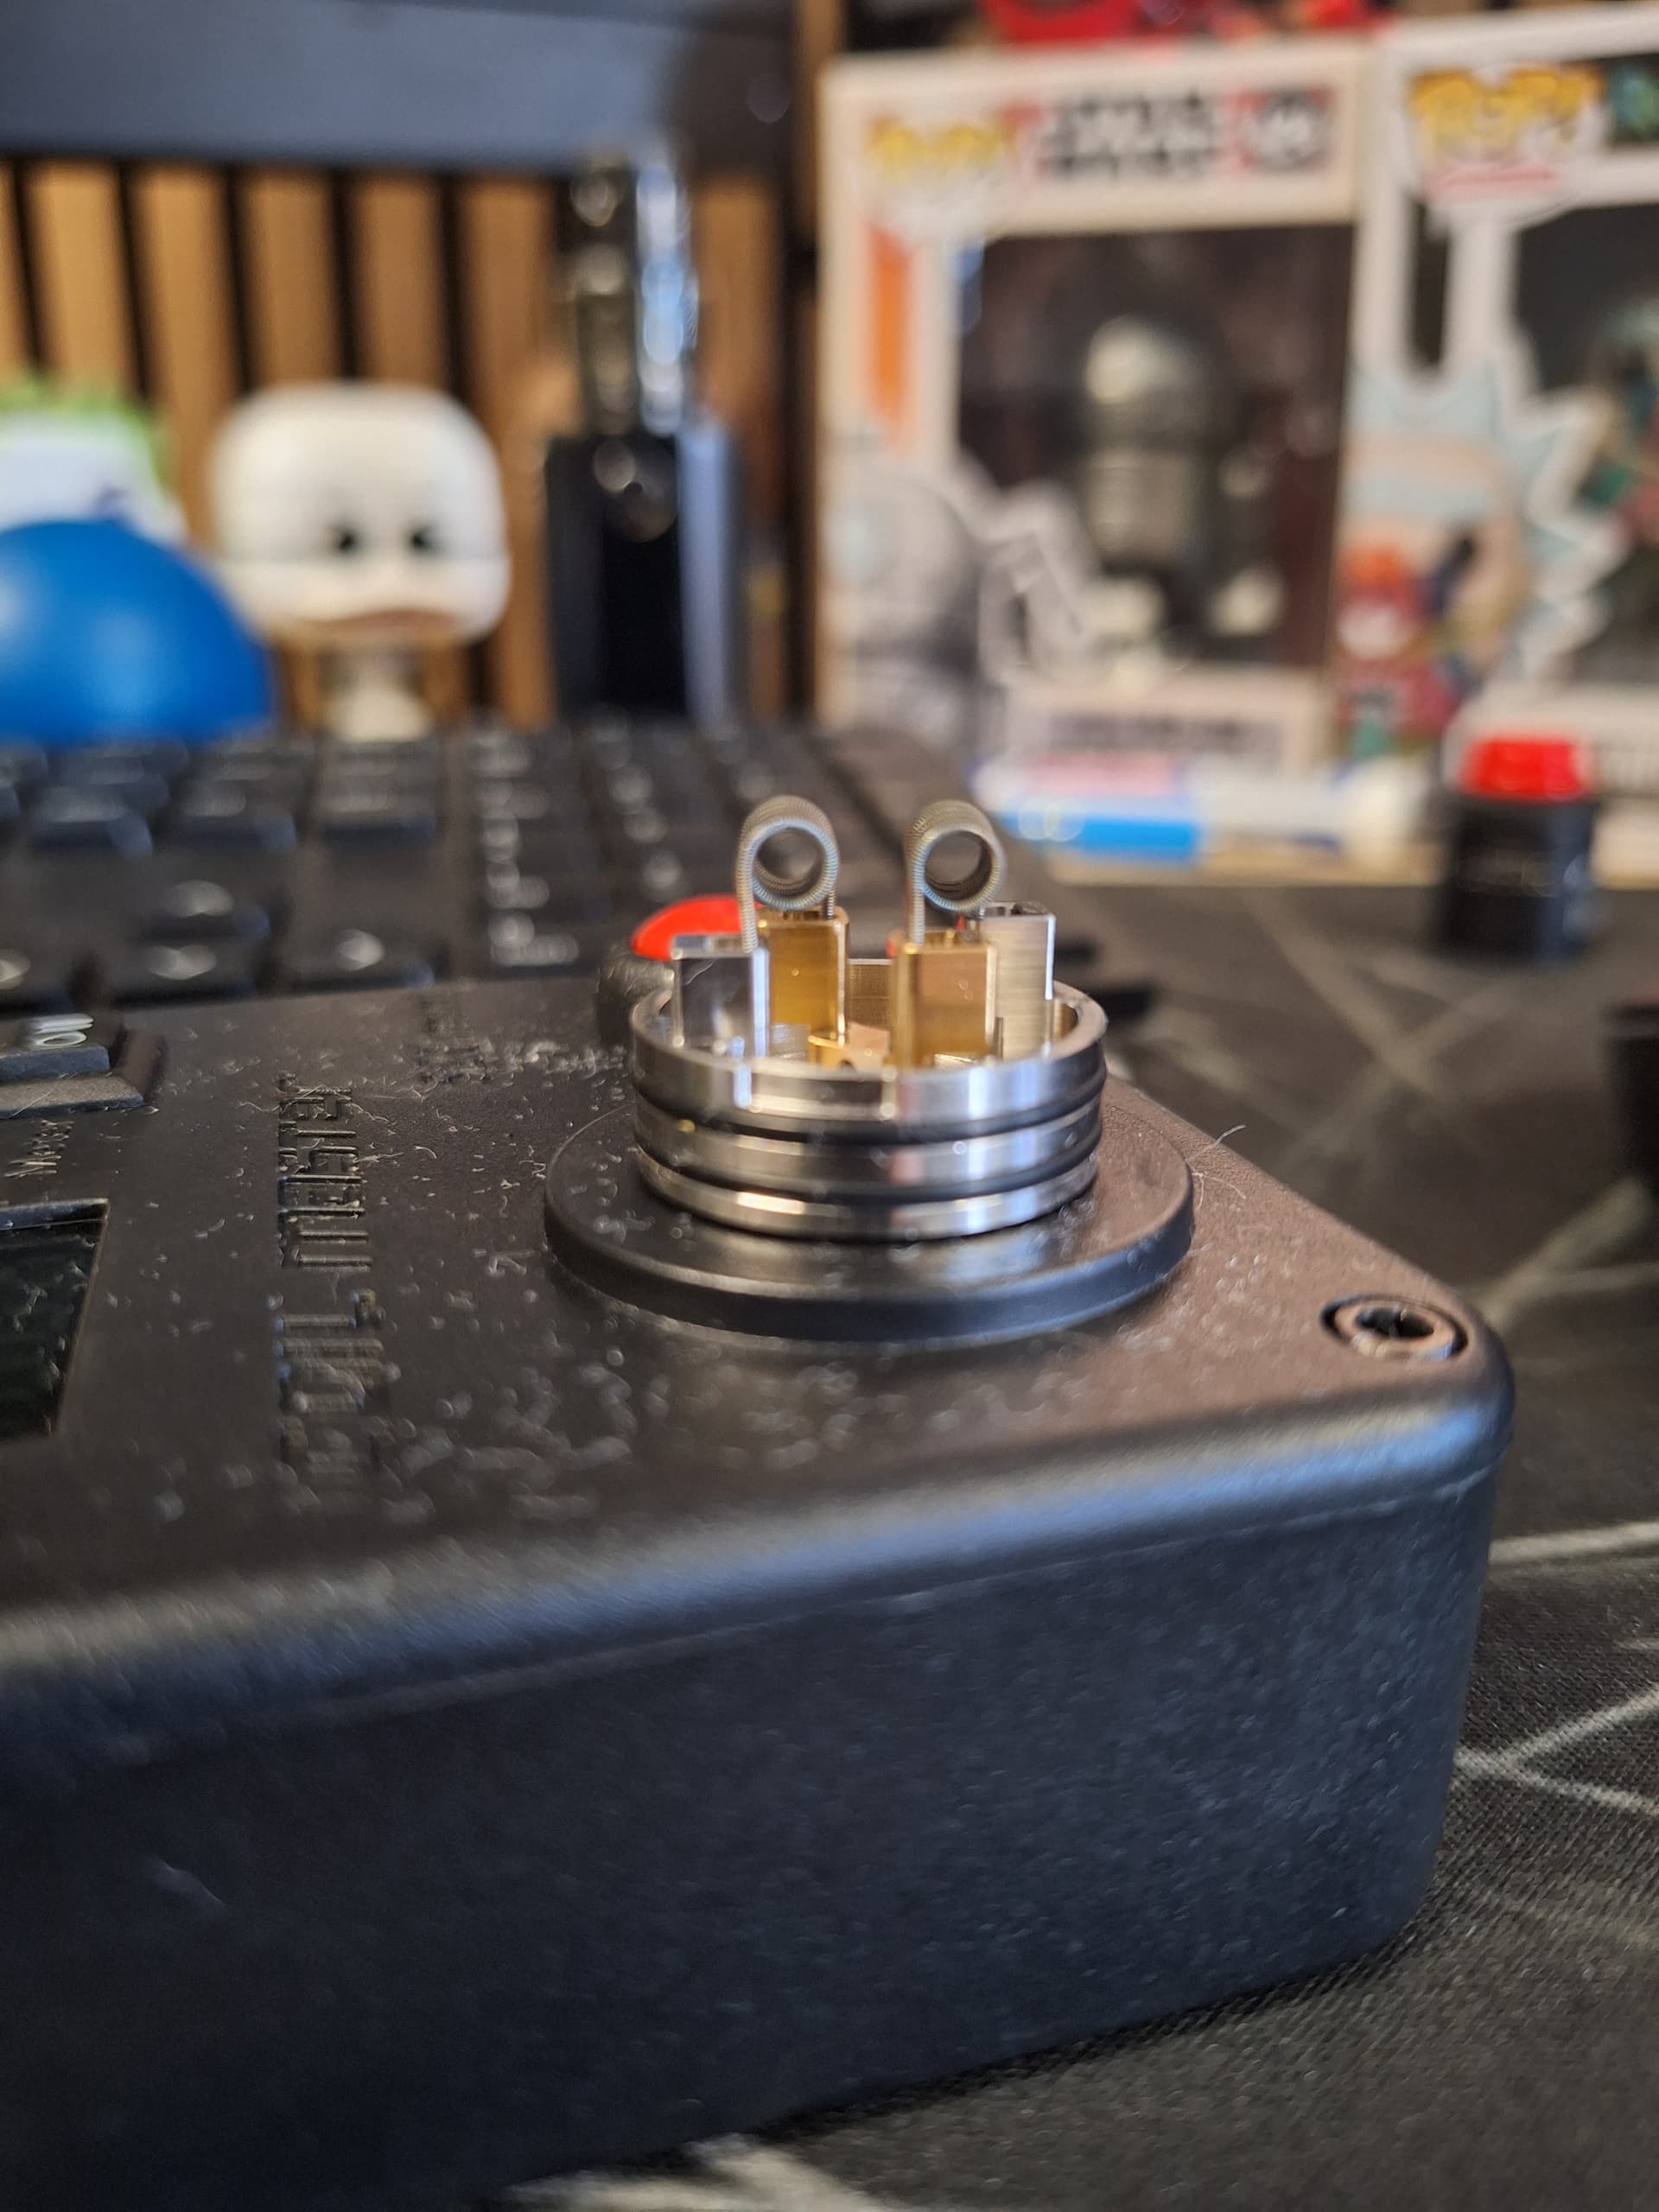
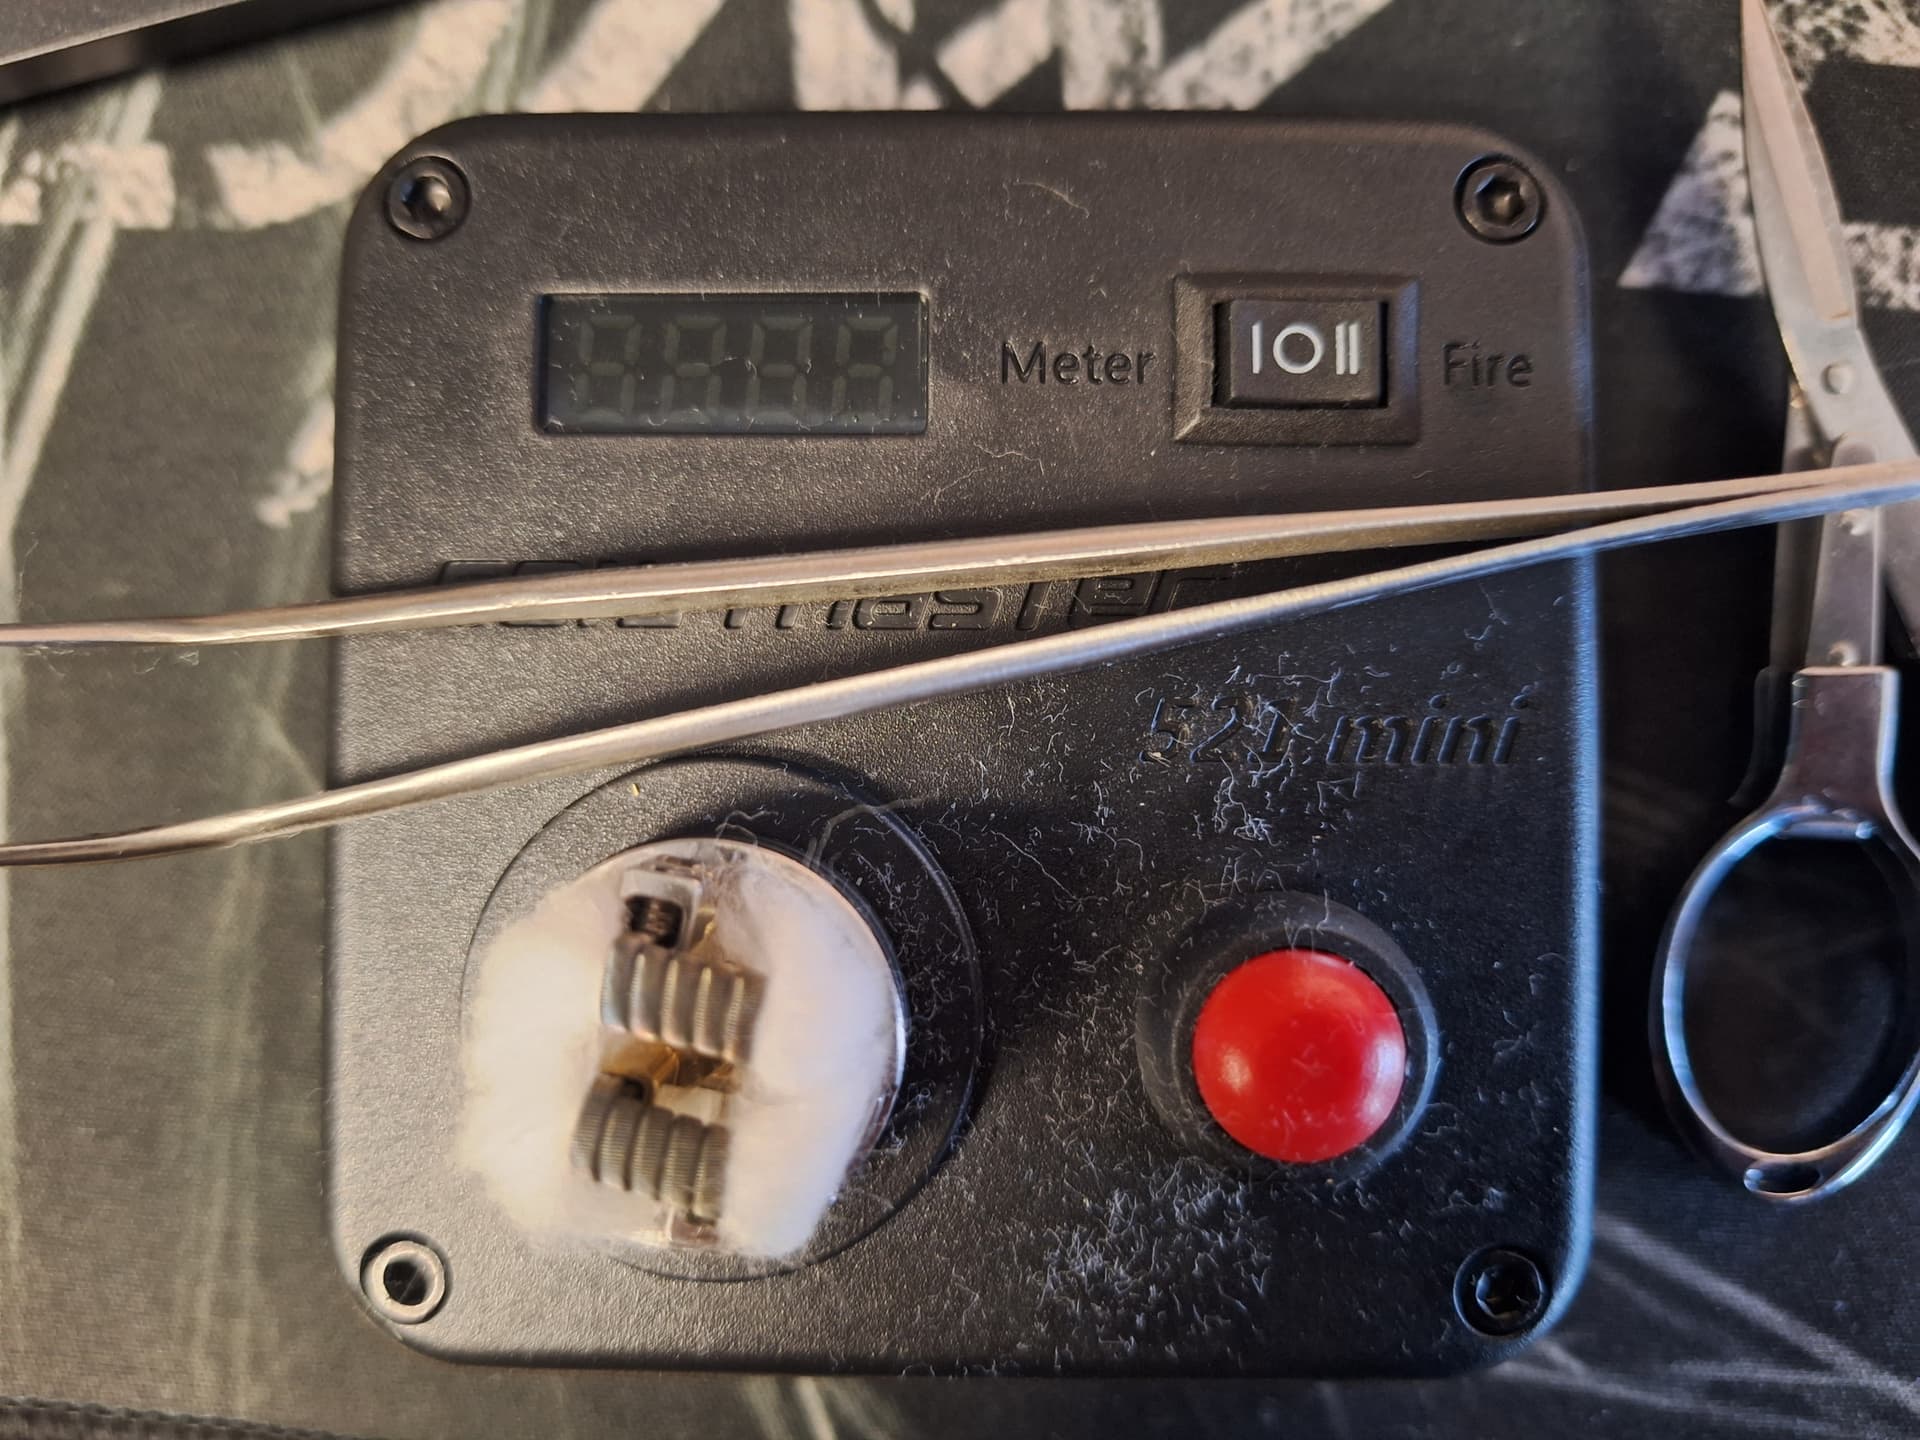
The ease of building on the Hellbeast RDA is a highlight that should not be underestimated. The deck’s design caters to both novices and experienced builders, accommodating a variety of coil types and configurations. The Ni80 Quad-core Fused Clapton coils I employed, with their legs cut to 5mm, fitted seamlessly into the deck without the need for excessive bending or adjustments. It’s a welcoming feature, especially when experimenting with various coil styles.
Wicking and Drip Tip:
For wicking, Cotton Bacon Prime proved to be a wise choice, contributing to consistent and reliable wicking performance. The included drip tip may not align with everyone’s preferences, but thankfully, the Hellbeast RDA’s compatibility with various drip tip styles allows for easy customization. Swapping out the drip tip is a small adjustment that can significantly enhance the overall comfort and aesthetics of the setup.
Conclusion:
The Hellvape Hellbeast RDA is a true gem, offering an enticing blend of style and performance that caters to the needs of both flavor chasers and cloud enthusiasts. Its appearance, versatile airflow, user-friendly deck, and exceptional flavor production make it a coveted addition to any vaper’s collection. While it’s unfortunate that Hellvape has discontinued production of this masterpiece, I consider myself fortunate to have secured one in my preferred color scheme. For those lucky enough to come across this RDA, it’s a testament to the innovative spirit of vaping technology.
Build Instructions (using Hellvape Ni80 Quad-core Fused Clapton coils):
Begin by disassembling the Hellbeast RDA and ensuring the deck is clean.
Trim the legs of the coils to approximately 5mm each.
Insert the coils into the designated slots on the deck.
Secure the coils by tightening the screws, ensuring they are aligned and positioned evenly above the airflow holes.
Use a coiling rod or jig to adjust the coil spacing and alignment if necessary.
Pulse-fire the coils at low wattage to eliminate hotspots, gently strumming the coils with ceramic tweezers if needed.
Once the coils are glowing evenly from the inside out, let them cool.
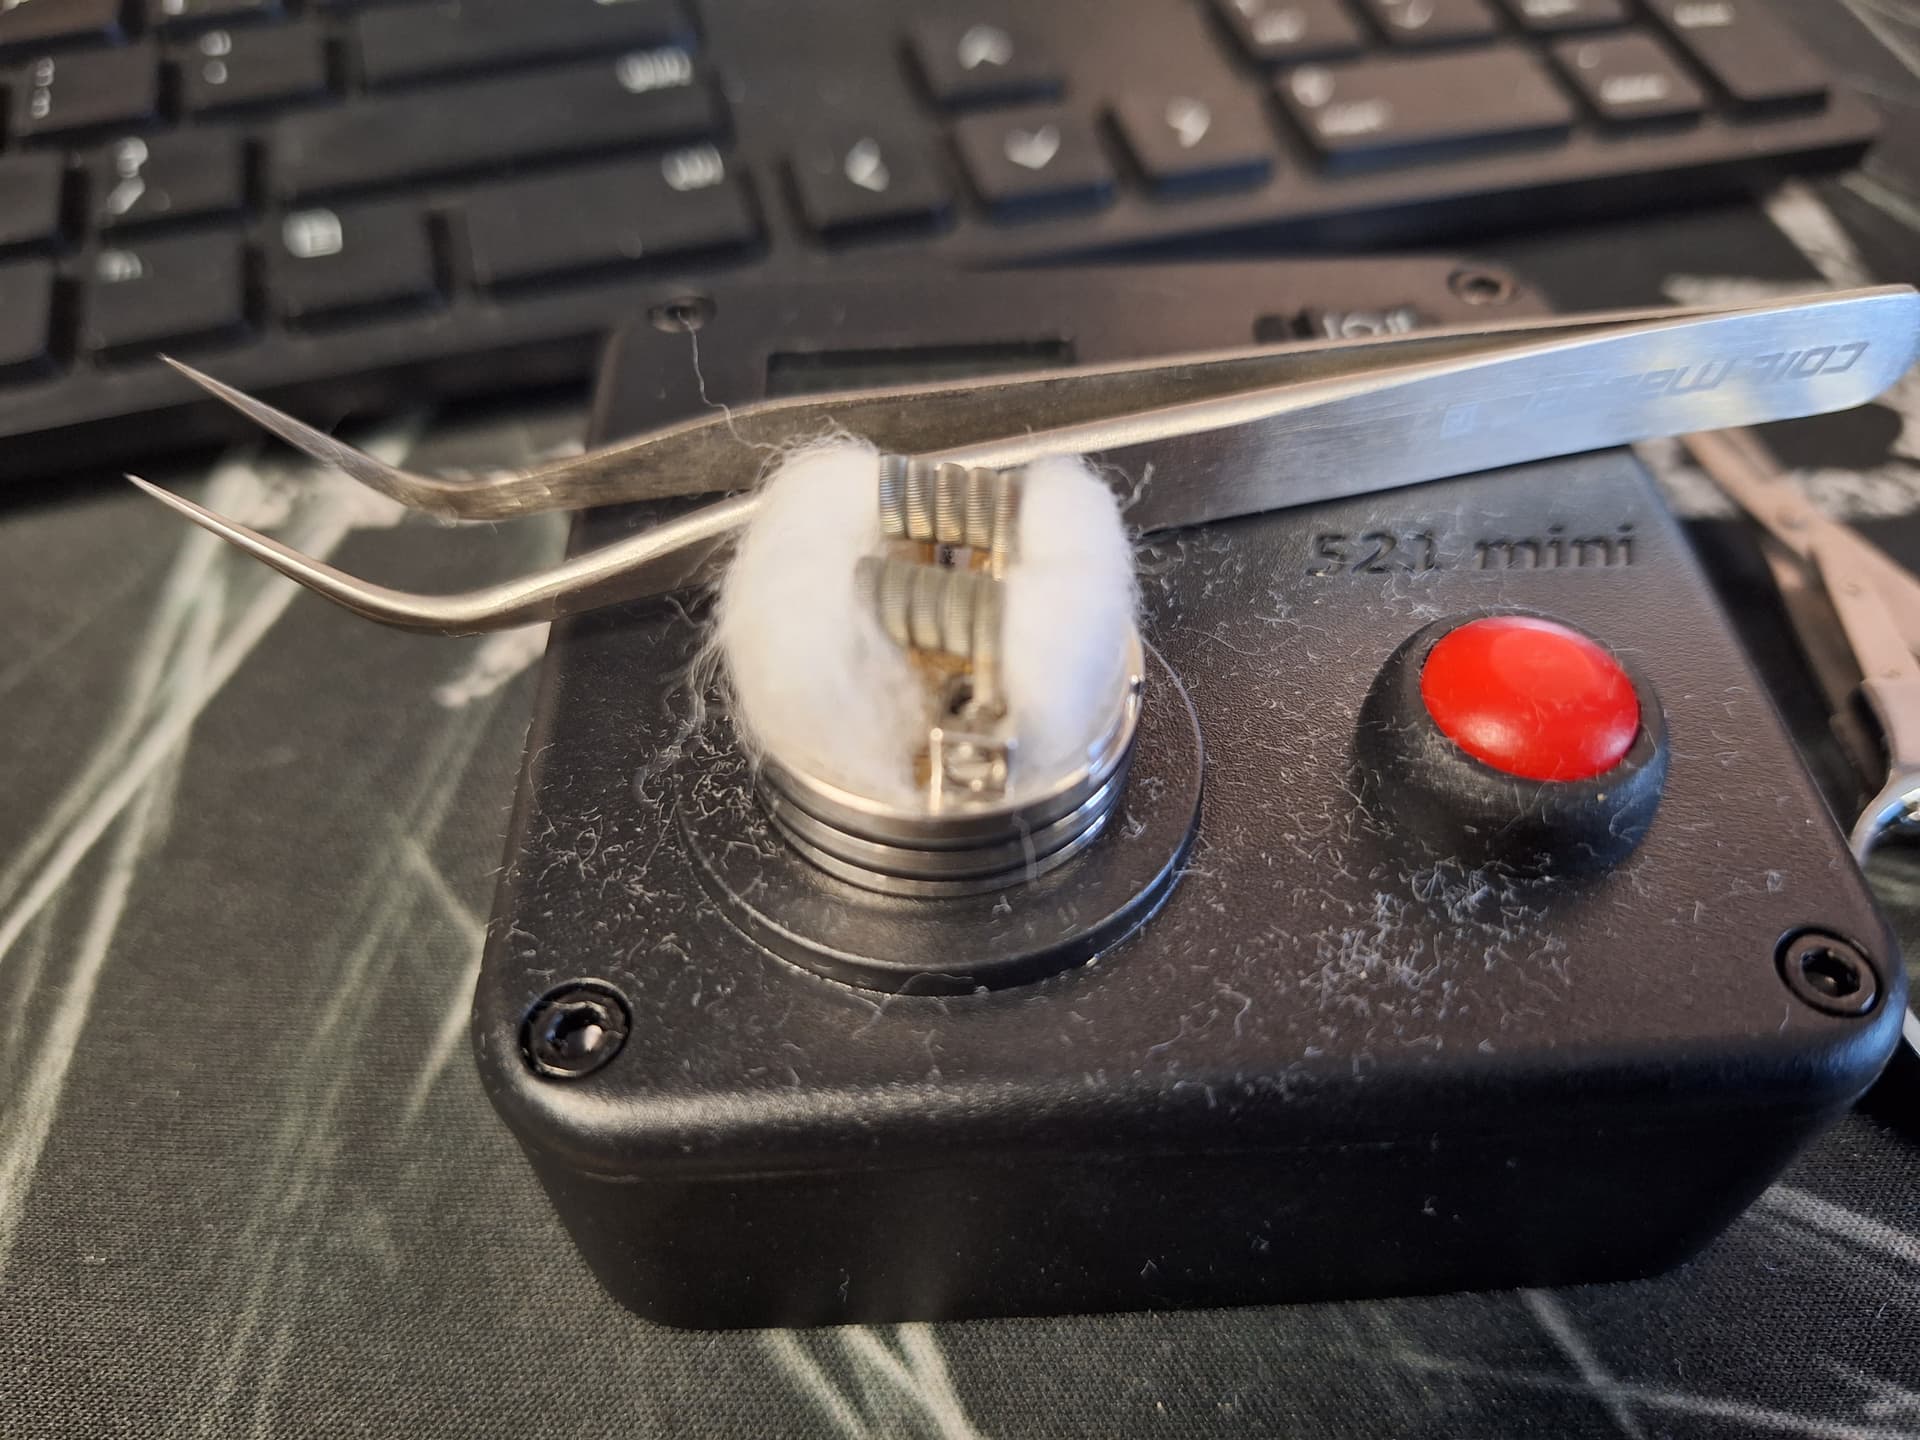
Insert a strip of Cotton Bacon Prime through each coil, ensuring it provides snug contact but is not overly tight.
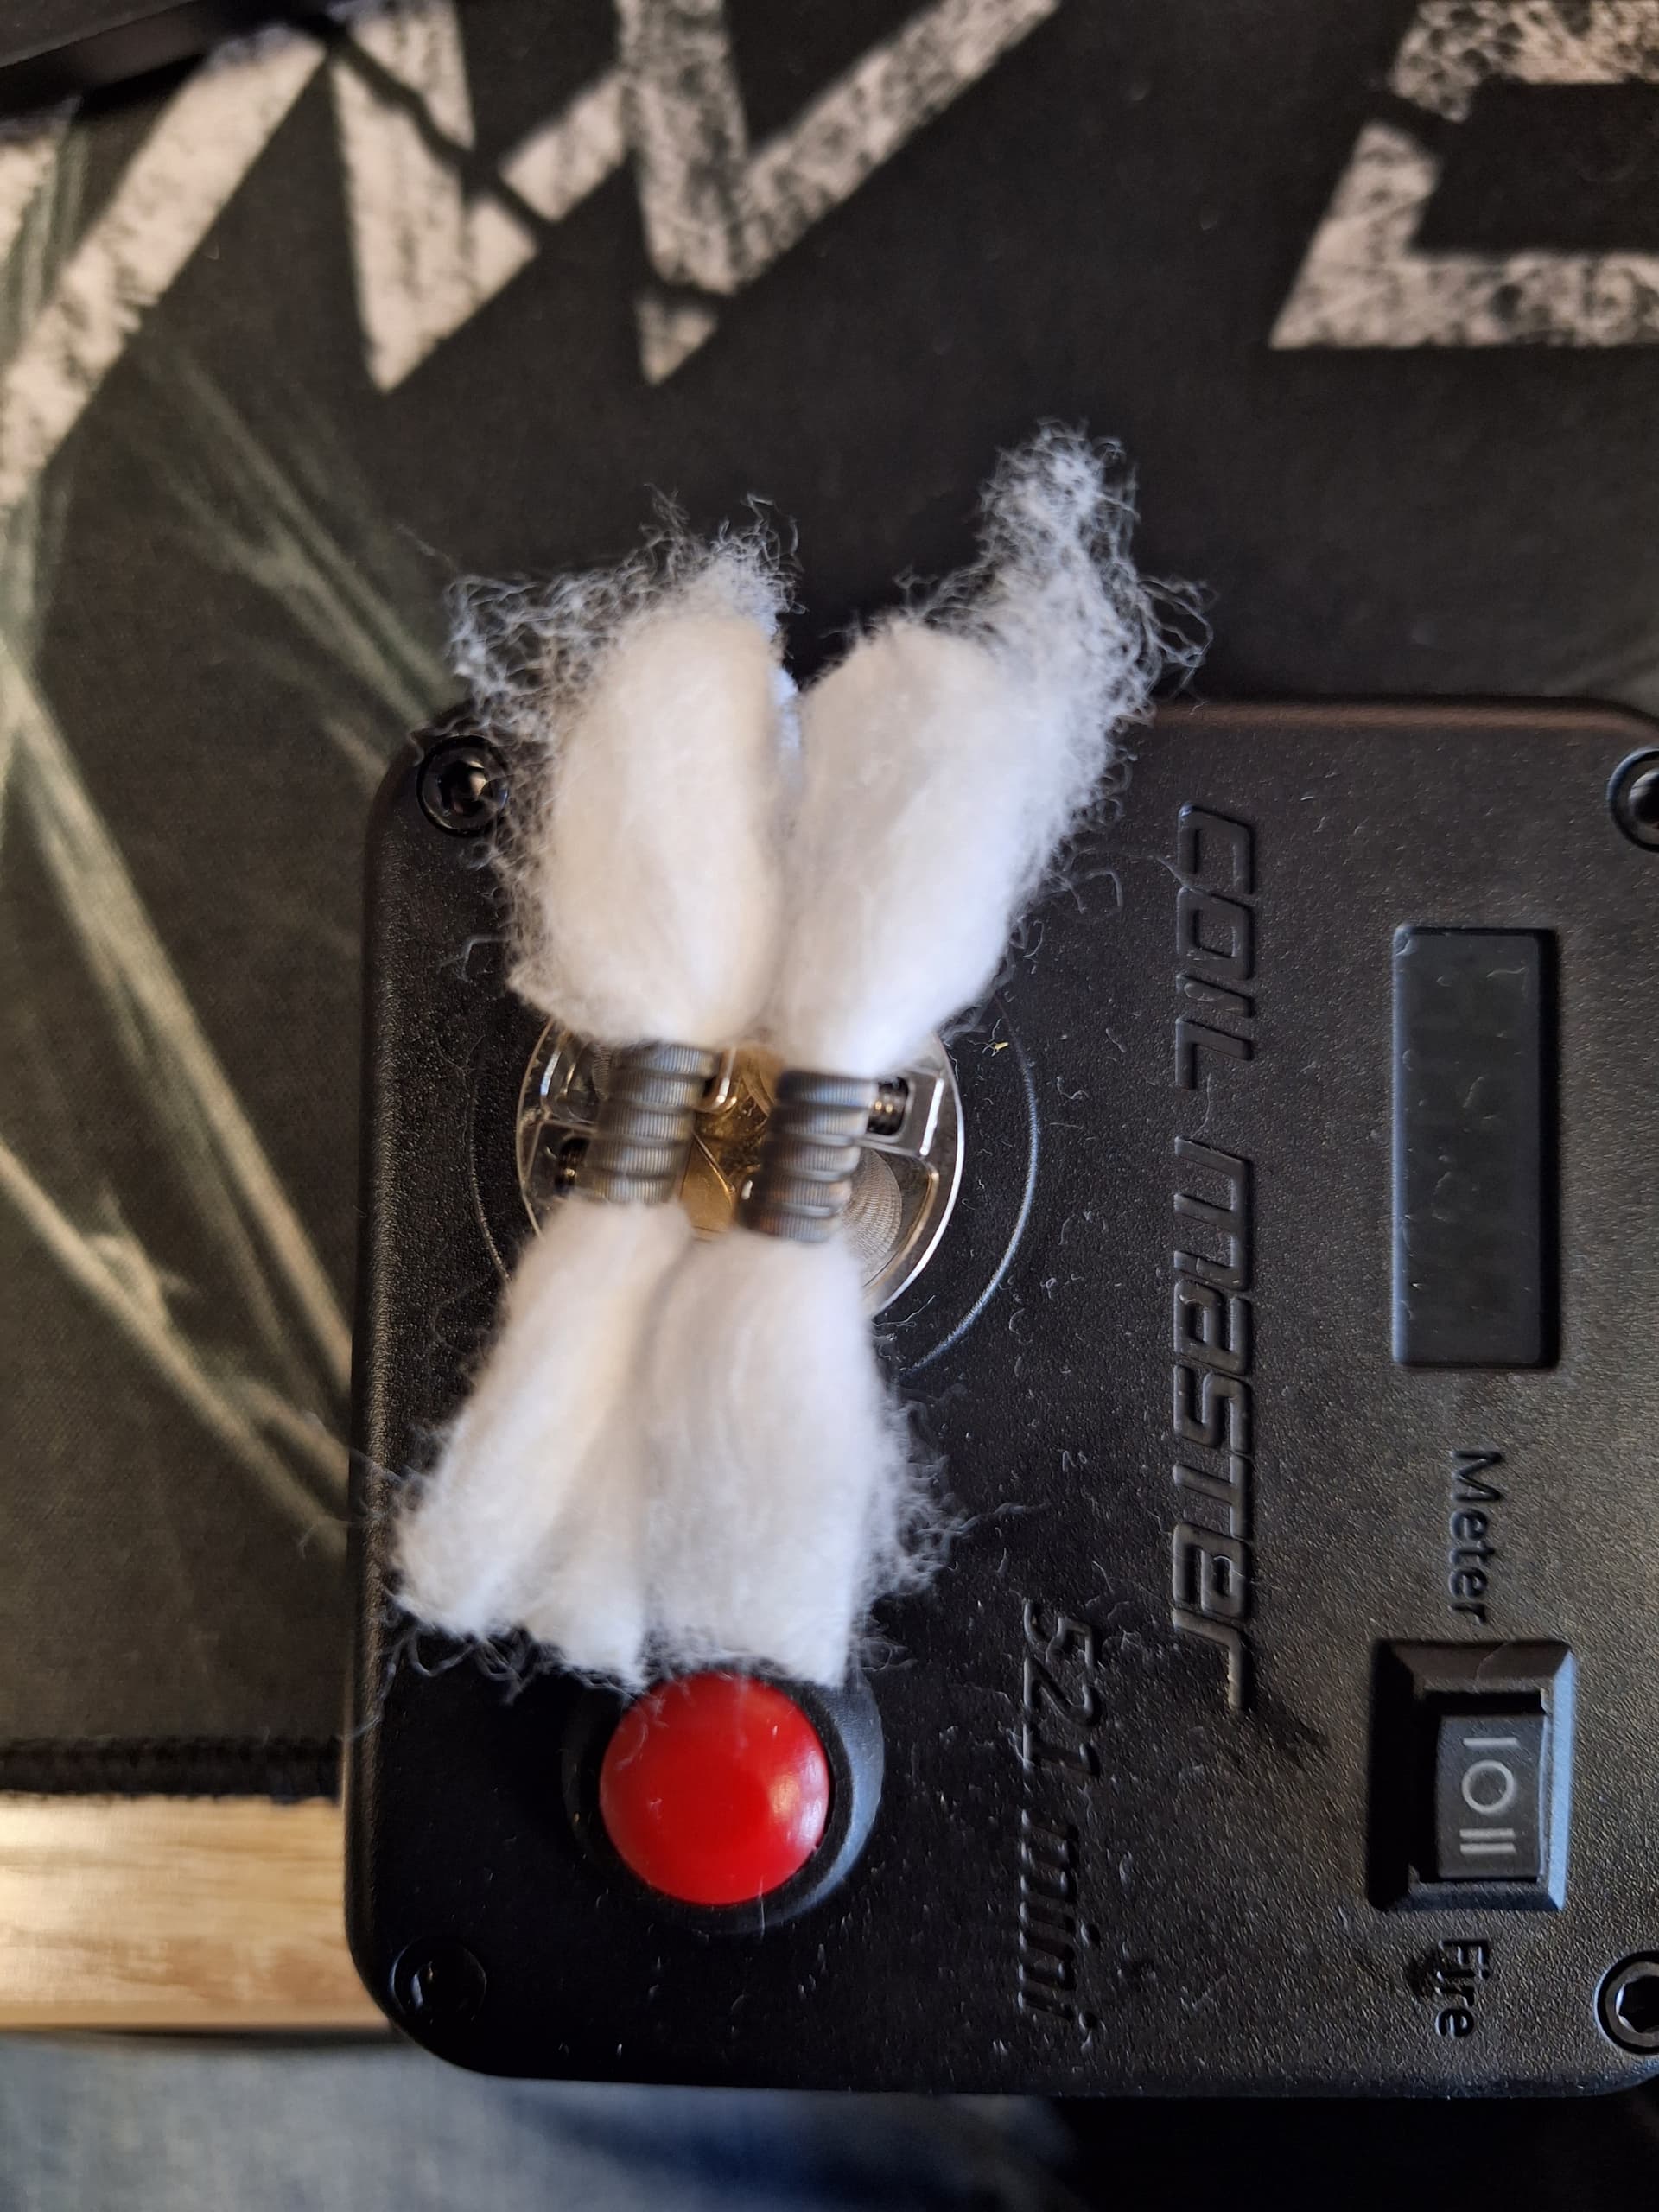
Comb out and trim the cotton ends so that they rest just above the juice well.
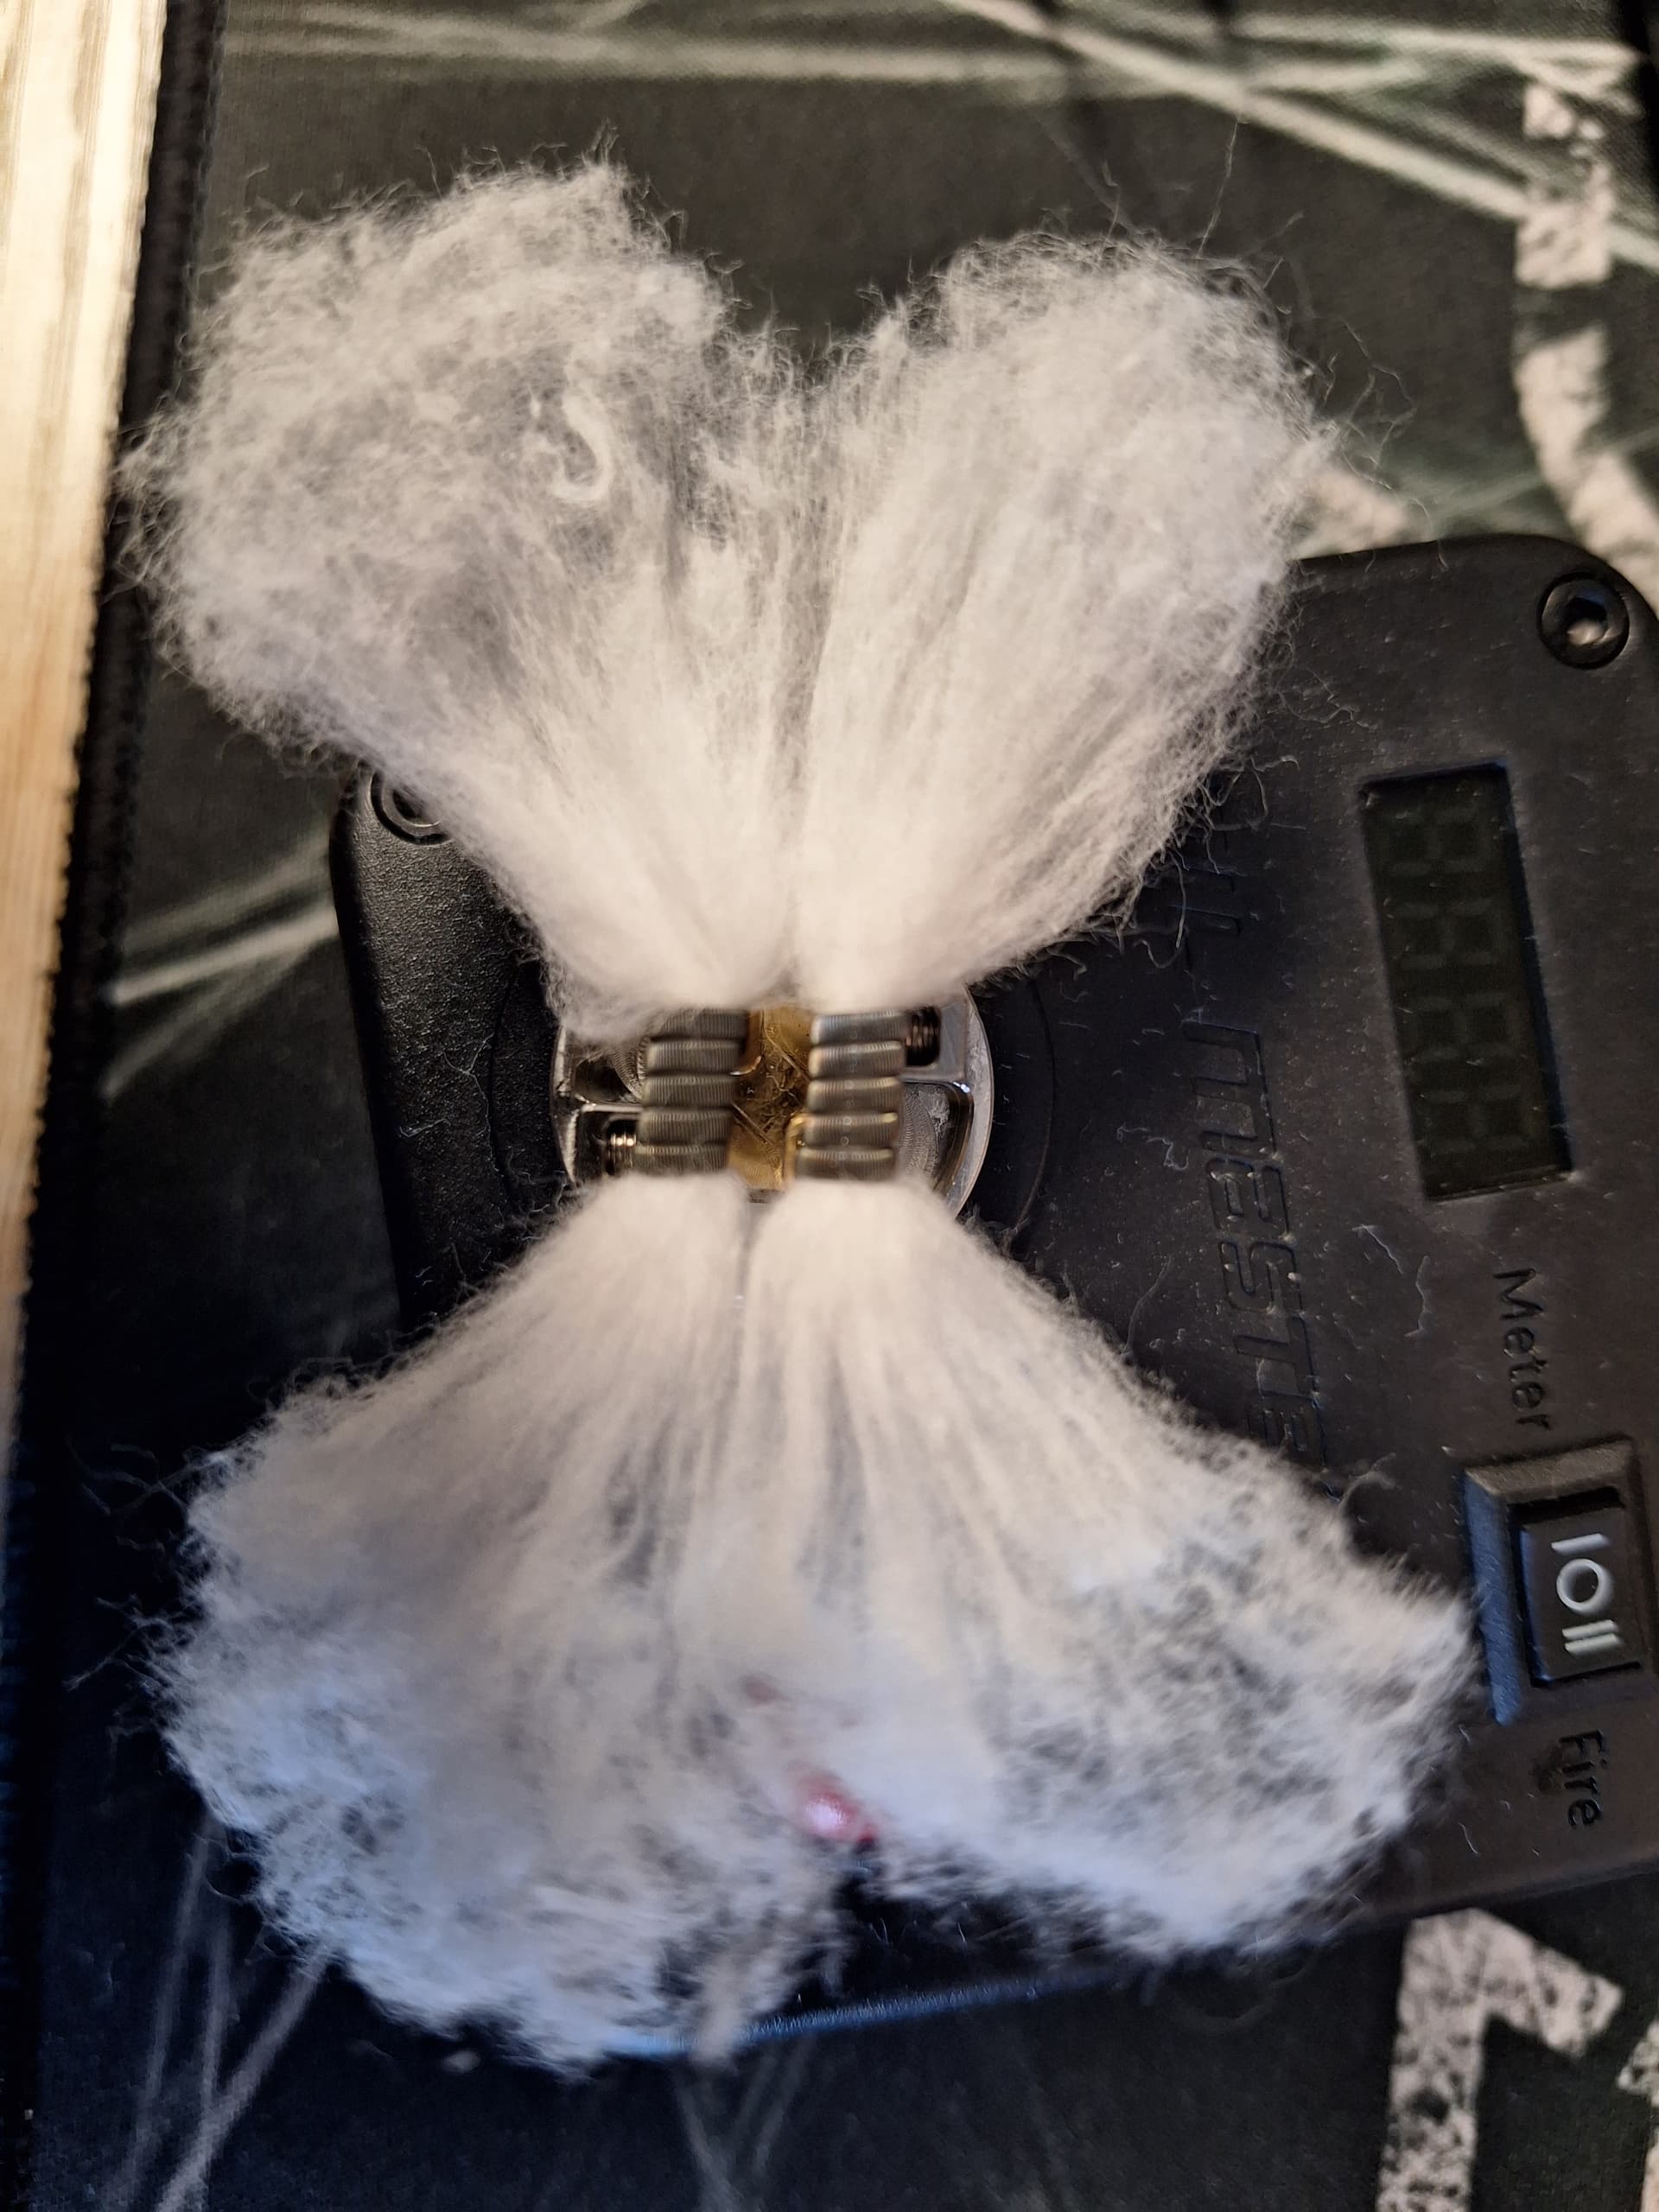
Gently tuck the cotton ends into the juice well, fluffing them slightly to optimize wicking.
Prime the coils with e-liquid and enjoy a satisfying vaping experience.
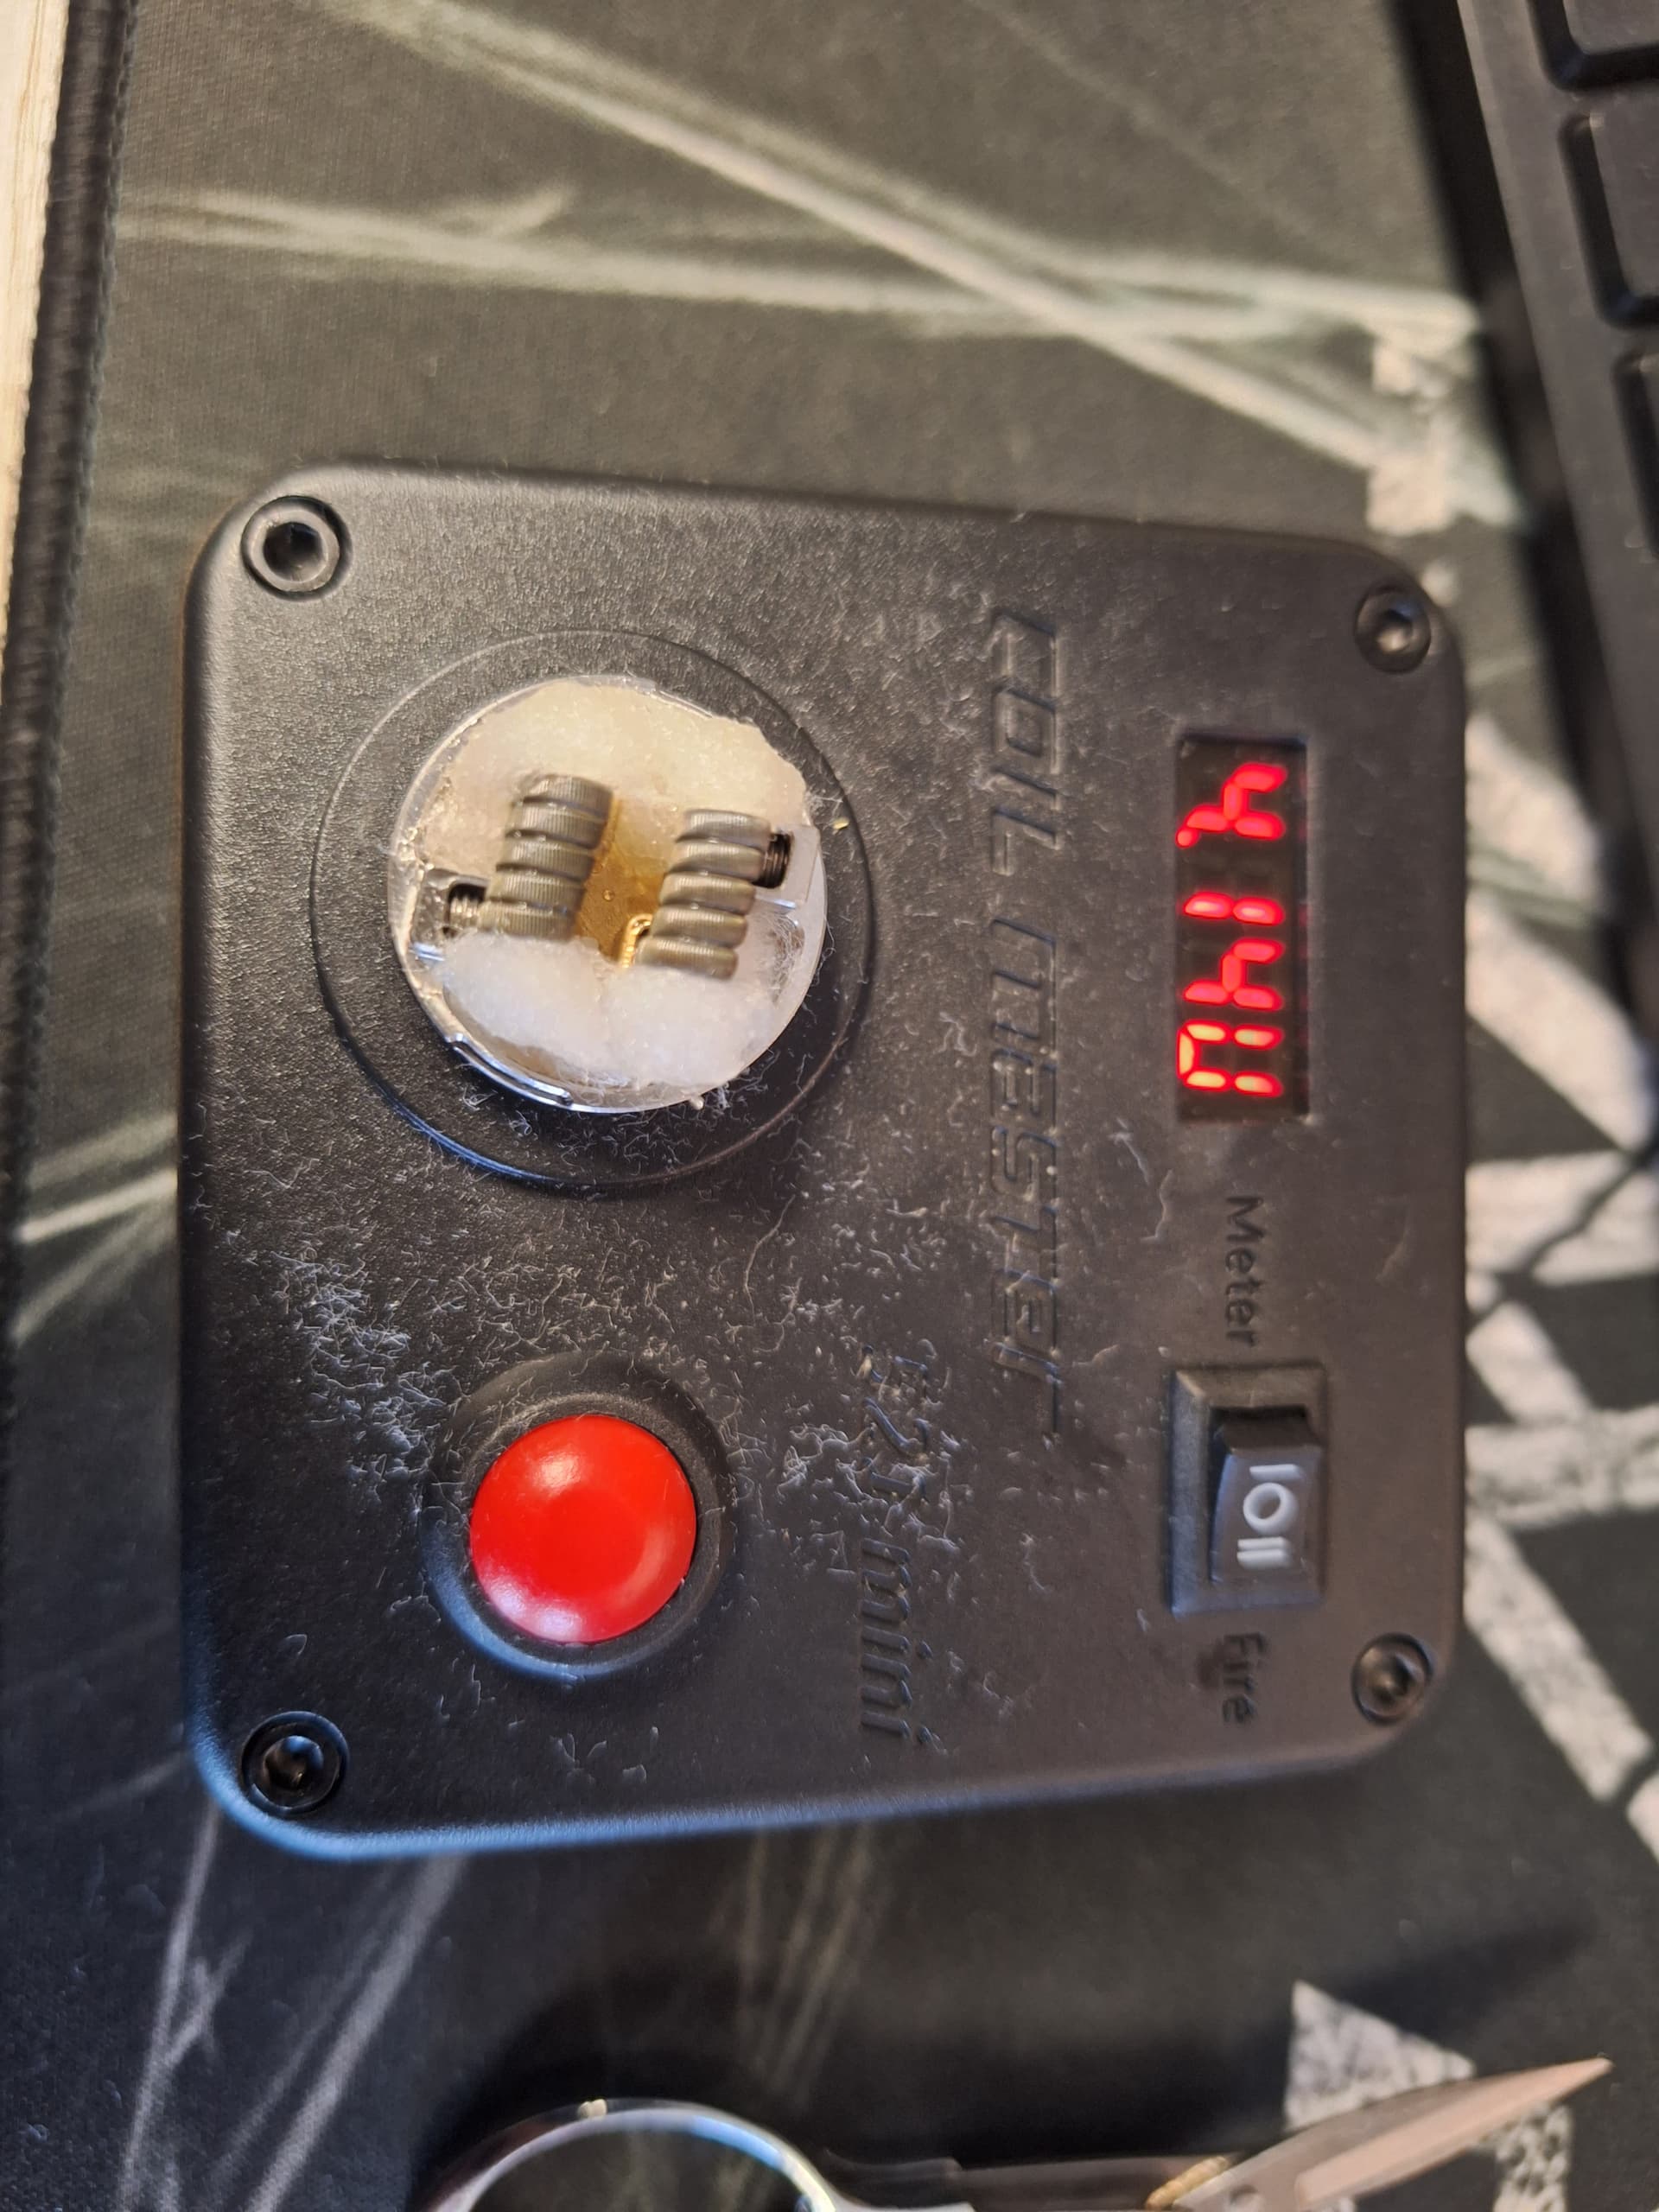
Reassemble the RDA and adjust the airflow settings to your preference.
Remember, building on an RDA requires attention to detail and safety precautions, particularly when handling coils and using high-powered devices. Always exercise caution and adhere to manufacturer guidelines for optimal results.