Introduction
I like the original Fat Rabbit RTA a lot for two reasons; it looks spectacular and despite its size, it’s more of a flavor chasing RTA than a high wattage cloud machine.
But this isn’t about the Fat Rabbit RTA, this is about the Fat Rabbit 2 RTA, time to find out what has changed and what has stayed the same.
Product overview
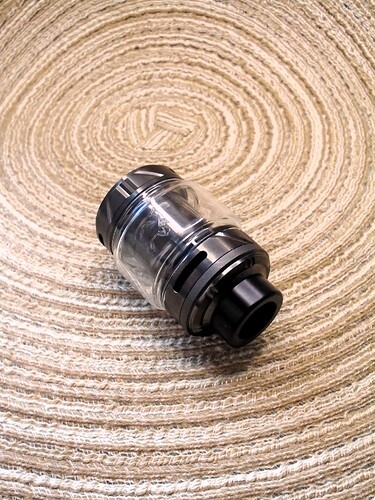
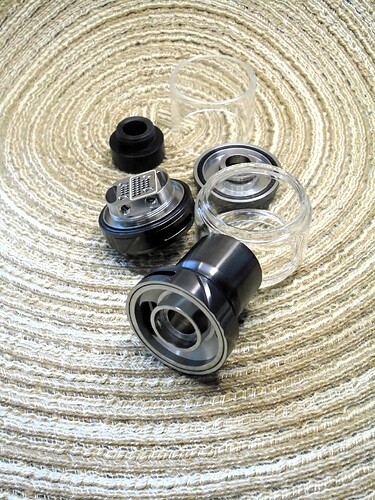
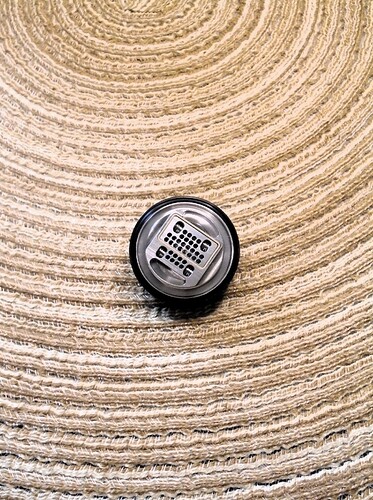
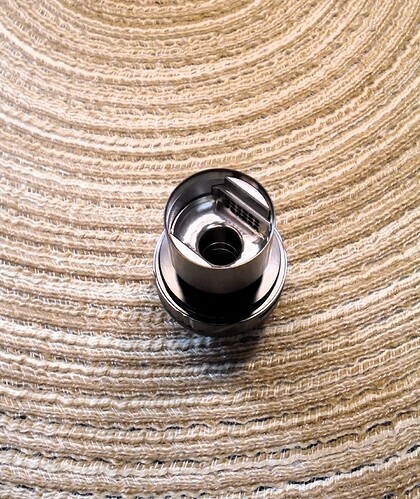
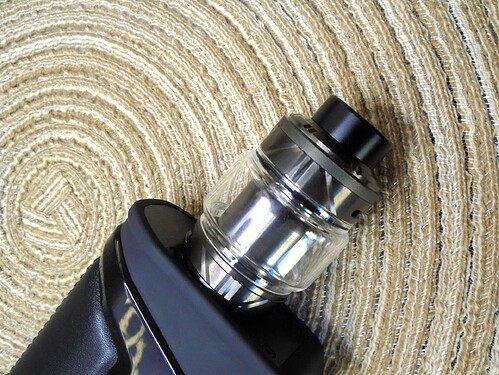
The Fat Rabbit 2 is a 26mm, dual-coil, postless deck RTA with 4/6.5ml juice capacity, independently controlled bottom and side airflow.
What do you get?
- Fat Rabbit 2 RTA (fitted with 4ml straight glass)
- 6.5ml bubble glass
- 2×0.37ohm Ni80 clapton coils
- Coil measurement tool
- 2×shoelace cotton
- spares/screwdriver
First impressions
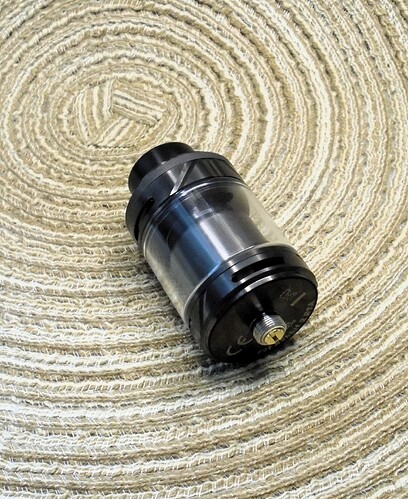
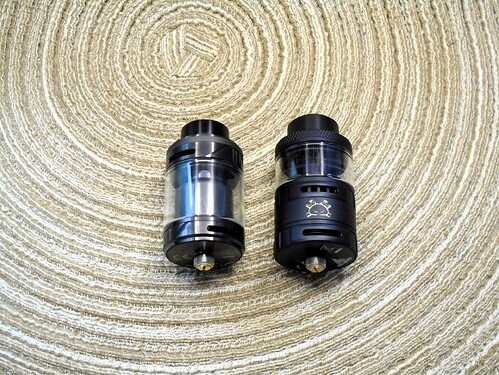
The version 2 of the Fat Rabbit RTA is far more conventionally styled than its predecessor; there’s nothing wrong with the styling, but the aesthetics lacks the wow factor that the version 1 had.
One noticeable difference is that while the version 1 was 56.4mm tall, the version 2 is only 48.7mm.
I think it looks slightly nicer with the straight glass, but the 6.5ml capacity that the bubble glass offers is hard to turn down.
It’s debatable if it’s a 26 or 28mm RTA, the base is 26mm, but there’s an immediate step in the 26mm base which takes it out to 28mm, the advantage of this is that it will fit on a smaller mod without overhang, while maintaining the advantages of a larger RTA.
The build quality gives me nothing to complain about, everything fits together well and the threading is smooth.
Build
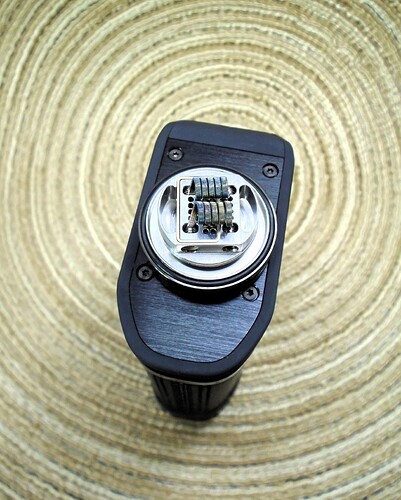
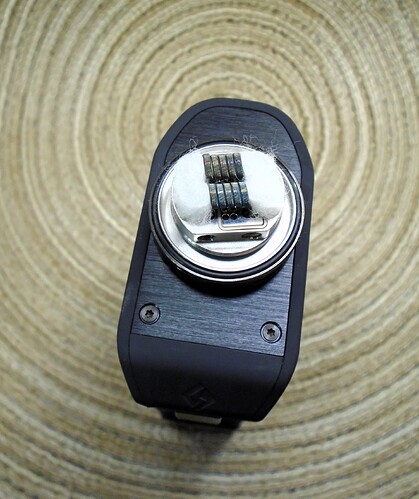
As with all postless decks, you will need to pre-cut your coil leads, the supplied coil measurement tool is marked at 5mm, so that’s what I went with.
After securing and aligning the coils, I pushed them towards the center of the deck, so that the undercoil airflow was wrapping around both sides of each coil.
With the version 1, it was hard to get the undercoil airflow hitting all of your coil, unless you went with 2.5mm coils, with the version 2, there are zero issues with the airflow and 3mm coils.
Wicking is your standard fluffing, thinning and placing the wicks into the wicking port procedure; no special tips or tricks are required, it wicks well and hasn’t shown me any signs of leaking.
How does it perform?
- 2x0.37ohm Ni80 claptons - these were the supplied coils and came to 0.17ohm for the pair. At 50-55w with the bottom airflow fully open and side airflow fully closed, the flavor was strong with concentrated but minimal vapor production. At 60-75w it works well with 50-100% of the side airflow open and bottom airflow fully open, the flavor is still strong but with greatly increased vapor production. You can of course take it higher, but I saw little advantage in doing so, this RTA is about flavor not huge clouds.
This type of vaping was what I enjoyed in the original Fat Rabbit RTA, concentrated and juicy dual-coil flavor at comparatively low wattage.
Airflow
Even with everything fully open, the airflow is still slightly restrictive for a dual-coil RTA.
The side airflow has 36 holes, while the bottom airflow has 32 holes, so obviously the airflow is about as smooth as it’s possible to be.
I found no reason to ever have the bottom airflow on anything other than fully open, keep it wide open and adjust the side airflow according to power.
Conclusion
Despite not looking as spectacular as the original, the flavor is better, the capacity is larger and it’s a very easy build.
For those of you who prioritize flavor over high power, this RTA is worth looking into.
Disclaimer
*The Fat Rabbit 2 RTA was provided for the purposes of this review by Hellvape.
