Ningadingding.
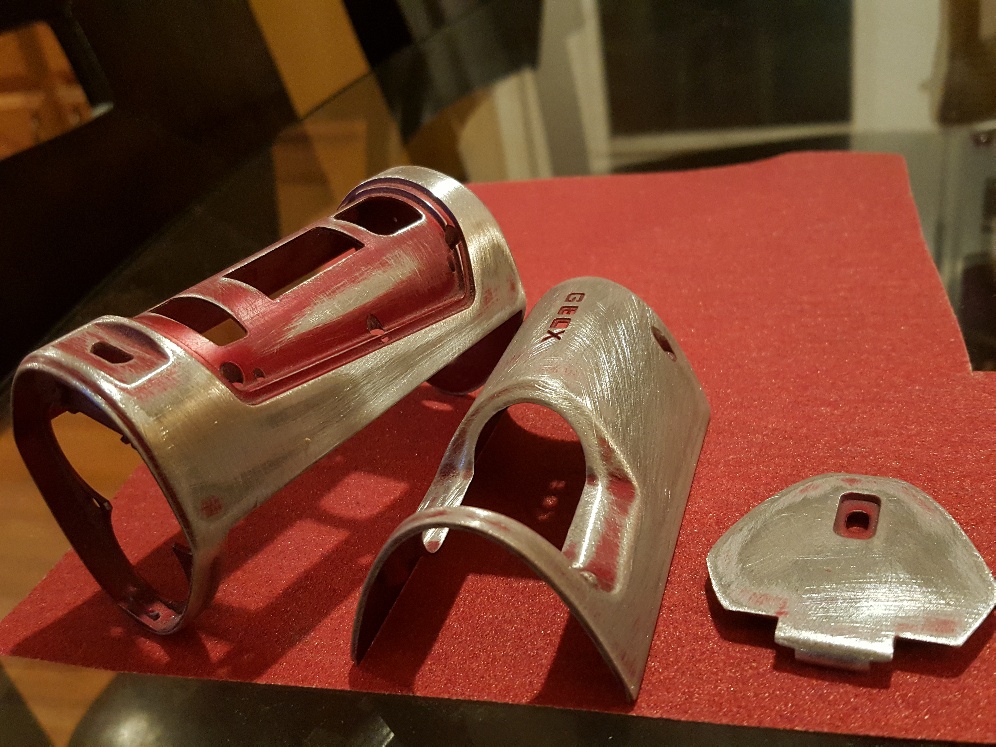
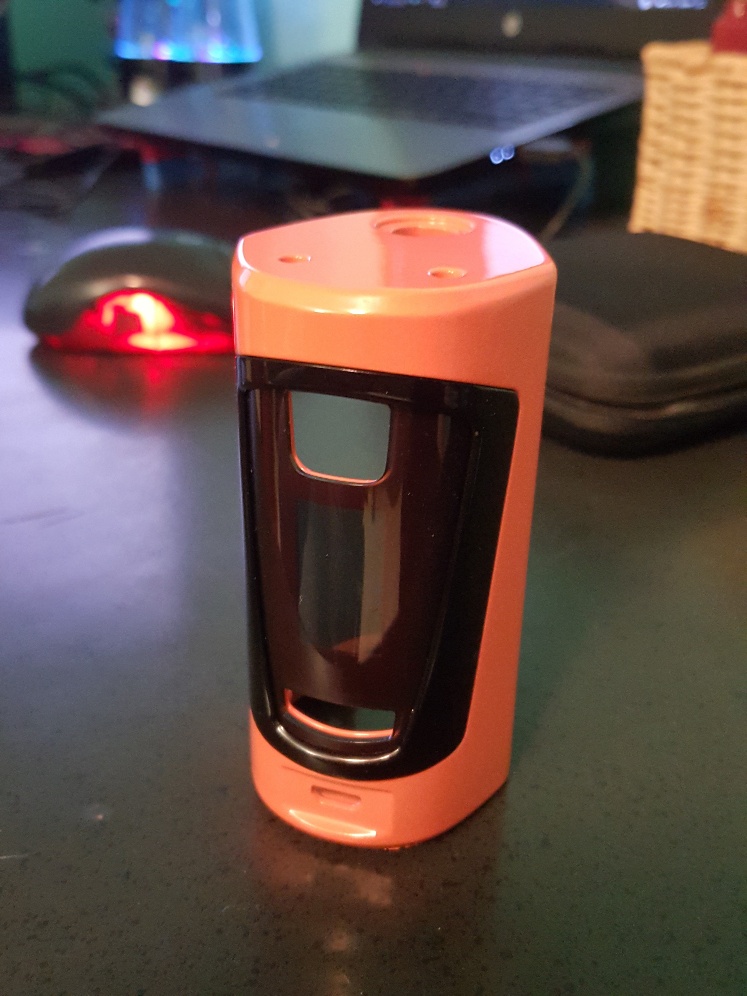
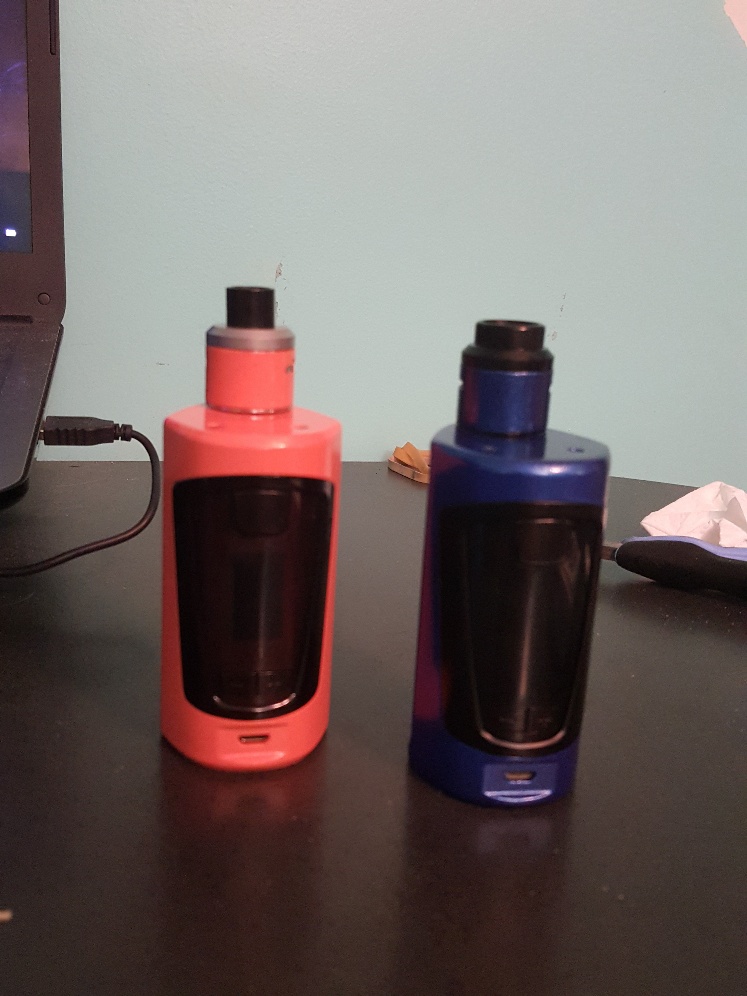
Ready for paint. I did end up with a metallic blue. Wife chose a non-metallic peach.
This is mega interesting to me. I have a few mods in need of paint but have never found anything on the net that I was convinced would work in terms of process and paint used. Will be following this.
Uh-oh. May not be the best to choose to follow. I’m using big box store spray paint. Not exactly car-show quality work. And I’m, let’s say, an amateur.
Looks to me like you have it prepped well. Who knows. If it works, it works. Worth the watch to me.
Funny enough I had basically just intended to rough up the factory paint. But it’s so thin and crappy it sanded to metal almost immediately. So why not spend 5 more minutes and go further. It would probably led to new paint failure if I left it on.
The wife’s Pearl Chrome version doesn’t have paint. It’s just polished and cleared from the look of it.
The whole finish thing in this industry is pretty iffy. I got a Smok that the paint fell off of and kinda shrugged my shoulders. A couple of Lost Vape units lost their gun metal paint and I was disappointed. The finish on my G class wore of the back plate and I’m like WTF? If you can figure out a way to make that shit stick you have beat the entire industry.
If it doesn’t have long lasting qualities, I do have a big can for touch up, at least. ![]()
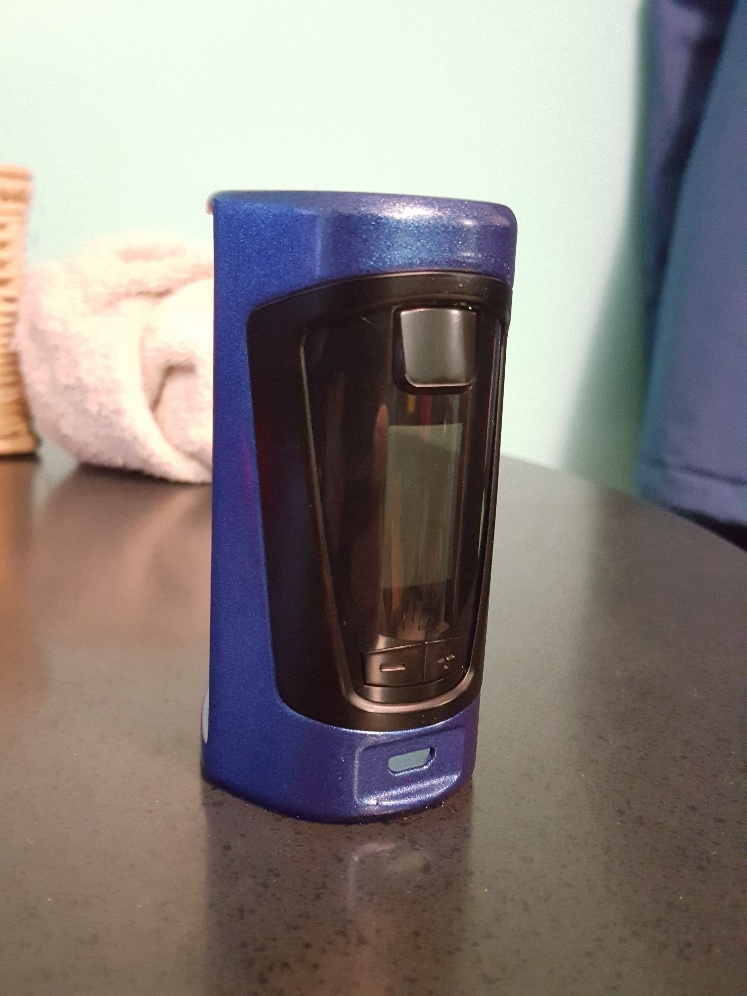
Pictures are never as good as in person, but coat one looks promising.
Oh hell ya. No runs. Laid in nicely in the nooks and crannies. Could very well be a home run.
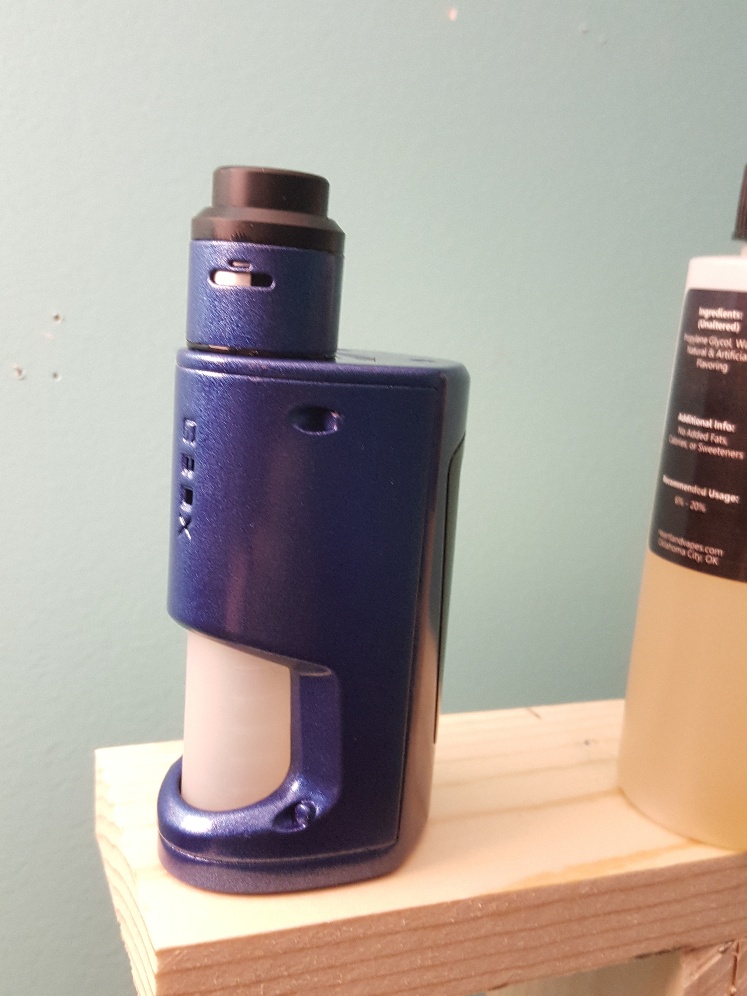
Thanks. The sparkles in the picture are large due to reflection. They’re little bitty and even in person. I’m optimistic so far anyway. Doing the Radar AF ring to match. Just in time for the new Dead Rabbit, ha.
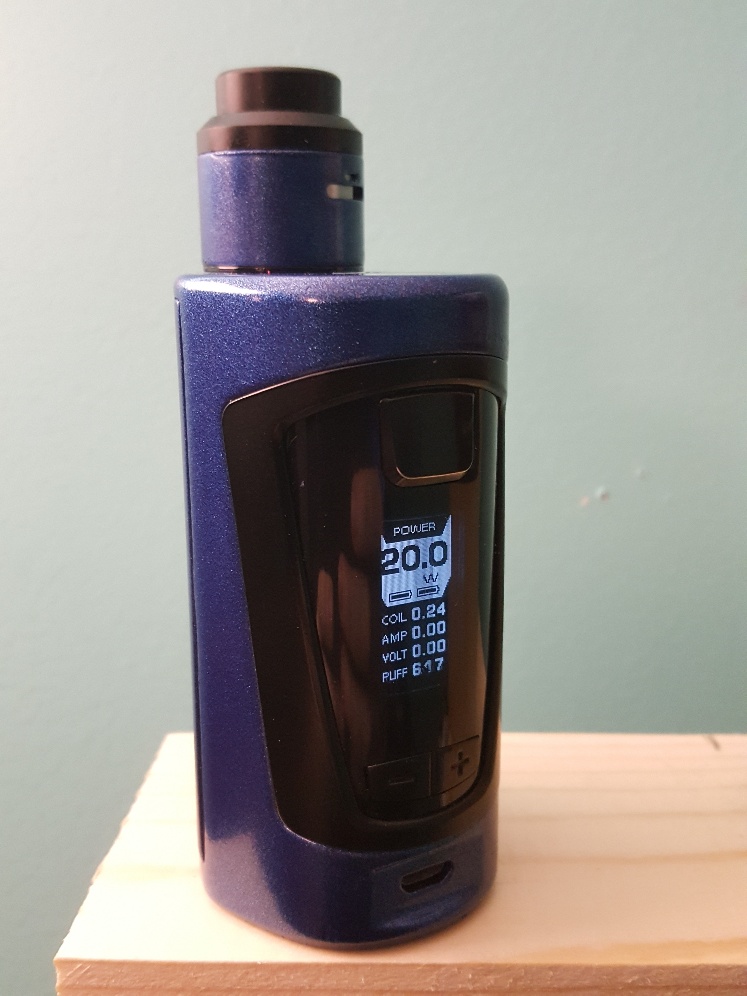
Last on of the day. I MUST resist the urge to handle it further, but I go nuts with impatience. So, a compromise. I was able to install the front bezel without handling it. I like it so far. As usual, pics don’t quite do it justice. I must absolutely not handle anything any further or I will kill the paint job.
Really last this time. I could no longer resist the temptation to reassemble. Peaches can wait though.
Nice job - you will be doing airbrush panoramas in no time ![]()
Actually. that is the extent of both my talent and desire to do more. And really, the biggest reason I even did it is because my lazy ass scratched the wine red paint while installing the magnets with the wrong tool and I couldn’t tolerate them. Otherwise it wouldn’t have happened. Got roped into doing the jealous wife’s mod too. I’ve seen the talent some folks have, and the gorgeous and intricate designs they do. I am not one of those people!
So, lessons learned… The particular paint I chose, Rust-Oleum metallic, highly recommends a base primer coat for bare metal application. This tells me the finish will probably not be as durable as I want. I did not use primer. So I am stripping it down and starting over with a base primer coat first. Not a big deal, I guess.
Also, this likely depends on the mod being painted, but clearance tolerances are very tight. I had to actually remove a bit of paint at a couple mating points because they no longer fit properly, so I’ll be sure to use as few coats as possible this time too. Just something to consider.
All in all, for a shadetree DIY, this isn’t something to be all that anxious about. In other words, if I can do it, you certainly can.
At first I thought (wtf… peach) but I was way wrong! Not to shabby!! Good job on both👍
I still think that, at least if it was my daily driver! But she seems to have a decent eye for things, and like you I think it does look better on the mod than it did on paper. Thanks, appreciate the words.
Naked again. The excess wine red is covered by the black plastic cover and unseen, so not toiling there for no reason.
OK, so I ended up actually reading and comprehending the directions on the paint can this time. The blue one worked out better on this second try. One coat of base/primer, followed by three coats of blue, and four coats of clear. Very thin coats, all. It seems to have adhered much better. Cleared the peach one too.
They will continue to cure for another couple days now before being put back in use.
Lessons learned:
Rudimentary, I know, but read and follow the directions for the media of choice Whether you choose to air brush, can spray, whatever. That sounds elementary, but it cost me doing mine a second time. Prep the surface fairly well. In my case, I intended to just scuff, but the factory paint came off so easily I removed it all. Mind your tolerances. Like I said, I found I needed to remove a bit of paint from a few mating surfaces. If you do the atty, be sure not to paint the areas where juice and coils are. I only painted the outside of the airflow ring.
That’s about all I have. For those who have more experience with painting, this will be a walk in the park. For those of you like me, (talentless hacks), it can actually be done. At least it is small, and if you hose it up like I did, re-doing it isn’t really all that painful.